Handmade Merry Christmas Greeting Card Making

Nov. 30, 2018
You Will Need:
Fevicryl Acrylic Colours Burnt Sienna 01, Black 02,Crimson 04, Dark Brown 05, Light Green 12, White 27, Flesh Tint 30, Fevicryl Fabric Glue, Fine Art Brushes, A4 White Card Paper, A3 Blue Card Paper, Two Way Tape, Golden Thread, Colourful Pom-Poms, Brown Coloured Woolen Strands, Tooth Brush, Scissors, Pencil, Ruler, Colour Palette, Water Container.
Description :
It is time to give and wish well! Here is a cute Christmas greeting card inspiration made with Fevicryl Acrylic Colours, to brighten up the season for your friends and family! Just follow this step by step guide to learn how to make this cute little Christmas greeting card. An easy and super fun paper craft DIY to make, making your loved one feel delighted with your handmade Christmas cards along with special Christmas greeting message in it.If you’re interested in more card making and scrapbooking ideas you can check out How to Make a Gift Envelope, Shaker Card Idea, Quilling Greeting Card and many more at Hobby Ideas!
Running out of Christmas decorations ideas? Worry no more! You can check out some creative & unique Christmas DIYs like Handmade Christmas Wreath Making , How To Make Photo Frames With Ice Cream Sticks At Home, Handmade Christmas Tree Making At Home, DIY Hanging Snowflake Decorations and much more.
You can check out the art & craft products offered by us in Catalogue section of the page. This DIY is mainly made using Fevicryl Acrylic Colour, Fevicryl Fabric Glue, Fine Art Brushes & white card paper.
STEP 1 : Selecting the base for Christmas card making
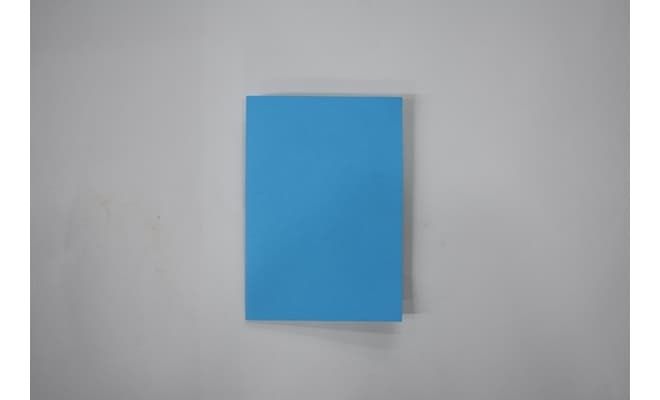
• Take an A3 sized blue card paper.
• Fold it in the centre to make the card.
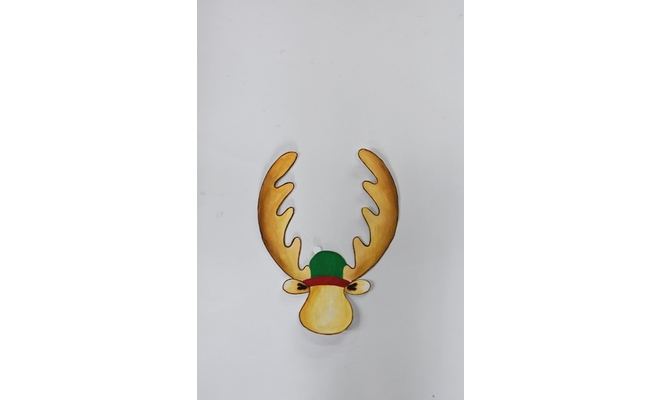
STEP 2 : Drawing and colouring the moose for Christmas card making

• Take an A4 card paper; draw a moose with a cap.
• Paint the moose with Acrylic Colours Burnt Sienna 01, Black 02, Crimson 04, Dark Brown 05, Light Green 12, White 27 and Flesh Tint 30 in a shading manner as depicted in the image.
• Let it dry.
STEP 3 : Cutting the design
• Cut along the outlines of the moose with a pair of scissors.
STEP 4 : Finishing the merry Christmas greeting card
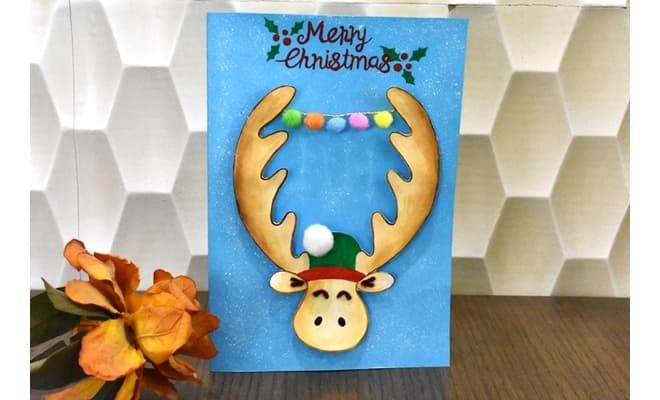
• Take the blue card paper.
• Spray the Acrylic Colour White 27 on it to depict the snowfall using a tooth brush.
• Take a golden thread and stick Colourful pom-poms on it on equal distance with Fabric Glue.
• Let it dry.
• Stick one pom-pom on the cap of the moose with Fabric Glue.
• Similarly take brown woolen strands at stick them to depict the eyes and the ears of the moose with Fabric Glue.
• Stick the moose on blue folded paper in a raised effect using two way tapes or some wooden beads.
• Write the message “Merry Christmas” along with the hollies using Acrylic Colours Crimson 04 and Light Green 12.
• Let it dry.
Your handmade Christmas greeting card is ready!


 +91 99676 55545