Diy Hanging Snowflake Decorations

Nov. 21, 2018
You Will Need:
Fevicol A+, Fevciryl 3D Outliner Non Sticky Glitter, Bottle caps, single paper punch, strings
Description :
Christmas decoration at home feels incomplete without hanging snowflakes. Snowflakes gives us that pleasant wintery & Christmassy feel. Not only are these cute looking but are also super easy to make! In this step-by-step tutorial we are going to make some adorable snowflakes using bottle caps & some basic craft techniques. So gather your stationary materials and make this fun DIY craft for this Christmas Eve!To try more interesting DIYs you can check out How to Paint Glass Bottles, How to Make Greenery Jewellery Box, Easy Miniature Painting on Bamboo Glass, DIY Door Dangler, Handmade Christmas Tree Making at Home and many more at Hobby Ideas.
You can check out the art & craft products offered by us in Catalogue section of the page. This DIY is mainly made using Fevicol A+ , Fevciryl 3D Outliner Non Sticky Glitter, Bottle caps, single paper punch & strings.
STEP 1 : Creating Snowflake Design on Bottle Cap

Take a recycled bottle lid and create a snowflake design using Fevicryl 3D Outliner Glitter of your choice. Leave it to get semi dry.
STEP 2 : Pouring Fevicol A+

Pour a decent amount of Fevicol A+ on it in a uniform manner.
STEP 3 : Filling the bottle cap with Fevicol A+
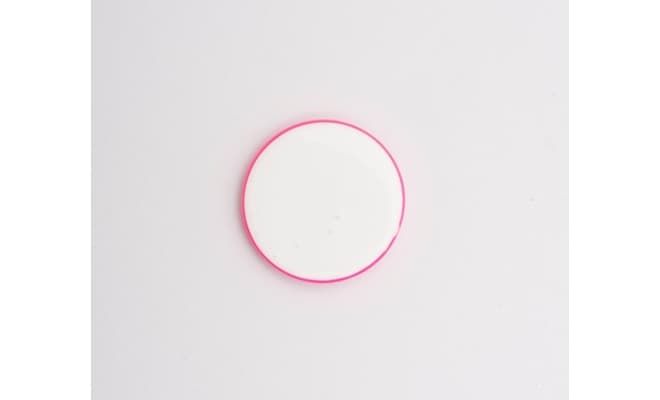
Fill the bottle cap completely and keep it to dry completely.
STEP 4 : Peeling the Glue Off
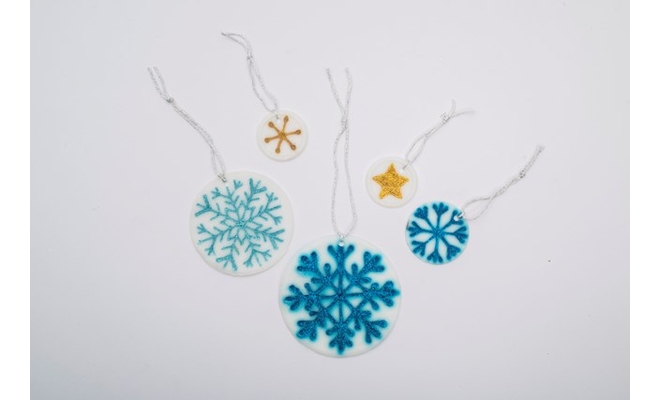
One it dries finely peel the glue slab out from the bottle cap and you will get frosted snowflake danglers. Punch a hole using Single paper punch and tie a string for hanging.


 +91 99676 55545