Pichwai Lotus Wedding Card
You Will Need:
Fevicryl Acrylic Colours Crimson 04, Pink 18, White 27, Neon Pink 018, Fevicryl Mouldit, Fevicryl Fabric Glue, Fine Art Brushes, Rolling Pin, Paper Cutter, Scissors, Pencil, A3 White Card Paper, Toothpick, Golden Tassels, Colour Palette, Water Container
Description :
A beautifully handcrafted lotus-shaped wedding invitation, blending sculpted Mouldit clay petals with painted card paper layers. Each petal unfolds to reveal a unique celebration—Haldi, Mehendi, Sangeet, and the Wedding—making it a truly memorable and artistic keepsake.
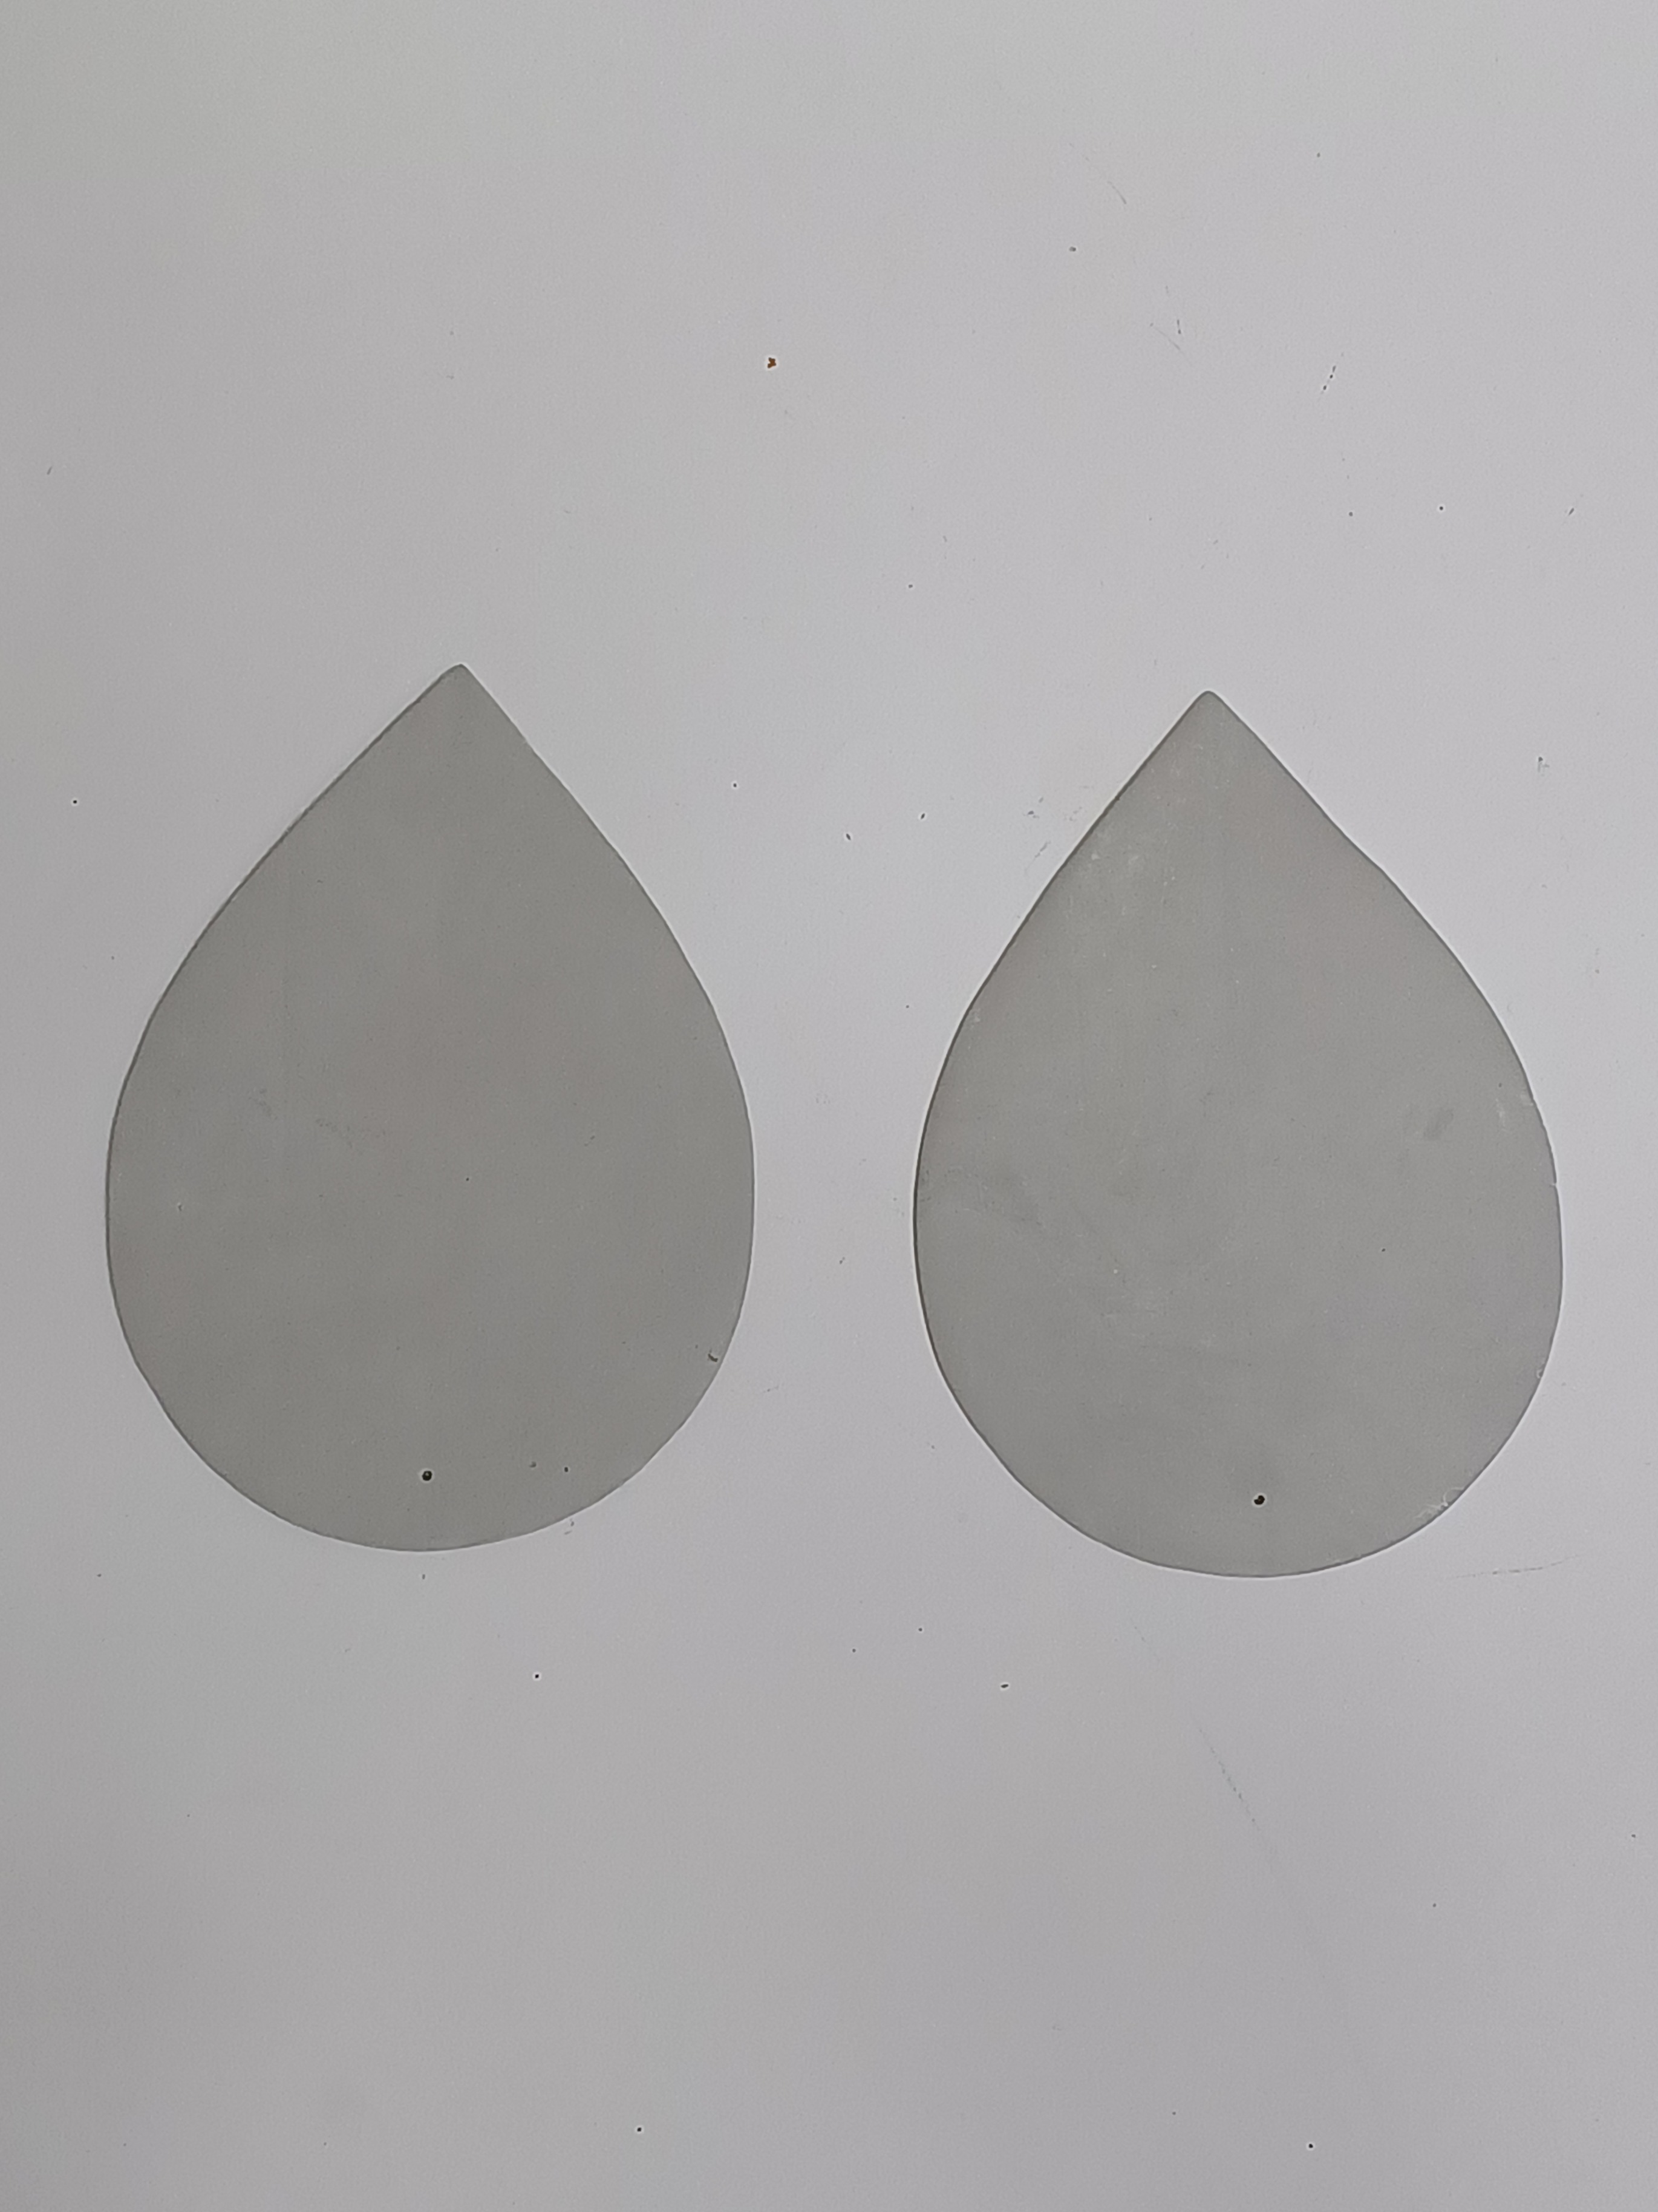
- Mix resin and hardener from the Mouldit clay pack thoroughly until smooth.
- Roll the clay into a uniform slab using a rolling pin (approx. 3–4 mm thick).
- Mark and cut lotus shape- one for the front and one for the back of the card.
- Let the clay petals semi-dry for 15–20 minutes.
- Pierce the hole towards the bottom side edge further to attach tassel.
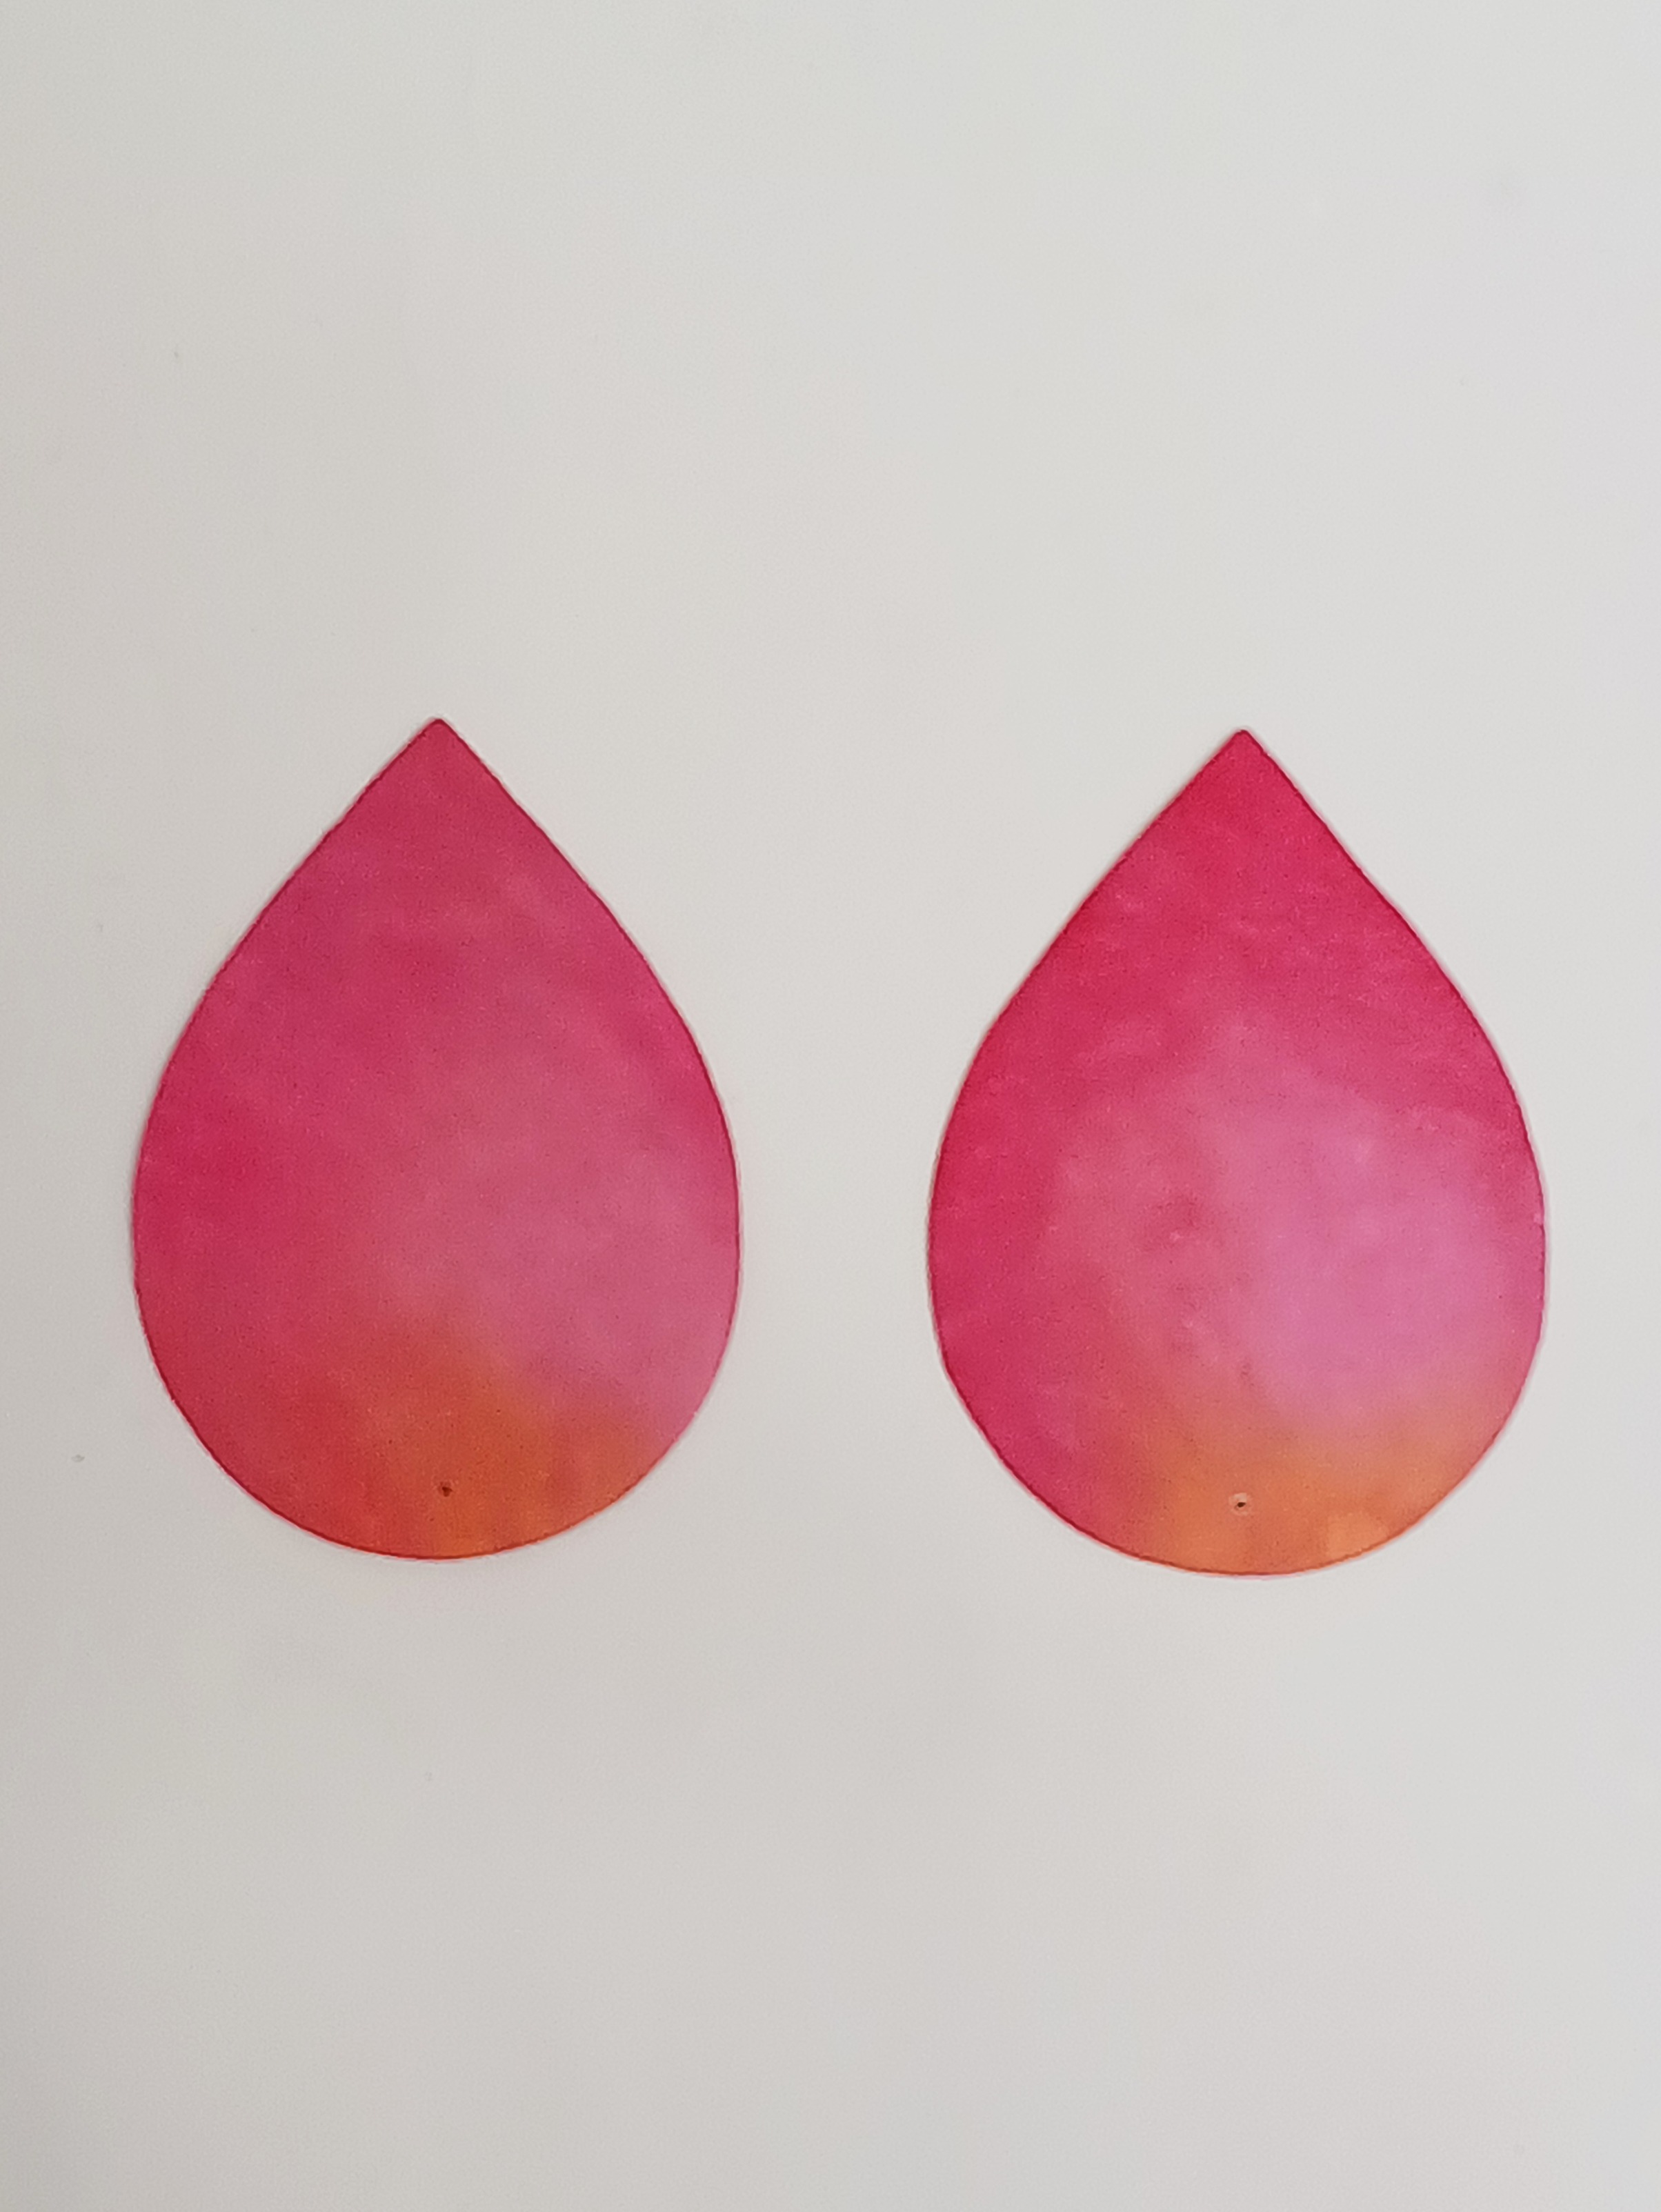
- Paint the clay petals using Acrylic Colours Crimson 04, Pink 18, White 27, Neon Pink 018 in lotus shades.
- Allow the petals to dry completely.
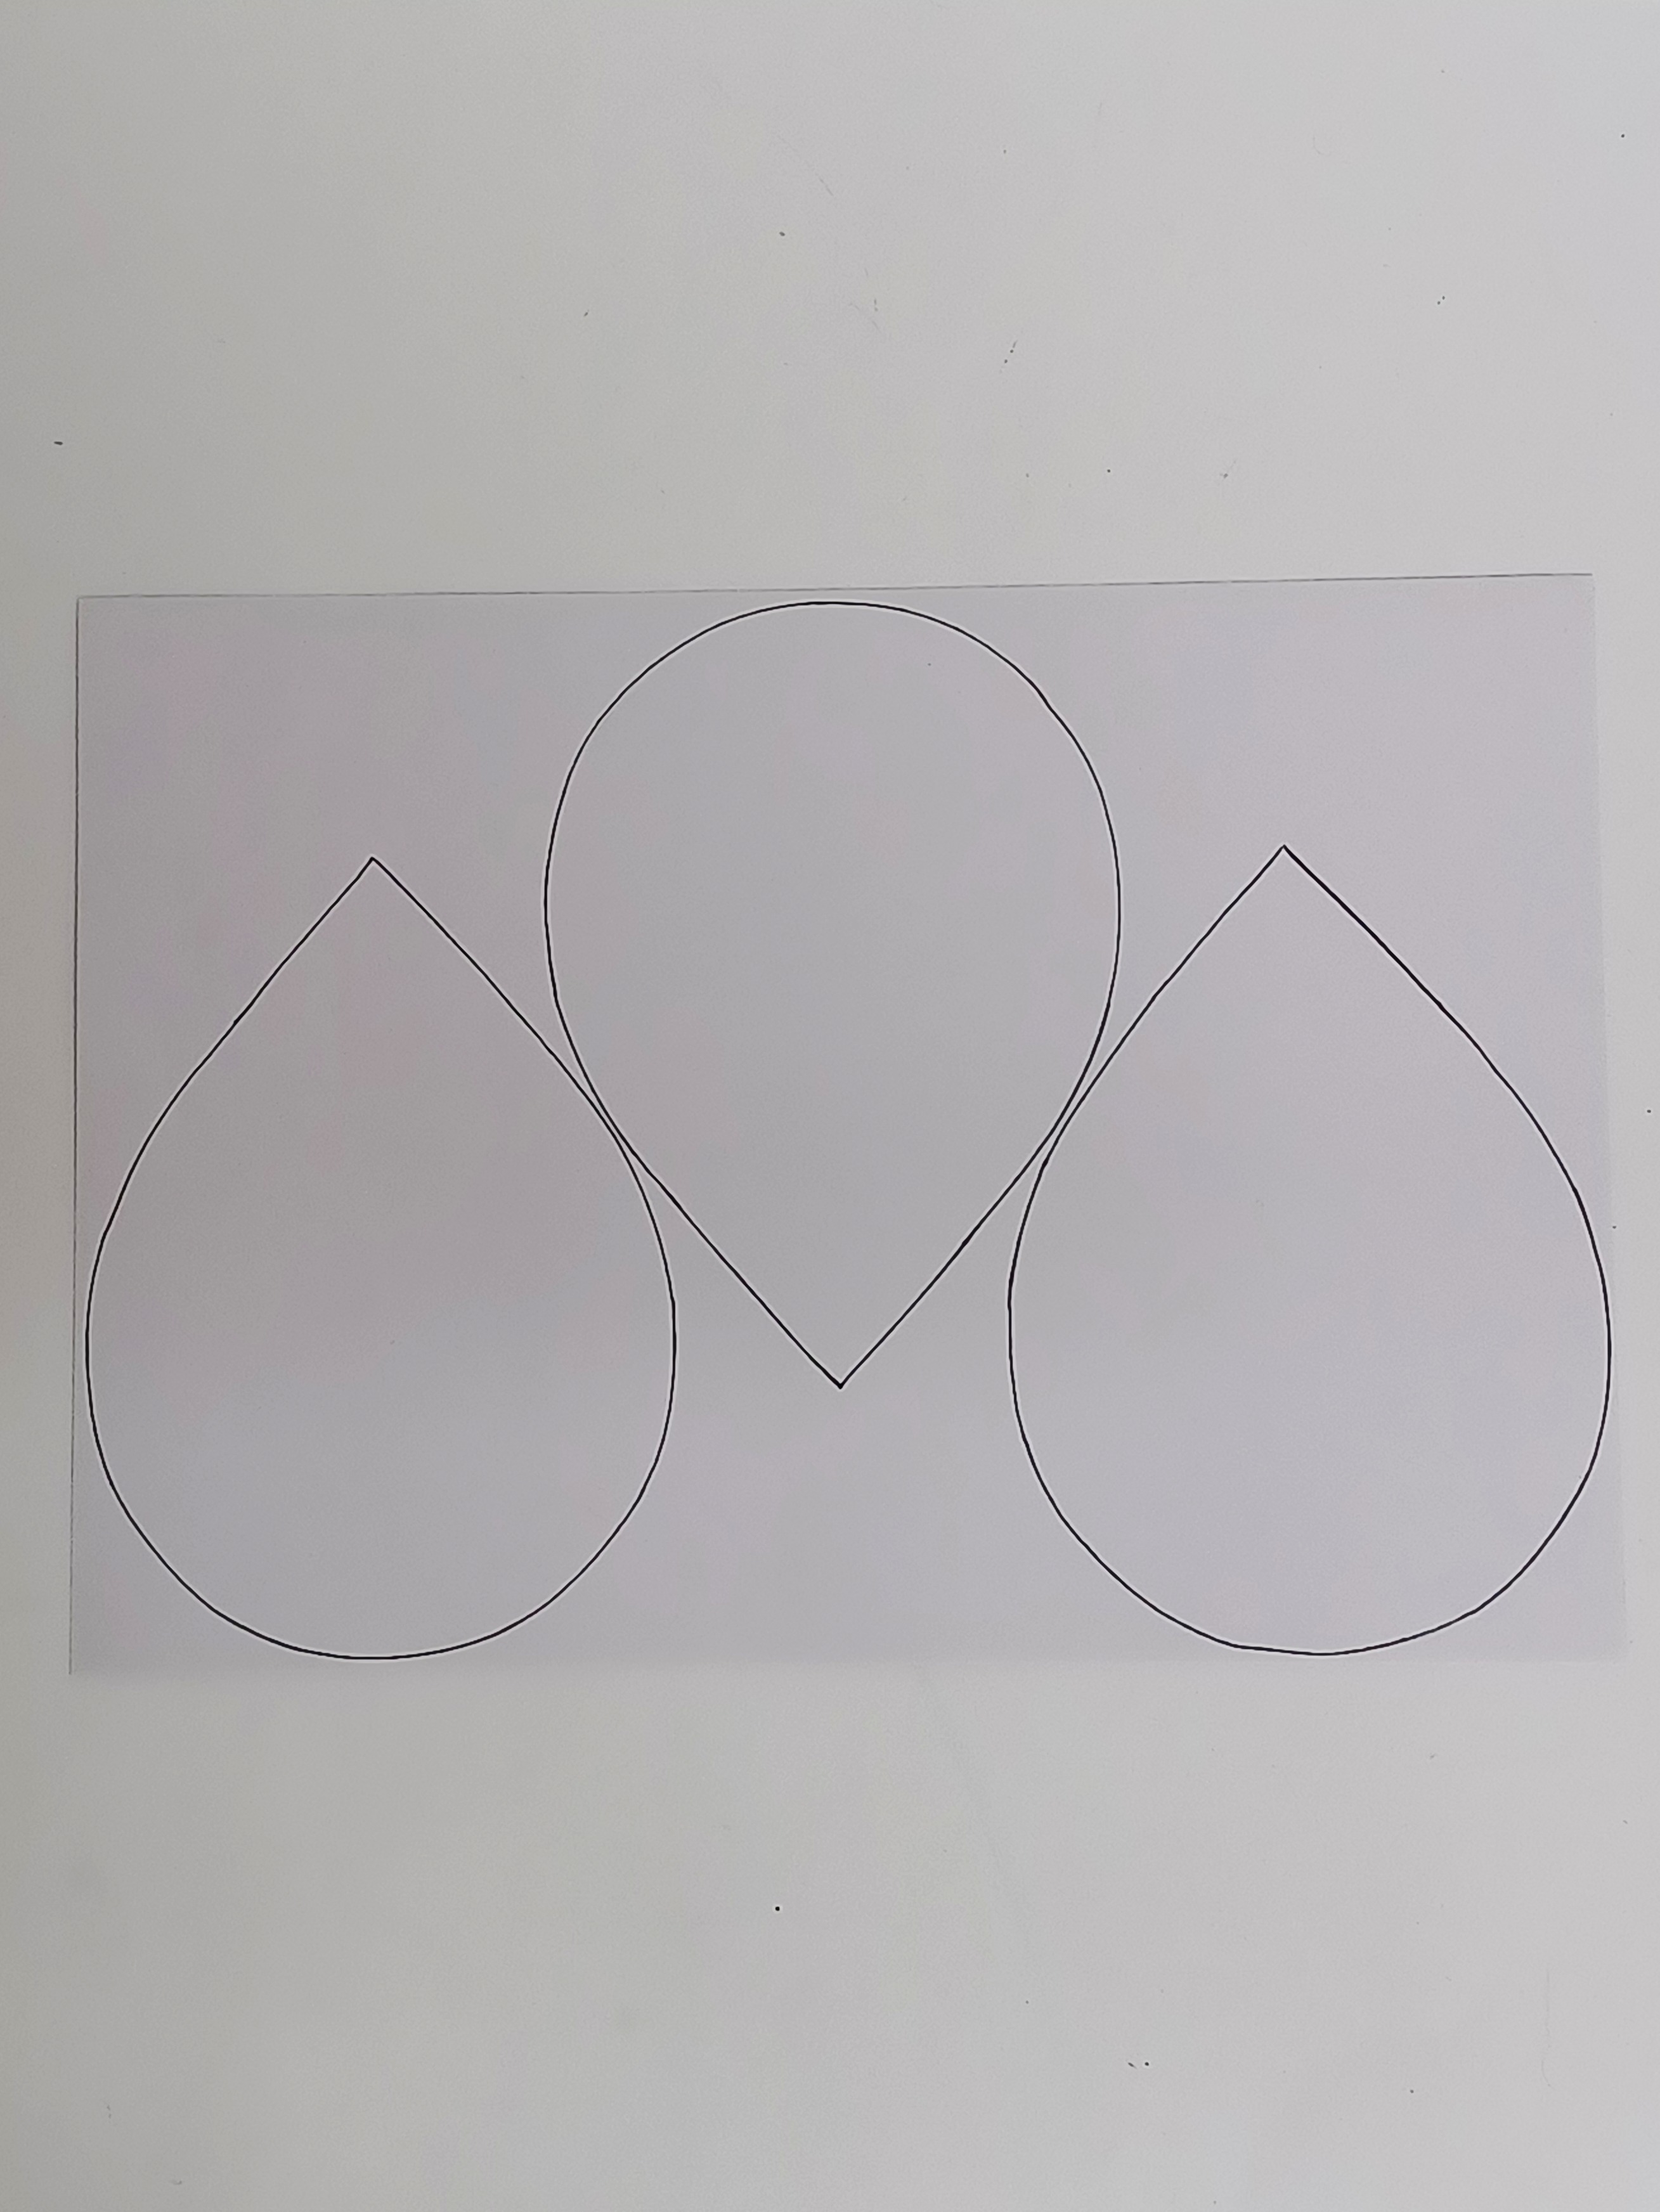
- Cut 3–4 lotus-shaped petals from card paper according to the ceremony you are having on the day.
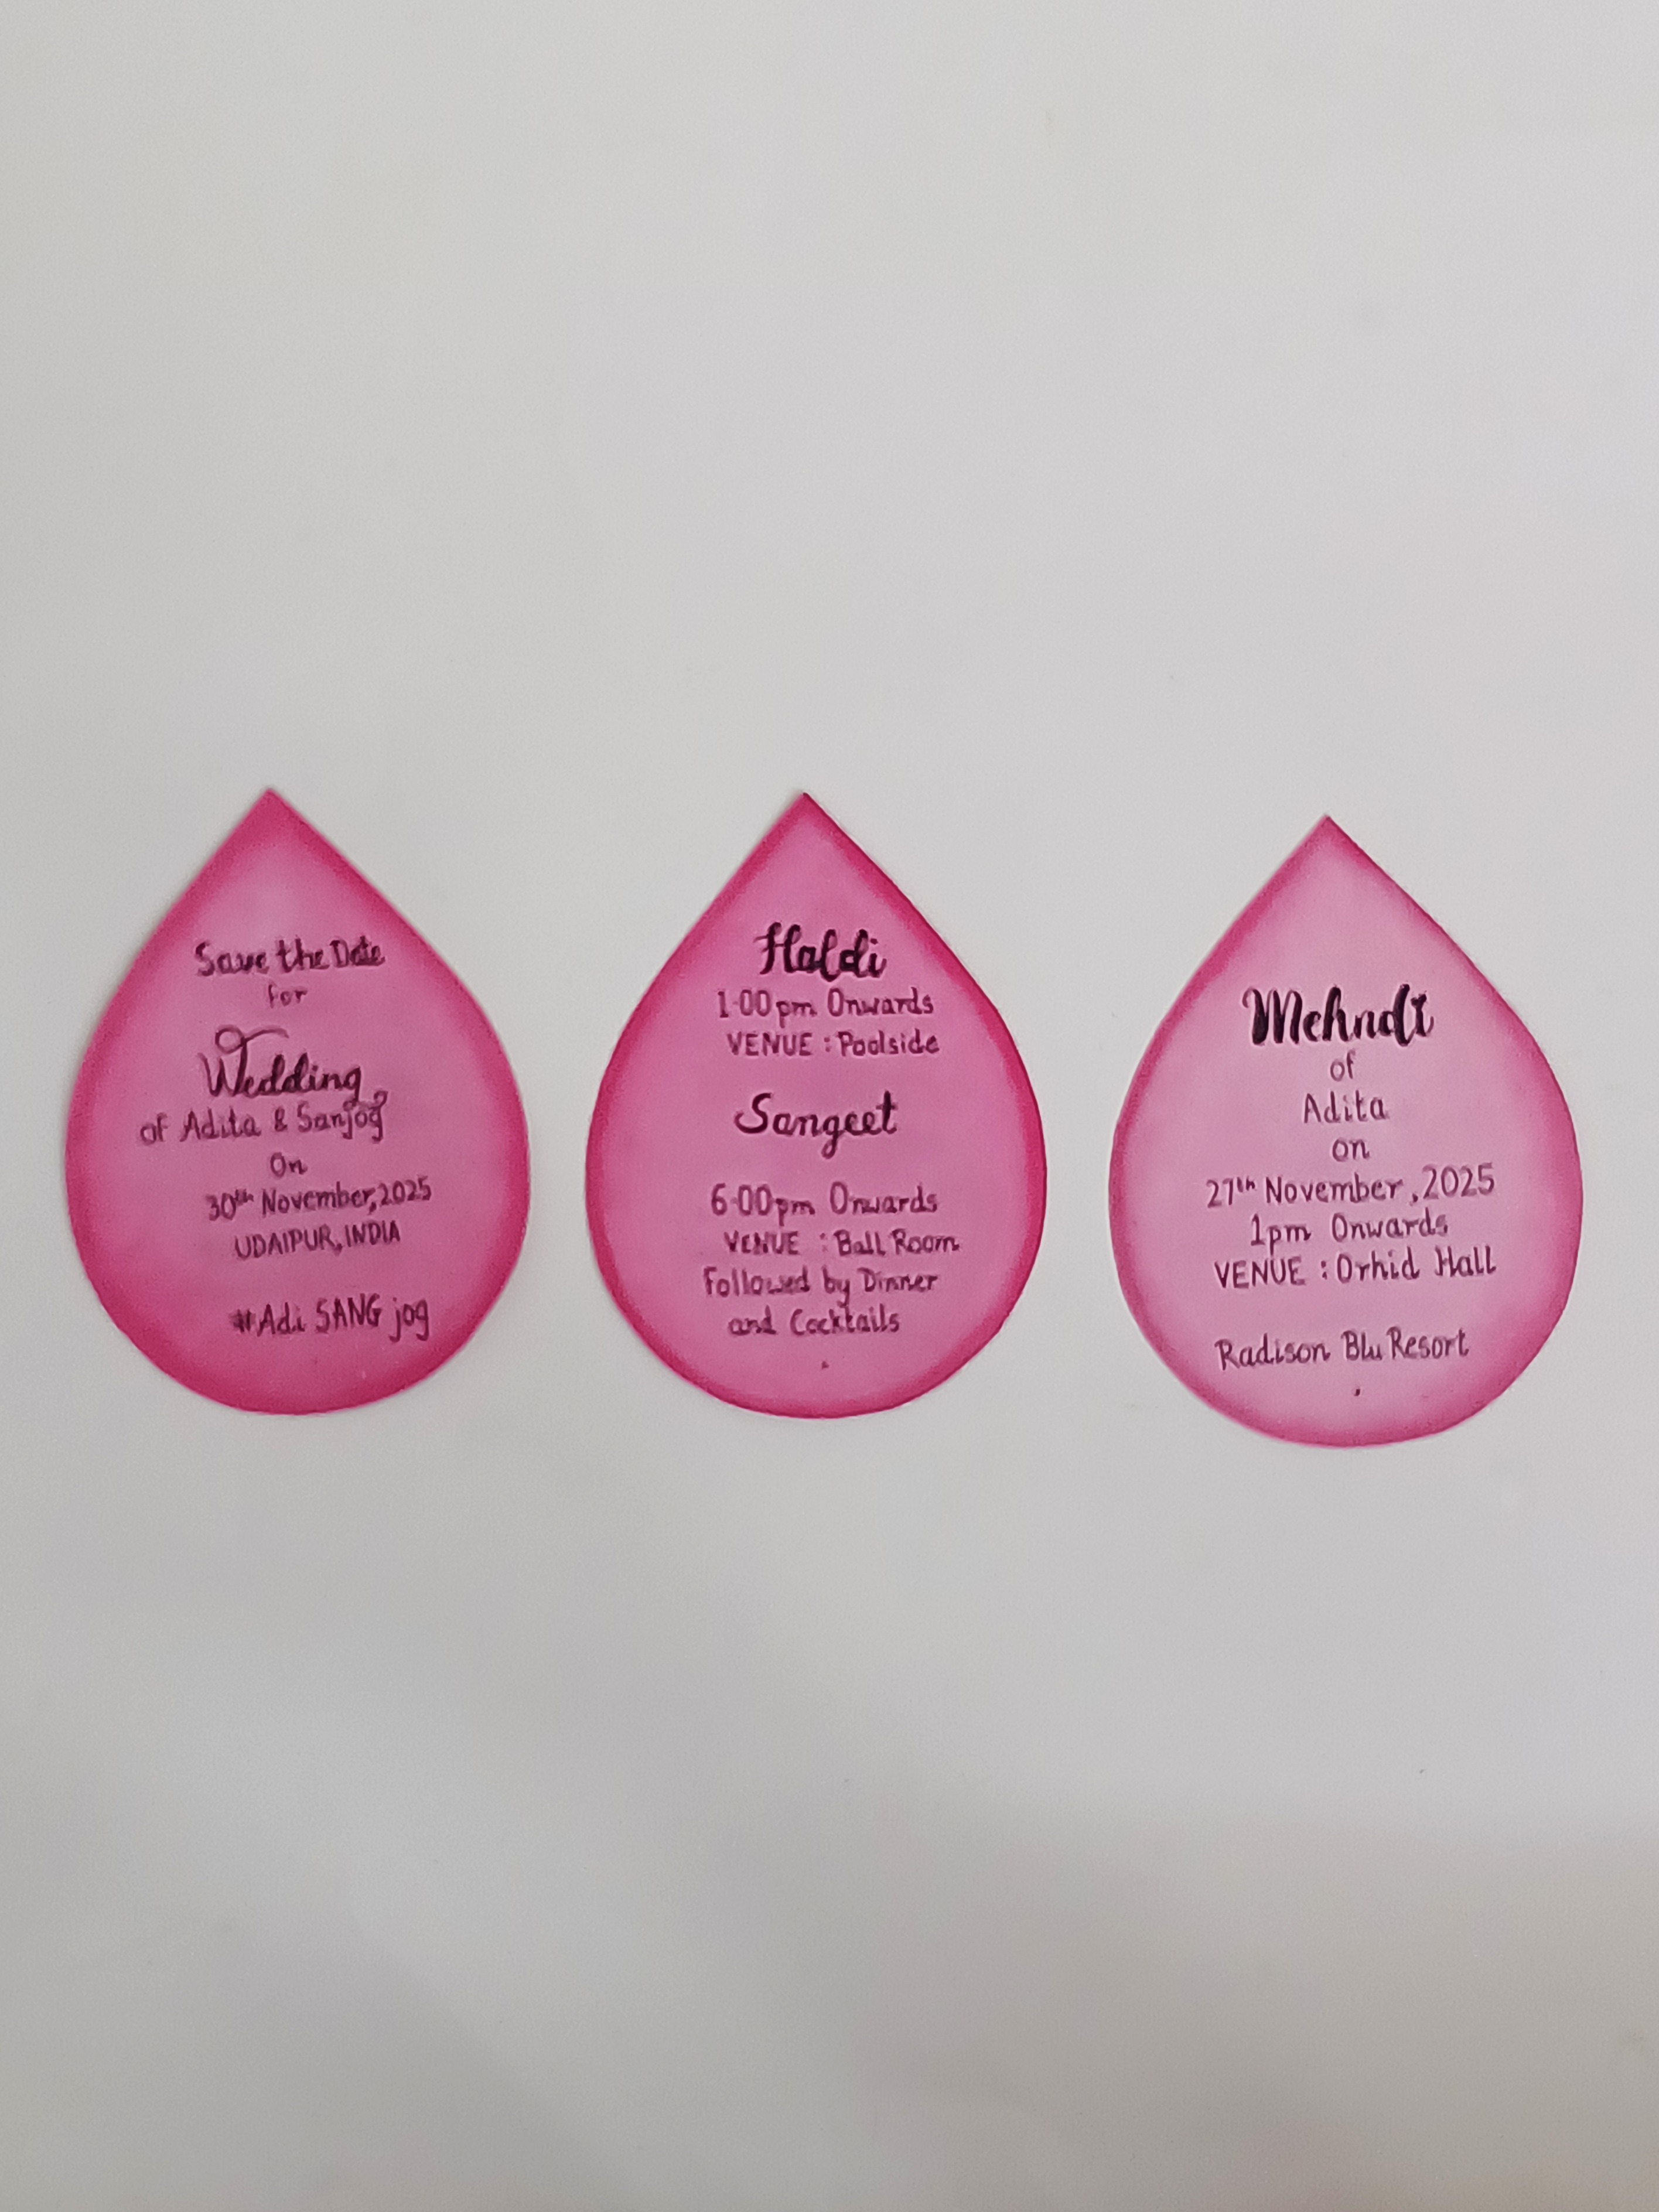
- Paint or shade the paper petals in gradient tones to match the clay petals.
- Write the invitation details on each petal:
- Petal 1: Save the Date
- Petal 2: Haldi Ceremony
- Petal 3: Mehendi Celebration
- Petal 4: Sangeet Night
- Petal 5: Wedding Ceremony
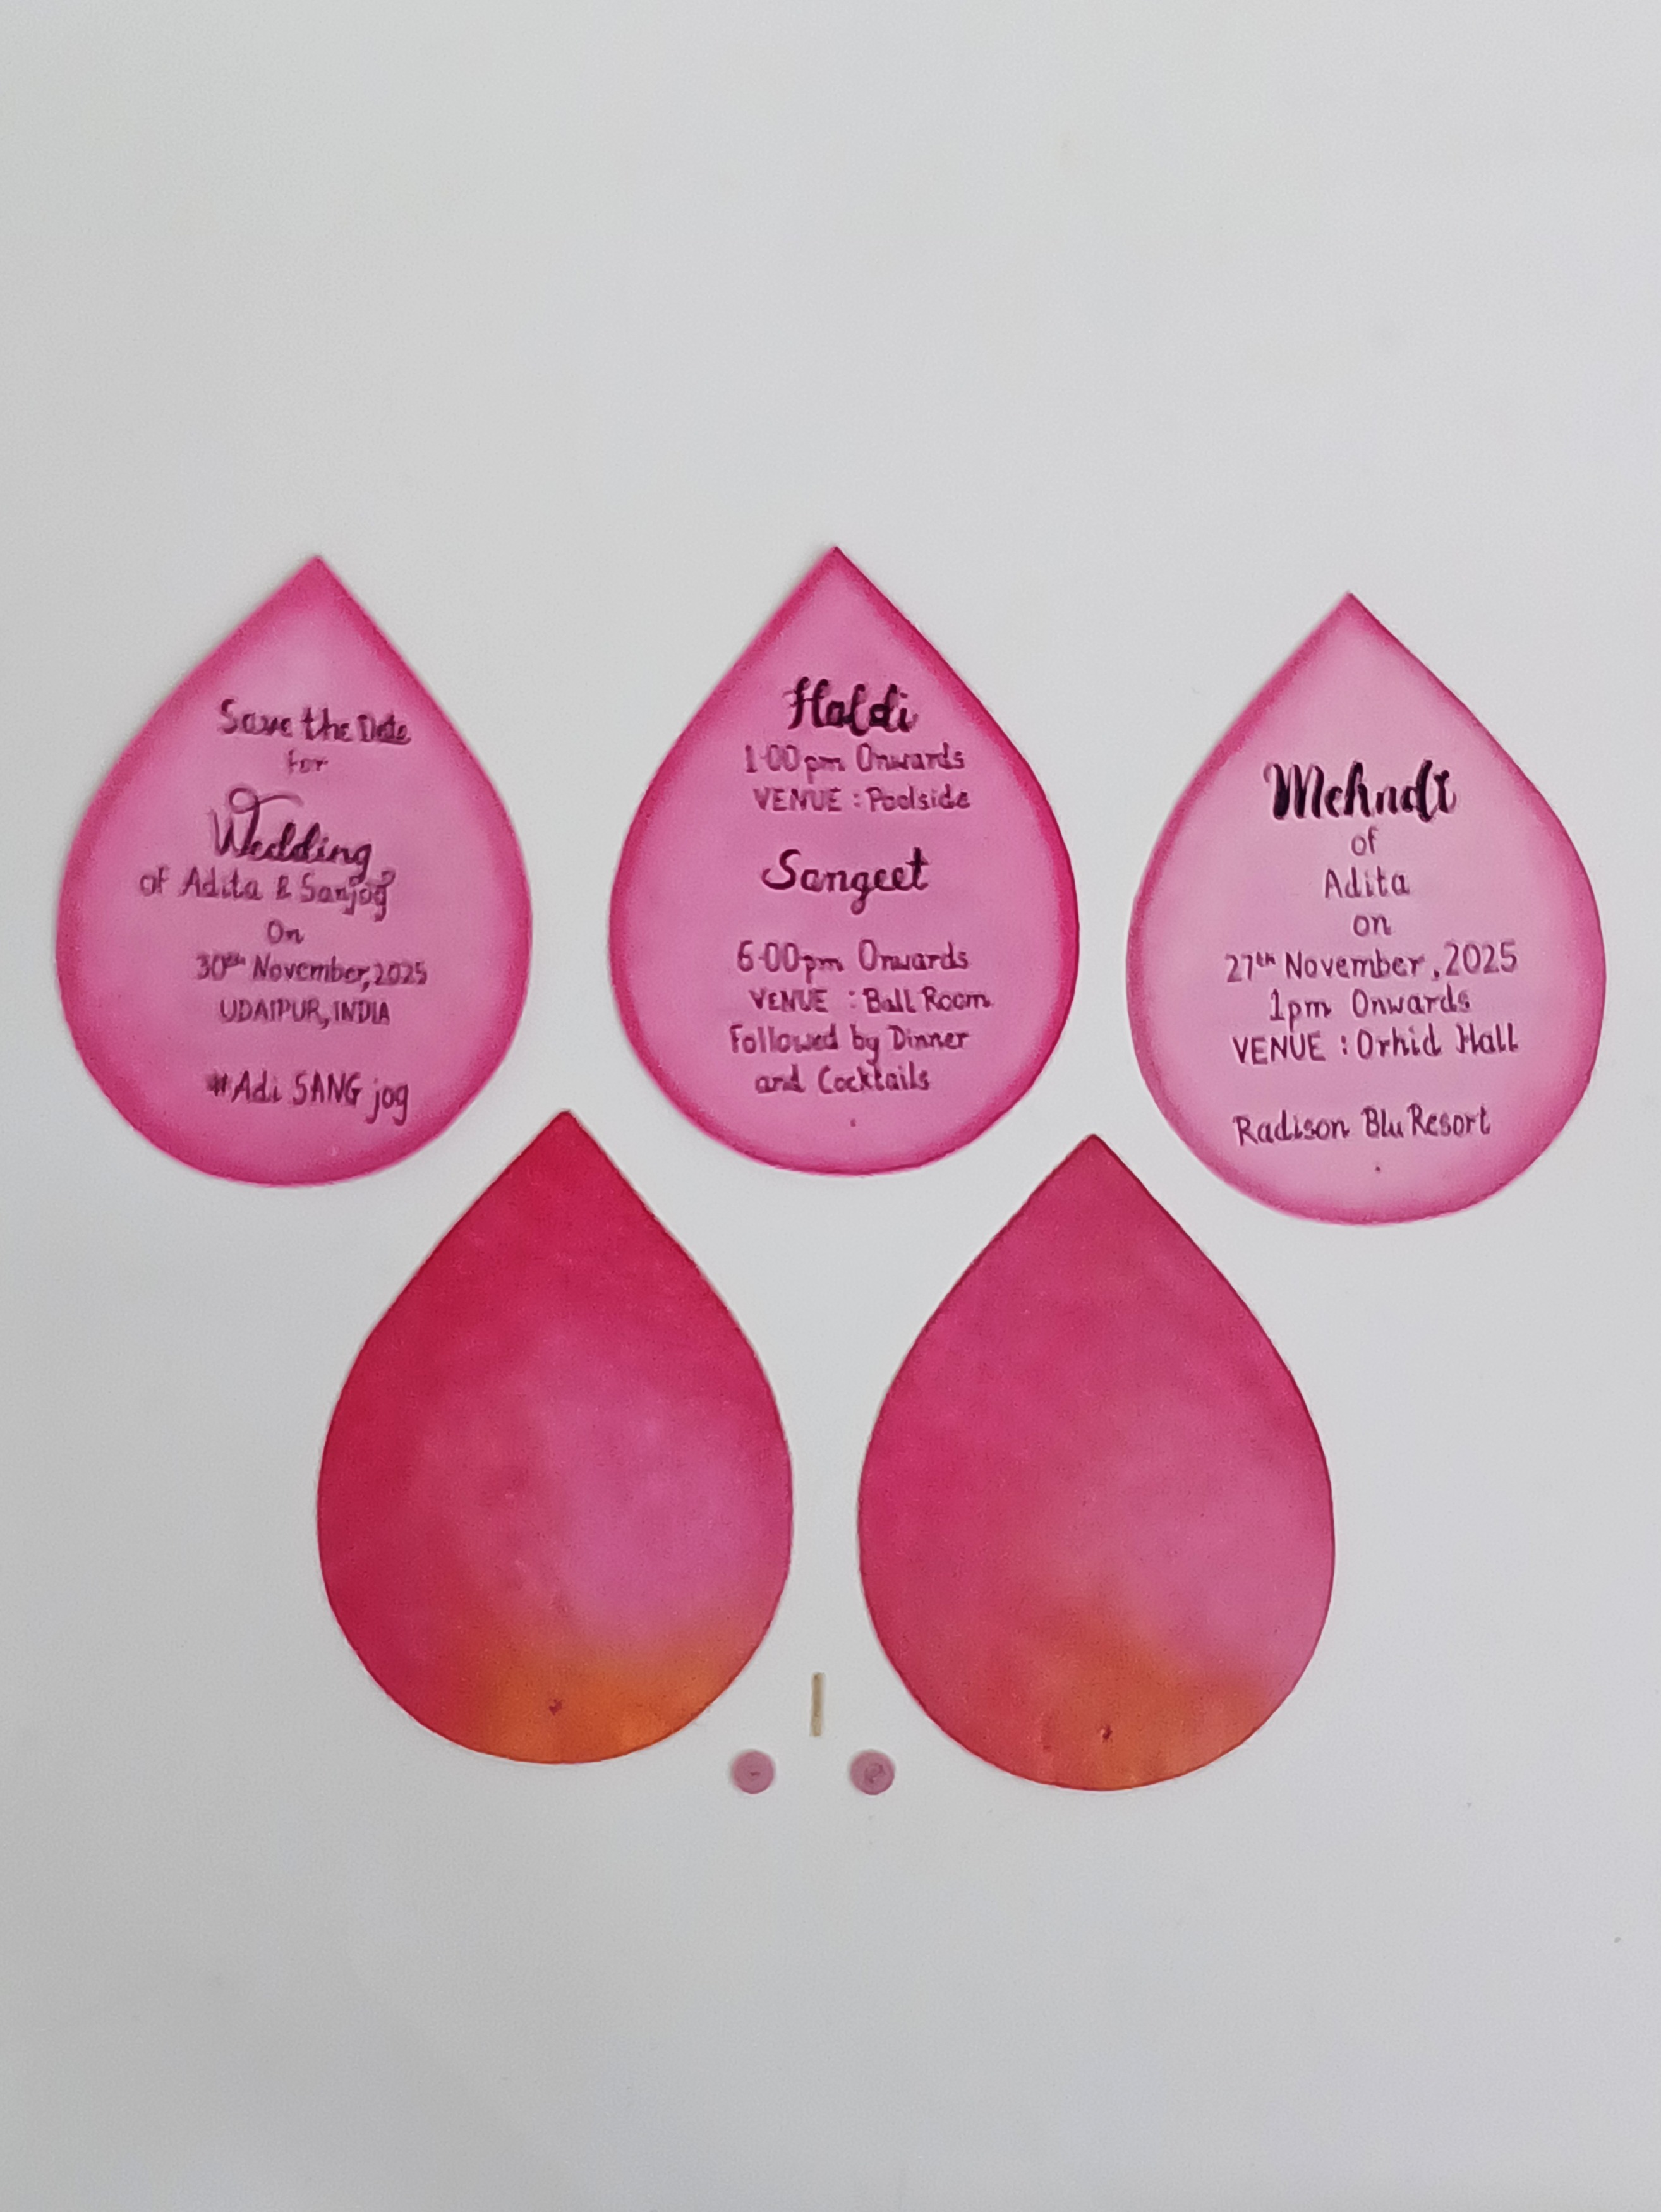
- your lotus Petals will look like this, refer to the image.
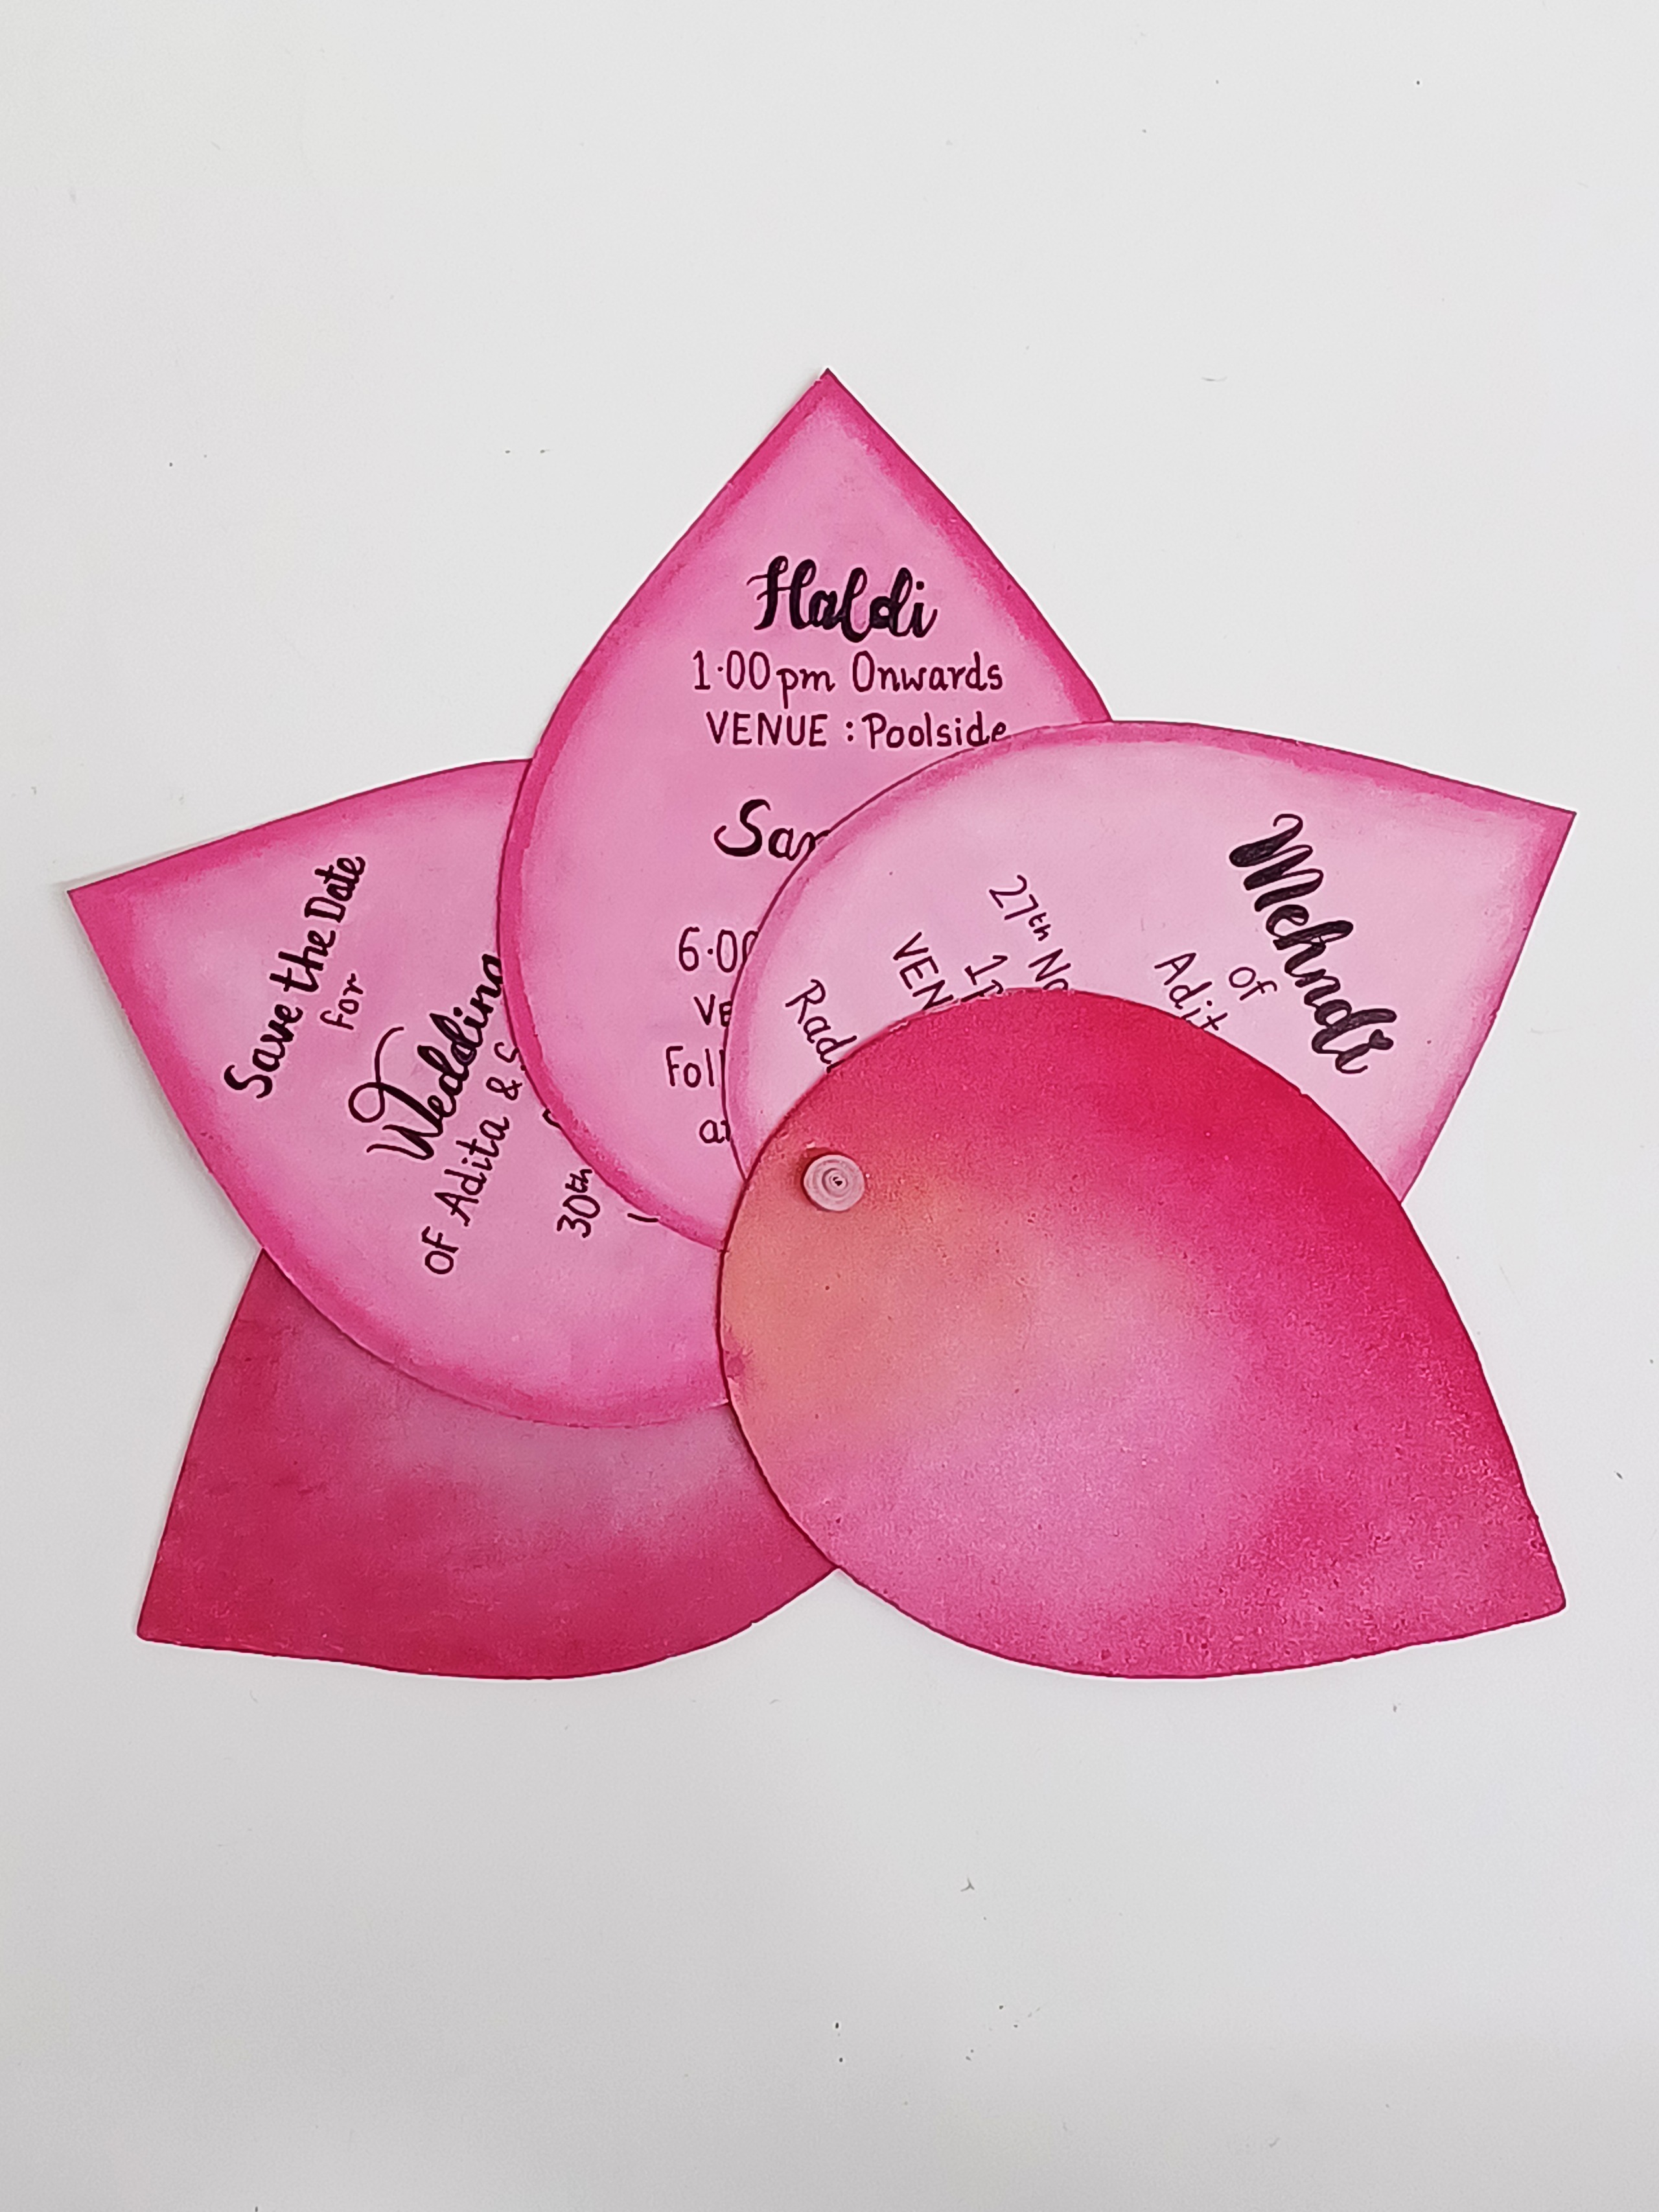
- Arrange the paper petals in a lotus formation, layering them slightly.
- Attach the front clay petal on top and the back clay petal underneath using toothpick as the pin. Secure the ends of the toothpick with little amount of the clay.
- Ensure all petals are securely fixed and aligned.
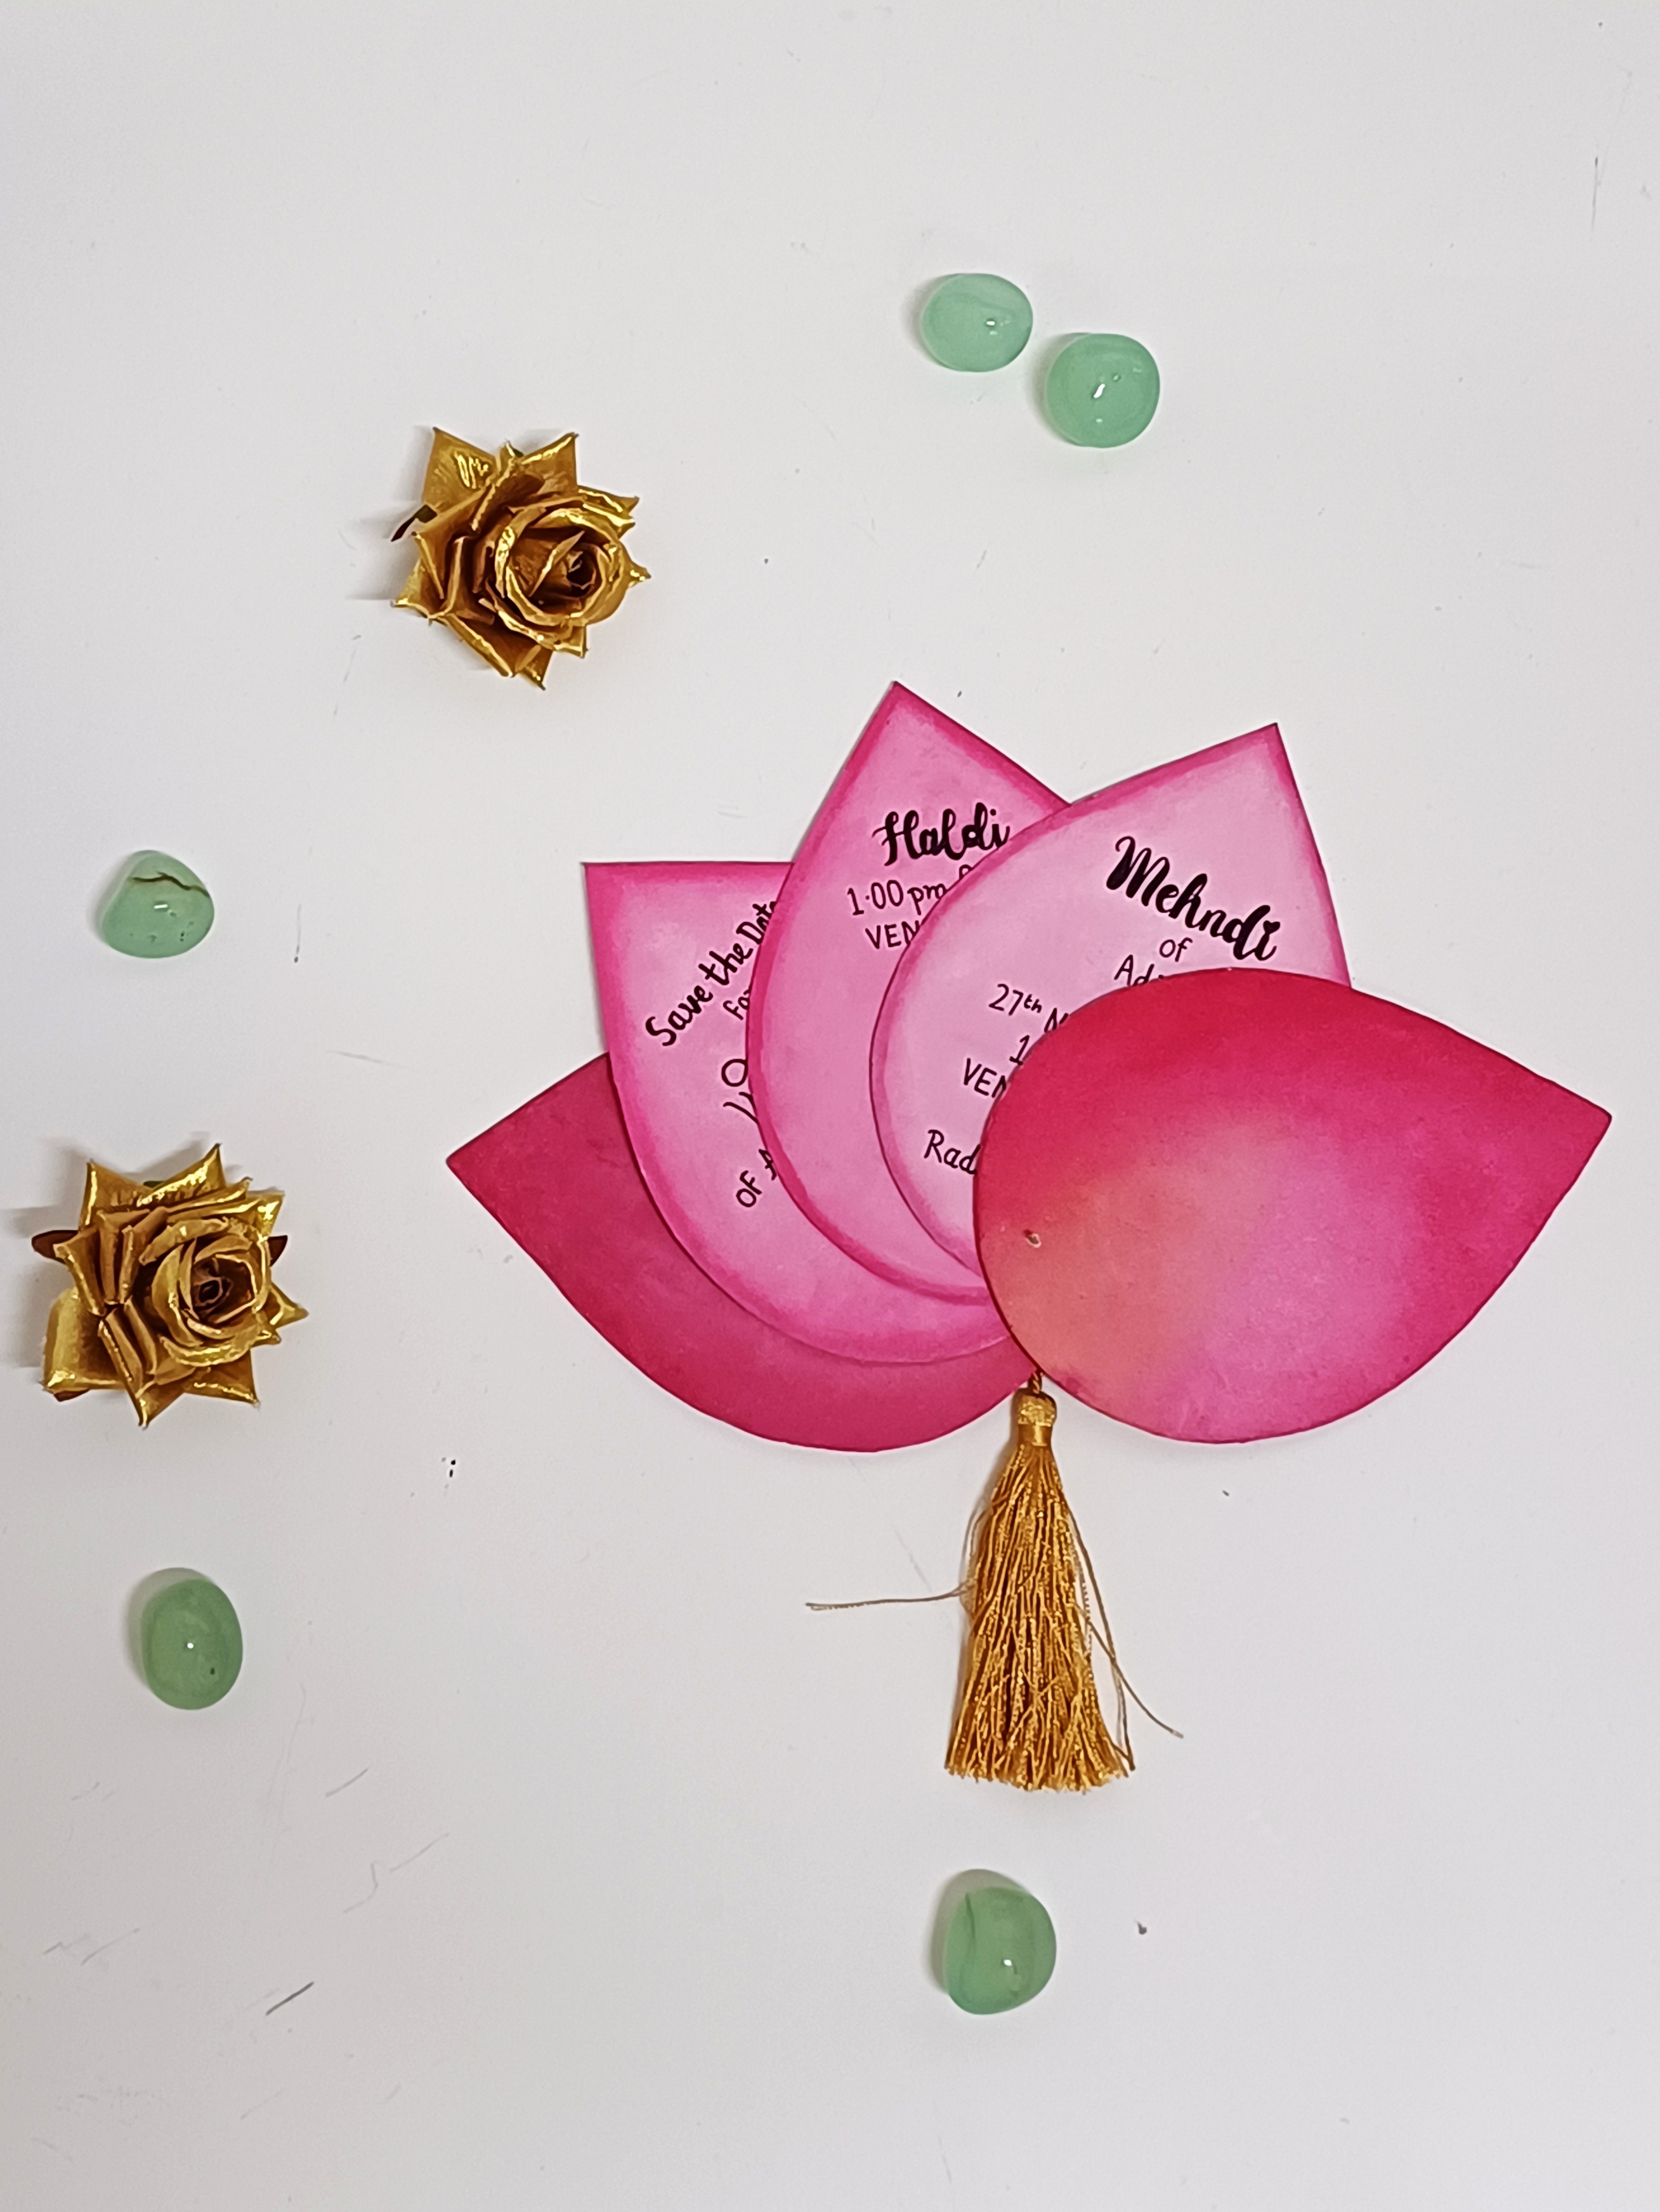
- Attach a golden tassel at the base or top of the card for an elegant finish.
- Optionally, place the card in a custom envelope or box for gifting.







 +91 99676 55545