Handmade Clay Wall Decor Using Mouldit Clay

Oct. 24, 2018
You Will Need:
Fevicryl Acrylic Colours - Black 02, White 27, Salmon Pink 65, Coral Red 66, Greenery 67, Fevicryl Mouldit, Fine Art Brushes, Rolling Pin, Ruler, Paper Cutter, Clay Carving Tools, A3 Paper, Pencil, Colour Palette, Water Container.
Description :
This one will surely surprise you! A wall décor piece made completely with Fevicryl Mouldit. It's easy to make and one can choose motifs or patterns that best suits your taste. These clay art are light weight and are handmade too.You can check out more amazing DIYs like How To Make Decorative Wall Plates Using Aluminium Plates, How to Make Greenery Jewellery Box, Hand Painted Shoes with Quirky Green Design, Painting Terracotta Pots with Acrylic Paint and many more at Hobby Ideas!
STEP 1 : Preparing the Mouldit slab – the slab technique
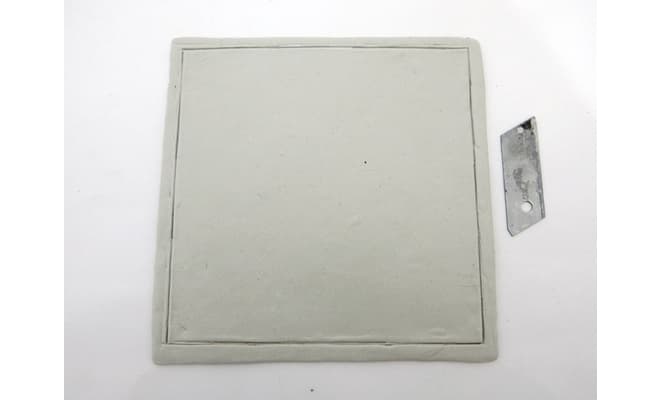
To begin with take the Mouldit and mix the resin base and hardener to knead even dough. Roll the ball of dough with a rolling pin and make a slab that measure 6” x 6” in size.
We would require 6 such square slabs. They now need to semi dry before we begin tracing our design / pattern on it.
STEP 2 : How to trace on the semi dried clay slabs
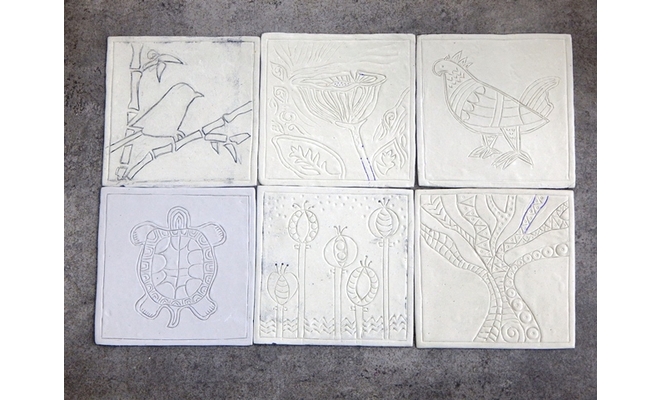
Decide on a pattern / design or motifs that you would want on the slabs. We have taken inspiration from nature and have trees, birds etc. as our motifs. Trace the motifs on a white sheet of paper that is of the same size as the cut slabs.
Place the tracing over the square of clay and using clay carving tools mark and engrave over the motifs so that the impressions get transferred onto the slab.
STEP 3 : Begin enhancing the motifs
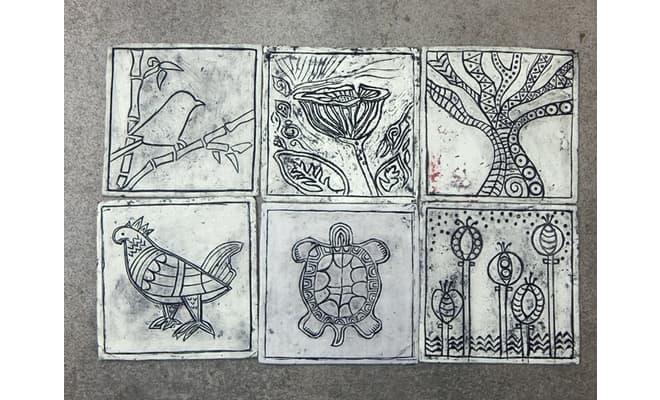
Once the impressions have been transferred on the slab, using Acrylic Colour – Black 02, paint within the grooves of the motifs, so that the black colour seeps into the crevices. As you can see in the image the outlines have now become more prominent.
STEP 4 : Painting the wall pieces
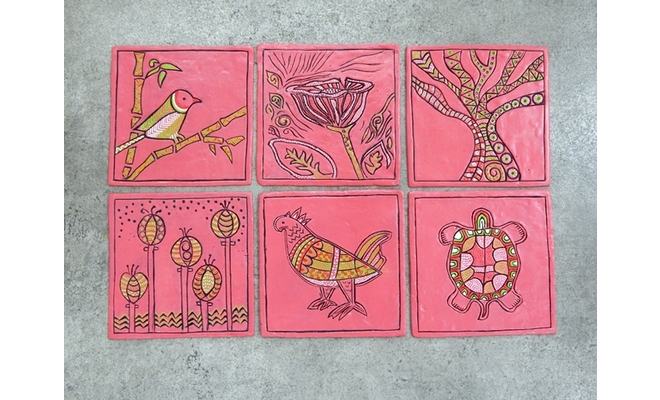
Now is the time to paint the motifs within the grooves. Using Acrylic Colours - Black 02, White 27, Salmon Pink 65, Coral Red 66 and Greenery 67 we have painted our motifs neatly as you can see in the image.
Your Mouldit wall décor pieces are ready to adorn the walls once they have dried completely. Frame them as per the décor and use them.


 +91 99676 55545