Homemade Clay Earrings For New Year's Eve

Dec. 12, 2018
You Will Need:
Fevicryl 3D Cone Outliner Non Sticky White 707, Fevicryl Fabric Glue, Fine Art Brush, Golden Glitter Powder, Needle, Earring Attachments.
Description :
Go all quirky and nice to welcome the New Year in style! Make these in a jiffy using Fevicryl Mouldit. A simple and fun clay modelling DIY project where you’ll learn how to make handmade clay earrings easily by following this simple step-by-step tutorial. Super jazzy and party ready earrings one must definitely try recreating!If you love clay and making creative DIYs out of them, you must take a look at DIYs like Custom Made Car Cuff Links, DIY Shoe Shape Mobile Stand, Handmade Key Holder Platter and many more at Hobby Ideas.
You can check out the art & craft products offered by us in the Catalogue section of the page. This DIY is mainly made using Fevicryl 3D Outliner Colours, Fevicryl Mouldit Clay, Fevicryl Fabric Glue and earring attachments.
STEP 1 : Mixing Mouldit dough
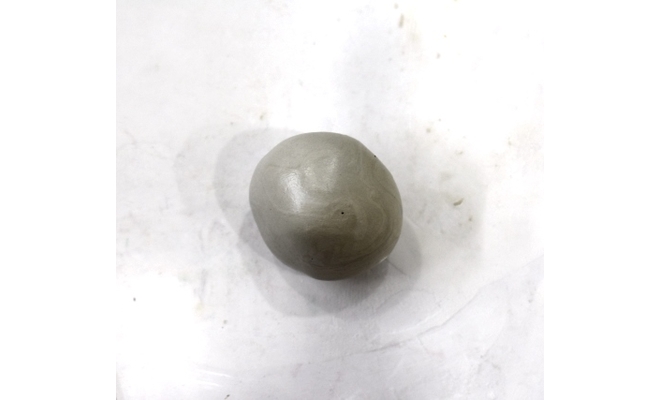
• Take Mouldit resin base and hardener; mix it thoroughly to make even dough
STEP 2 : Making cubes for the clay earring
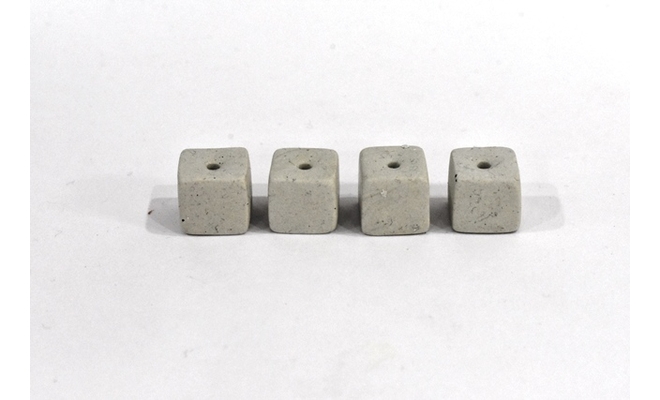
• Take the dough; divide it into 8 equal parts.
• Make small cubes out of each part.
• Leave it semi dry.
• Pierce the holes on the cube further for earring attachments using needle.
• Let it dry completely.
STEP 3 : Applying glitter on cubes
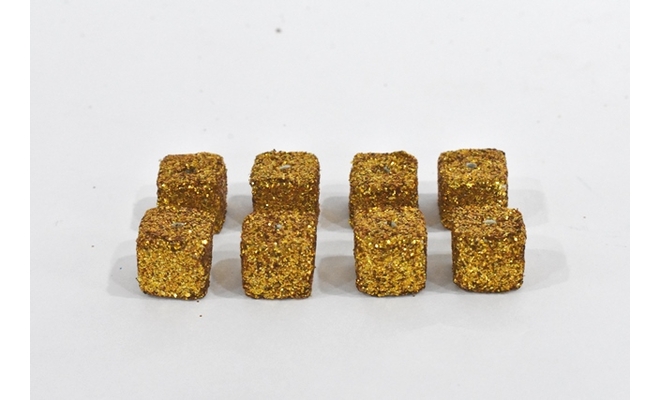
• Apply the Fabric Glue on each cube with a brush.
• Sprinkle the golden glitter powder on the cube and stick it neatly.
• Leave it to dry.
• Your 8 cubes will look like this – refer to the image.
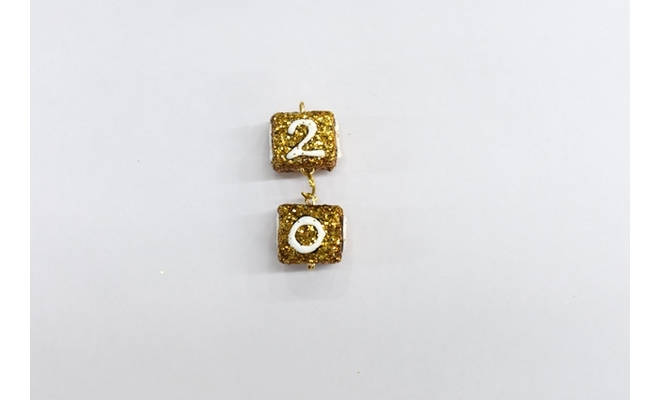
STEP 4 : Drawing the numbers

• Write a number of “2019” on each cube with 3D Cone Outliner Non Sticky White 707.
• Make sure that you have to write on all the four visible sides.
• Let it dry completely.
STEP 5 : Earring attachments
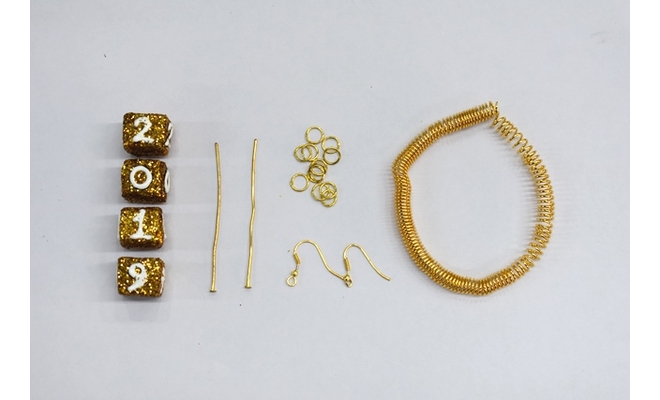
• Take the earring attachments to attach the cubes to each other to make the earrings.
STEP 6 : Assembling the clay earrings
• Attach one cube at a time with metal hooks and wires.
STEP 7 : Final look
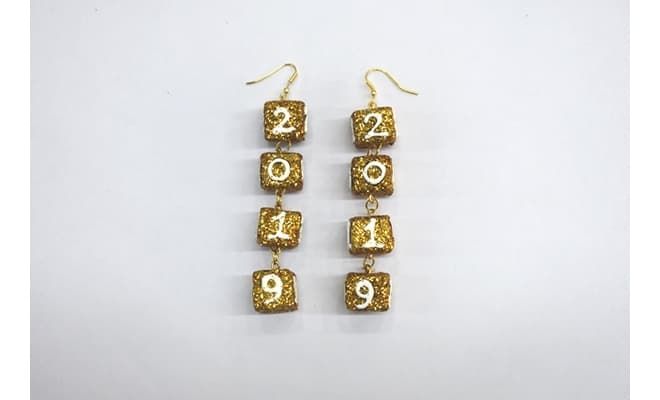
• Your earrings with cubes will look like this.


 +91 99676 55545