Christmas Tree Papier Mache
You Will Need:
Fevicryl Acrylic Colours - Burnt Sienna 01, Chrome Yellow 03, Crimson 04, Dark Green 06, Lemon Yellow 11, Light Green 12, White 27, Fevicol MR, Fine Art Brushes, Colour Palette, Water Container, Pencil, Newspapers, OHP sheets, Bowl for Mixing, Prime Tape, Recyclable Tissue Rolls
Description :
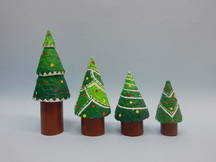
These cute looking Christmas trees are made using recyclable materials like newspaper and tissue rolls. Mould them in cones and paint them with acrylic colours, and there you have your little Christmas trees are ready to be a part of your Christmas home decor this season
STEP 1
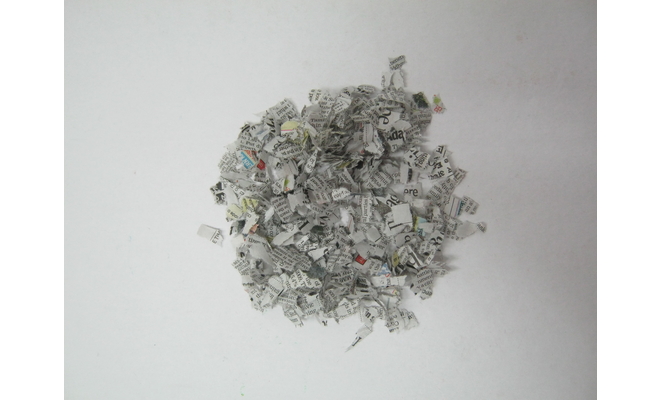
Take newspaper one full mid- day sized paper
Tear the paper into small bits
Soak the bits of paper in water in a big container there can be extra water left after soaking
This extra water will help for grinding the paper pulp in the mixer
Soak the paper for an hour or so and grind it in the mixer
STEP 2
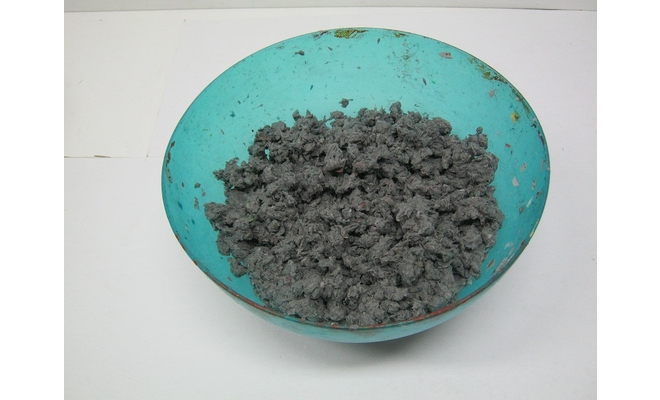
Take the ground paper pulp in a big sieve and remove all the extra water from the paper pulp
Now mix a good quantity of Fevicol MR in the pulp till the pulp becomes sticky
STEP 3
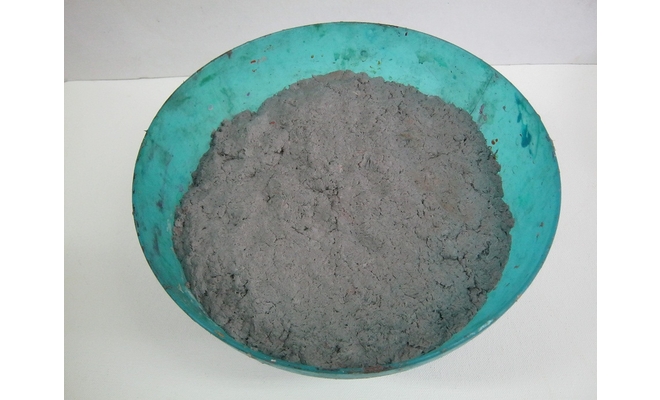
The ready pulp will look like this
STEP 4
Take an OHP sheet
Draw and measure 3 semicircles in the size of 6", 5"and 4" inches radius on the OHP sheets
Cutout the semicircles and fold them to make the cones
Stick the edges of the cones using a prime tear tape
These cones are going to be used as the mould for your Christmas trees
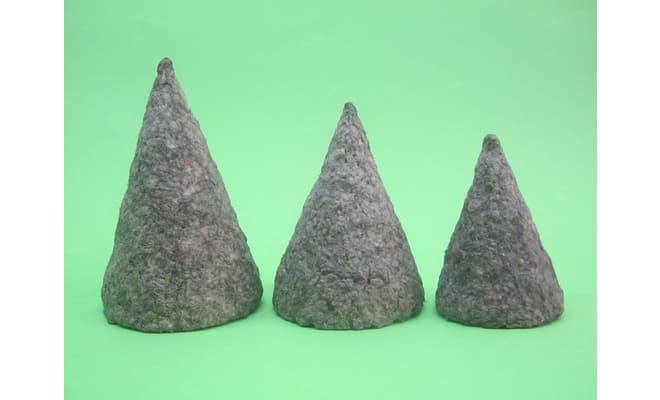
Form a thick and even layer of papier mache on these cones and leave it to dry
Once the trees are completely dried remove the OHP sheet cones from inside
STEP 5
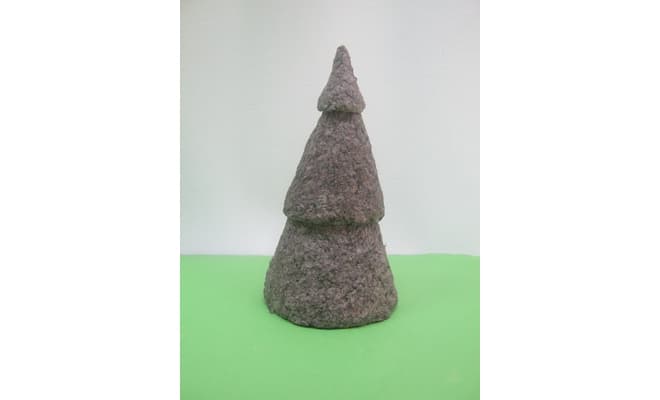
One of the trees are made using all the three cones stuck one on top of the other before the paper cones are completely dried
Stick these cones one on top of the other using Fevicol MR
STEP 6
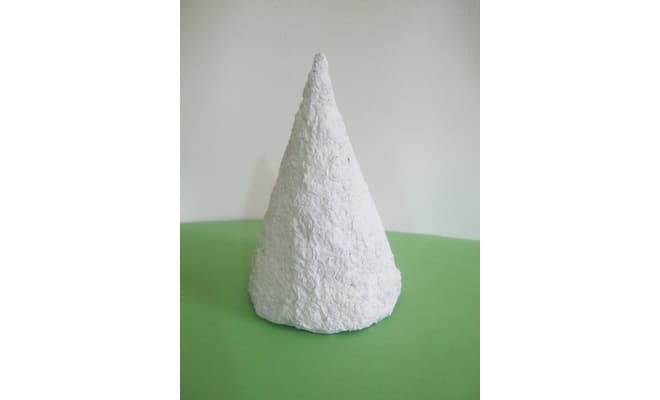
Colour all the trees in a base coat of Acrylic Colour - White
Leave it to dry
You may give two coats for an even finish
STEP 7

Colour the trees in a green shaded gradation or patterns created with green shades
The colours used to create the green shades are Acrylic Colours - Chrome Yellow, Dark Green, Lemon Yellow and Light Green
Leave them all to dry
STEP 8
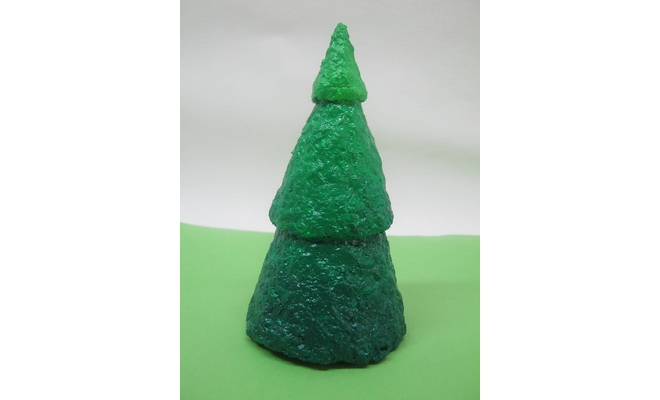
This tree is painted in a colour gradation using green colour from dark to light shades from the bottom to the top
STEP 9
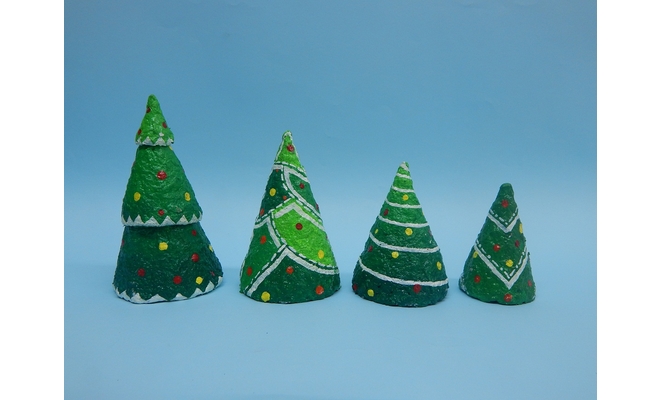
The trees are further enhanced with white outlines, mountain patterns and dots of Acrylic Colours - Chrome Yellow, Crimson, Lemon Yellow and White
Leave it to dry
STEP 10
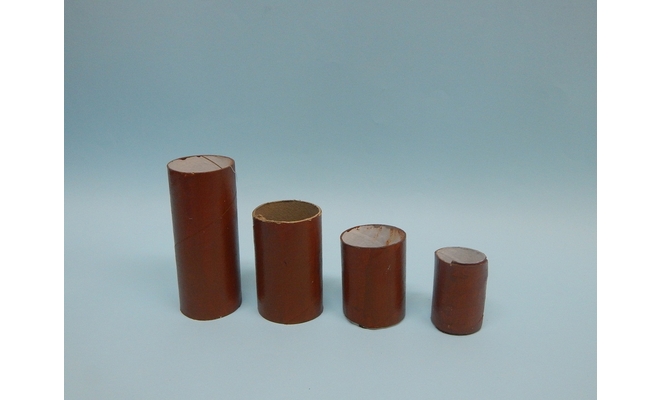
Take empty tissue rolls and cut them in different heights
Colour them in Acrylic Colour - Burnt Sienna
Leave it to dry
You may give 2 to 3 coats for an even finish
STEP 11

Stick the tree trunks for the papier mache trees to complete the set of trees that you can display on your tables for decoration


 +91 99676 55545