X'Mas Clay Miniatures

Dec. 12, 2019
You Will Need:
Fevicryl Acrylic Colours Burnt Sienna 01, Black 02, Crimson 04, Lemon Yellow 11, Light Green 12, Orange 17, White 27, Flesh Tint 30, Fevicryl Mouldit, Fevicryl Fabric Glue, Fine Art Brushes, Clay Carving Tools, Paper Cutter, Rolling Pin, Pencil, Colour Palette, Water Container.
Description :
Make these cute little miniatures which will double up as collectibles with Fevicryl Mouldit. These li’l ones will be ideal Christmas gifts for friends and family too.STEP 1 : Mix Mouldit
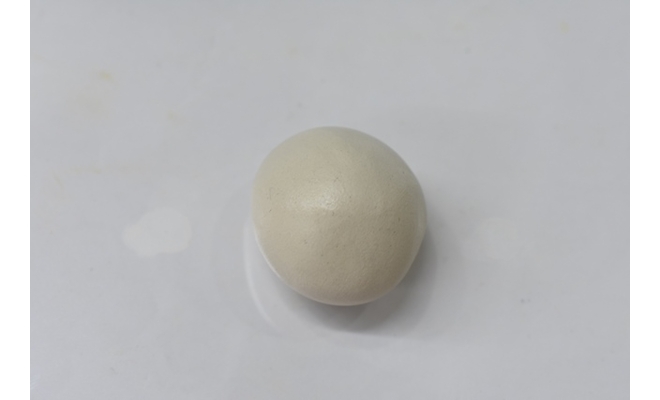
• Take Mouldit resin base and hardener; mix it thoroughly to make even dough.
STEP 2 : Making cones
• Take the dough; roll it to make a thin slab with a rolling pin. Leave it till semi dry.
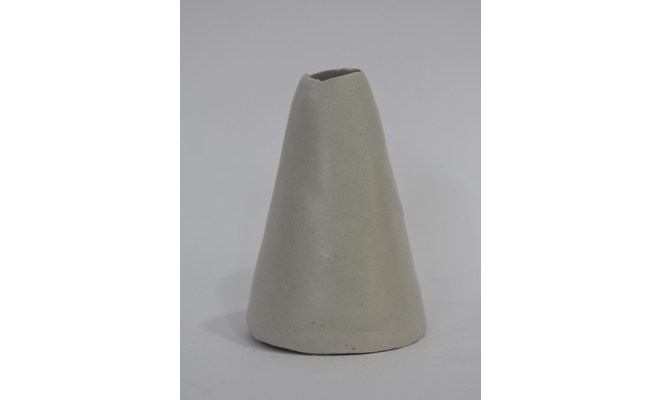
• Mark and cut two circles measuring 2 ½ ” diameter and 1 circle of 2” diameter.
• Cut the slit till the centre of each circle. Overlap the ends to form the cone shape.
• Your cones will look like this.
• Let it dry.
STEP 3 : Making the characters

• Take some clay to make the facial details like the cap and the beard of the Santa, the face and horns of the reindeer and the hat and the nose of the snowman with the help of the clay carving tools.
• Stick them on the base using Fabric Glue and some clay.
• Additionally, take some clay to make gift box, X’mas tree and the scarf of the snowman.
• Stick the gift box, the X’mas tree and the scarf of the snowman aesthetically on the body of the Santa, the reindeer and the snowman respectively with Fabric Glue.
• Let it dry.
• Your clay characters will look like this.
STEP 4 : Painting
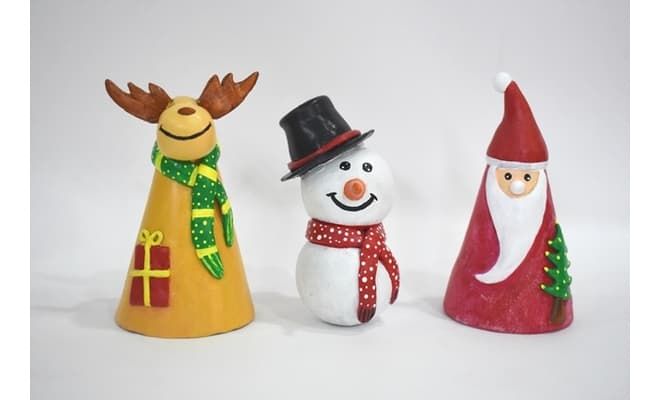
• Paint the miniatures with Acrylic Colours Burnt Sienna 01, Black 02, Crimson 04, Lemon Yellow 11, Light Green 12, Orange 17, White 27 and Flesh Tint 30.
• Leave it to dry completely. Finish them with a coat of varnish.


 +91 99676 55545