Wooden Name Plate

You Will Need:
Fevicryl Pastel Acrylic Colours, Fevicryl Acrylic Colours, Fevicryl Mouldit, Fevicryl Fabric Glue. A Rectangular Wooden MDF Board, Colourful Fabric, Pom Poms, Colourful Wooden Beads, Black Thread, Clay Modelling Tools, Paint Brushes, Colour Palettes, Water Container.
Product Used:

Description :
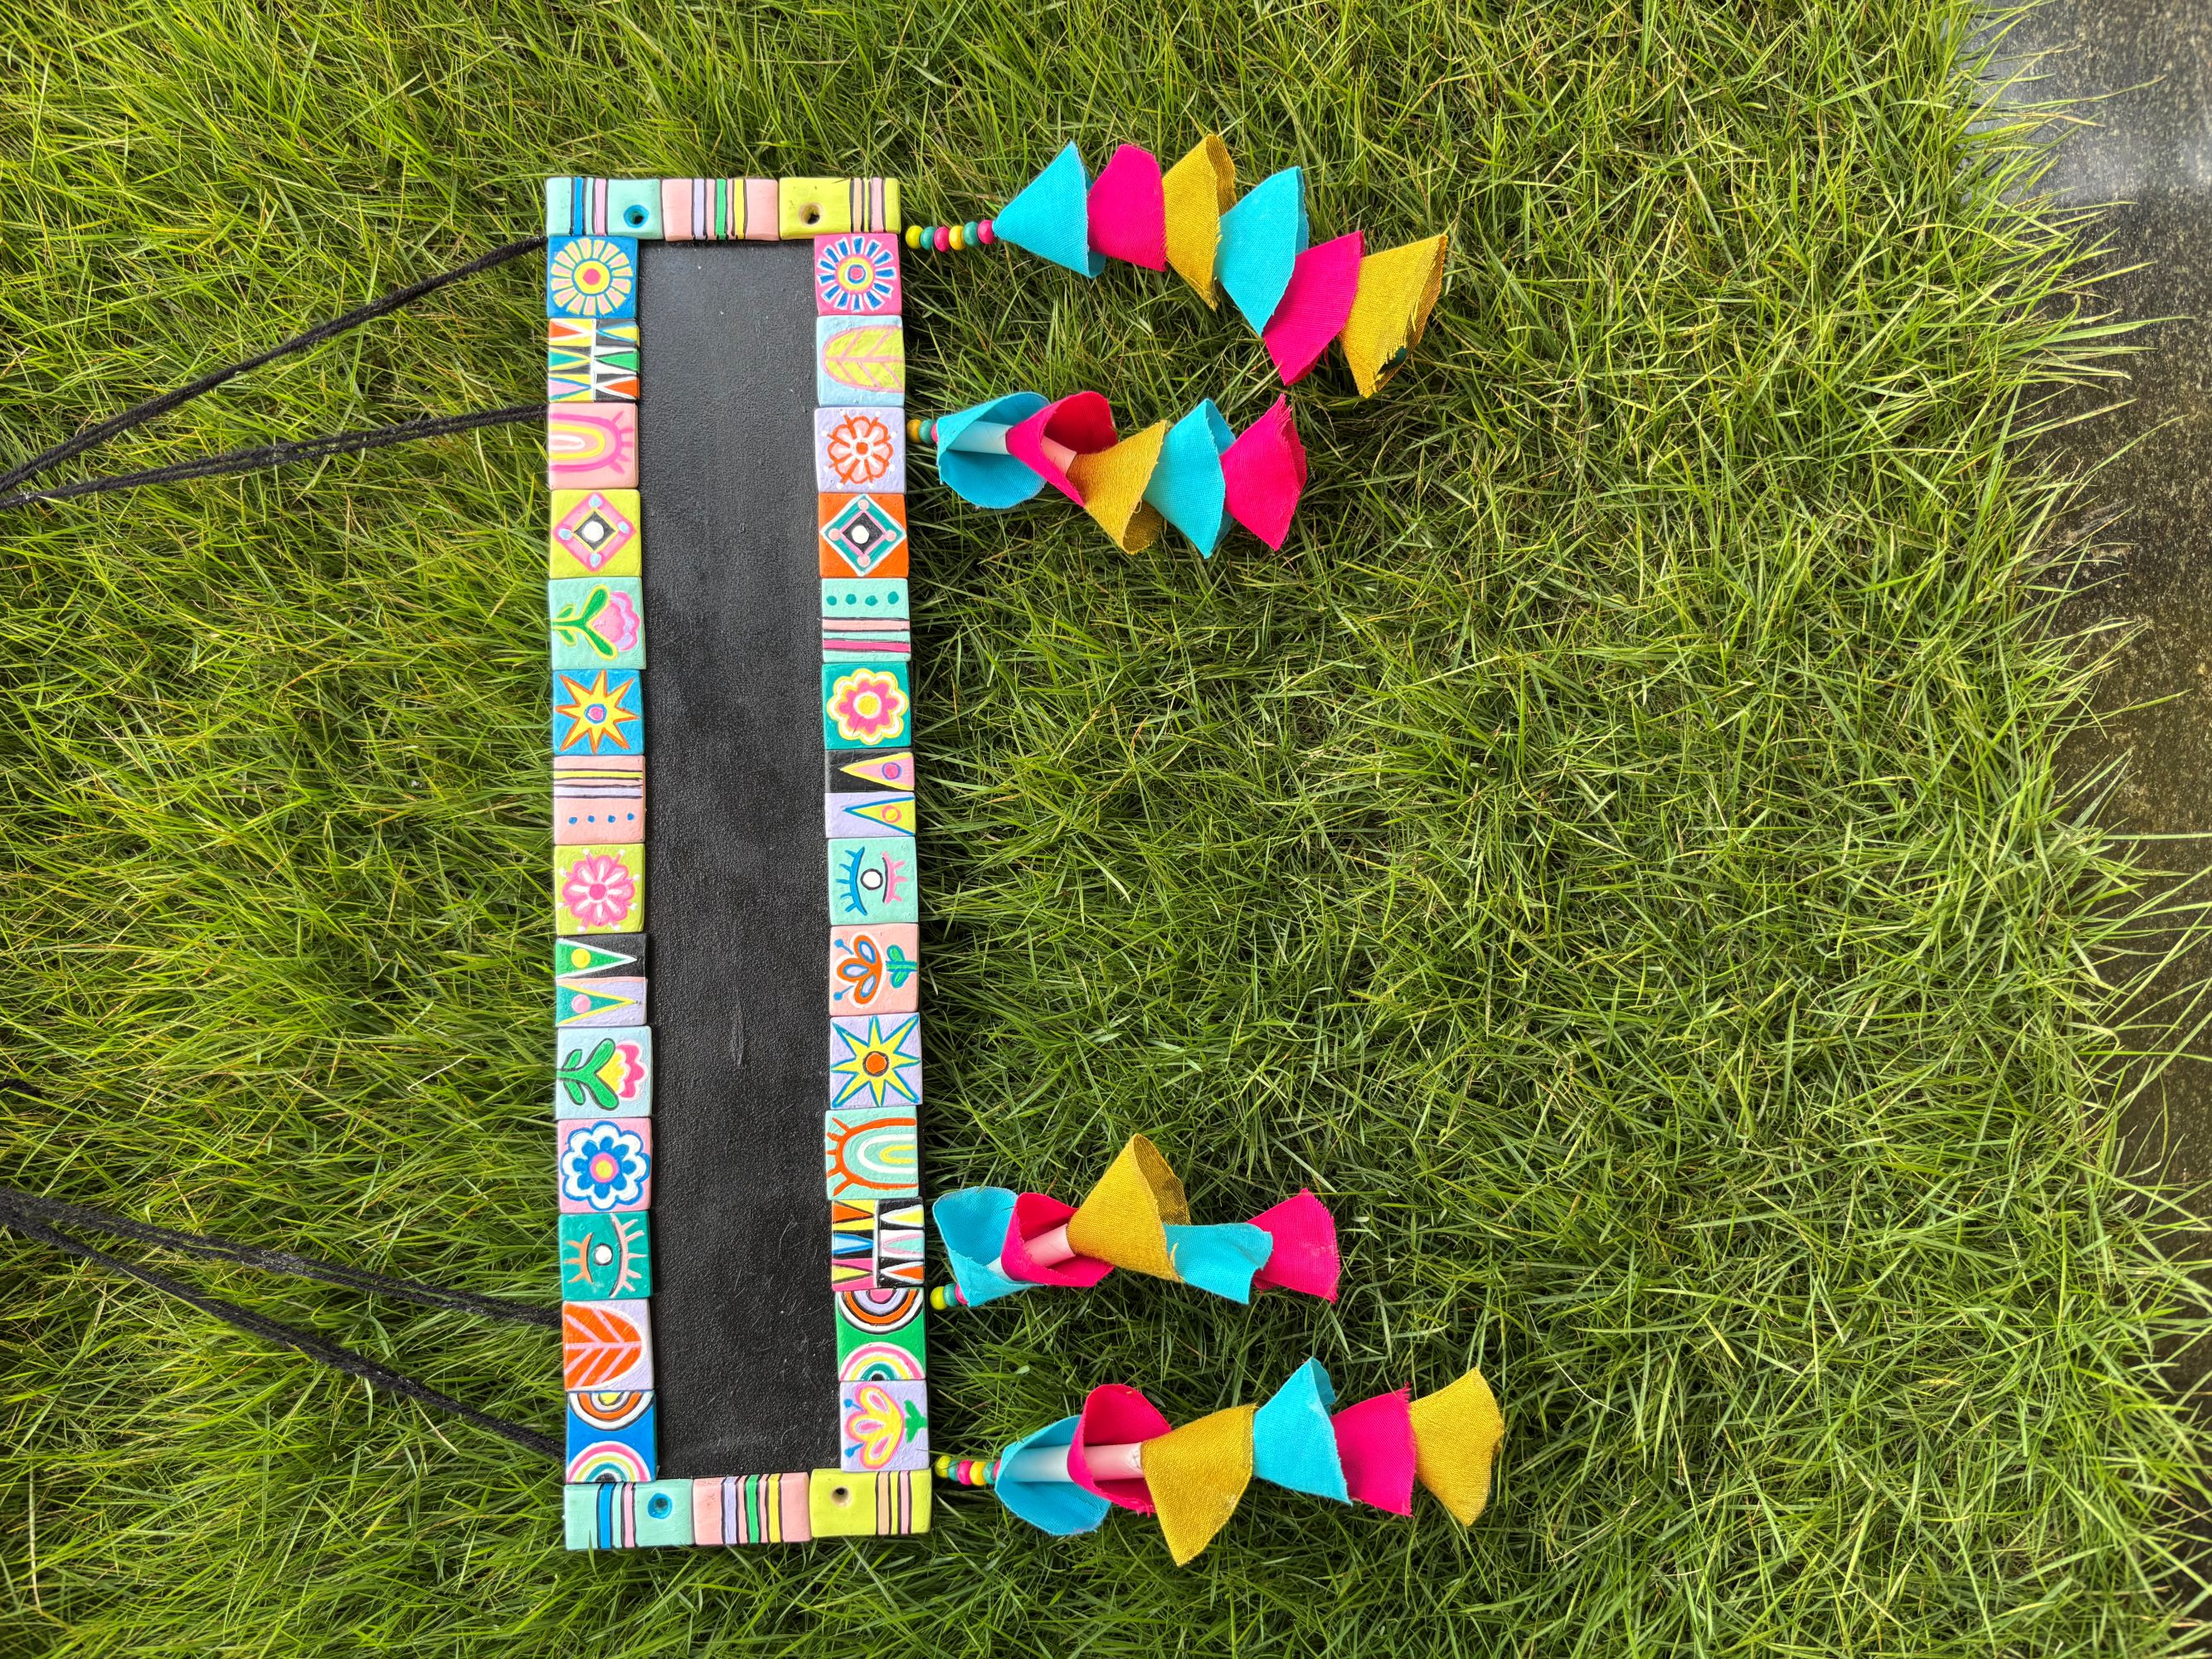
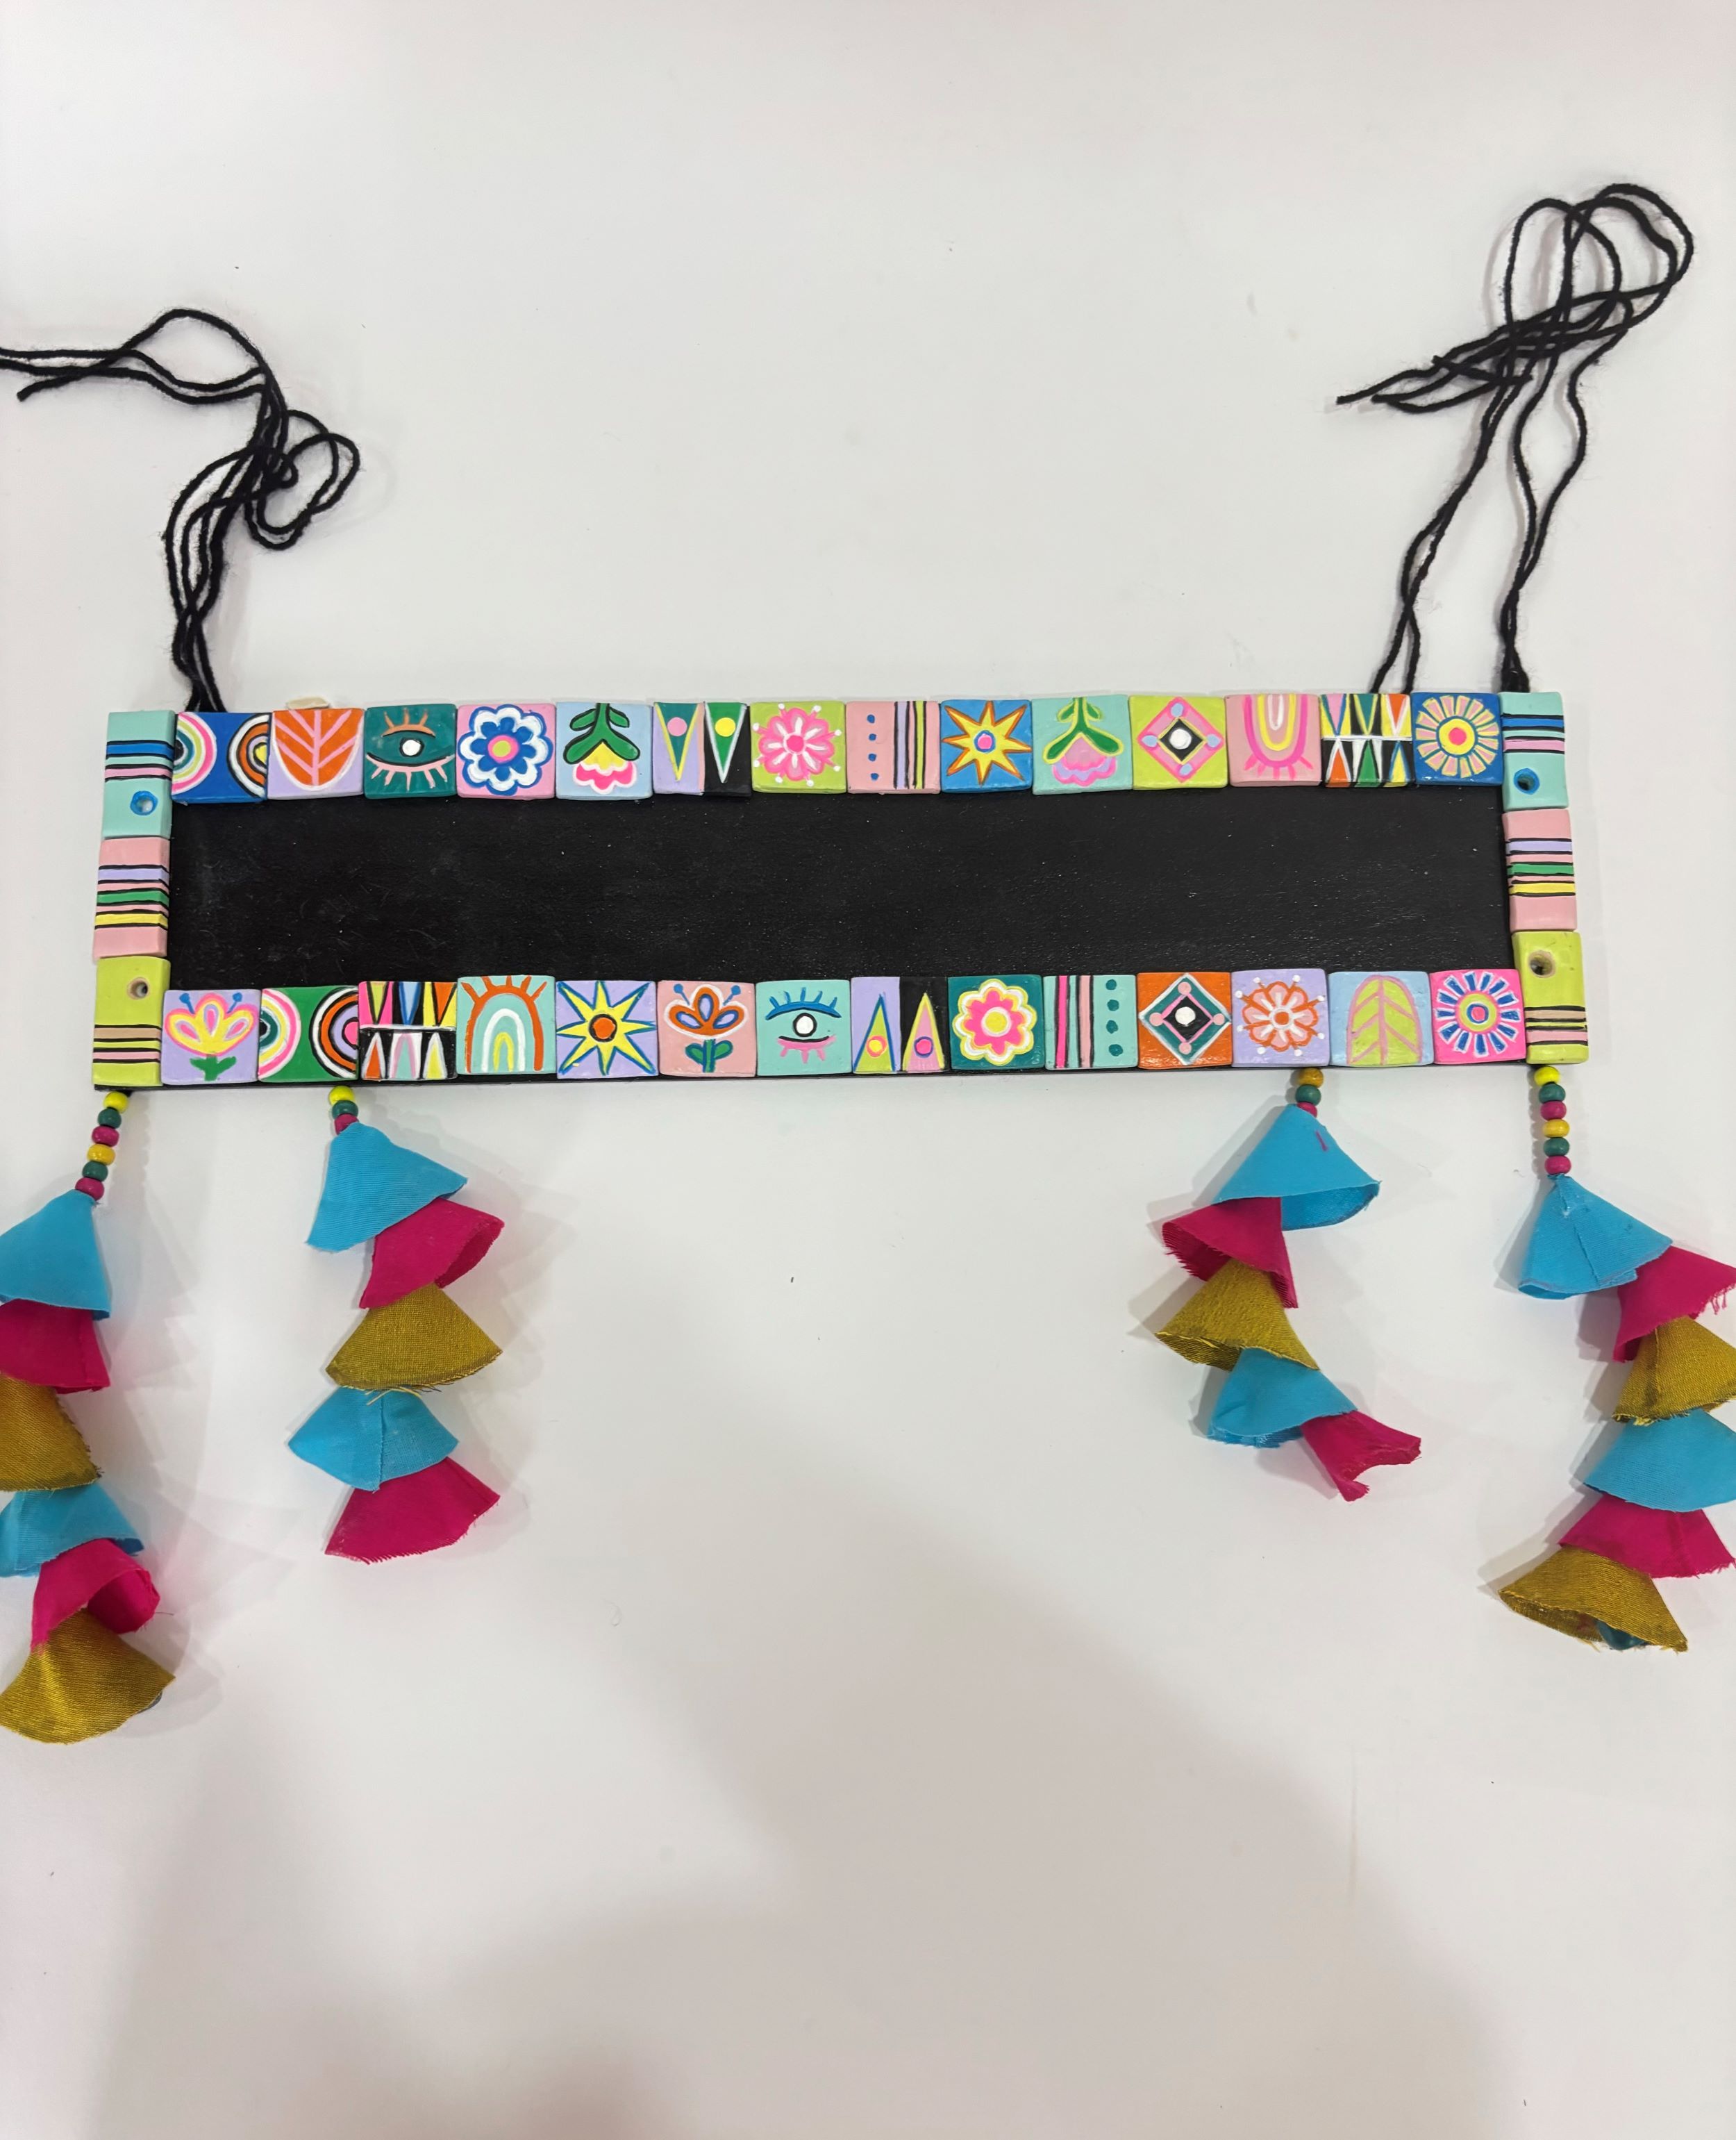
This wooden nameplate features a charming border of handcrafted clay chips, adding a unique texture. Painted with care, it's further adorned with playful hanging pom poms and fabric accents. A personalized and delightful welcome to any space.
STEP 1 : Procure the base
- Let’s make a unique looking quirky name plate for your home.
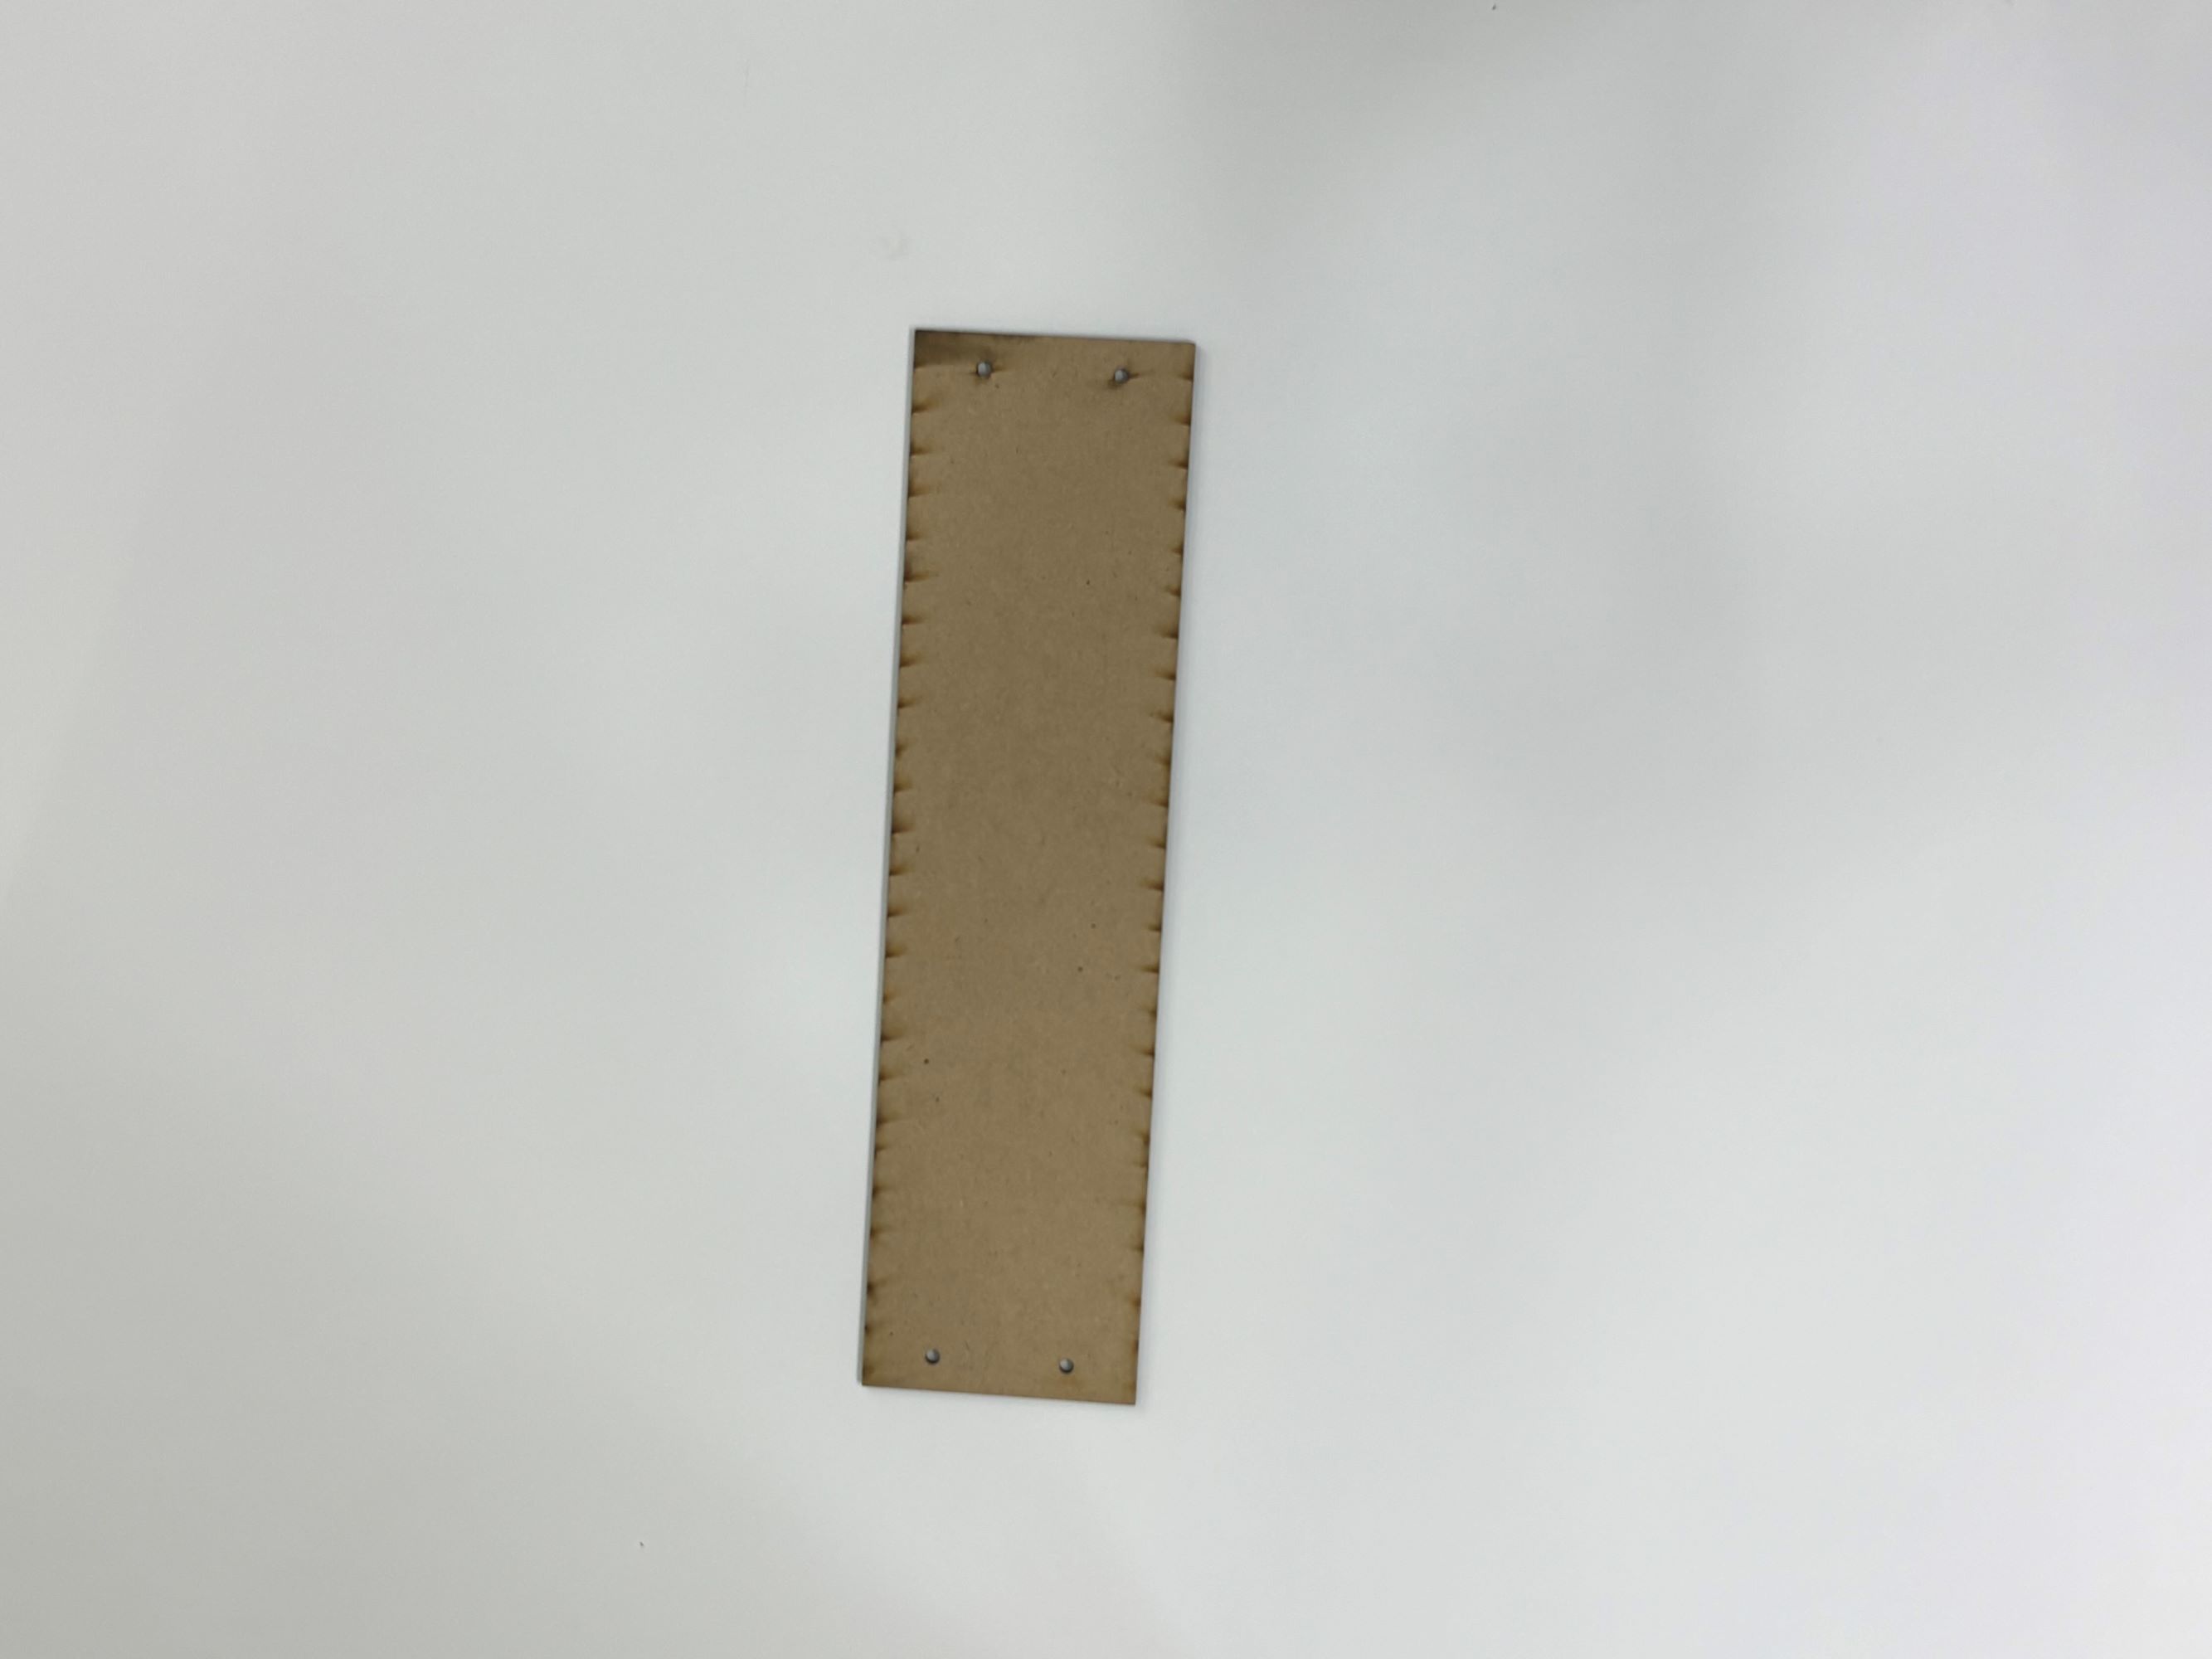
- Take a rectangular Wooden MDF Board.
STEP 2 : Prepare the clay
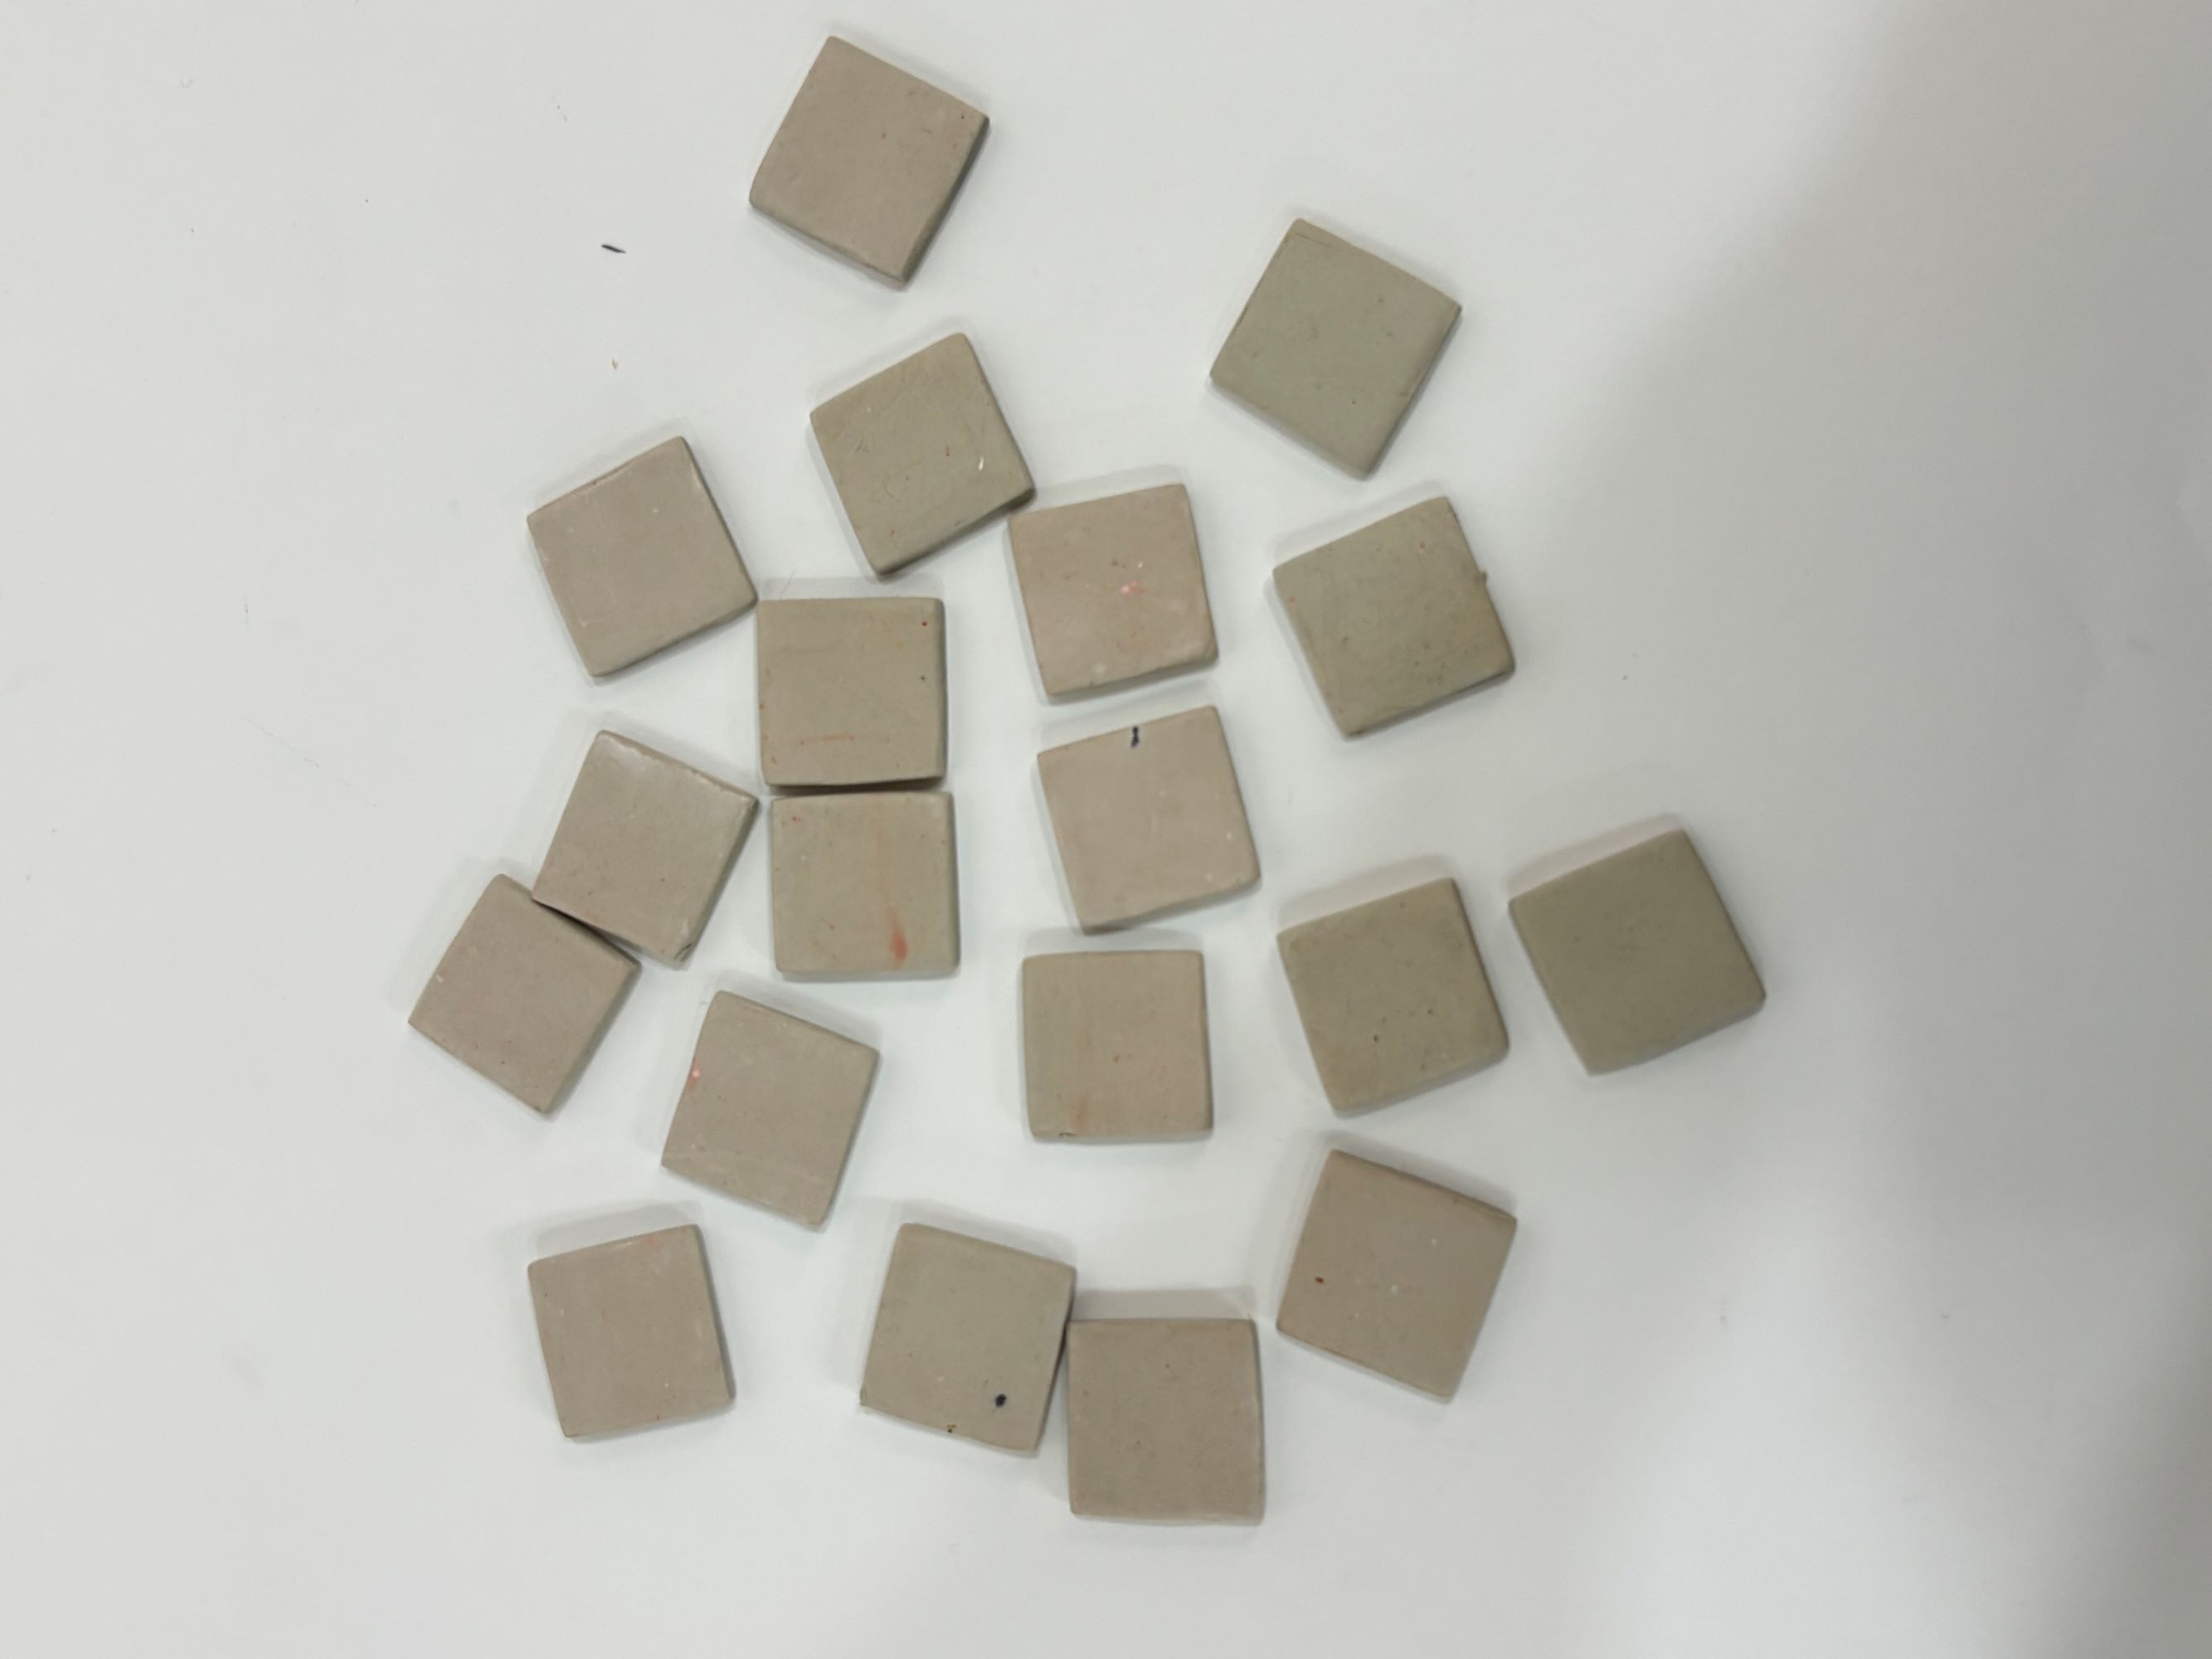
- Take Fevicryl Mouldit, resin and hardener, mix well to make the dough even.
- Roll the clay on the slab, press it evenly to be flat on the surface and chop out square shaped chips from the clay.
- Let it dry.
STEP 3 : Paint the chips
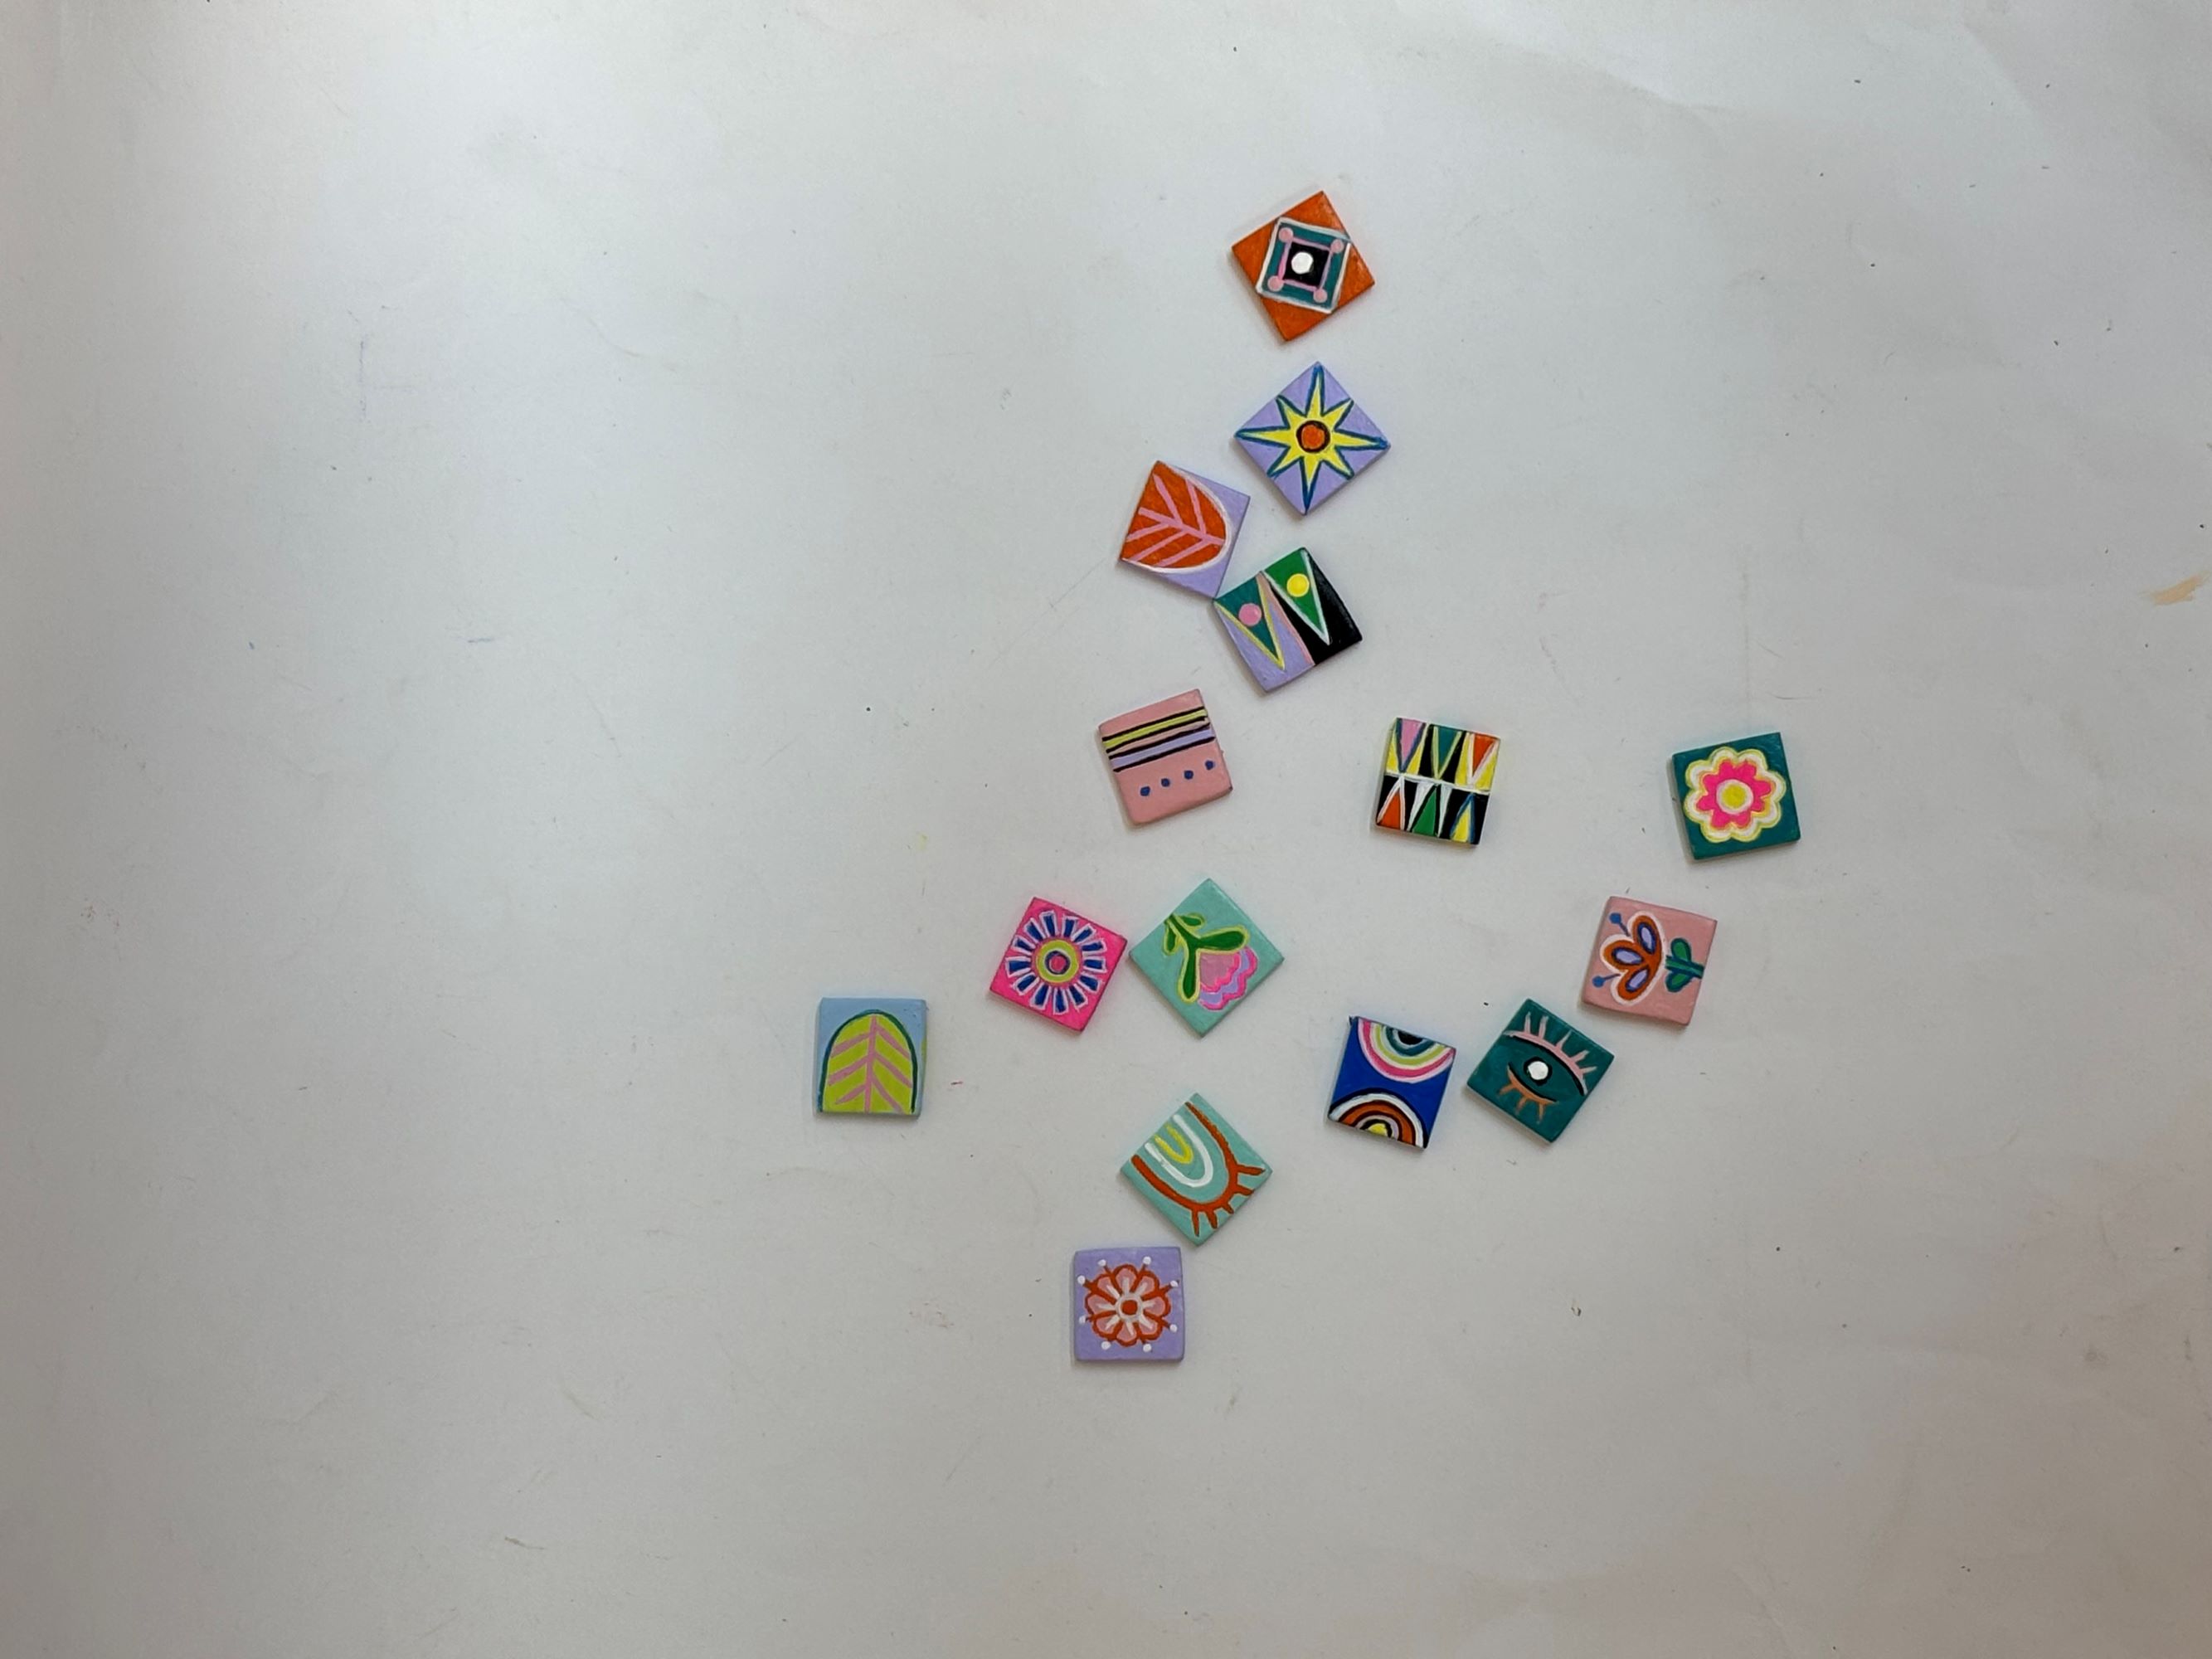
- Paint the base with Fevicryl Acrylic Colour White 27.
- Let it dry.
- Take Fevicryl Acrylic Colours and Fevicryl Pastel Acrylic Colours and colour the chips in different designs, patterns, and colours of your choice.
- Let it dry.
- Refer to the image.
STEP 4 : Paint the wooden base
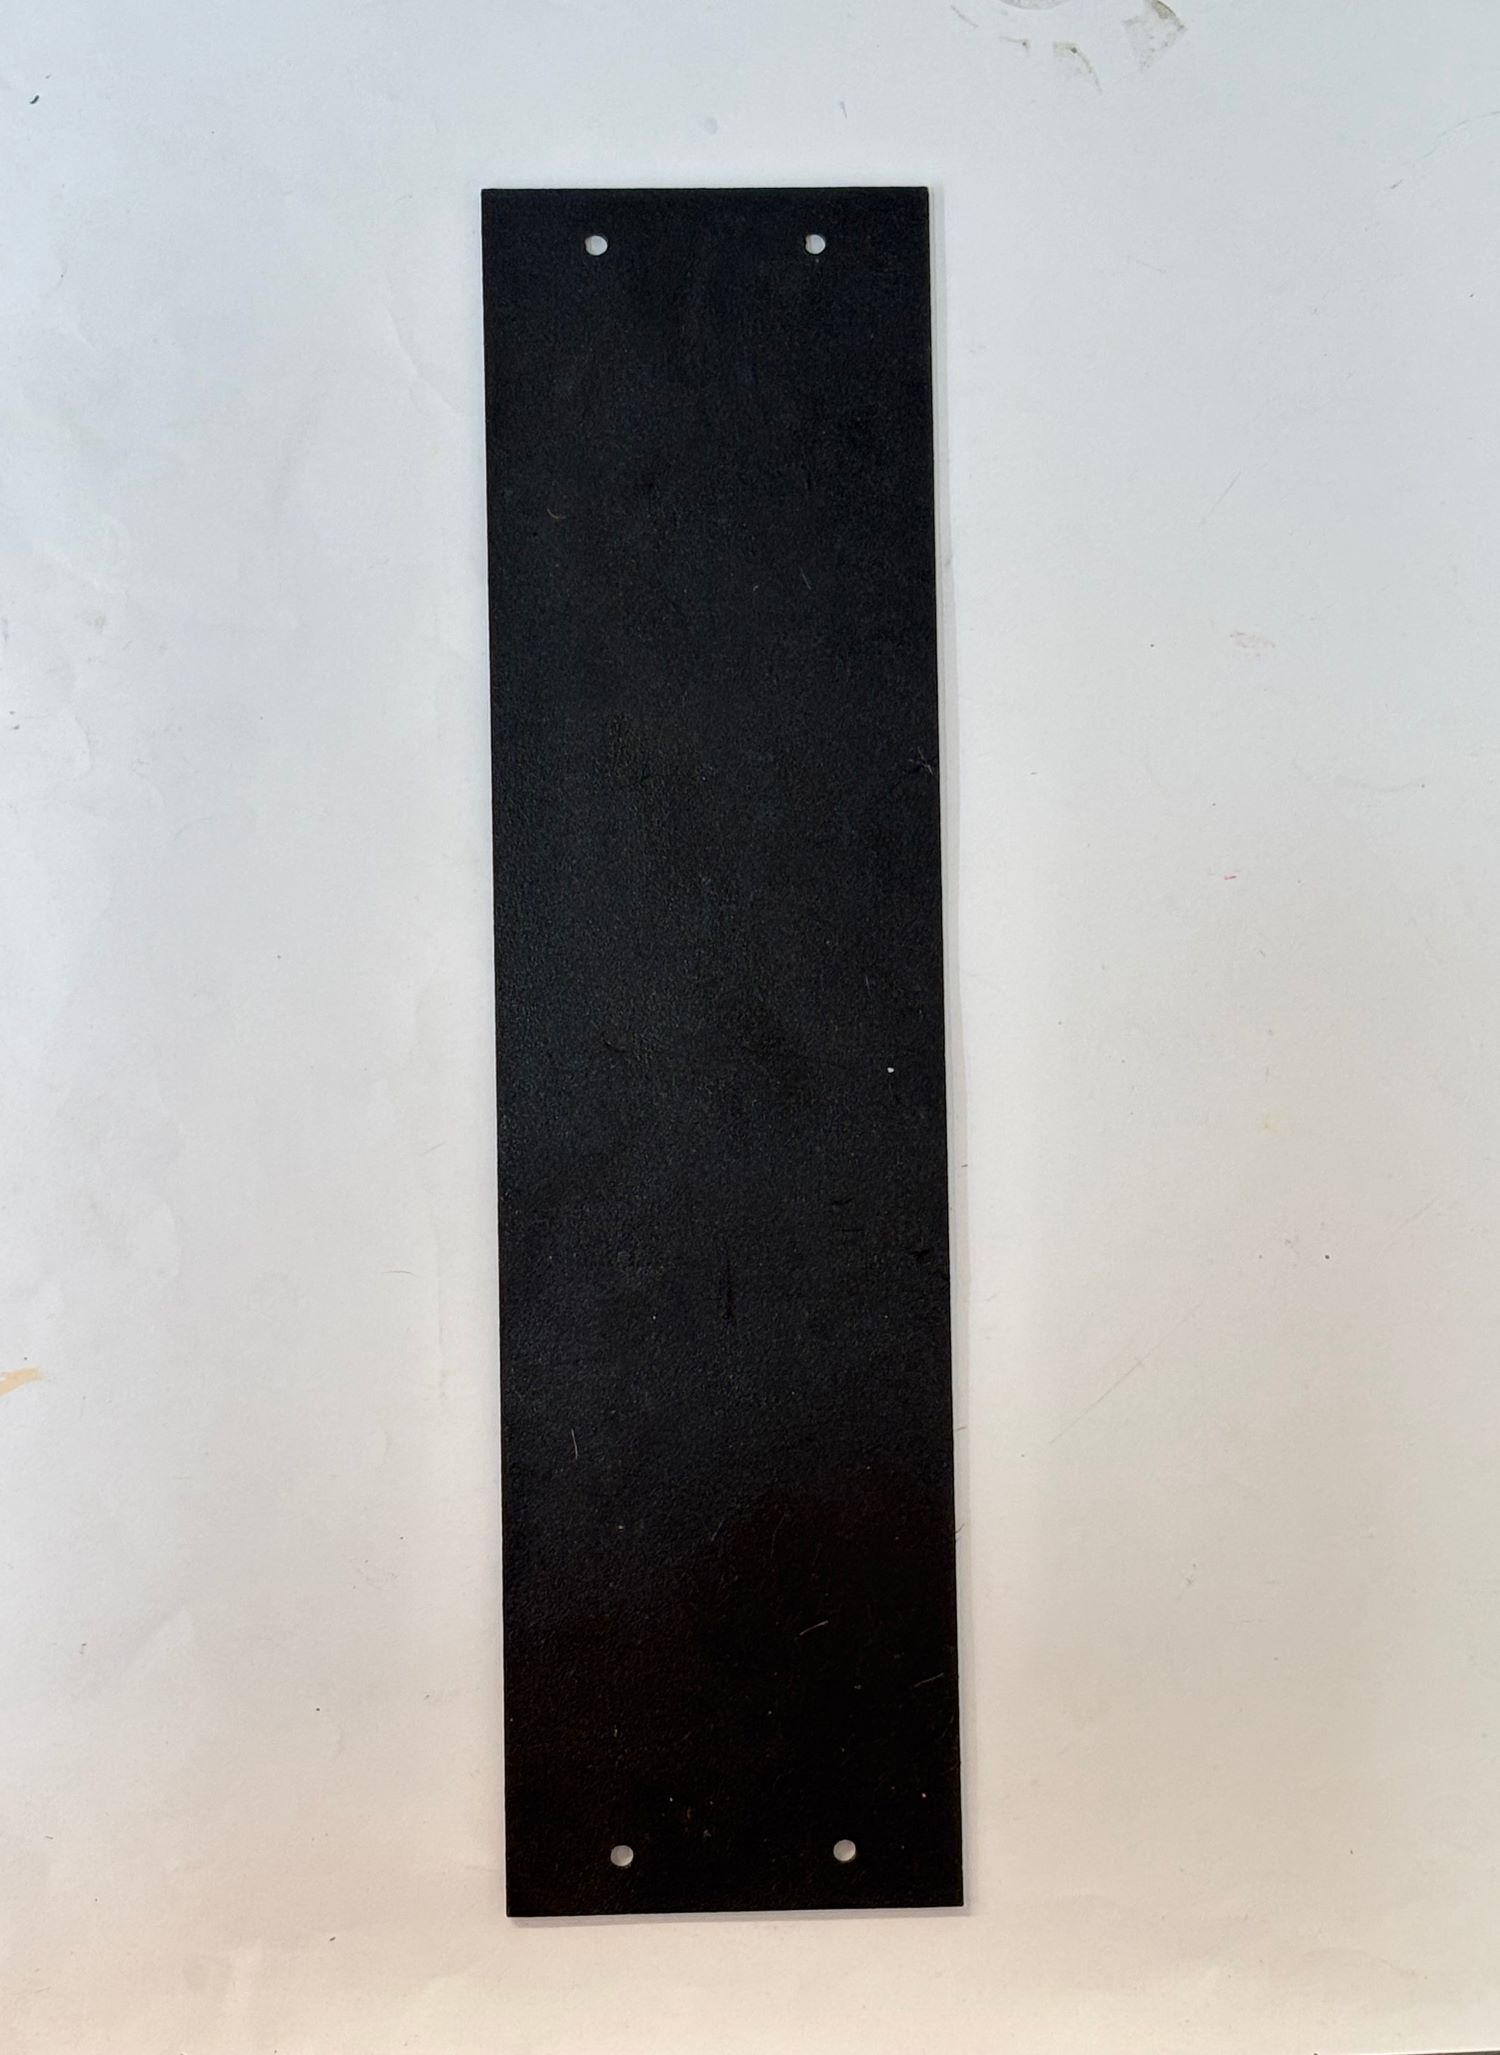
- Take the wooden base and paint it with Fevicryl Acrylic Colour Black 02.
- Let it dry.
STEP 5 : Make the tassels
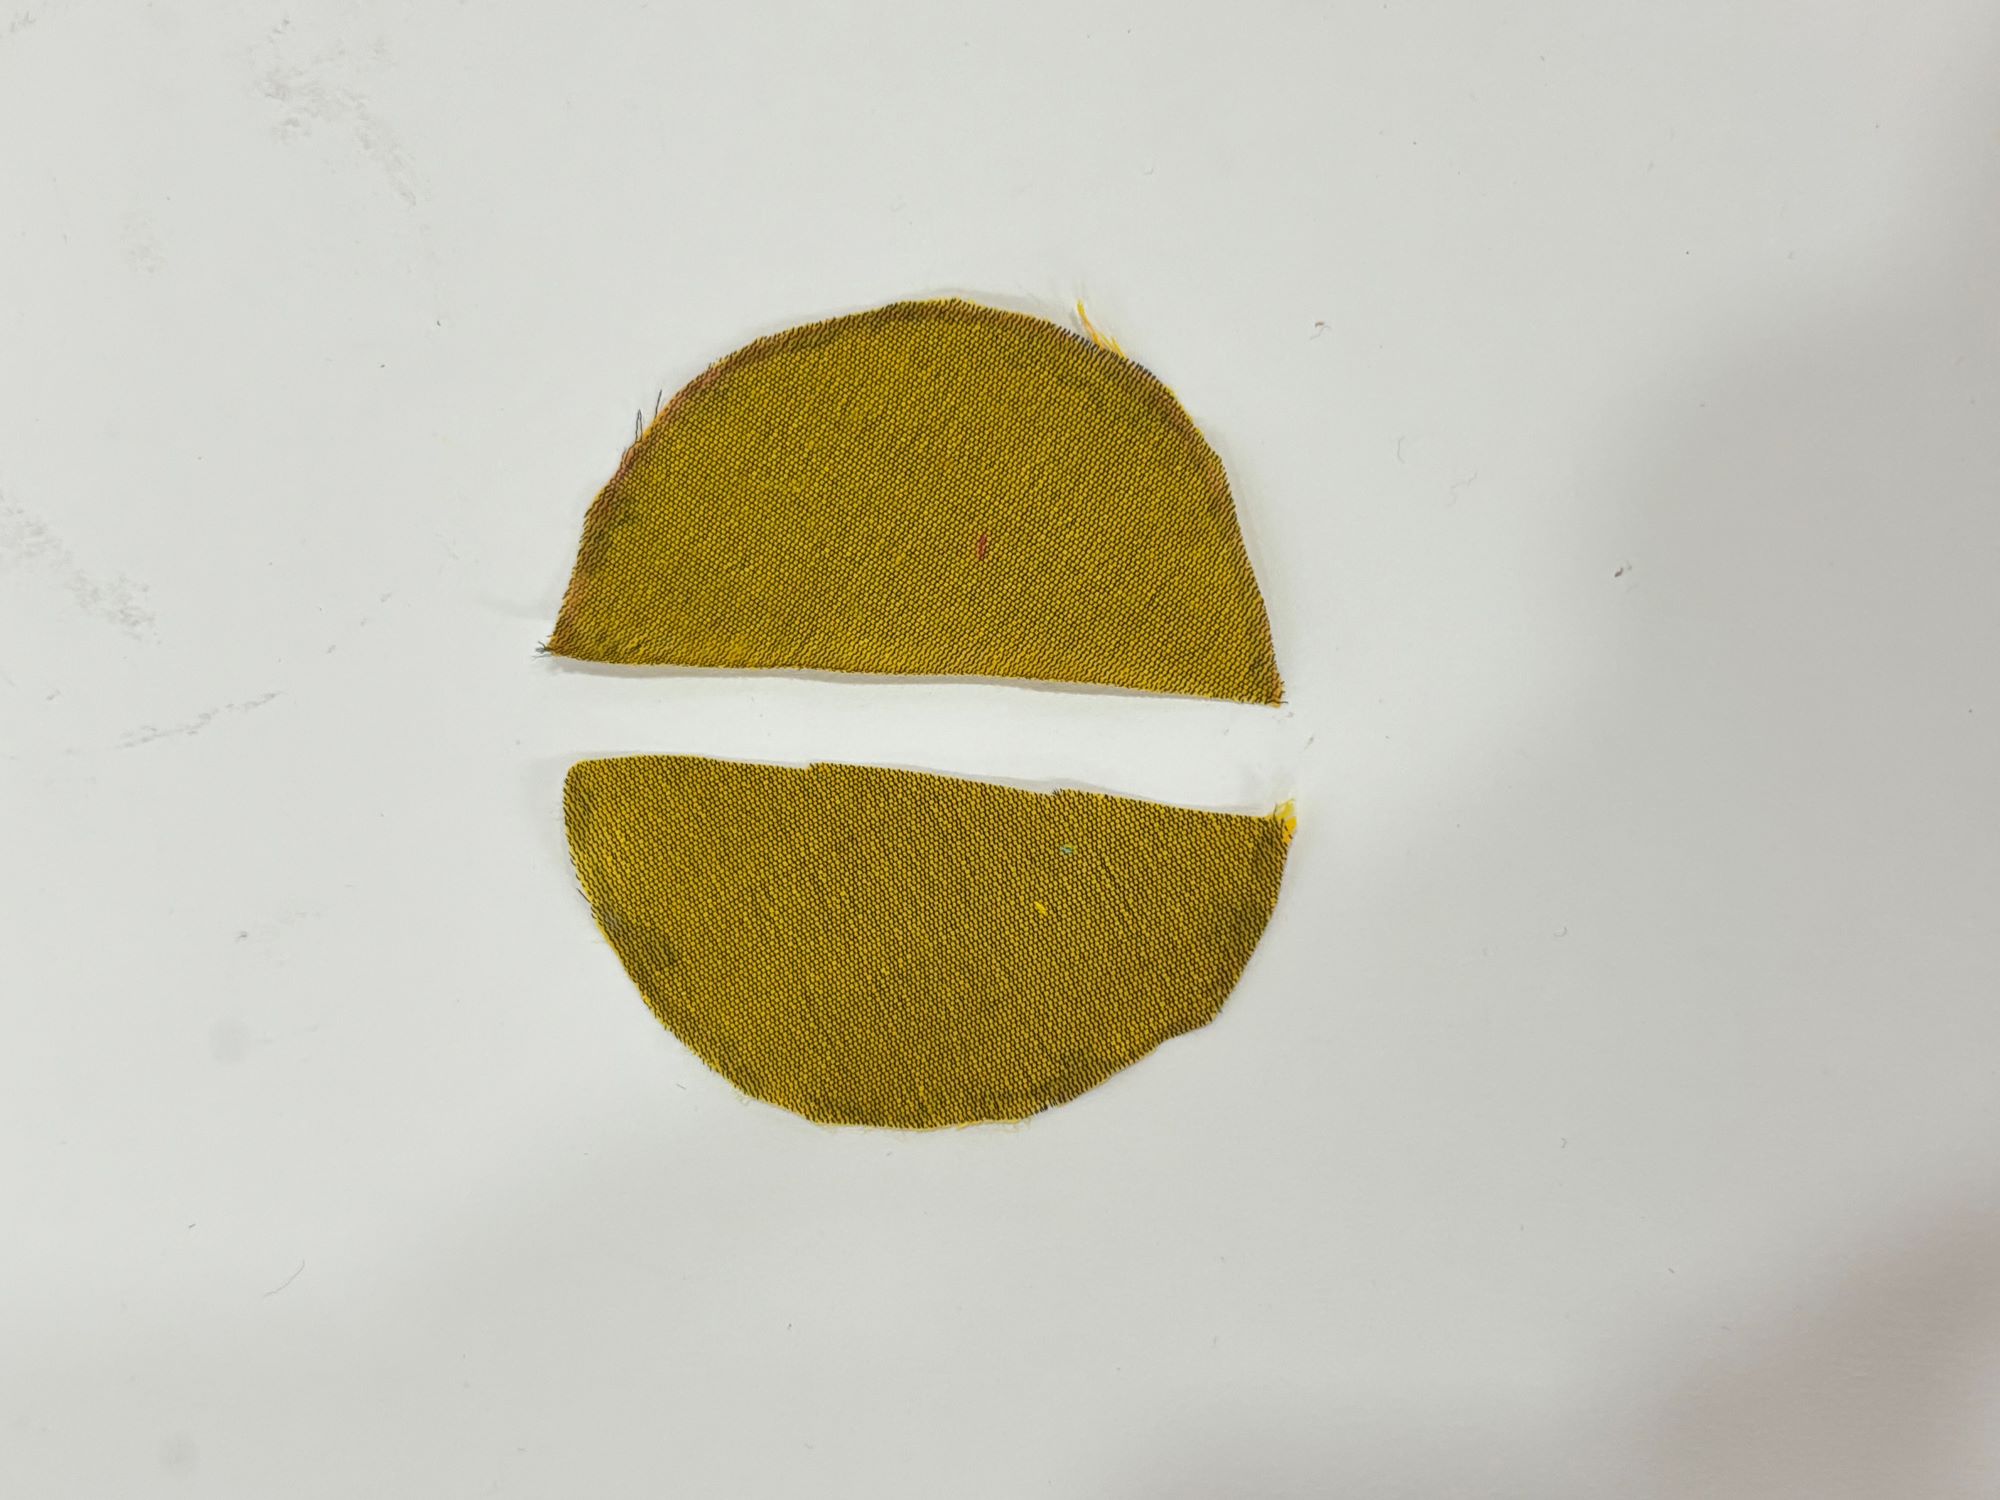
- Take a piece of cloth and cut it into a round shape.
- Cut the round shape in one half to make the tassels out of it.
STEP 6 : Stick and insert the tassels

- Roll one half of the tassel to make it a cone like structure and stick the edges with Fevicryl Fabric Glue.
- Similarly make 8-10 tassels.
- Take the black thread and insert the tassels inside it.
- To top it up, insert some colourful wooden beads to make it look complete and vibrant.
STEP 7 : Attach the threads & clay
- Stick the clay chips on the borders of the wooden plate using Fevicryl Fabric Glue.
- Stick the dangling threads below the name plate using Fevicryl Fabric Glue
- Take four threads and attach four on them on the top of the wooden name plate to hang on the wall.
STEP 8 : Final Look

- Here’s a trendy customized name plate for your home.


 +91 99676 55545