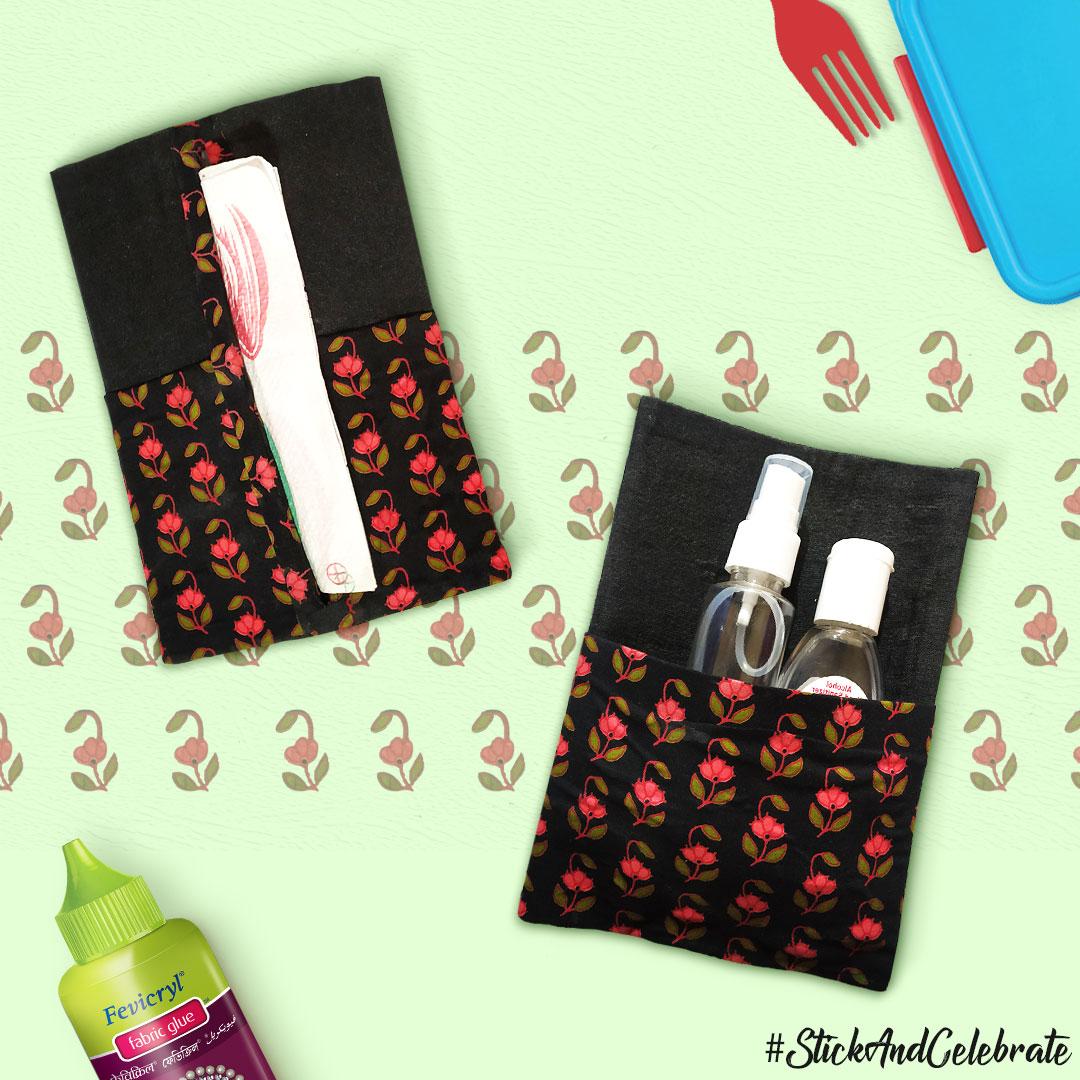
Sanitizer Tissue Pouch

You Will Need:
Fevicryl Fabric Glue, Fevicryl Fabric Colours (black- if required), White Plain Cotton Fabric, Cotton Fabric (Black or Any Colour Of Your Choice) Printed Fabric Of Your Choice, Fabric Scissors, Buckram, Foam Sheet, Iron Box, Fabric Chalk, Scale.
Product Used:

Description :
The sanitizer tissue pouch is A useful piece of item that can be quickly made at home using waste fabrics by printing/ painting on them. You can slip it into your child’s lunch bag or into your purse to use it whenever required without losing it!
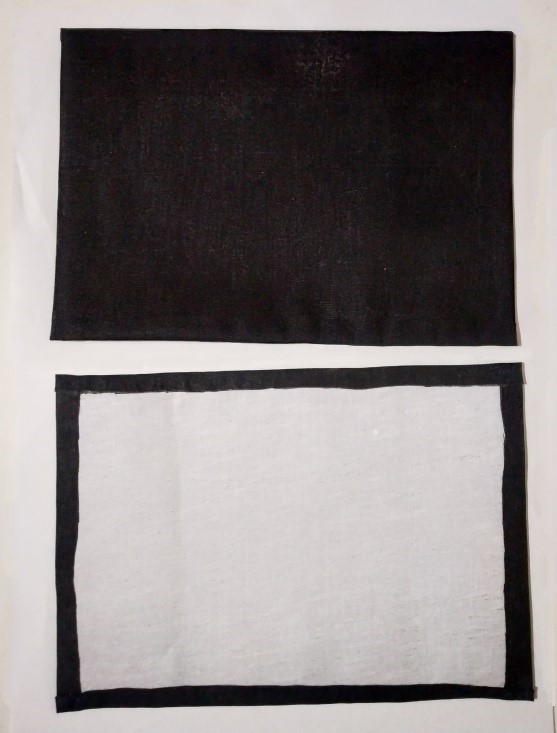
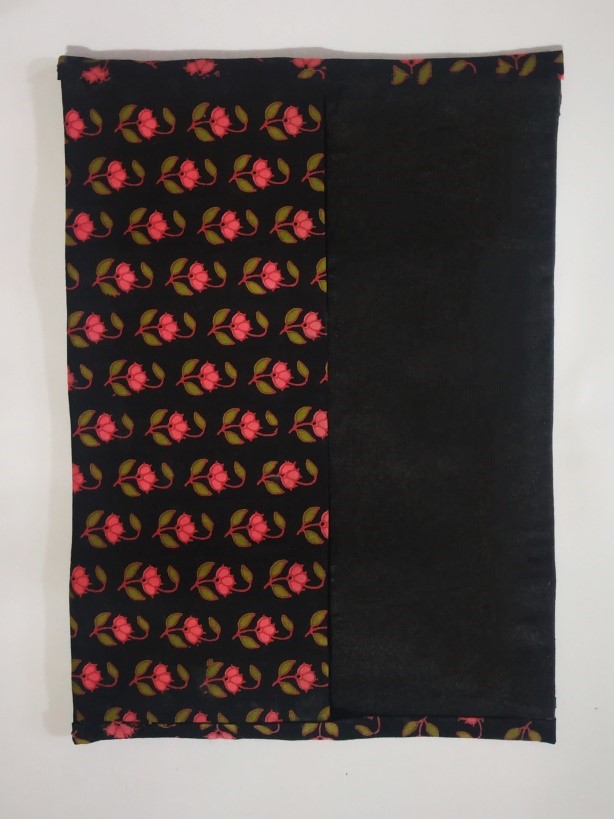
STEP 1 : Selection of base
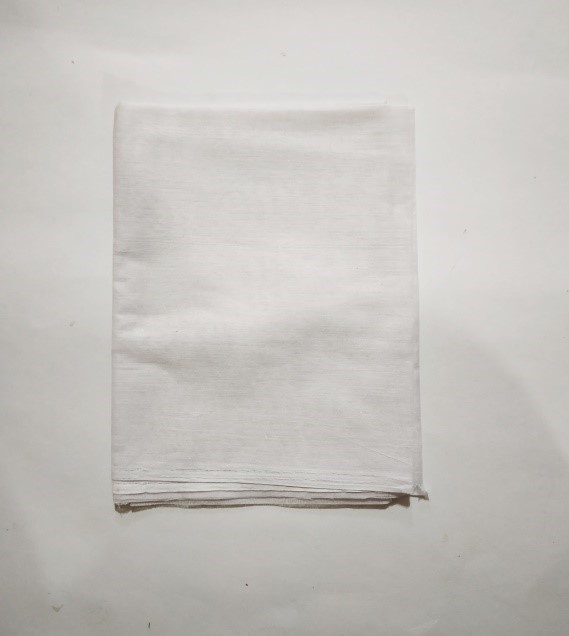
- Take a plain fabric as seen in the image above.
- Dye the fabric using Fevicryl Fabric Colour Black.
- Let it dry.
- You can skip this step and use black or any other colour fabric if it is available with you.
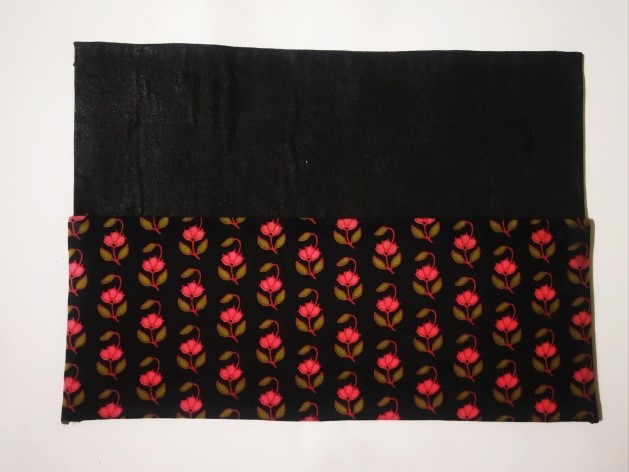
STEP 2
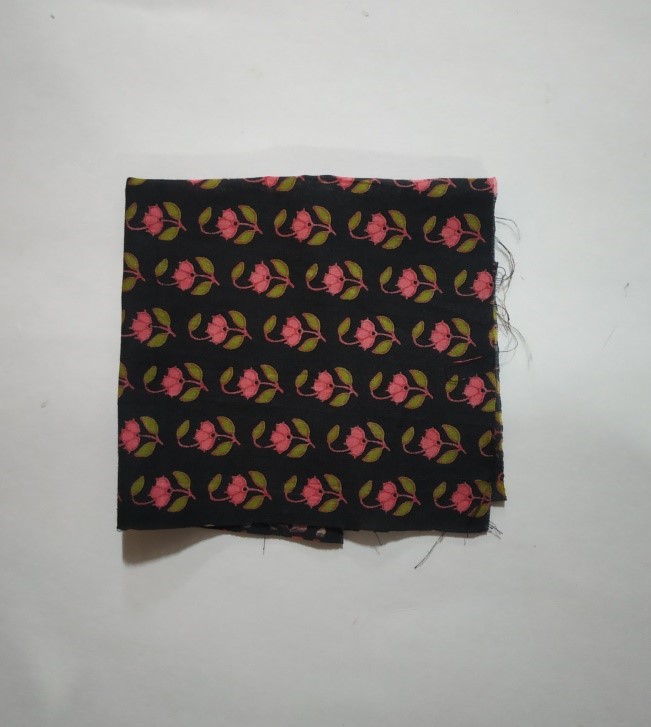
Take any printed fabric
STEP 3 : Dyeing of fabric
- One the white fabric has been dyed cut them in to two pieces measuring 6” x 4”
- Use fabric scissors to cut them.
- Make sure to leave ½ inch extra fabric on all sides.
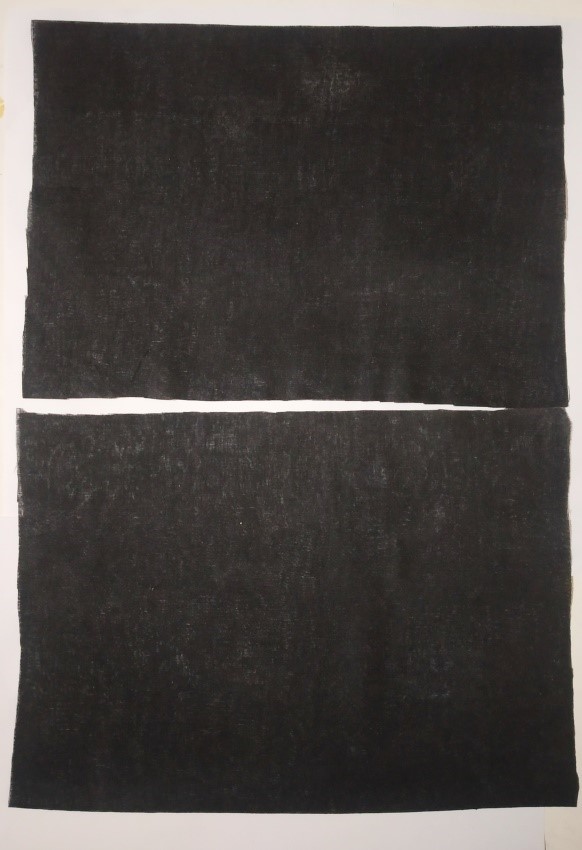
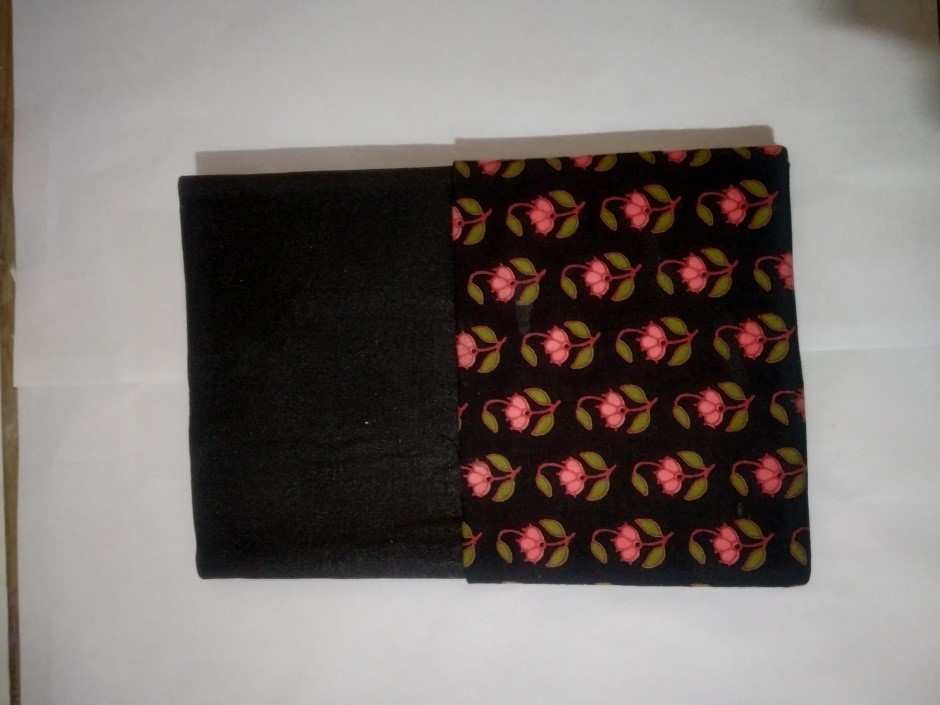
STEP 4 : Lining
- Take buckram and cut 6” x 4” using fabric scissors.
- Stick the buckram on to the black fabric piece using Fevicryl Fabric Glue.
- Let it dry.
- Stick the other black fabric on to the buckram stuck piece using Fevicryl Fabric Glue.
- Let it dry.
- Make sure to fold the edges to give the whole piece a good finish.
STEP 5 : Pocket attachment
- Take the printed fabric and measure 2.5” x 6 “.
- Keep ½ “extra on all sides. Cut it using fabric scissors.
- Fold the edges of the piece and stick it using Fevicryl Fabric Glue.
- Let it all dry
- Once dried, place it on the black piece as seen in the image above and stick the sides and the bottom using Fevicryl Fabric Glue.
- Do not stick the top as we are creating a pouch.
- Let it all dry
STEP 6 : Edging
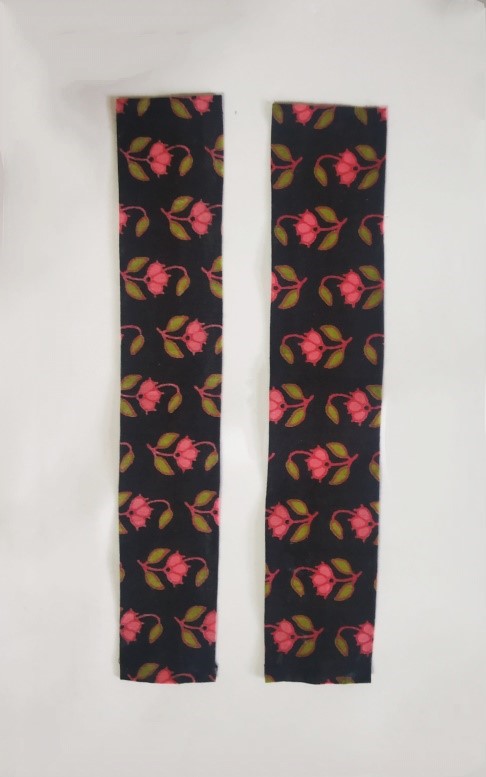
- Take two strips from the printed fabric measuring 6.25 “x 2”.
- Use fabric scissors to cut them.
STEP 7 : Strips
- Take two strips from the printed fabric measuring 6.25 “x 2”.
- Use fabric scissors to cut them.
STEP 8
This is how it will look on the other side.
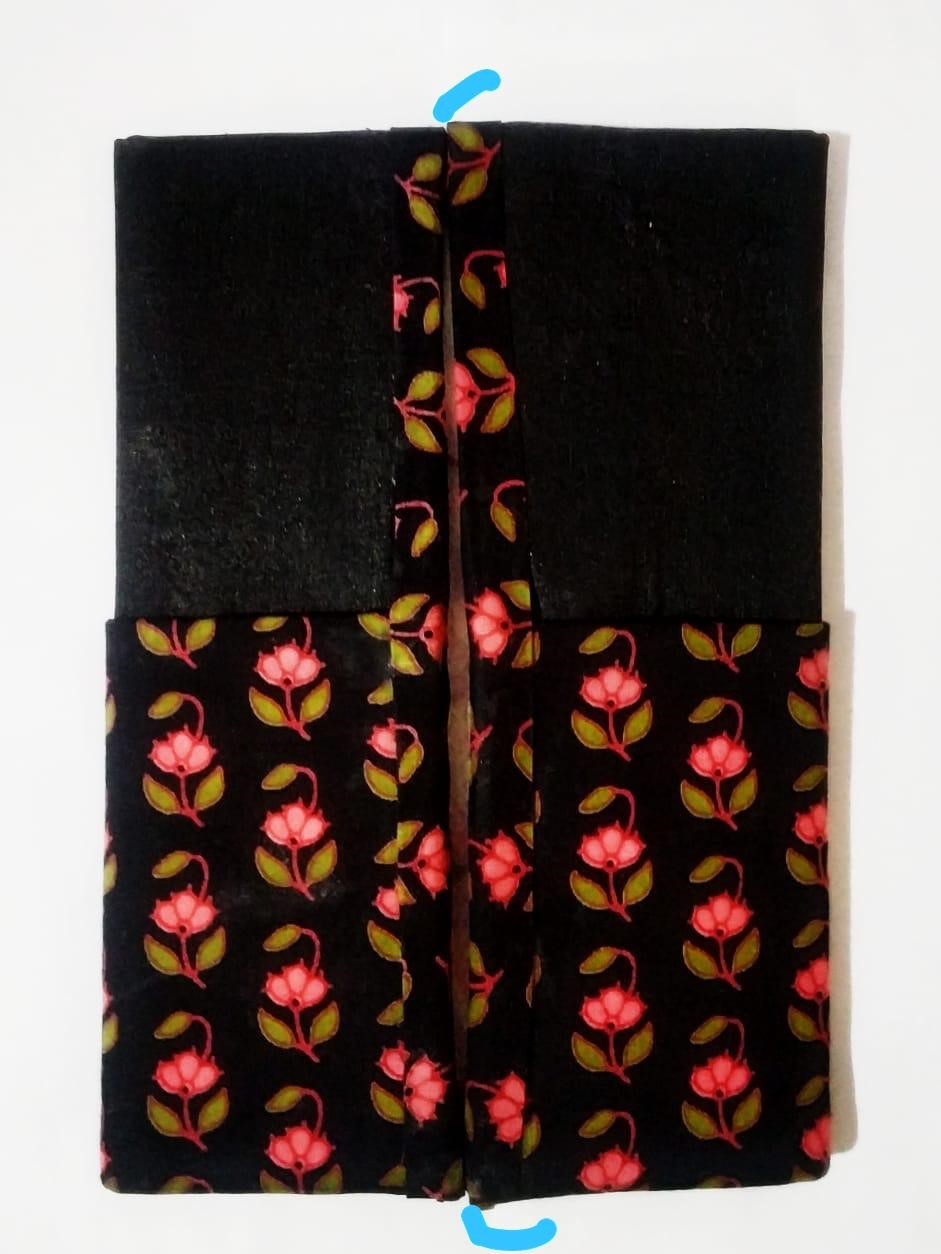
STEP 9 : Folding
- Measuring 3” in between, and 1.5” on the sides, fold it and stick the top and bottom.
- Refer to the image above.
- Use Fevicryl Fabric Glue to stick
- Let it dry.
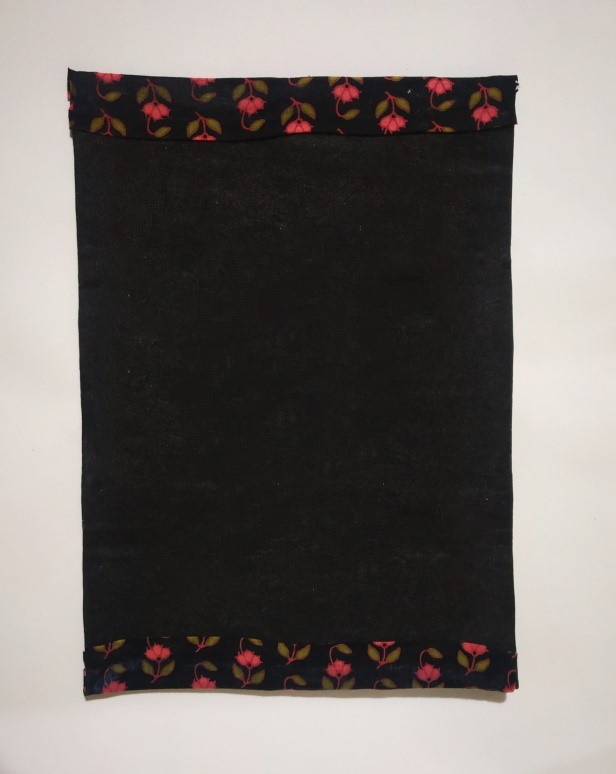
STEP 10 : Backside of the pouch
- This is how it will look on the other side of the pouch.
STEP 11 : Final product.

- Once the sticking has dried, place the sanitizer bottle in the pocket on the front as shown.
STEP 12 : Tissue pocket
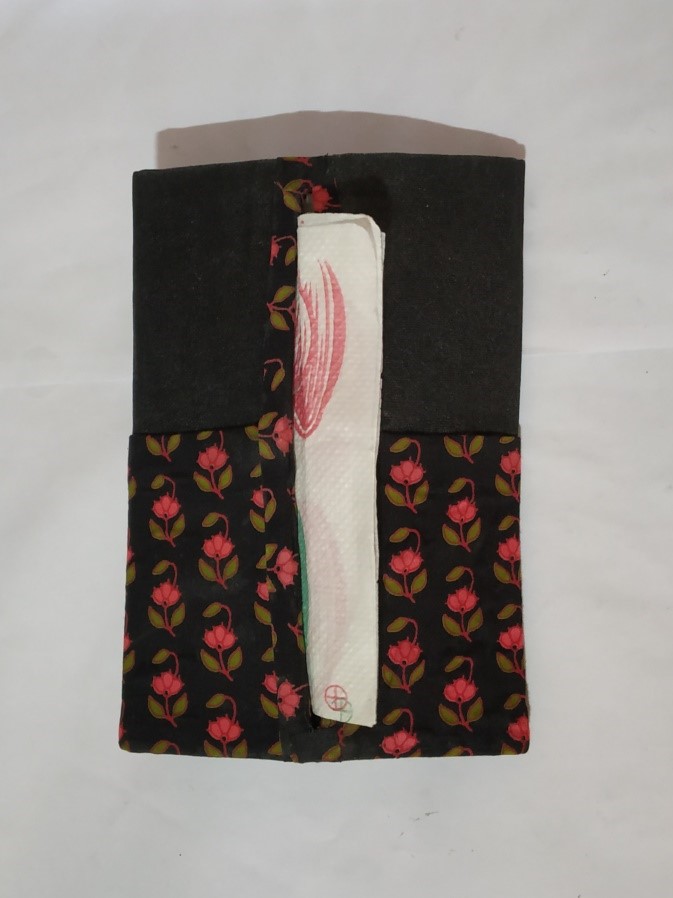
- Place tissues or hand kerchief in the pocket on the back.
Your portable sanitizer tissue pouch is ready to be taken along with you to your school, college, office safely tucked in your bag.


 +91 99676 55545