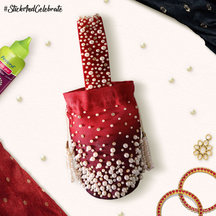
Potli
You Will Need:
Fevicryl Fabric Glue, Fevicryl Fabric Colours Crimson Red,Black, Readymade Potli (Plain), Casement Fabric, Buckram, Cardpaper, Different Sizes Of Pearl Beads, Zarkan, Golden Dori, Pencil, Compass, Paper Scissors, Fabric Scissors, Waste Fabric
Description :
Want a bag which can hold your belongings while you rush to the dance floor and dance your heart out? Create this beautiful pearl studded potli which you can team up with your sangeet sharara.
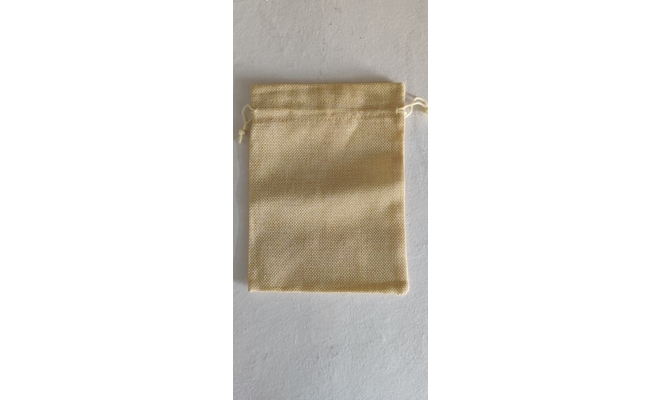
• Purchase or dig out a plain potli bag in a very neutral colour. • The material here is jute.
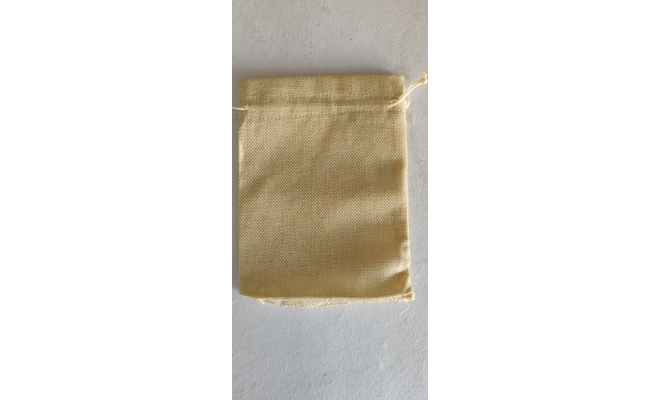
• Cut open the bottom part of the potli as seen in the image. Rip out the stitches to be precise. • You can use a fabric scissors or a ripper to do this bit.
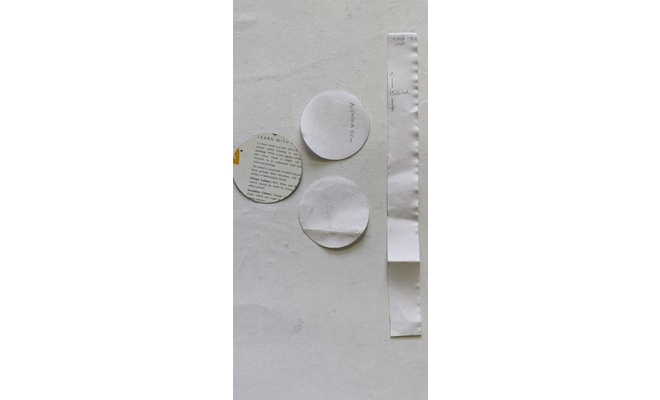
• Cut the card paper and buckram as seen in the image into circles and a strip. • Circles measuring 4.5 cm radius • We require 2 buckram circles and one card paper circle. • Cut a strip from buckram measuring 1.5” x 15.5”.
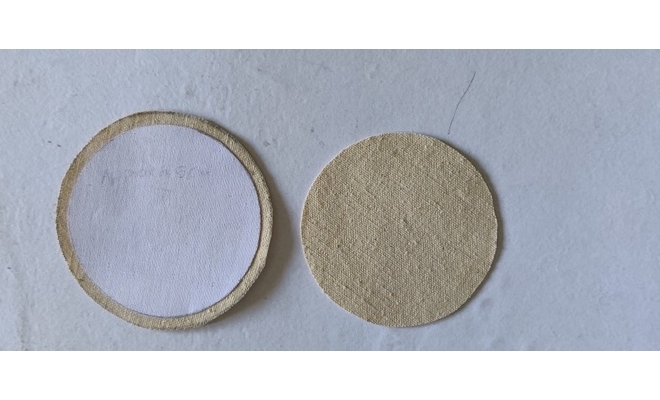
• Cut 2 circles in casement fabric. • One measuring 4.5cm radius and another circle measuring 0.5 more than the previously cut circle. • Stick the buckram circle on to the bigger circle as shown. • Use Fevicryl Fabric Glue to stick. • Let it dry.
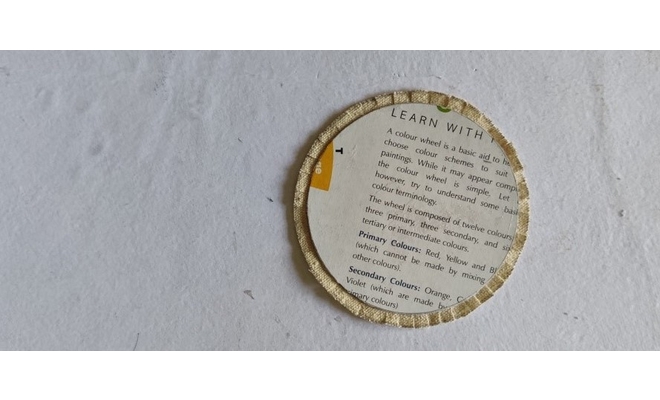
• Fold the corners of the casement fabric and stick it on the buckram. • Use Fevicryl Fabric Glue to do it. • Cover the circle by placing card paper on top of it as shown. • Use Fevicryl Fabric Glue to do it.

• Stick the second buckram and casement circles together. • Use Fevicryl Fabric Glue to do it. • This is the inside of the potli base.

• Create two strips measuring 0.5”(on all sides) more than the buckram strip.
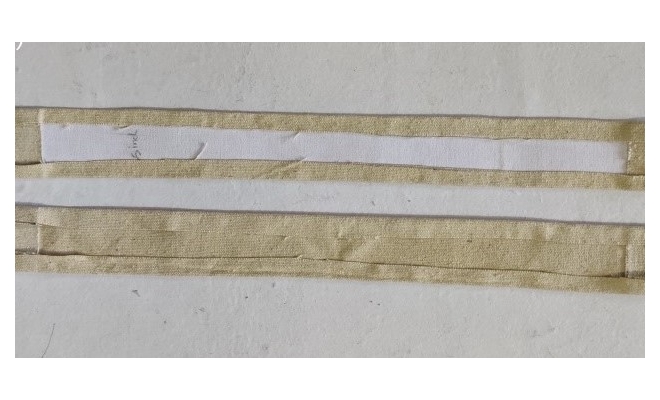
• Stick the buckram piece in one of the casement strips and fold the edges for good finish. • Do the same with the other casement strip. • Use Fevicryl Fabric Glue to do it. • Let it dry.

• Stick both the strips to each other as seen in the image. • Use Fevicryl Fabric Glue to do it. • Let it dry.
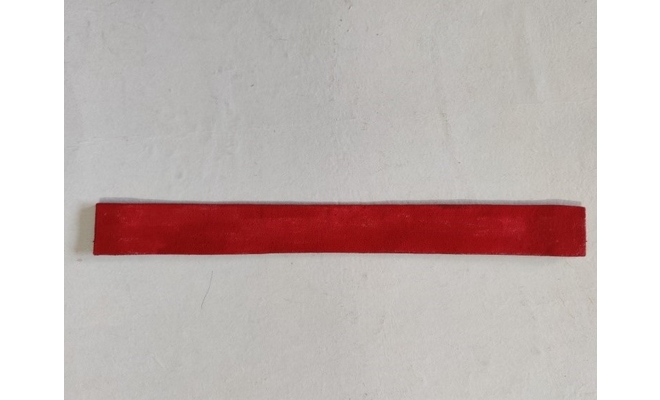
• Paint the strip using Fevicryl Acrylic Colour Crimson Red on one side . • Let it dry.
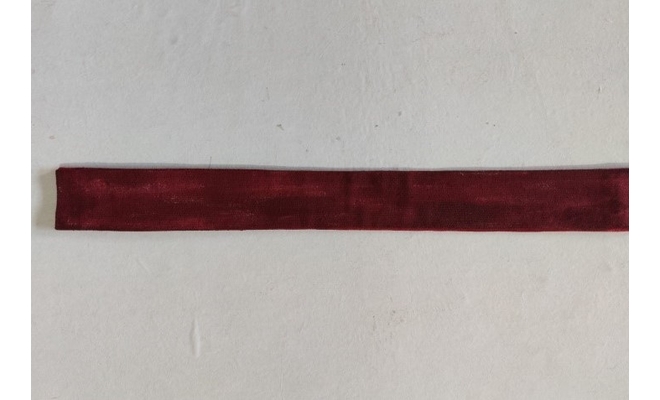
• Paint the strip using Fevicryl acrylic colour crimson red and black mixed together on the other side . • Let it dry.
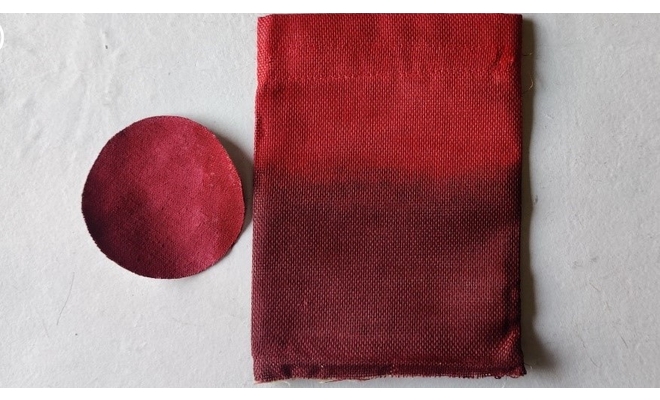
• Paint the outer circle and the potli using Fevicryl Acrylic Colour Crimson Red on one side . • Give a bit of an ombre effect. • Let it dry.
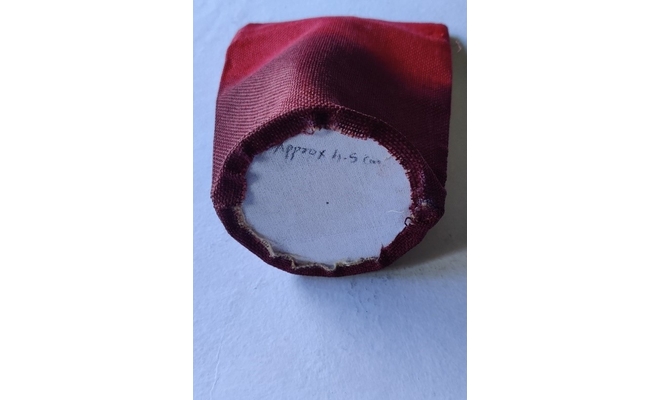
• Stick the inner circle as shown in the image inside the potli bag. • Use Fevicryl Fabric Glue to stick this circle. • Let it dry.
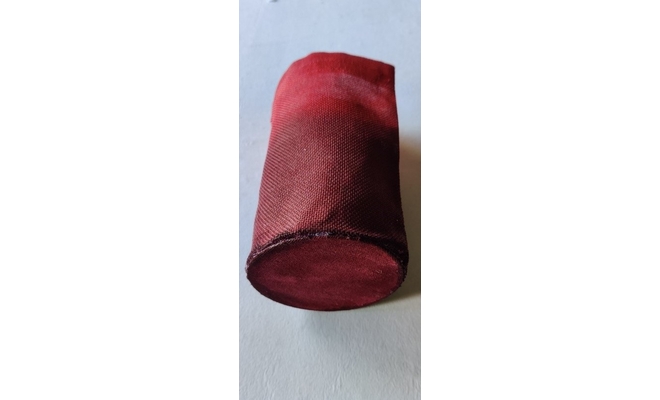
• Stick the outer circle at the bottom of potli as seen in the image. • Use Fevicryl Fabric Glue to stick the circle. • Let it dry.
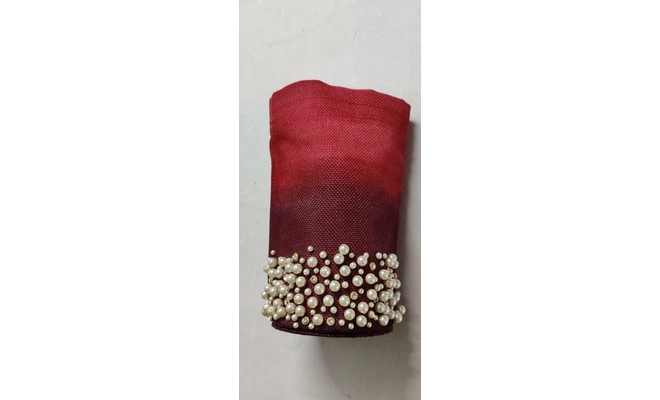
• Start sticking the various half cut pearl beads on the potli. • Start from the bottom where the sticking is more dense. • Use fevicryl Fabric glue to stick them. • Let it dry.
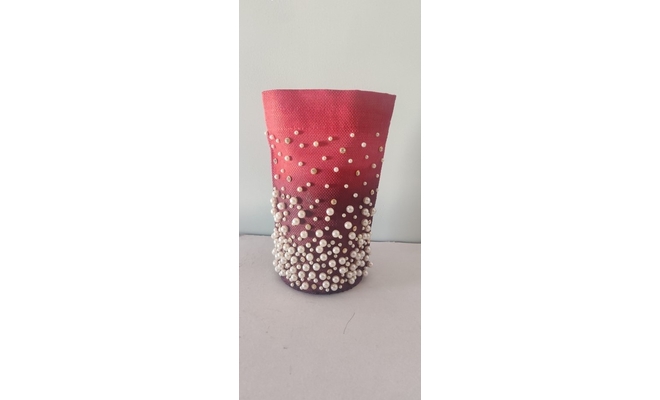
• As you continue sticking upwards, the pearls are limited to smaller size and much scarcer. • Use Fevicryl Fabric glue to stick them. • Let it dry.
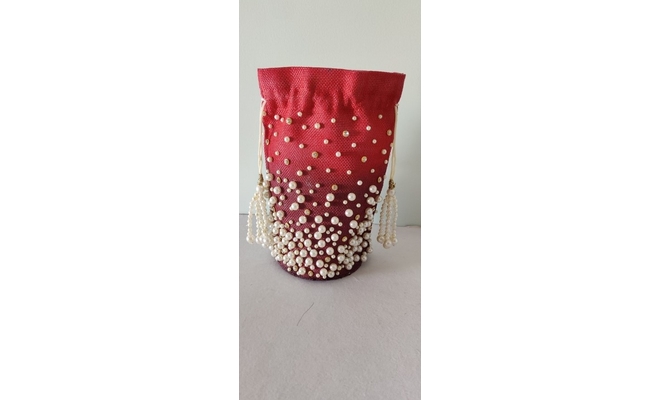
• Create tassels using pearl beads and attach them to the potli’s dori. • The tassel can be made as per your choice and availability of material.
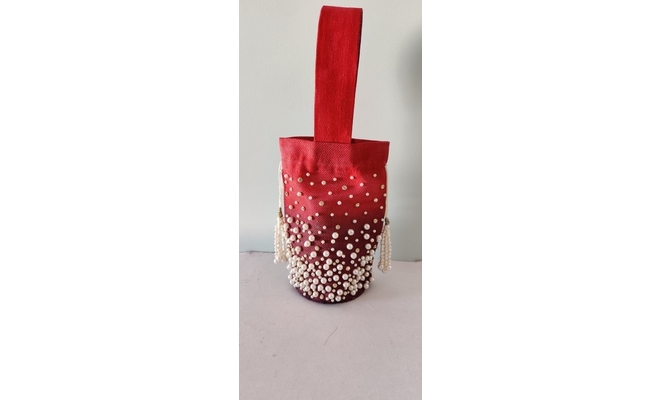
• Stick the handle towards the inside of the potli. • Use Fevicryl Fabric glue to stick it. • Let it dry.
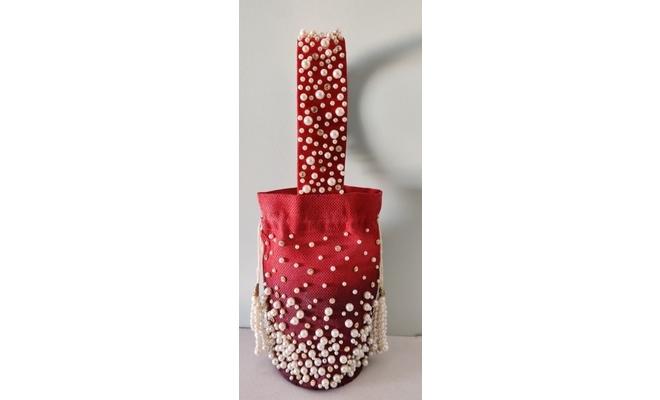
• Stick the pearl beads in an evenly fashion on the handle as seen in the image. • Use Fevicryl Fabric Glue to stick them. • Let it dry.
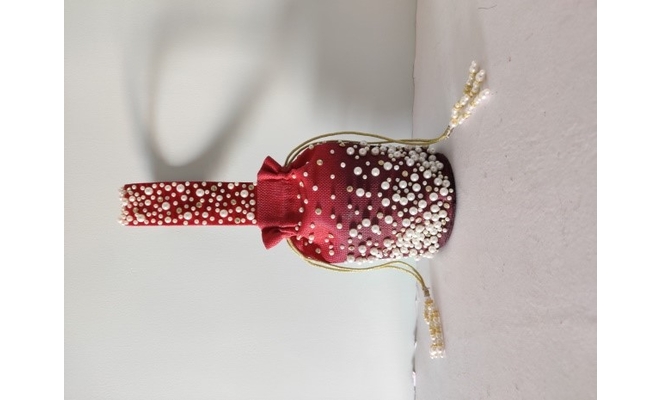
The final product-potli is ready to be used and paired with your sangeet ka sharara.


 +91 99676 55545