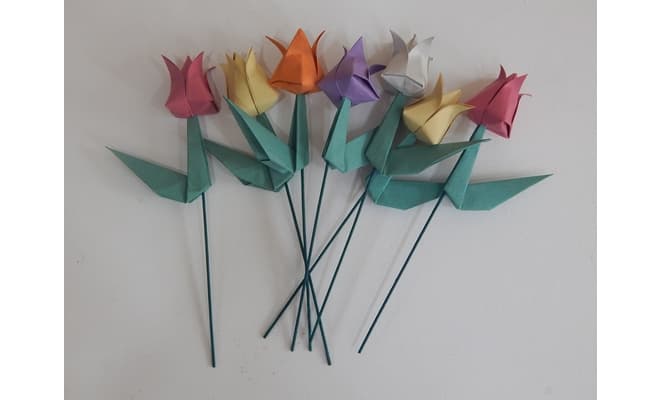
Origami Bouquet

You Will Need:
Fevicryl 3D Outliner Non Sticky Glitter - Silver 402, Green 403, Fevicryl Acrylic Colour - Dark Green 06, Fine Art Brushes, Hobby Ideas - Origami Papers, Colour Palette, Water Container, Barbeque Sticks, Light Orange Coloured Satin Ribbon.
Description :
Origami flowers and Origami rose are an interesting and intriguing paper craft activity. Learn and make easy origami flowers to make a bouquet. Learn how to make origami flowers to enhance handmade decorations and arrangements.
STEP 1
To make the tulip flower take an Origami paper.
Fold the paper into half and open it.
Fold again from the opposite side, open it once more.
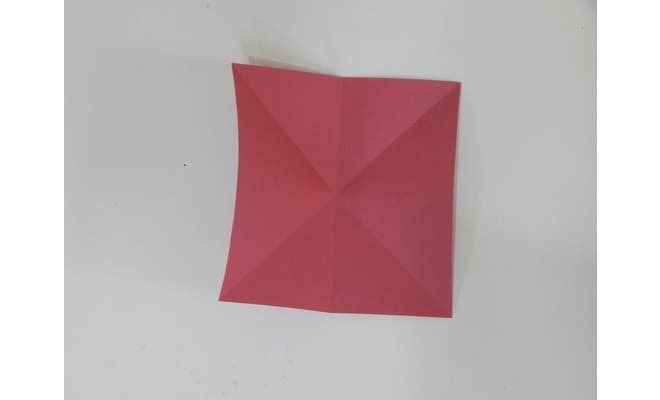
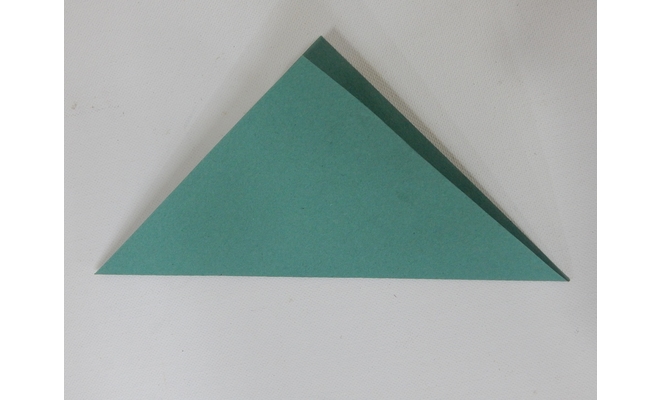
Fold from one corner to the other opposite corner by creasing it firmly with your nails. Open it.
STEP 2
Repeat 4th bullet point from step 1 to make the opposite side . Open it.
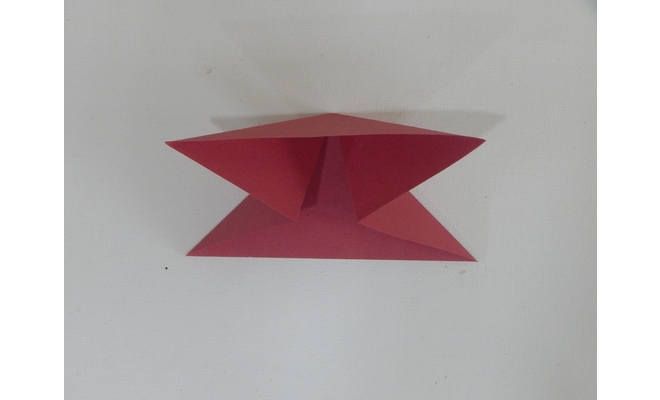
Take the tip of one corner and crease it in it's centre.
Repeat the earlier step from the opposite corner.
Now fold the right side to meet the centre crease.
Repeat the step for the left side.
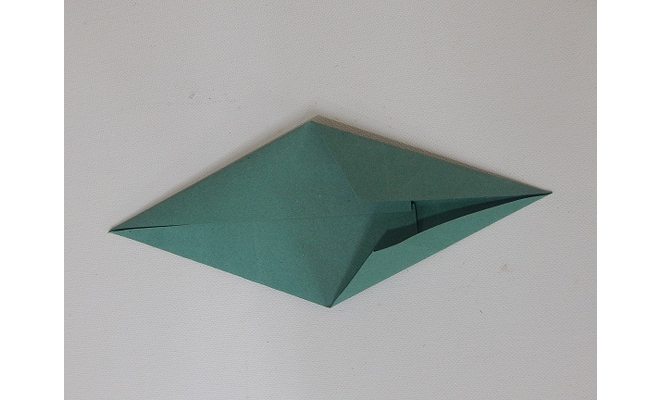
STEP 3
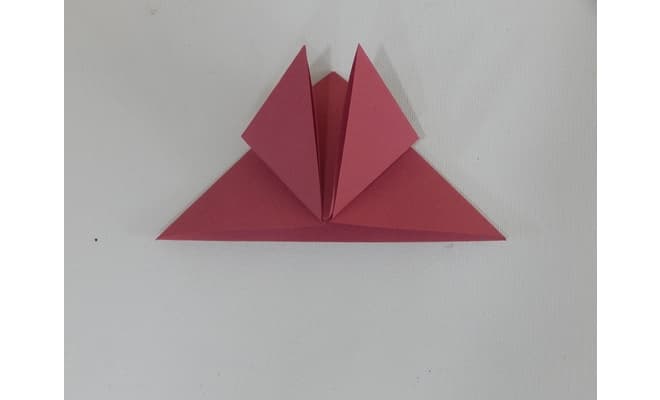
Flip paper over and fold both the right and the left sides to meet in the centre tip of the triangle.
Flip paper over.
Now we will fold both sides (left and right) to meet in the centre tip of the triangle.
STEP 4

You will get a diamond shape.
STEP 5
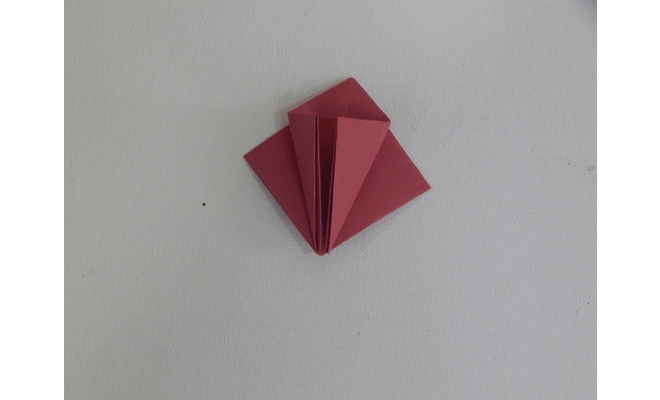
Fold both the left and the right sides to meet in the centre.
Refer to the image.
STEP 6
Fit one side into another. If you open up the sides, you will see that there is actually a “pocket” and “tip” whereby you can fit one into the other
Flip paper over and repeat the earlier step.
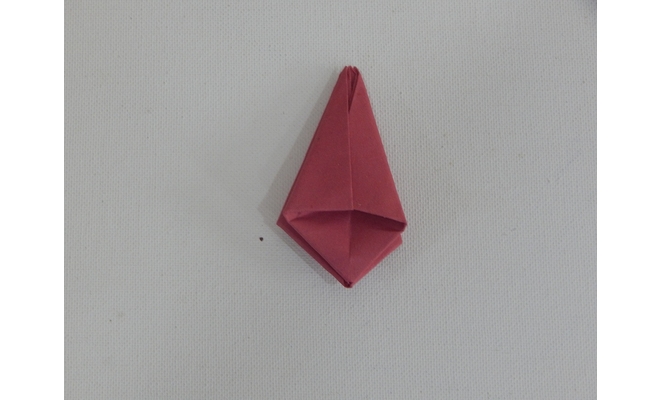
STEP 7
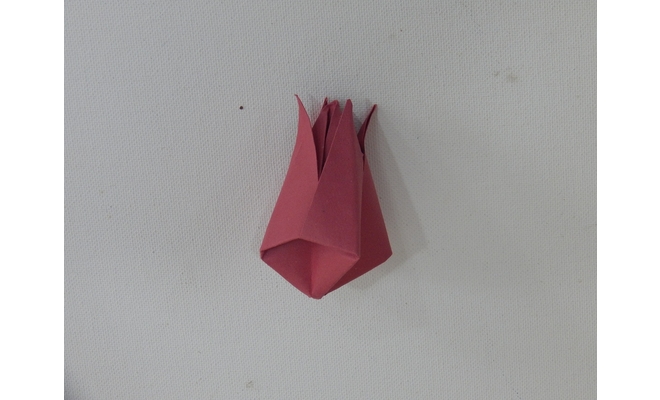
Inflate the origami tulip bulb. Make sure you hold down both the overlapping sides before blowing into the paper.
Make about 7 to 8 flowers of different colours.
STEP 8
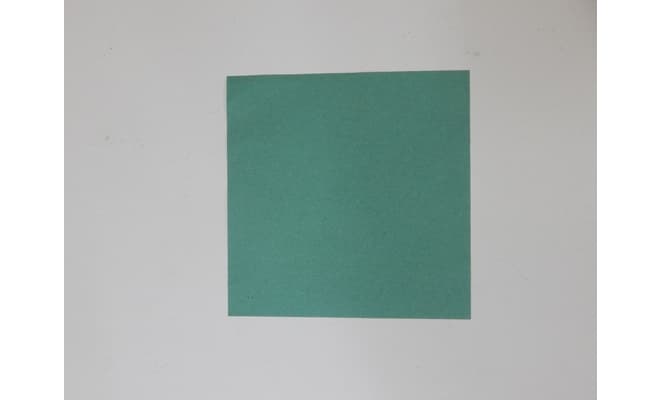
To make the origami leaf for the tulip flower. Take an origami paper.
STEP 9
Make a fold creasing the centre and unfold.
STEP 10

Fold the left and right sides to meet the centre crease.
Refer to the main image.
STEP 11
Now fold the opposite sides, the left and right sides to meet the centre crease again. This time starting from the bottom tip towards the centre.
Fold both the right and left sides to meet in the centre again, starting from the bottom tip yet again.
Refer to the image.
STEP 12

Flip paper over.
Fold the paper in half, bringing the bottom tip to meet the top tip.
Fold the paper in half, this time bringing the left side to meet the right.
Now peel back the leaf.
Make about 7 such leaves.
STEP 13

Take barbeque sticks and paint it with Fevicryl Acrylic Colour - Dark Green 06.
Let it dry.
STEP 14
Insert the stick to make the stems of the flower.
Stick the leaves on the stem with Fevicol MR.
Let it dry.
STEP 15
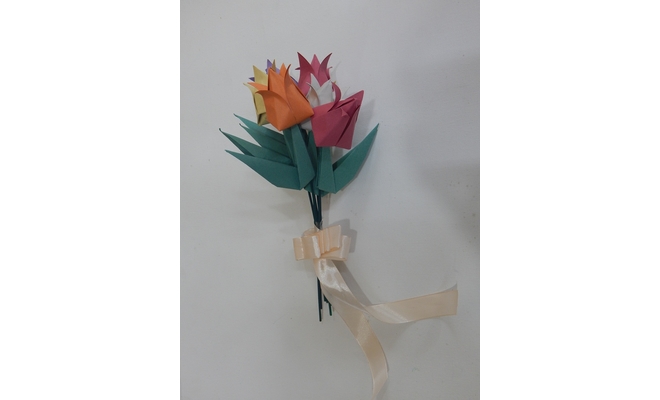
Make the bouquet of the flower.
Take light orange coloured satin ribbon to make the bow.
Enhance the flowers and the leaves with Fevicryl 3D Outliner Non Sticky Glitter - Silver 402 and Green 403 respectively.
Leave it to dry.
Refer to the main image.


 +91 99676 55545