Kirigami Pop Up Cards
You Will Need:
Fevicryl Acrylic Colours – Chrome Yellow 03, Crimson 04, Dark Green 06, Ultramarine Blue 23, White 27, Leaf Green 62, Fevicryl Acrylic Colours Pearl Metallic – Gold 352, Fevicryl 3D Outliner Fine Glitter - Gold 501, Silver 502, Fevicryl 3D Outliner Glitter Green 403, Fevicol MR, Fine Art Brushes, Full Imperial Sheet of Metallic White Card Paper, Full Imperial Sheet of Green Card Paper, A4 Sized Brown Card Paper, A3 Sized Red, White and Beige Card Papers, Googly Eyes, White Pencil, Paper Cutter, Scissors, Two Way Tape, Ruler
Description :
Handmade cards are always a pleasure to receive as it renders a personalised touch and look. We have made a Season's greeting card with a kirigami pattern pertaining to X'mas. It is a kirigami pop up card that's perfect to show a Christmas tree in all it's glory. Learn how to make handmade pop up cards with ease and fun.STEP 1
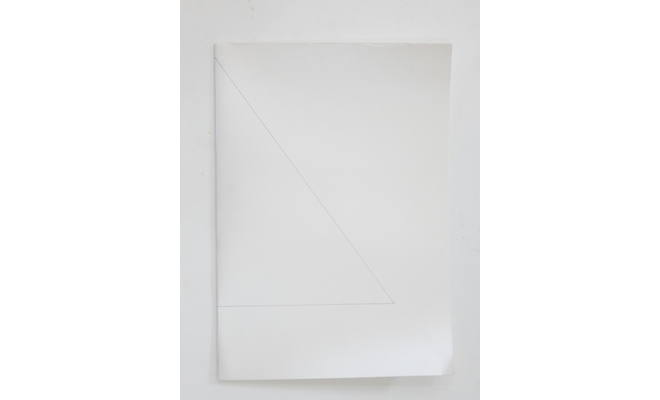
This is a kirigami pop up card, for that we would start by taking a white metallic paper and fold it into half, thereby getting two parts. The first part needs to be cut into an equilateral triangle that measures 16”.
STEP 2
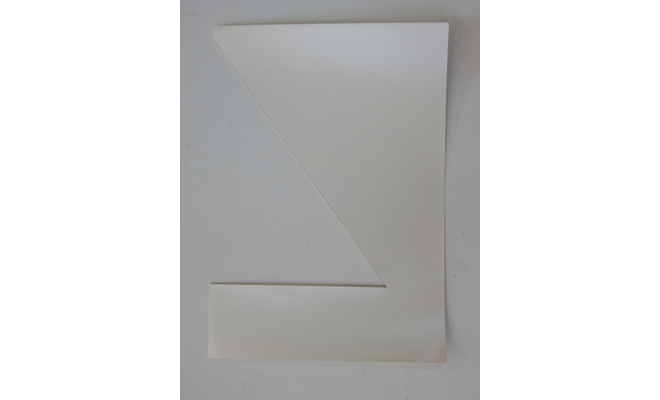
Here's how your cutout triangle would look.
STEP 3
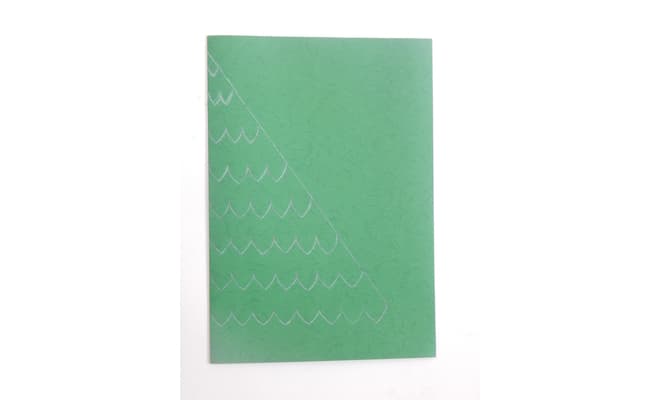
We will make the leaves for the X'mas tree. For that take the green card paper and cut it into half, thereby getting two parts. Taking one of the parts fold it into half and draw the same sized equilateral triangle on it (16”). Make sharp scallops to denote the leaves for the X'mas tree with a white pencil within the triangle.
STEP 4
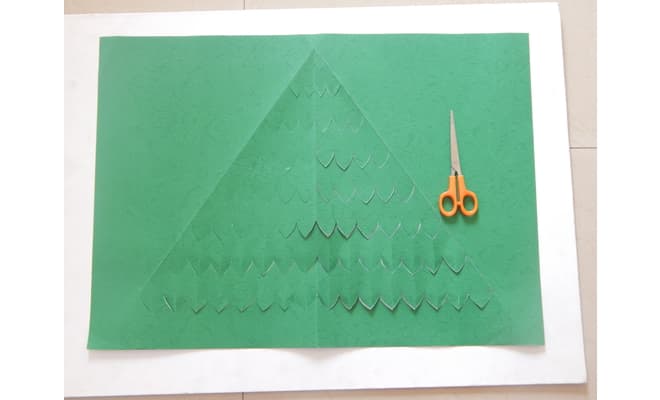
Each scallop will now have to be cut out sharply and neatly using both a pair of scissors and a paper cutter as when the angle demands. Here's how it would look like at this stage.
STEP 5
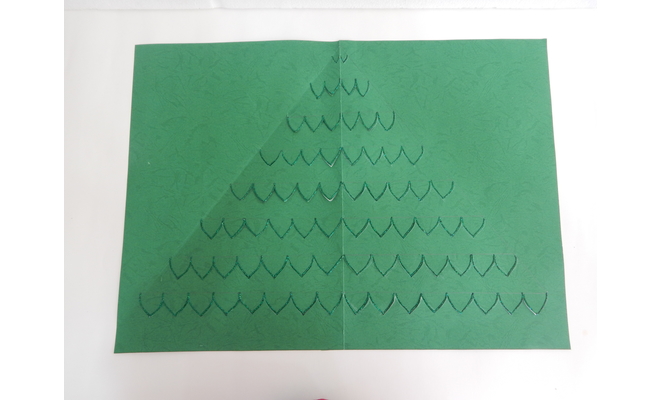
To make it attractive, delicately outline each leaf with Glitter Silver and leave it to dry completely. The outlined leaves would look like this.
STEP 6
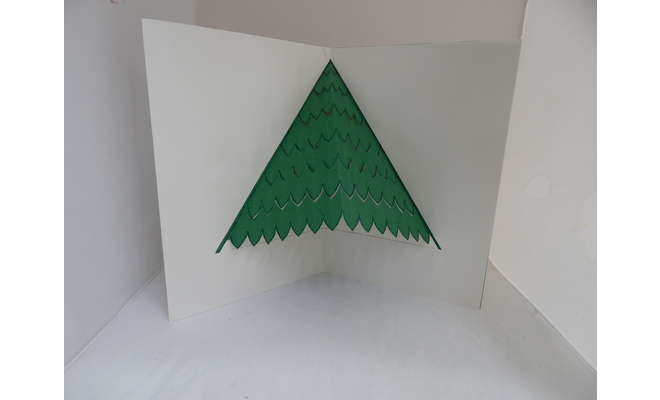
For the tree to appear as a pop up card you will have to sandwich the green scalloped card in between the half imperial sheet and the cutout equilateral triangular sheet with Fevicol MR. Fold it into half and when opened it will pop out just as desired as in the kirigami cutout style and technique. Take the brown card paper and make the bark of the tree.
STEP 7
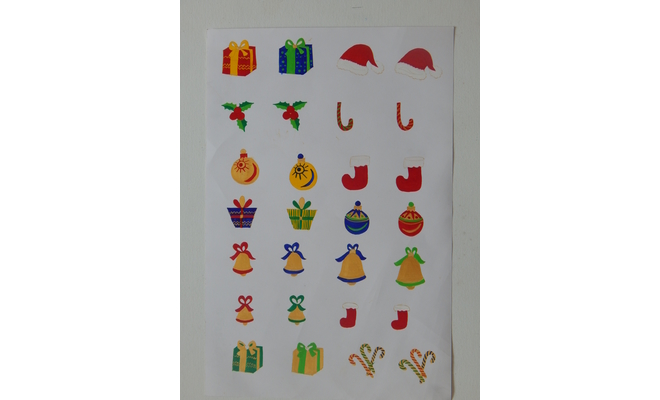
The fun part...decorating the X'mas tree!!! Draw few motifs that are related like - stockings, bells and baubles, hollies and gift boxes on an A3 sized white paper. Paint them all ever so brightly with Chrome Yellow 03, Crimson 04, Dark Green 06, Ultramarine Blue 23, White 27 and Leaf Green 62 and Pearl Metallic – Gold 352. Leave them to thoroughly dry.
STEP 8
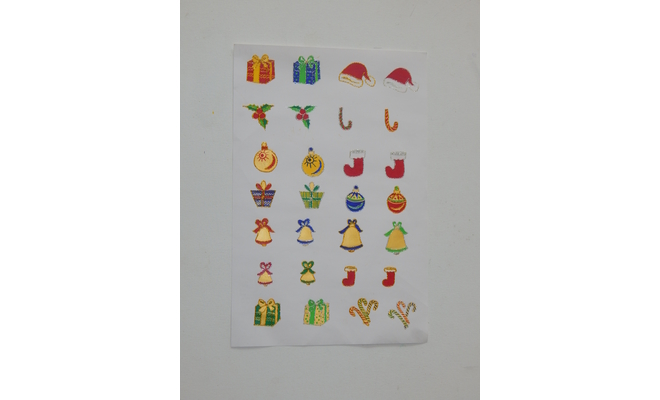
You could enhance these motifs with Glitter Silver and Gold so that it brightens up the tree when adorned. Leave them aside to dry completely.
STEP 9
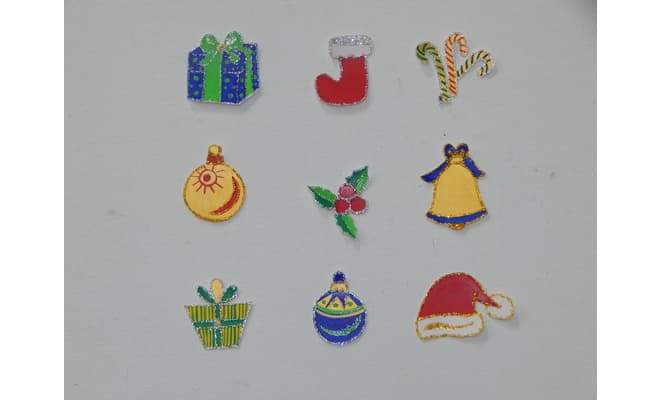
Now cut them all neatly.
STEP 10
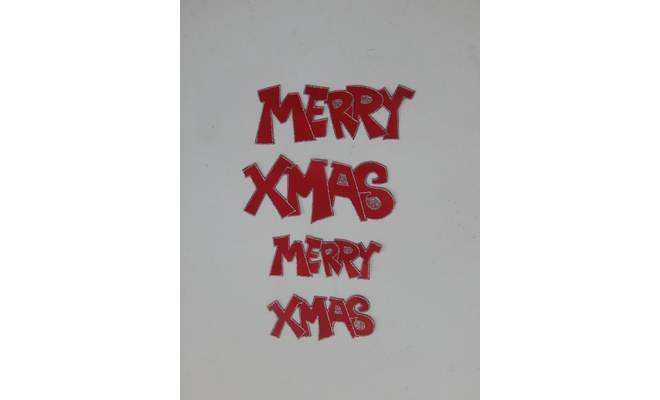
Wishes are to be written inside as well as outside the card, so for that draw the letters for the greetings on a red sheet of paper – “MERRY X'MAS”. Cut along the outlines of the lettering's and enhance it with Glitter Silver. Make 2 such sets of the lettering's.
STEP 11
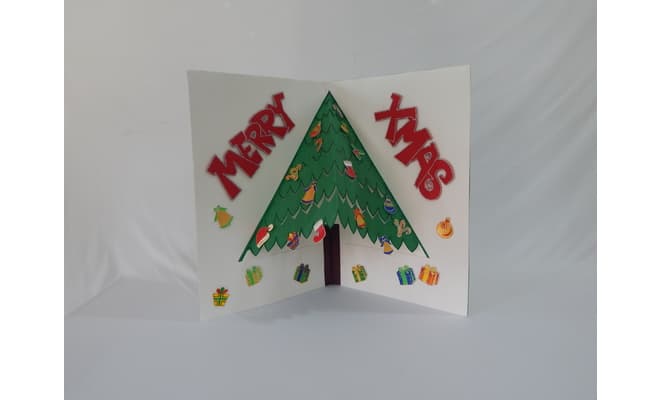
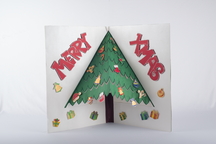
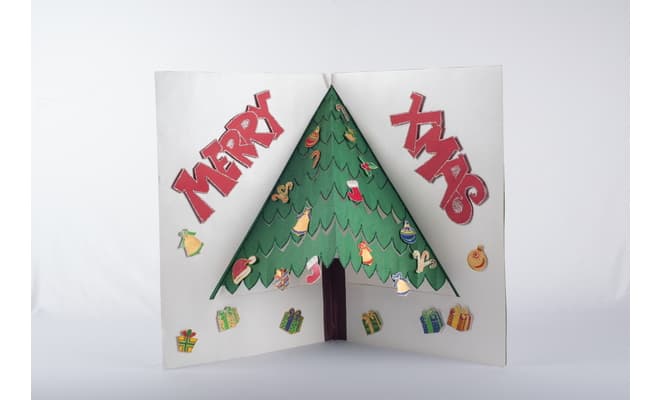
Start decorating your X'mas tree with these motifs as well as stick the letterings “ MERRY X'MAS” around the tree with a two way tape so that it will give a relief and raised look. This takes care of the card from inside. It would finally look like this.
STEP 12
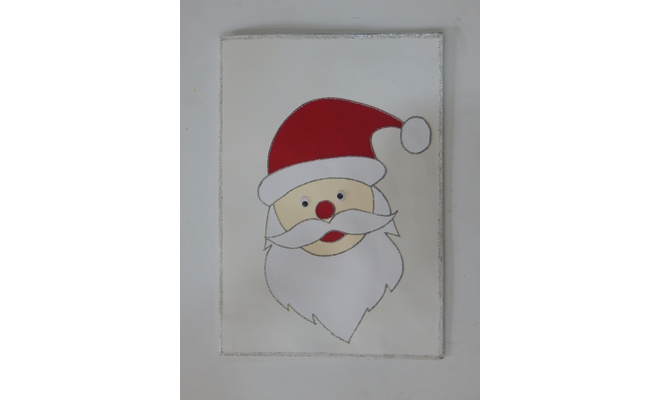
Now the front of the card needs to be made. We have made a Santa face on it. Draw and trace a Santa face on the front part of the card with yellow carbon paper. Make cut outs to form the Santa face using red, beige and white papers for the cap, nose, lips, mustaches and stick them appropriately with Fevicol MR. Stick googly eyes too. Outline Santa's face with Glitter Silver and leave to all to dry completely.
STEP 13
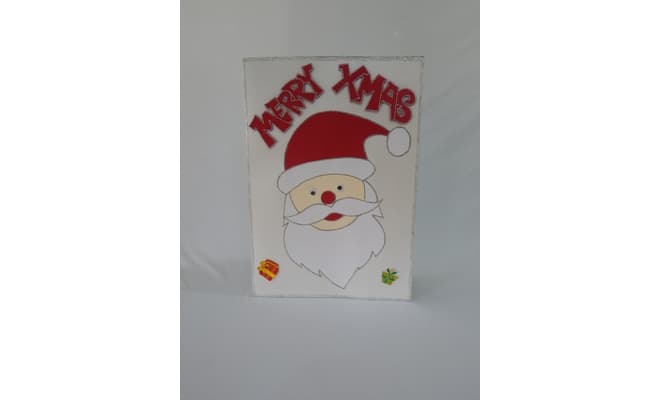
Stick few motifs and the letterings around the Santa's face with Fevicol MR. The front part of the card is ready now and would look like this.
Your kirigami pop up cards are ready for the occasion of Christmas.
Make different kirgami patterns to make varied kirigami pop up cards for other festivals and special occasions.
You can make smaller or bigger kirigami pop up cards depending on the occasion and your fancy
Pop up cards can be made for various occasions with different techniques.
STEP 14
And your Kirigami Pop Up Card is ready!!!


 +91 99676 55545