How To Make A Dream Catcher At Home
You Will Need:
Fevicryl Acrylic Colour Dark Green 06, Light Green 12, Orange 17, Prussian Blue 19, White 27, Leaf Green 62, Fevicryl Fabric Glue, Fine Art Brushes, Paper Plates, Pencil, Scissors, Wooden Beads, Thread, Readymade Feathers (Tricolour), Corrugated Box Flap, Colour Palette, Water.
Description :
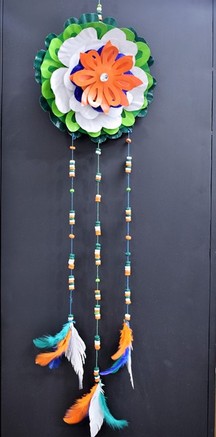
Decorate your home with this lovely Tricolour handmade DIY dream catcher this Independence Day! Learn how to make dream catcher at home by following this easy step-by-step tutorial. Isn’t this paper craft idea really cool!STEP 1

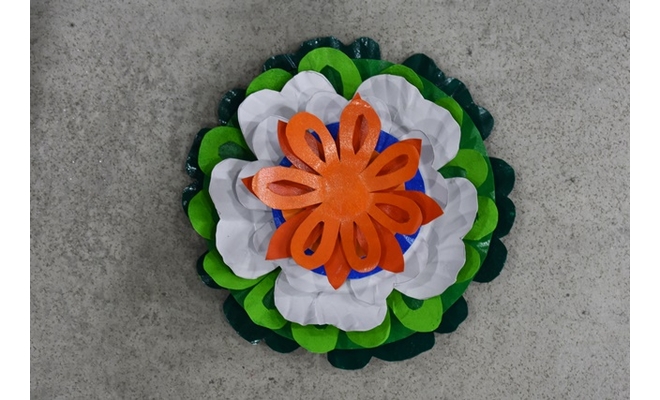
Take 9 paper plates to make the dream catcher. Flowers made from cutting the plates will be layered one on top of the other to make the dreamcatcher.
Take the paper plates and draw flowers from small to big on it.
Cut along the outlines of the flowers neatly.
Paint the flowers using shades of Tricolour with Acrylic Colour Dark Green 06, Light Green 12, Orange 17, Prussian Blue 19, White 27 and Leaf Green 62. Let it dry.
STEP 2
Take the corrugated box flap, mark and cut few small sized circles approximately 1” diameter
Using Fabric Glue to stick the flowers in layers
Use corrugated circles in between two flowers to give a raised effect.
Let it dry thoroughly.
STEP 3
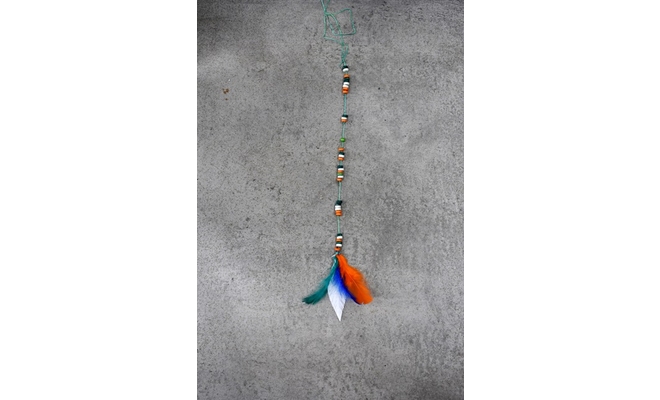
Take the wooden beads and paint them using Acrylic Colours Dark Green 06, Light Green 12, Orange 17, Prussian Blue 19 and White 27. Let it dry.
Take the thread and the painted wooden beads; make the strings using wooden beads and the Tricolour feathers.
STEP 4
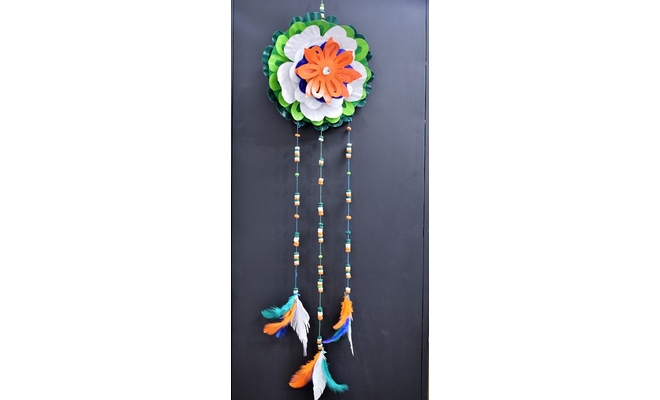
Take the layered flower base and pierce it towards the base to dangle the bead strands aesthetically.
The dreamcatcher is ready!


 +91 99676 55545