How To Make A Bookmark Step-By-Step


You Will Need:
Scrap book papers, Fevicol MR, Pencil, Craft Knife, Cutting Mat, Scissors, Ruler, Hole Punch, Ribbon, Lace
Description :
Learn how to make bookmark with easy step-by-step tutorials @ Hobby Ideas. Handmade bookmarks are always a welcome gift to book lovers & these will be cherished for a very long time. Learn how to make unique DIY bookmarks using paper craft. Visit Hobby Ideas to learn how to make homemade bookmarks now!STEP 1
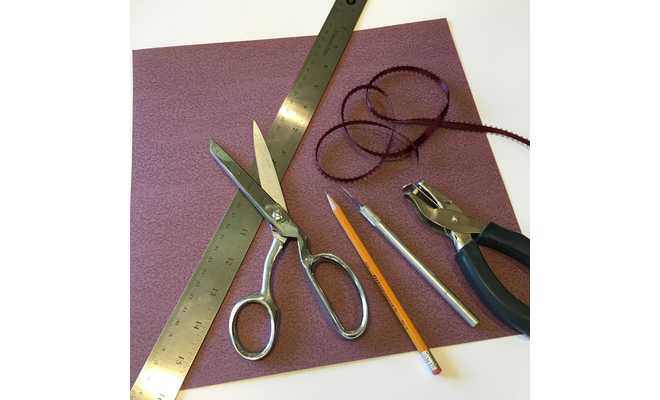
Gather supplies; scrapbook papers, craft glue, pencil, craft knife, scissors, ruler, hole punch, and ribbon.
STEP 2
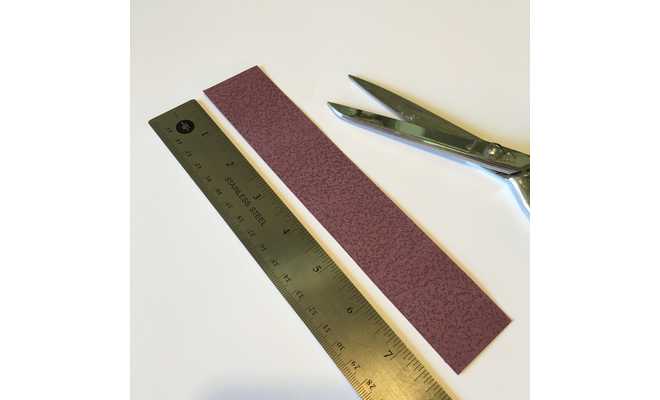
Cut scrapbook paper 1-1/2” x 8” for the bookmark base.
STEP 3
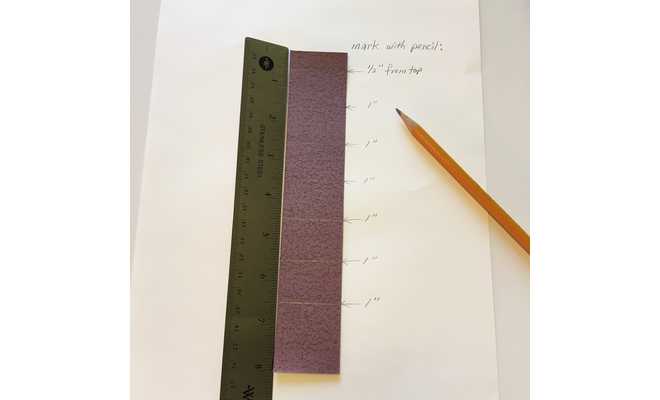
Use ruler and pencil to mark ½” from the top.
Mark 6 additional lines, 1” apart.
STEP 4
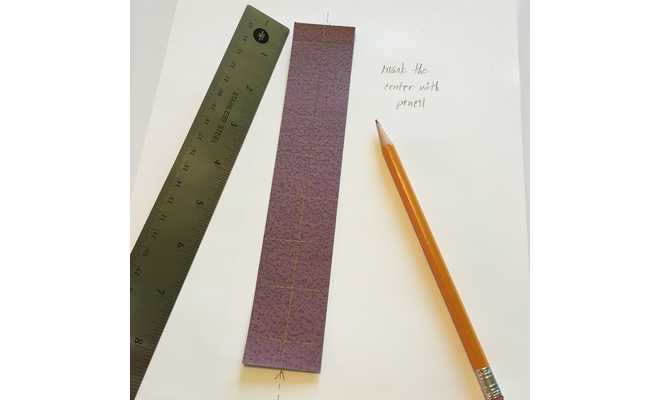
Mark the center from top to bottom.
STEP 5
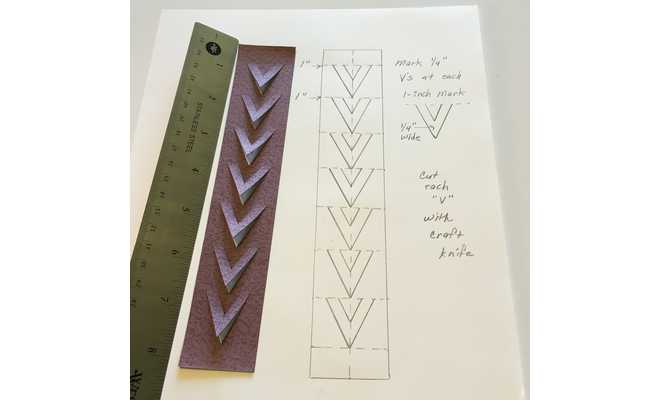
Mark ¼” V’s at each 1” mark.
Cut each V with craft knife.
STEP 6
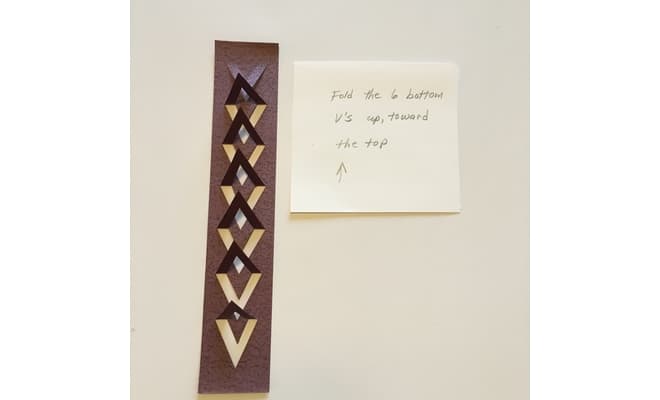
Fold the 6 bottom V’s up, toward the top.
STEP 7
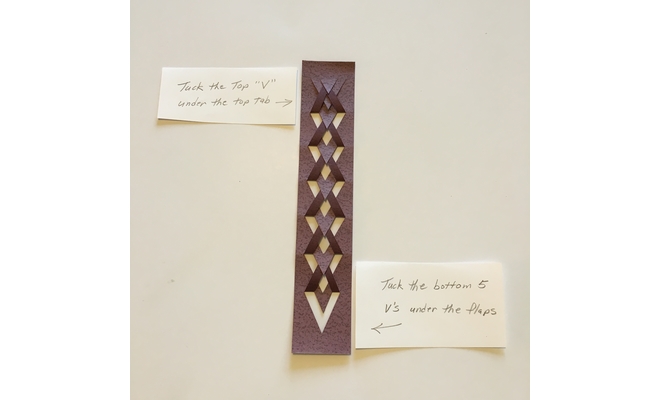
Tuck the top V under the top tab.
Tuck the bottom 5 V’s under the flaps.
STEP 8
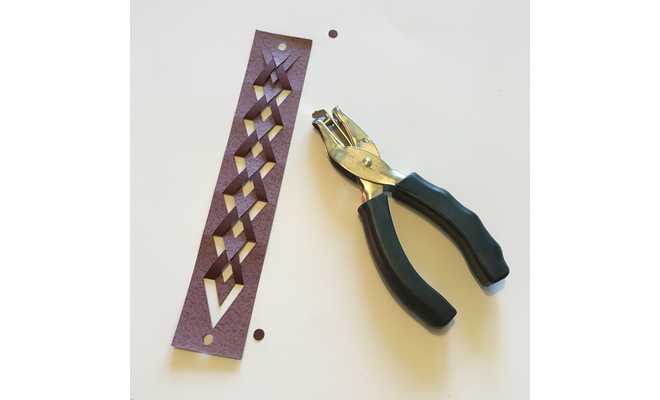
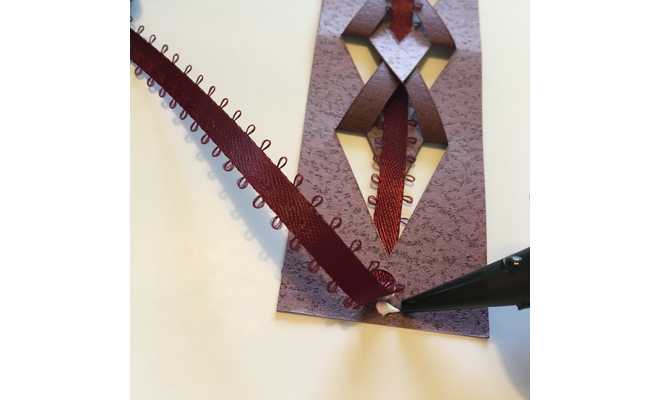
Punch holes at the top and bottom.
STEP 9
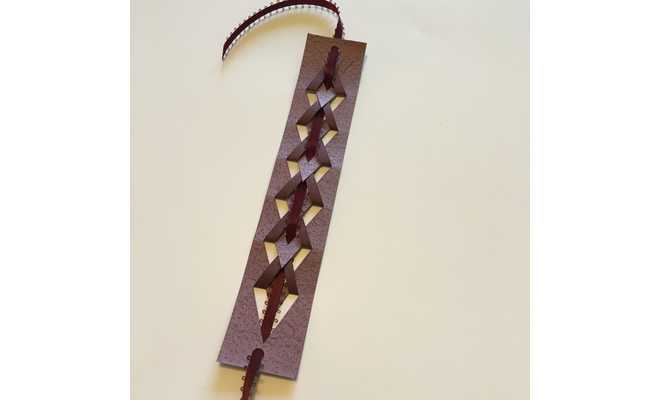
Thread ribbon through openings as shown in photo.
Trim ribbon 3” from top and bottom of bookmarker.
STEP 10
Glue ribbon to bookmarker at top and bottom.
STEP 11
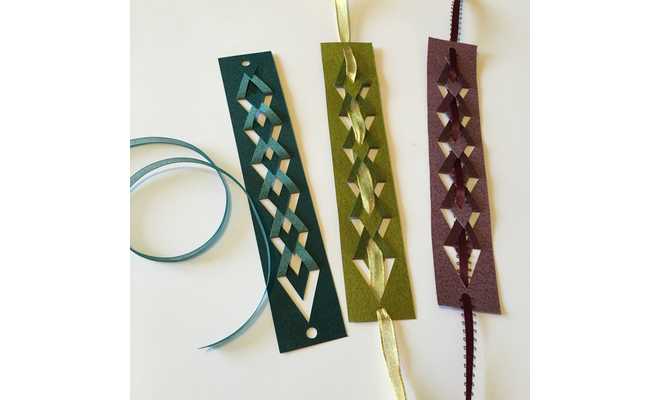
Repeat technique to make multiple bookmarkers.


 +91 99676 55545