How To Make A Birthday Card

May 20, 2015
You Will Need:
Card Making Kit, Fevicol MR, Fevicryl 3D Cone Outliner - Red 701, Hobby Ideas - Glass Colours - Water Based, Fevicryl No Stitch Fabric Glue, Craft Punch - Flower Shape, Printed Scrapbook Papers . Pencil, Scissors, Two Way Foam Tape
Description :
Learn how to make a birthday card for your mom, dad, brother, sister, friends here. Make these lovely DIY birthday cards in no time. Arrange and stick the accessories and papers in the arrangement of your choice and your handmade card is ready. You may also further embellish them with either Glass Colours or 3D Outliners. Use this amazing birthday card making idea to make you loved ones feel special.STEP 1
Arrange the accessories from the kit on one of the cards provided inside the card making kit
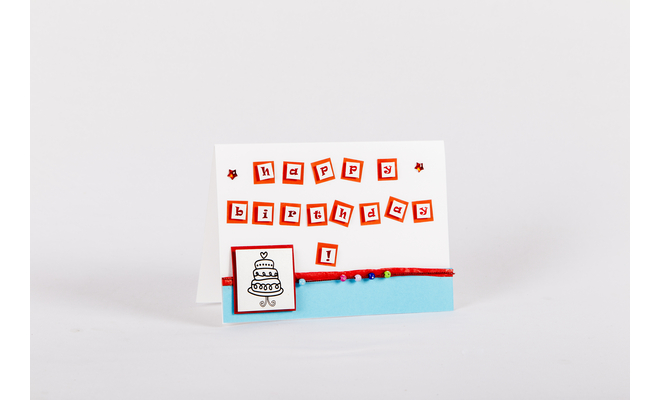
We have used the letters HAPPY BIRTHDAY, a cake tag, paper lace, coloured paper, beads and sequins from the card making kit
Stick all the accessories arranged on the card using Fevicol MR
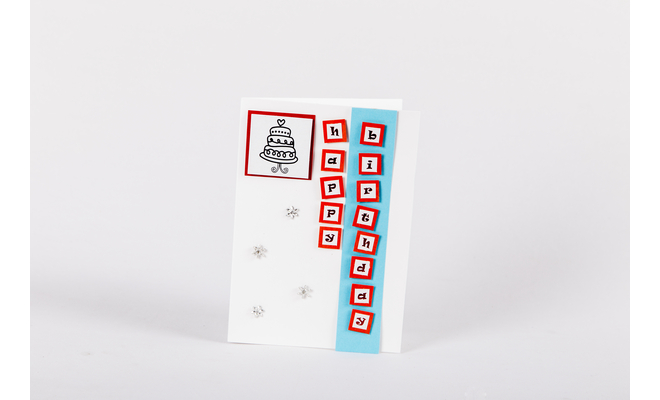
STEP 2
Cut a rectangular strip of coloured paper and stick it on the right hand side of the card background for the arrangement of the accessories
Arrange the letters HAPPY BIRTHDAY from the card making kit as shown in the image
Stick the cake tag on the right top side edge of the card with a few star sequins scattered around
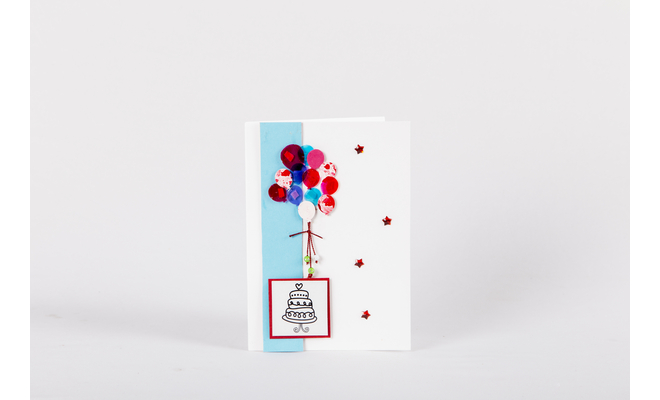
STEP 3
Cut a rectangular strip of coloured paper in the size as that of the card
Stick the rectangular strip on the left hand side of the card as shown in the picture
Arrange the cake tag from the card making kit towards the base of the strip
Cut few balloon shapes in coloured OHP sheets, marbelled paper and coloured paper and stick them close to the blue strip using a two way foam tape
Tie a string below the balloons with beads and stick star shaped sequins scattered around
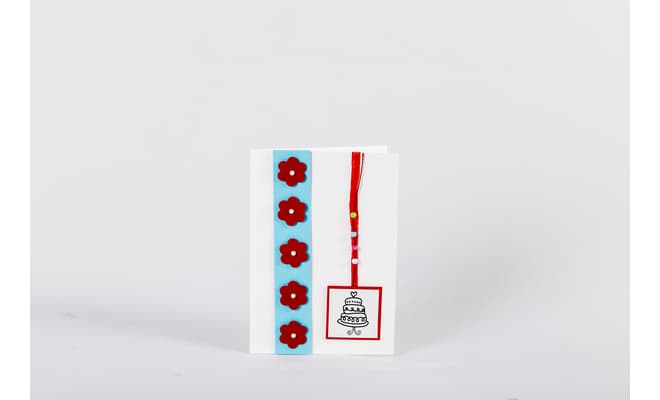
STEP 4
Cut a rectangular strip from a coloured paper and stick it on the card as shown in the image using Fevicol MR
Arrange and stick the paper ribbon and the cake tag from the card making kit
Stick the punched flowers on the strip
Enhance the flowers and the paper ribbon with the beads from the card making kit
Let it dry
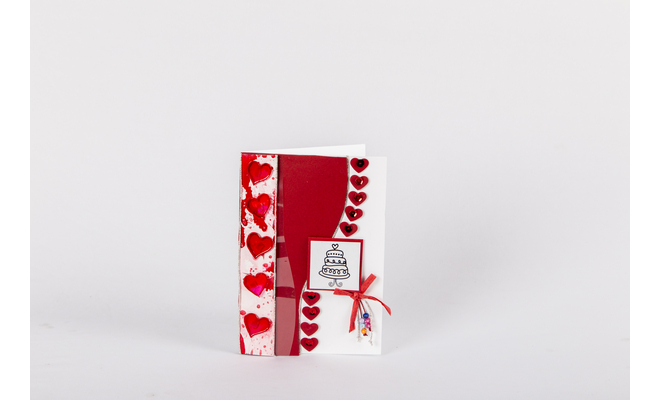
STEP 5
Take an OHP sheet and colour it fully using Water Based - Glass Colour - Tomato Red
Leave it to dry
Cut few heart shapes from the OHP sheet and cut the OHP sheet further in such a way that it covers more than half the card in a curvilinear shape. Stick it on the card using No Stitch Fabric Glue
Outline the hearts with 3D Cone Outliner - Red. Let it dry
Punch few heart shapes from the red card paper using a craft punch and stick them along the curve of the OHP sheet.
Stick red sequins on the paper hearts using Fevicol MR
Take a tag with the cake picture provided in the kit and stick it on the card as shown
Cut a rectangular strip of red coloured marbelled textured paper and stick it on the left edge of the card
Stick the OHP hearts on the strip using No Stitch Fabric Glue
Add a bow of paper string with few threaded beads inside, stick it on the cake tag


 +91 99676 55545