Ganesha Nameplate
You Will Need:
Fevicryl Acrylic Colours Black 02, White 27, Pearl Metallic Gold 352, Fevicryl Pastel Acrylic Colour Kit, Fevicryl Mouldit, Fevicryl Fabric Glue, Fine Art Brushes, A4 White Paper, Yellow Carbon Paper, Pencil, 5” X 12” MDF Plank, Clay Modelling Tools, Paper Cutter, Steel Wool, Colour Palette, Water Container
Description :
Create a beautiful Ganesha nameplate using MDF, clay, and pastel acrylic colours, perfect for adding a personalized touch to your home décor.
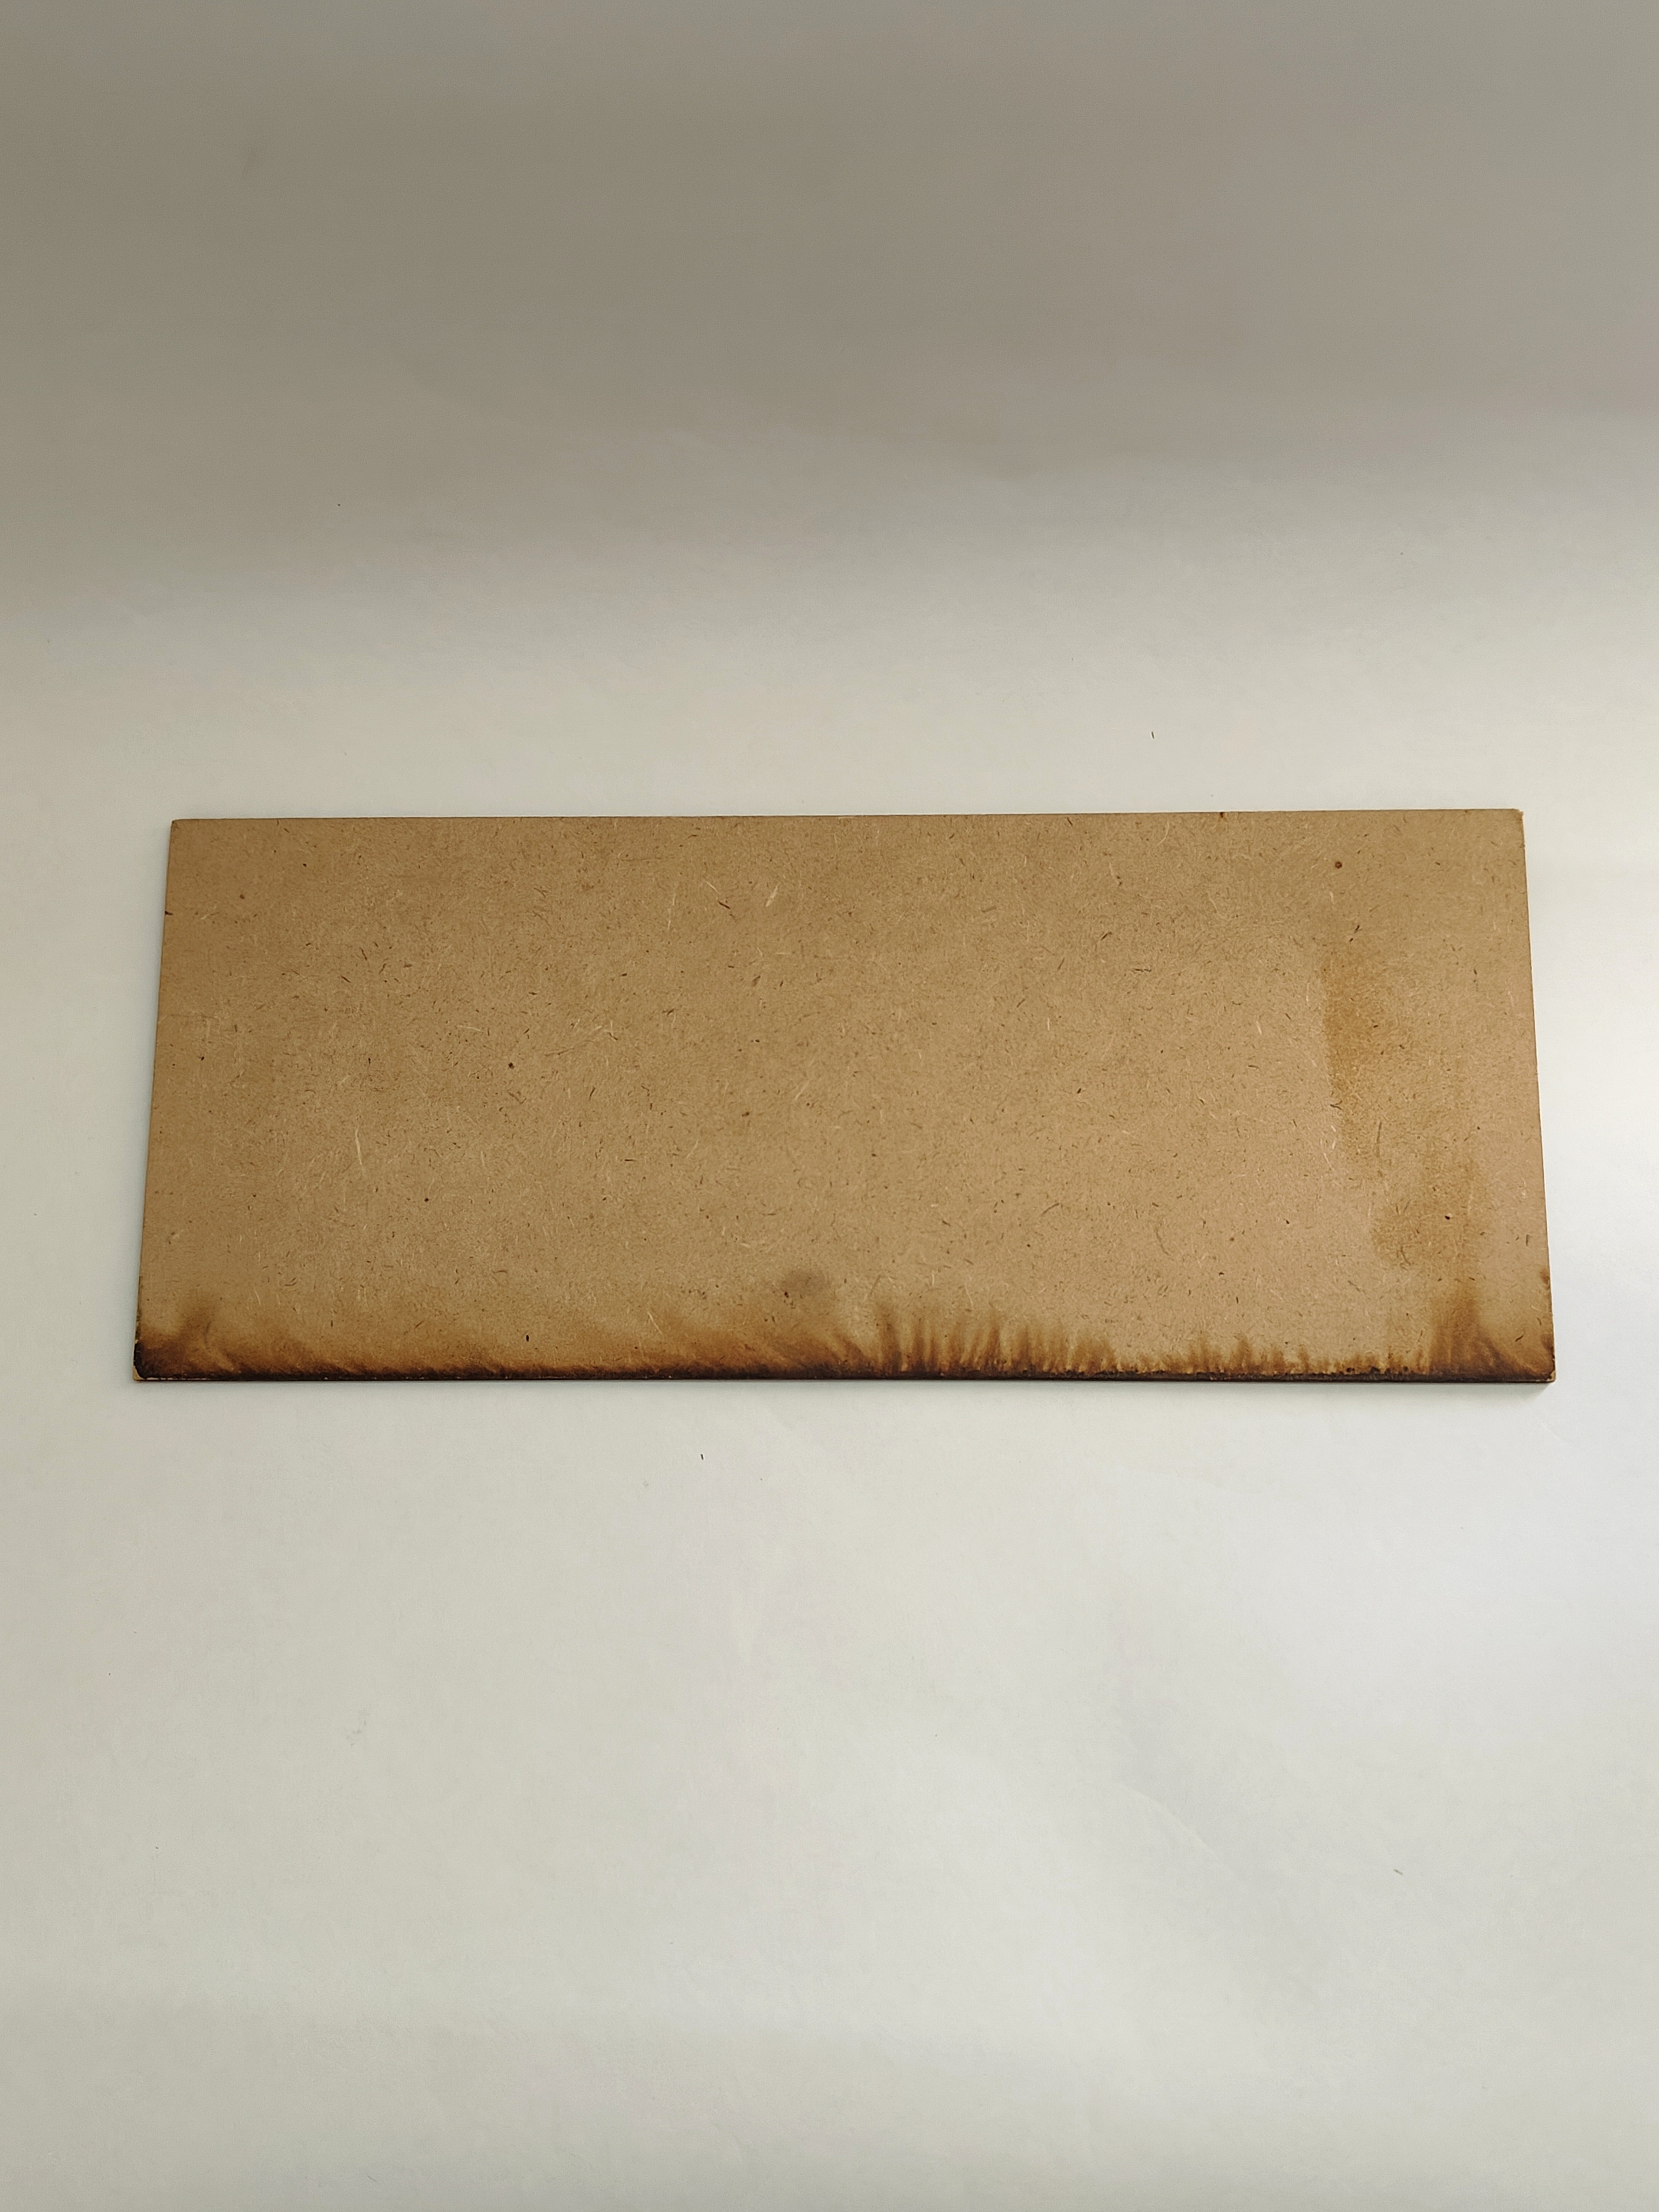
-
Start with a plain MDF plank measuring 5” x 12” in size.
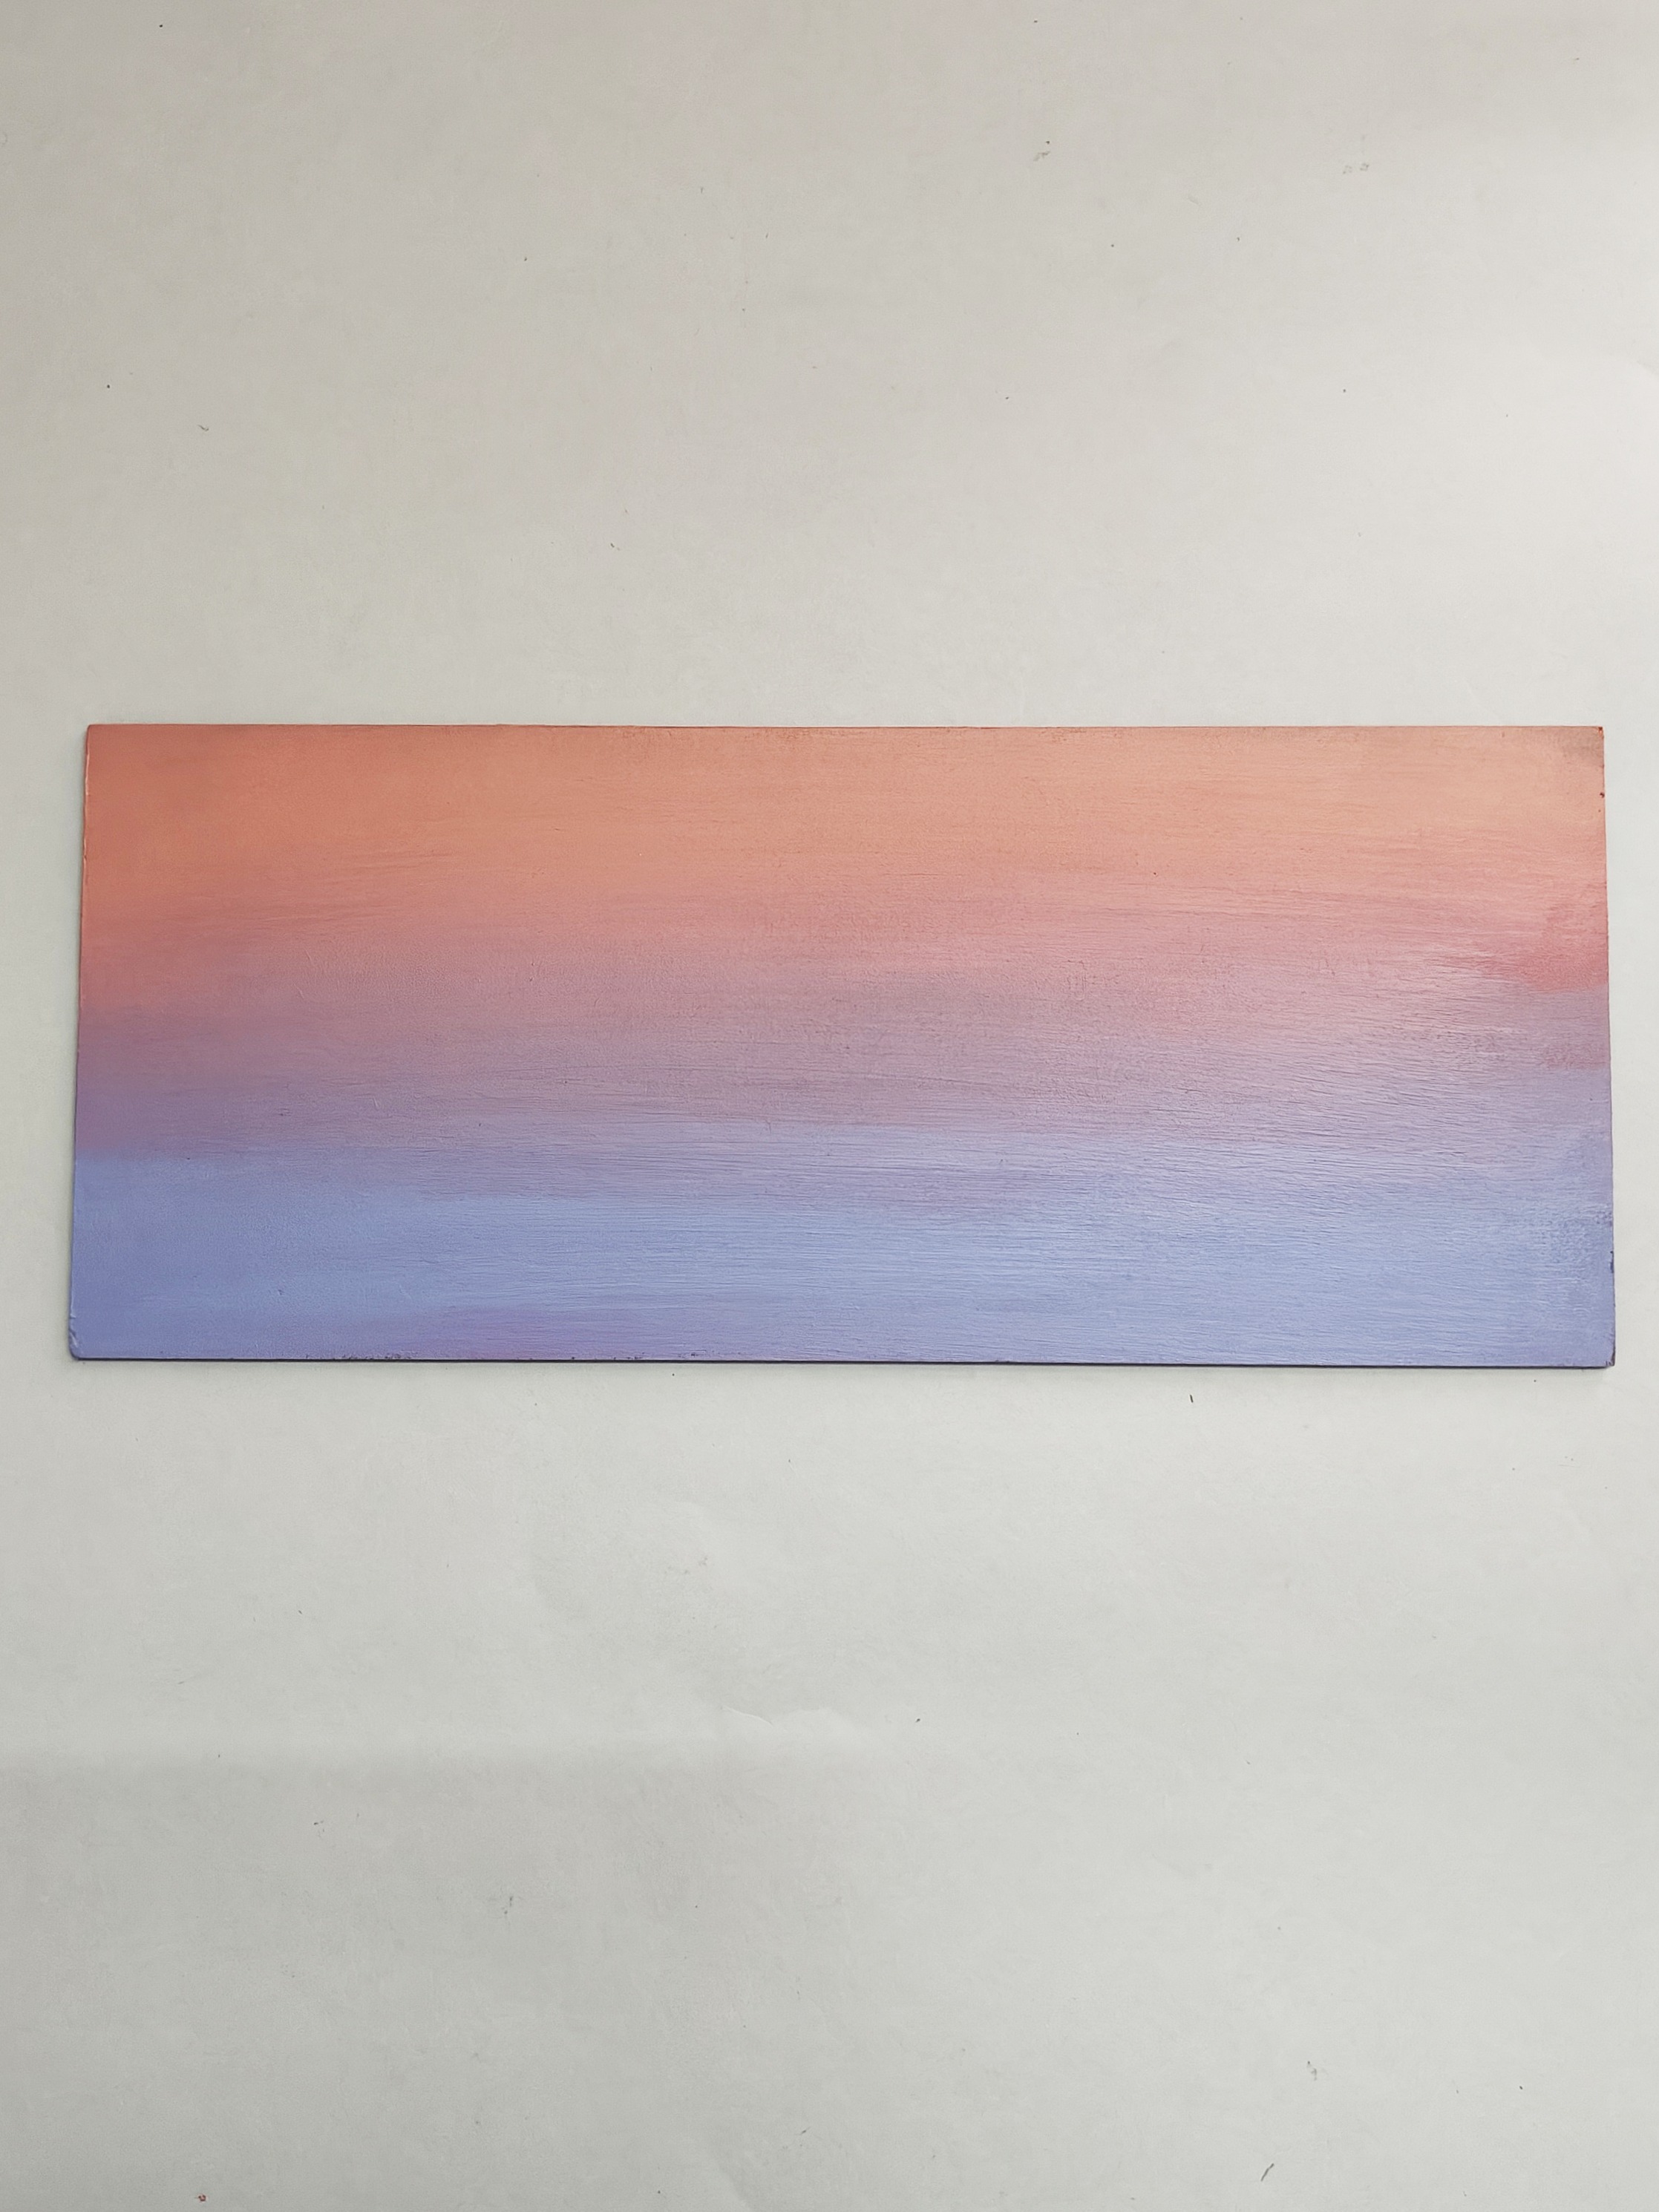
-
Paint the plank with a base coat of Acrylic Colour White 27, followed by a second coat using pastel colours (Peach, Pink, and Lavender) for a shaded effect. Let it dry completely.
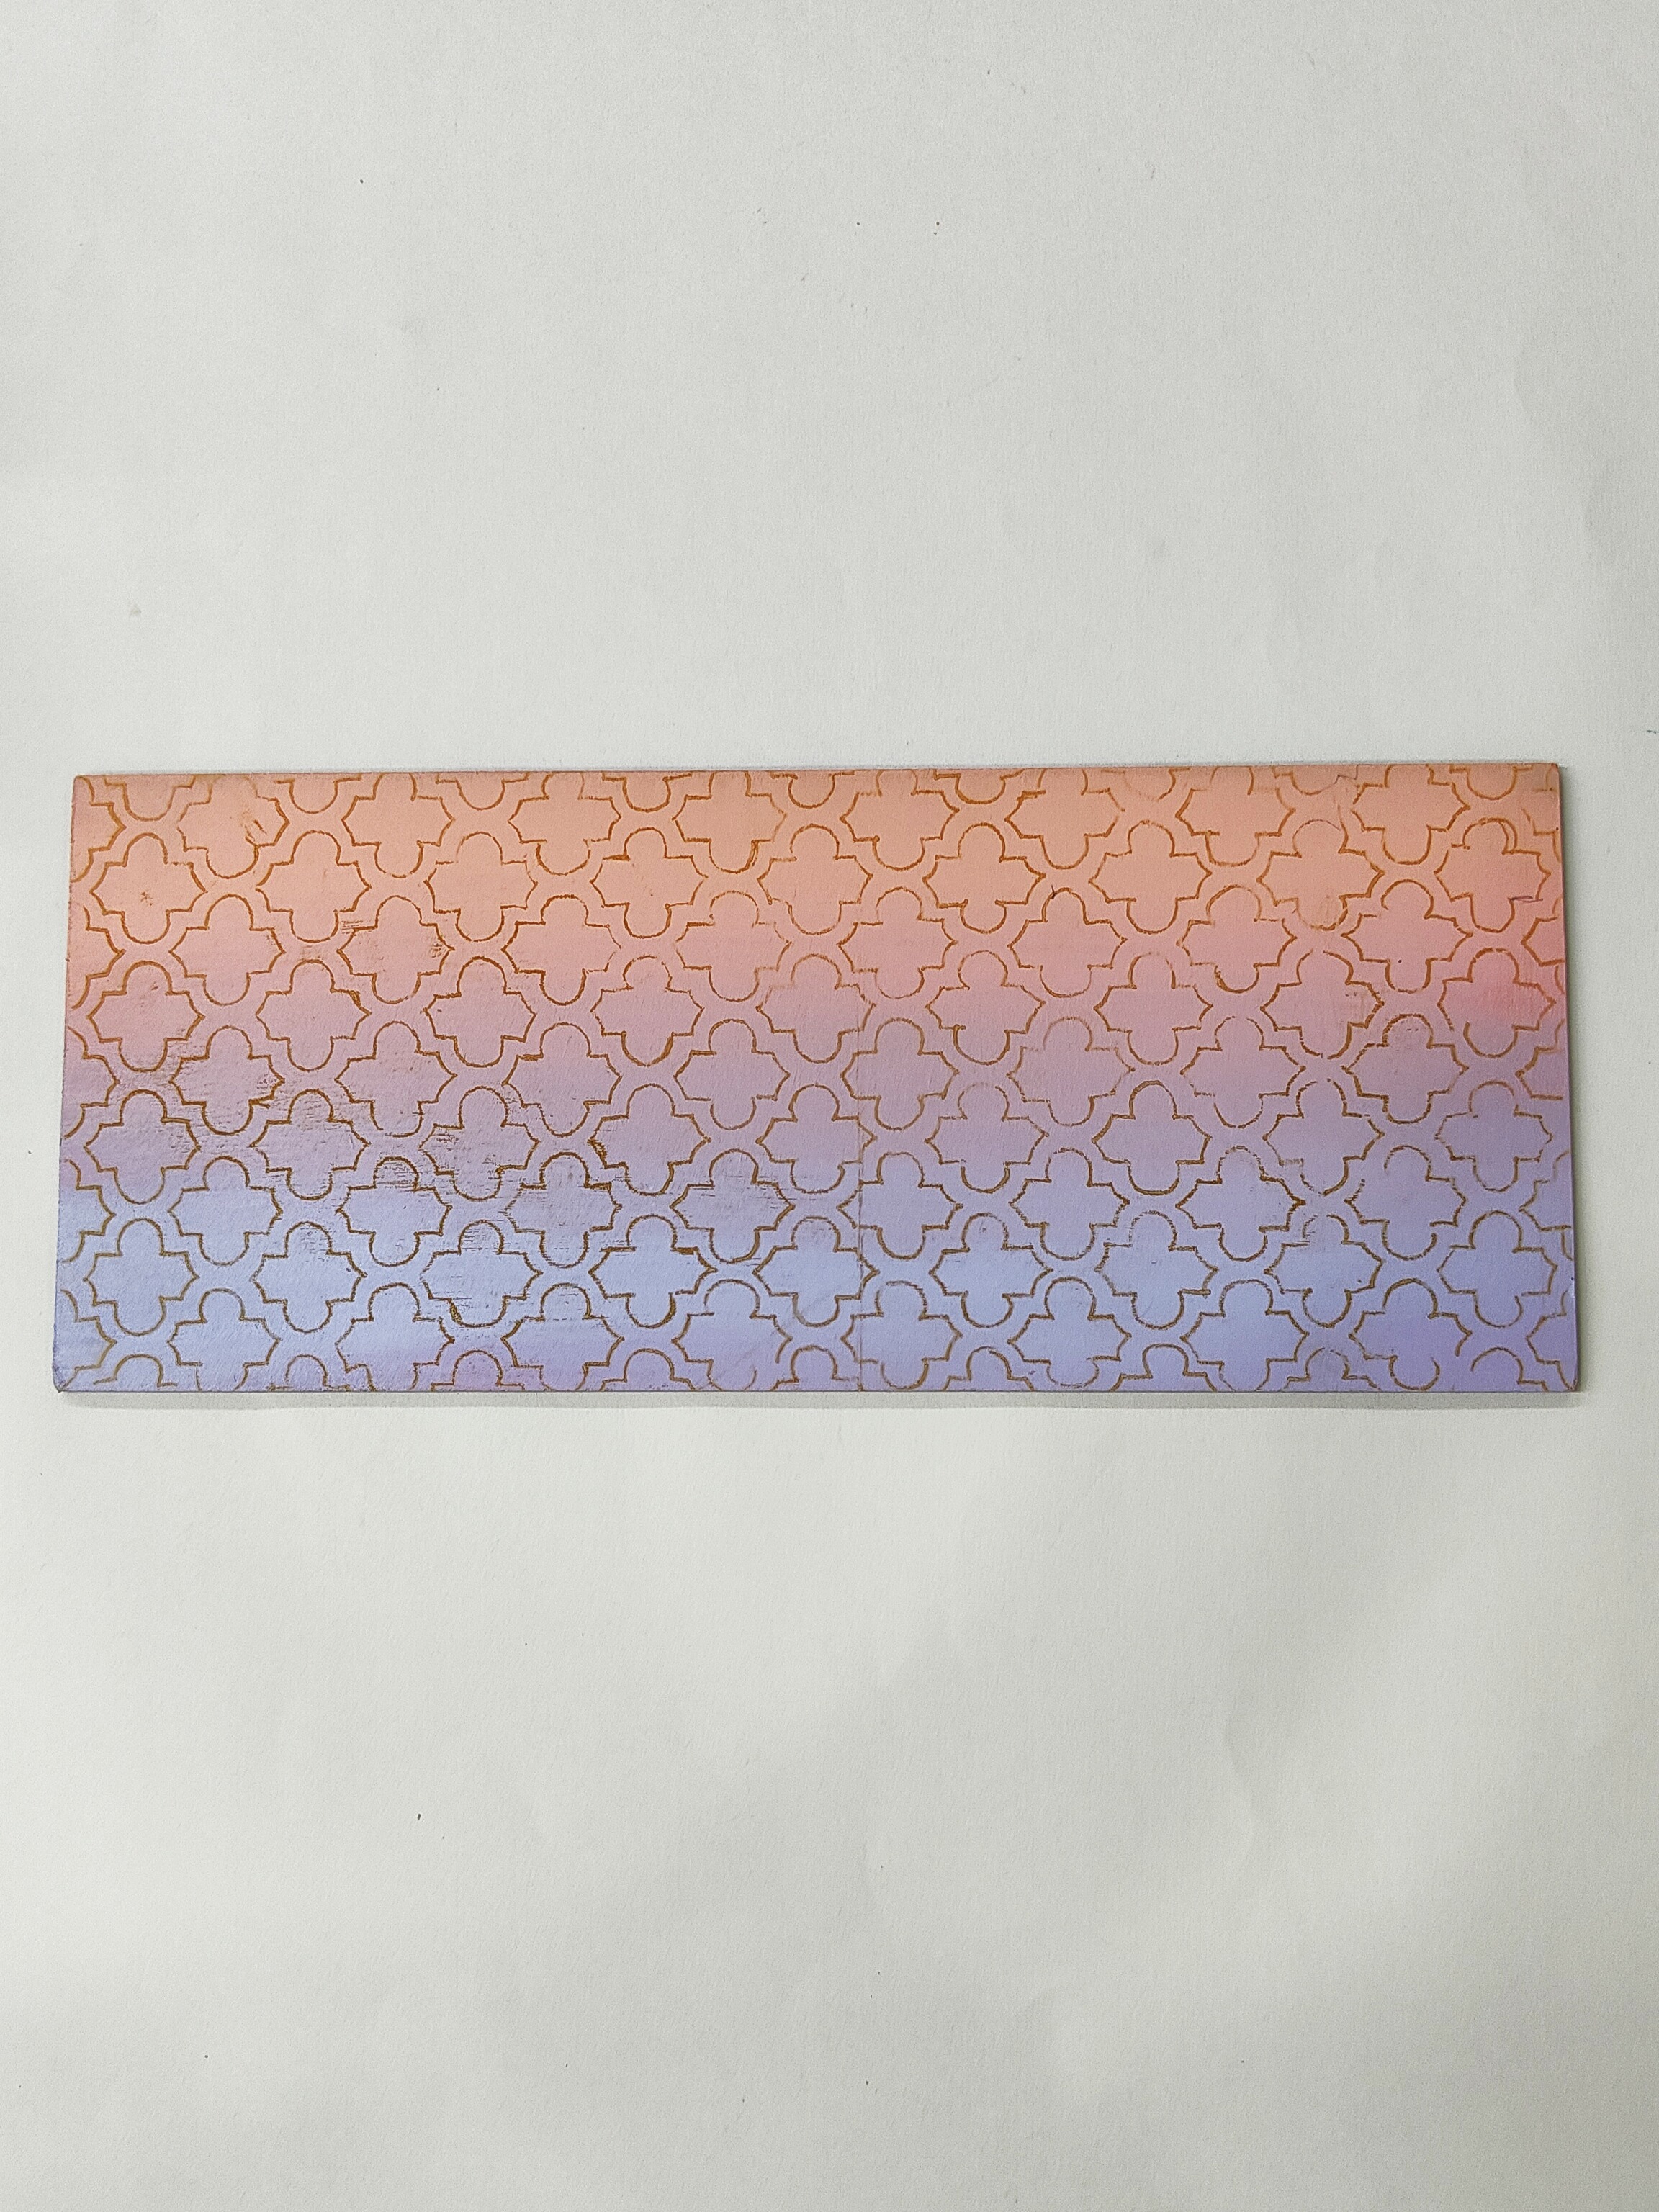
-
On A4 white paper, draw a jali (lattice) design that fits the size of the plank.
-
Trace this design onto the plank using yellow carbon paper.
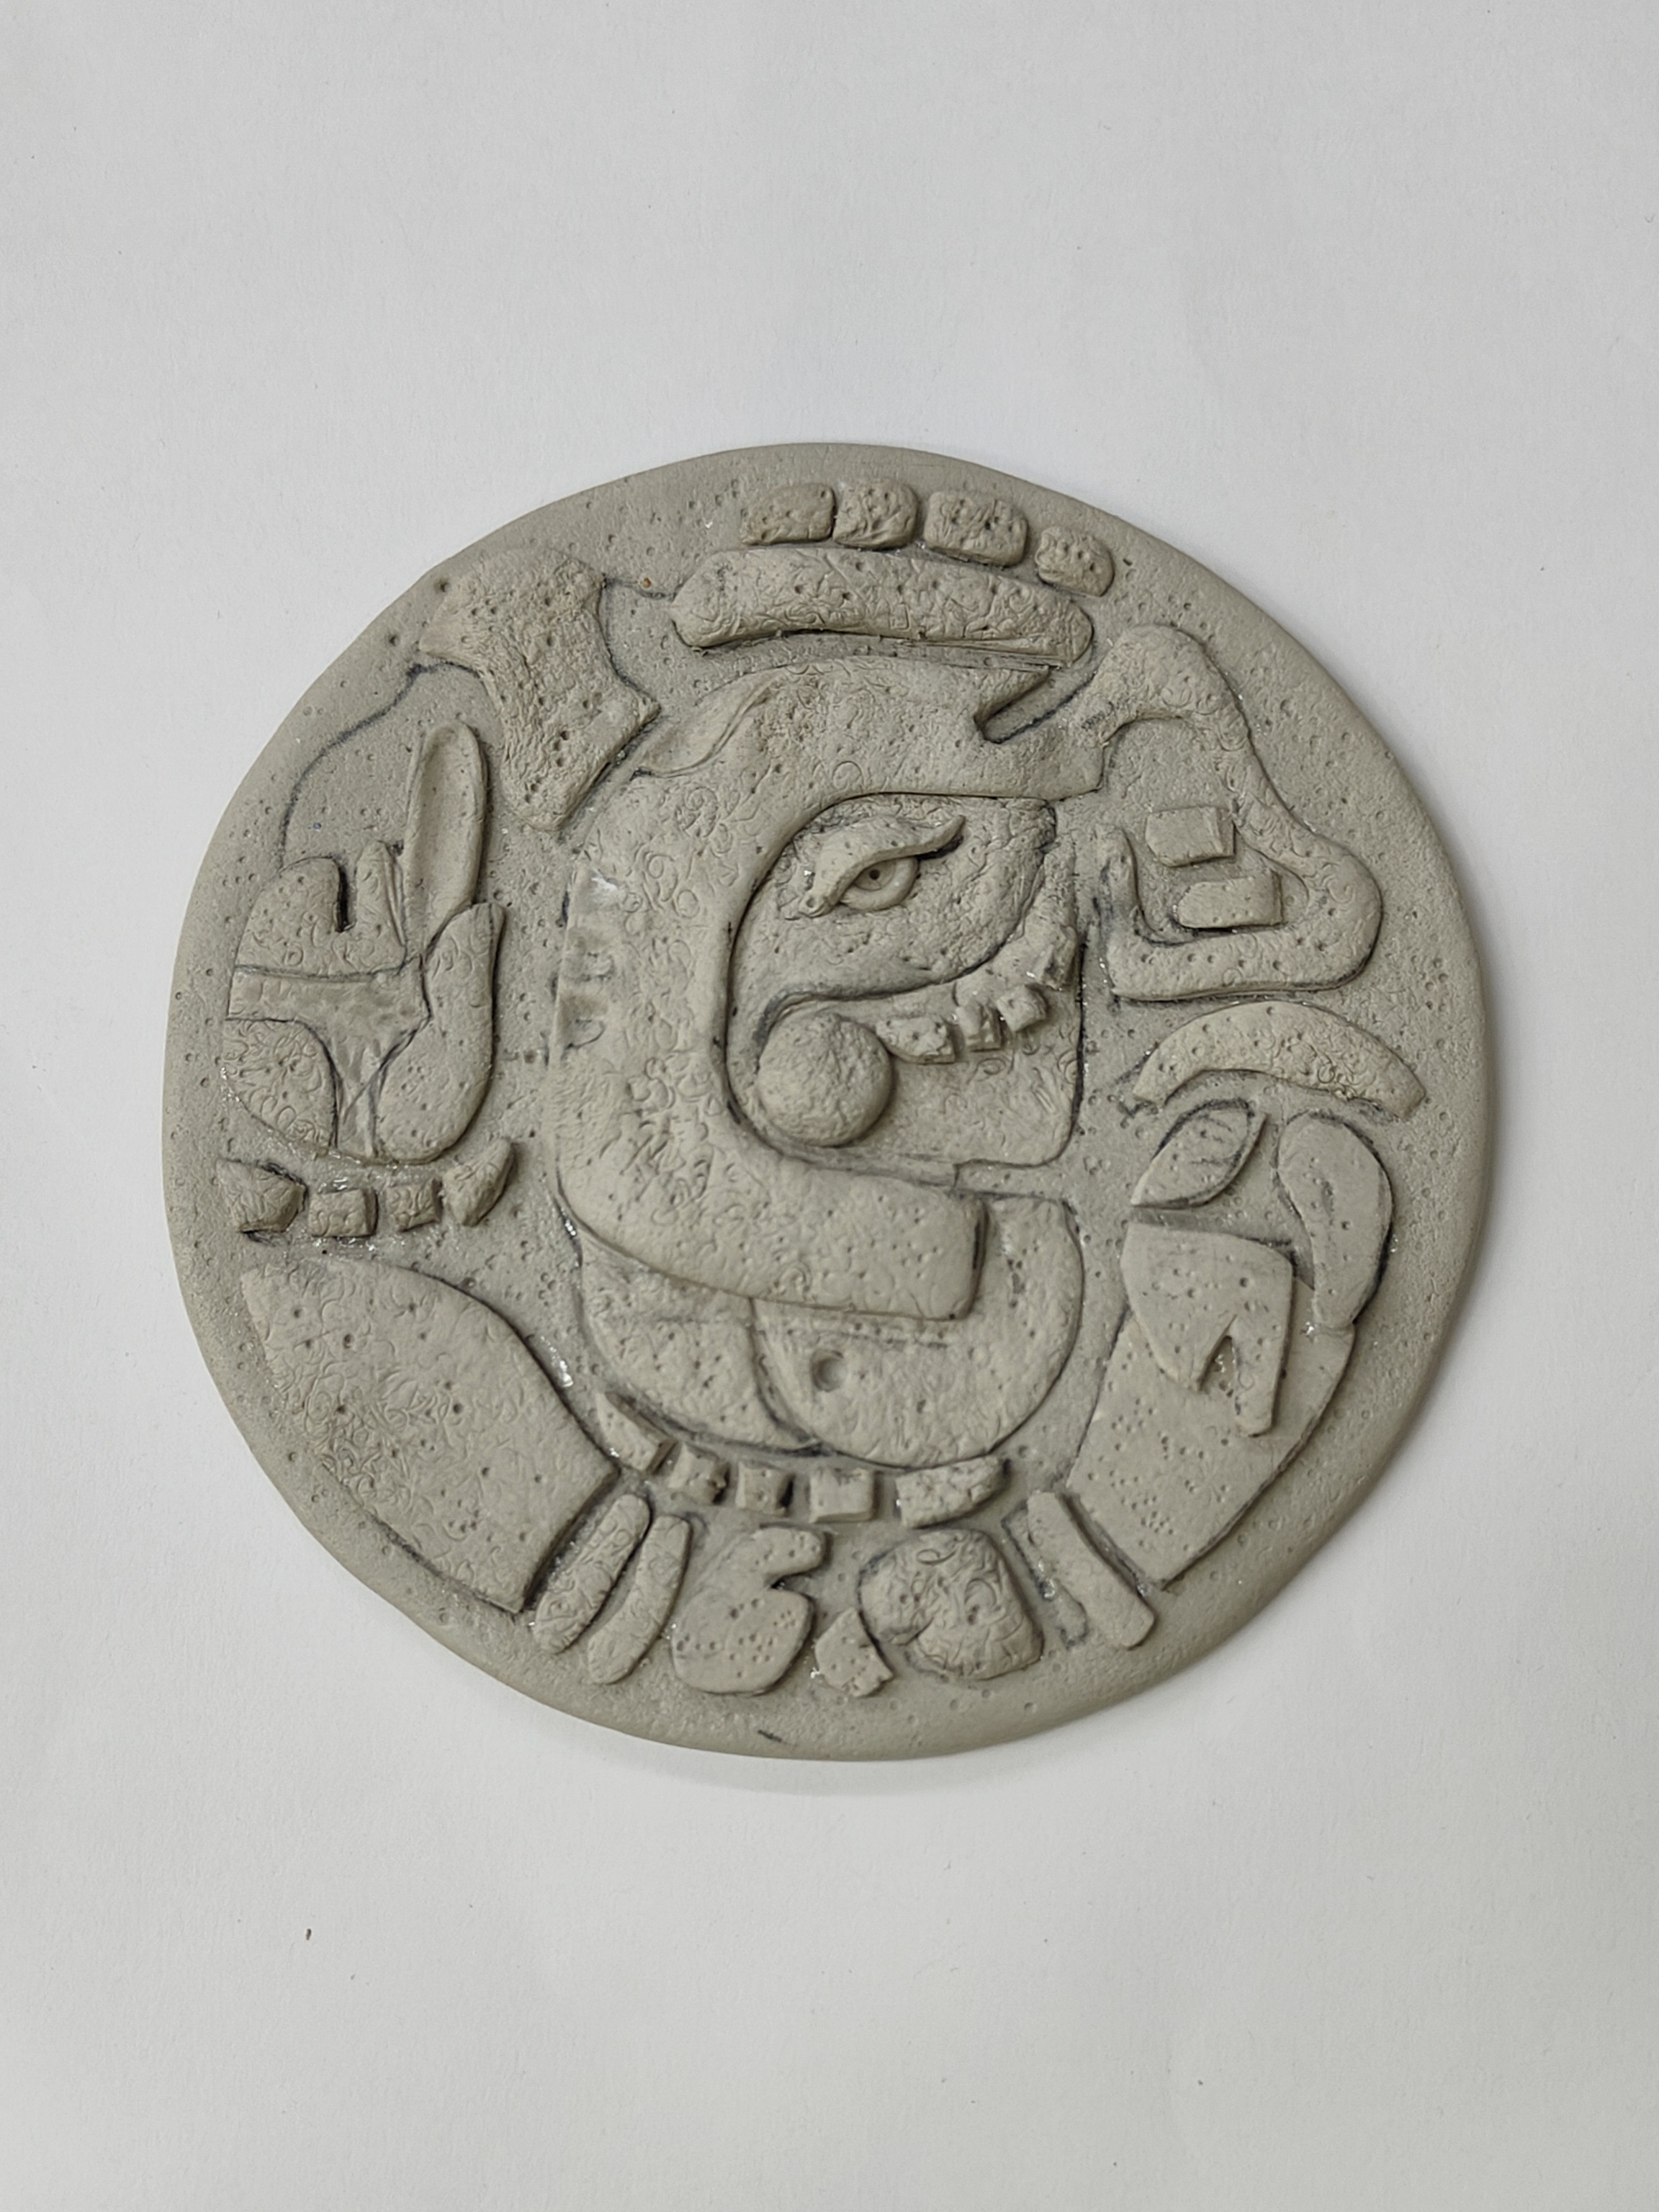
-
Mix Mouldit resin base and hardener to create an even dough.
-
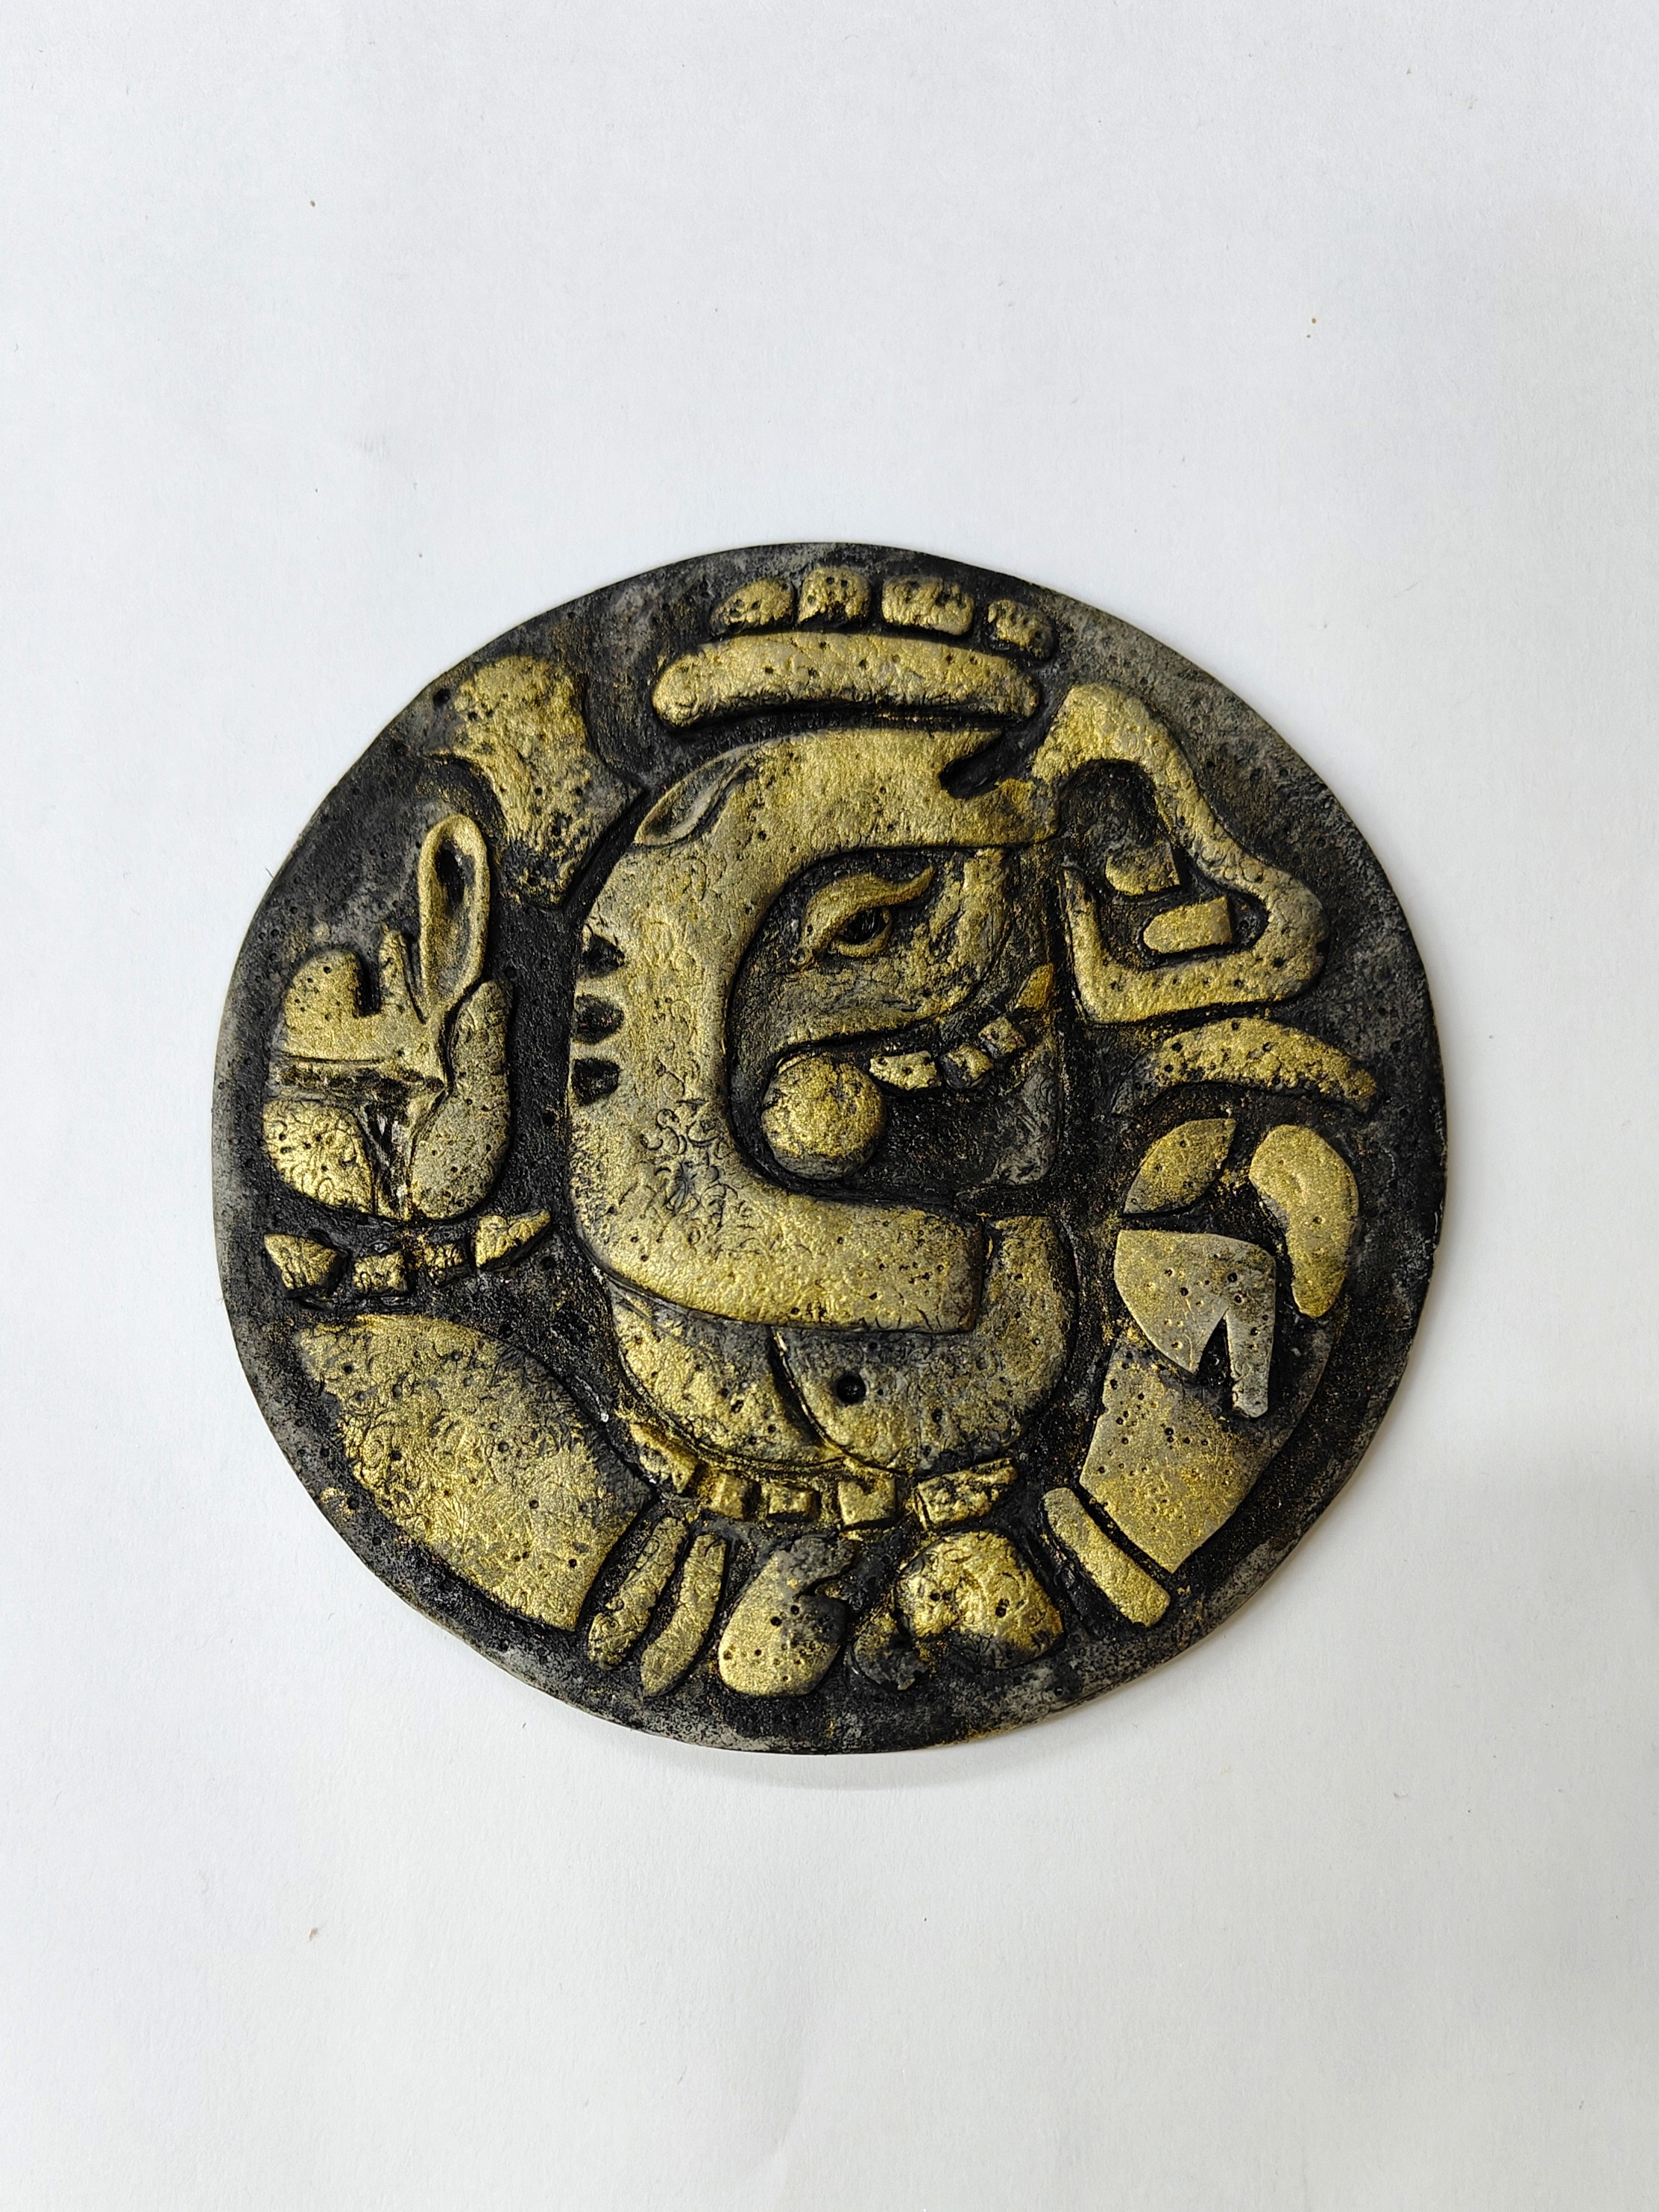
Shape the dough into a round disk representing Ganesha using clay modelling tools and stick it onto the plank with Fabric Glue.
-
Use steel wool to create texture on the Ganesha disk. Let it dry.
-
Paint the Ganesha disk with an antique gold effect using Acrylic Colours Black 02 and Pearl Metallic Gold 352.
-
Allow it to dry completely.
-
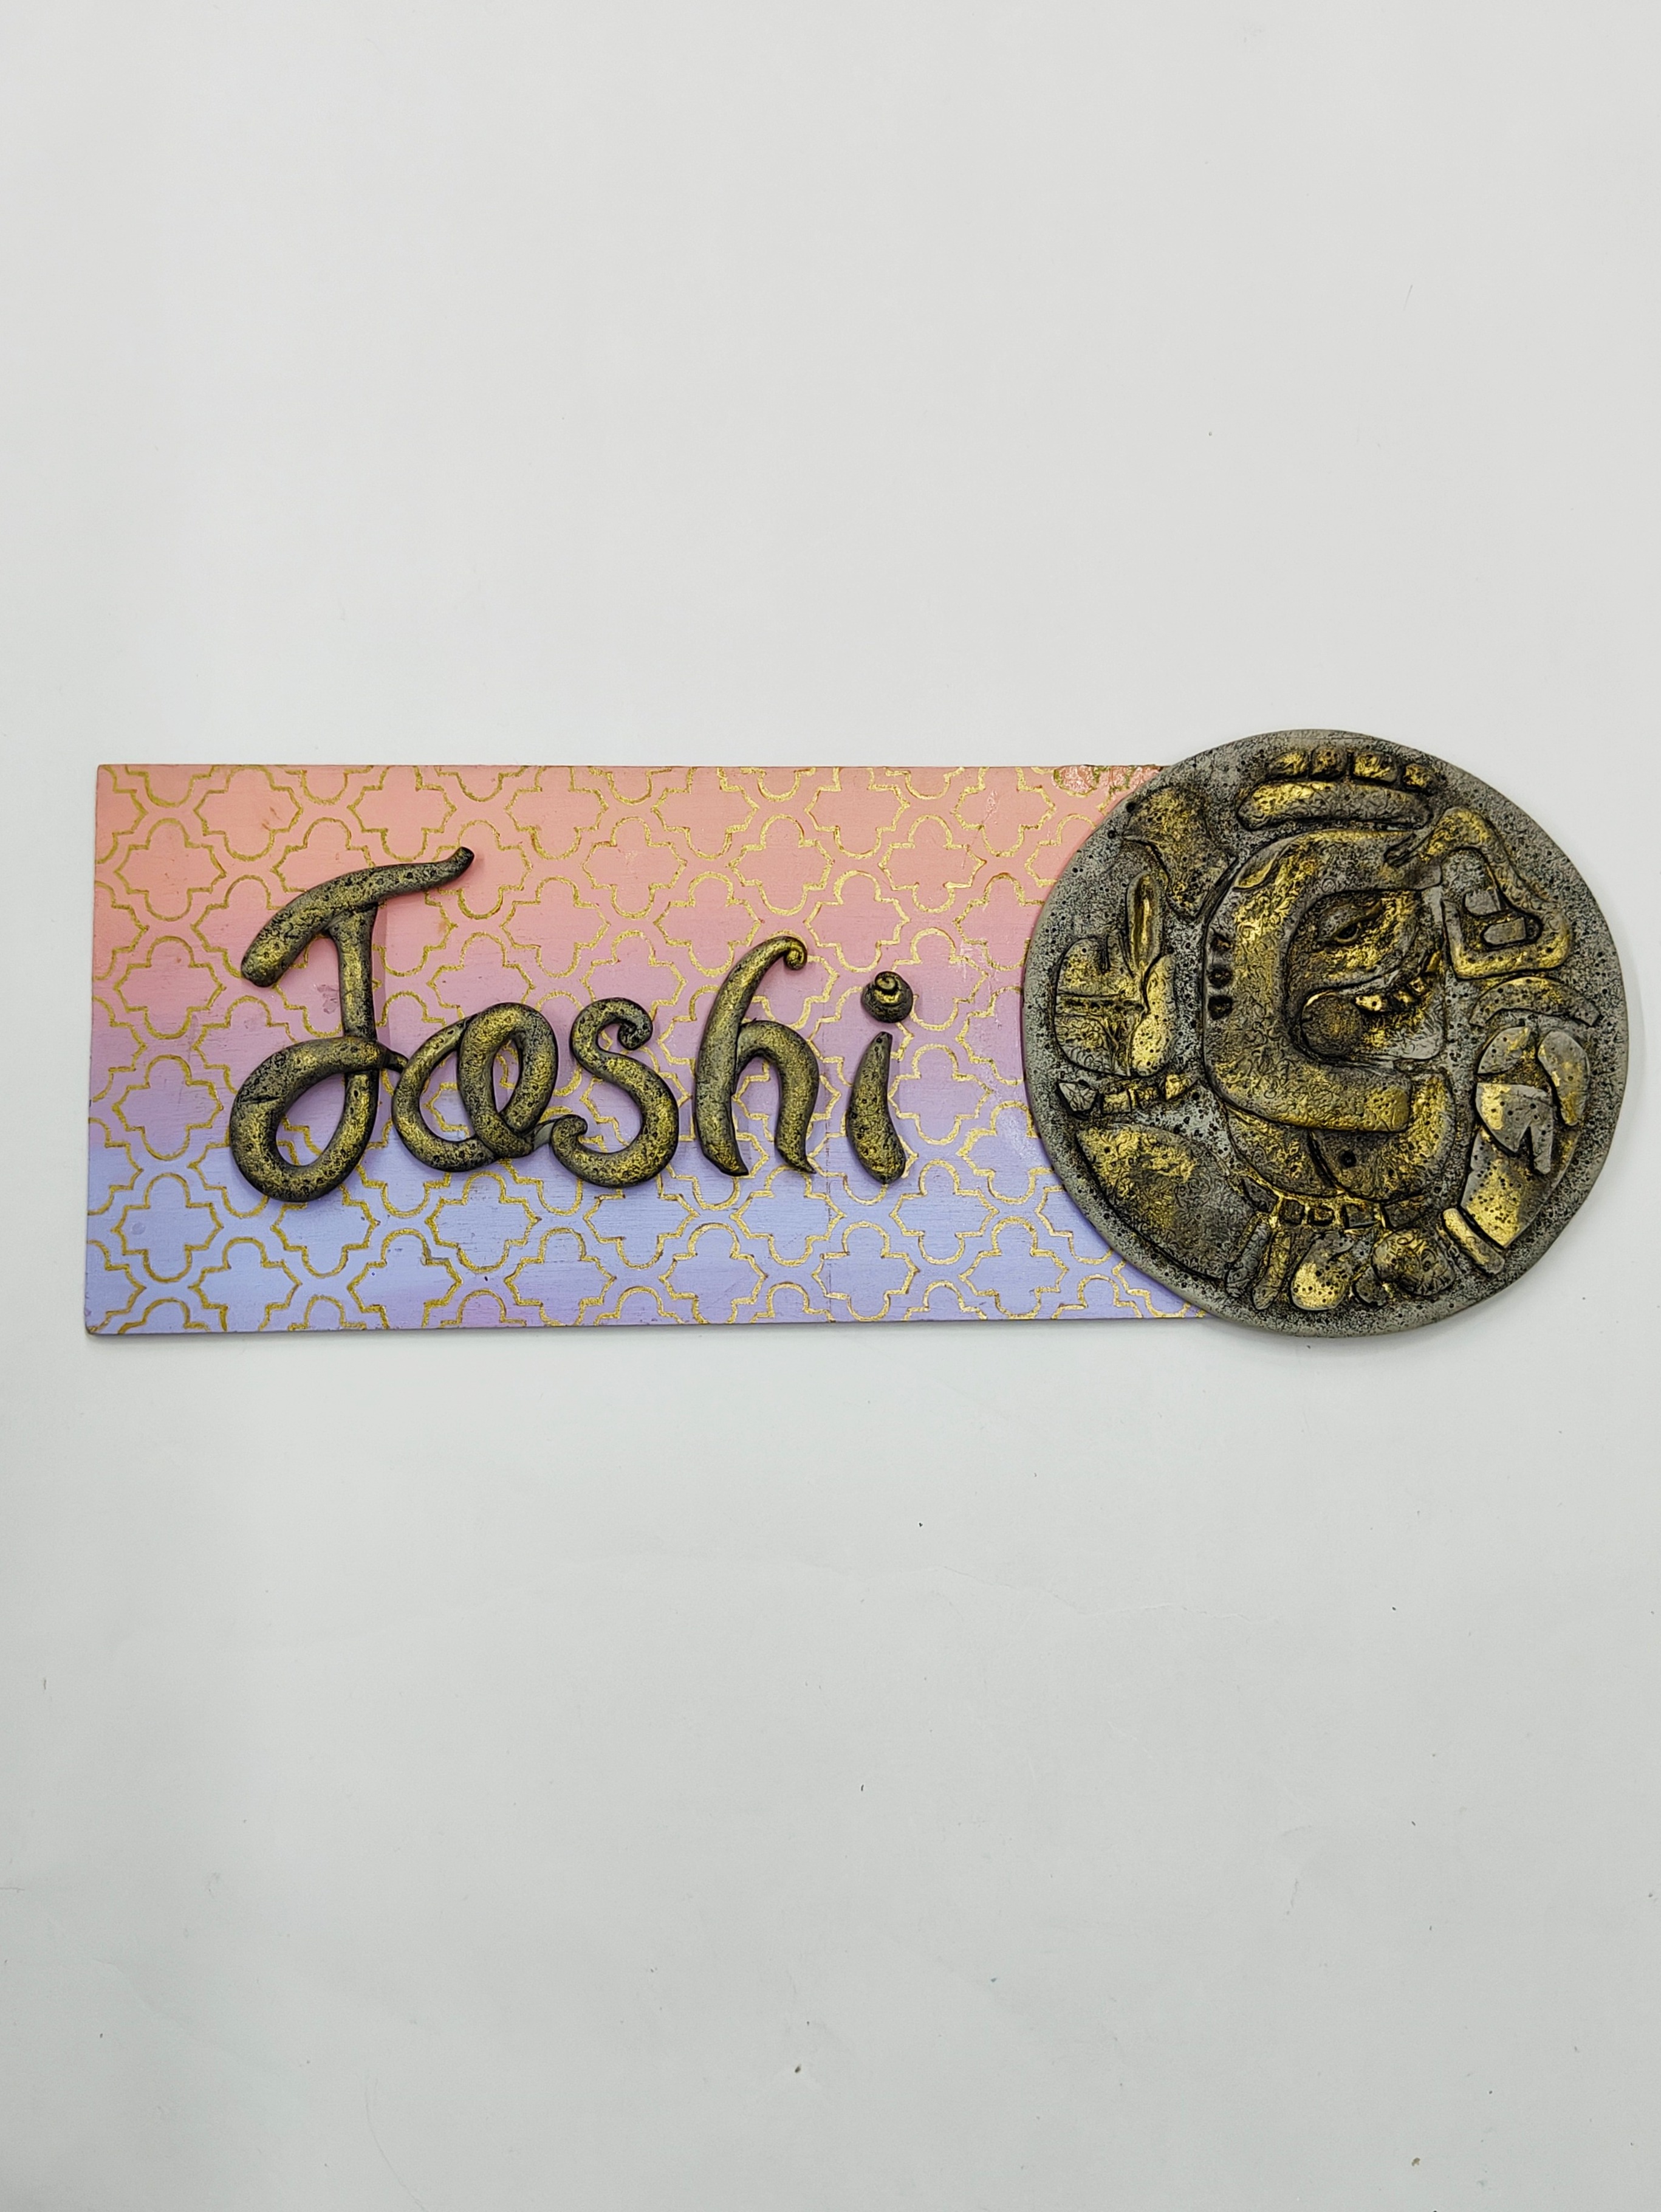
Roll some clay into a thick coil and shape it into the letters of your surname.
-
Add texture using steel wool.
-
Attach the letters and the Ganesha disk to the plank with Fabric Glue. Let it dry.

-
Attach a metal hook to the rear side of the plank using a small amount of clay and Fabric Glue.
-
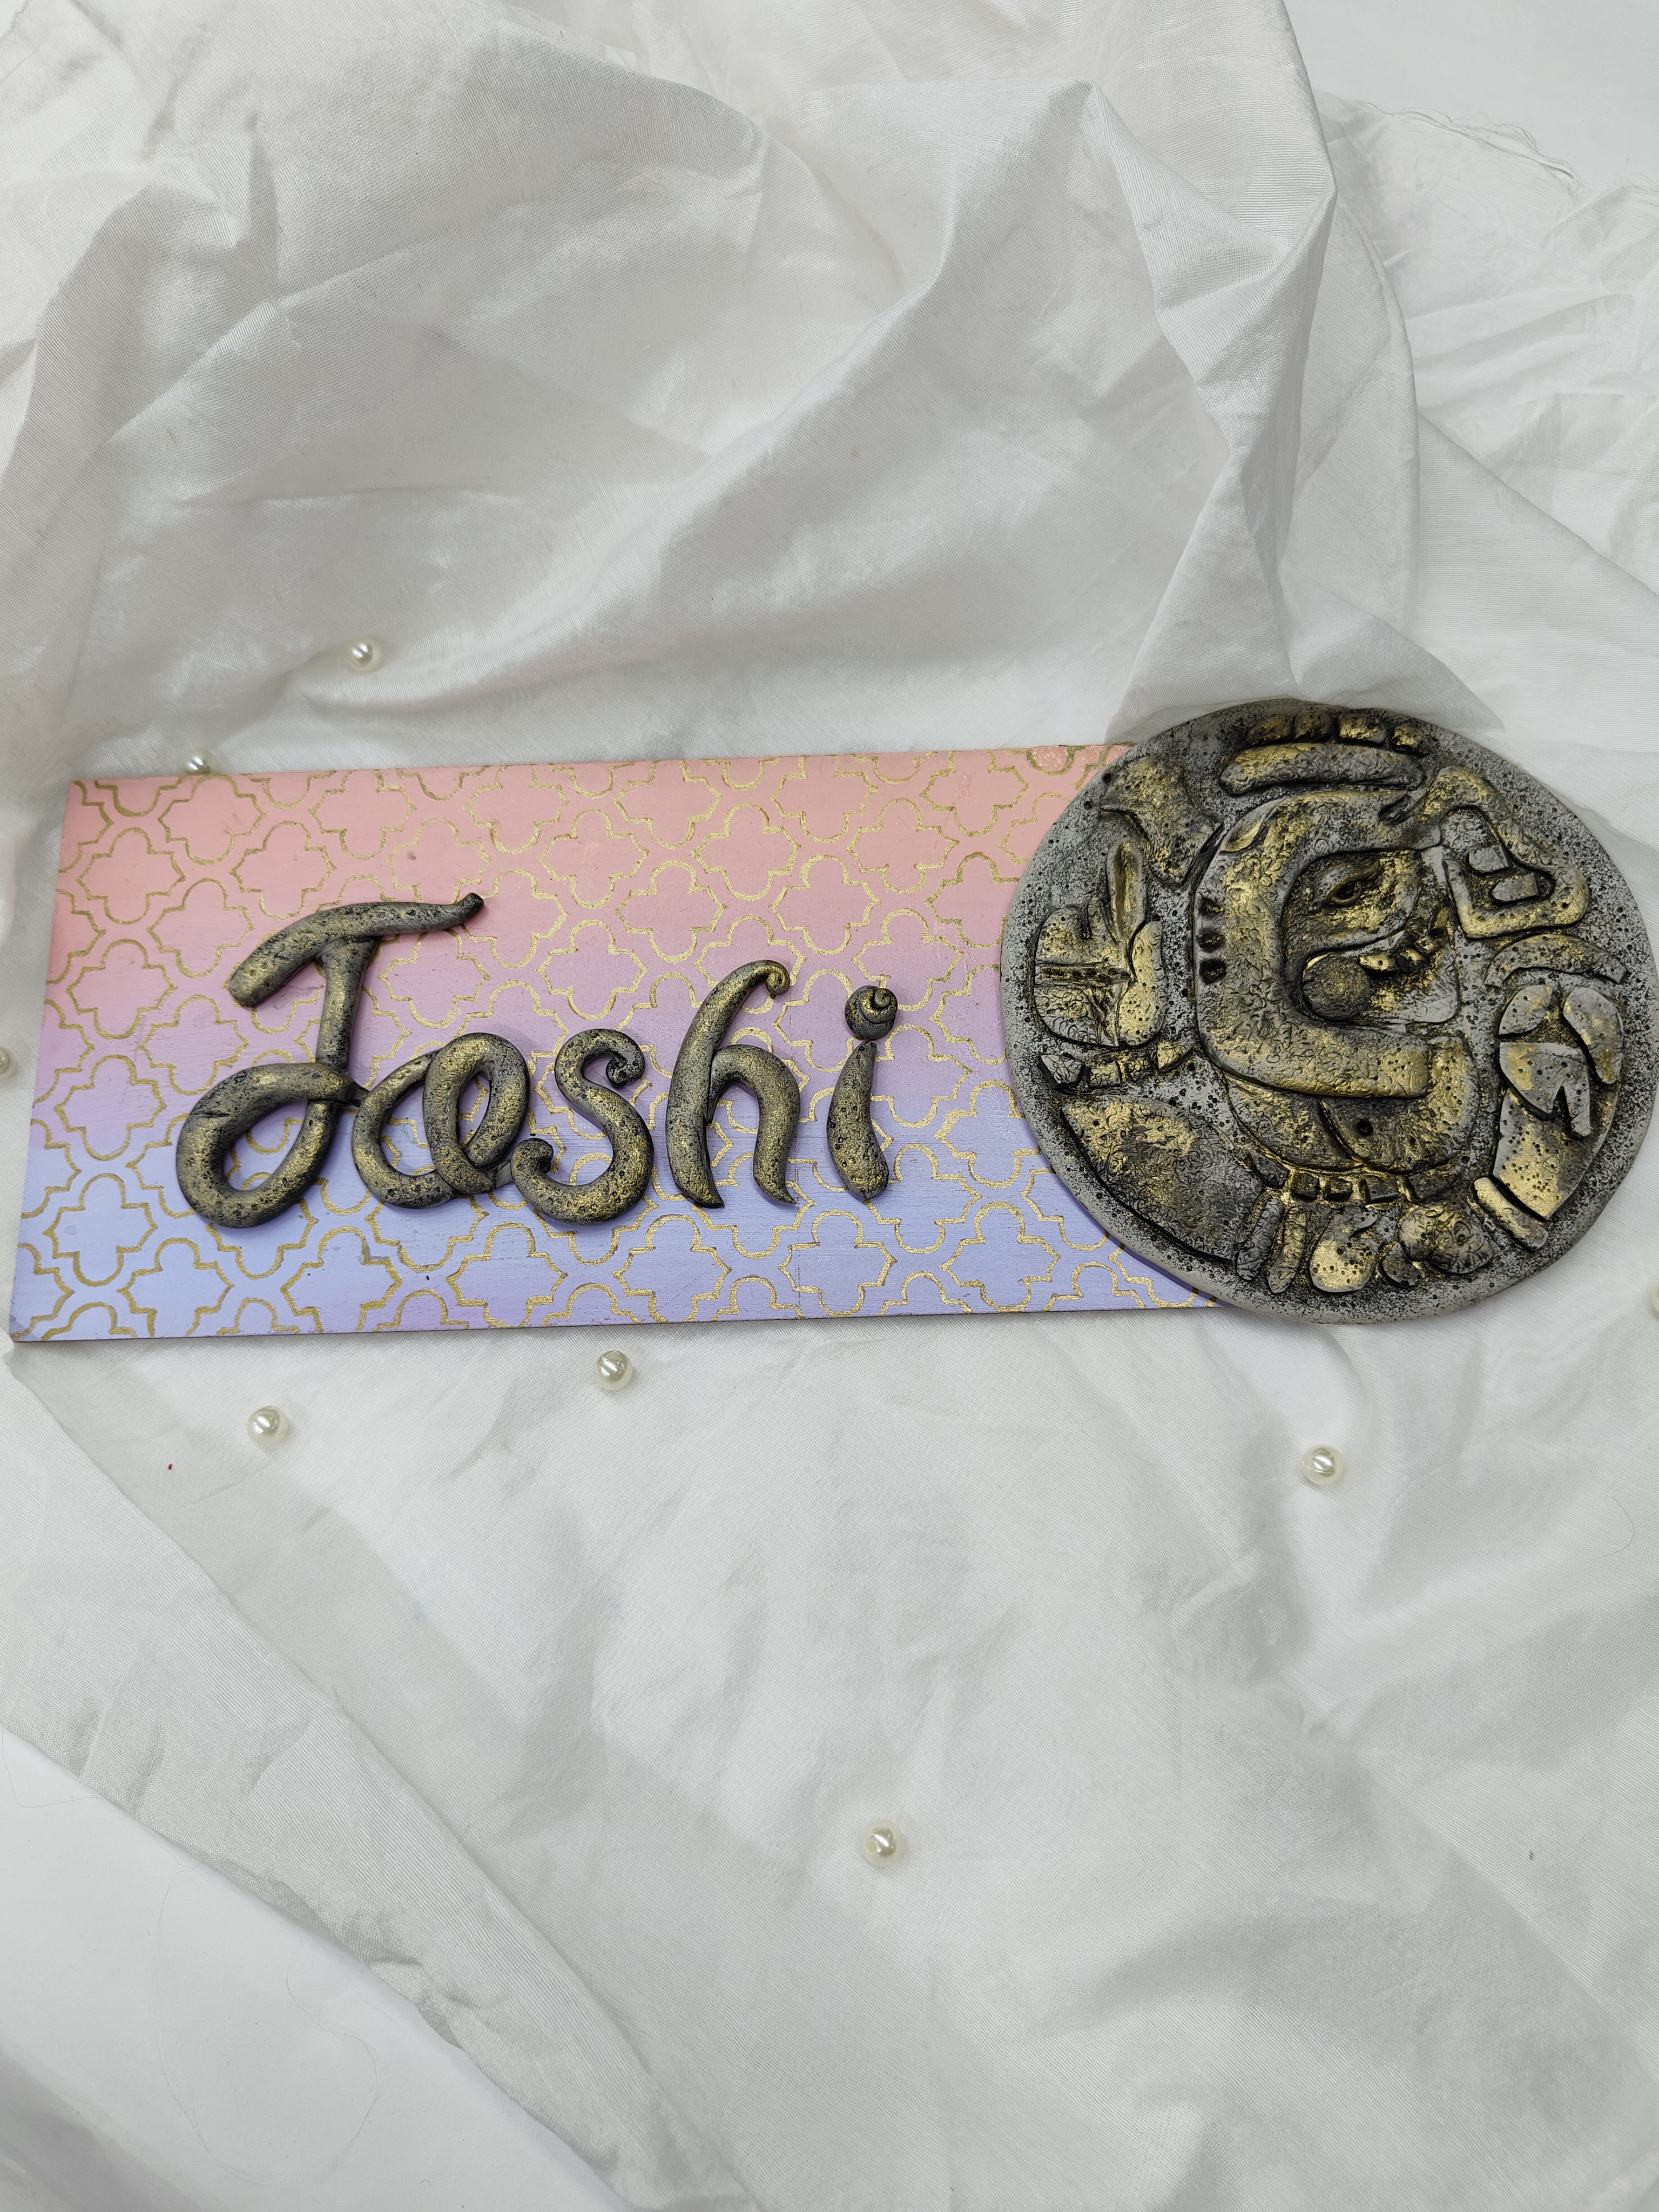
Your Ganesha nameplate is now ready to display!






 +91 99676 55545