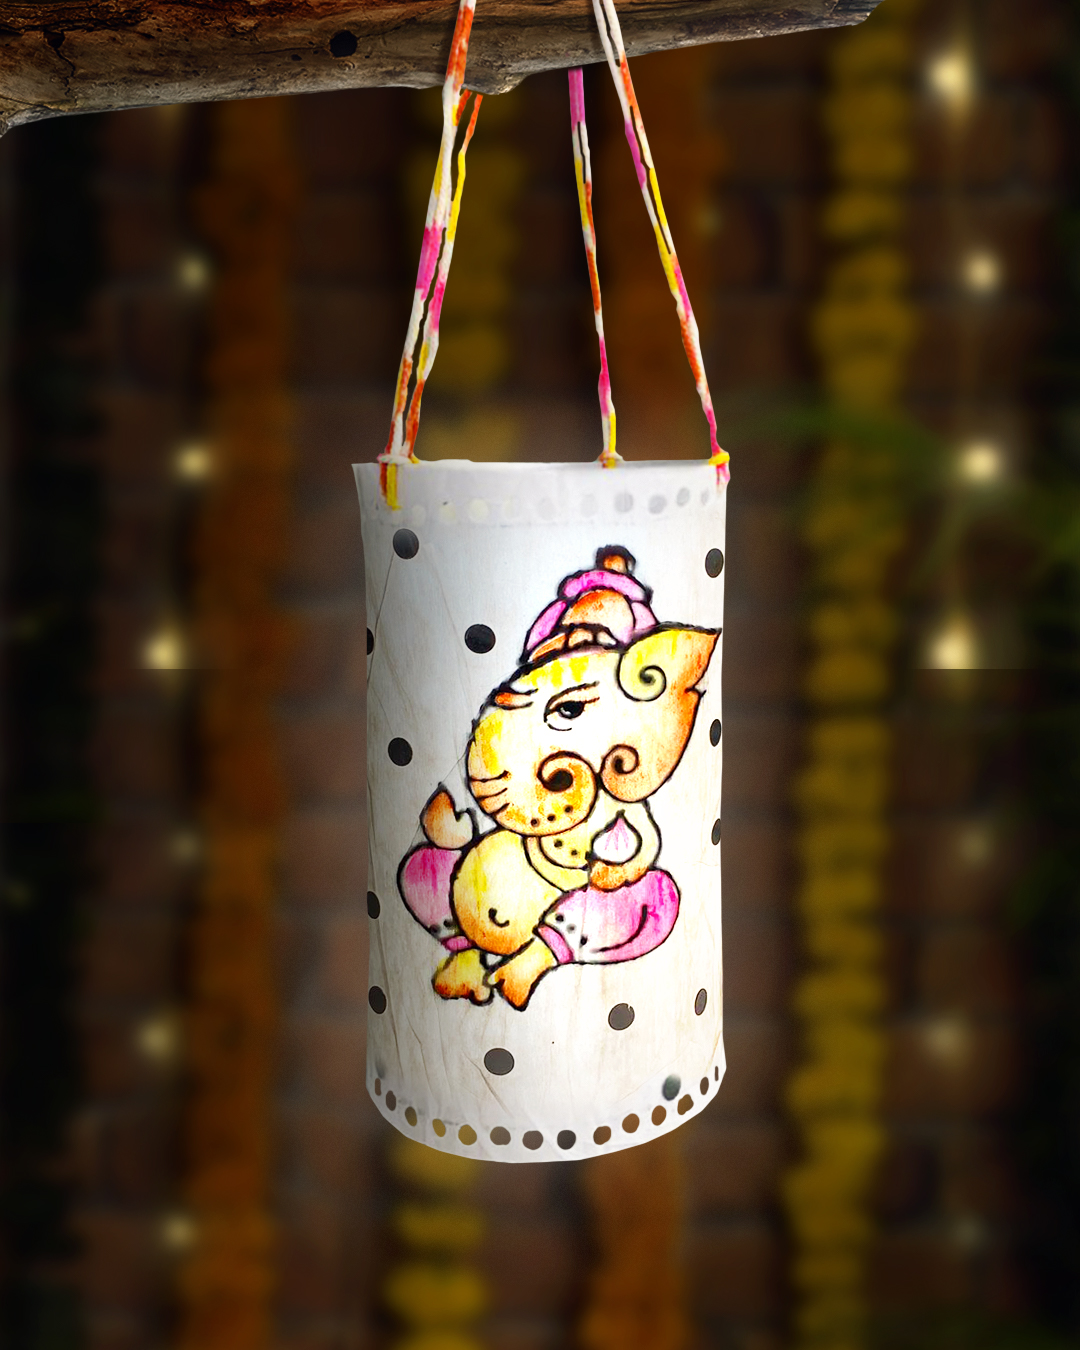
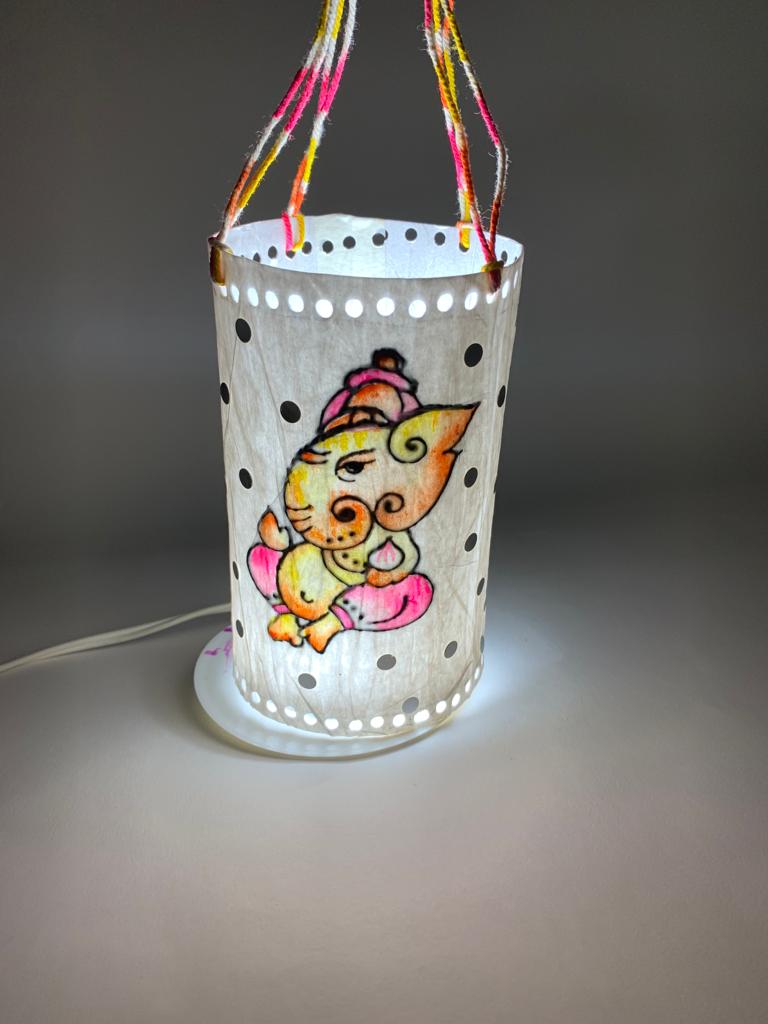
Ganesha Lantern

You Will Need:
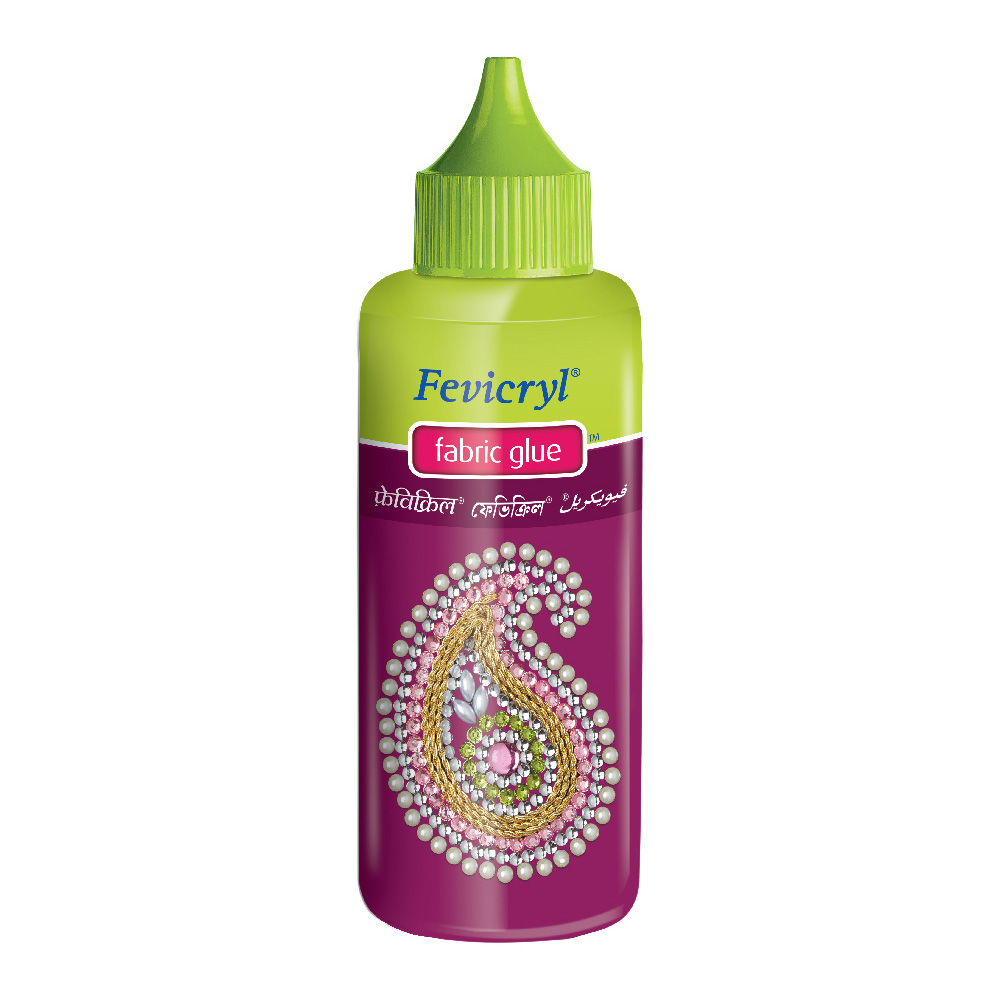
Fevicryl Acrylic Colours Golden Yellow 09, Orange 17, Neon Pink 018, Fevicryl Black 3D Outliner Black 708, Fevicryl Fabric Glue, Fine Art Brushes, Tissue Paper, Foil Mirrors, Glass Bottle (For Taking Mould), Red Wooden Beads, Cobbler Thread, Scissors, Colour Palette, Water Container
Product Used:

Description :
A decorative handmade Lantern with Ganesha paining for the festival of lights. This is a perfect and an apt addition to your home décor this festive season.

We are going to make the Ganesha lantern using tissue papers and paint Ganesha on it. Take a plain glass bottle for the mould. Take the tissue paper and place the layers on the glass bottle base using Fevicryl Fabric Glue and little amount of water. Let it dry completely. Refer to the image.

Draw a simple Ganesha on the tissue base. Refer to the image.

Paint the outline of the Ganesha with Fevicryl Black 3 D Outliner Black 708. Let it dry.

Cut the tissue base and remove it from the glass bottle. Paint the Ganesha with Fevicryl Acrylic Colours Golden Yellow 09, Orange 17 and Neon Pink 018. Let it dry. Enhance the area around the Ganesha by sticking round foil mirrors with Fabric Glue. Let it dry. Pierce the holes on the top and the bottom side edge with single punch. Refer to the image.
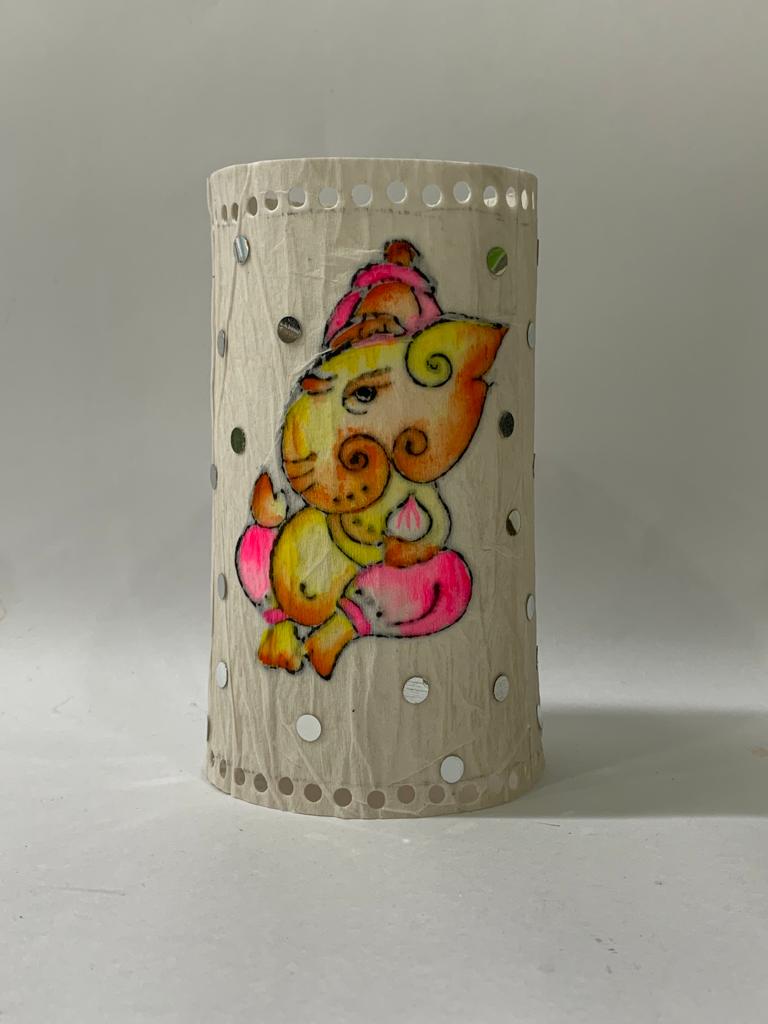
Shape the by joining the ends using Fabric Glue, let it dry. Refer to the image.
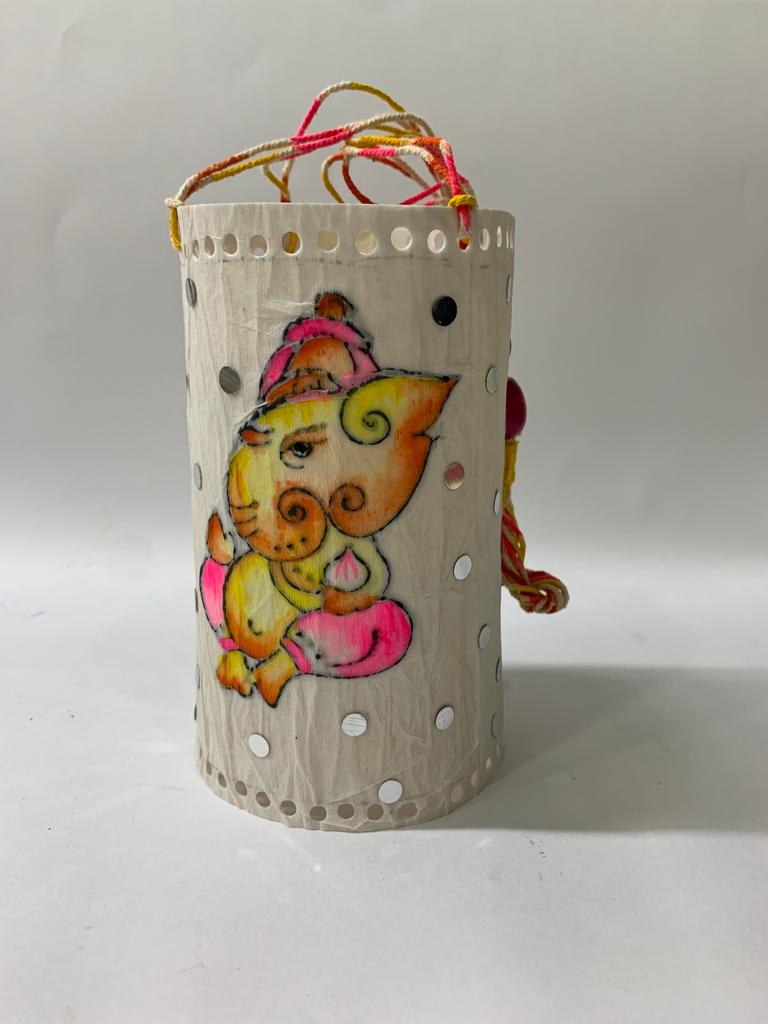
Take the cobbler thread, paint the thread with similar shades as of the Ganesha design. Let it dry.

Attach the painted cobbler thread and the red wooden bead to the cylindrical lantern neatly. Refer to the image.


 +91 99676 55545