Easter Egg Danglers With Quilling
You Will Need:
Fevicol MR, Quilling Strips, Quilling Tool (Quill On – Battery Operated Quilling Tool), Scissors
Description :
Make this beautiful egg dangler for this Easter season. It’s made by rolling small multiple coils in lovely pastel coloured paper strips and assembled in the egg shape, enhance it further with pink ribbon bow and fancy spirals
STEP 1
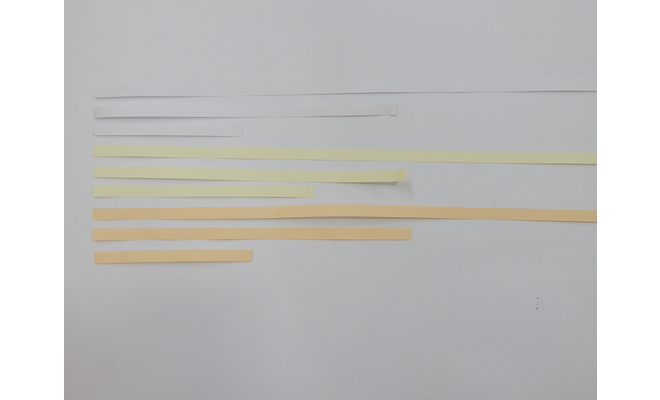
Take white, light yellow and light peach coloured strips for one Easter egg
The strips are cut in different lengths to get both small and big coils
STEP 2
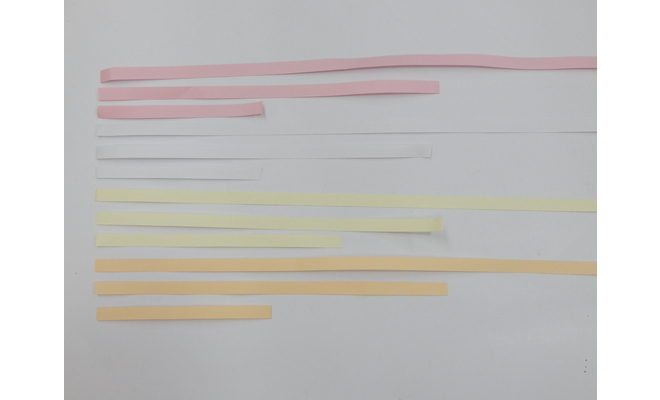
The other egg is made using white, light yellow, light peach and baby pink coloured strips cut in a similar way as mentioned in step 1
STEP 3
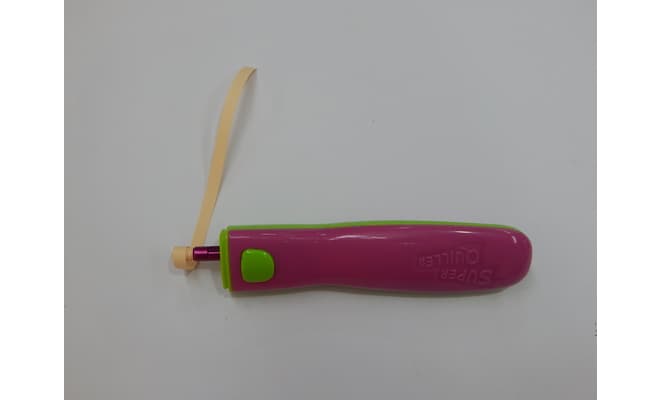
Coil the strips on the quilling tool. The one that we have used here are on the QUILL ON which is a battery operated tool
STEP 4
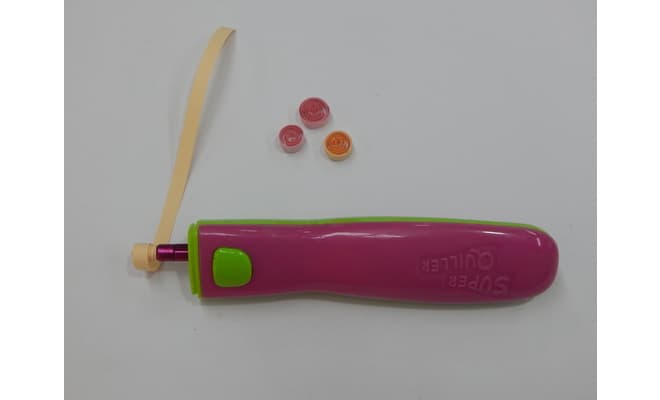
Make small and big loose coils as shown
Stick the ends of the loose coils with Fevicol MR
STEP 5
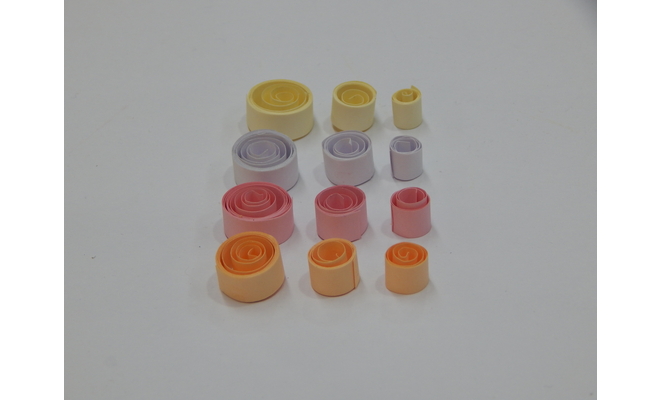
The small and big loose oils will look like this
You will need about 70 to 80 such loose coils in assorted colours to make one Easter egg that approximately measures about 5” inches in height and proportionately wide
STEP 6
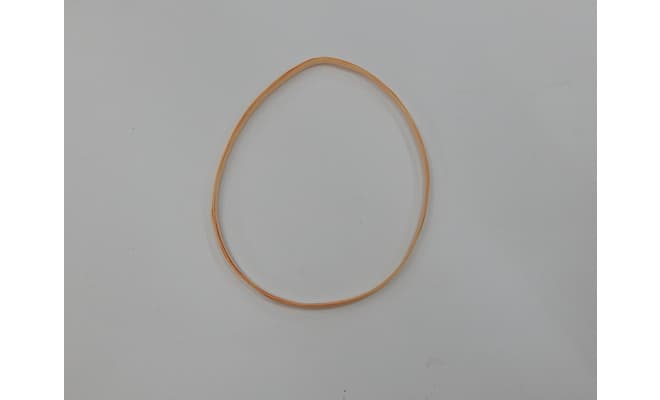
Make a ring coil using a circular box or a container with a diameter of about 4” - 5” inches
Remove the ring coil from the mould
Shape the ring coil into an egg shape
STEP 7
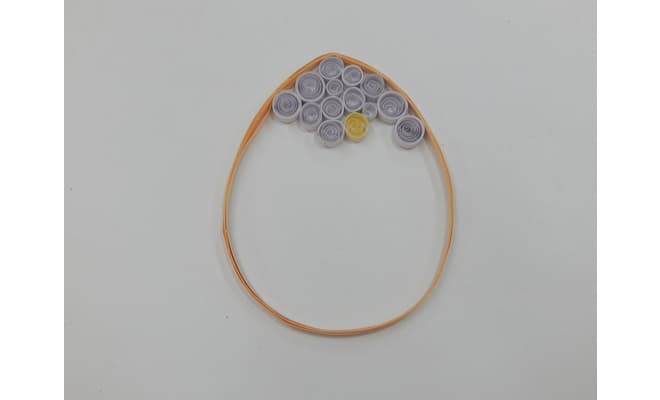
Arrange and stick the loose coils rolled, in the egg shape ring coil using Fevicol MR
Start from the top of the egg with white coils
STEP 8
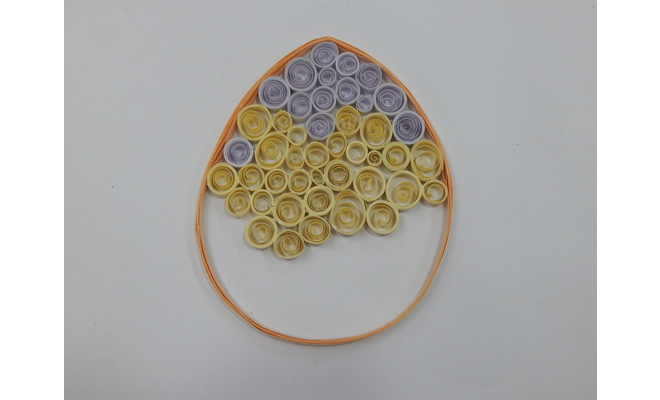
Then coming down in a gradation with yellow and peach coloured coils
STEP 9
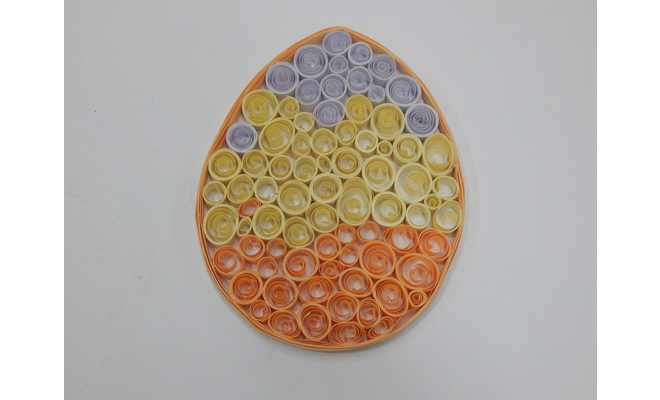
The completed egg will look like this
STEP 10
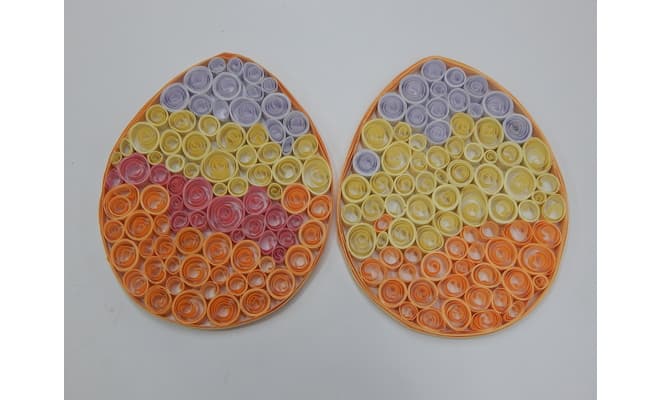
Make a set of two such Easter eggs to make the dangler
STEP 11
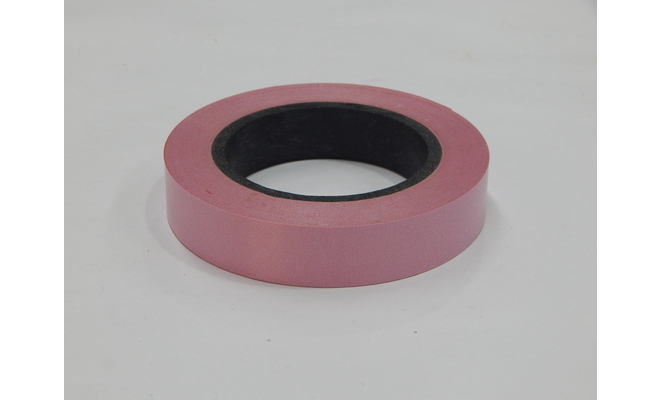
Take a pink plastic ribbon, similar to the ones that you would use for gift wrapping
STEP 12
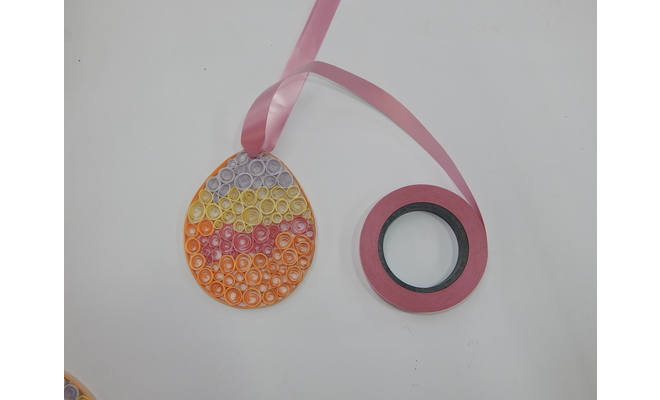
Make a loop for hanging the eggs using the ribbon
STEP 13
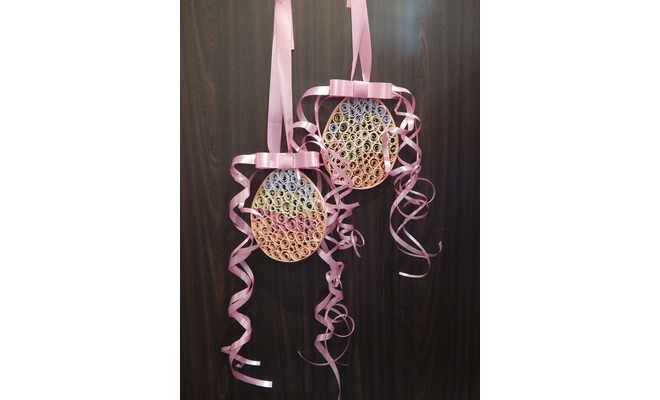
Make a pretty bow with the ribbon and staple or stick it on the ribbon loop on top of the egg
Tear the ribbon into thinner strands and curl them using a pencil to complete the look





 +91 99676 55545