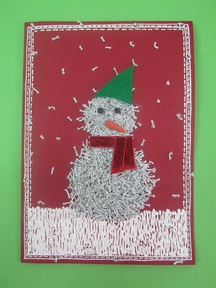
Diy Easy Snowman Christmas Cards
You Will Need:
Fevicryl 3D Cone Outliners White 707, Fevicryl Fabric Glue, Amos I Clay - Red, Yellow And Black,A4 Sized Red Coloured Card Paper, A5 Sized Green Coloured Card Paper, Pencil, Ruler, Compass, Scissors, Thick White Or Silver Coloured Thread, Velvet Lace Quarter Meter
Description :
Gift this beautiful handmade snowman card made using Fevicryl 3D Outliners and thick silver thread, to share happiness with you friends and family.
STEP 1
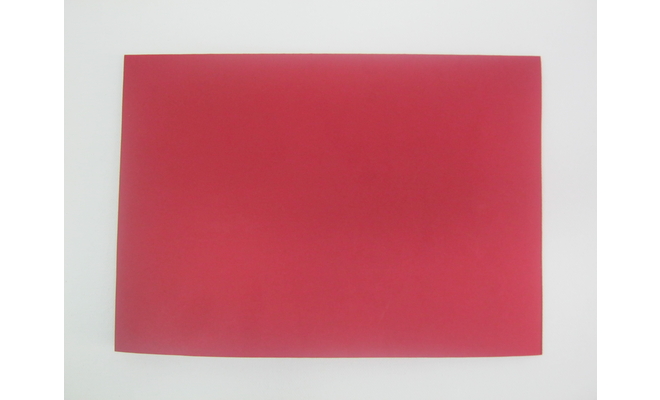
Take an A4 sized red coloured card paper
STEP 2

Fold it into half to make a card
STEP 3

Draw a circle of about 3 inches in diameter towards the lower edge of the card for the body of the snowman
The circle drawn for the head of the snowman is of about 2 inches in diameter
STEP 4

Take a thick silver or white thread
STEP 5

Cut the thread in small pieces measuring about 1cm in size
You will need a lot of them to cover the snowman
STEP 6

Spread Fabric Glue on the snowman drawn and spread the cut threads evenly on the glue
Stick single threads around the snowman to represent the snowflakes
Leave it to dry
STEP 7
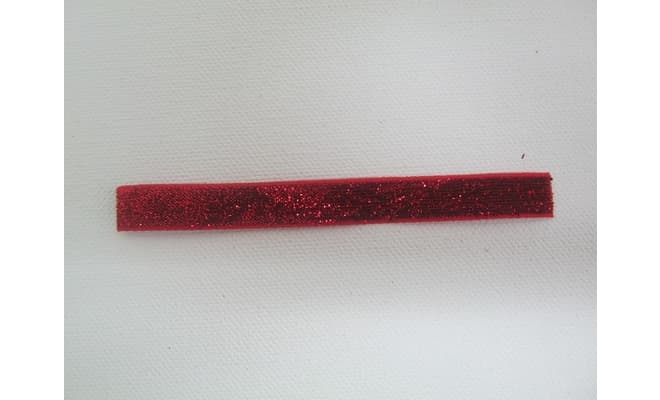
Cut a small piece of the velvet lace in the size of the neck of the snowman and in the appropriate size for the bow
STEP 8
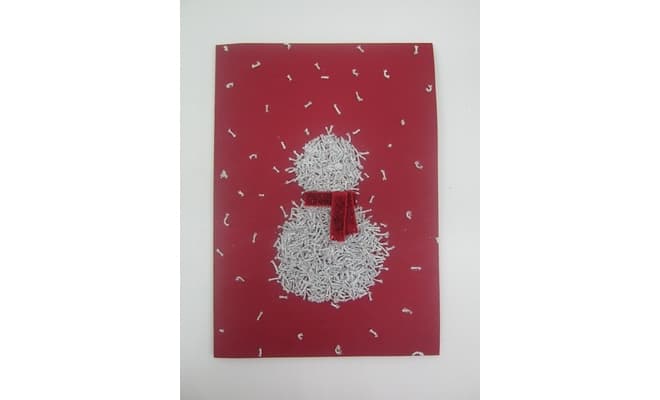
Stick the lace as shown in the image using Fabric Glue
STEP 9
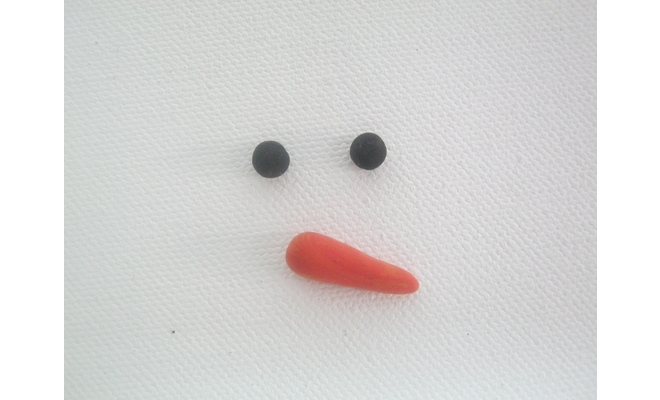
Take very little black coloured I Clay to make tiny balls of clay for the eyes
To make an orange coloured nose mix Red and Yellow coloured I Clay in equal quantities
Take the Orange Clay and roll it into a cone for the nose in an appropriate size
STEP 10
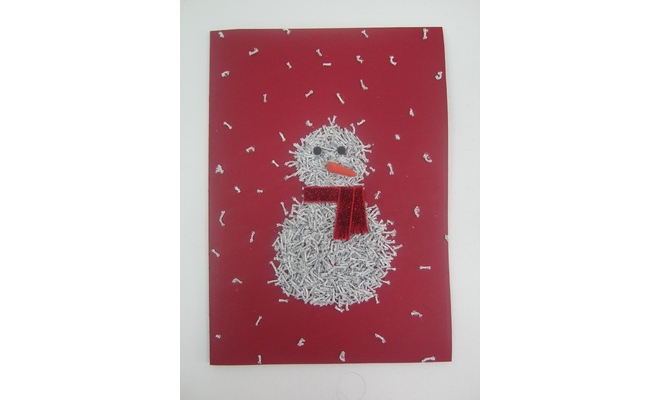
Stick the eyes and the nose in their proper places using Fabric Glue
Leave it to dry
STEP 11
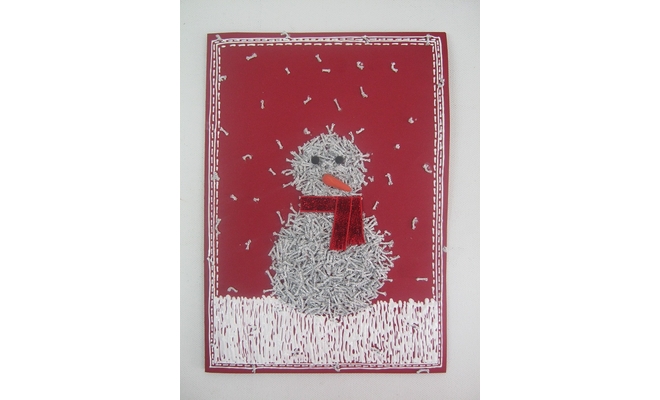
Draw a linear border on the card using 3D Cone Outliners - White
The border is a combination of lines and dotted lines
The snow below the snowman is drawn using 3D Cone Outliners - White
Leave it to dry
STEP 12

Cut a cap in green coloured card paper in an appropriate size for the snowman and stick it using Fabric Glue


 +91 99676 55545