Clay Vase Tree


You Will Need:
Fevicryl Acrylic Colours Black 02, Chrome Yellow 03, Crimson 04, Dark Green 06, Prussian Blue 19, Leaf Green 62, Fevicryl Mouldit, Fevicryl Fabric Glue, Fine Art Brushes, Clay Carving Tools, Rolling Pin, Paper Cutter, Waste Plastic Bottle, Colour Palette, Water Container.
Product Used:

Description :
Create a charming tree vase using clay modeling techniques. This project involves sculpting a tree around a plastic water bottle, adding foliage, crafting a clay bird, and painting the entire piece with vibrant acrylic colors.
STEP 1 : Prepare the Clay and build the shape
- Mix Fevicryl Mouldit resin base and hardener thoroughly to create an even dough.
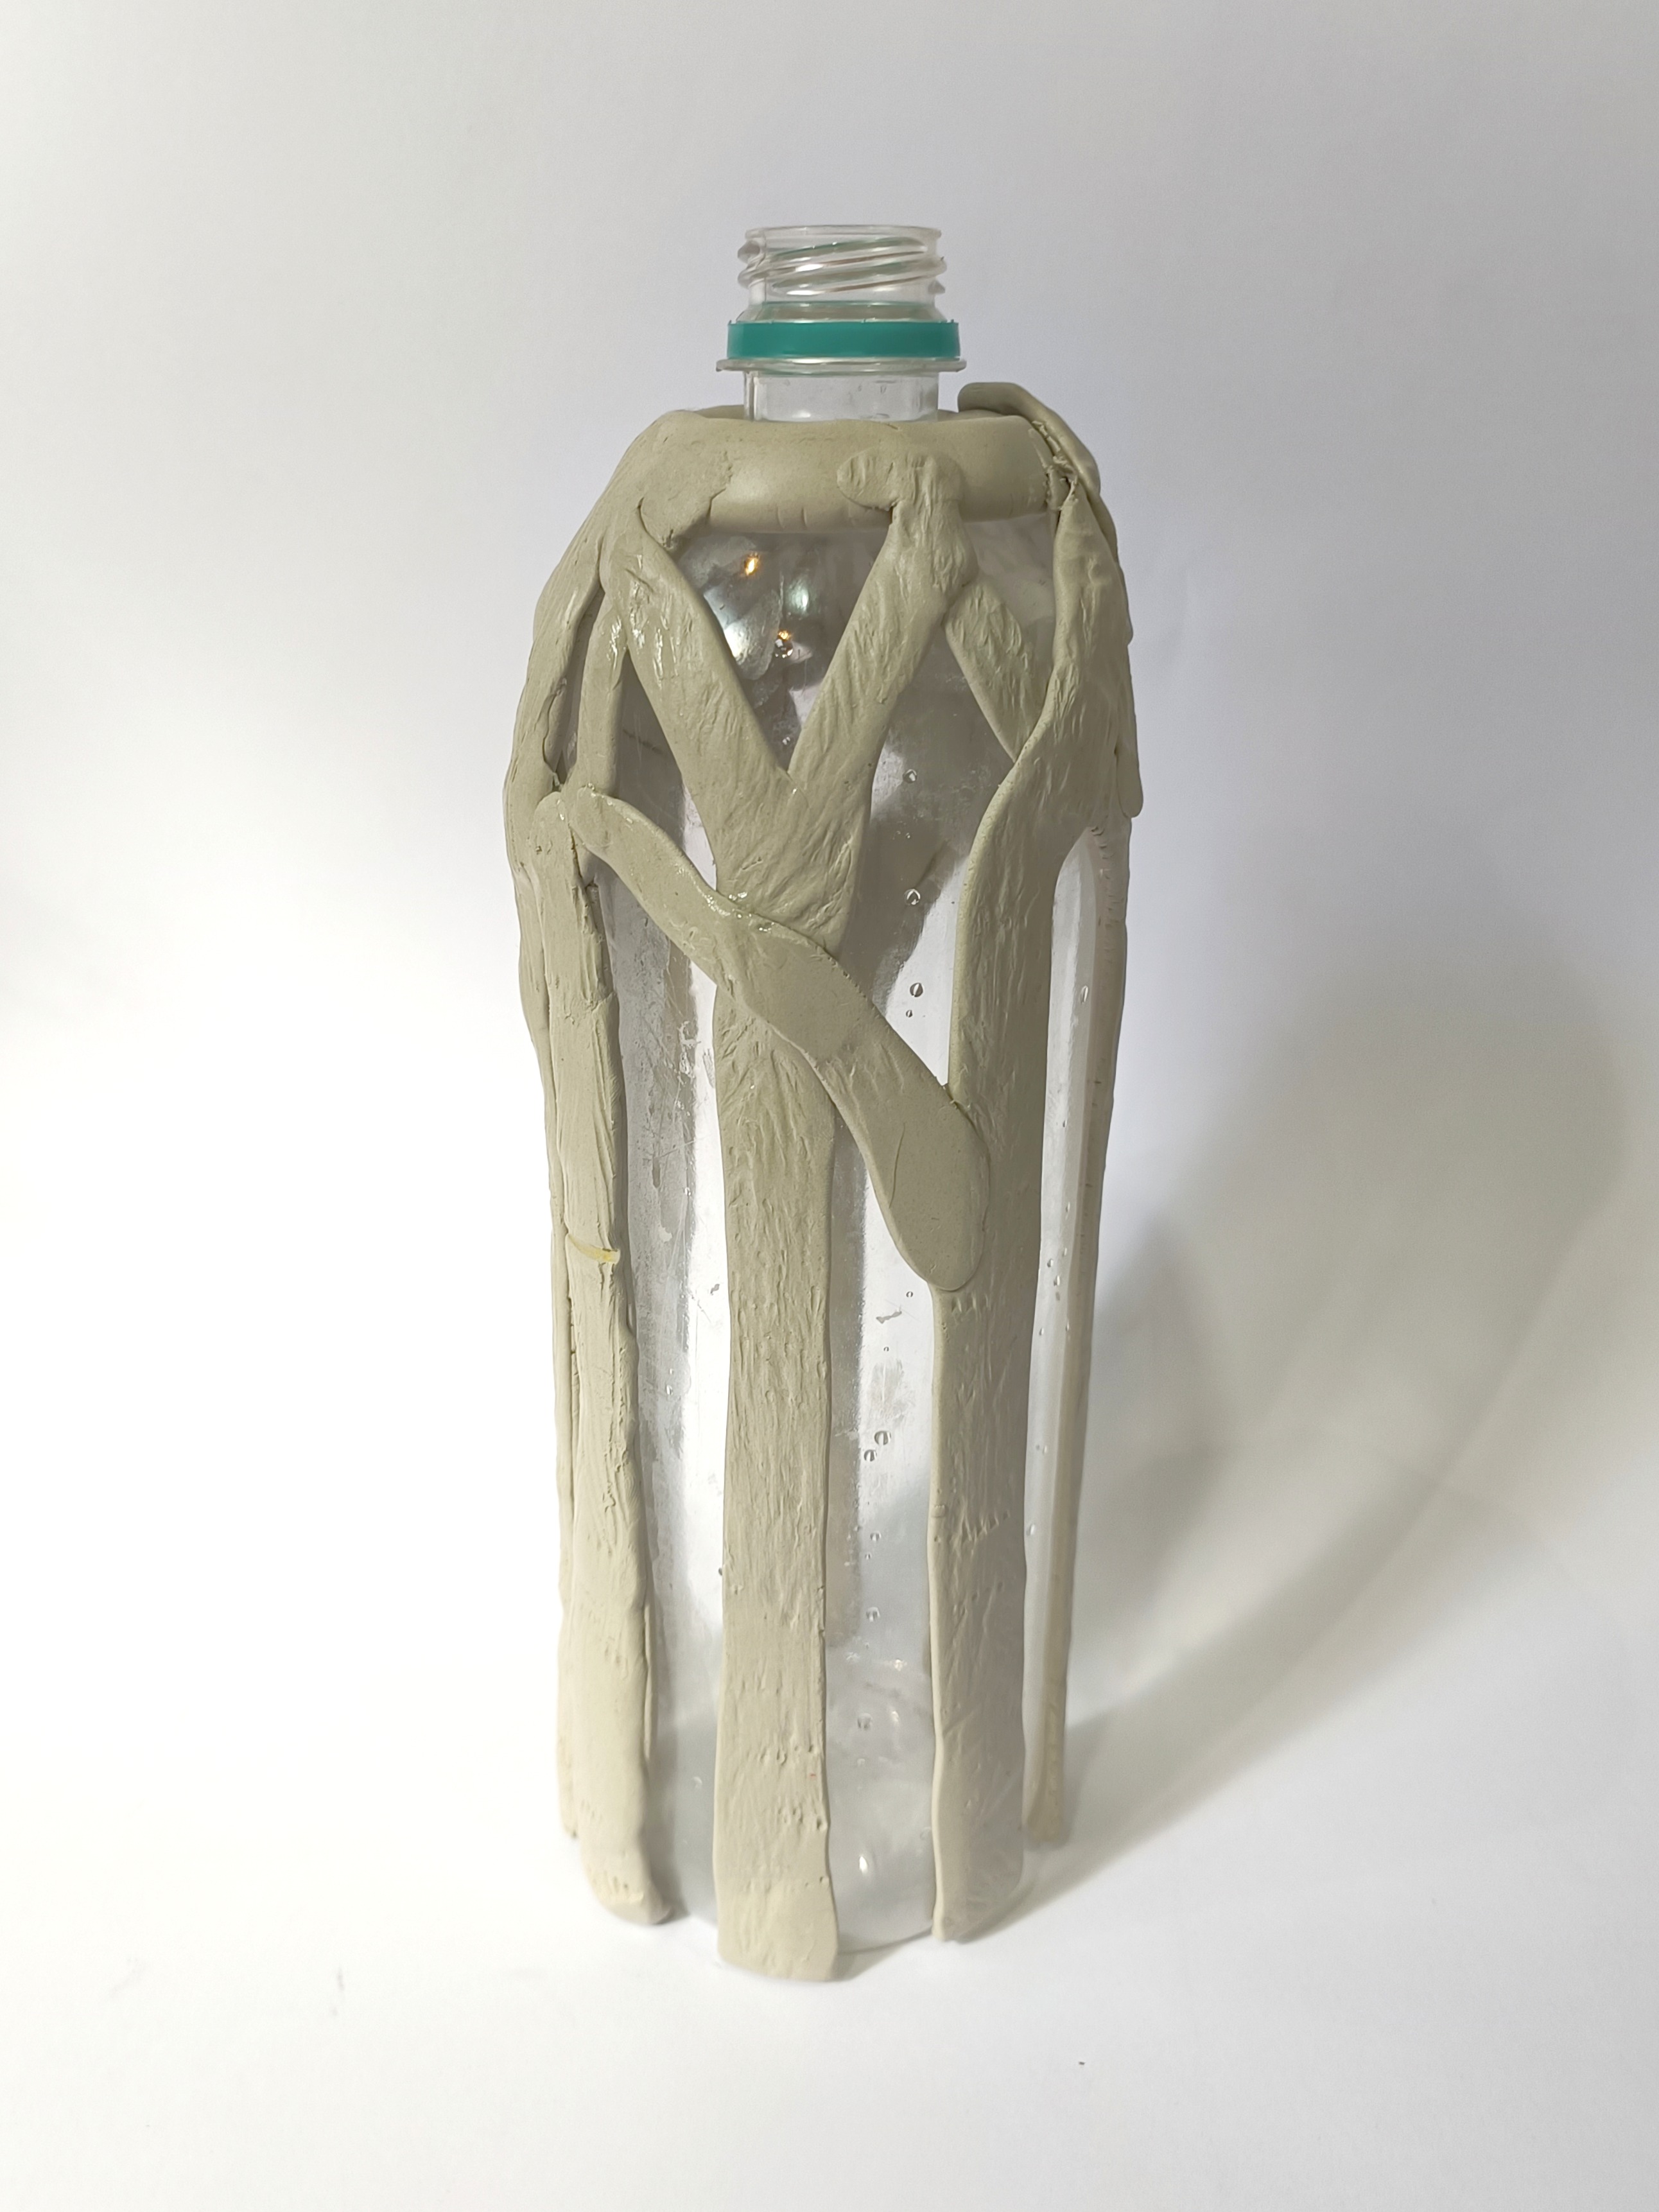
- Use a plastic water bottle as the base to sculpt the tree in a vase shape.
- Roll clay into thick coils and wrap them around the bottle's neck to form the tree's trunk. Secure the ends with Fevicryl Fabric Glue.
- Build the tree bark around the bottle by layering clay coils.
STEP 2 : Build the Coil Foliage
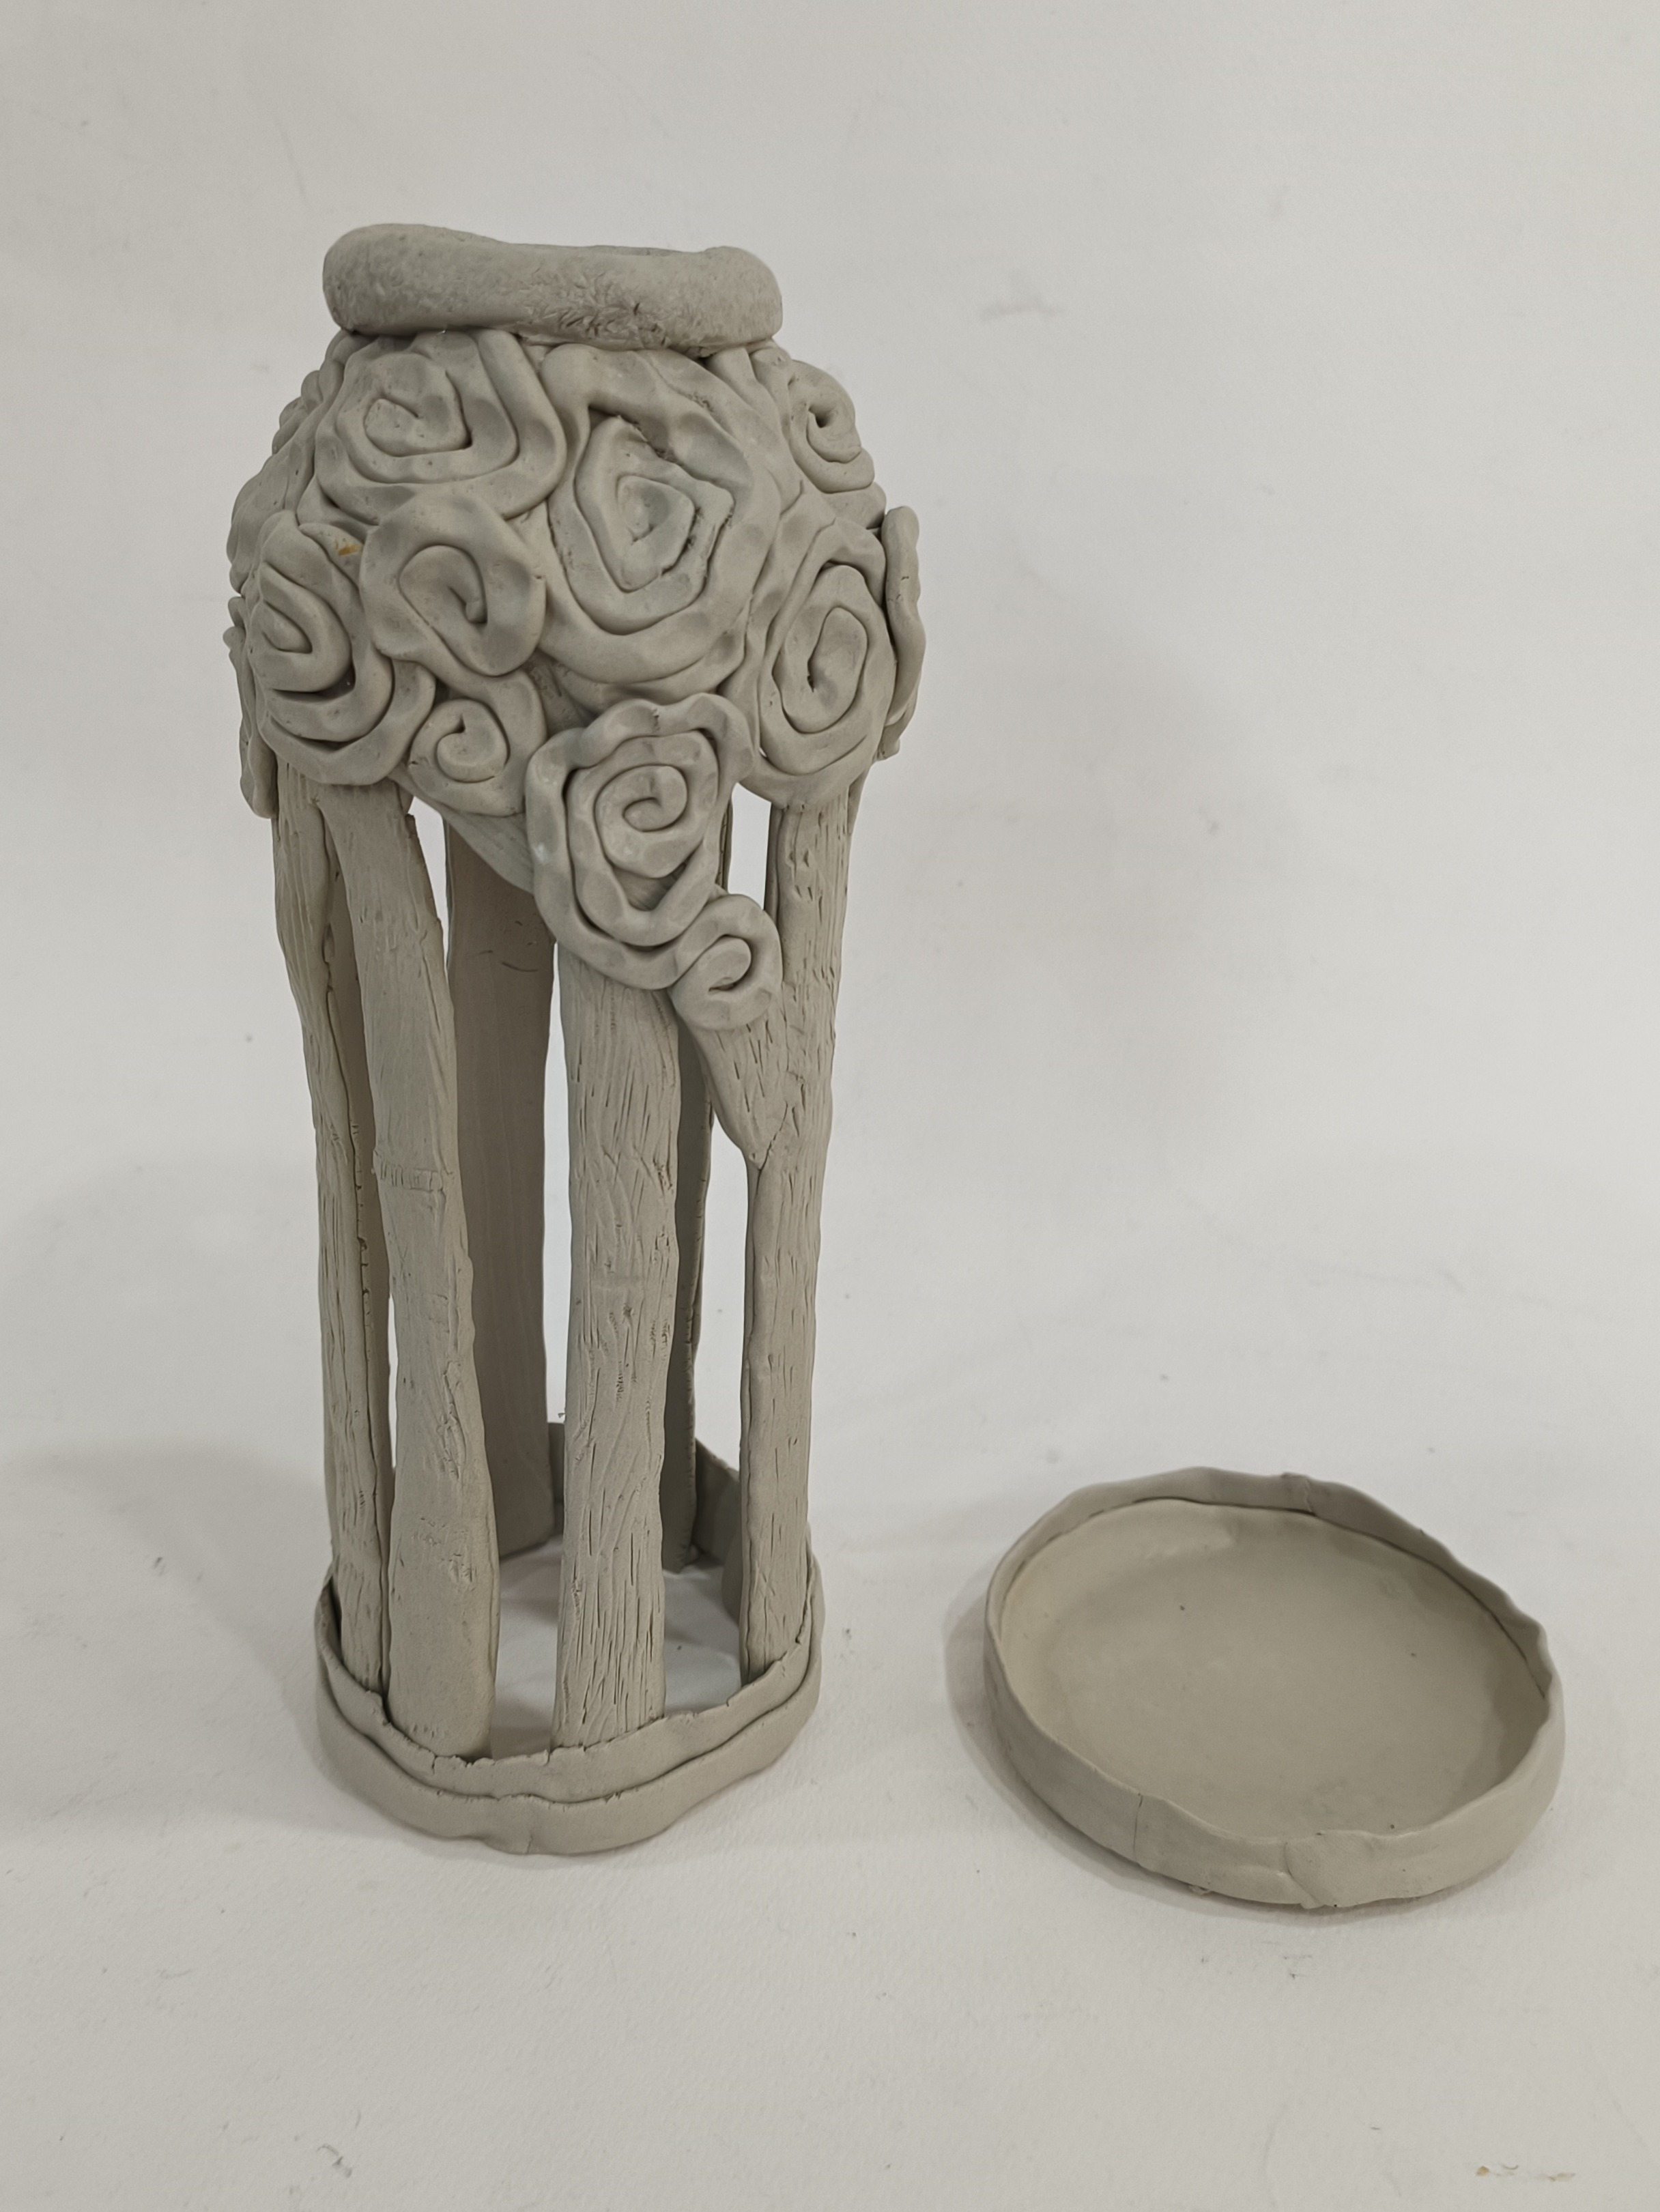
- Roll clay into coils and shape them into round forms.
- Attach the round coils onto the tree bark using Fevicryl Fabric Glue.
- Use clay carving tools to create texture on the bark by pinching the coils at equal distances.
- Roll clay into a slab, cut a broad strip, and attach it to the bottom of the tree vase using Fevicryl Fabric Glue. Let it dry.
- Mark and cut a circle from the slab to create the base for the tree vase.
STEP 3 : Make the Clay Bird and Add Finishing Touches
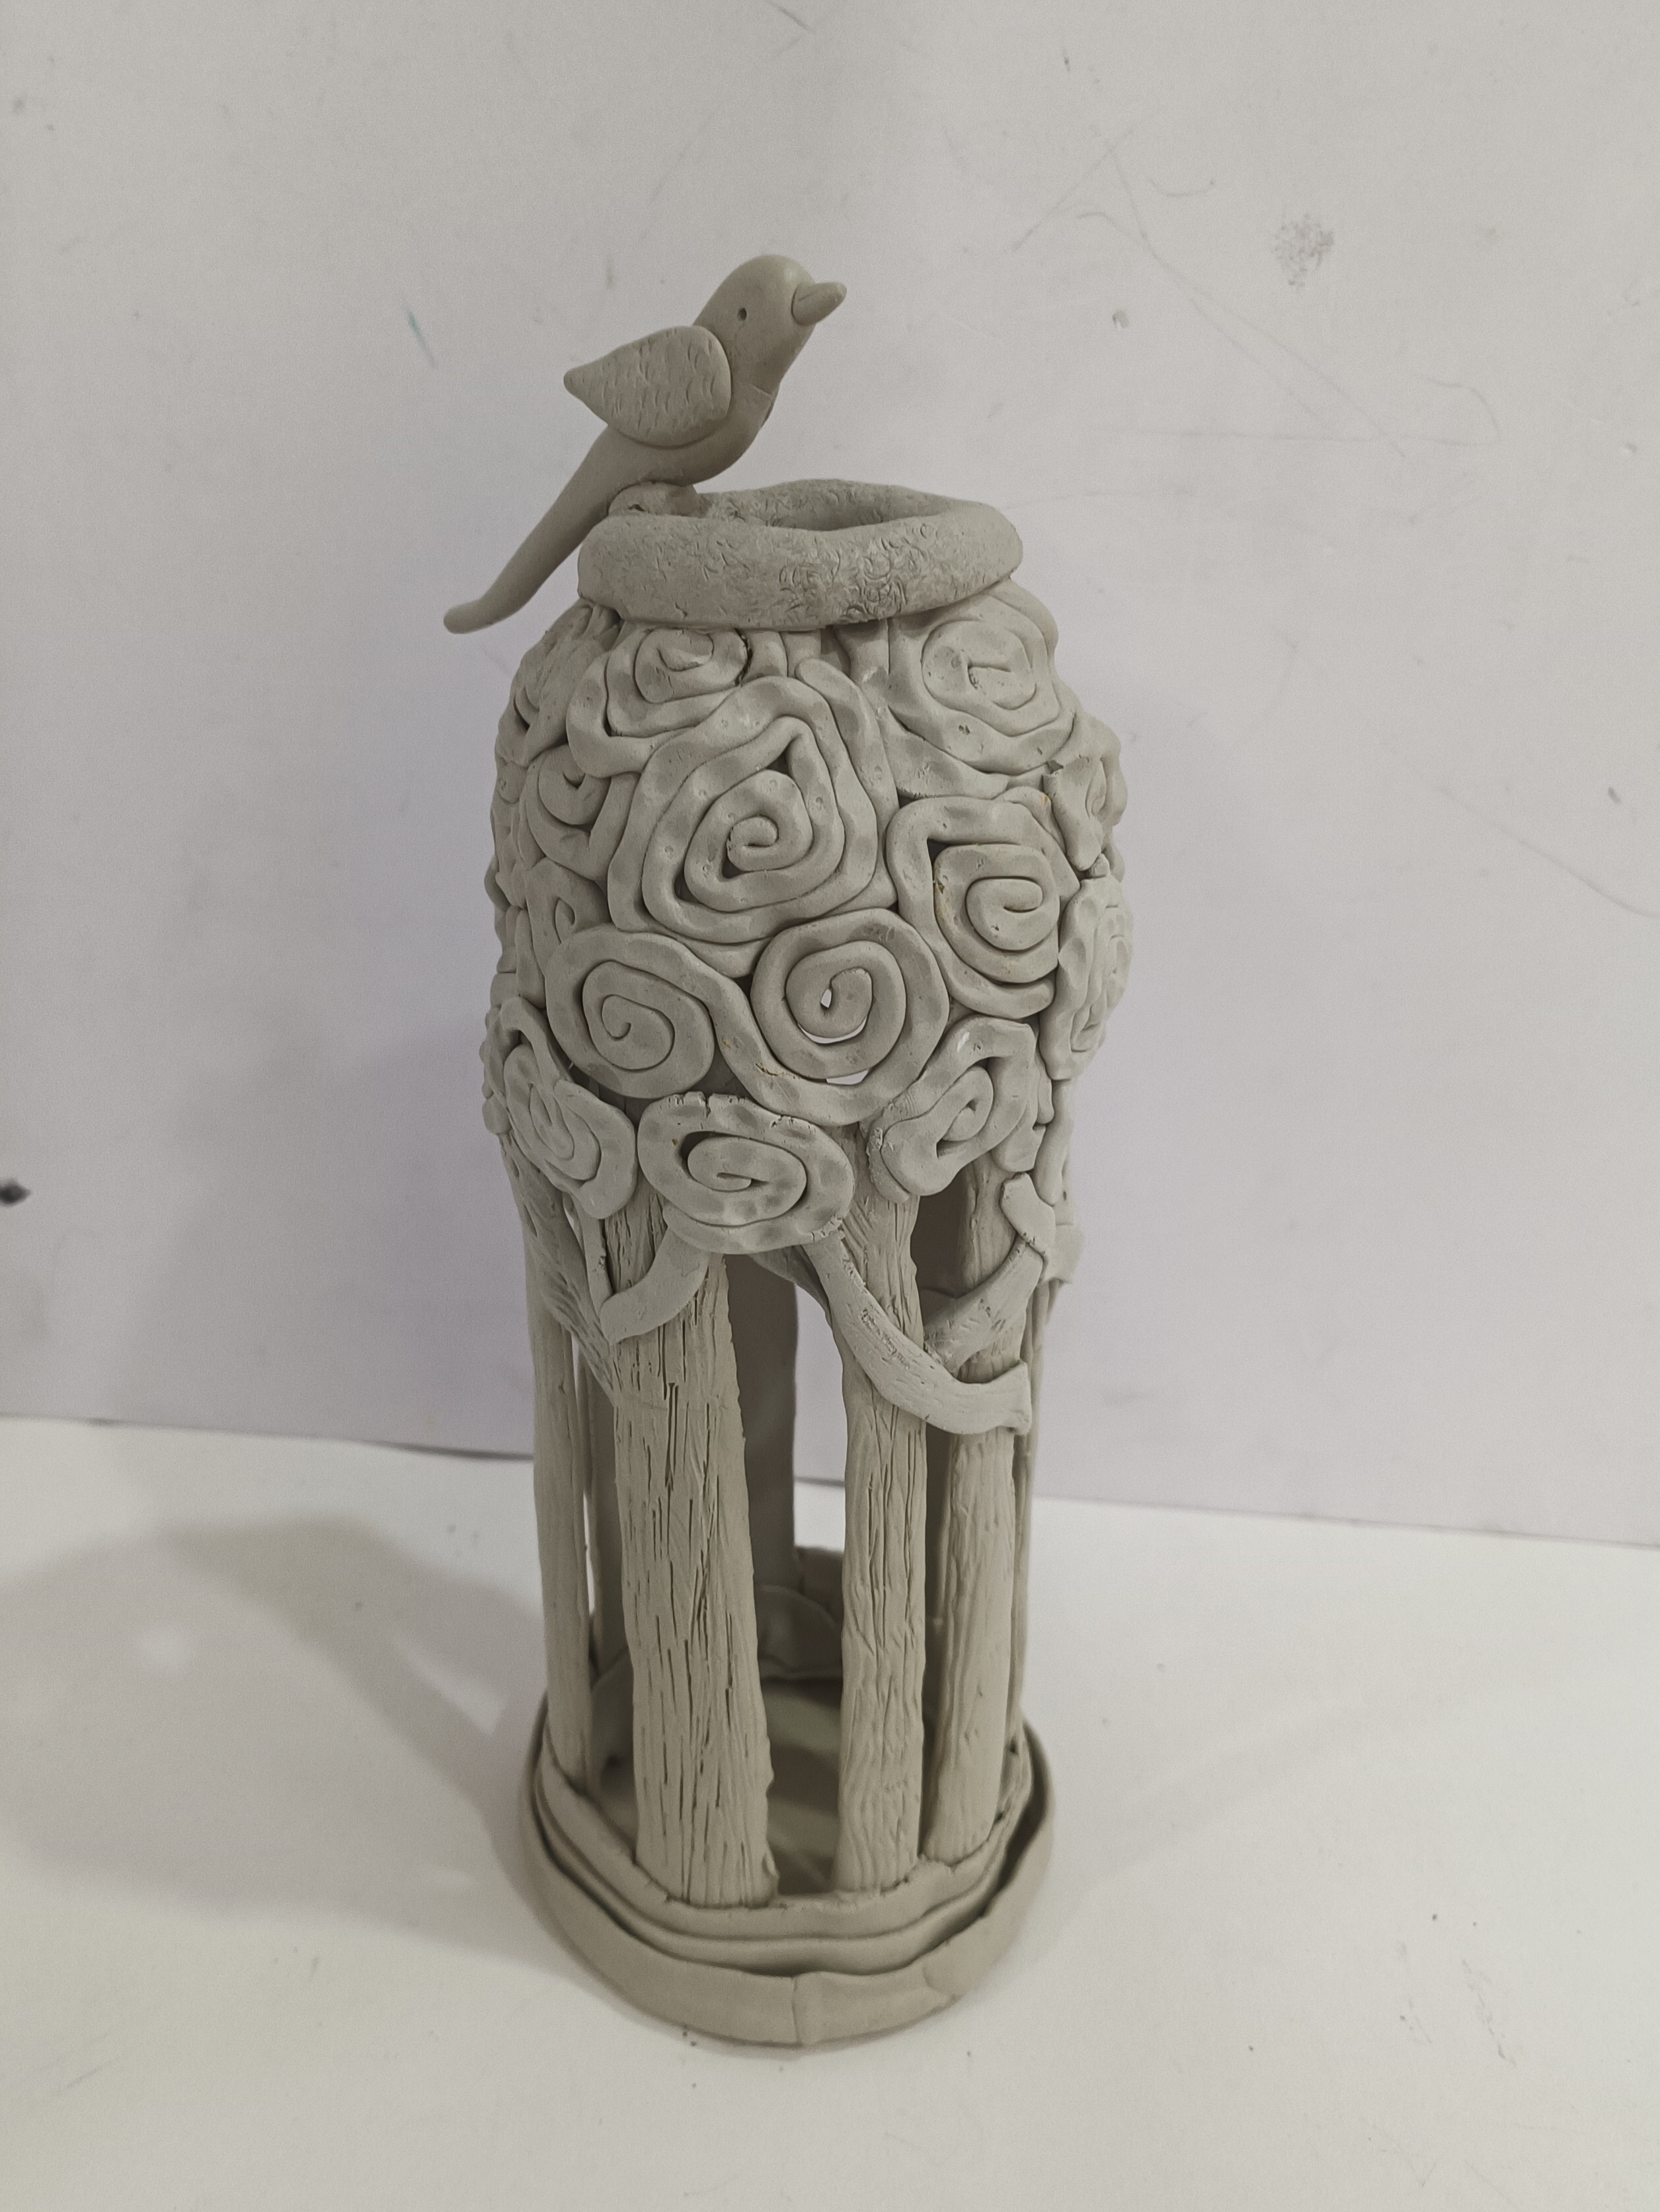
- Use clay carving tools to sculpt a bird from clay.
- Attach the bird to the top of the tree vase with Fevicryl Fabric Glue. Let it dry.
- Create texture on the bark with clay carving tools.
STEP 4 : Paint the Tree Vase
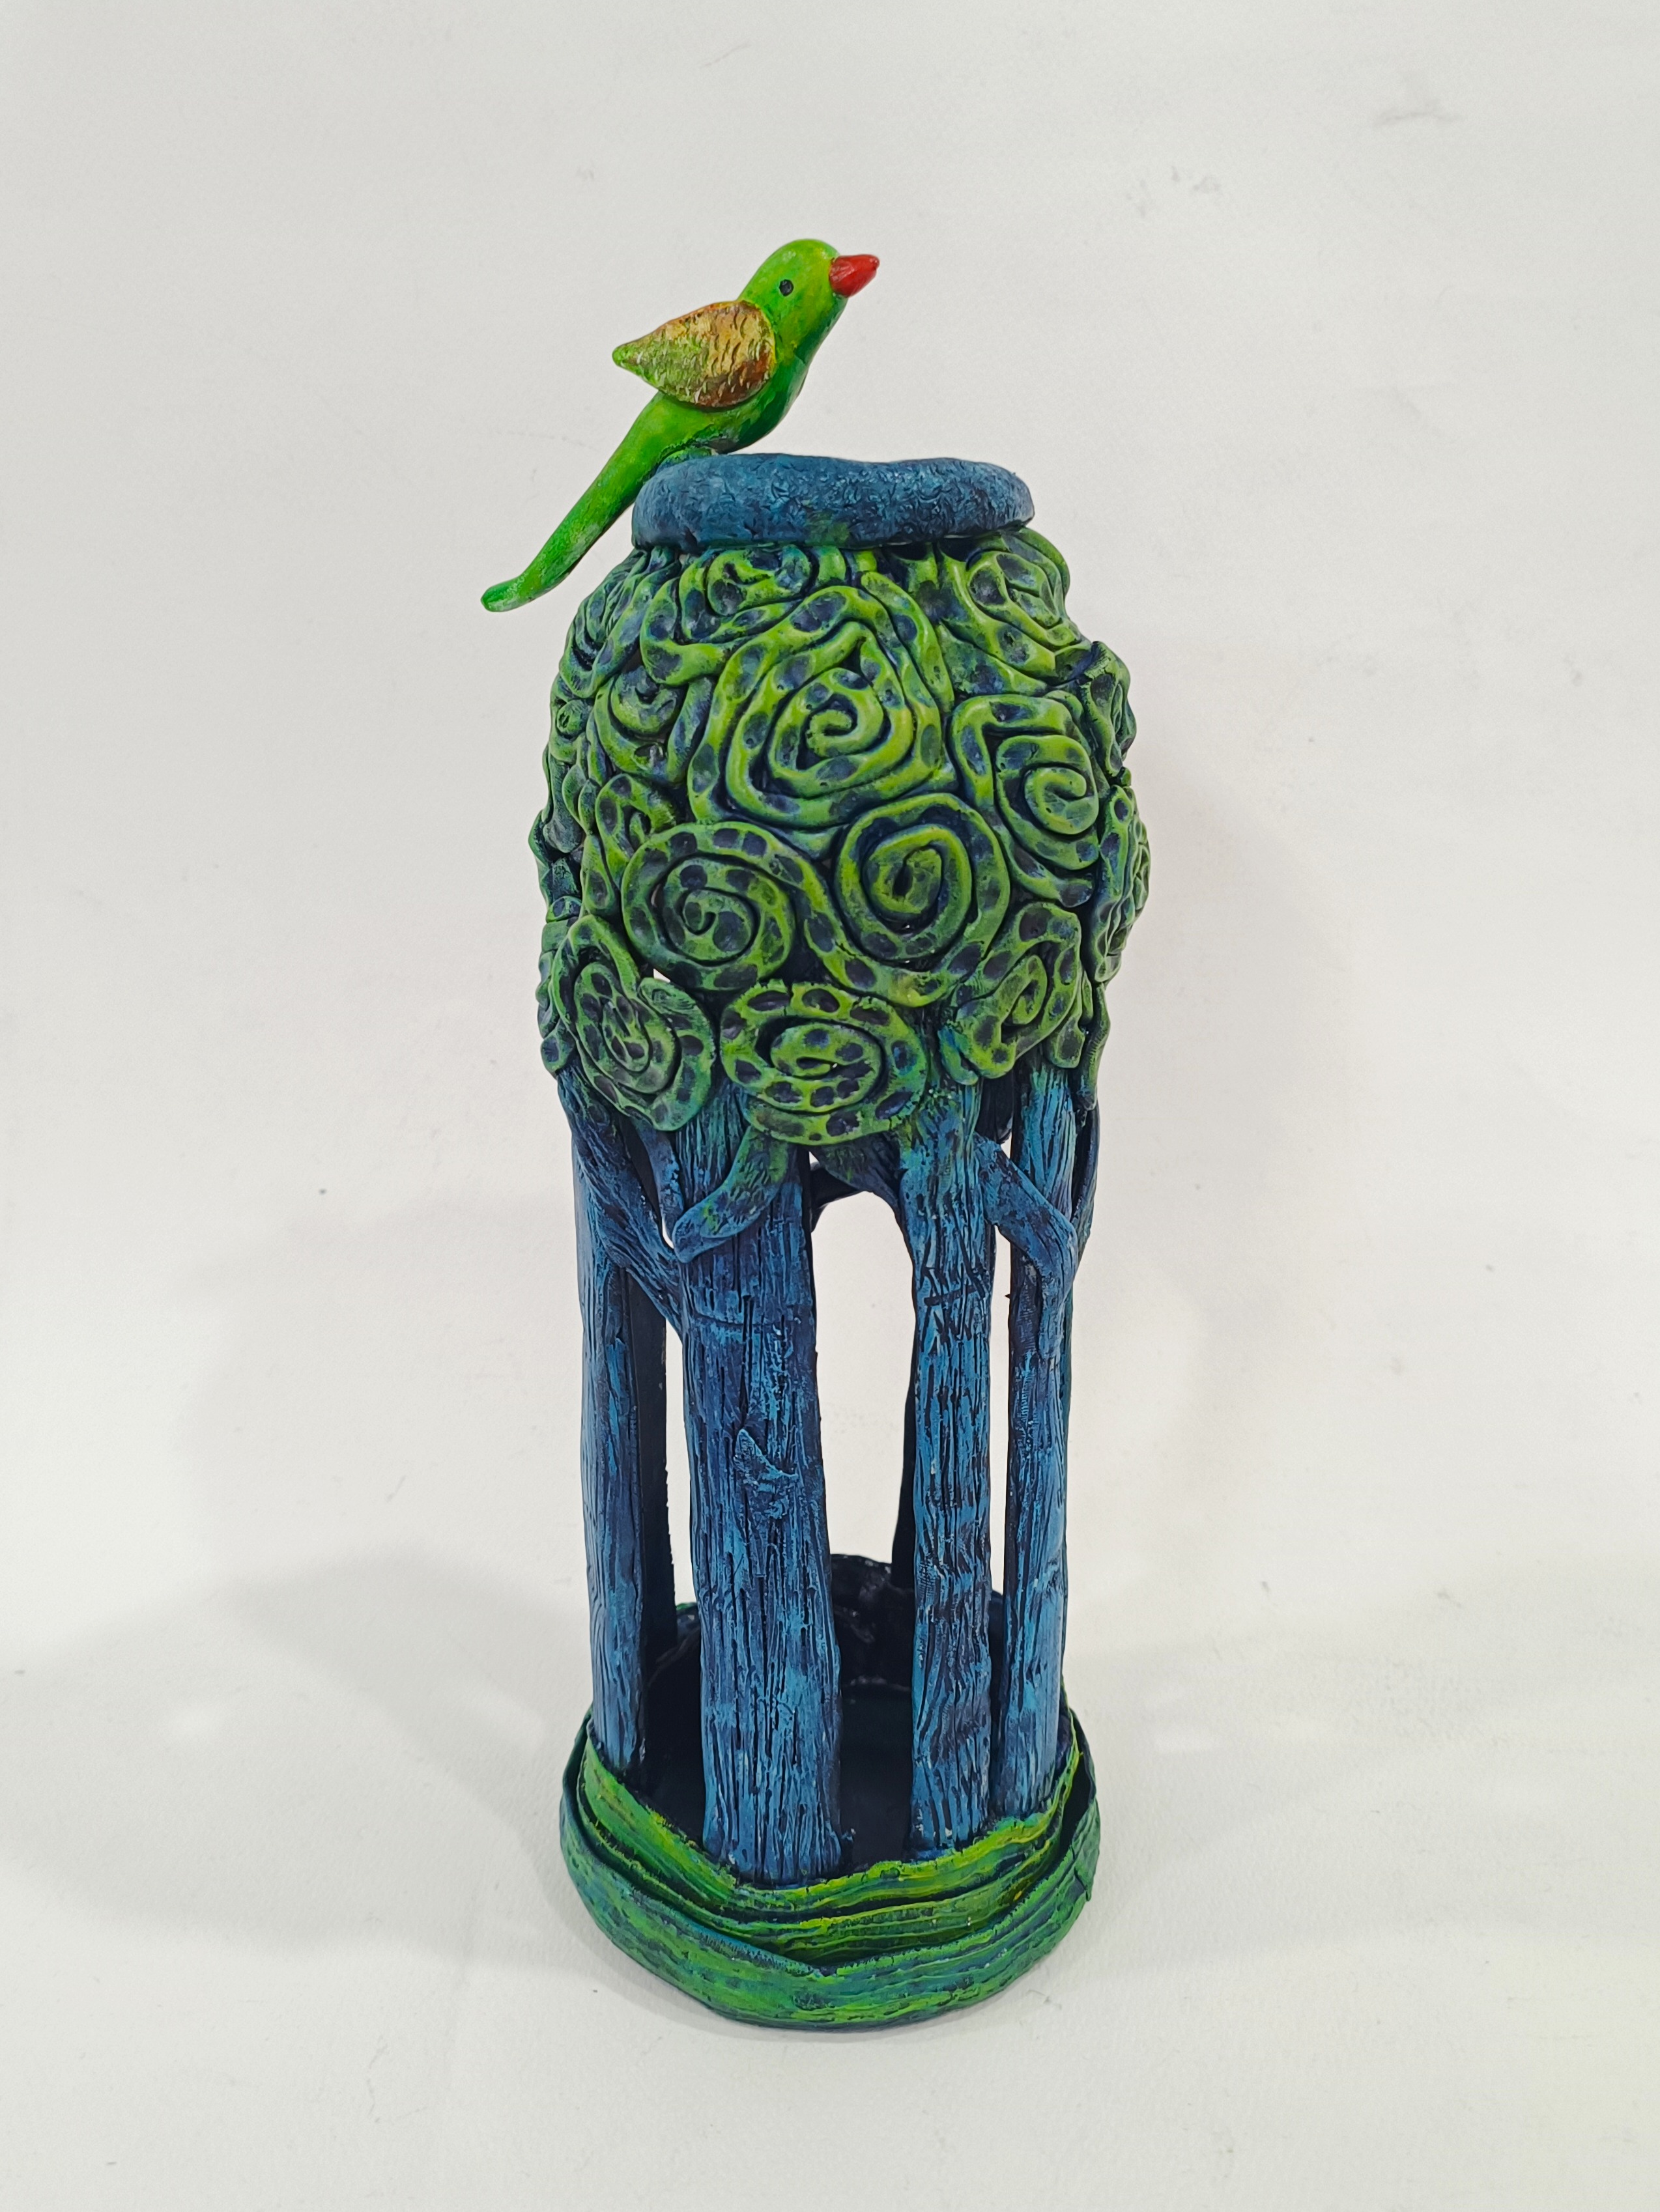
- Paint the entire tree vase and bird using Fevicryl Acrylic Colours Black 02, Chrome Yellow 03, Crimson 04, Dark Green 06, Prussian Blue 19, and Leaf Green 62.
- Allow the paint to dry completely.


 +91 99676 55545