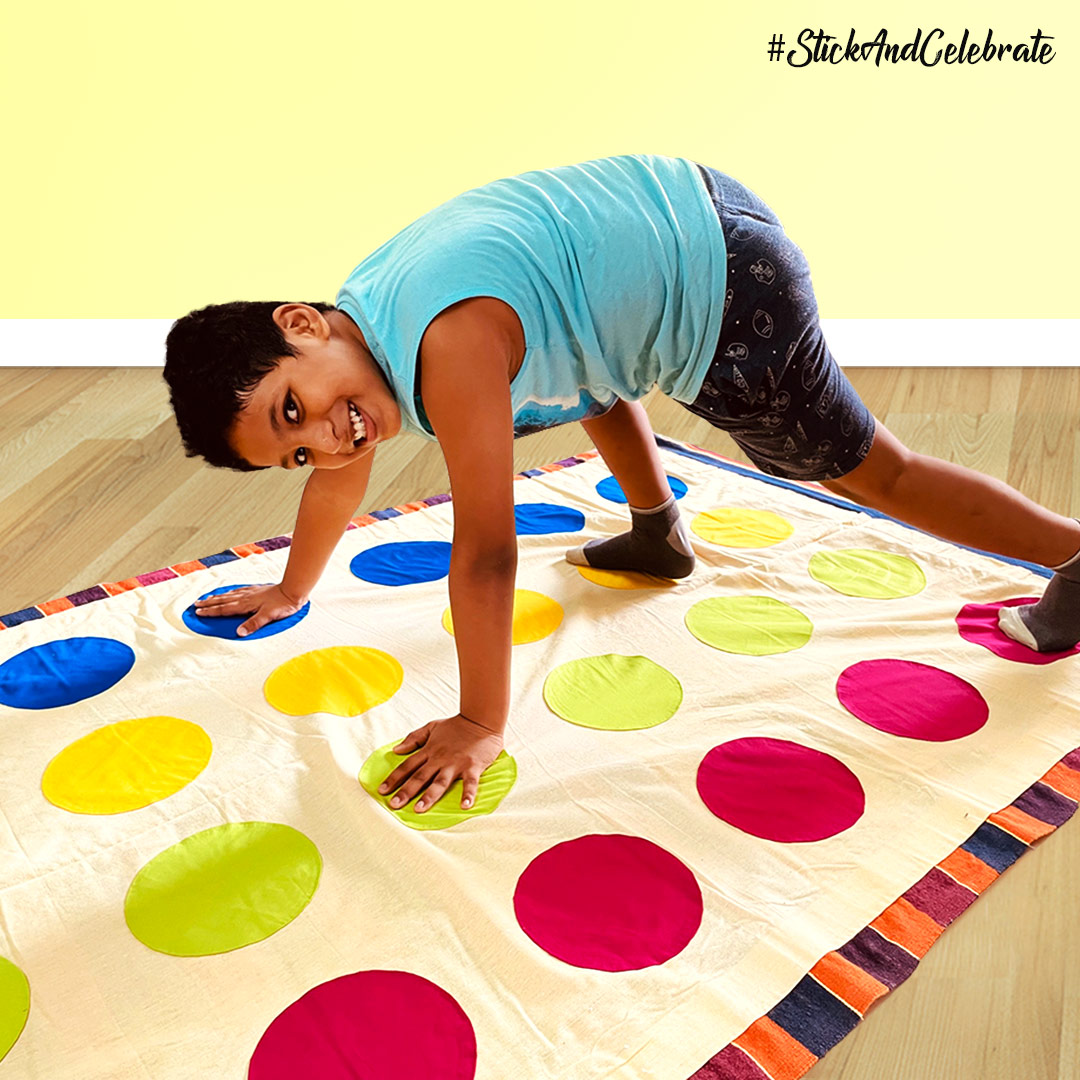
Twister

You Will Need:
Fevicryl Fabric Glue, Fevicryl Acrylic Colours (White, Orange , Lemon Yellow, Prussian Blue, Leaf Green, Violet, Deep Brilliant Purple , Crimson), Fevicryl Mouldit, Paper, Pencil / Colour Pencil, Brush, Scale, Measuring Tape, Tracing Paper, Carbon Paper, Scissor, Jamkana/ Old Durries, Cotton Bedsheet, Cotton Fabric : Yellow, Light Green , Dark Blue, Purple Or Rani Pink Colour , Light Yellow, Casement Fabric, Cardboard / Thick Board
Product Used:

Description :
Twister is a game of physical skill which is played on a large mat with circles that is spread on the floor. This game comes with two dice pieces which when played will determine how each played advances in the game. It is popularly known as a game that will “tie you up in knots”!

- Take any old plain bed spread you have at home.
- Measure 44 x 67.5 inch + 2 inch fabric from all four side to fold.
- Cut along the measurements using fabric scissors.
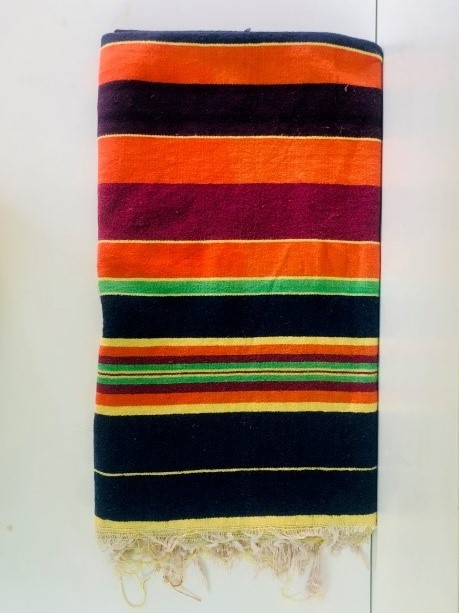
- Take an old jamkana (seen in the image above) or an old dhurrie for the bottom part of the base.
- Do Make sure that the dhurrie / jamkana are sturdy and in a good condition to be used.
- The Jamkana measures 48x 76 inch. The extra 4 inch from top and 4 inch from bottom is folded behind. Stick it using Fevicryl Fabric Glue.
- Let it dry.
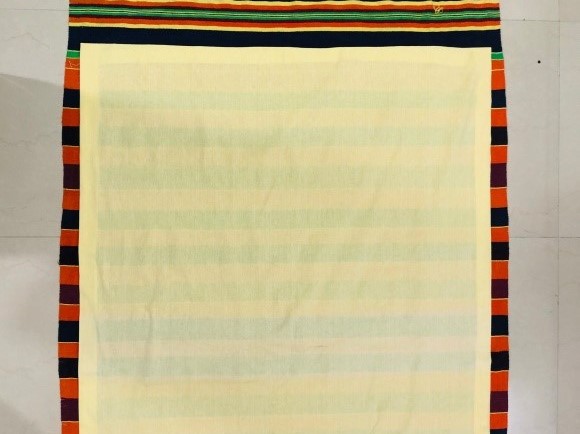
- Fold the edges of the bedsheet piece and stick in on the jamkana as seen in the image.
- Leave space on all the sides and make sure to stick it in the center.
- Stick it using Fevicryl Fabric Glue.
- Let it dry.
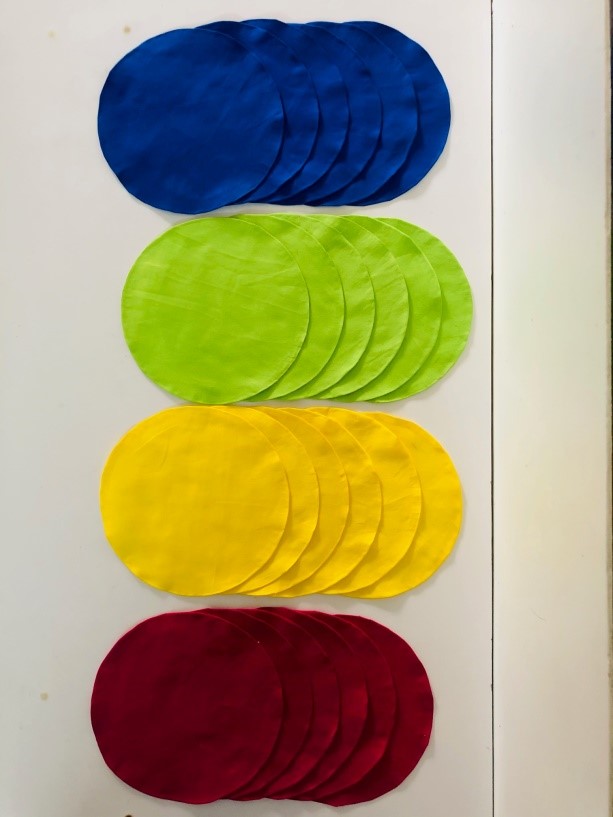
- Take the 4 coloured cotton fabrics and cut circles in them.
- Each circle measures 7 inch in diameter. leave 1/2 inch for fold all around.
- Cut 6 circles in each colour.
- Use fabric scissors to cut them.
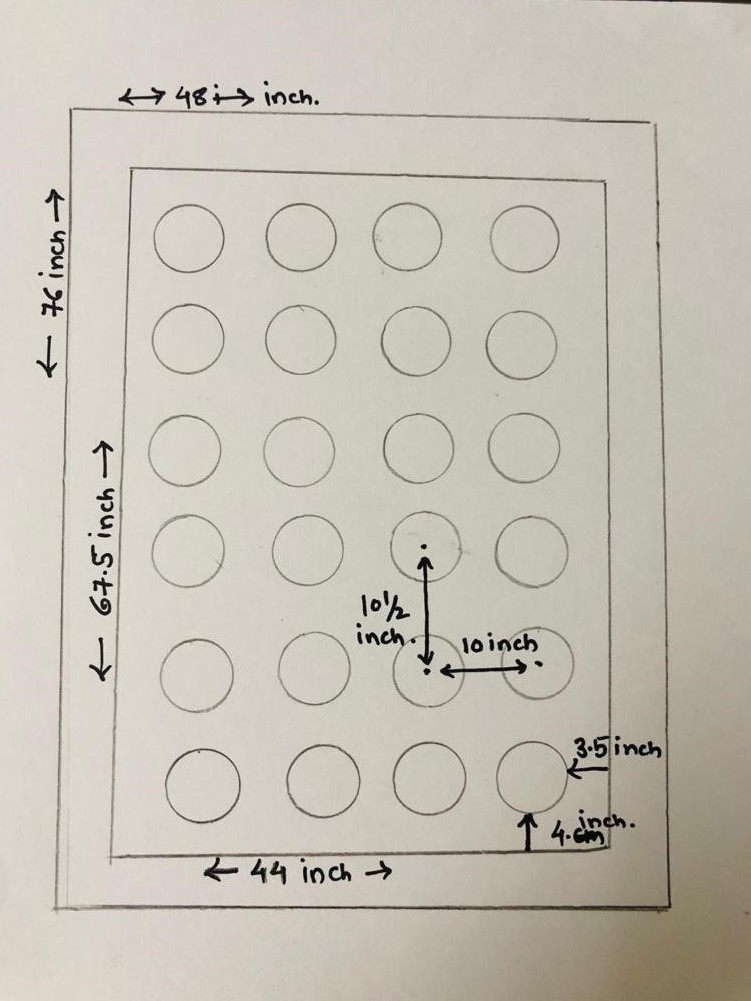
- With reference to the image above, stick all the circles accordingly.
- Fold the sides of the circle and stick them on the bedsheet using Fevicryl Fabric Glue.
- Let them dry.
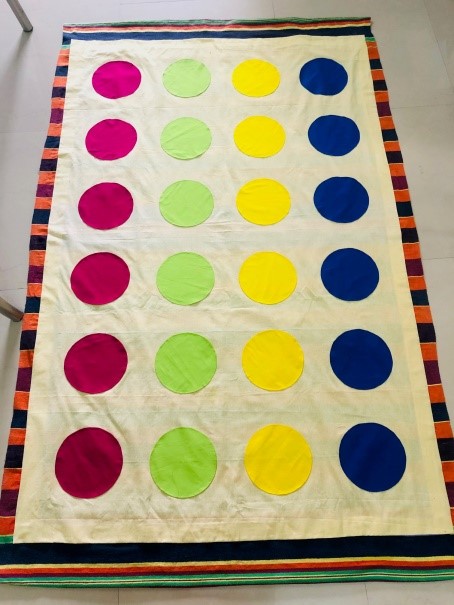
The base must look like how it does in the reference image.
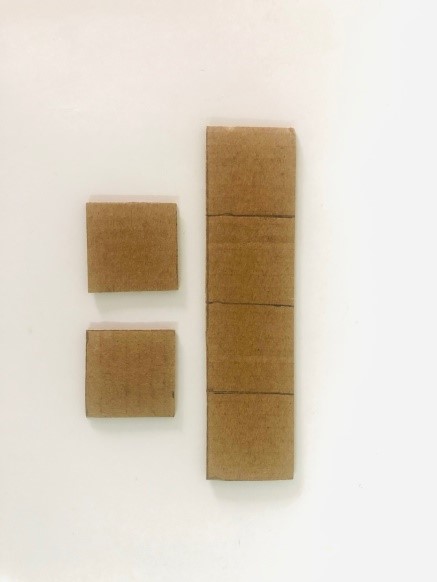
- Make 2 cubes measuring 1x 1 inch using cardboard. Stick it using Fevicryl Fabric Glue.
- Cover it with thin layer of Mouldit.
- Let it dry.
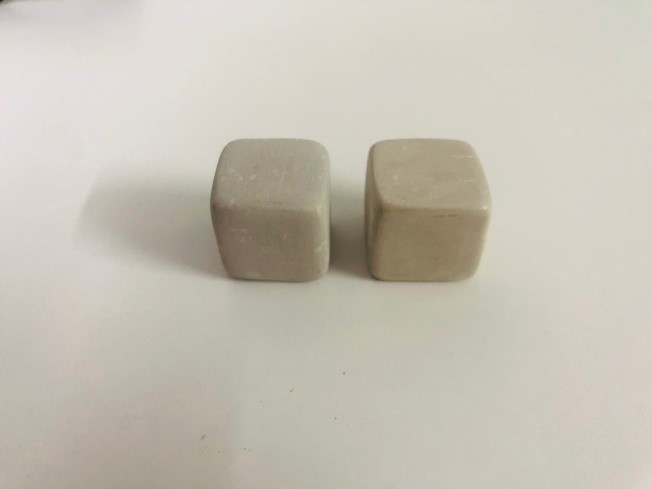
The dice must look like this once it is covered with Mouldit.
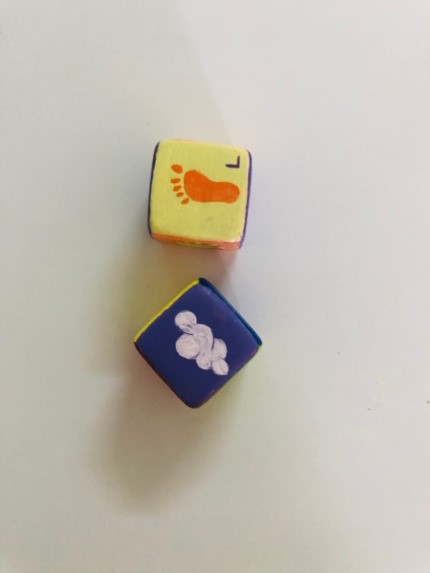
- One the dice is ready, paint 4 sides of both the dice with colours representing the colours of the circles respectively.
- The leftover two sides on each dice will be painted purple.
- Take one dice and paint left foot (as seen in the image), right foot, left hand and right hand on each side of the dice leaving the purple side.
- Now take both the dices and paint a cloud, relax, roll again and hold something on the purple side respectively.
- Let it all dry.
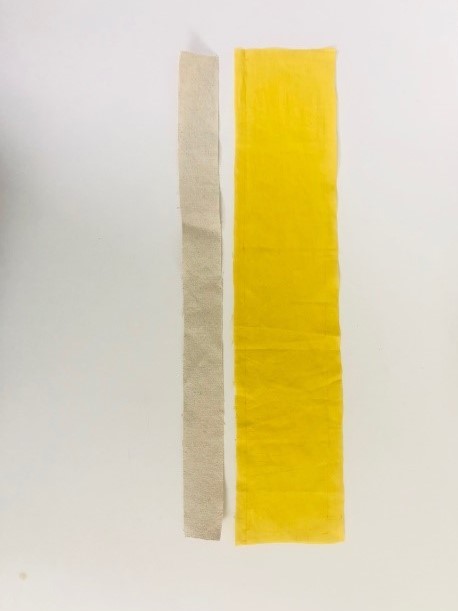
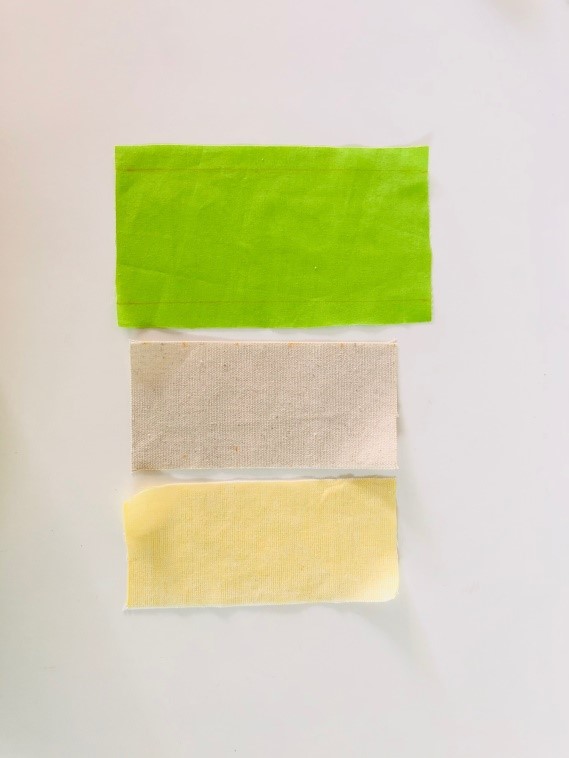
- Take Casement fabric measuring 1.5 inch x 18 inch (two strips) which will be placed inside the yellow fabric measuring 4 inch (1/2 inch extra on both side ) x 19inch ( 1/2 inch extra top and bottom ).
- The extra fabric on all sides will be use to fold and stick to give it a good finish.
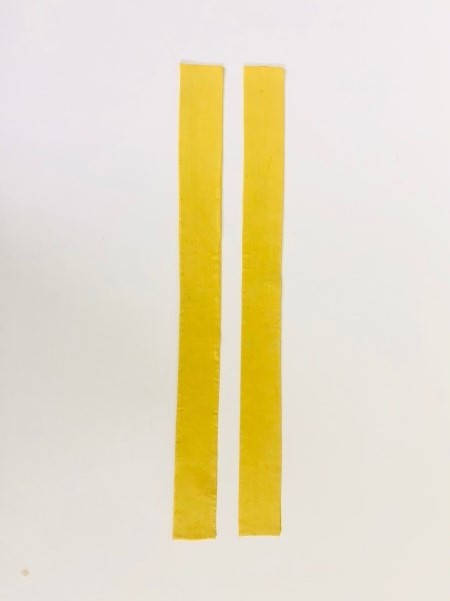
- Once the strips are done, they should look like how they do in the image above.
- Use Fevicryl Fabric Glue to stick them.
- Let it dry
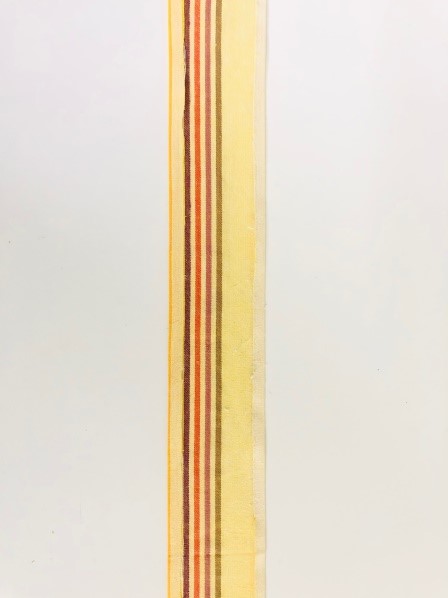
- Take a strip of the Bedsheet fabric measuring 3.14 inch in width and 39 inch in length.
- Fold 0.3 inch from both side of the strip and fold it in the center.
- The final outcome of the handle will measure 1.2 inch in width.
- Use Fevicryl Fabric Glue to stick.
- Let it dry
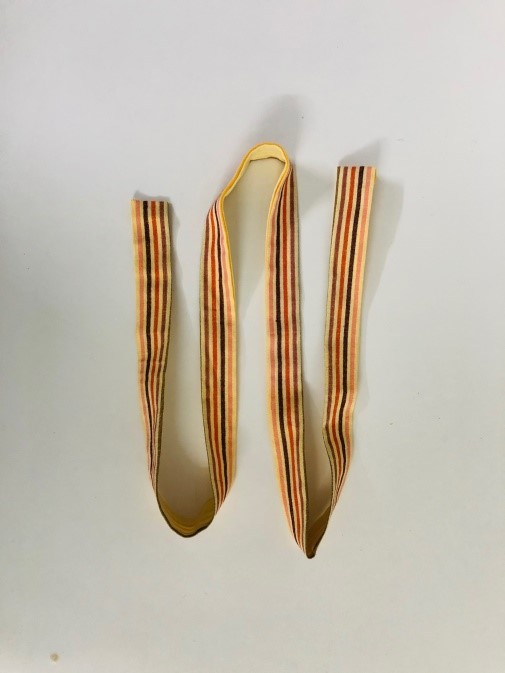
The handle must look like the image reference given.
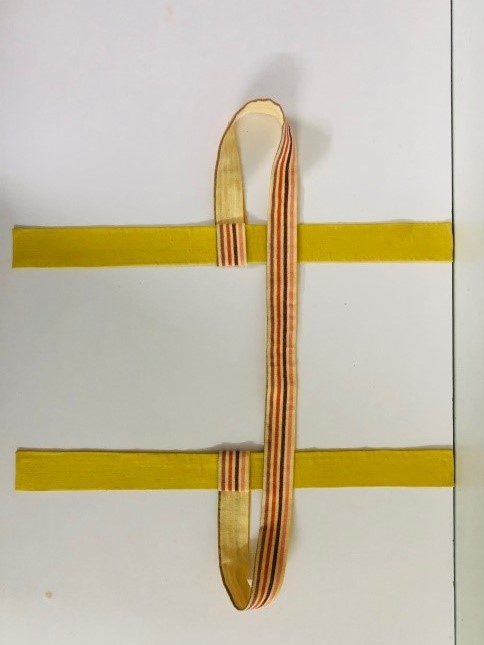
- Take 3.5 inch on both sides of the handle and wrap it around the holder strip as seen in the image above.
- 32 inch will be the length of the final belt after attaching them to the holder.
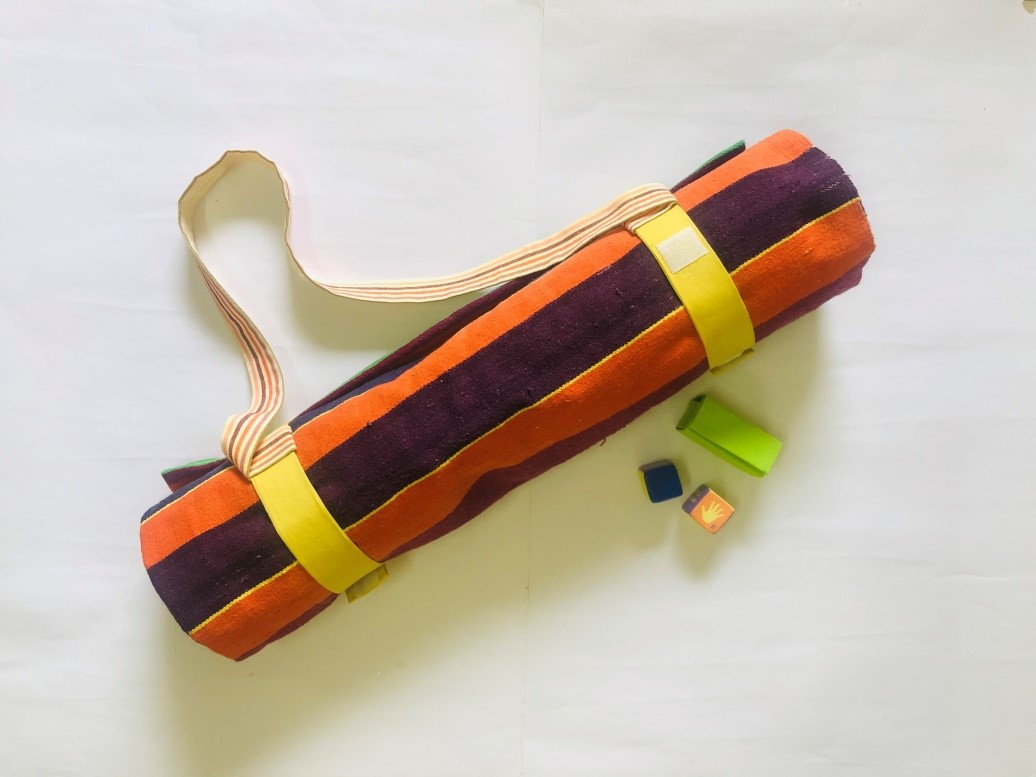
- Also attach Velcro on the inner side of the holder. This will be useful in securing the twister mat when it is rolled.
- Use Fevicryl Fabric Glue to stick them all.
- Let it dry.
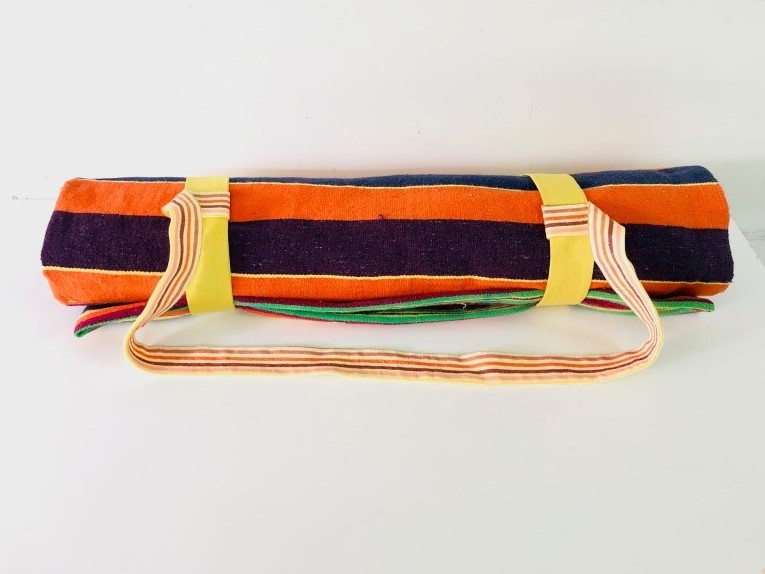
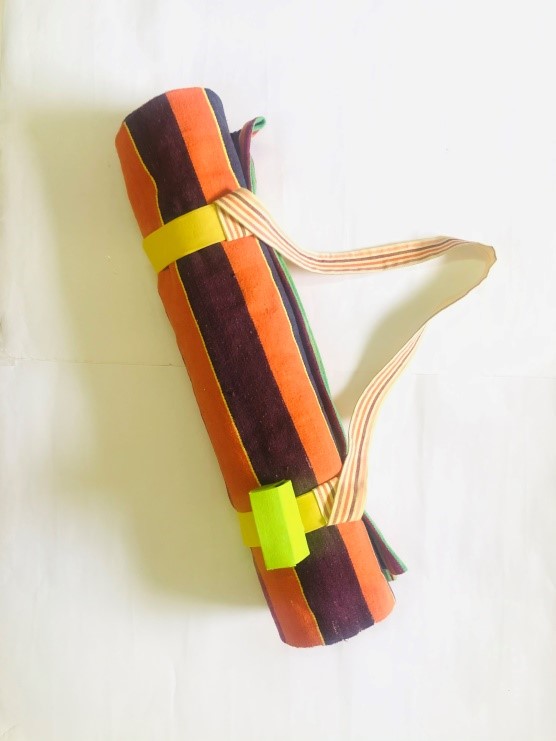
This is how the holder and the handle will look when wrapped around the rolled up twister mat.
- Take a piece of Casement fabric and yellow inner fabric measuring 3.14 x 6.2 inch
- Take Outer fabric (green) measuring 4.3 inch x 7.4 inch
- Make sure to leave 0.5 inch from all sides.
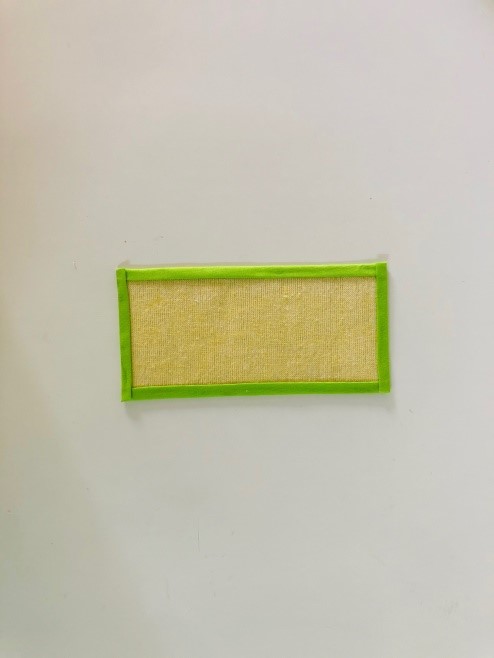
- Stick all the layers together using Fevicryl Fabric Glue.
- This is the main body of the purse.
- Let it dry.
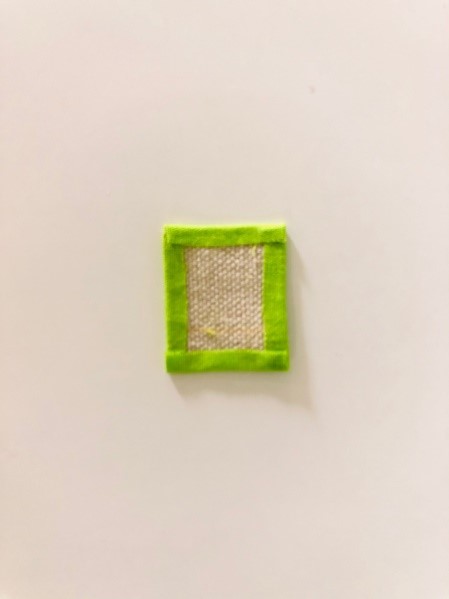
- You will require a casement piece measuring 3x 2.5 cm, One side green fabric measuring 4x 3.5cm (half cm extra fabric for folding from all side )
- Use Fevicryl Fabric Glue to stick them.
- Let it dry.

- Combine the pieces together and create a purse which looks similar to the one in the image above.
- Stick Velcro as seen using Fevicryl Fabric Glue.
- This will help the pouch to close and secure the dice.
- Stick another small piece of Velcro on the band and attach the pouch to the band as shown in the image above.
- Use Fevicryl Fabric Glue to stick the Velcro
- Let it dry.
- The twister mat is ready to be carried to the nearby park, rolled out and played on.


 +91 99676 55545