Turkish Lamp
You Will Need:
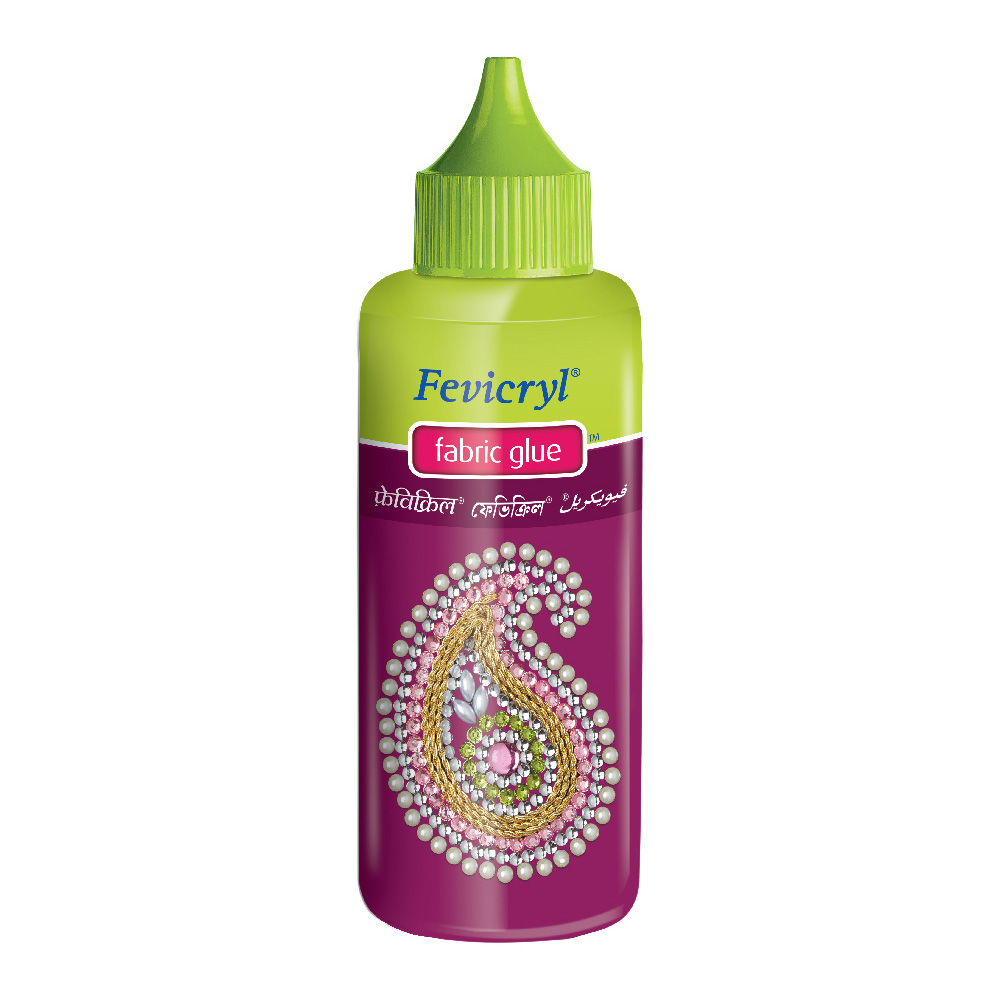
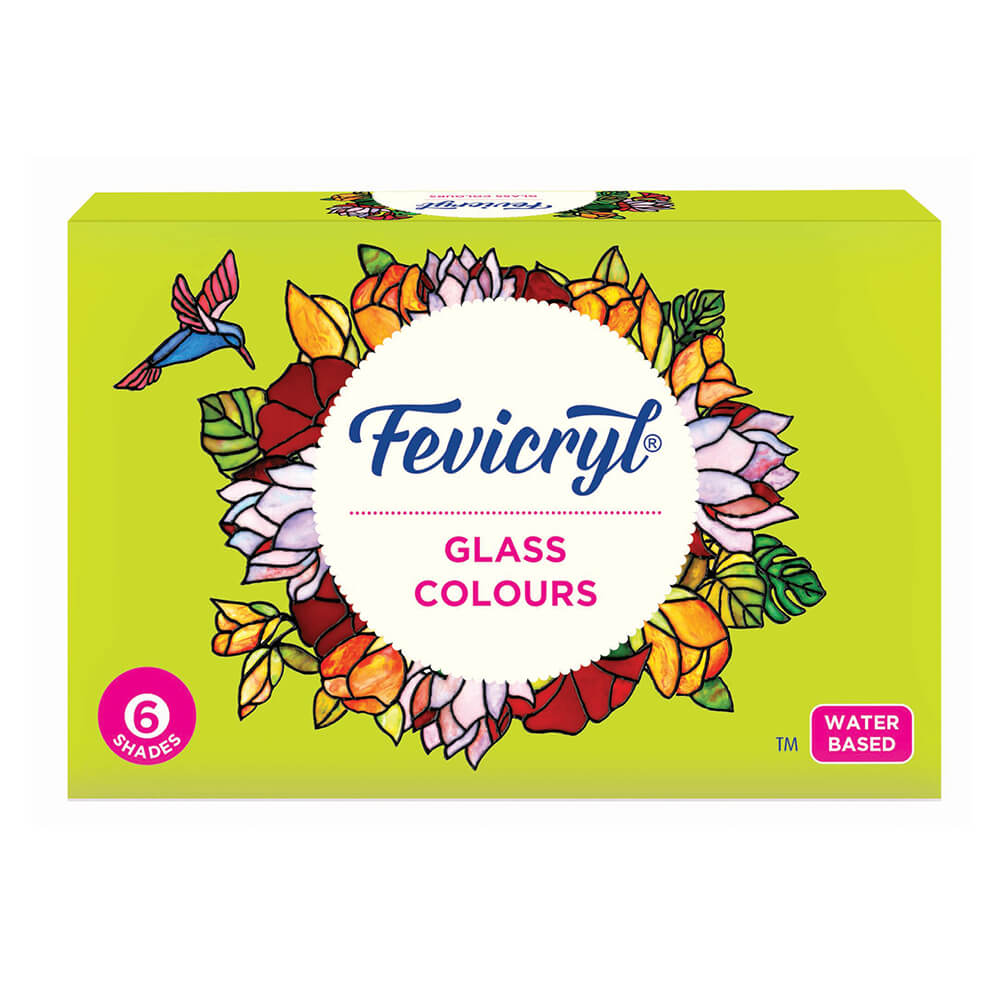
Fevicryl Acrylic Colours - Black 02, Fevicryl Acrylic Colour Pearl Metallic - Bronze 355, Fevicryl Glass Colours (Sea Blue, Ultramarine Blue, Pink), Fevicryl Mouldit, Fevicryl Fabric Glue, Fine Art Brushes, 4" Diameter Glass Fishbowl, Assorted shapes cutdana / Poth, Sea blue ball chain, Glass beads, Blue glass beads, Diamond shape mirrors, Small round mirrors, Leaf shaped mirrors, Glass beads, Plastic water bottle, Bulb holder, Metal chain, A4 White paper, Pencil, Colour palette, Water container.
Description :
Turkish mosaic lamps are from Near East and have found a place in India too. Make this DIY and get an oriental touch for your living room and dining room area.
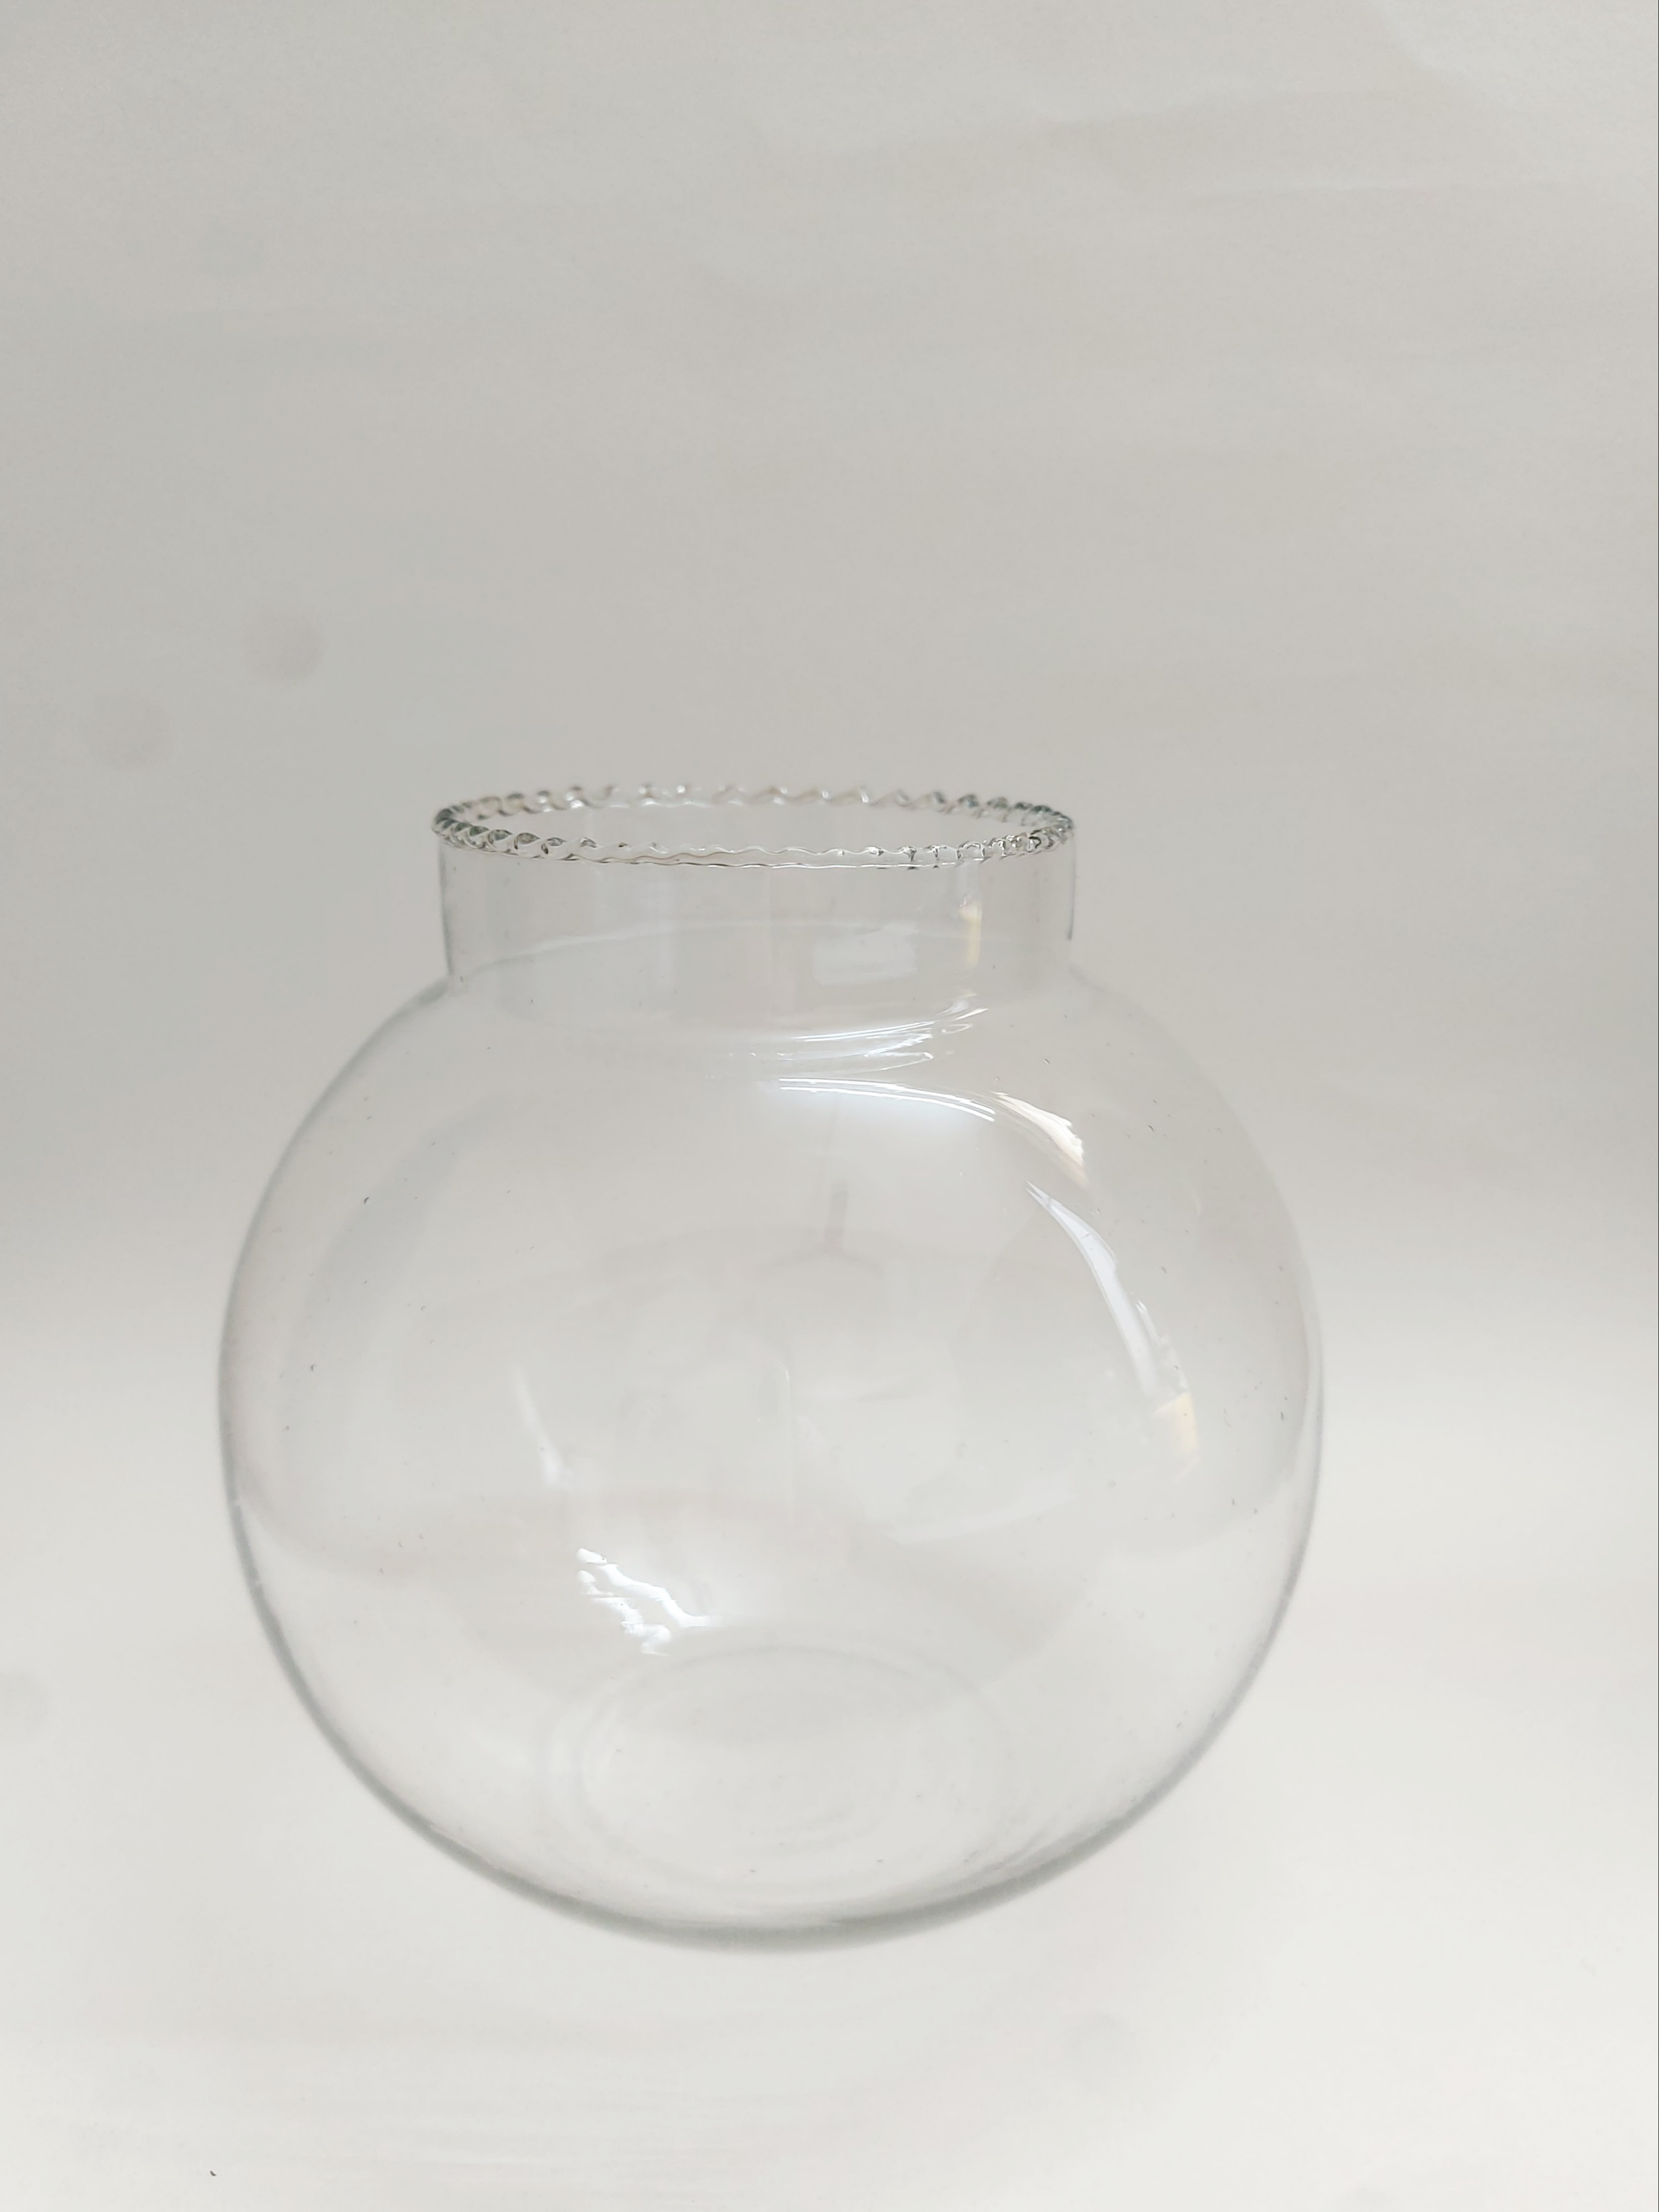
- Take a plain glass fishbowl measuring 4” in diameter.
- We are going to make a Turkish lamp using the same with Fevicryl Glass Colours and Fevicryl Mouldit.
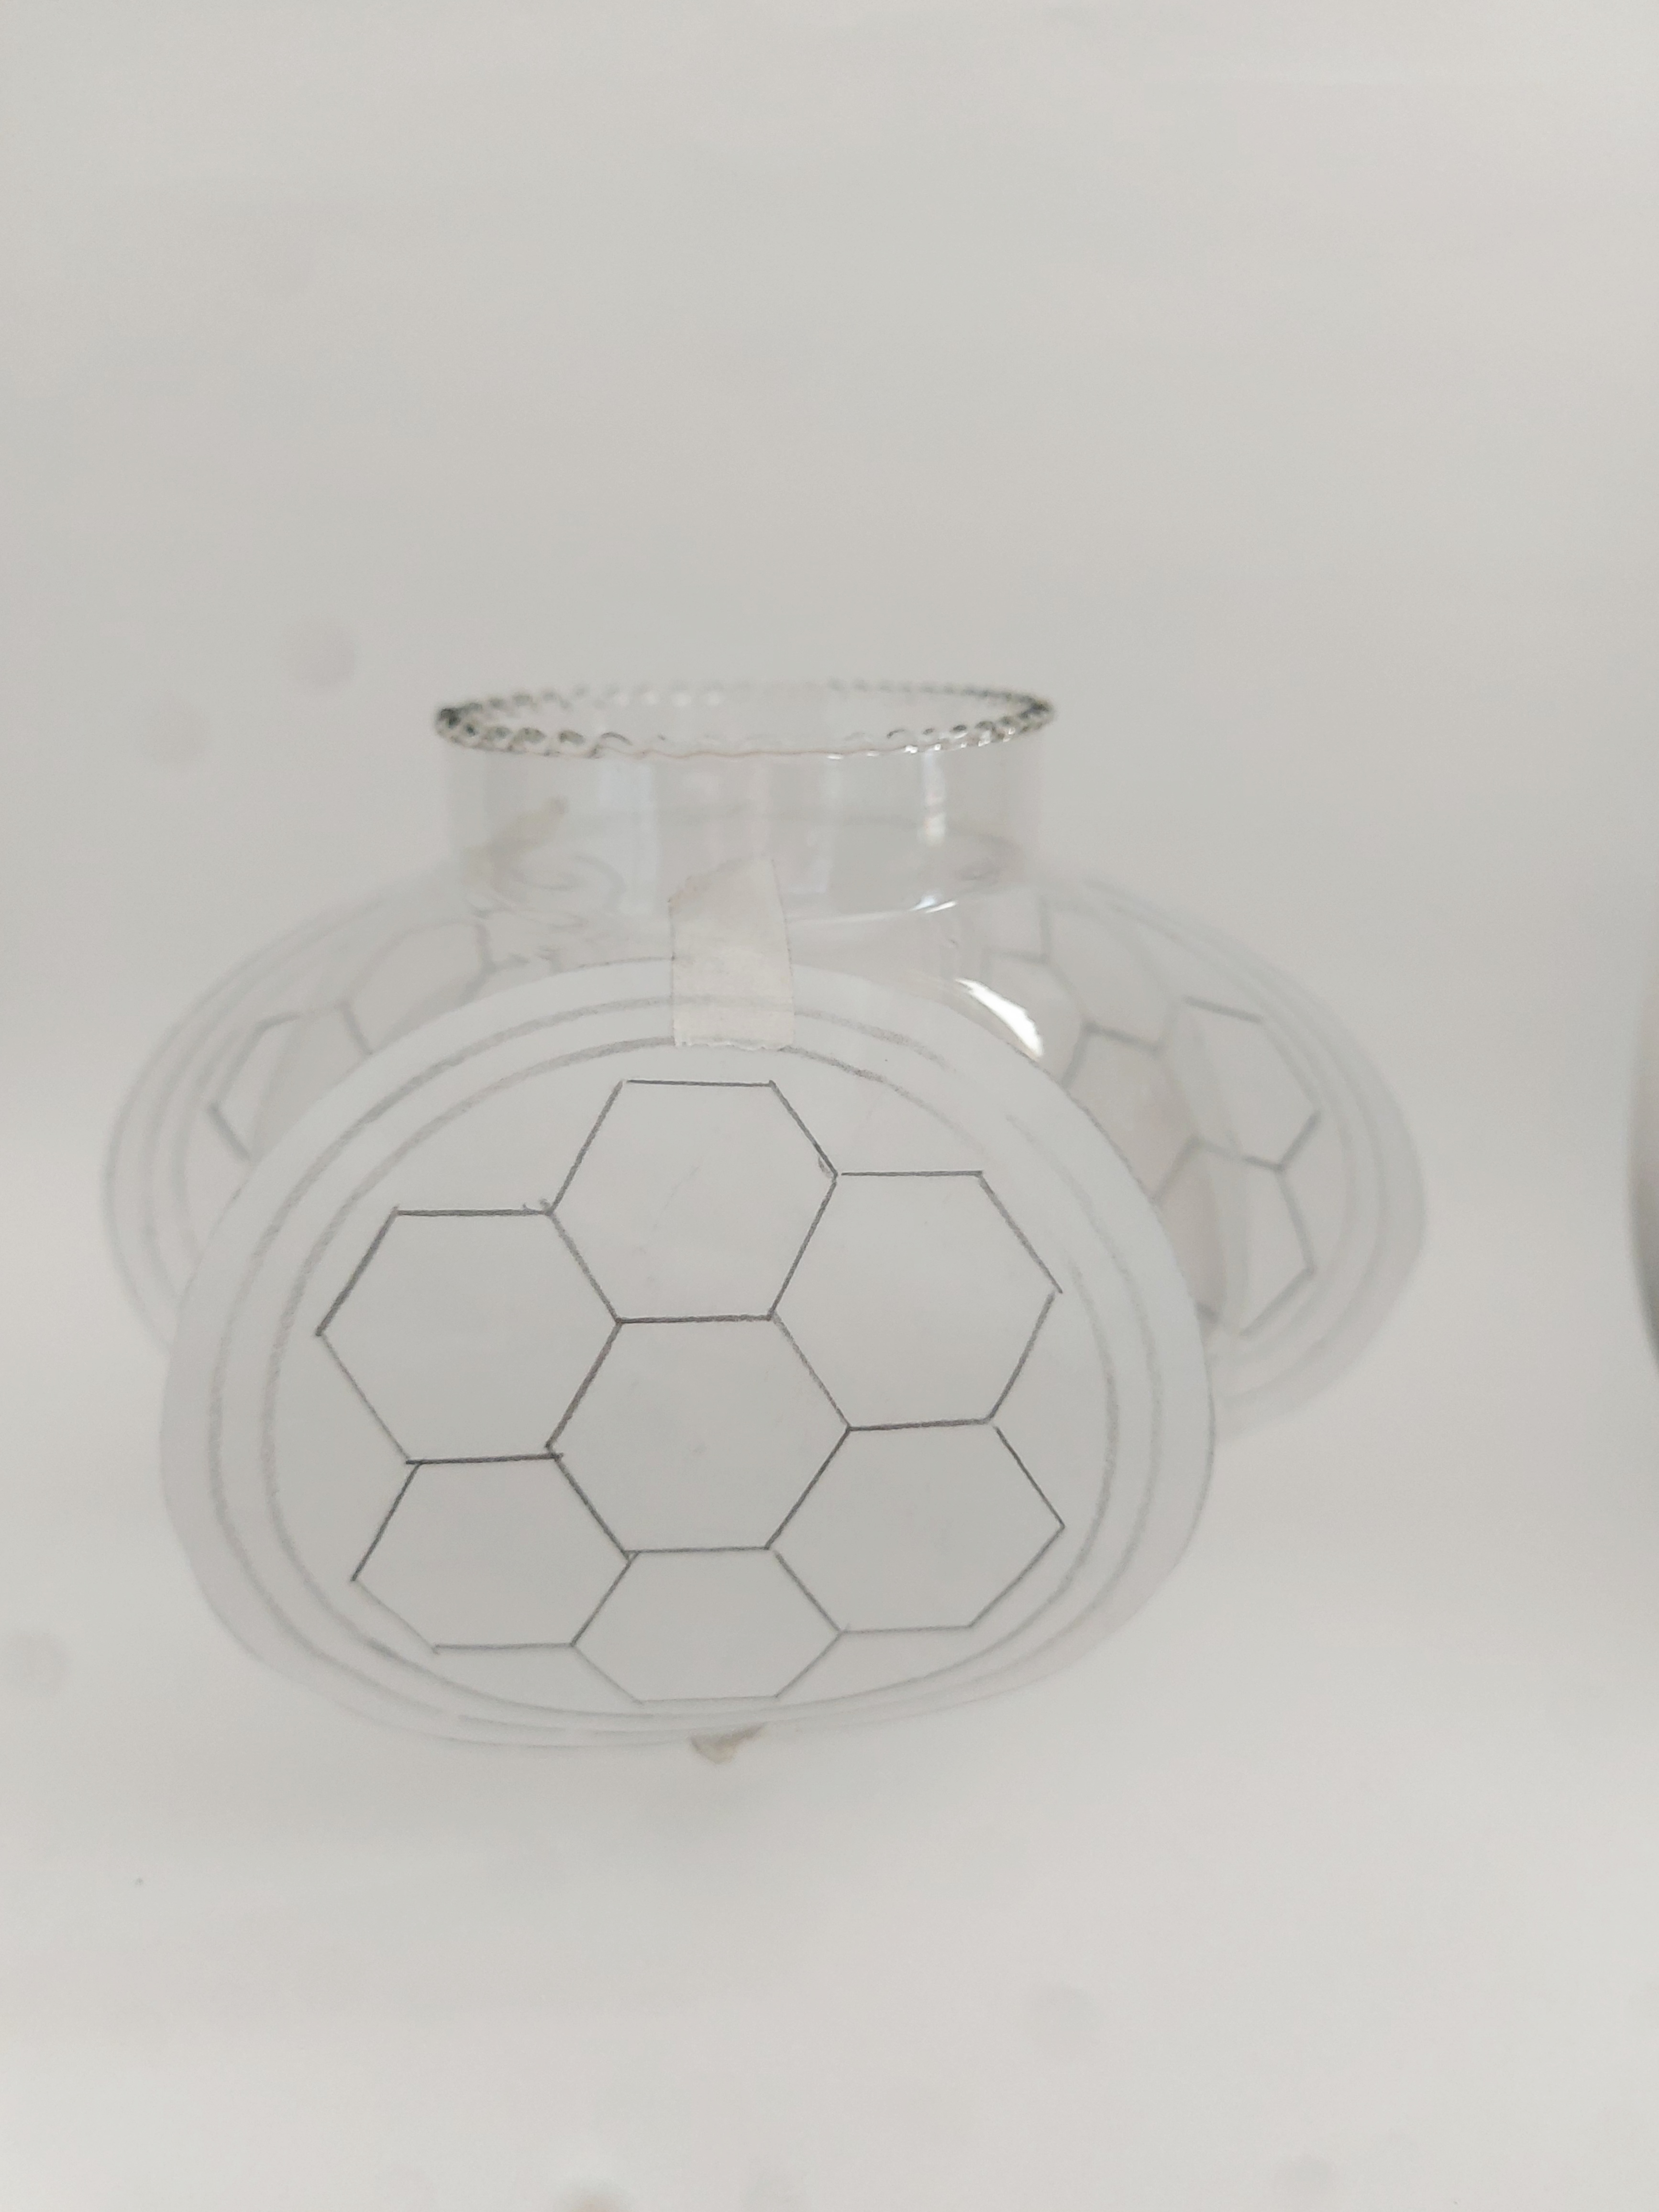
- Draw a hexagonal honeycomb style pattern, suitable for the front part of the fishbowl.
- Stick paper on walls of the bowl to replicate the design.
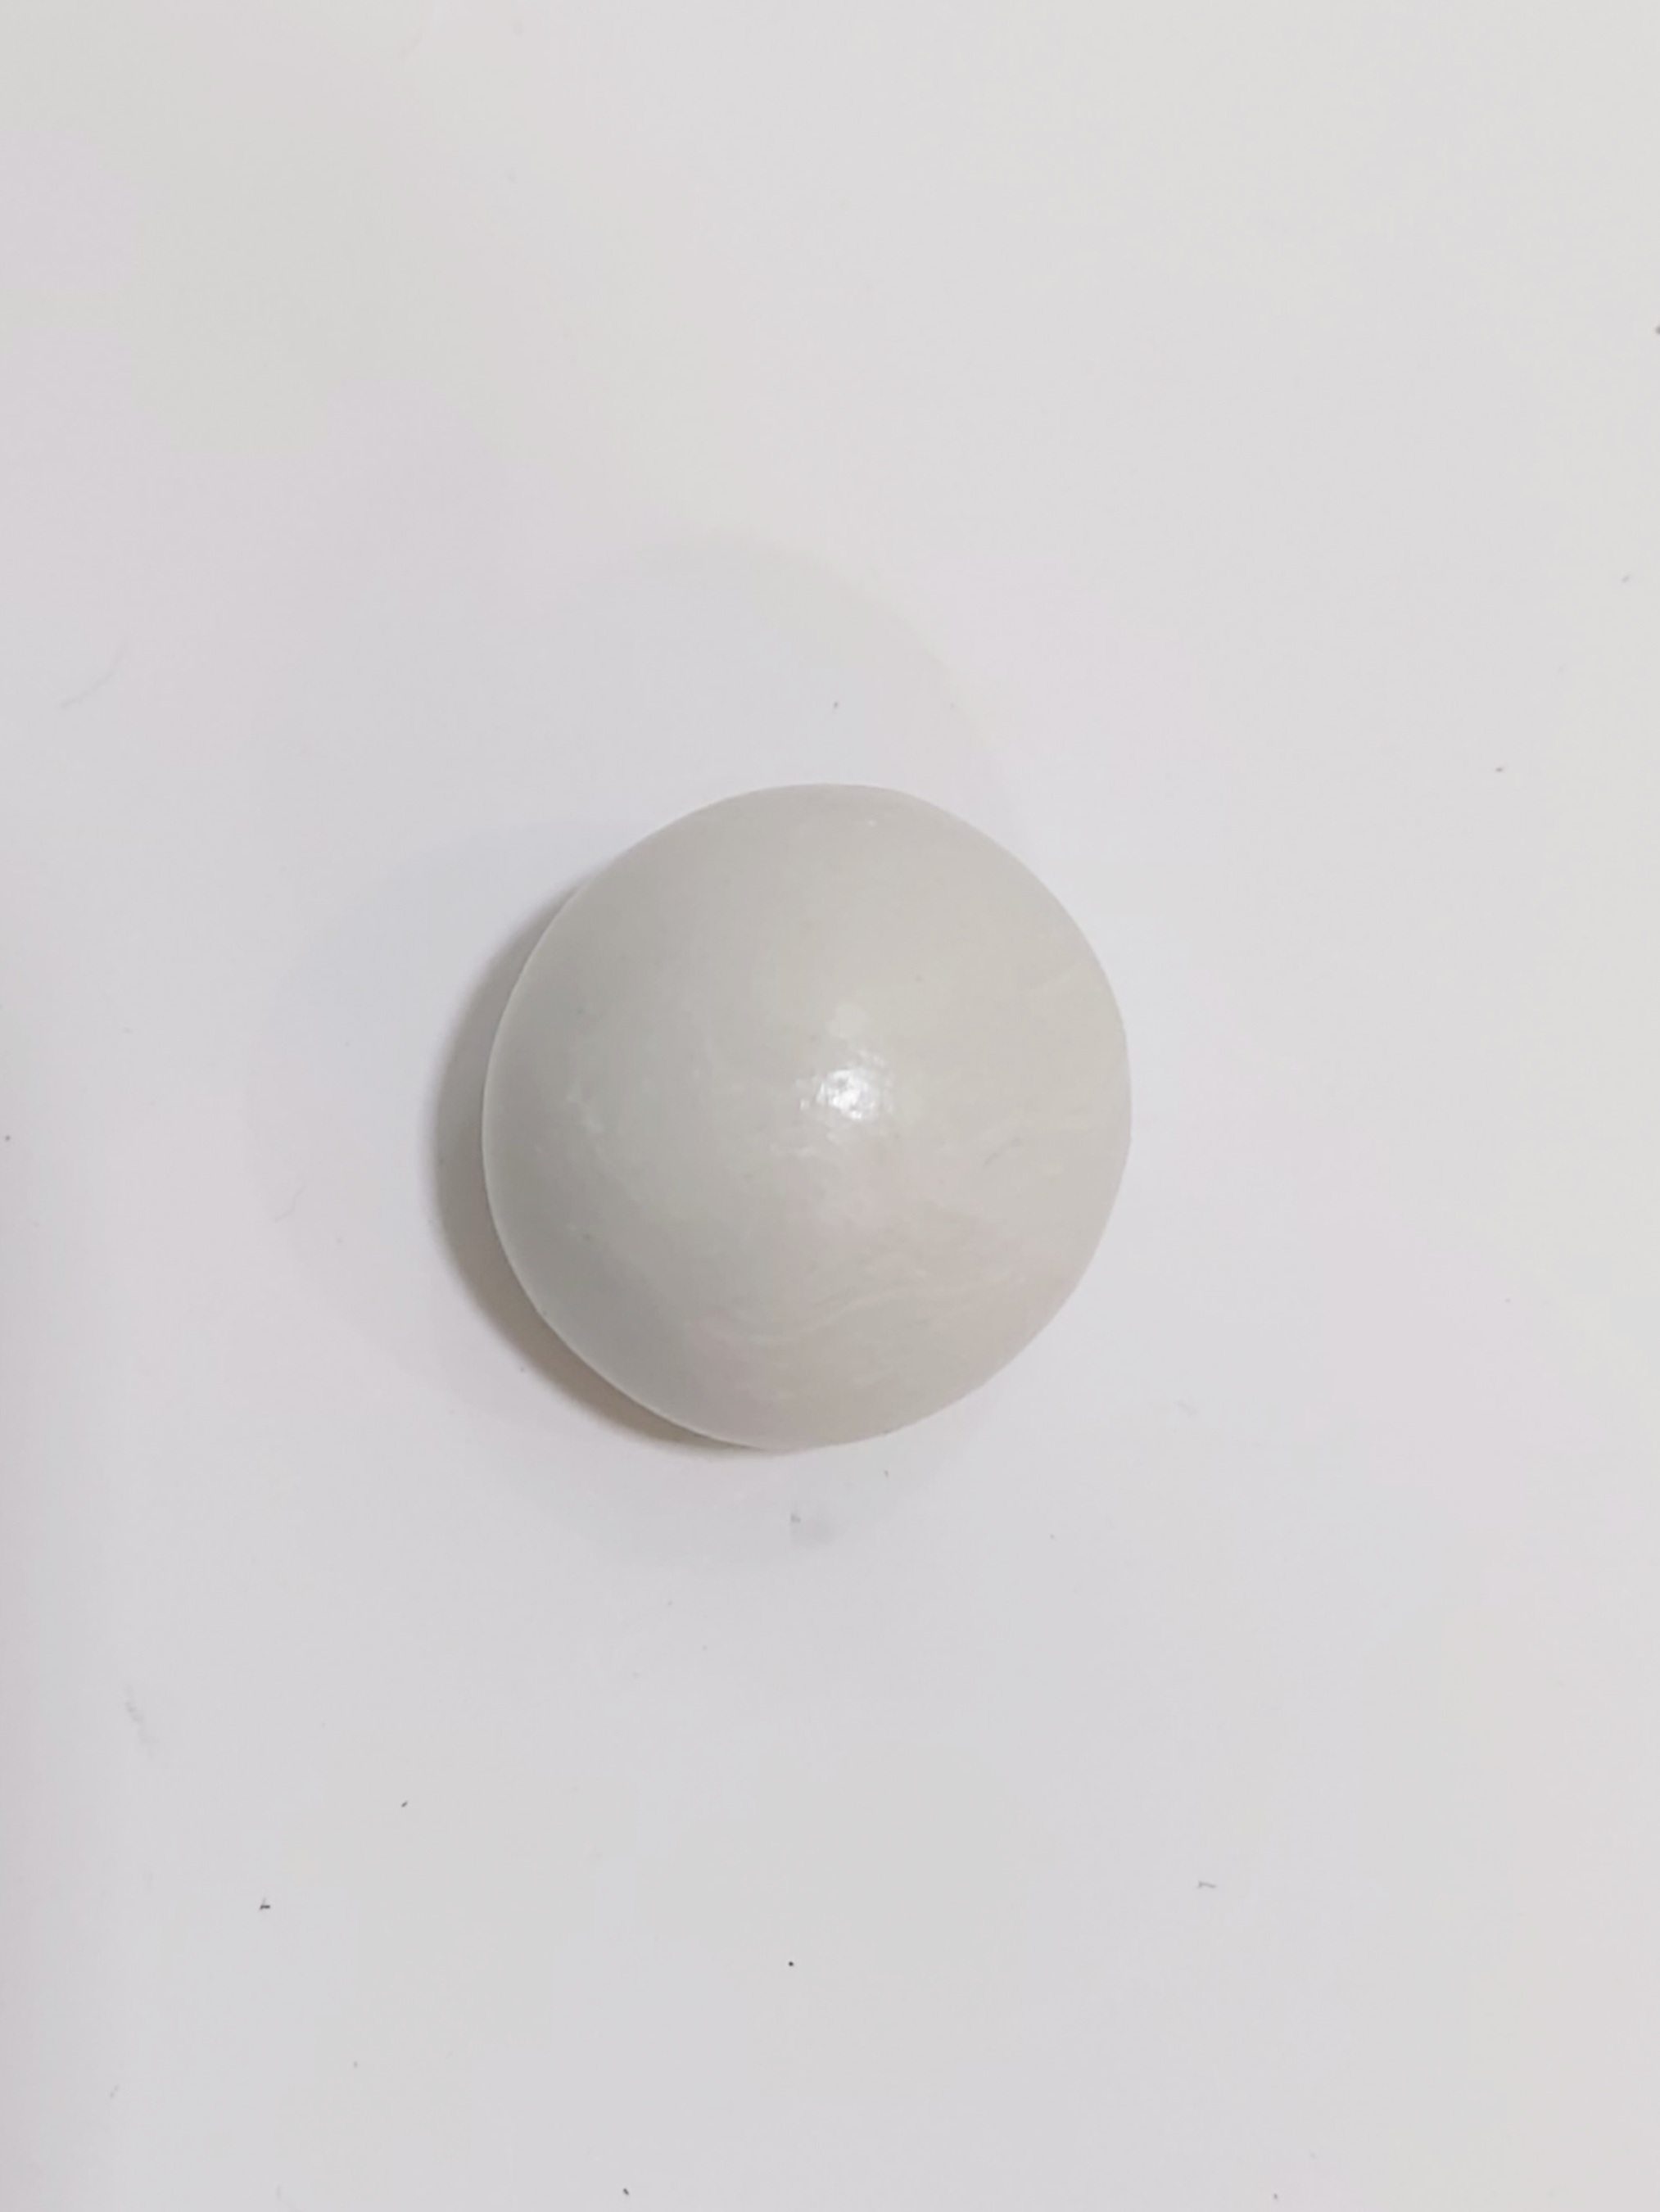
- Take Mouldit - resin base and hardener, mix it thoroughly to form an even dough.
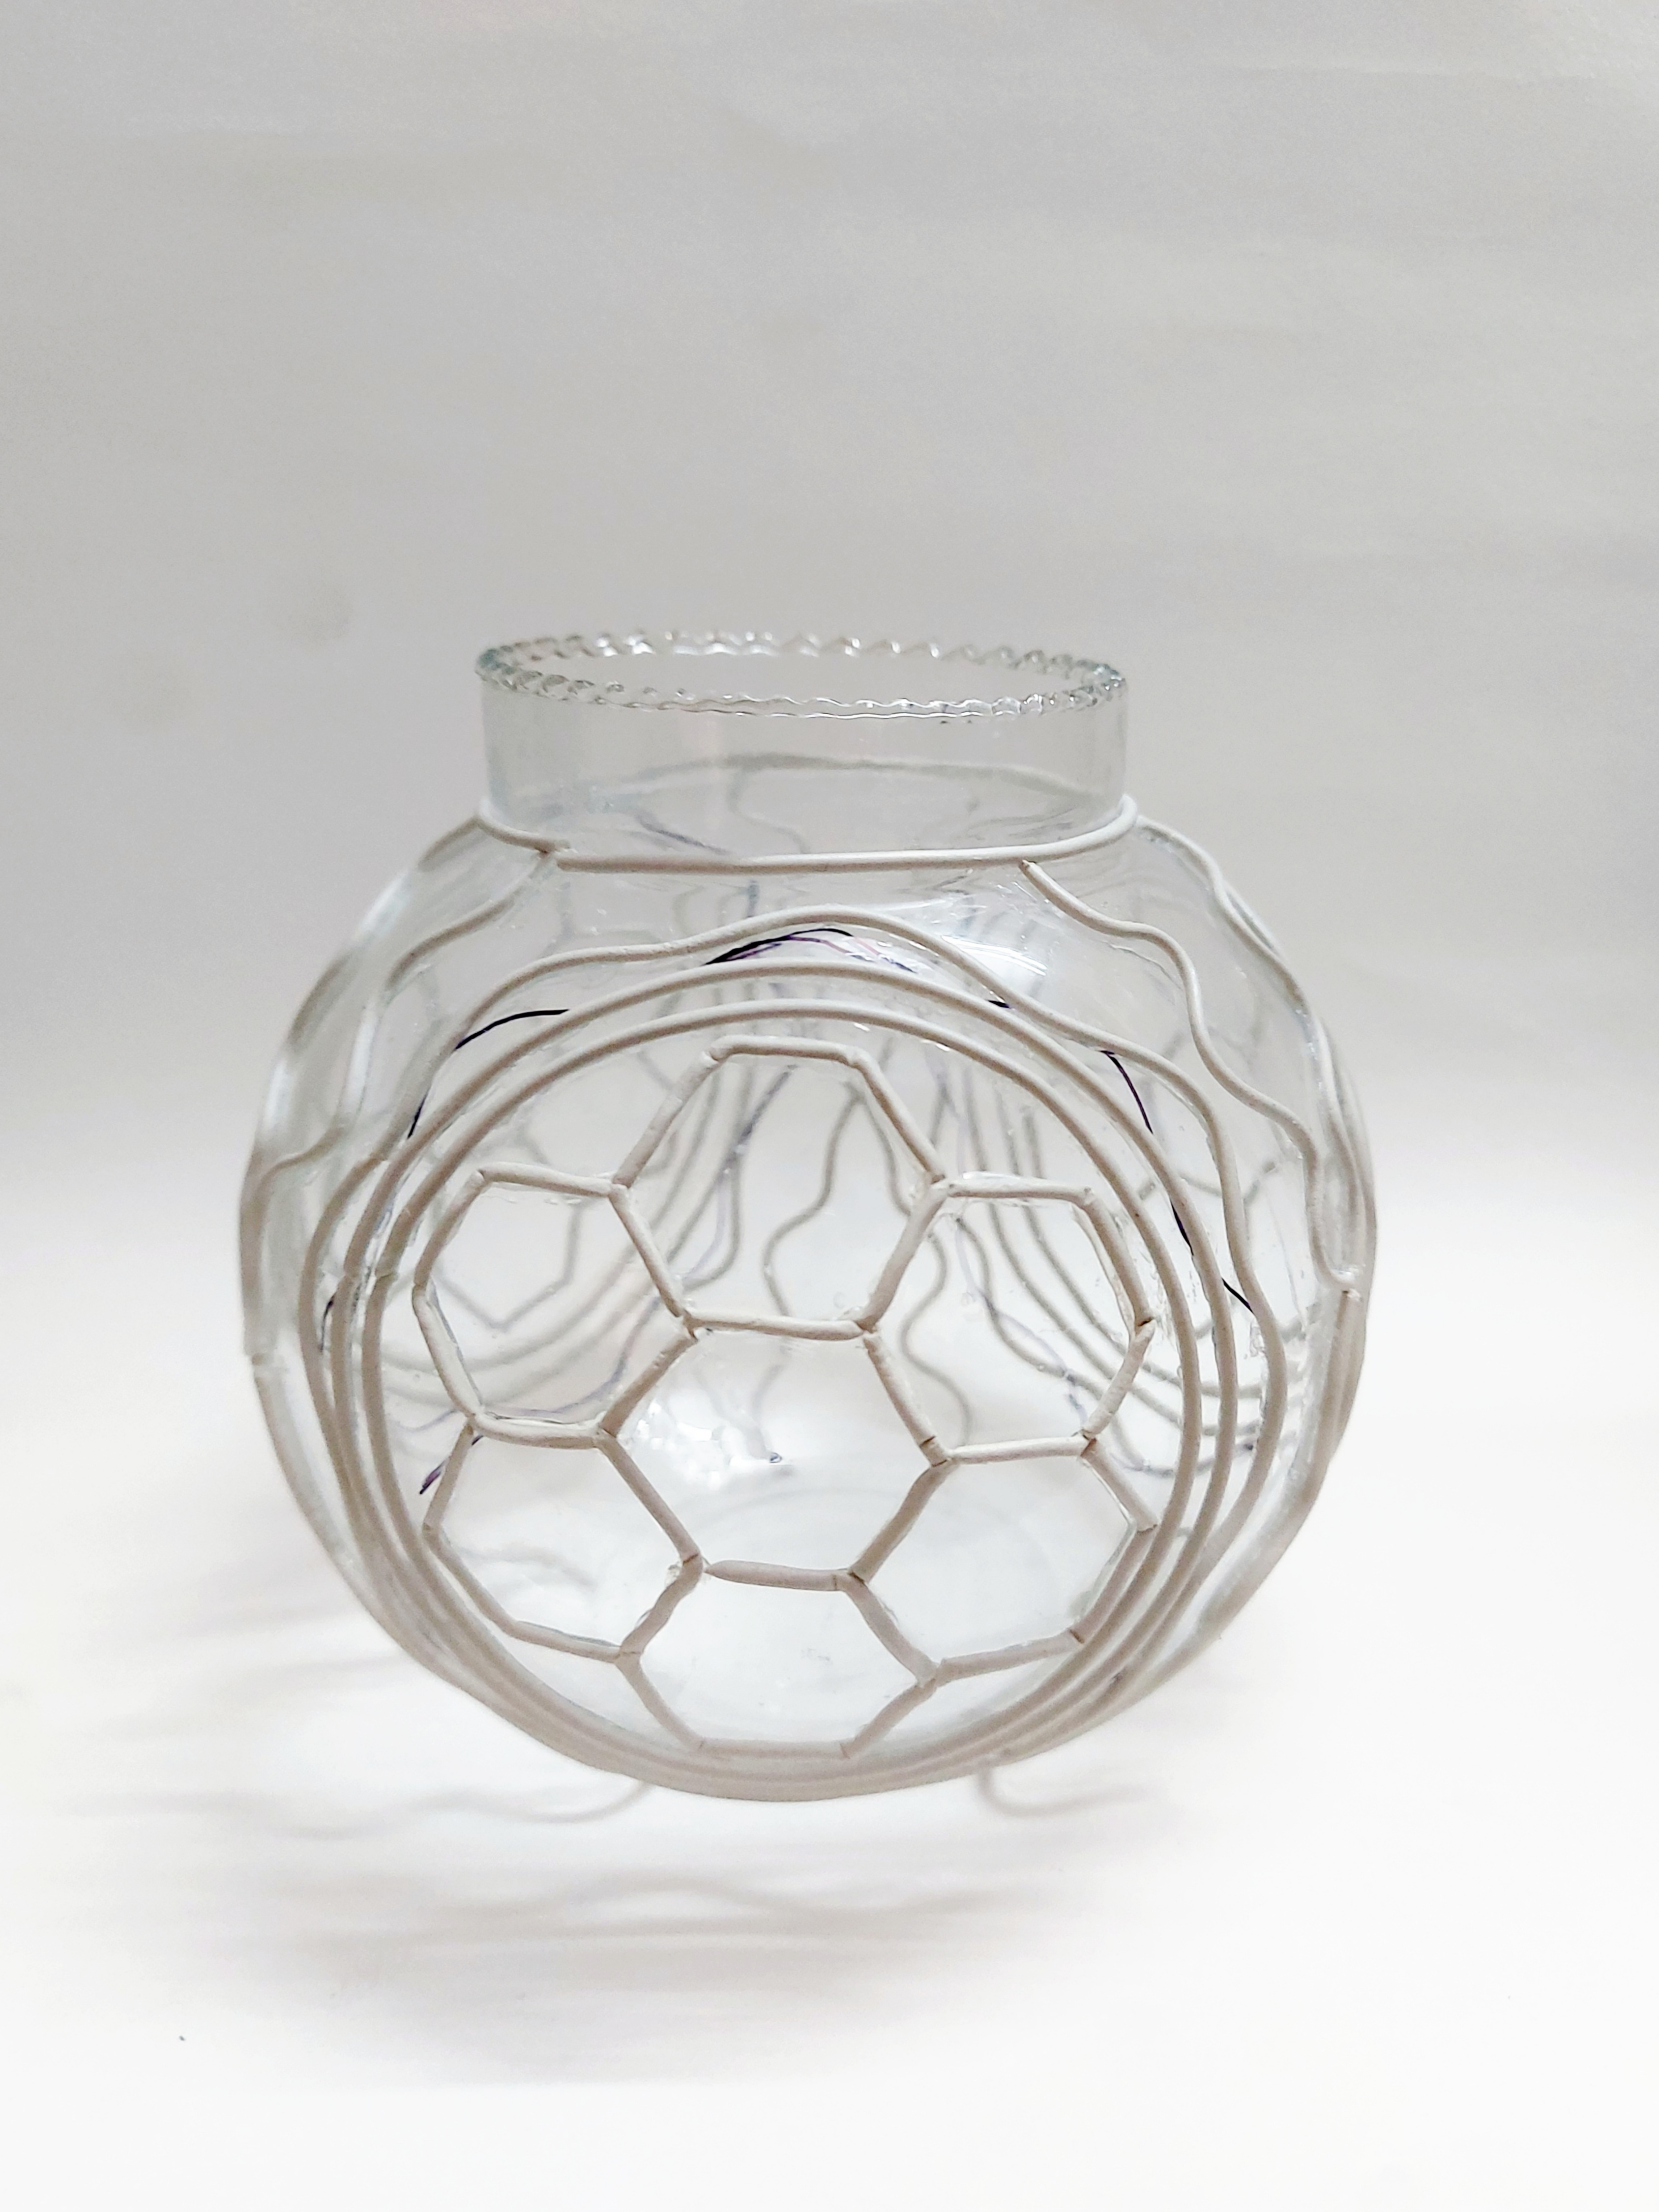
- Roll it to make thin coils.
- Stick the coils by following the honeycomb pattern using Fabric Glue.
- Let it dry.

- Paint the design with Glass Colours - Sea Blue, Ultramarine Blue and Pink.
- Let it dry.
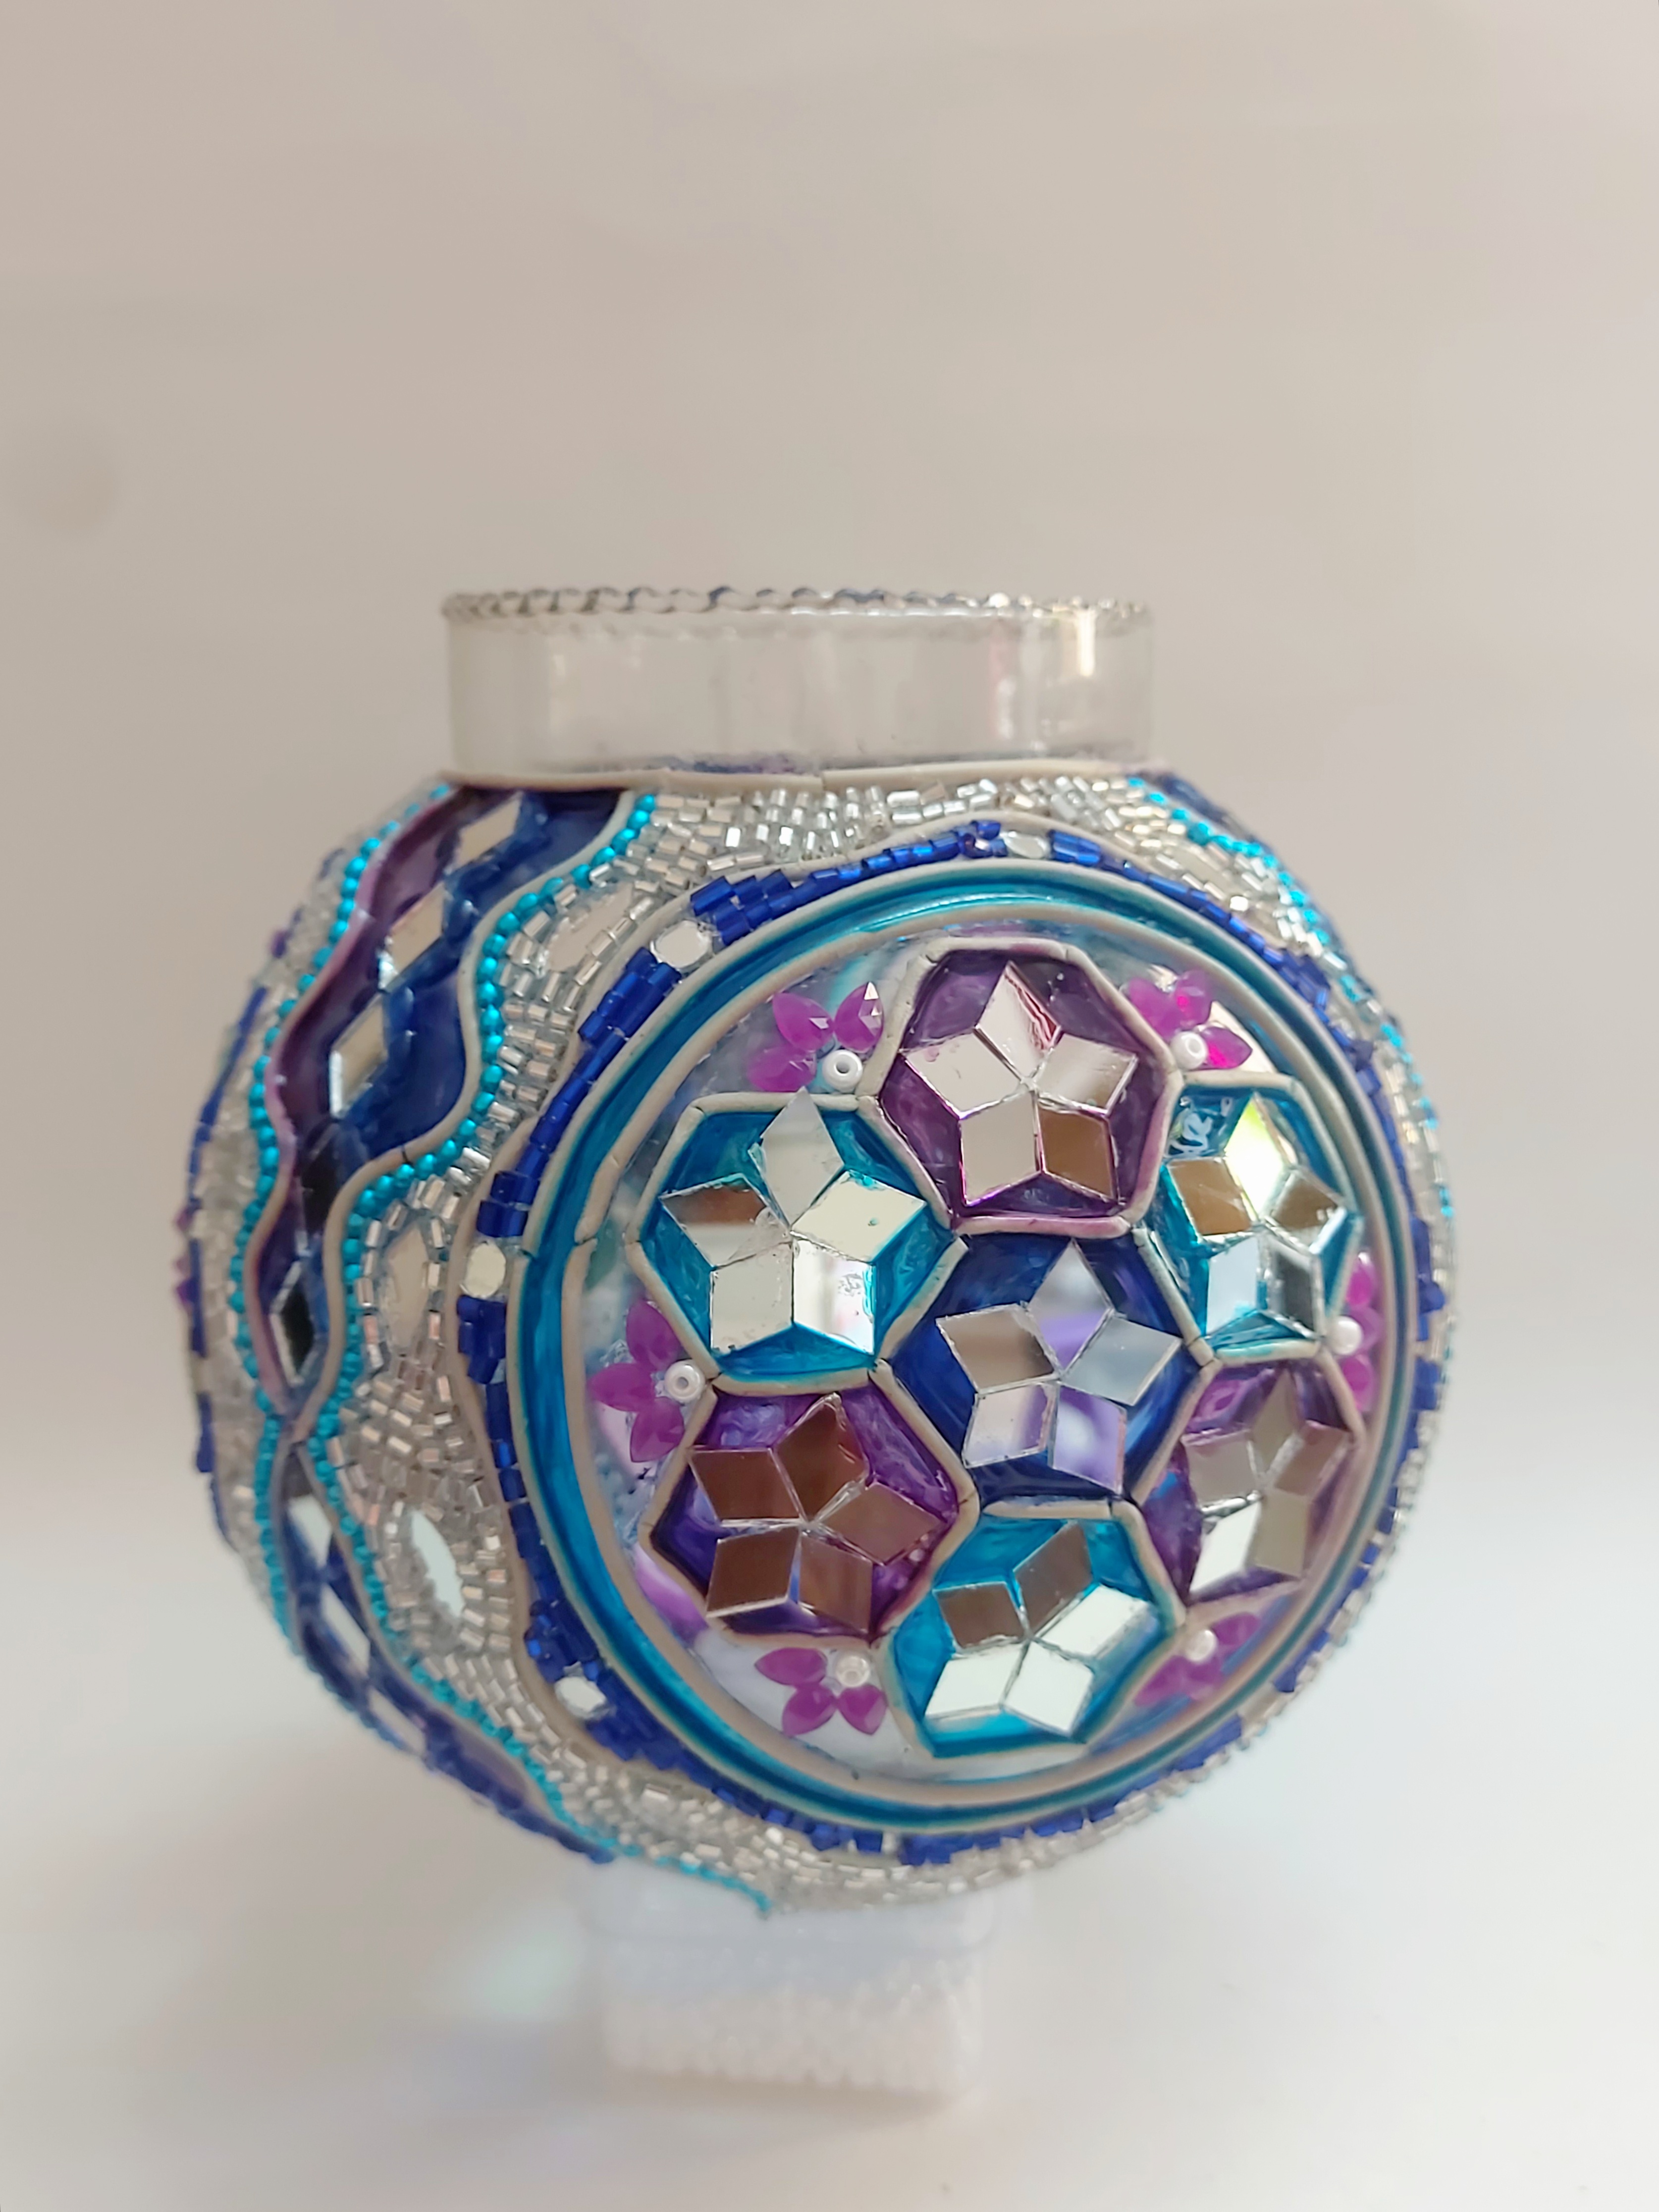
- Enhance the design by sticking assorted cut dannas, ball chain, mirrors, glass beads and ornamental pearls using Fabric Glue.
- Let it dry completely.
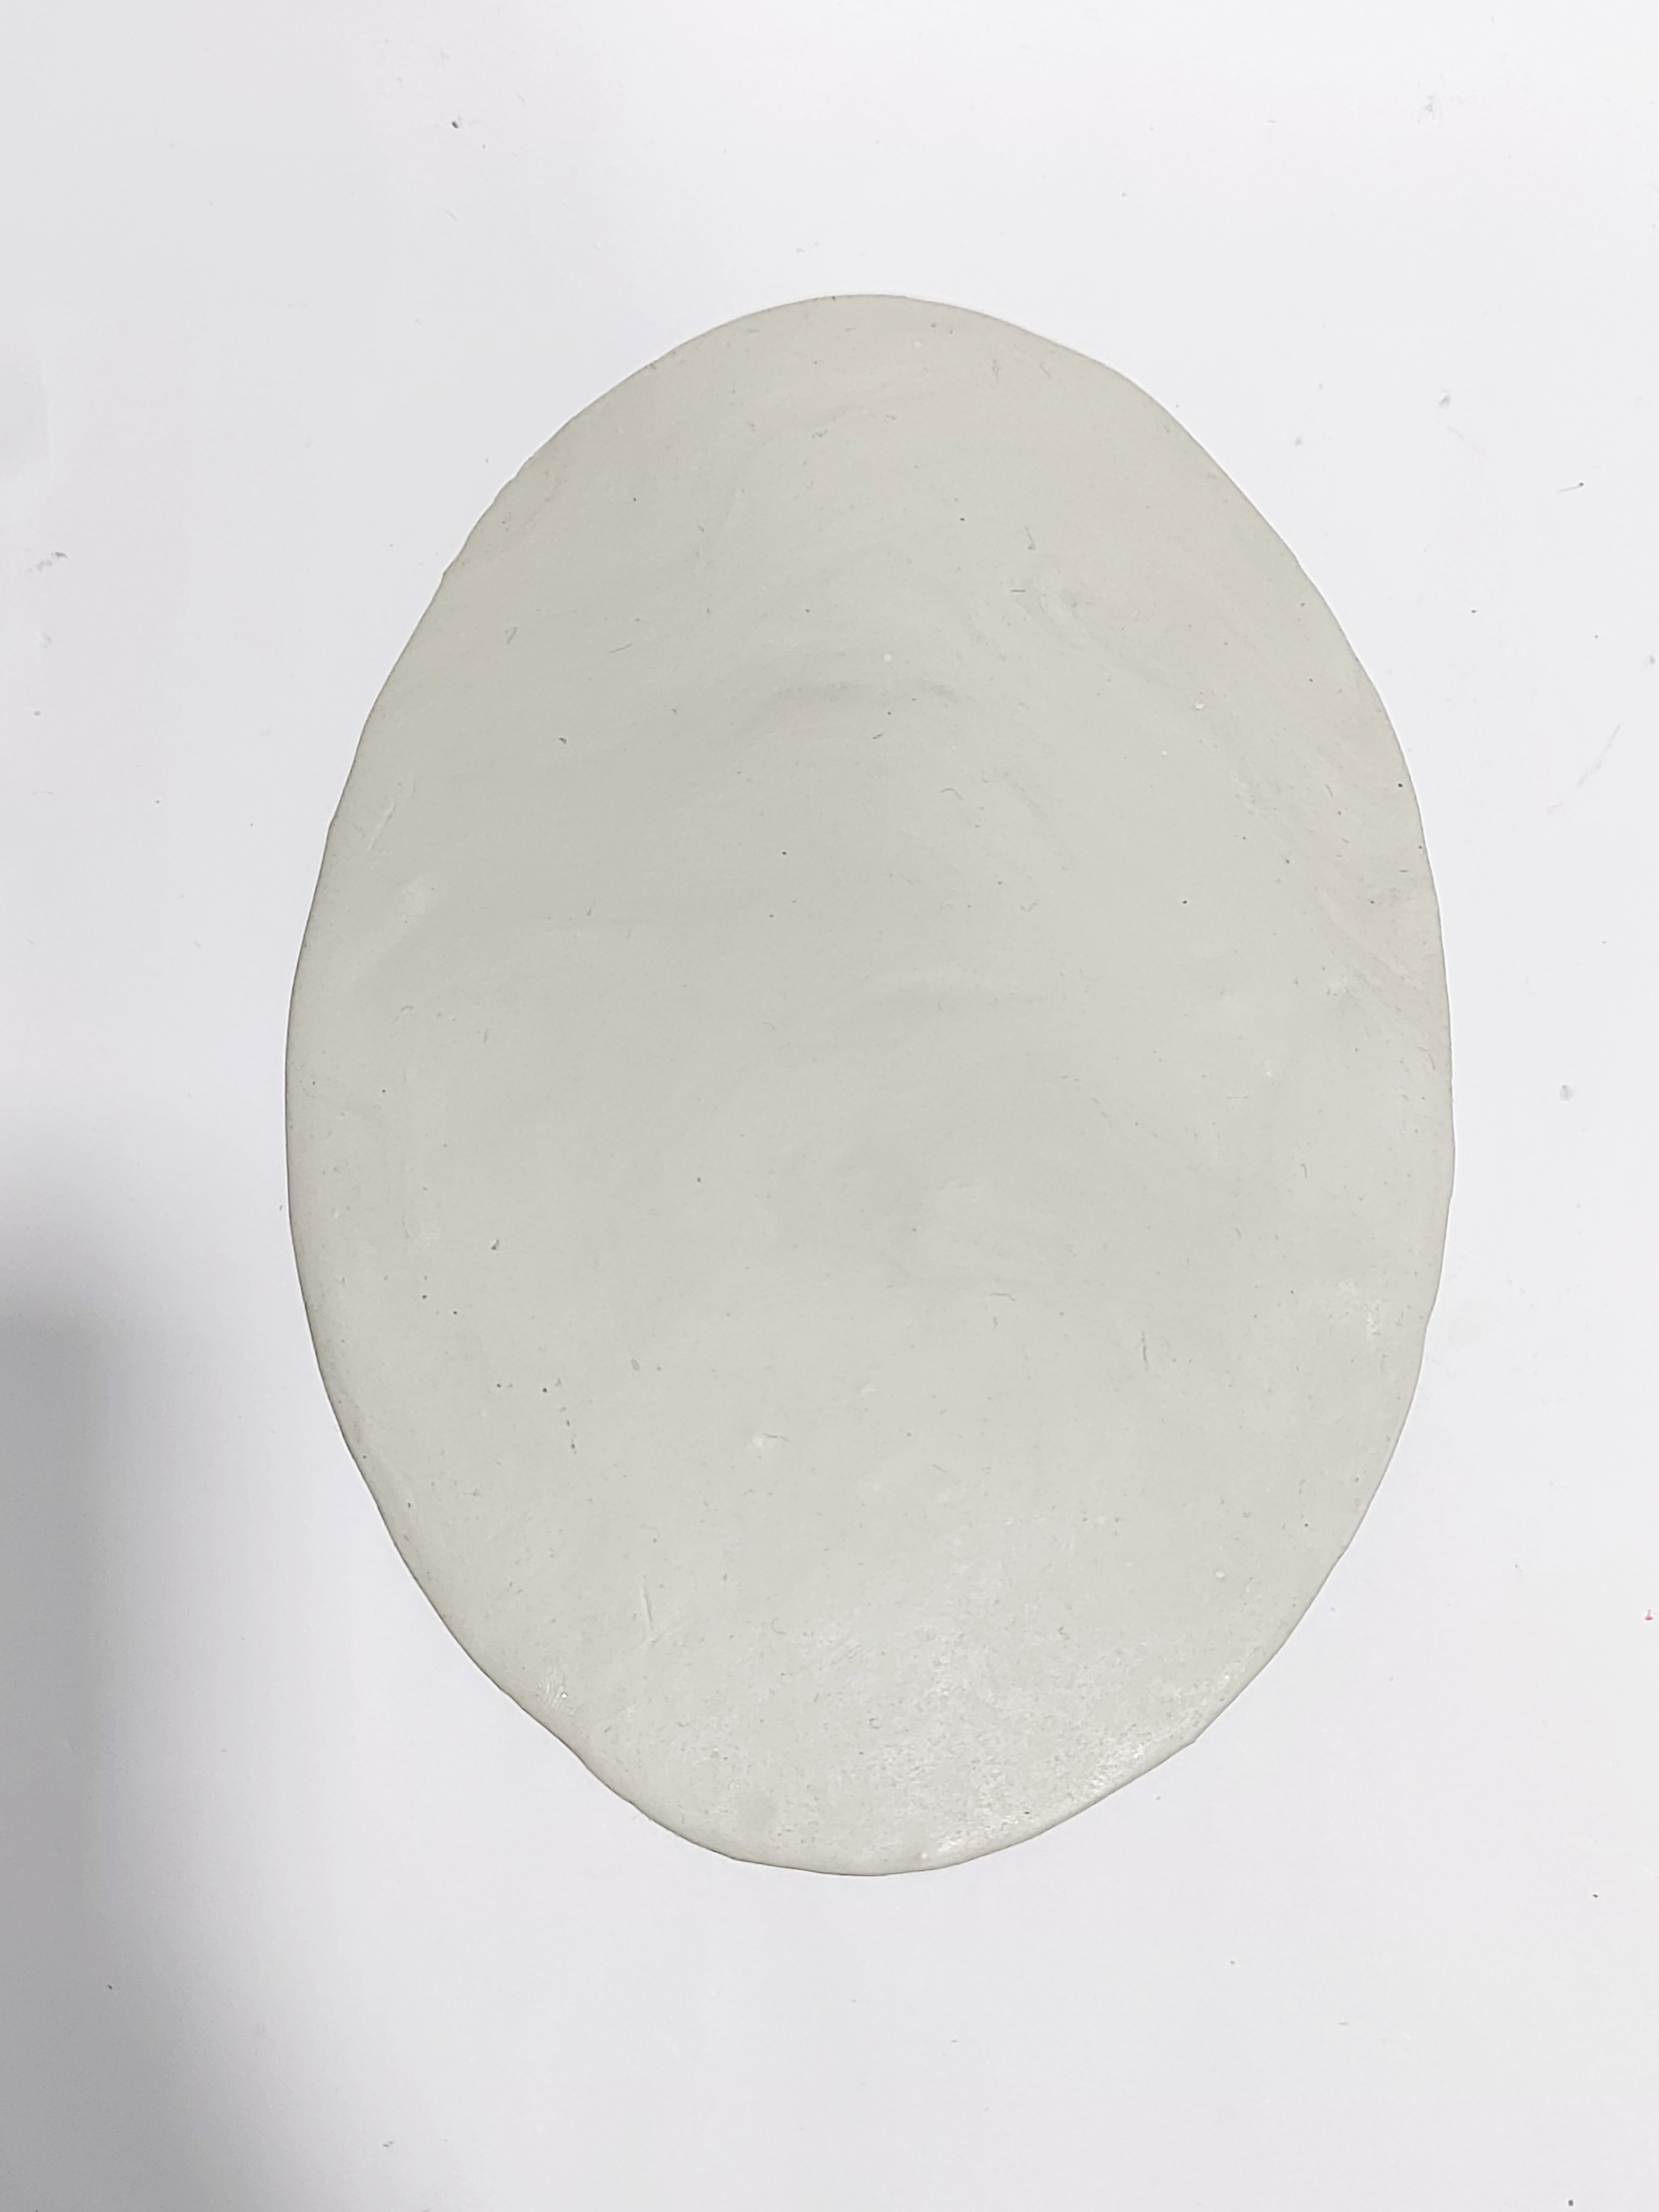
- We are going to make the upper and lower attachments for the lamp.
- Take a plastic bottle to make the upper side of the lamp as the holder and the round container of the winter cream bottle to make the lower attachment.
- Take the dough, roll it to make a thick slab with rolling pin to cover both the bottles.
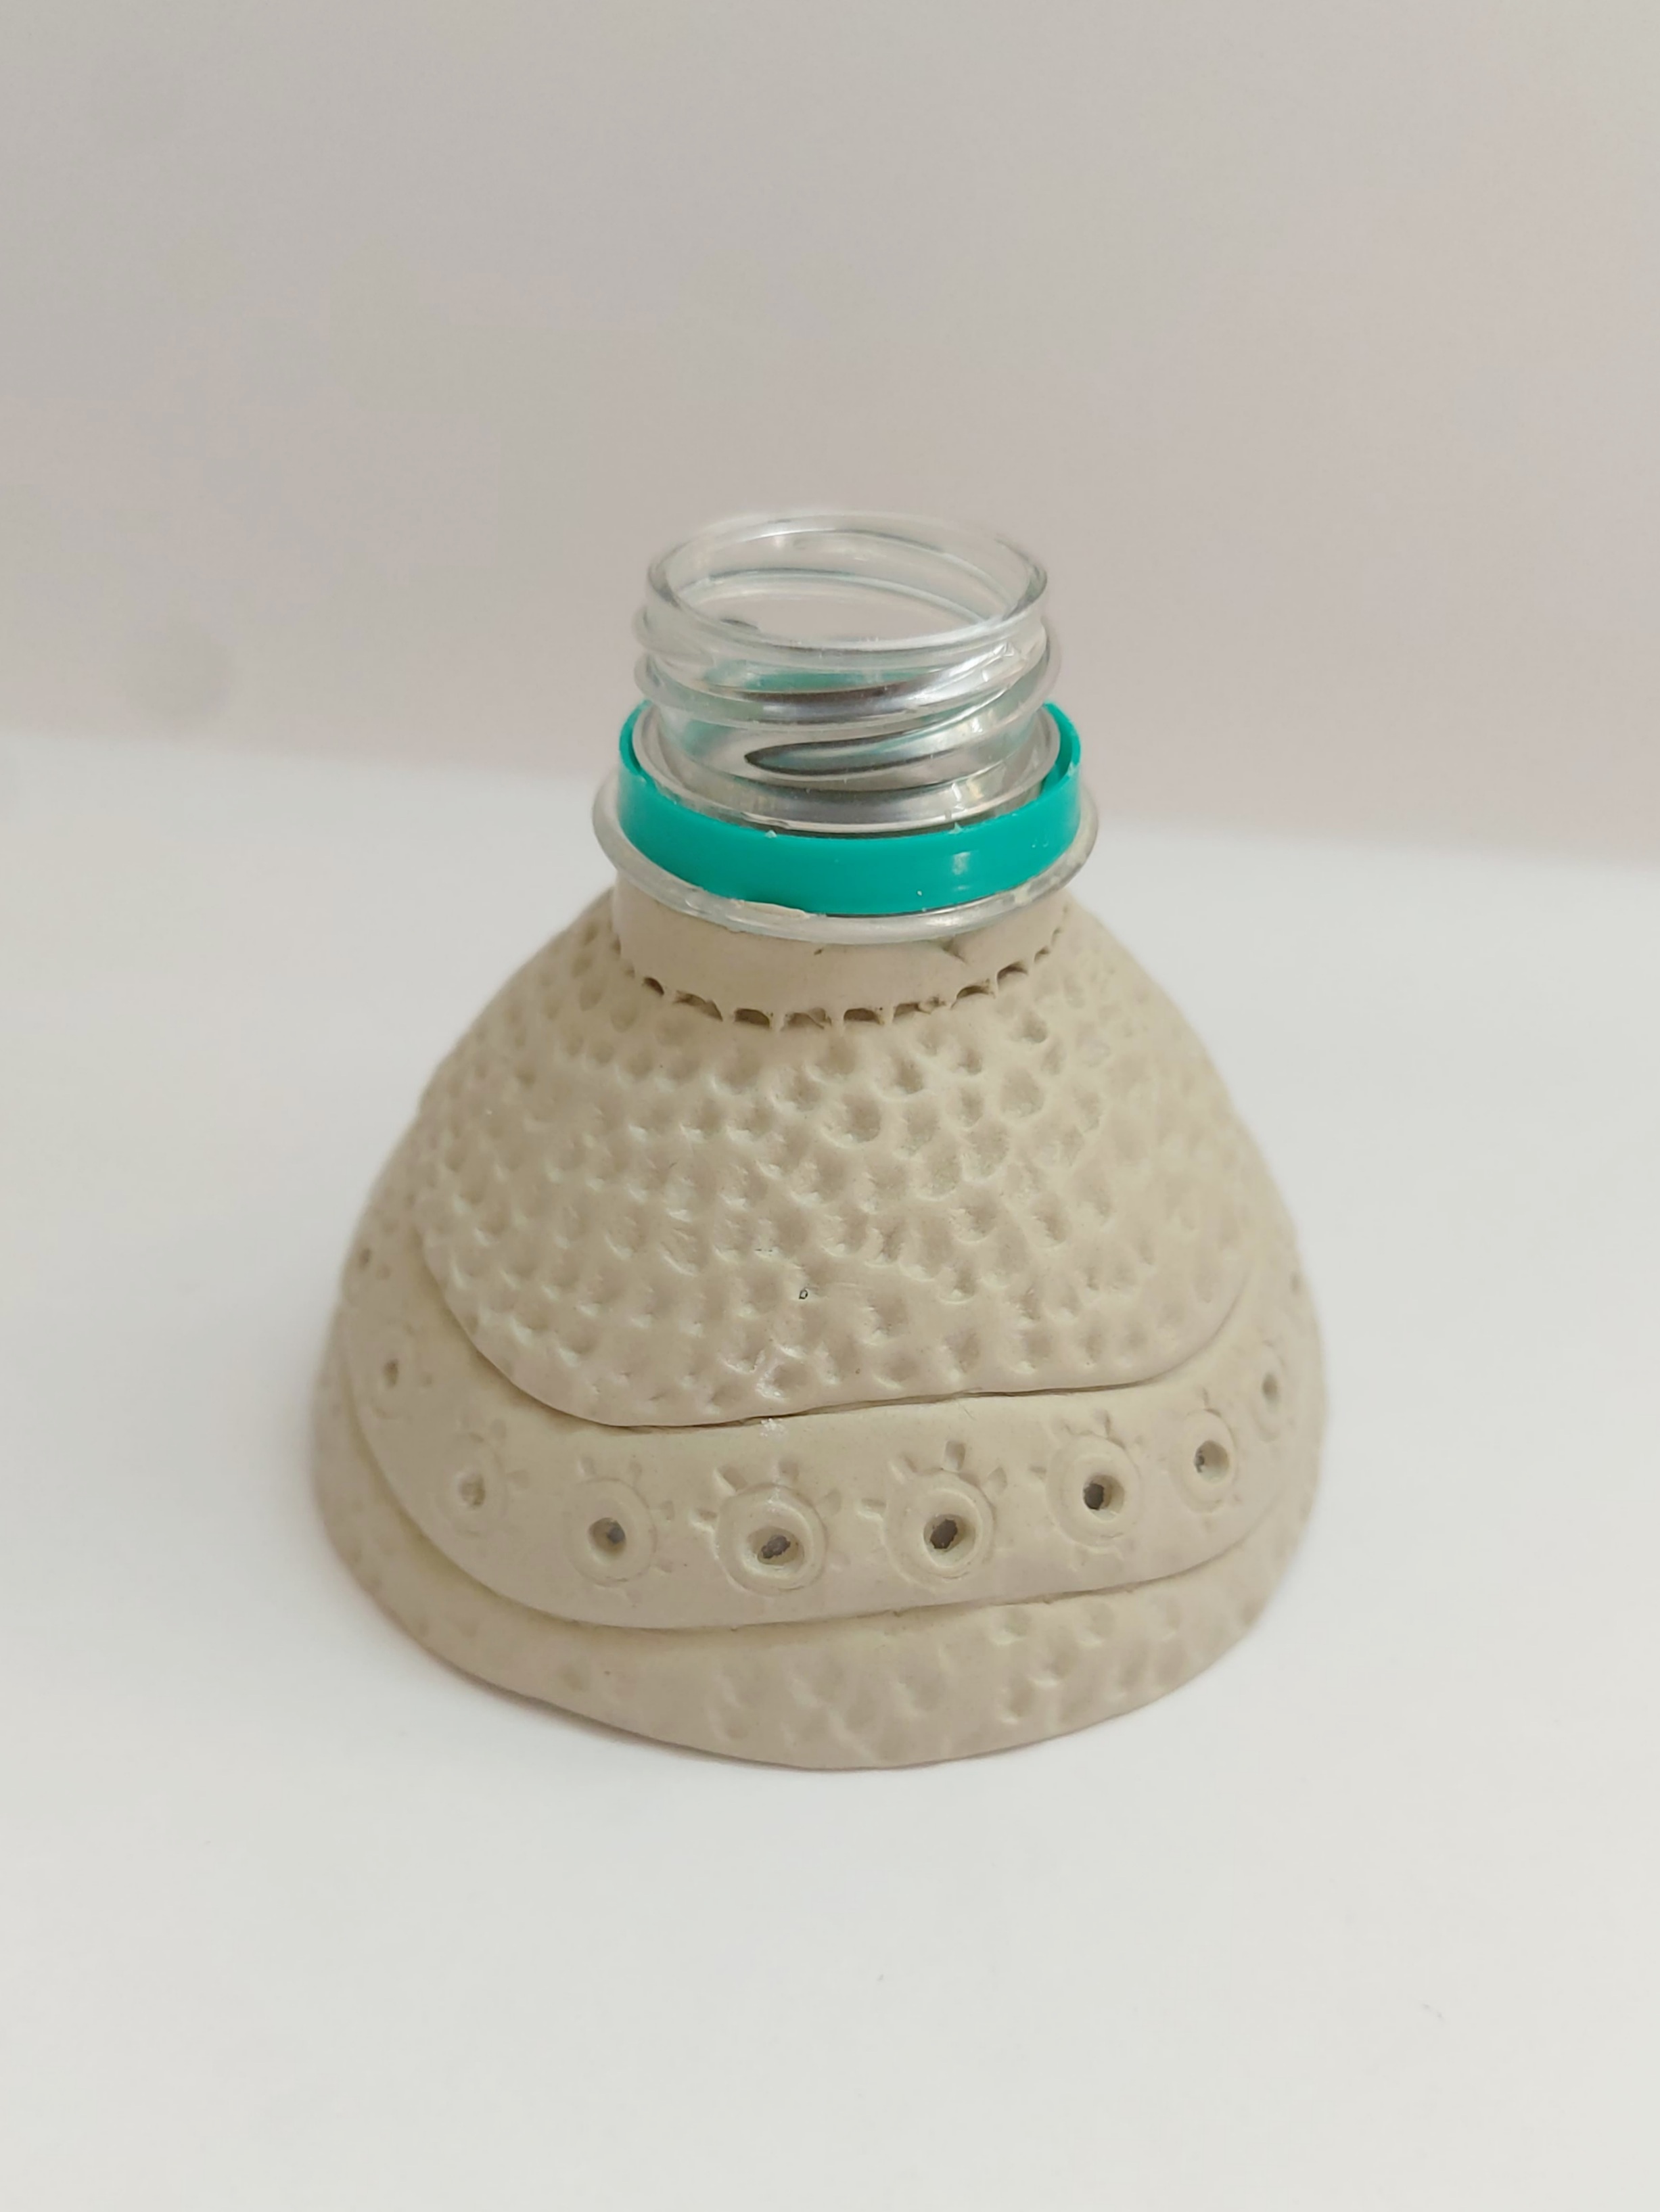
- Cover and stick the bottle with the Mouldit slab using Fevicryl Fabric Glue.
- Let it dry.
- Create textures on the covered slab with clay carving tools.
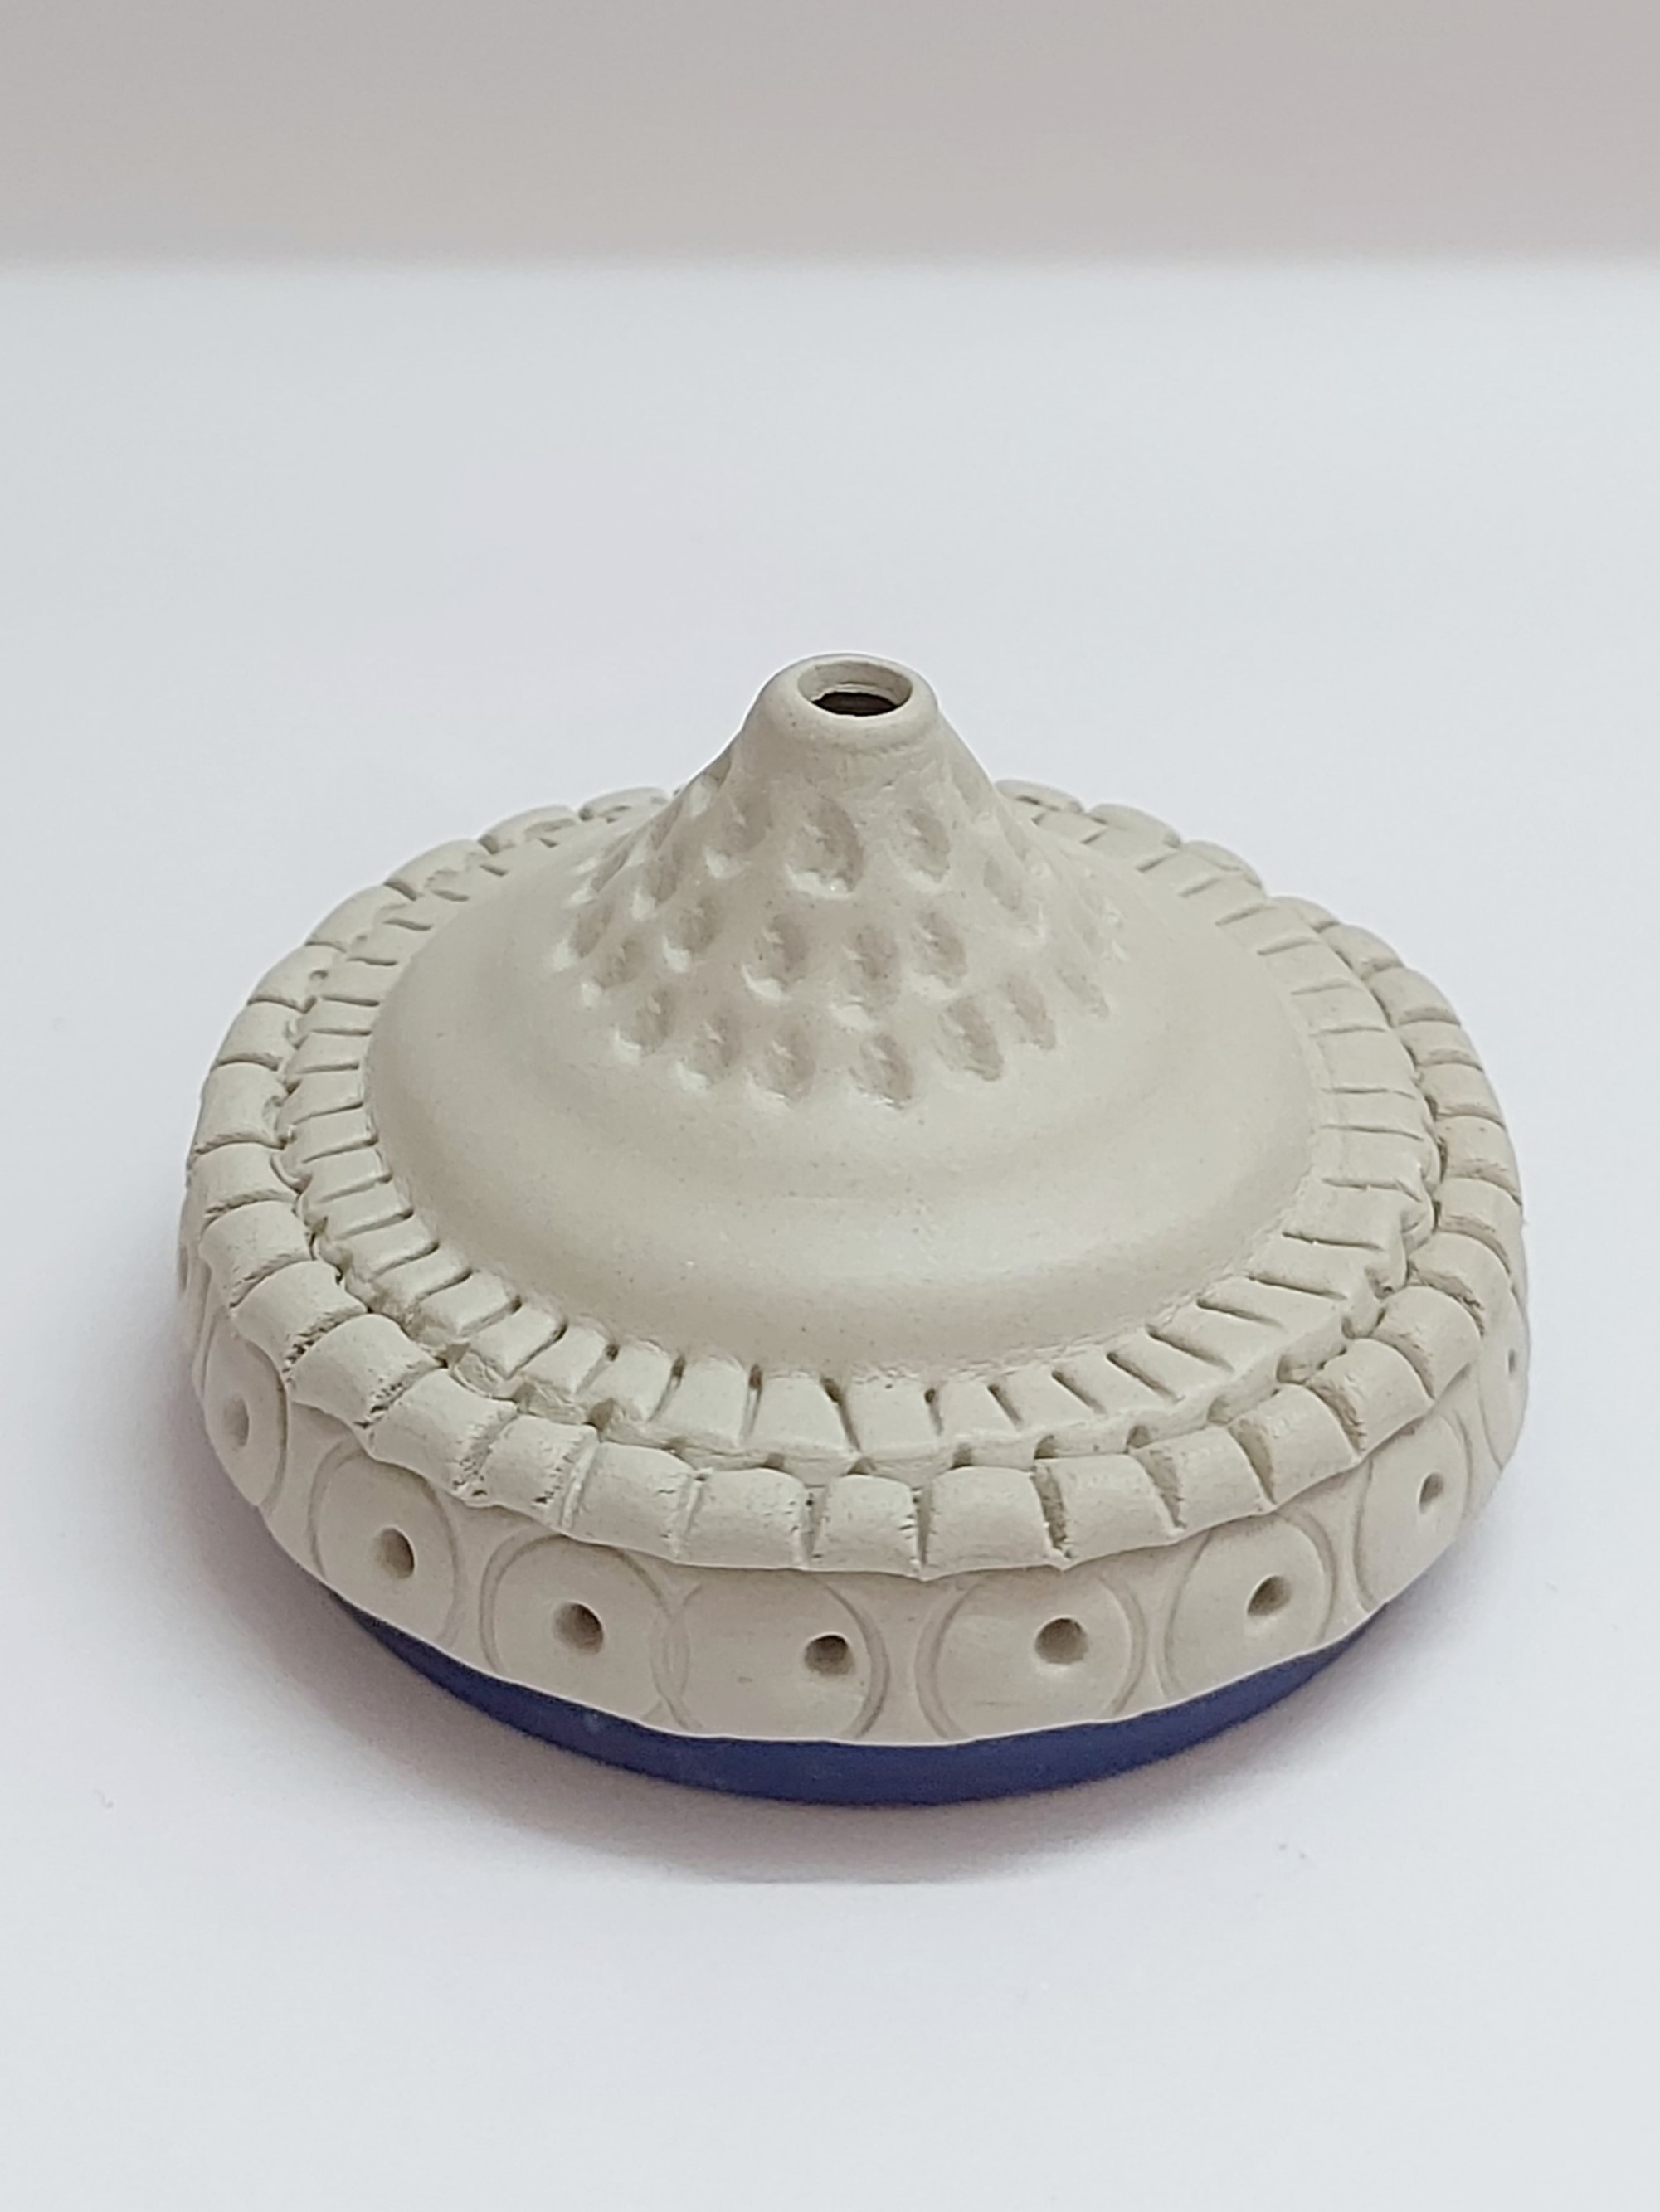
- Similarly, cover the container of the winter cream with Mouldit slab and paste it using Fabric Glue. Let it dry.
- Create textures on the covered slab with clay carving tools.
- Refer to the image.
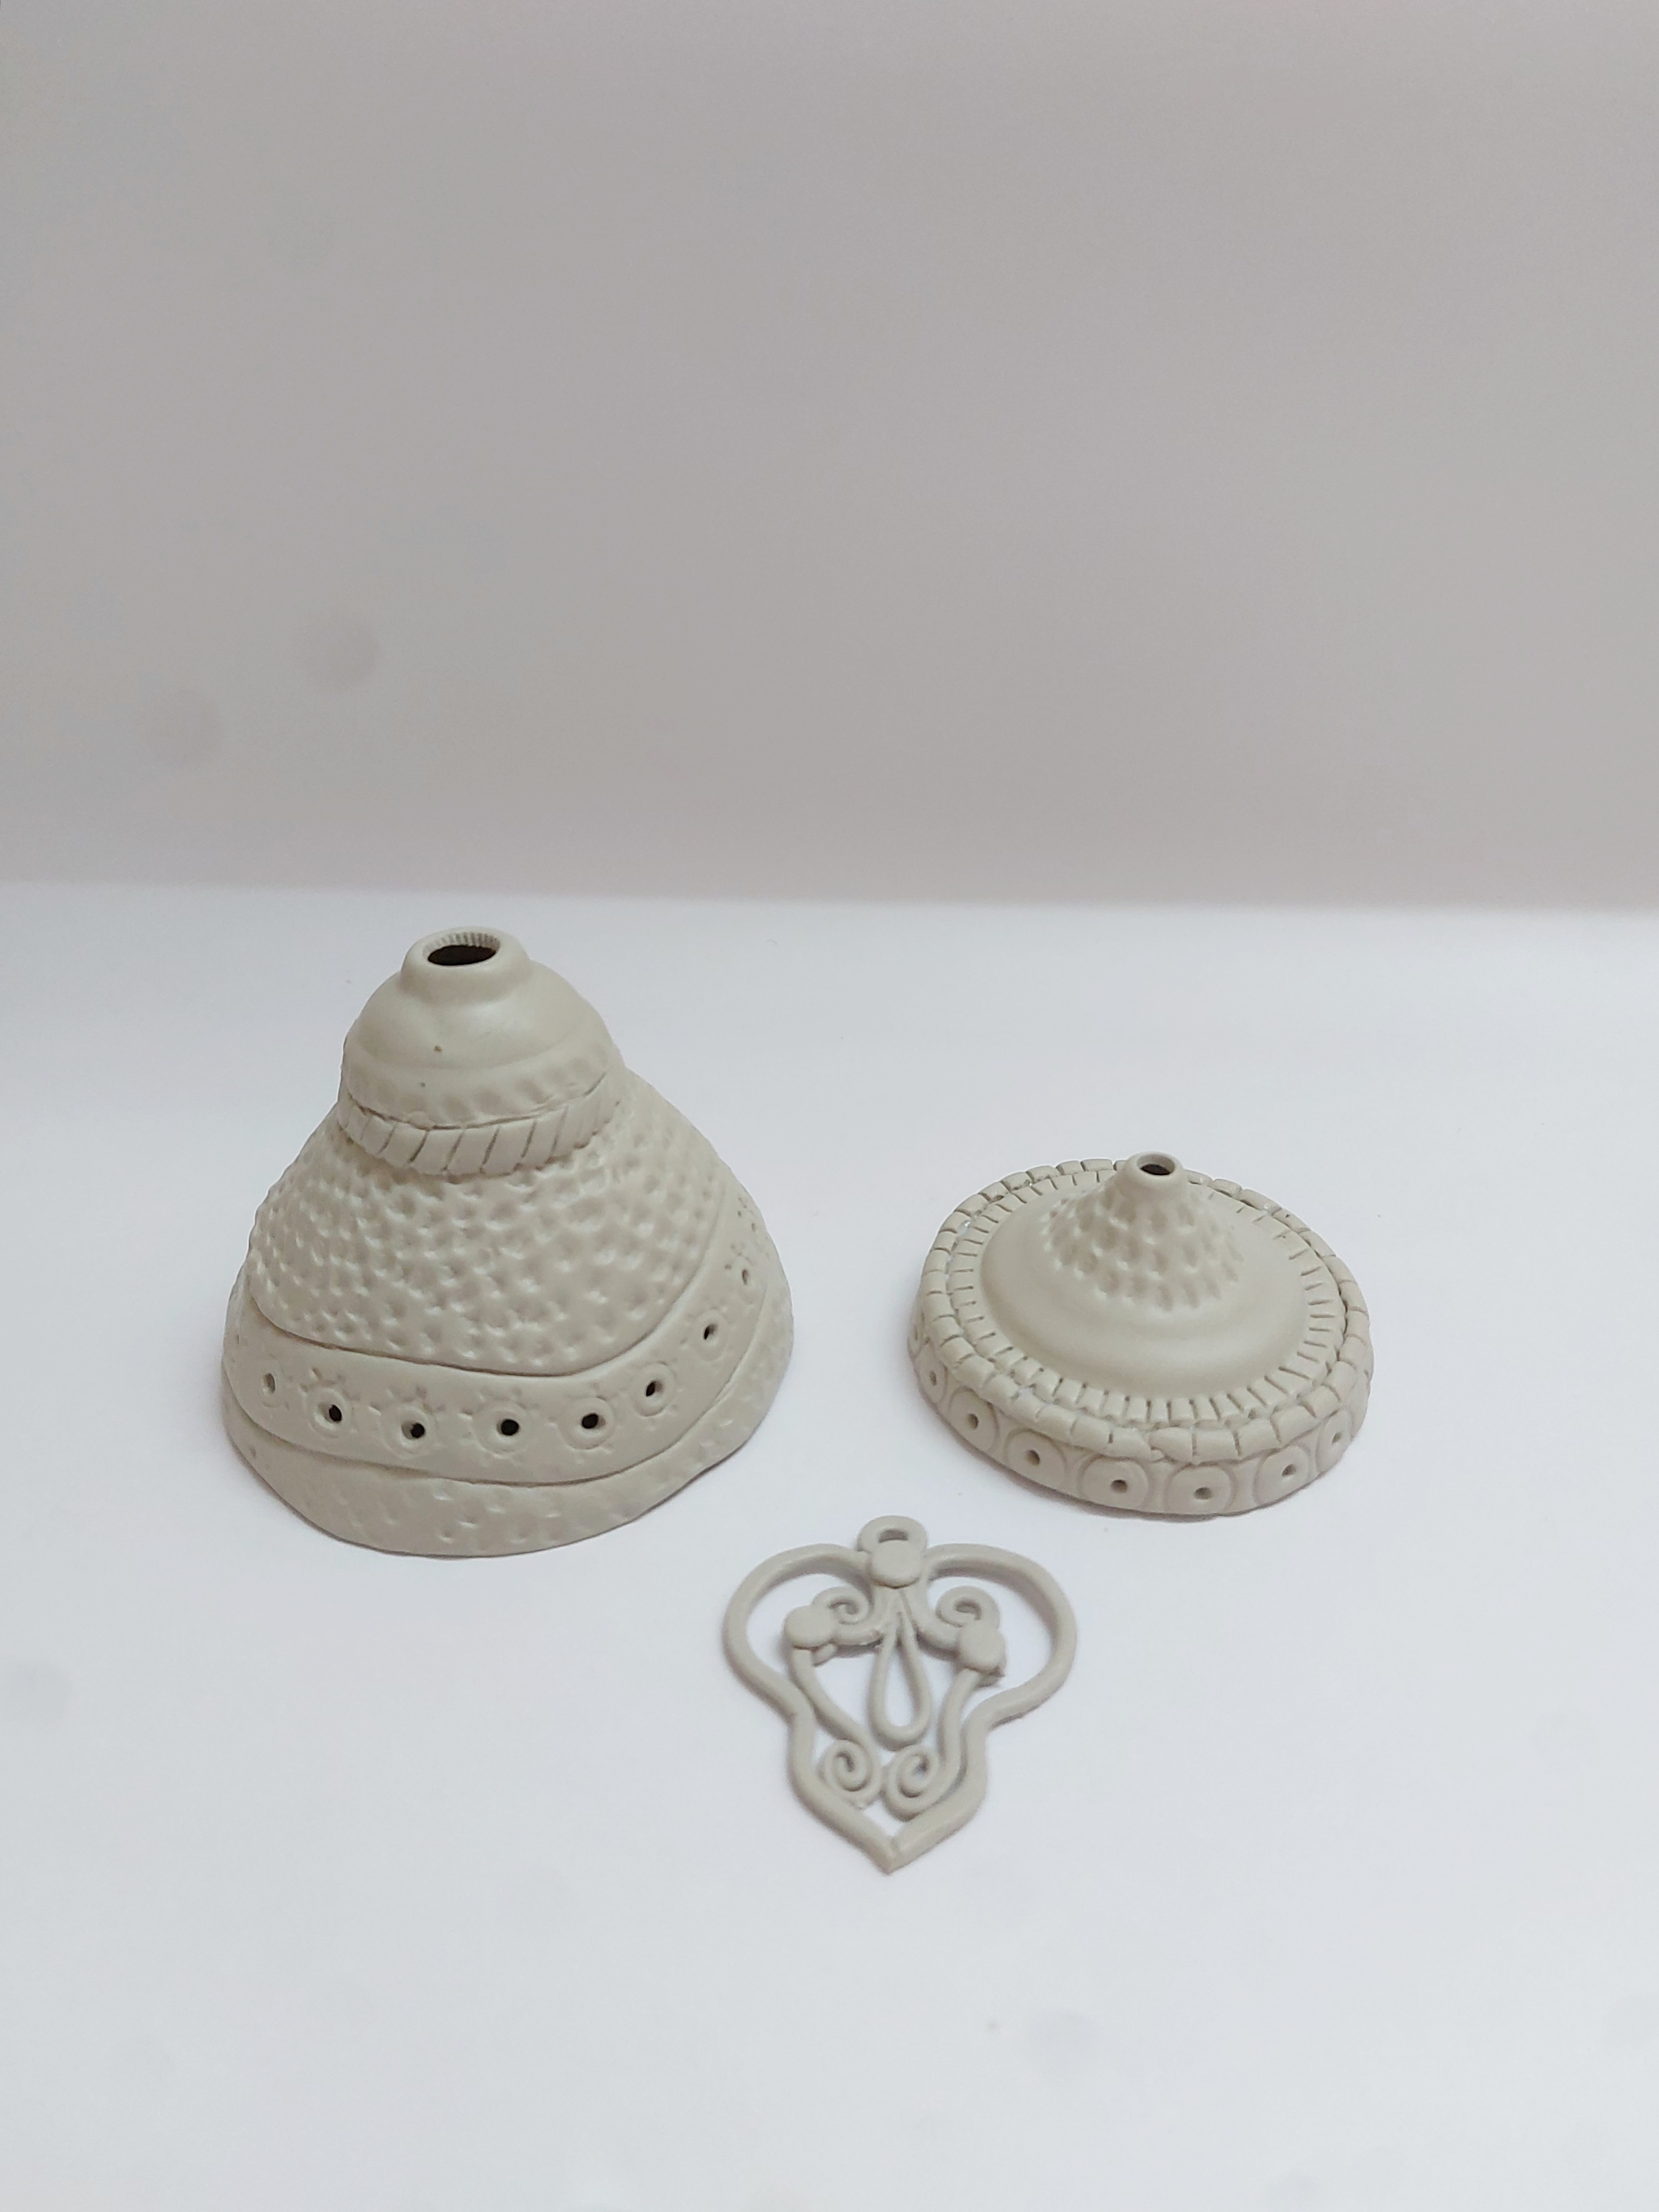
- Take a bulb holder, attach it to the upper side of the covered bottle with a little amount of clay and Fabric Glue.
- Cover the holder with the slab and create a design on it.
- Roll it to make a coil.
- Make an ornamental design with the coil and attach it towards the bottom side of the lamp using carving tools and Fabric Glue.
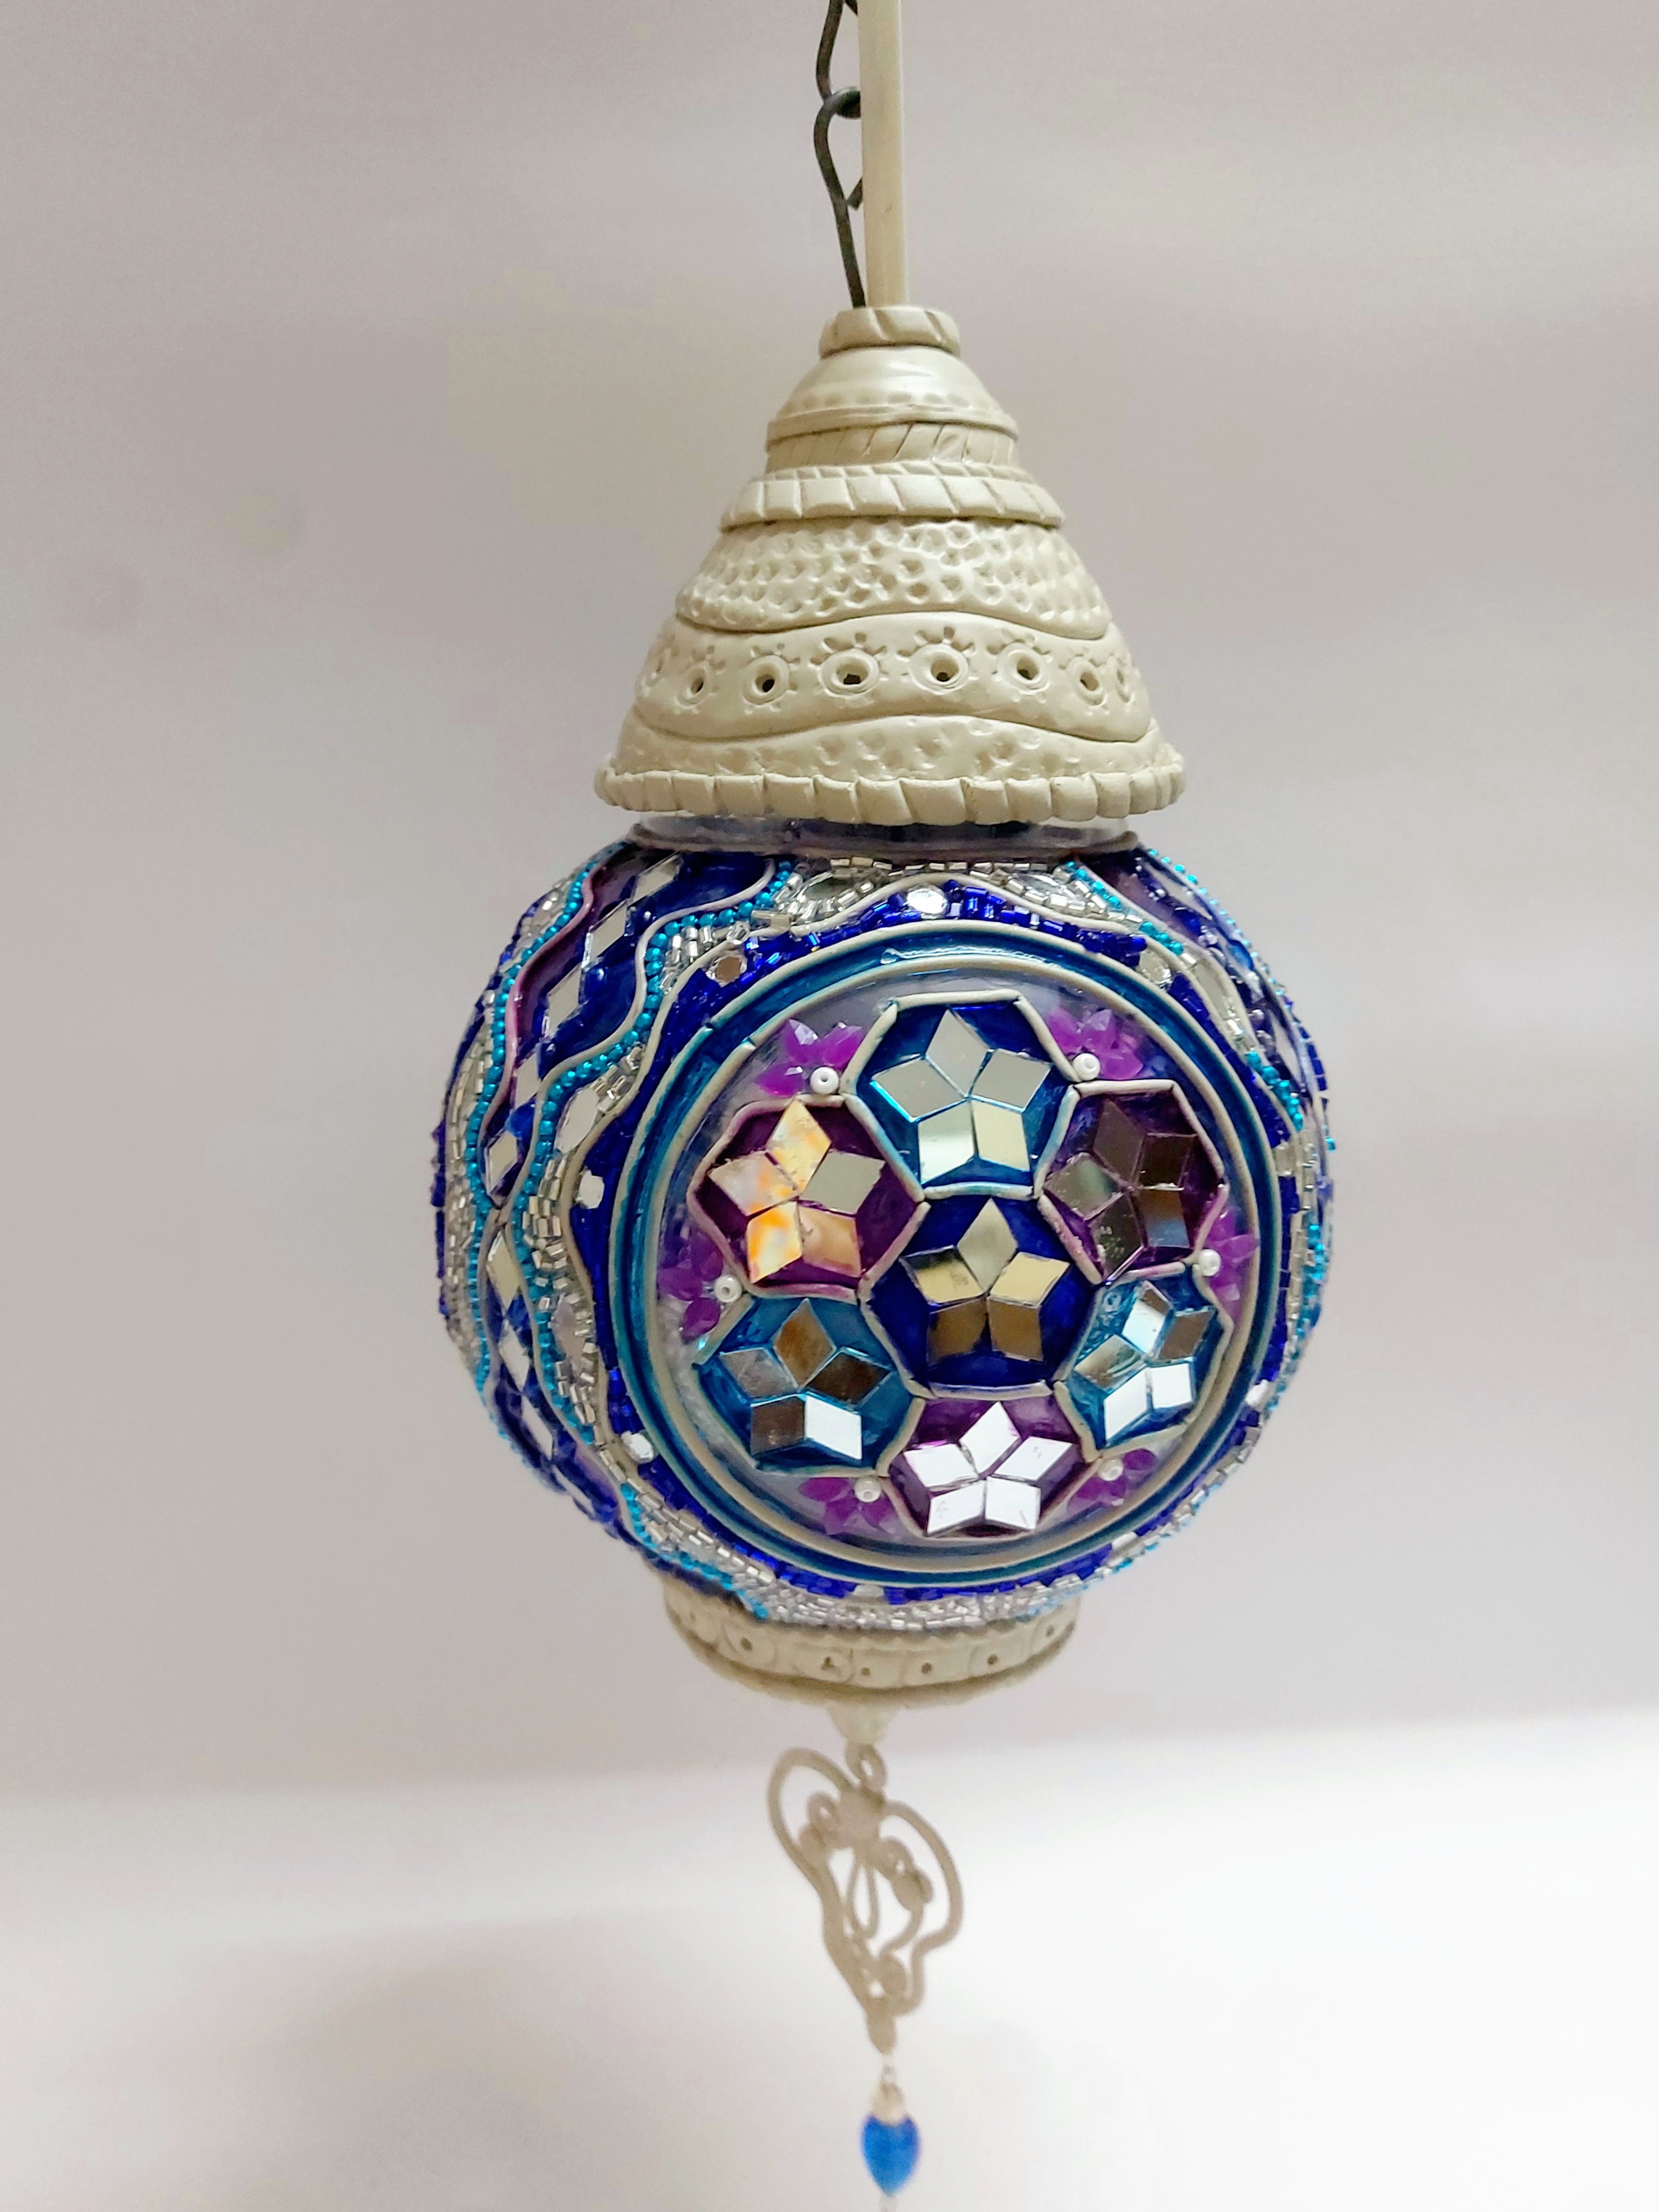
- Attach the upper and the lower part of the lamp neatly with a little amount of clay and Fevicryl Fabric Glue.
- Let it dry.
- Attach the long blue bead towards the end of the lamp with a metal wire.
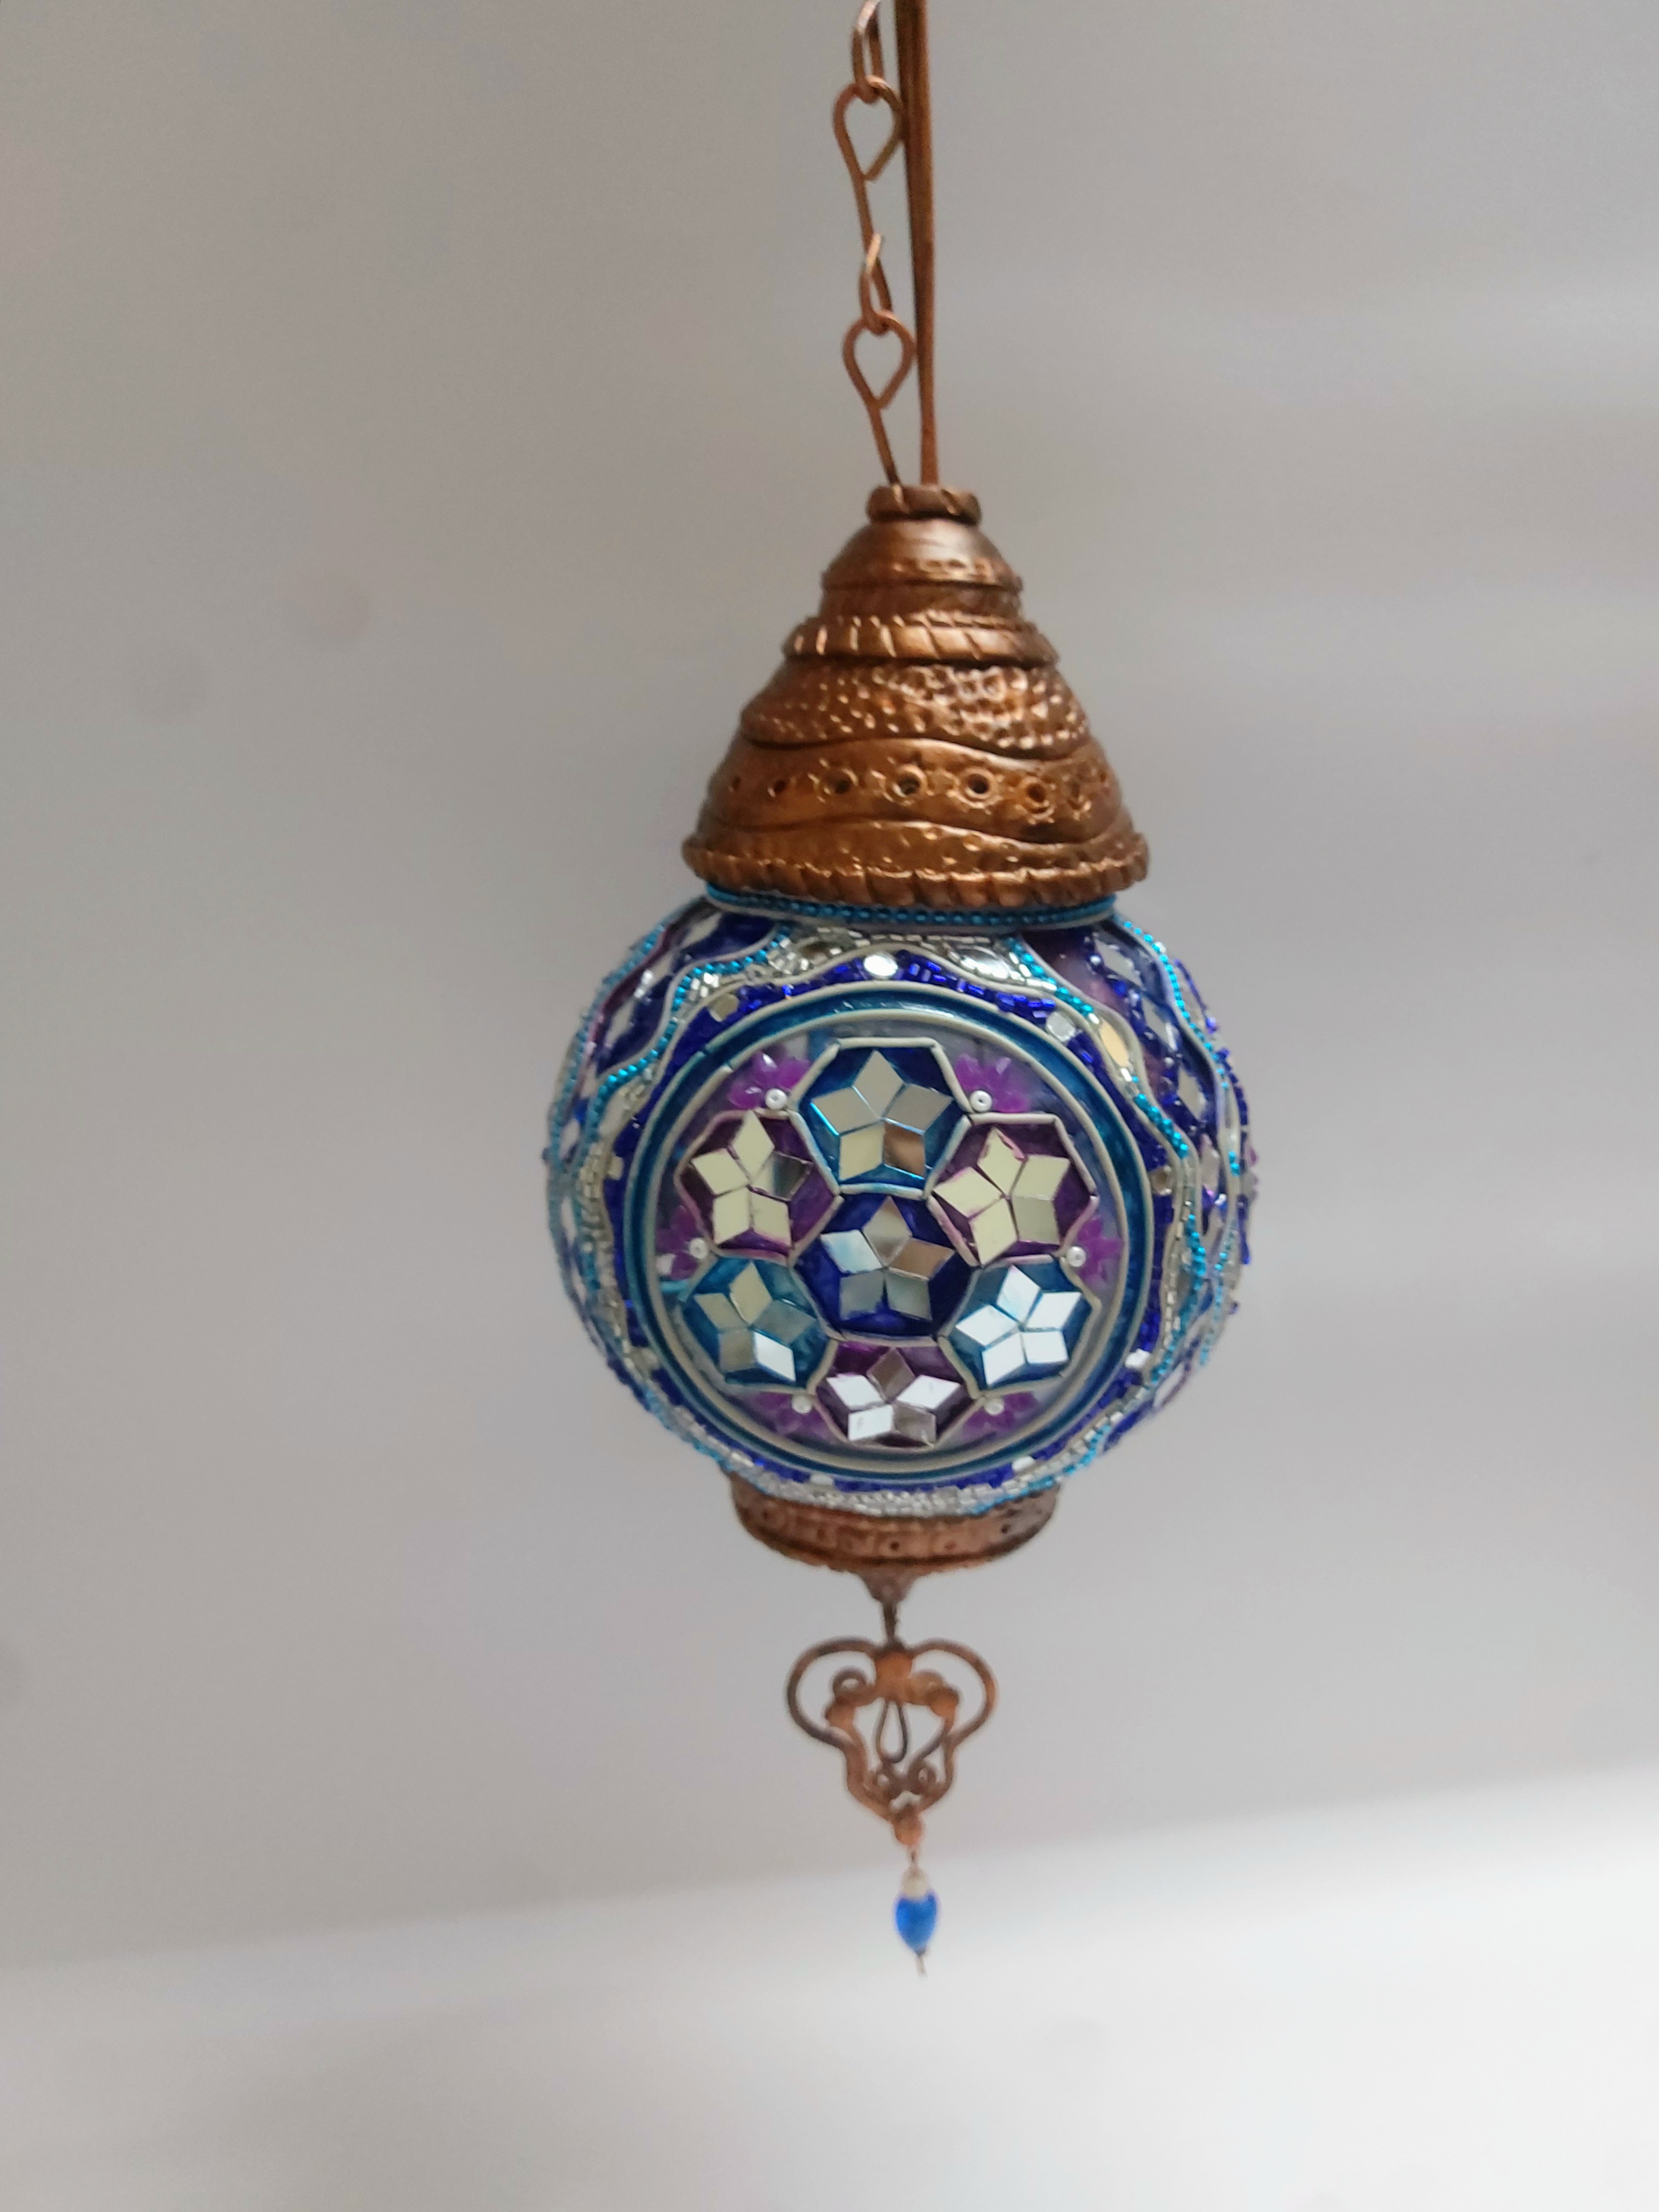
- Paint the upper and lower lamp attachments with Acrylic Colour Black 02 and Pearl Metallic Bronze 355.
- Let it dry.
- Attach the metal chain along with the holder, painting it in an antique bronze shade. Let it dry.
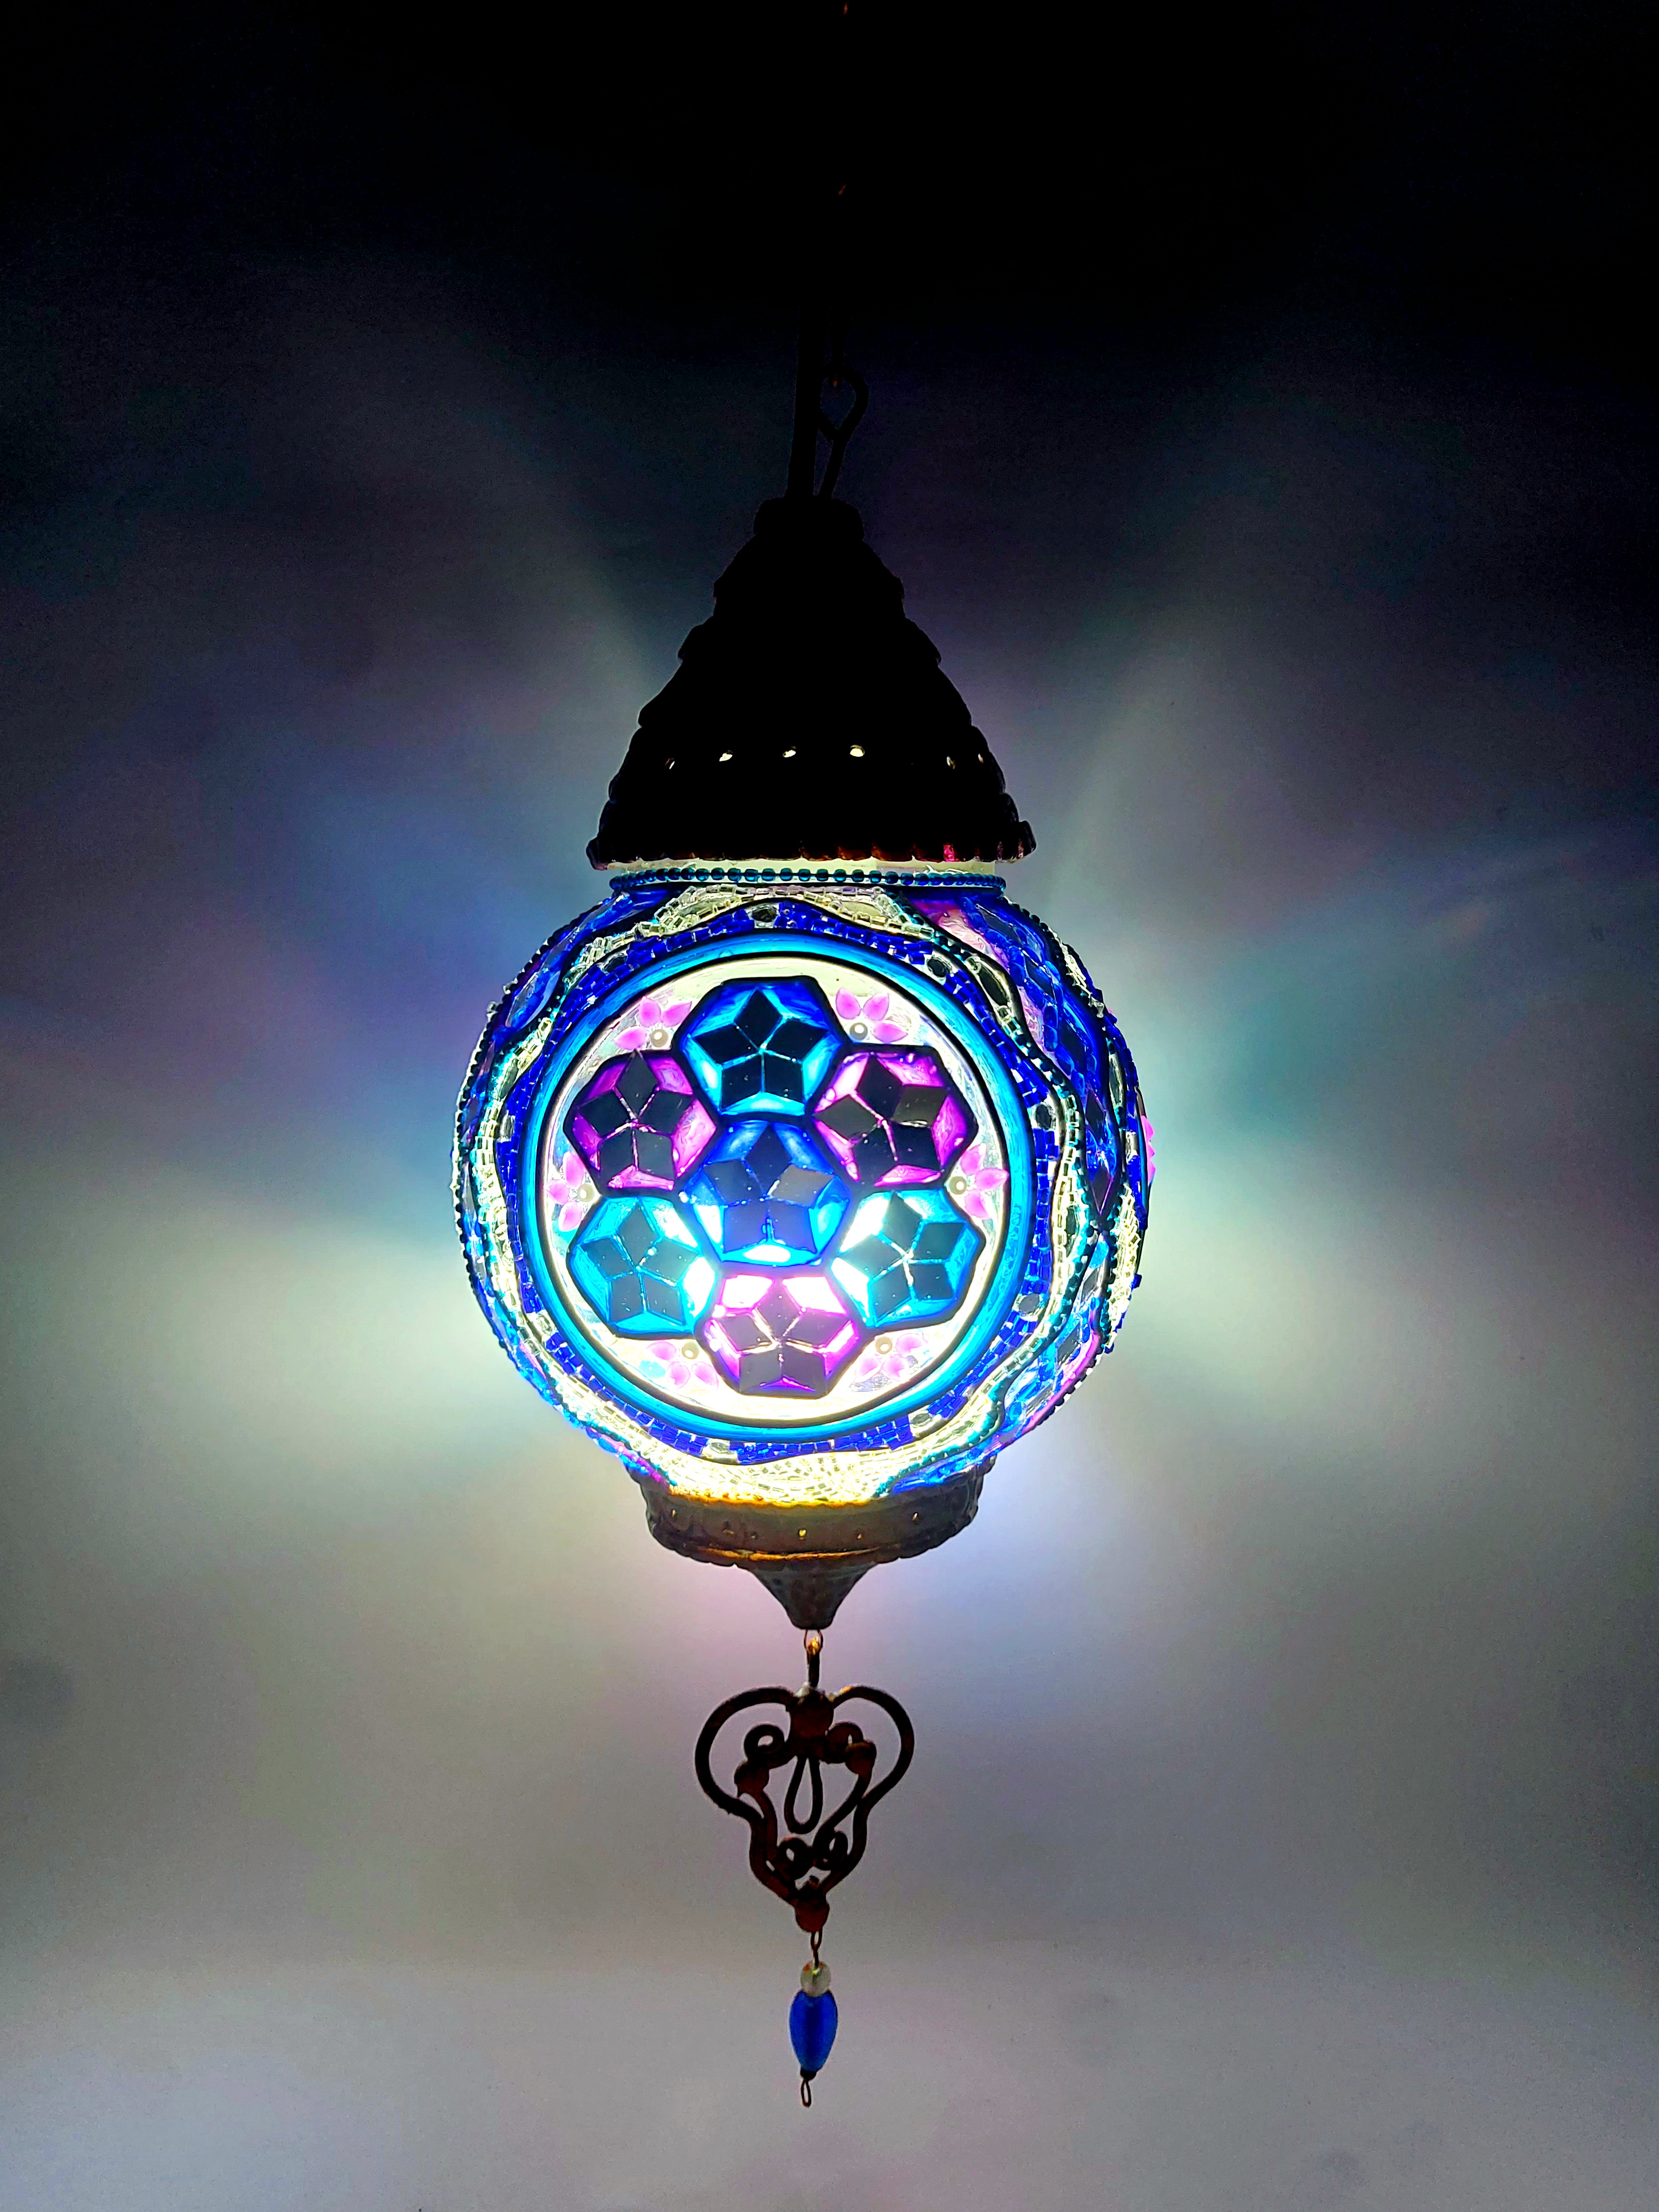
- Your Turkish Lamp is ready.






 +91 99676 55545