Paper Mache Bird Tutorial


April 15, 2015
You Will Need:
Fevicryl Acrylic Colour – Dark Brown 05, Light Green 12, Black 02, Lemon Yellow 11 Fevicol MR, Paper Mache, Wire, Wire cutter, Toothpick
Description :
Make paper mache bird with step-by-step tutorial at Hobby Ideas. This paper mache bird sculpture is made using paper and glue. Learn how to make a paper mache bird and paint it using Fevicryl colours. Create your own Paper Mache Birds.STEP 1
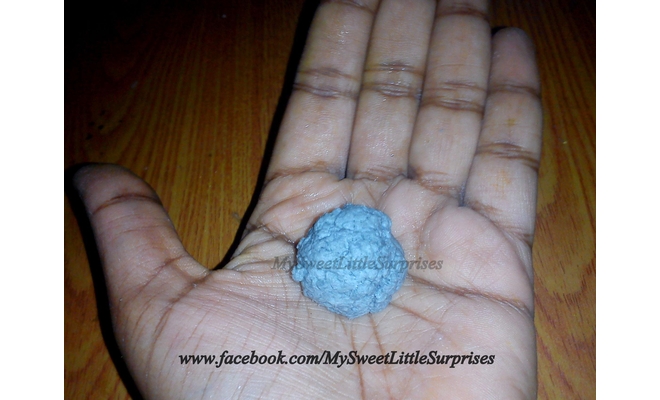
Take a ball of papermache.
STEP 2
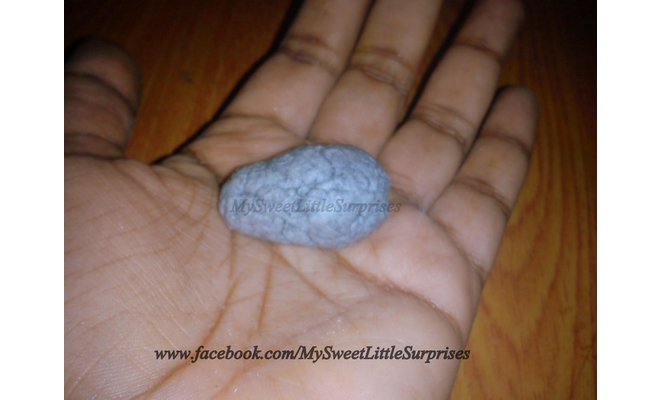
Roll it into a form an egg to make the body of the bird
STEP 3
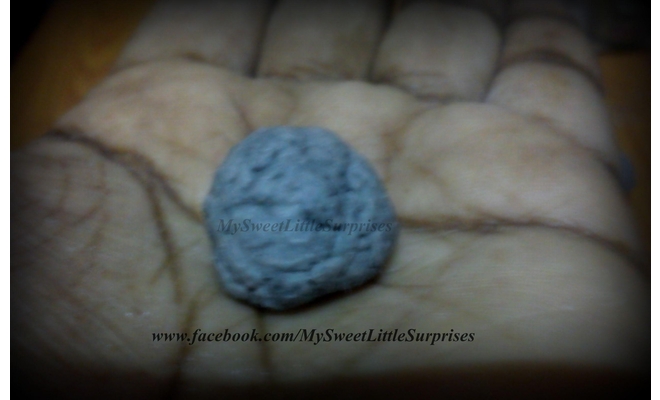
Take a small ball(quantity less than half of te size taken for the body) of paper mache to form the head, in a form of dome.
STEP 4
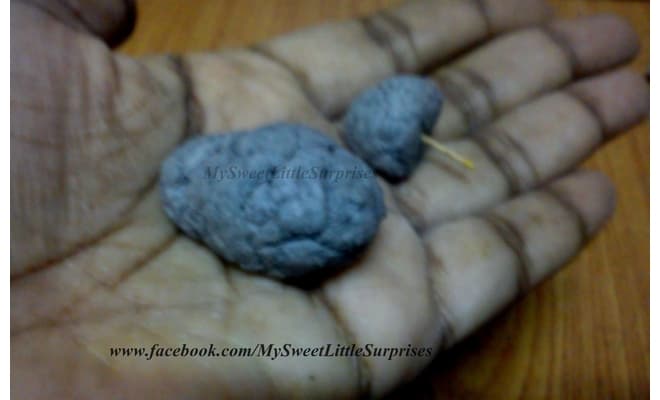
Use a small piece of toothpick to attach the head to the body
STEP 5
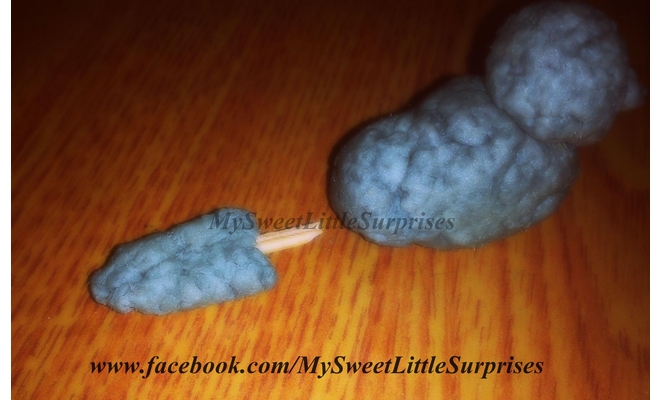
Similarly attach the tail part.
STEP 6
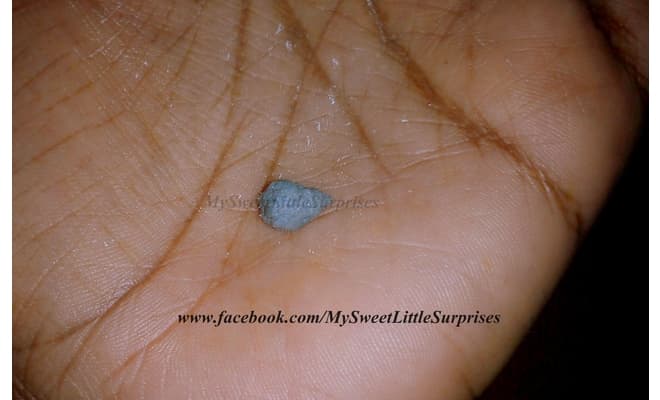
Roll the paper mache into a form of teardrop to form the beak.
STEP 7
Use a toothpick to attach the beak to the head.
STEP 8
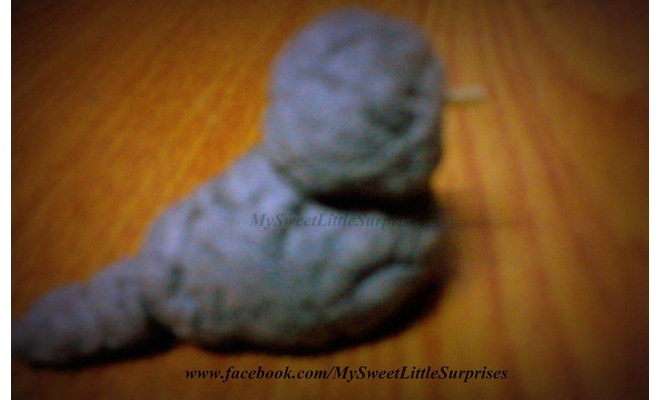
Bird is almost done. Leave it to dry for 10-12hrs
Tip: U can use small amount of Fevicol MR to fix the parts together.
STEP 9
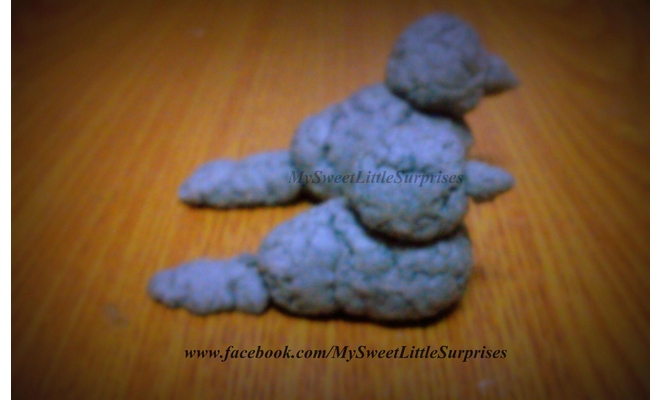
Make as many birds u like.
STEP 10

After 12hrs it would look like this, it will have small dents / uneven surface..
STEP 11

Make a paste of Fevicol MR and papermache
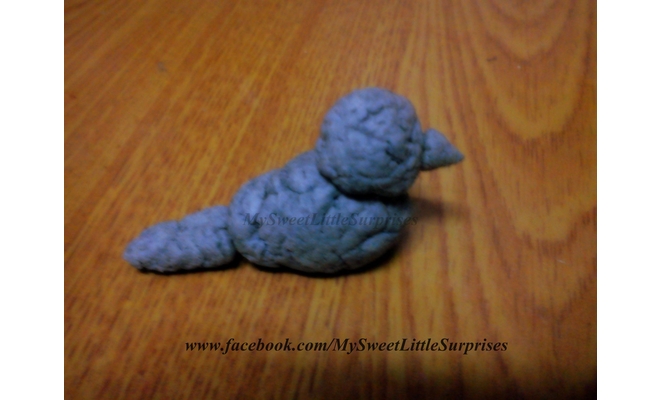
STEP 12

Apply the paste on the bird and smoothen the surface and leave it to dry.
STEP 13
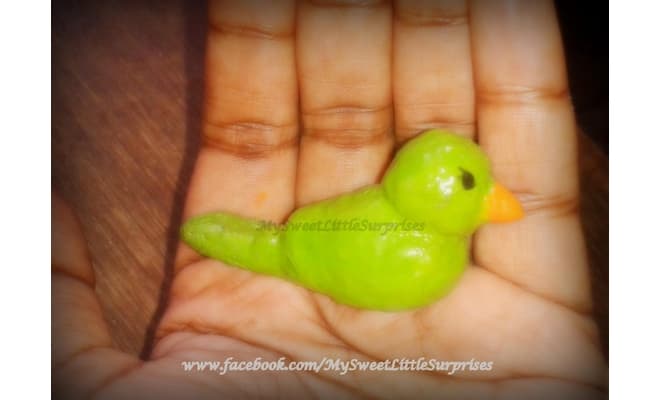
Colour the bird as you like with Acrylic Colours.
STEP 14
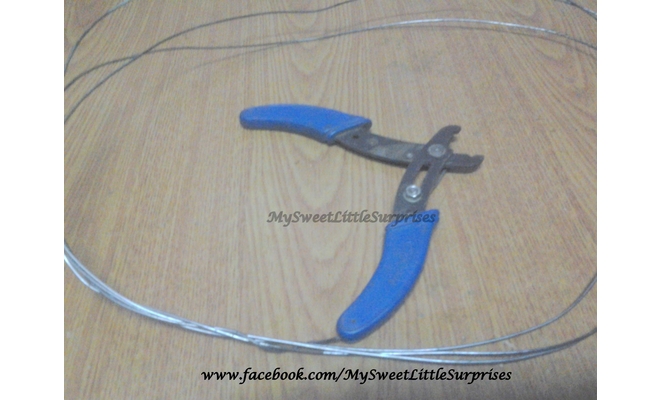
For the branch, take a piece of wire and a wire cutter
STEP 15
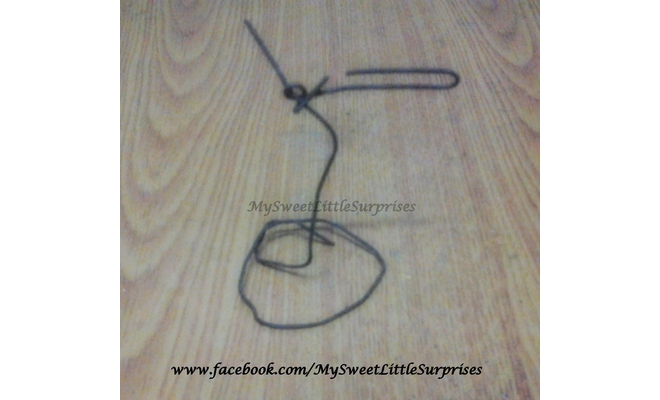
I made a simple design with the wire to form a trunk and a few branches.
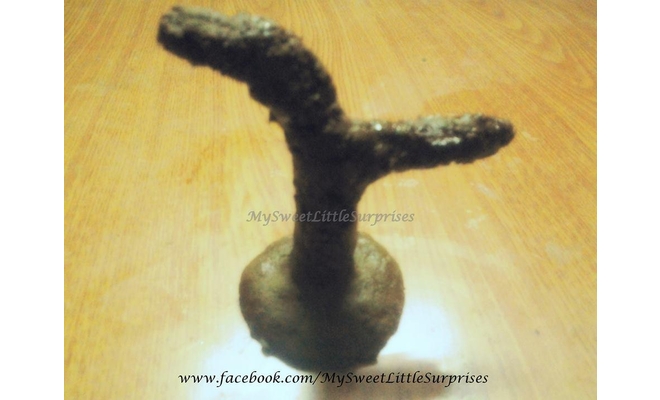
STEP 16
Simplest step, just press the paper mache on the base wire design to form a thick trunk and the branches. Leave it t dry for 10-12 hrs.
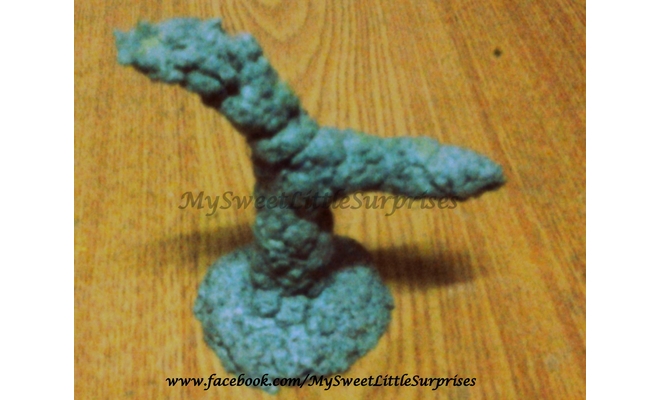
STEP 17
After it is completely dry, paint the tree with Fevicryl Acrylic Colour – Brown.
P.S.I liked the natural finish with the paper mache, so did not apply the paste used on the bird, if u want a smooth finish u can use the same paste.
STEP 18
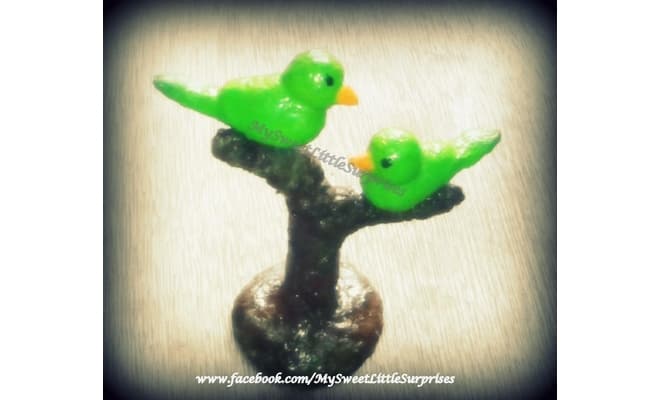
Arrange the birds on the branch and use Fevicol MR to stick them. Apply glaze to the finished piece and you are done


 +91 99676 55545