Mouldit Kettle And Cups Clock


You Will Need:
Fevicryl Acrylic Colours - Chrome Yellow 03, Crimson 04, Dark Green 06, Mauve 15, Orange 17, White 27, Cerulean Blue 32, Leaf Green 62, Salmon Pink 65, Fevicryl Acrylic Colour Pearl Metallic - Gold 352, Fevicryl Mouldit, Fevicryl Fabric Glue, Fine Art Brushes, MDF Placemat 12” Diameter, Clay Modeling, Pencil, Clock Attachments, Colour Palette, Water Container.
Product Used:

Description :
Decorating our homes with handmade articles is one of the most gratifying experiences. Like this simple clock that we have beautifully conceptualized using Fevicryl Mouldit & Acrylic Colours. The theme being cups and a kettle created in a quirky manner.
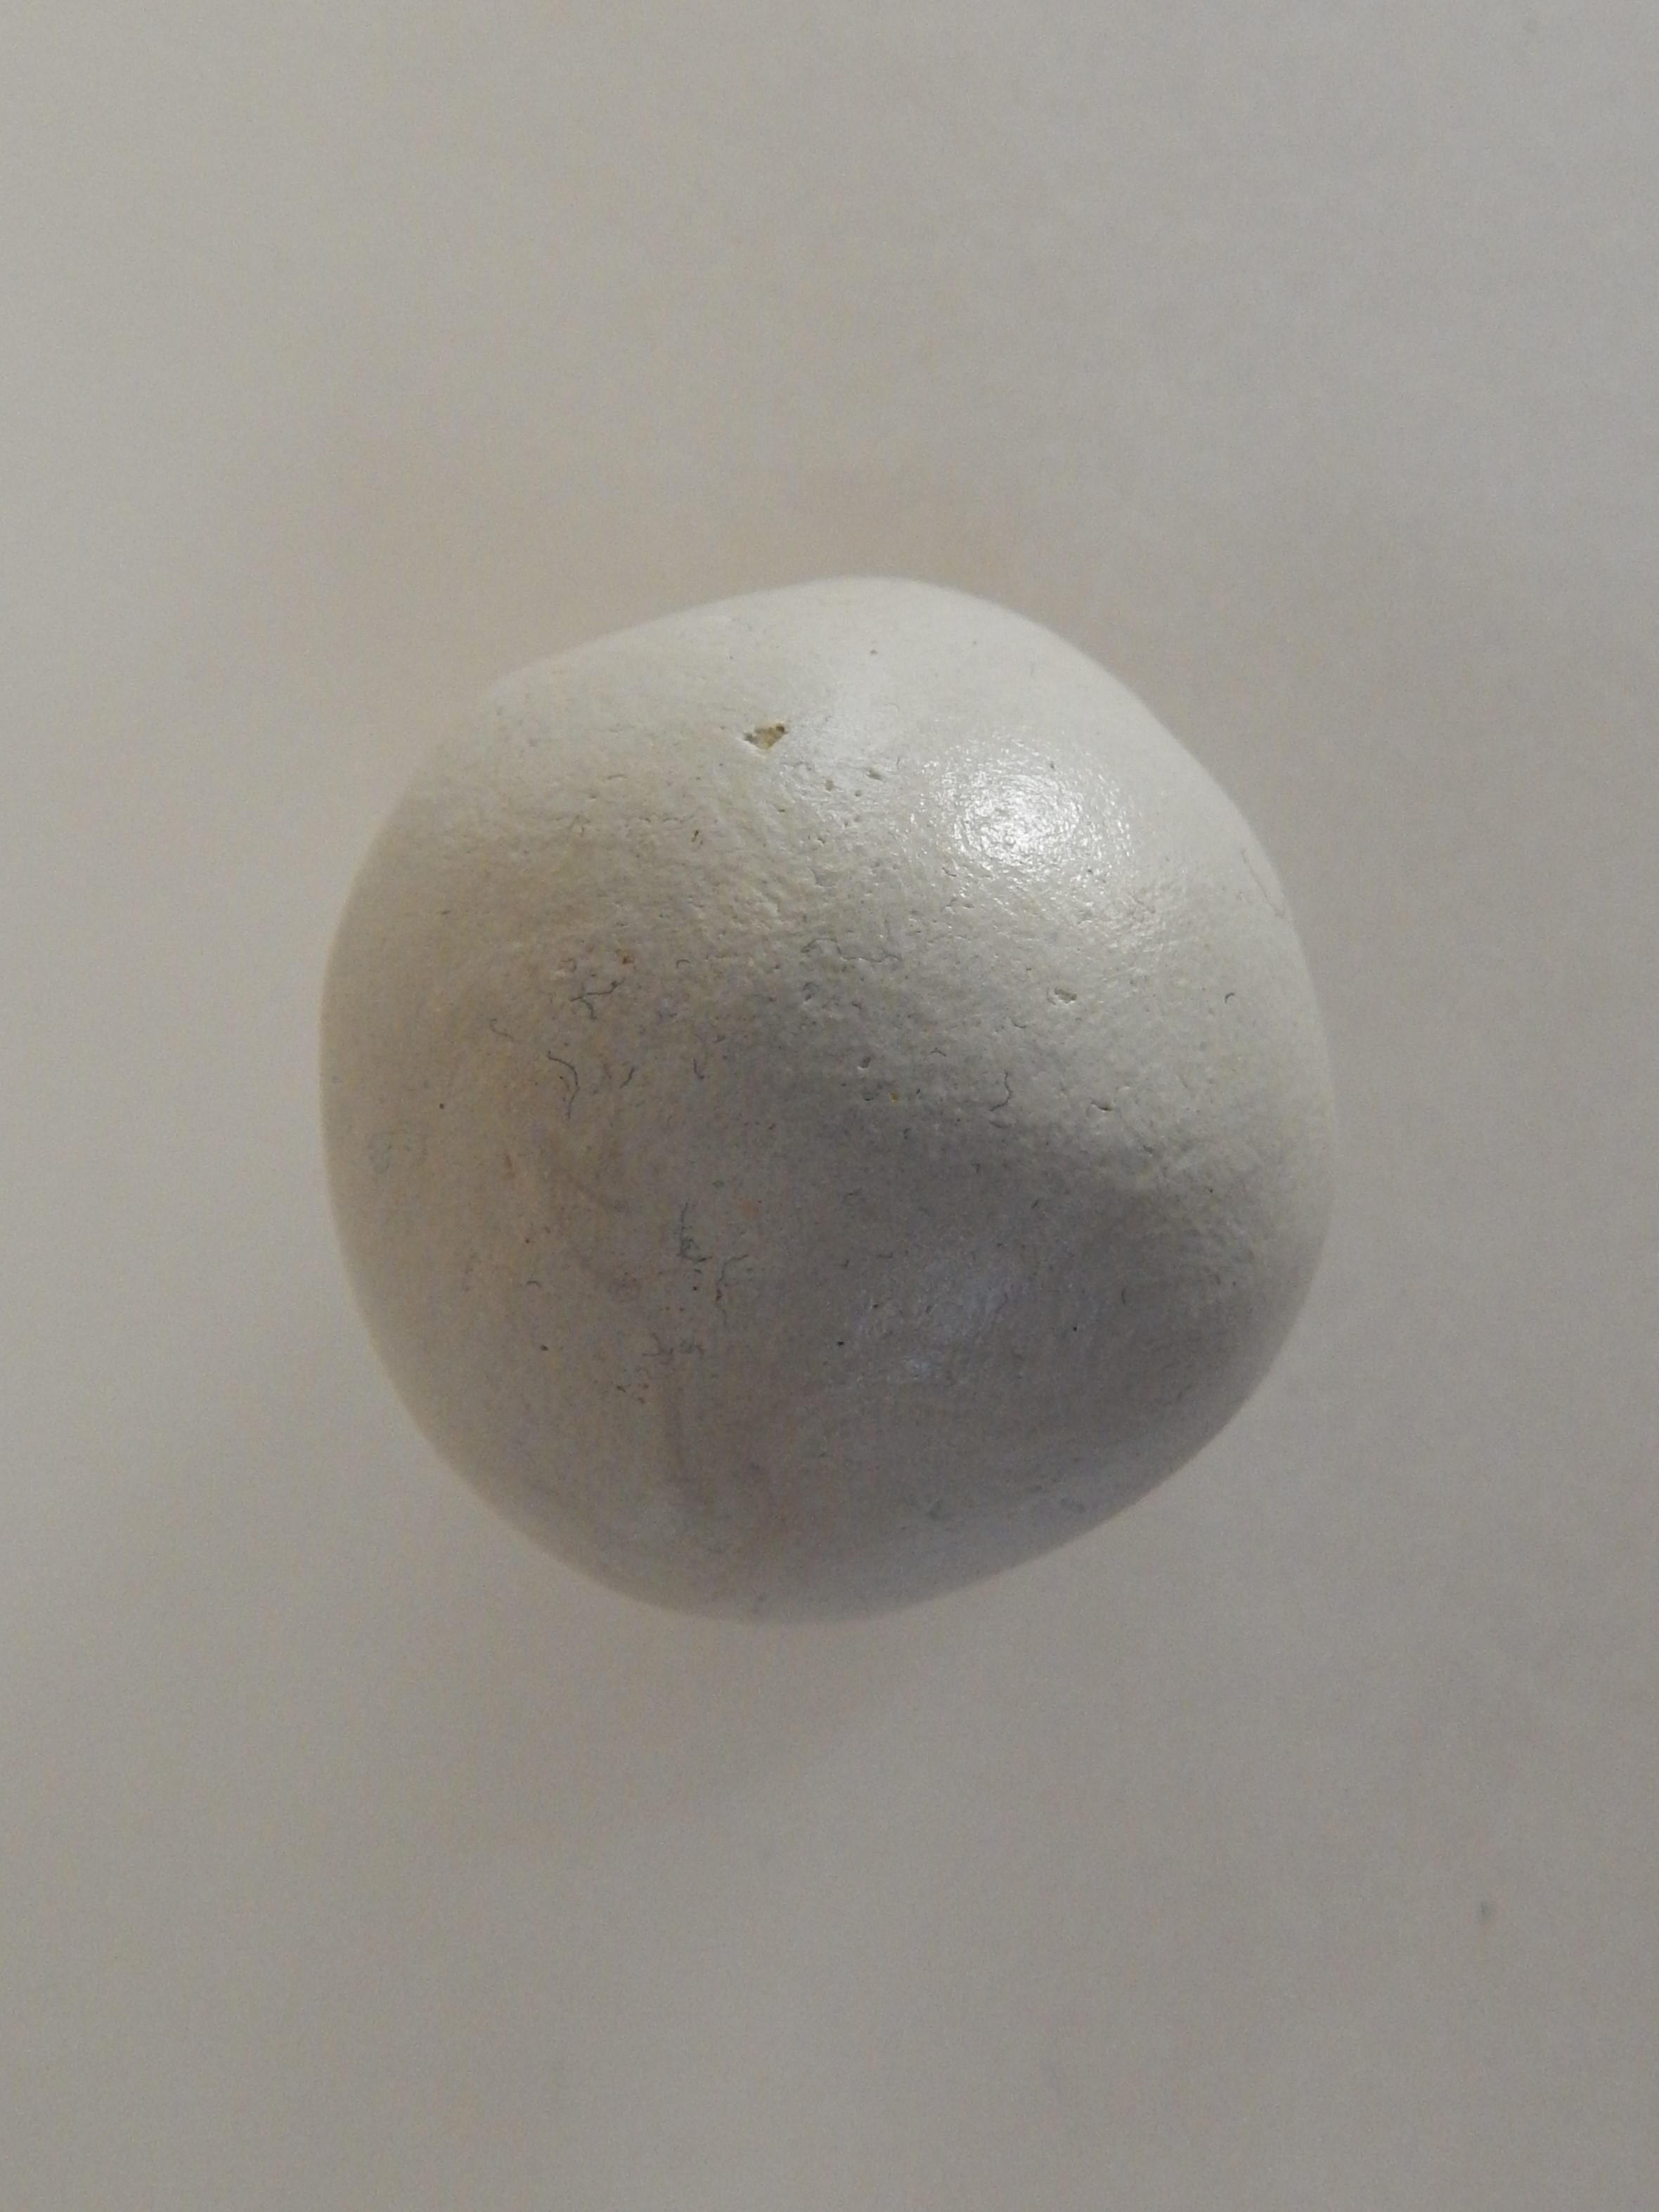
Take Fevicryl Mouldit – resin base & hardener, mix well to make a soft even dough.
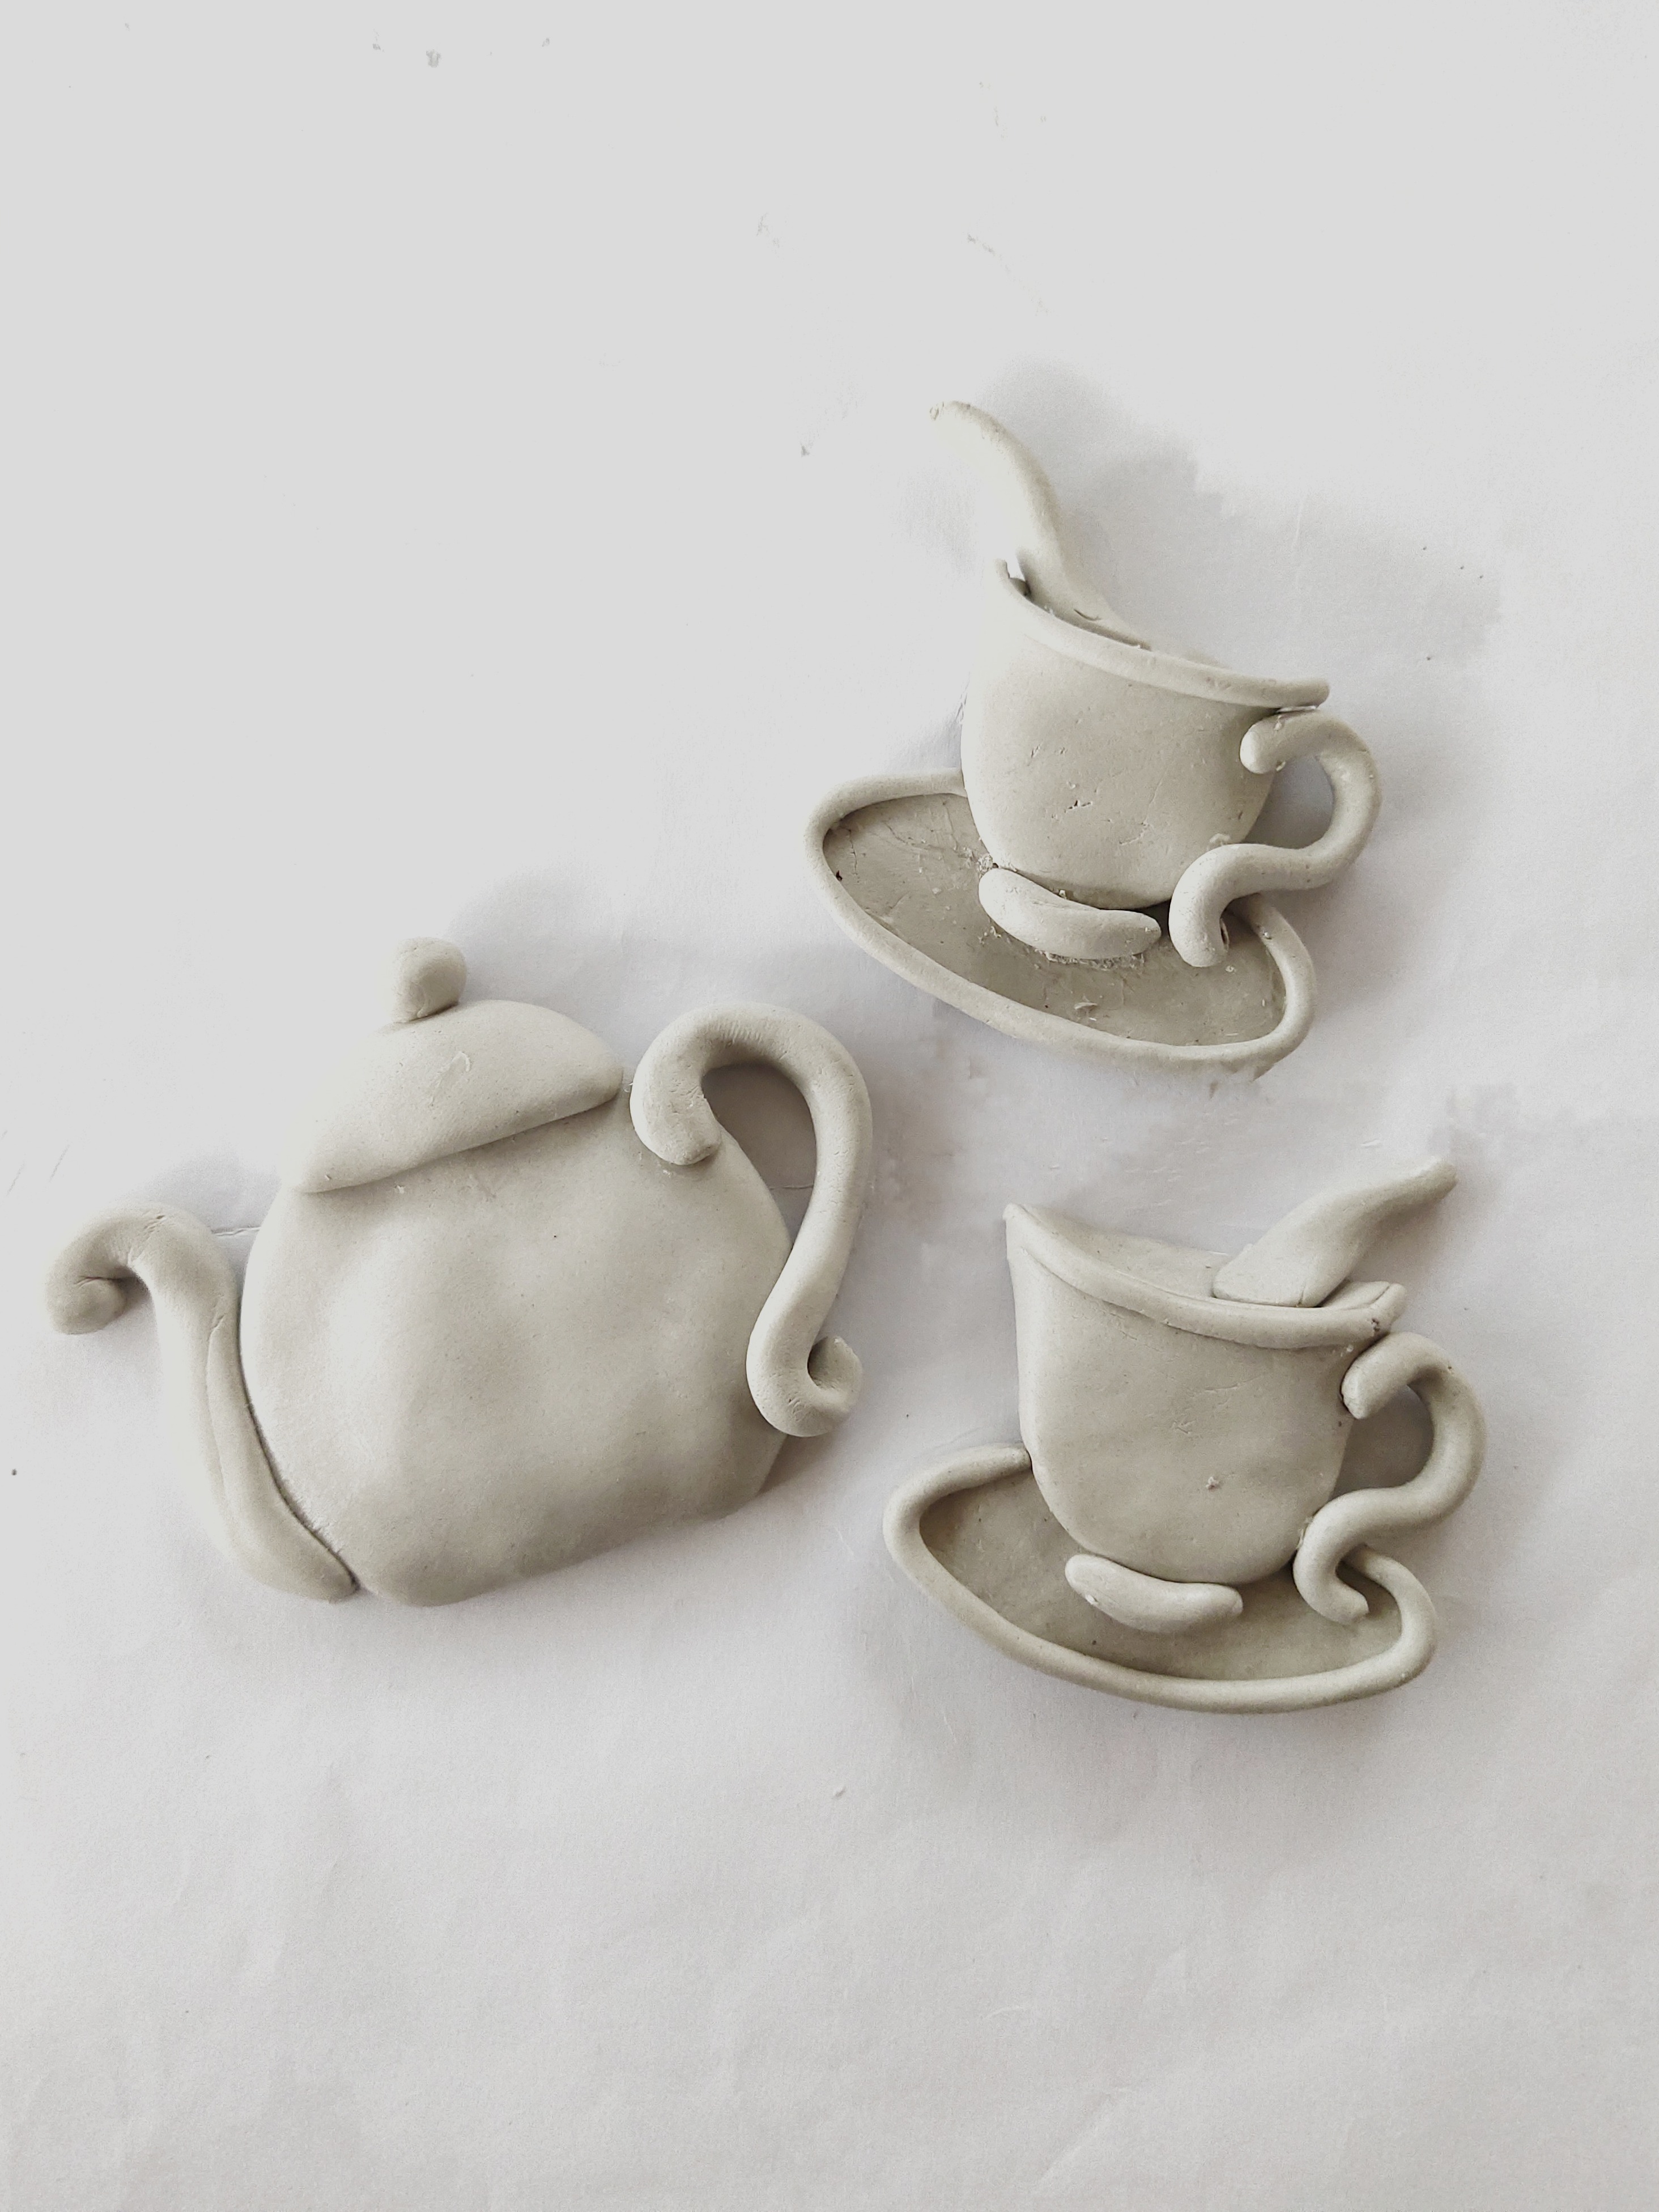
Take the dough and shape it to make teacups and a kettle. Use clay tools for ease. Make 11 teacups and one kettle.
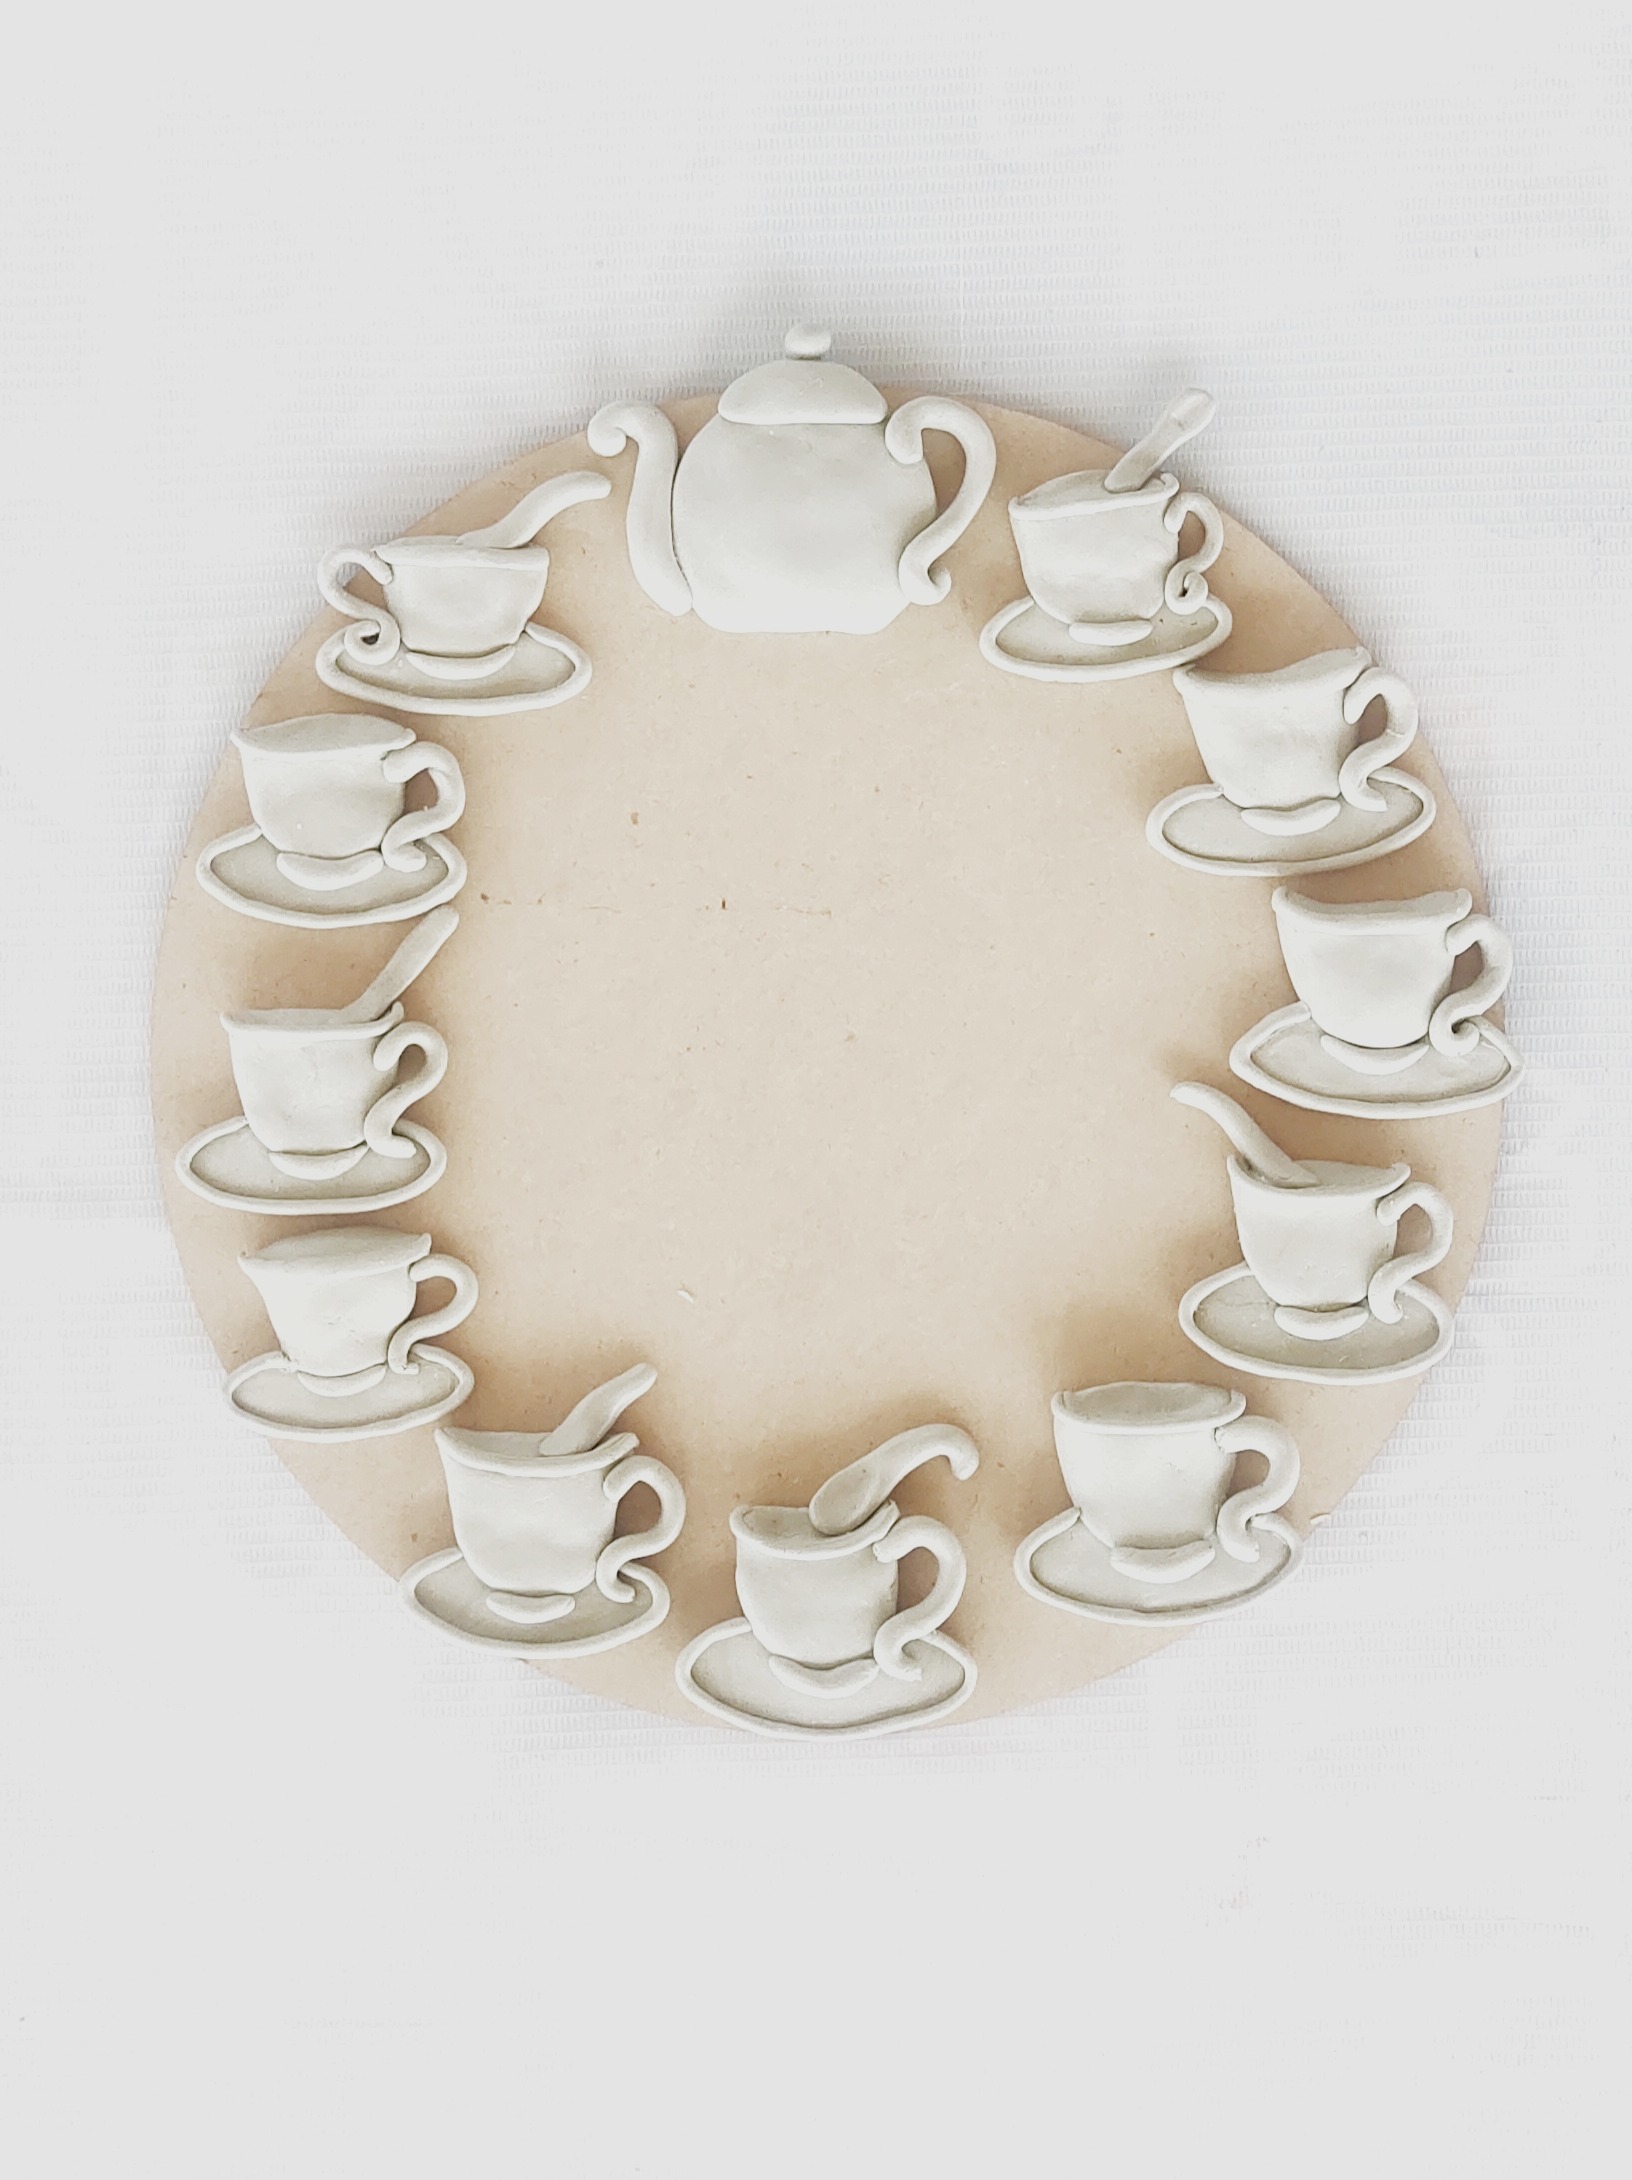
Take a round MDF placemat of 12”. Place the teacups and the kettle to check and get the arrangement right.
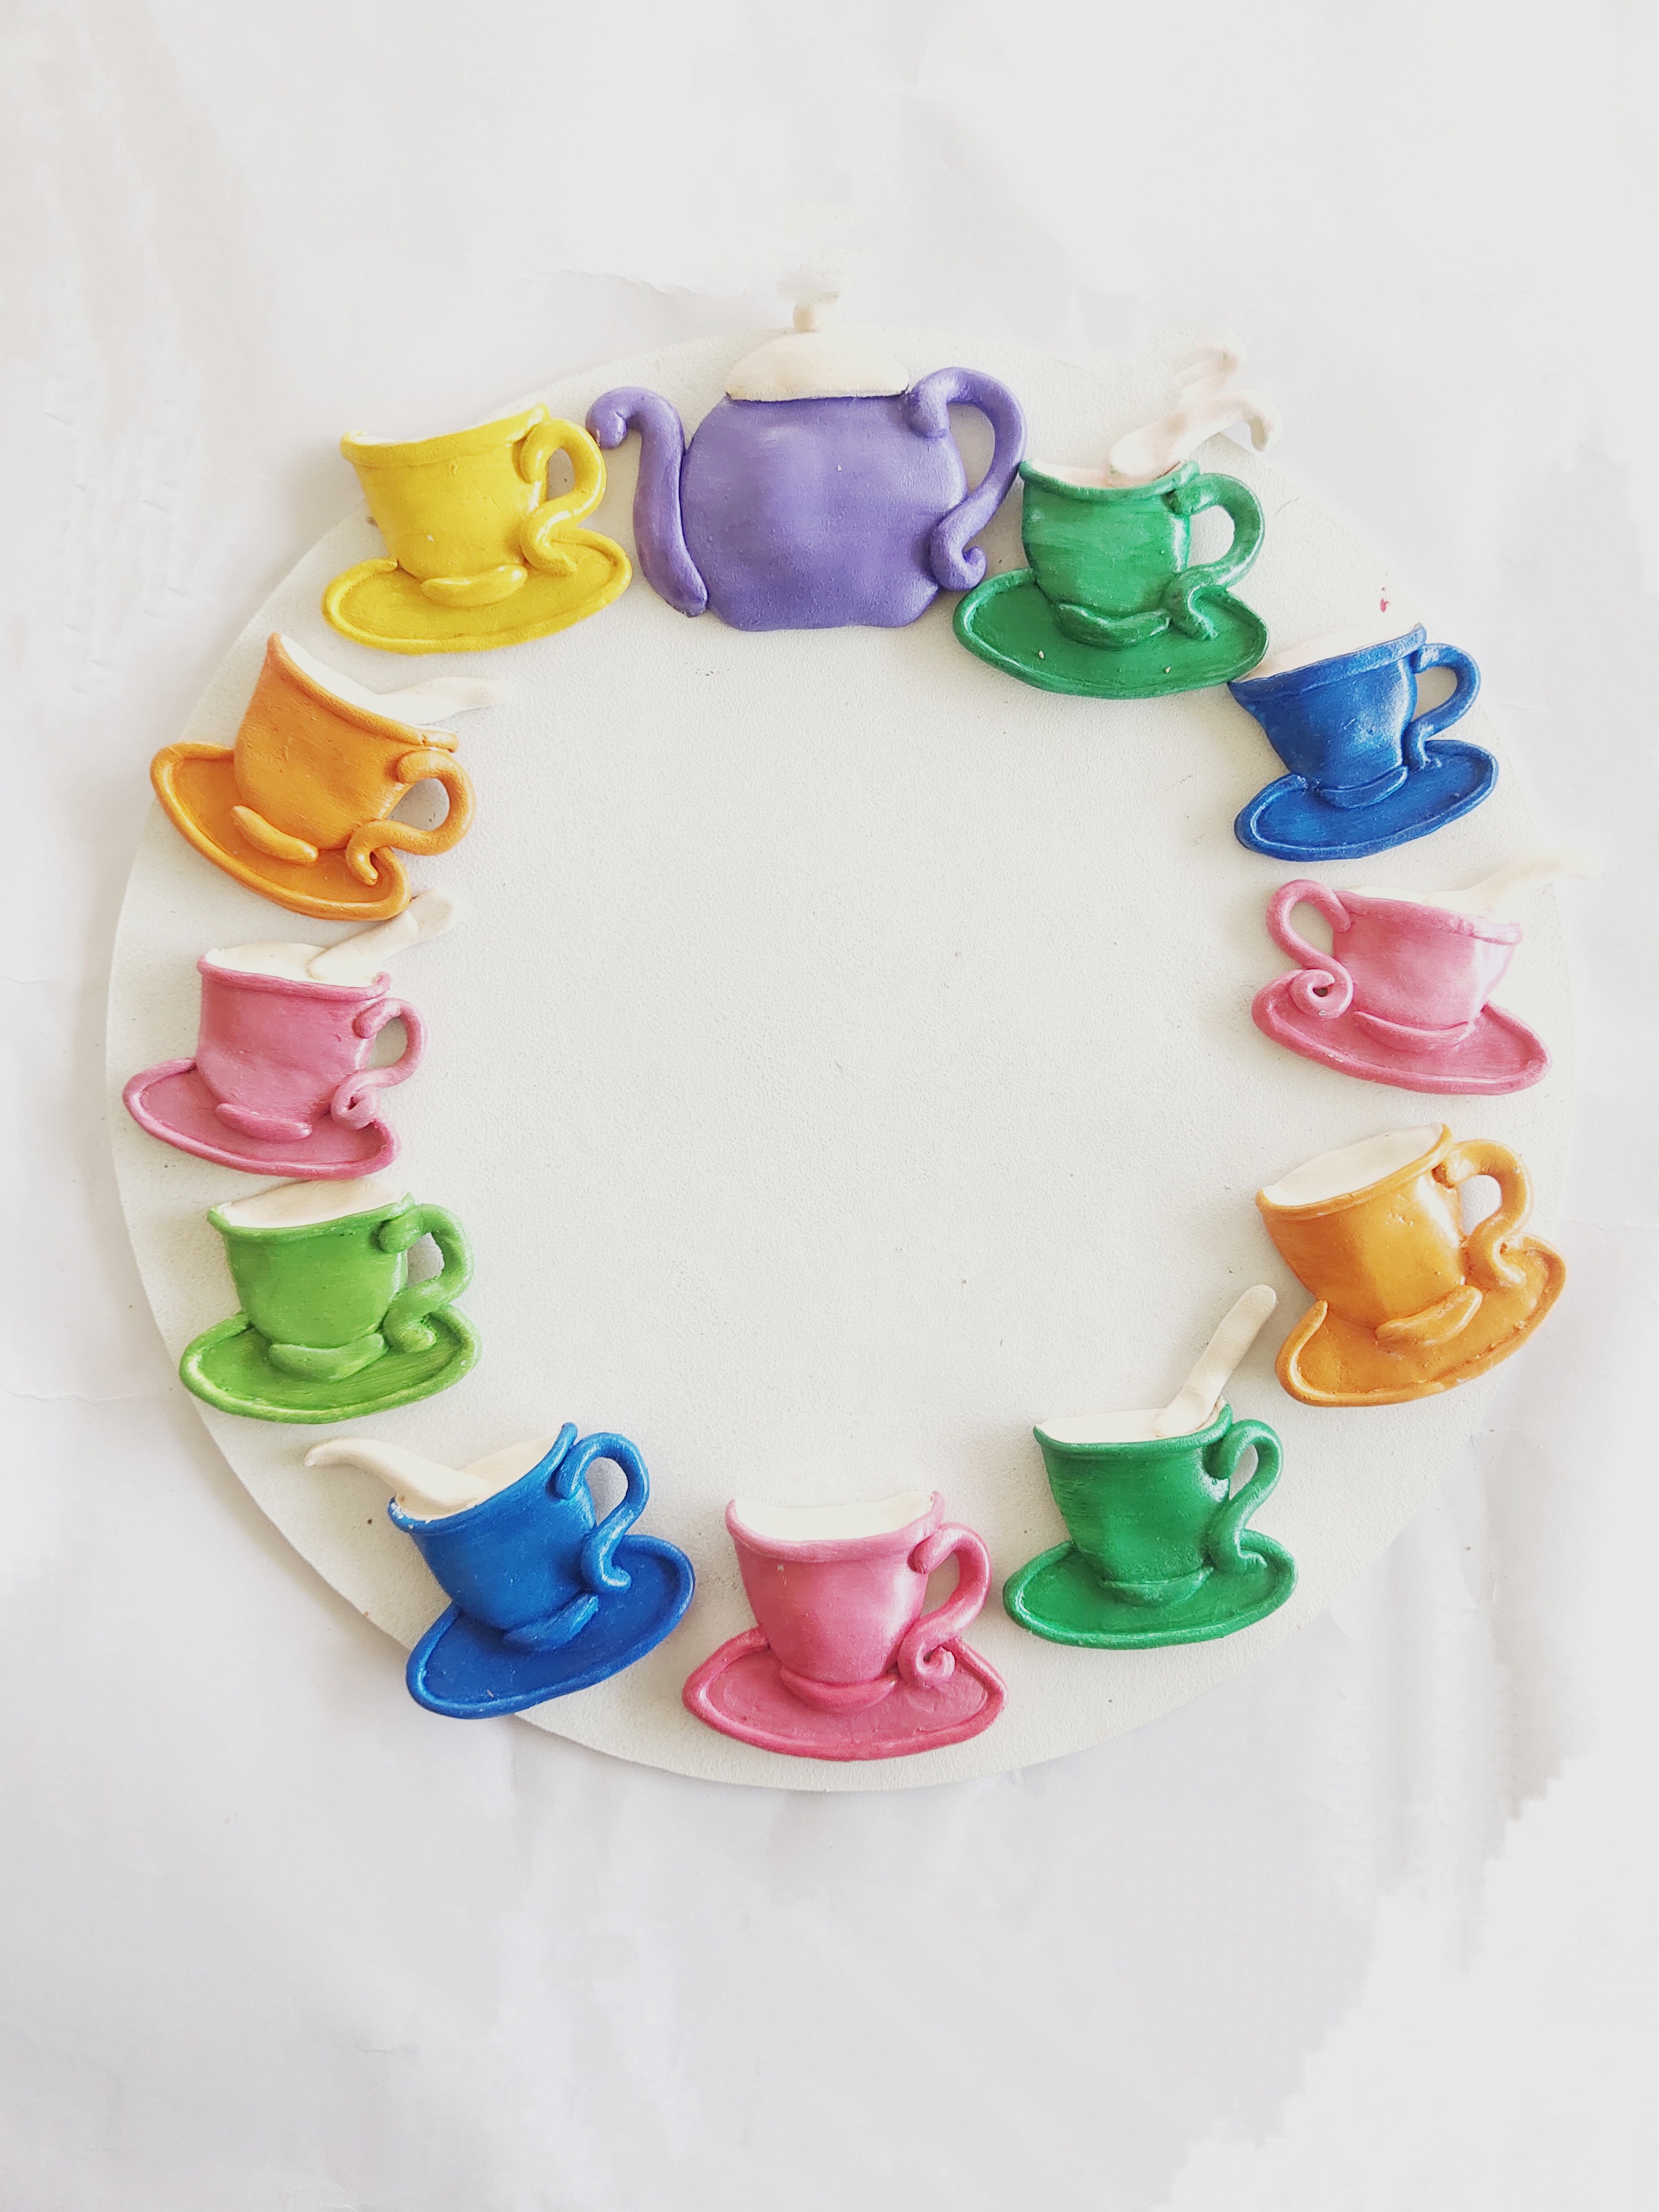
Paint the teacups and the kettle in a colourful manner using Fevicryl Acrylic Colours - Chrome Yellow 03, Crimson 04, Dark Green 06, Mauve 15, Orange 17, White 27, Cerulean Blue 32, Leaf Green 62, Salmon Pink 65 and Pearl Metallic - Gold 352. Let them dry and keep them aside.
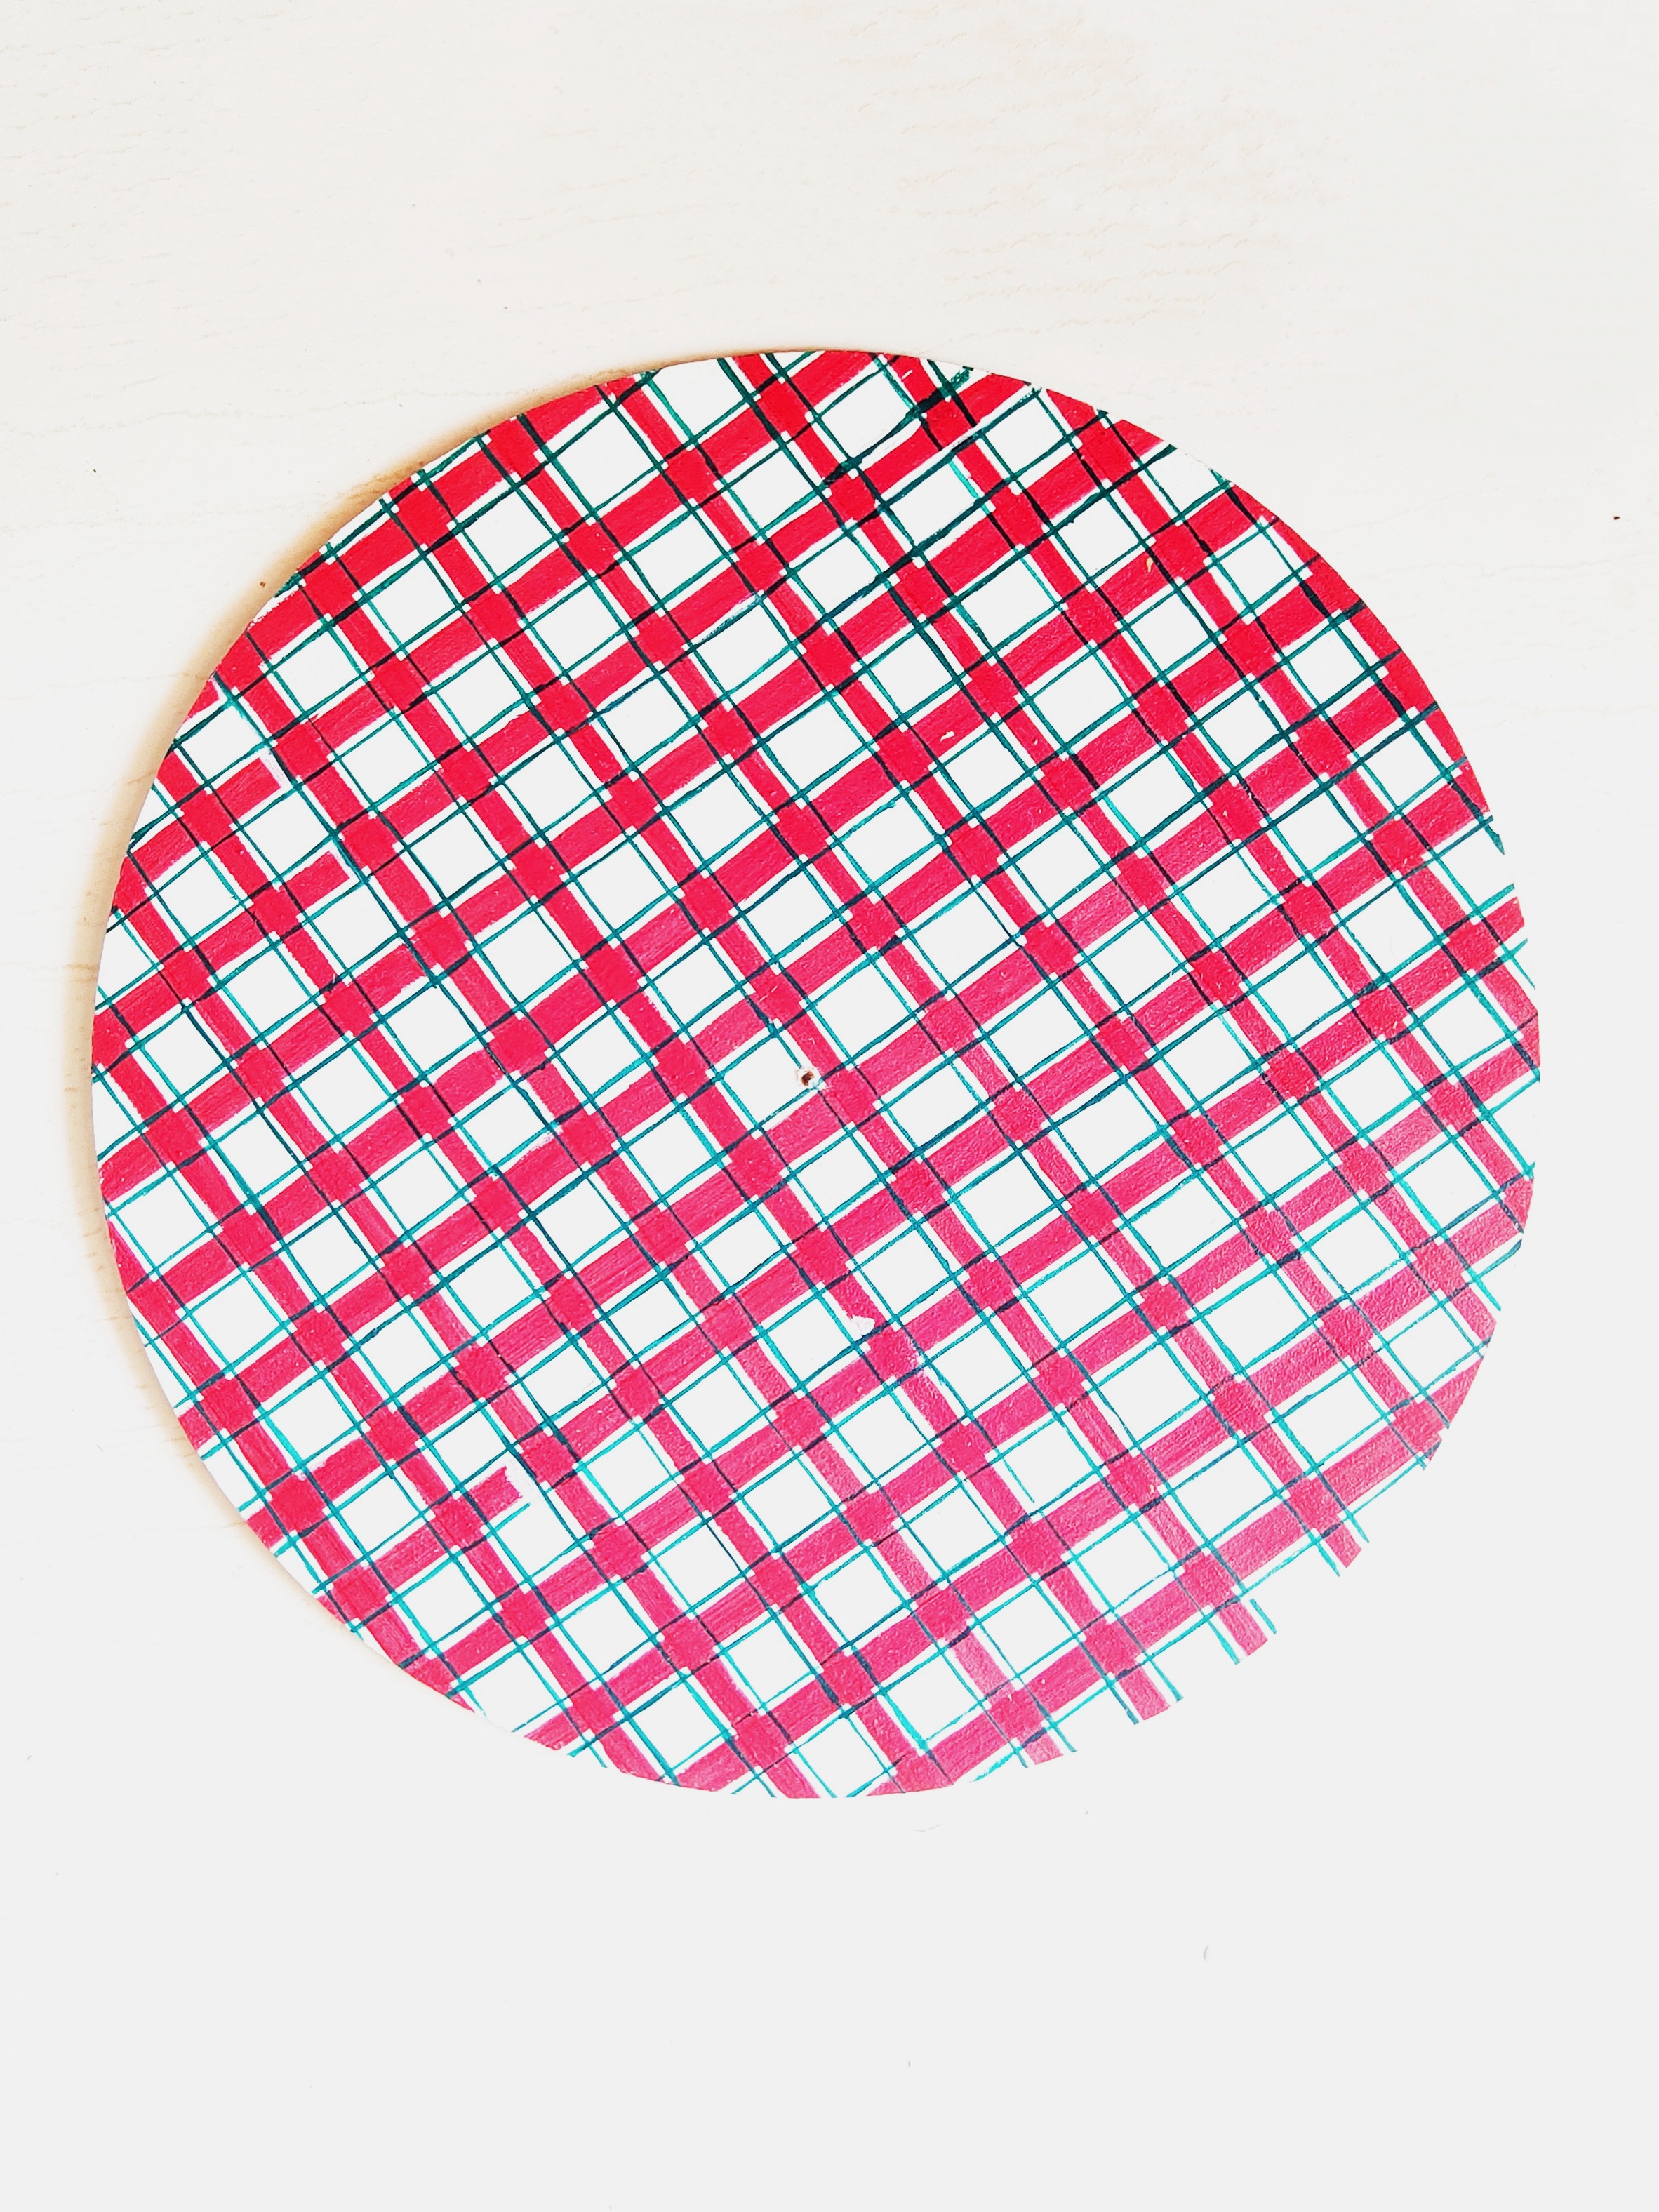
Take the MDF placemat and paint a checkered pattern using Fevicryl Acrylic Colours - White 27, Cerulean Blue 32 and Crimson 04. Let it dry.
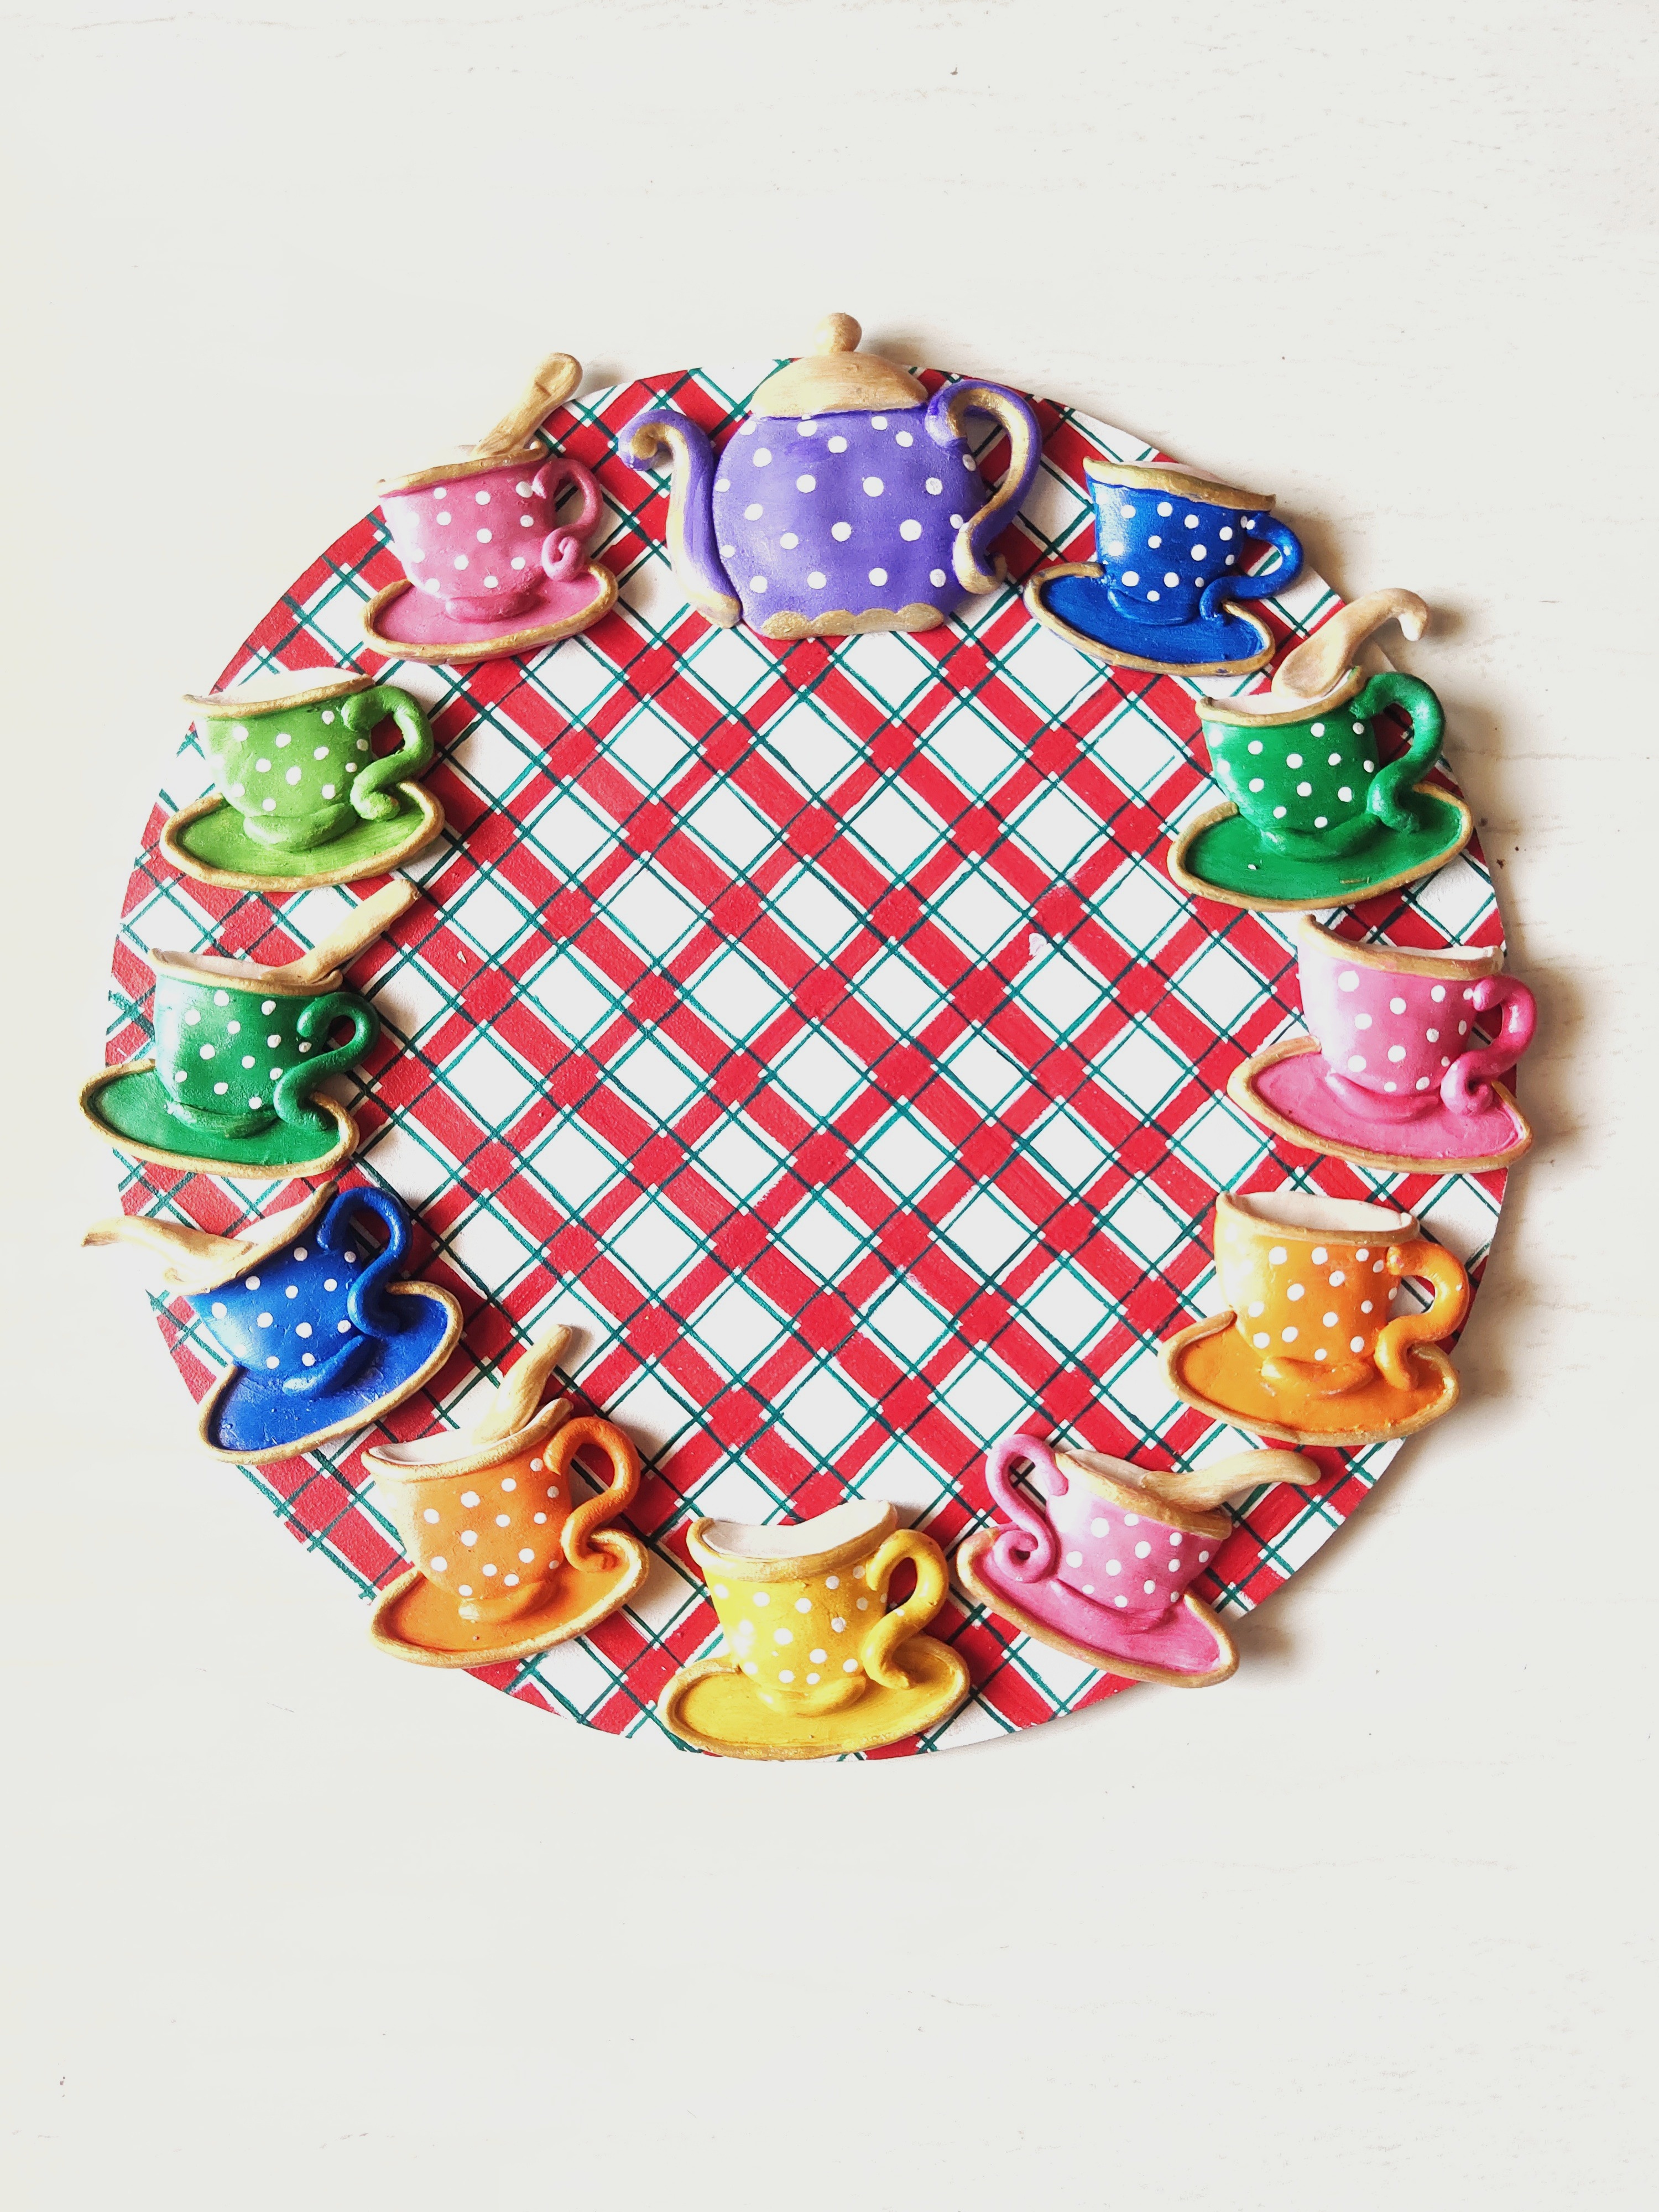
Start sticking the teacups from the 1’ o clock mark to 11’ o clock mark, with the kettle marking 12’ o clock. Stick using Fevicryl Fabric Glue.
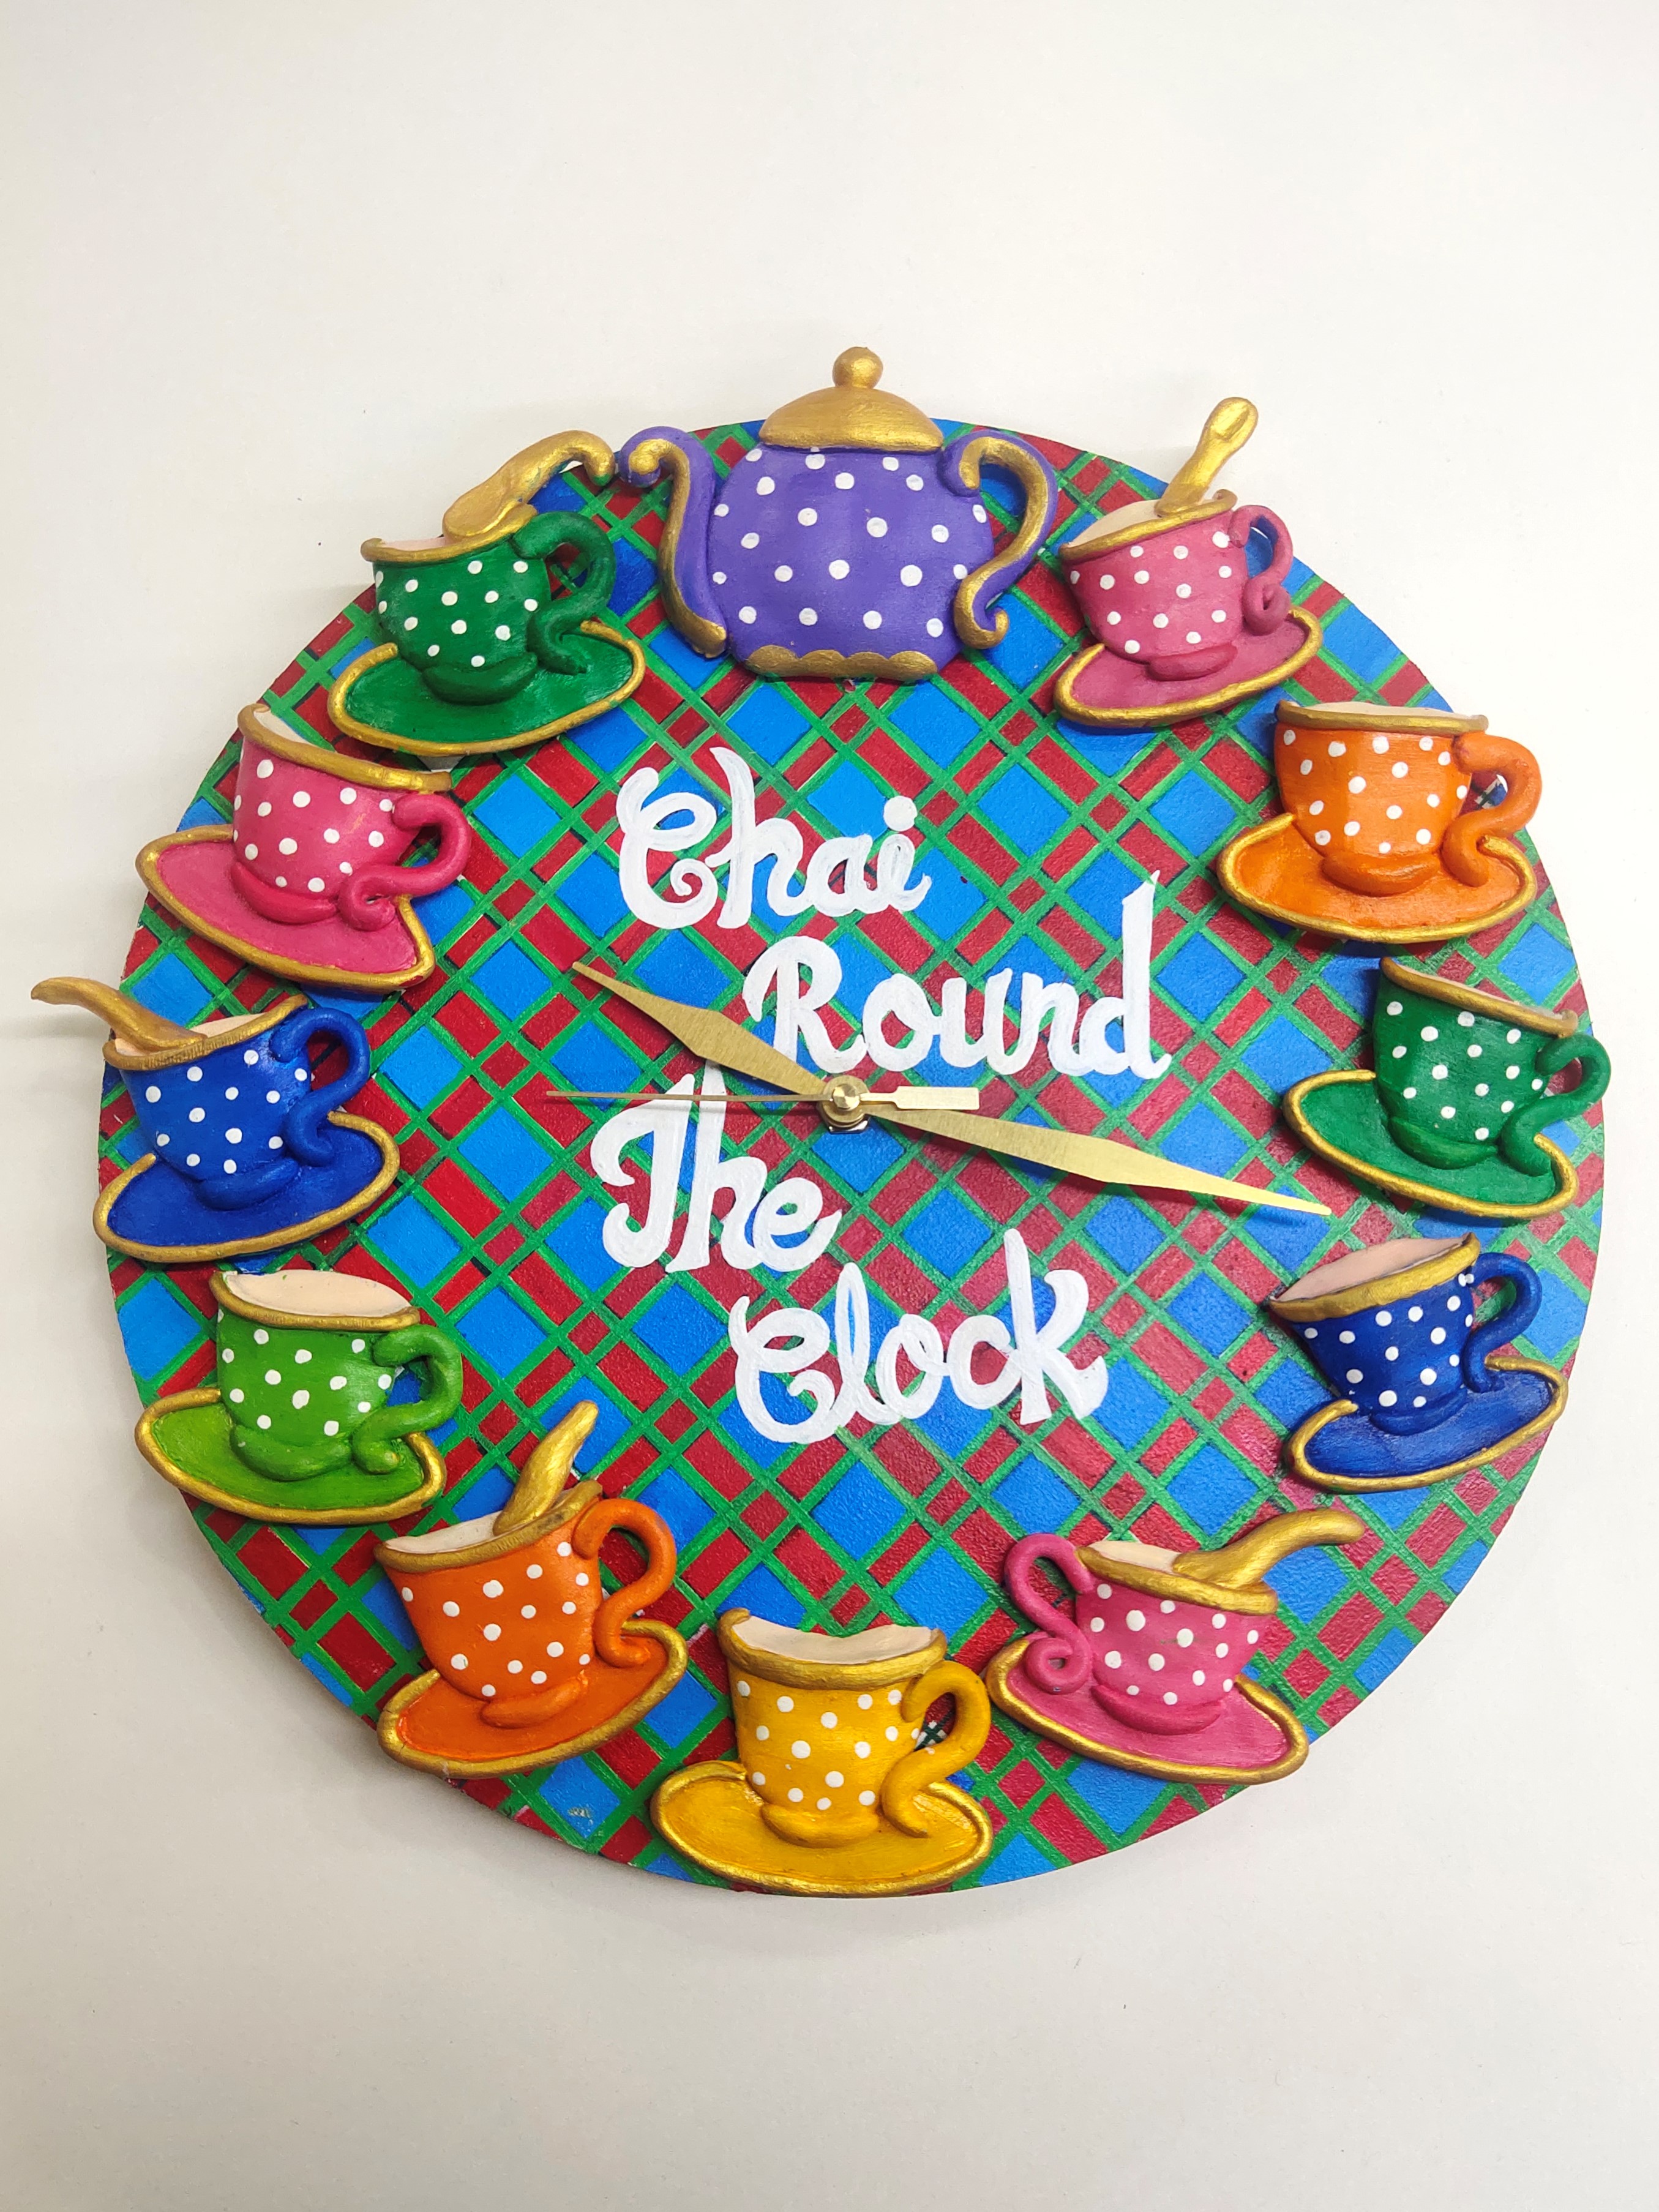
Think of a catch phrase, we have chosen ‘Chai Round the Clock’ and paint the phrase using White 27 in a fancy font. Finally fix the clock attachment from the rear side, your quirky clock is now ready.


 +91 99676 55545