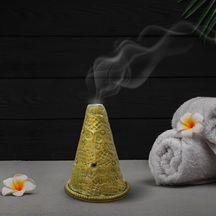
Mouldit Dhoop Diffuser
Feb. 25, 2020
You Will Need:
Fevicryl Acrylic Colour Burnt Sienna 01, Black 02, Chrome Yellow 03, Sap Green 21, Fevicryl Acrylic Colour Pearl Metallic Gold 352, Fevicryl Mouldit, Fevicryl Fabric Glue, Fine Art Brushes, Rolling Pin, Paper Cutter, OHP Sheet, Scissors, Colour Palette, Water Container, Clay Carving Tools, Old Used Refill, Masking Tape.
Description :
Make a vintage dhoop diffuser using Mouldit and give it a regal look using Fevicryl Pearl Metallic Colours. This surely is going to add a lovely accent to your décor.STEP 1 : Mixing Mouldit

• Take Mouldit resin base and hardener; mix it thoroughly to make even dough.
STEP 2 : Rolling the dough
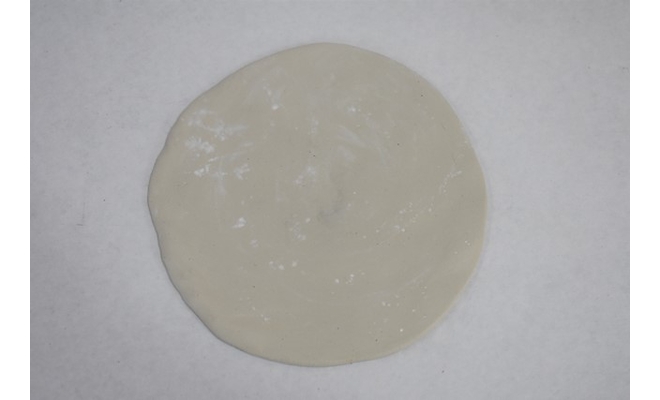
• Take the dough; roll it to make a medium thin slab.
• Let it get semi dry.
STEP 3 : Cut the slab
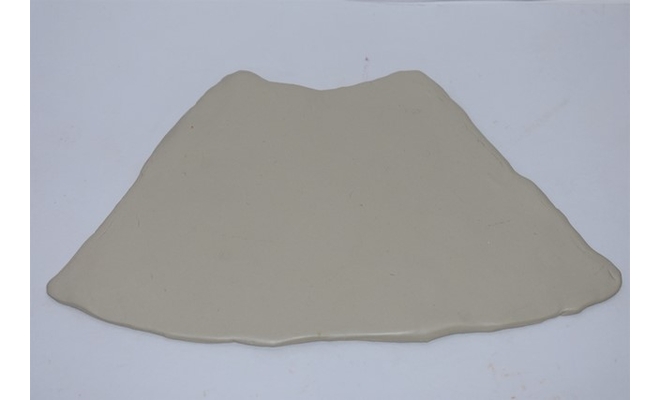
• Mark and cut the slab in a conical shape. Refer to the image.
STEP 4 : Create a texture
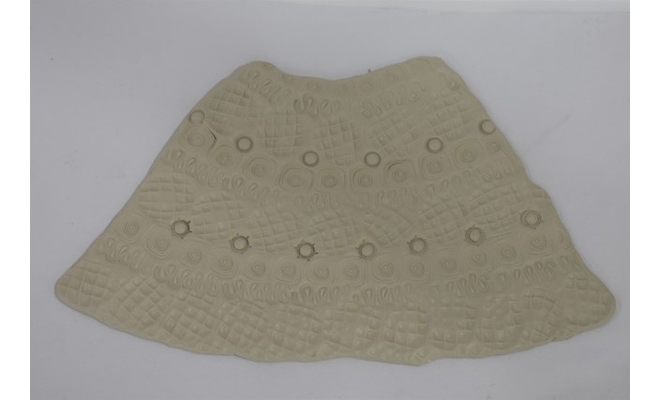
• Create a texture on the slab using old used refill, pen cap, paper cutter (you can also use the different patterned blocks for texturing).
STEP 5 : Shaping the cone
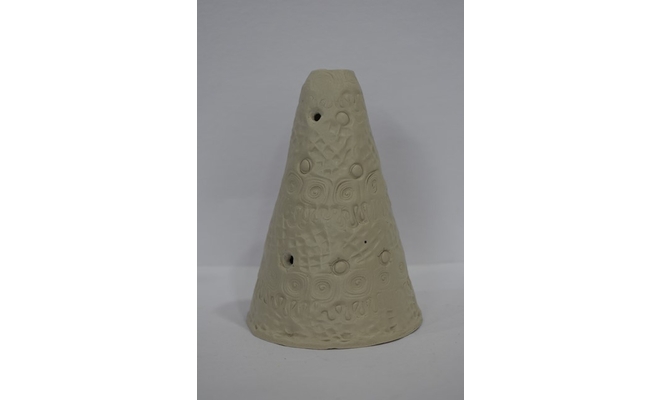
• Take an OHP sheet, roll it to make a cone shape, secure the ends with a masking tape.
• Place the rolled slab around the OHP cone and merge the ends to give it the shape of a cone.
• Let it dry completely.
• Remove the OHP cone from the inside.
STEP 6 : Making the base
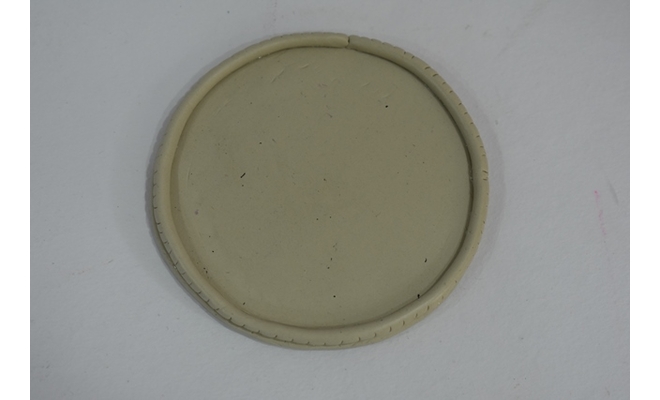
• Take some dough; roll it to make the round base for the cone.
• Let it dry completely.
STEP 7 : Putting it together
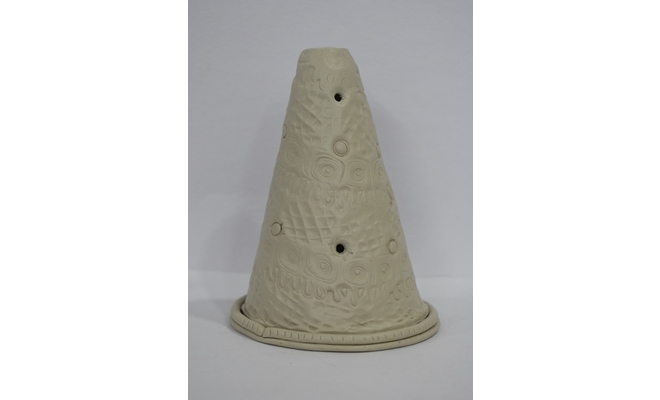
• Your clay cone diffuser and the base will look like this.
STEP 8 : Painting the diffuser

• Paint the clay diffuser with a shade of green made by mixing Acrylic Colour Burnt Sienna 01, Black 02, Chrome Yellow 03 and Sap Green 21. After drying paint the dry strokes of Acrylic Colour Pearl Metallic Gold 352.
• Let it dry completely.


 +91 99676 55545