Mirror With Mosaic Chips

May 30, 2019
You Will Need:
Fevicryl Acrylic Colours Crimson 04, Light Green 12, Prussian Blue 19, Coral Red 66, Fevicryl 3D Outliner White 707, Fevicryl Mouldit, 10” X 12” Sized Mirror, Rolling Pin, Paper Cutter, Ruler, Ornamental Stones (small and medium sized red, blue green coloured)
Description :
Mosaic art is trending and how! Here is a DIY inspiration from which you can learn to make your own mosaic chips with Fevicryl Mouldit and also how to use them.STEP 1 : Mix Mouldit
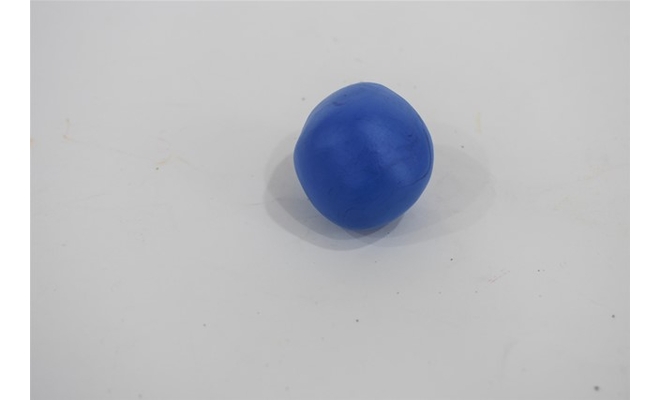
• Take Mouldit resin base and hardener; mix it thoroughly to make even dough.
• Take dough and add Acrylic Colours Prussian Blue 19 to make the Blue dough.
STEP 2 : Roll the dough
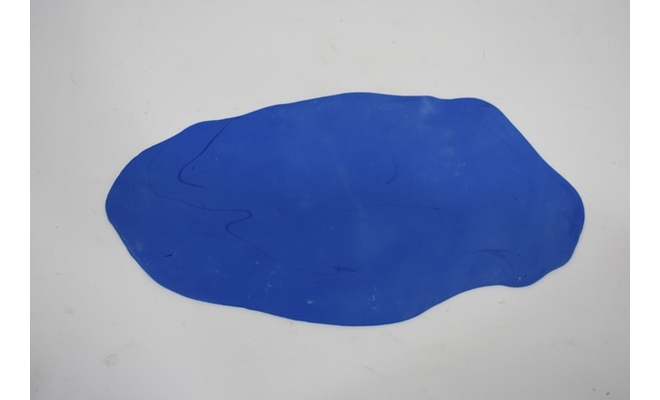
• Take the blue dough; roll it to make medium thin slab with a rolling pin.
• Leave it till semi dry.
STEP 3 : Cut the slab to make chips
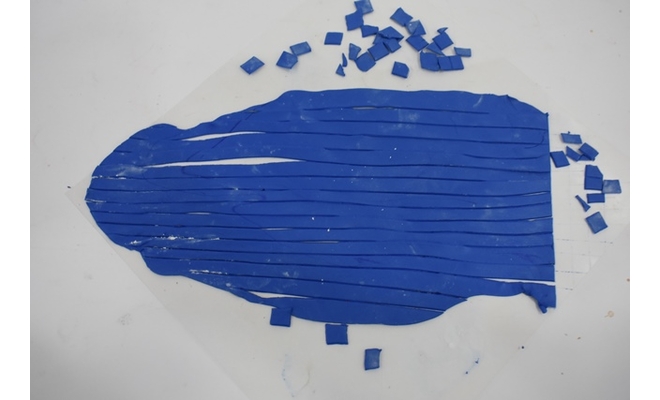
• Cut the slabs to make the square shaped mosaic chips (pieces).
• Let the mosaic pieces dry completely.
STEP 4 : Mouldit chips
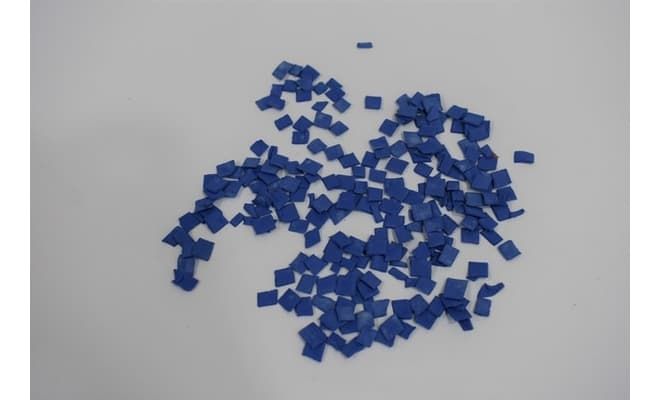
• Your mosaic chips will look like this after drying.
STEP 5 : Make coloured chips
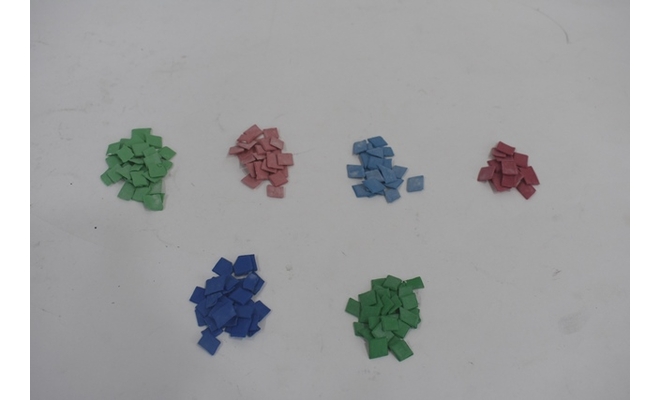
• Similarly take the dough and add Acrylic Colour Light Green 12, Crimson 04 and Coral Red 66 to make the light and dark shades dough from Mouldit.
• Roll the dough balls individually with a rolling pin to make thin slabs.
• Cut the slabs to make the square shaped mosaic chips (pieces).
• Let the mosaic pieces dry completely.
STEP 6 : Make mosaic patterns on the mirror
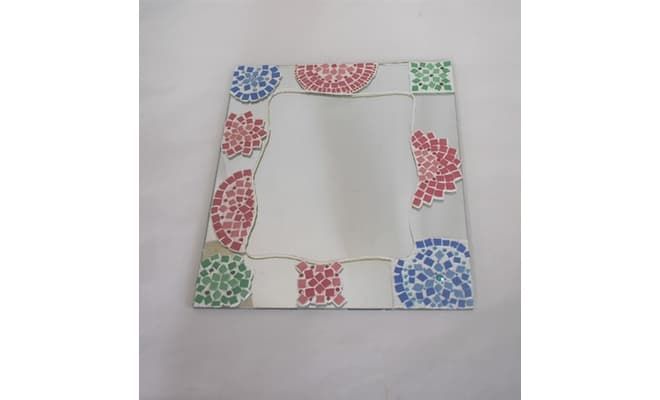
• We are going to make the random mosaic patterns on the mirror.
• Take the mirror and draw a random square with a wavy outline with 3D Outliner White 707.
• Let it dry.
• Take the Mouldit mosaic chips (colour of your choice) and start making the patterns by embedding the mosaic chips in 3D Outliner White 707 along with small and medium sized red, blue green coloured Ornamental Stones. (The 3D white outliner will work like cement)
• Leave it to dry completely.
STEP 7 : Let it Dry
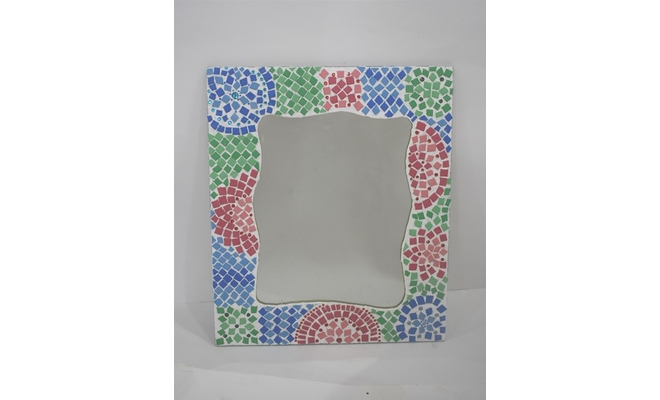
• Your mirror will look like this after finishing.


 +91 99676 55545