Hanging Sanitizer Pouch

You Will Need:
Fevicryl Fabric Glue, Fevicryl Fabric Colours Sap Green, Cerulean Blue, Black, Pink, Mauve, White, White Plain Cotton Fabric, Foam Sheet, Fabric Scissors, Bowl to Make Dye, Press Buttons (2), Iron Box, Fabric Chalk, Scale, Compass
Product Used:

Description :
The sanitizer hanging pouch is a useful piece of item that can be quickly made at home using waste fabrics by printing/ painting on them. You can hang it/ button it up to your door, bag and use it whenever required without losing it!
STEP 1 : Selection of base
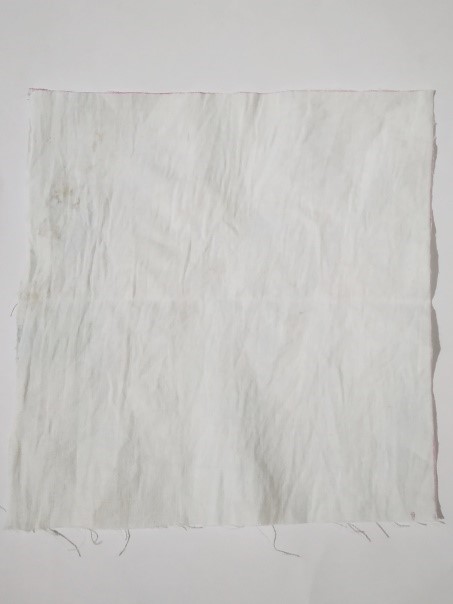
- Take a plain fabric and cut a 14” x 14” piece.
- Cut two such fabrics pieces using fabric scissors.
STEP 2 : Fabric cut pieces
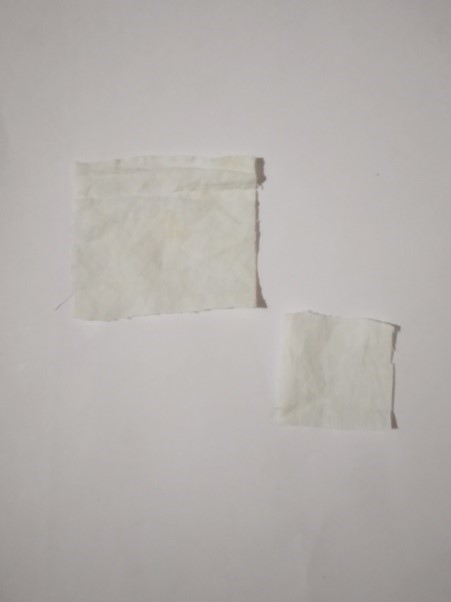
- Cut two more small fabric pieces measuring 4” x 4”
- Use fabric scissors to cut them.
STEP 3 : Dyeing of fabric
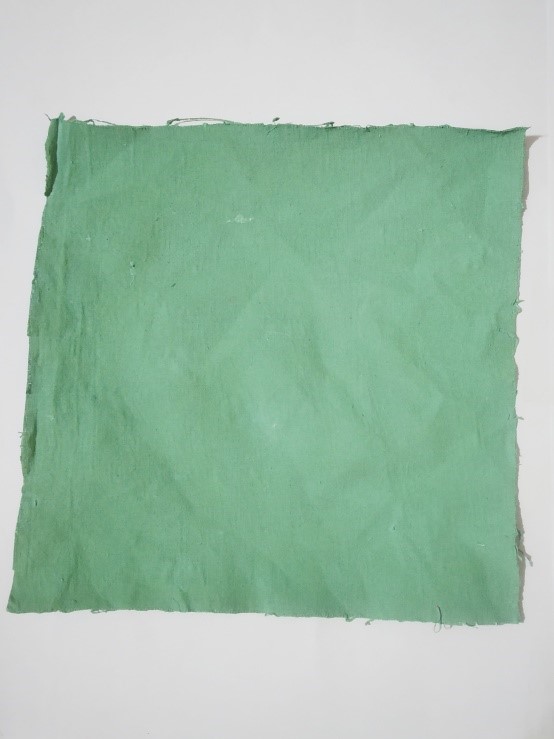
- Combine Sap Green, little bit of Cerulean Blue and White to come up with the colour seen above.
- You can choose a different colour according to your choice as well.
- Dye both the cut pieces with this colour and let it dry.
STEP 4 : Motif printing
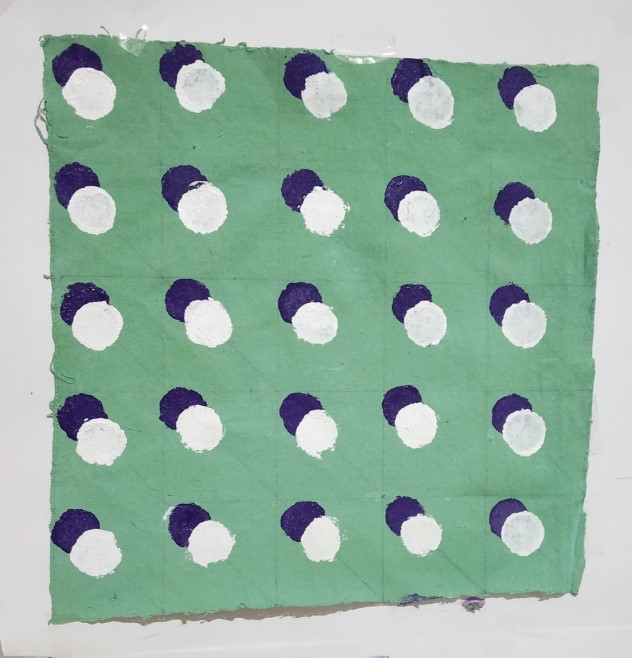
- Create a small circular stamp measuring 1” diameter made out of foam.
- Create prints on the fabric using the circular stamp as seen in the image above.
- Use colours of your choice or the colours mentioned in the material list.
- Make sure to print the first colour let it semi dry and you can go on to print the second colour.
STEP 5
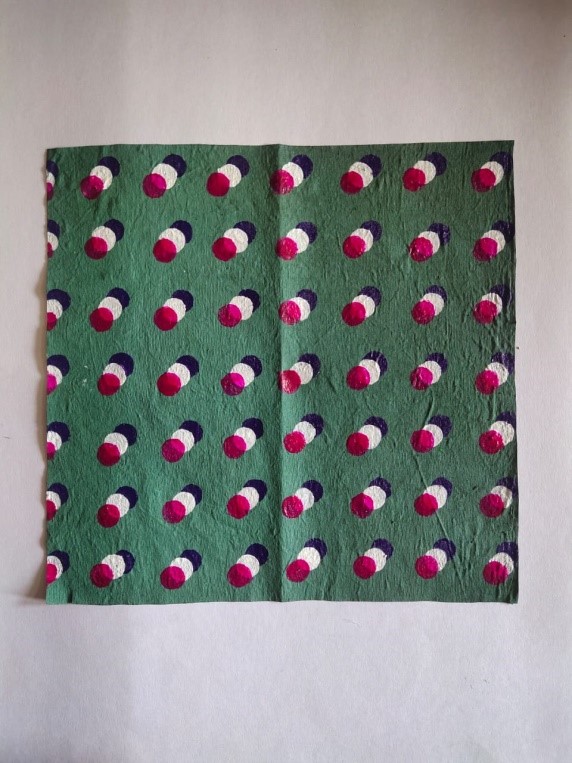
- Three colours have been used to create this print as seen in the image above.
- Let it all dry
- Printing will happen only on one piece of green dyed fabric.
STEP 6
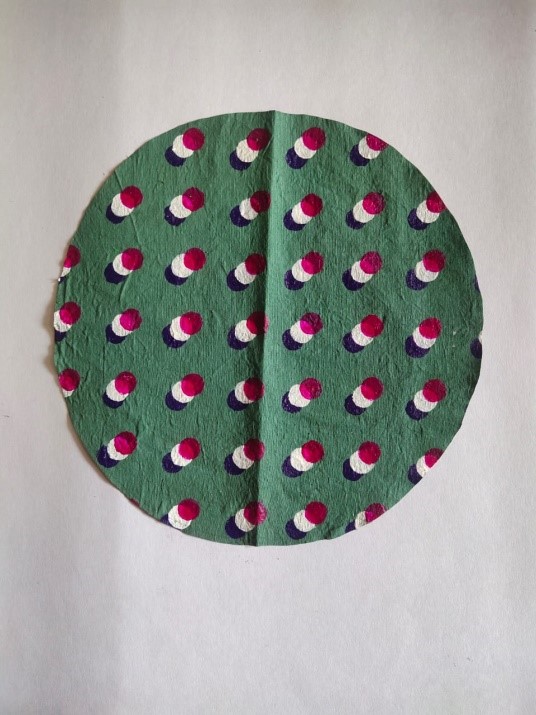
- Cut a circle keeping the diameter as 14”.
- Cut the printed fabric and the plain green fabric using fabric scissors.
STEP 7
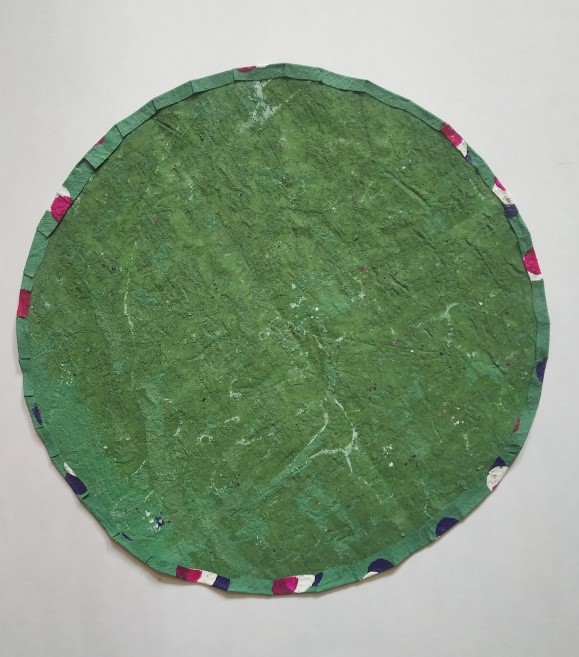
- Stick the two circles together as shown in the image above.
- Use Fevicryl Fabric Glue to stick them
- Let it dry.
STEP 8 : Strips
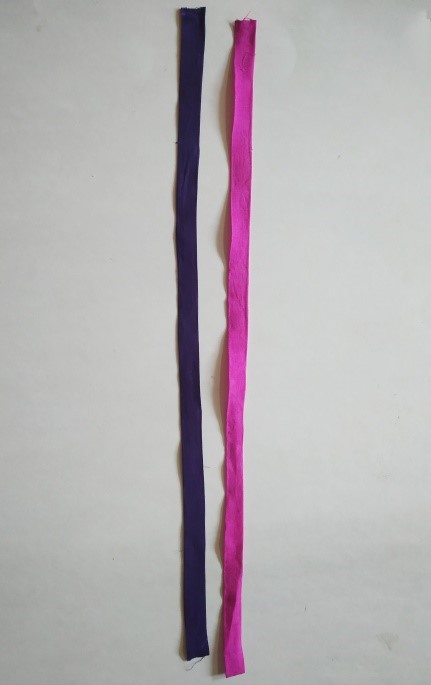
- Take two strips of plain white fabric or 2 different colored fabric (if available)
- The pink strip will measure about 17” x 1.25”, the dark blue fabric will measure about 12” x 1.5 “
- Dye the fabric in the colours mentioned if it is not available with you.
- Fold them into strips as seen in the image above. The darker strip measures about 0.75” in width once folded, the pink strip will measure about 0.5” once folded.
- Use Fevicryl Fabric Glue to stick it.
- Let it dry.
STEP 9
- The strips must look like this once folded neatly.
STEP 10 : Making of slit in the middle
- Cut a slit measuring 1” x 0.25” in the middle. Make four small diagonal cuts on the corners of the previously made slit and fold them towards the back to give the opening a good finish.
- Use Fevicryl Fabric Glue to stick
- Let it dry.
STEP 11 : Backside of the circle
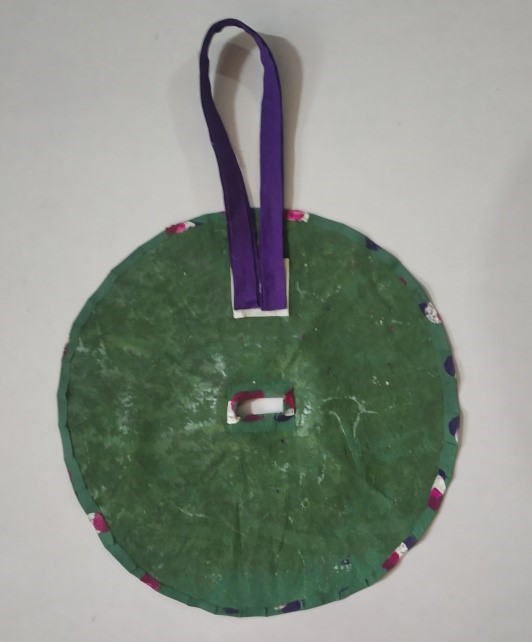
- Take the white square fabric measuring 4” x 4” and stick it on the backside as seen in the image.
- Use Fevicryl Fabric Glue to stick it.
- Let it dry.
- Stick the blue strip on the white fabric as shown in the image.
- Use Fevicryl Fabric Glue to stick it.
- Let it dry.
STEP 12 : Stitching of buttons
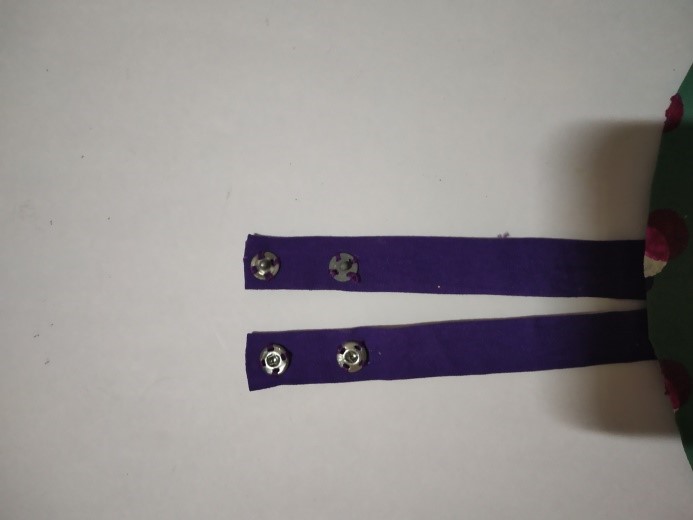
- Cut the blue stip in the middle and fold the edges to give it a good finish.
- Use Fevicryl Fabric Glue to stick it.
- Let it dry.
- Take two pairs of press buttons and stitch them up on the corners of the strip as seen.
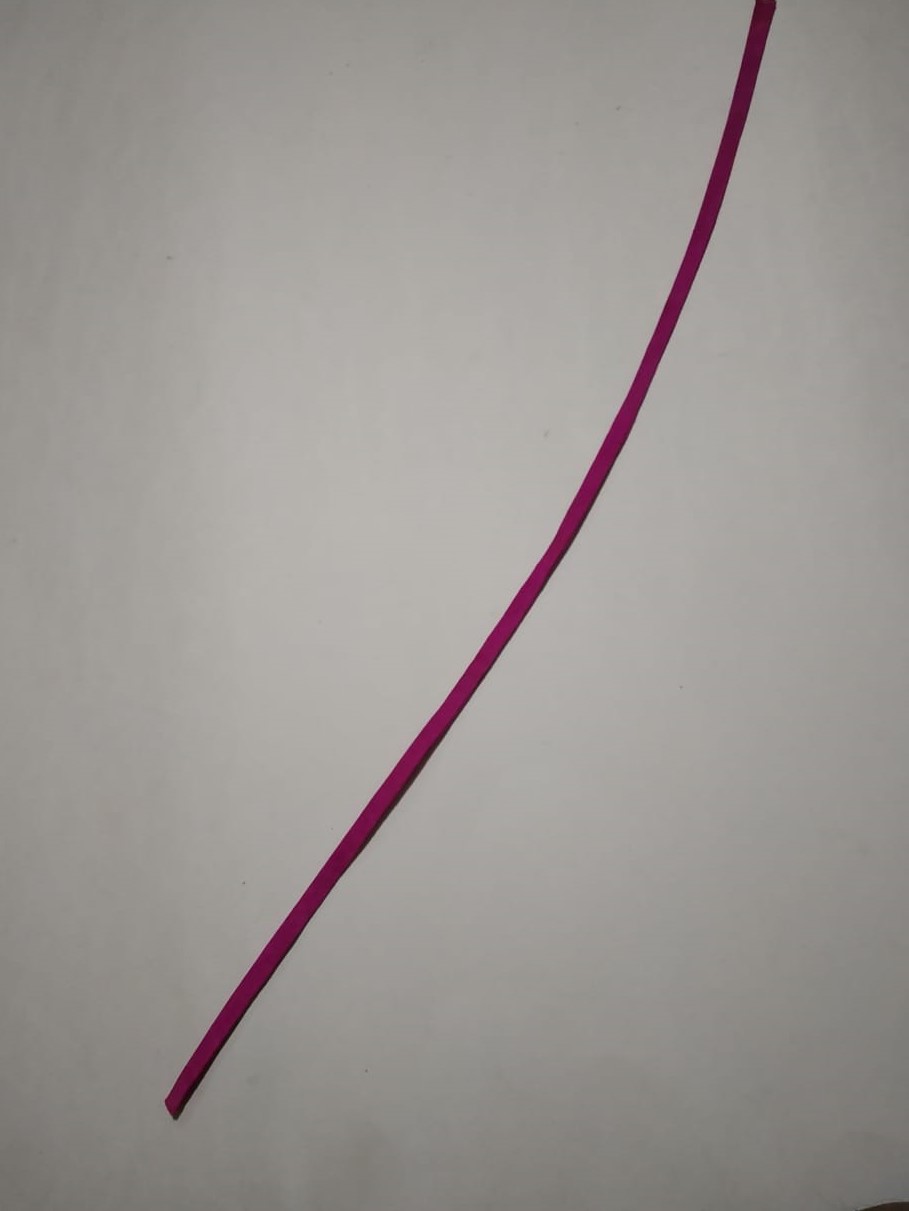
STEP 13 : Sticking of the final strip
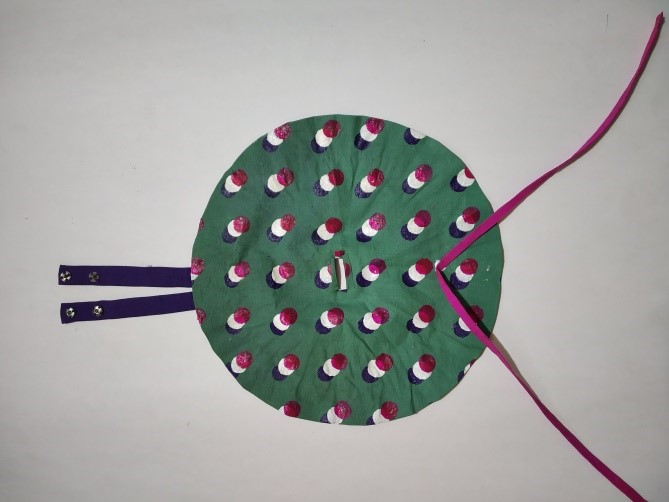
- Take the pink strip and stick it on the circle as shown in the image.
- Use Fevicryl Fabric Glue to stick it.
- Let it dry.
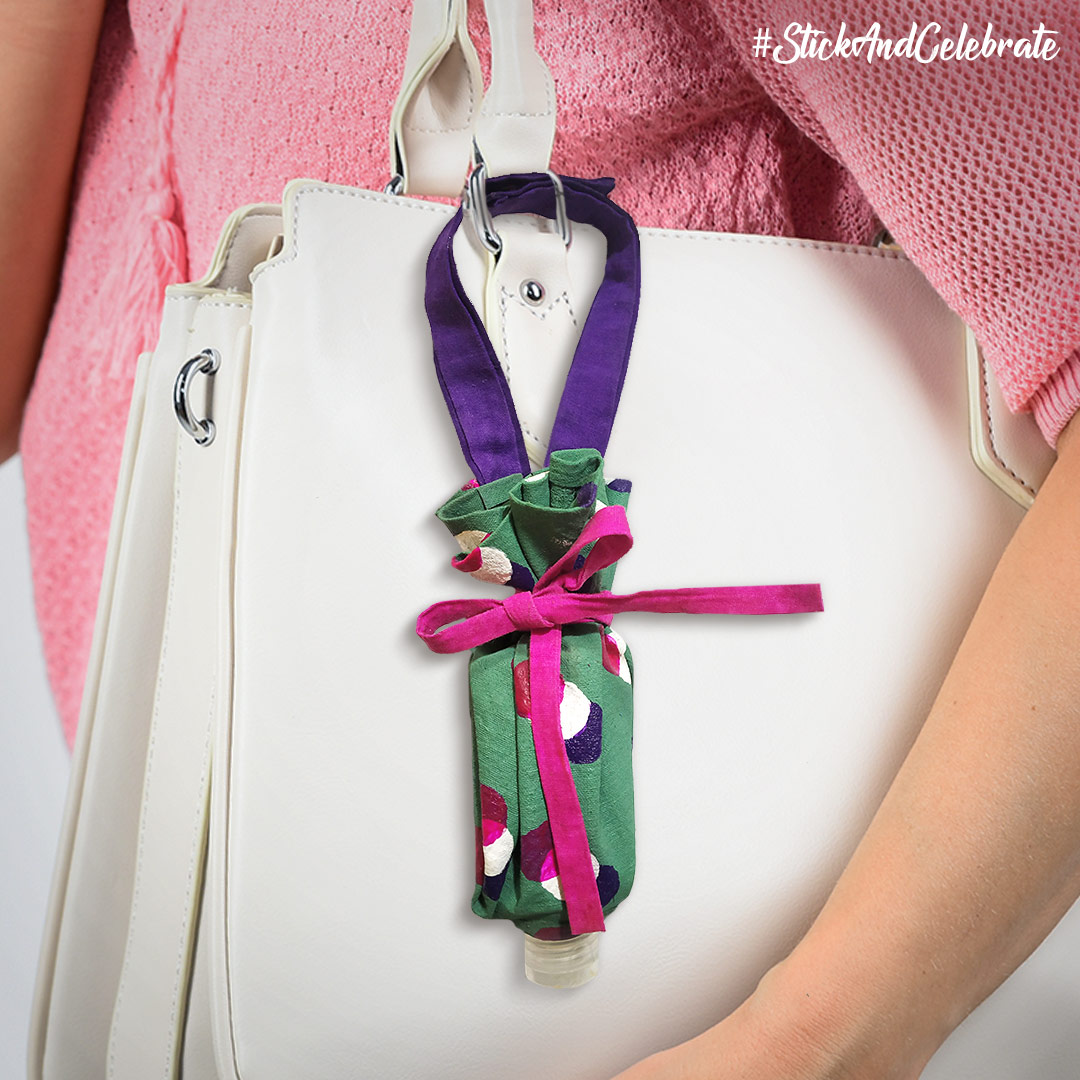
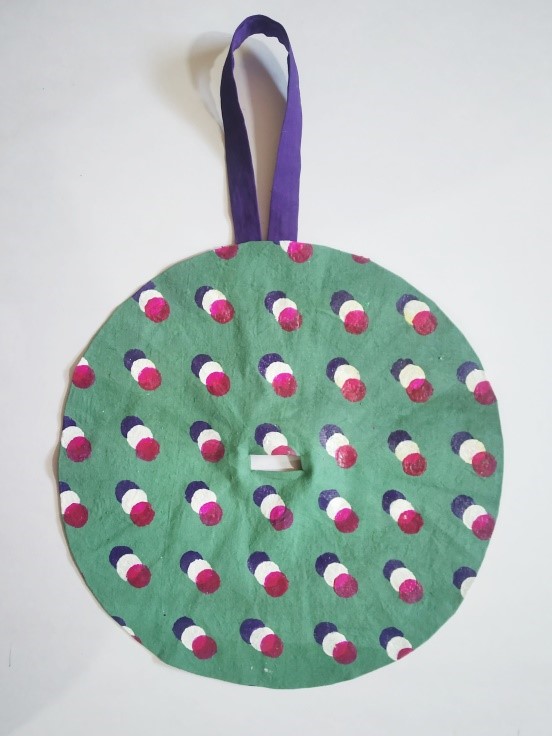
STEP 14 : Final product
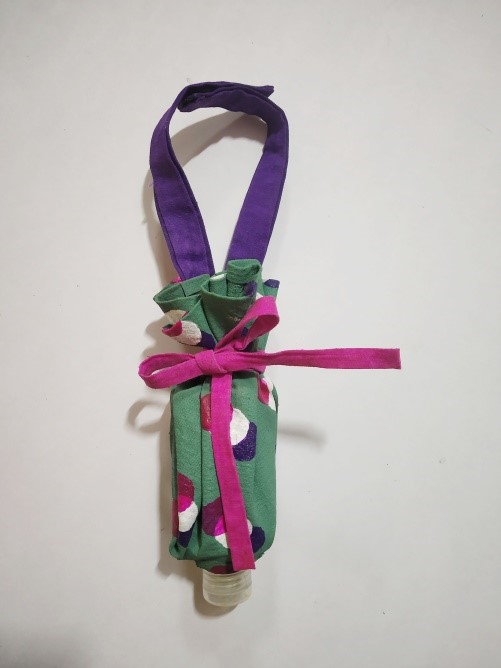
- Place the sanitizer bottle in the slit as seen.
- Bunch the round fabric around it and secure it with the pink strip as seen in the image above.
Your portable sanitizer hanging pouch is ready to be taken along with you to your school, college, office or just stay hung onto your entrance door for visitors.


 +91 99676 55545