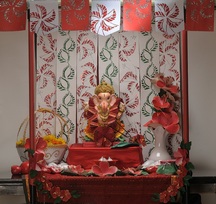
Ganapati Decoration Hibiscus Theme
You Will Need:
Fevicryl Soft Acrylic Colour – Crimson 204, White 227, Fevicryl Acrylic Soft Sparkling Pearl Colours – Poppy Red 901, Golden Yellow 907, Light Green 909 and Emerald Green 908, Fevicryl Liquid Embroidery Glitter - Silver 402, Gold 401, Pearl Cherry Red 316, Fevicryl No Stitch Fabric Glue, Fevicryl Non Sticky Shilpkar, Fine Art Painting Brush, Fevicryl - Glass Colour - Water Based – Tomato Red 851 & Crystal Green 854, Fine Art Canvas Roll, Colour Palette , Water Container, Pencil, Ruler, Scissors, Cartridge Paper, OHP Sheet, Red And Green Card Paper, Prime Eezytear Tape, Sharp Paper Cutter, Talcum Powder, Big Leaf From Your Garden, Flower Making Green Tape, Golden Stocking Wire, Canvas, Wooden Stick, Pollens, CD Marker Pen, Bowl, Recycled Jute Fabric, Golden Lace, Decorative Lace/Cane Lace
Description :
The Hibiscus flower or the Shoe flower makes a beautiful theme for Ganesha decoration, for it being the flower that's associated with Ganesha. It's beautiful bright red colour against the white and the green background gives a perfect festive look to the whole decor
STEP 1
Make a hibiscus flower design stencil using an OHP sheet
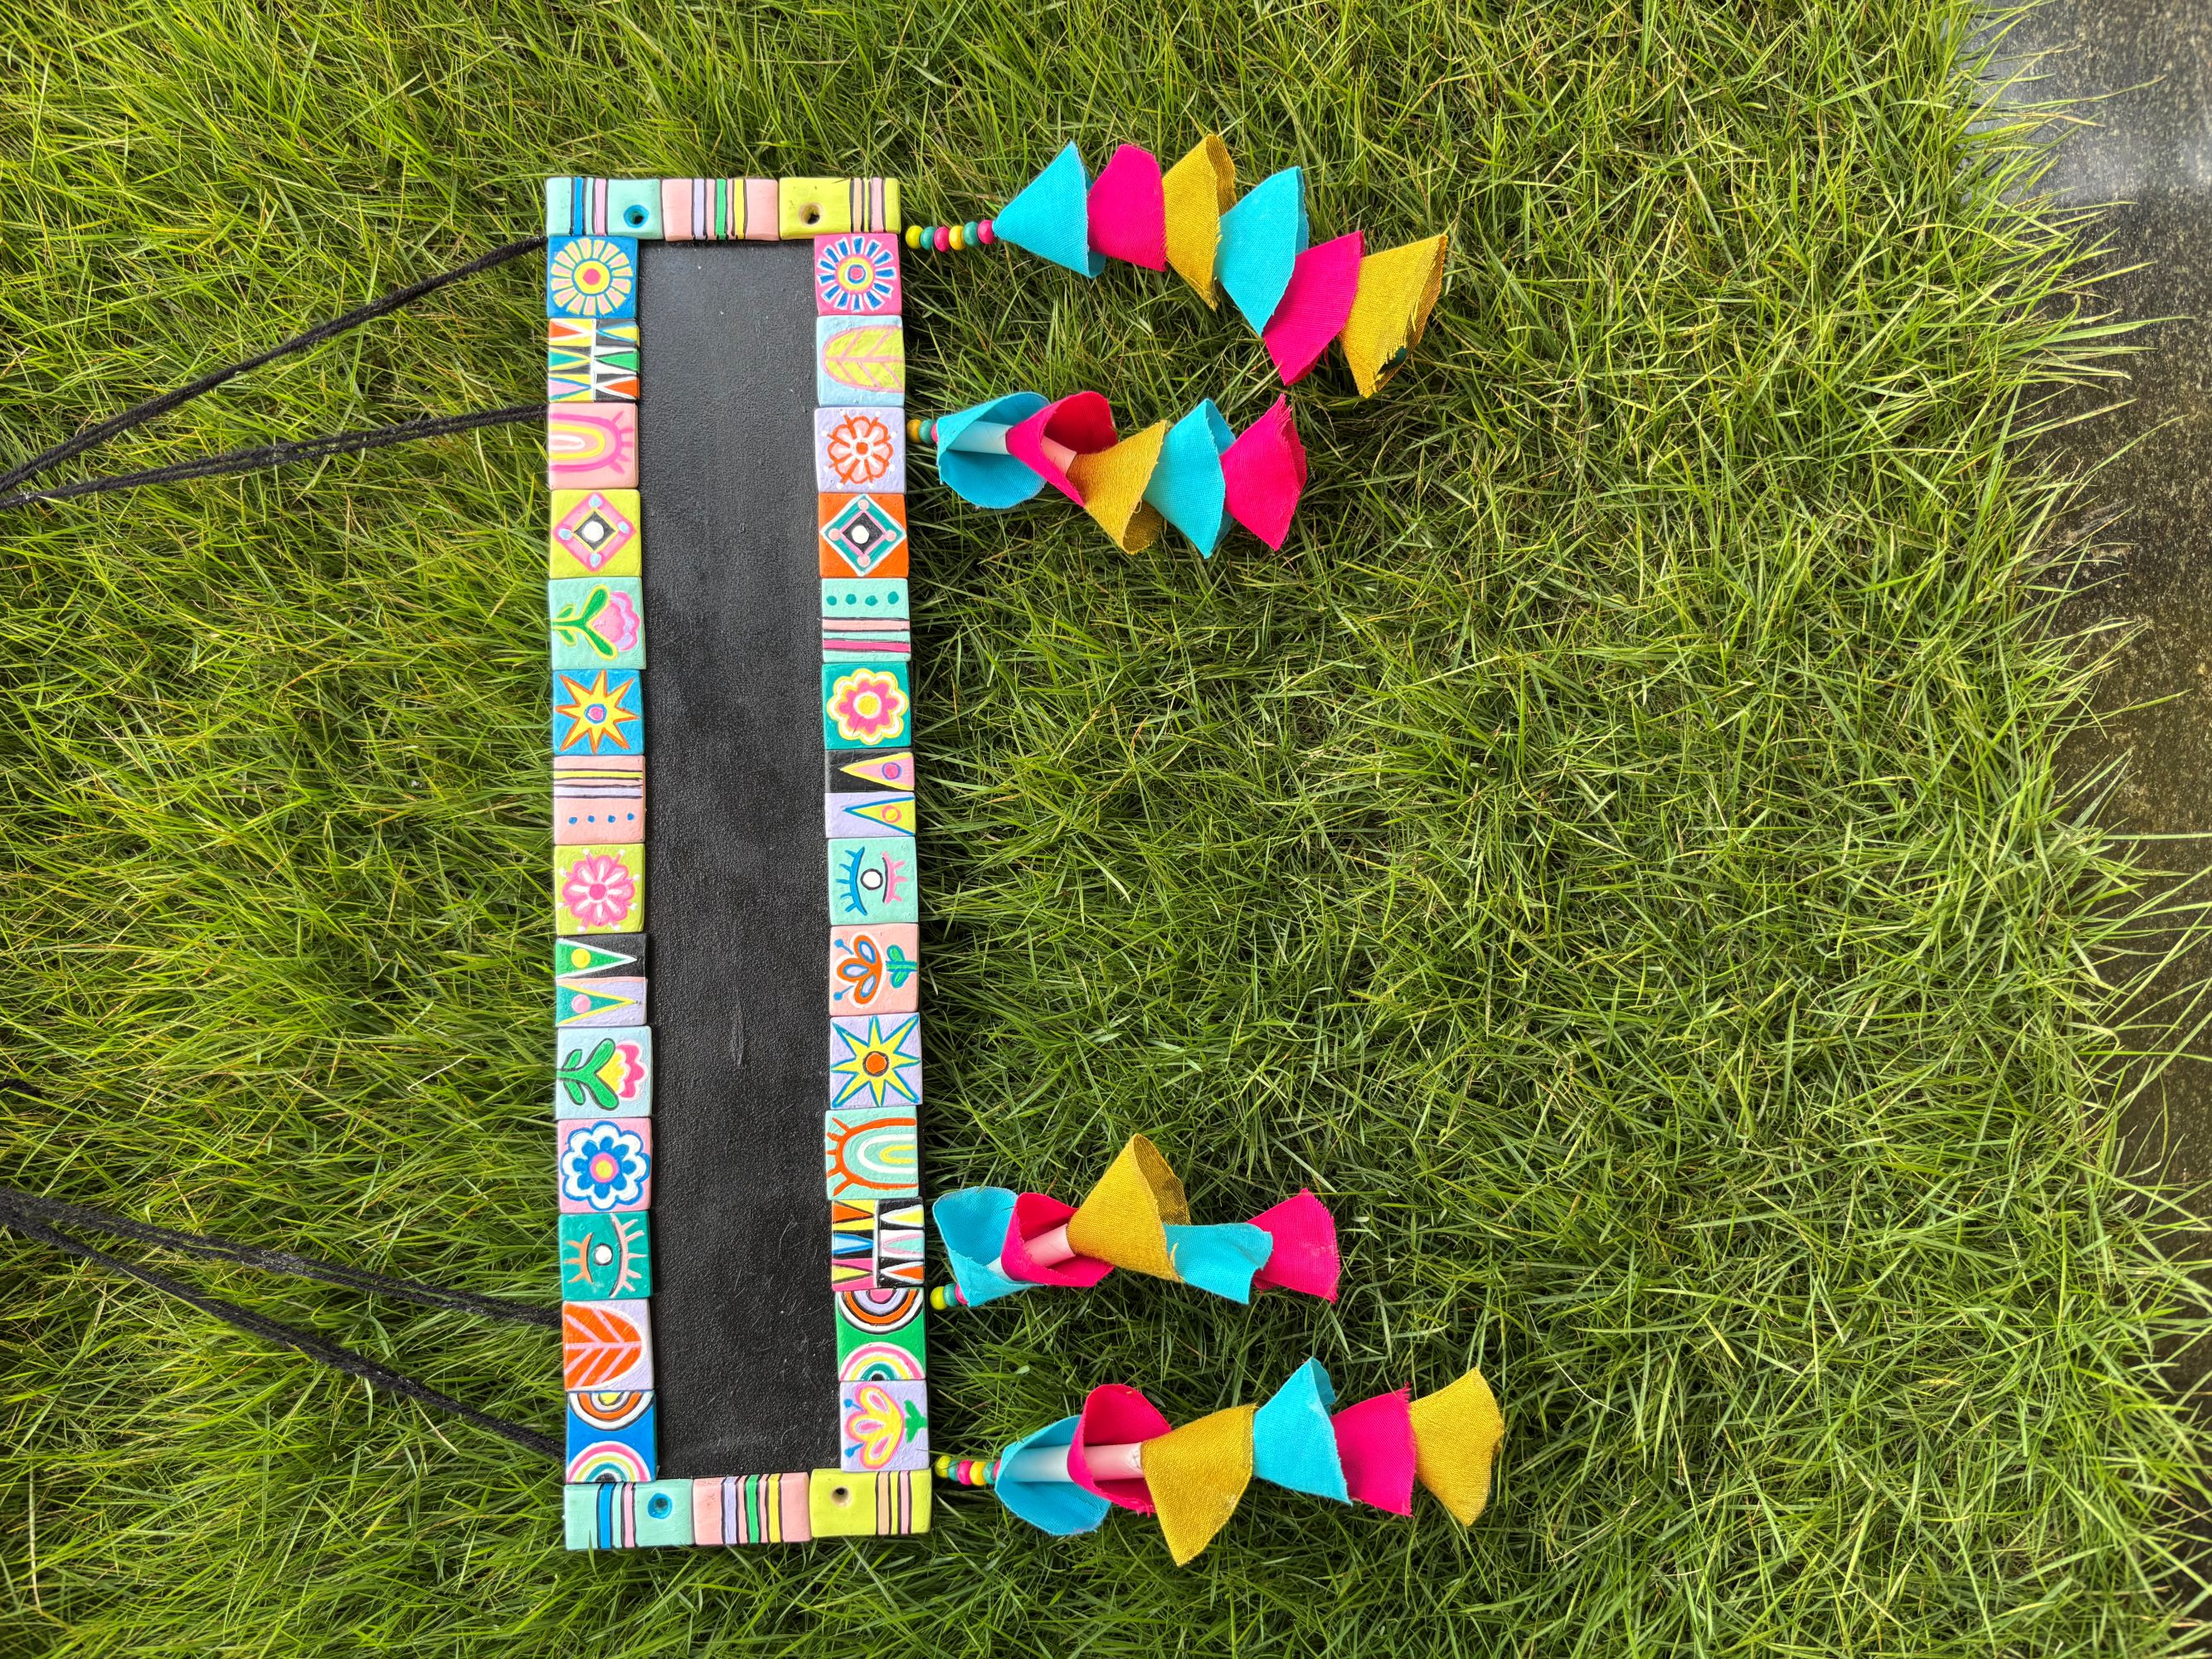
Cut canvas strips from the roll of canvas measuring 4” x 33” . You may choose the height of the the strips for the backdrop as per your requirement
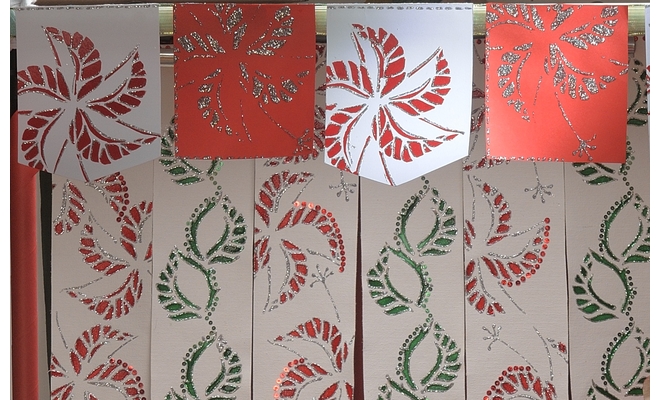
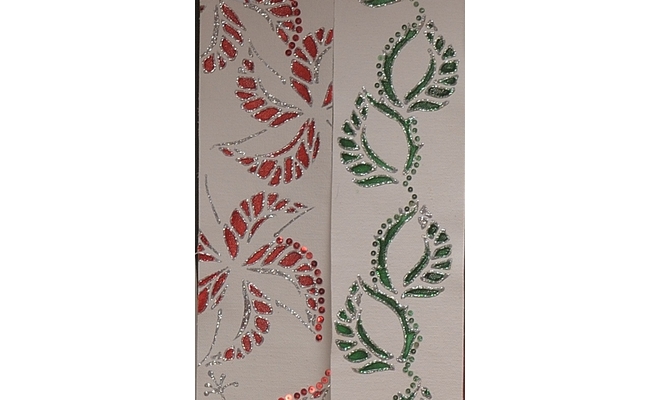
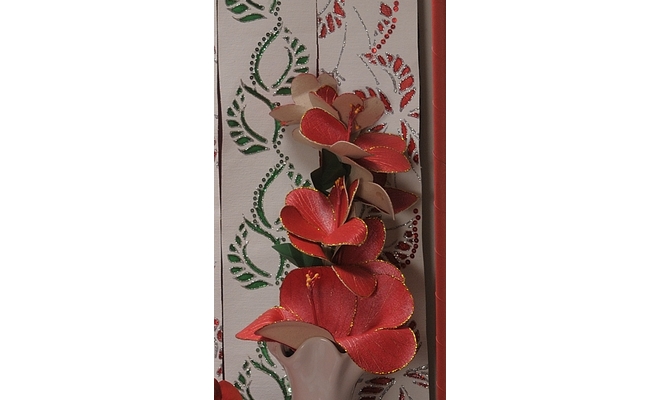
Arrange and trace the flowers and the leaves using design stencils on the canvas strips
Each canvas strip has either a flower or a leaf traced on it as shown in the picture
Outline the designs using Fevicryl 3D Outliner Glitter - Silver
Let it dry
Fill the flowers with Fevicryl - Glass Colours - Water Based - Tomato Red and the leaves with Crystal Green
Let it dry
Cut a strip of cartridge paper measuring 2”x 28” you may need a longer strip as per the size of your backdrop, we have used 7 canvas strips for the backdrop
Stick a decorative lace on the cartridge paper and then stick the canvas strips on the cartridge paper using Fevicryl No Stitch Fabric Glue
Stick sequins around the leaves and the flower using Fevicryl No Stitch Fabric Glue
Let it dry
STEP 2
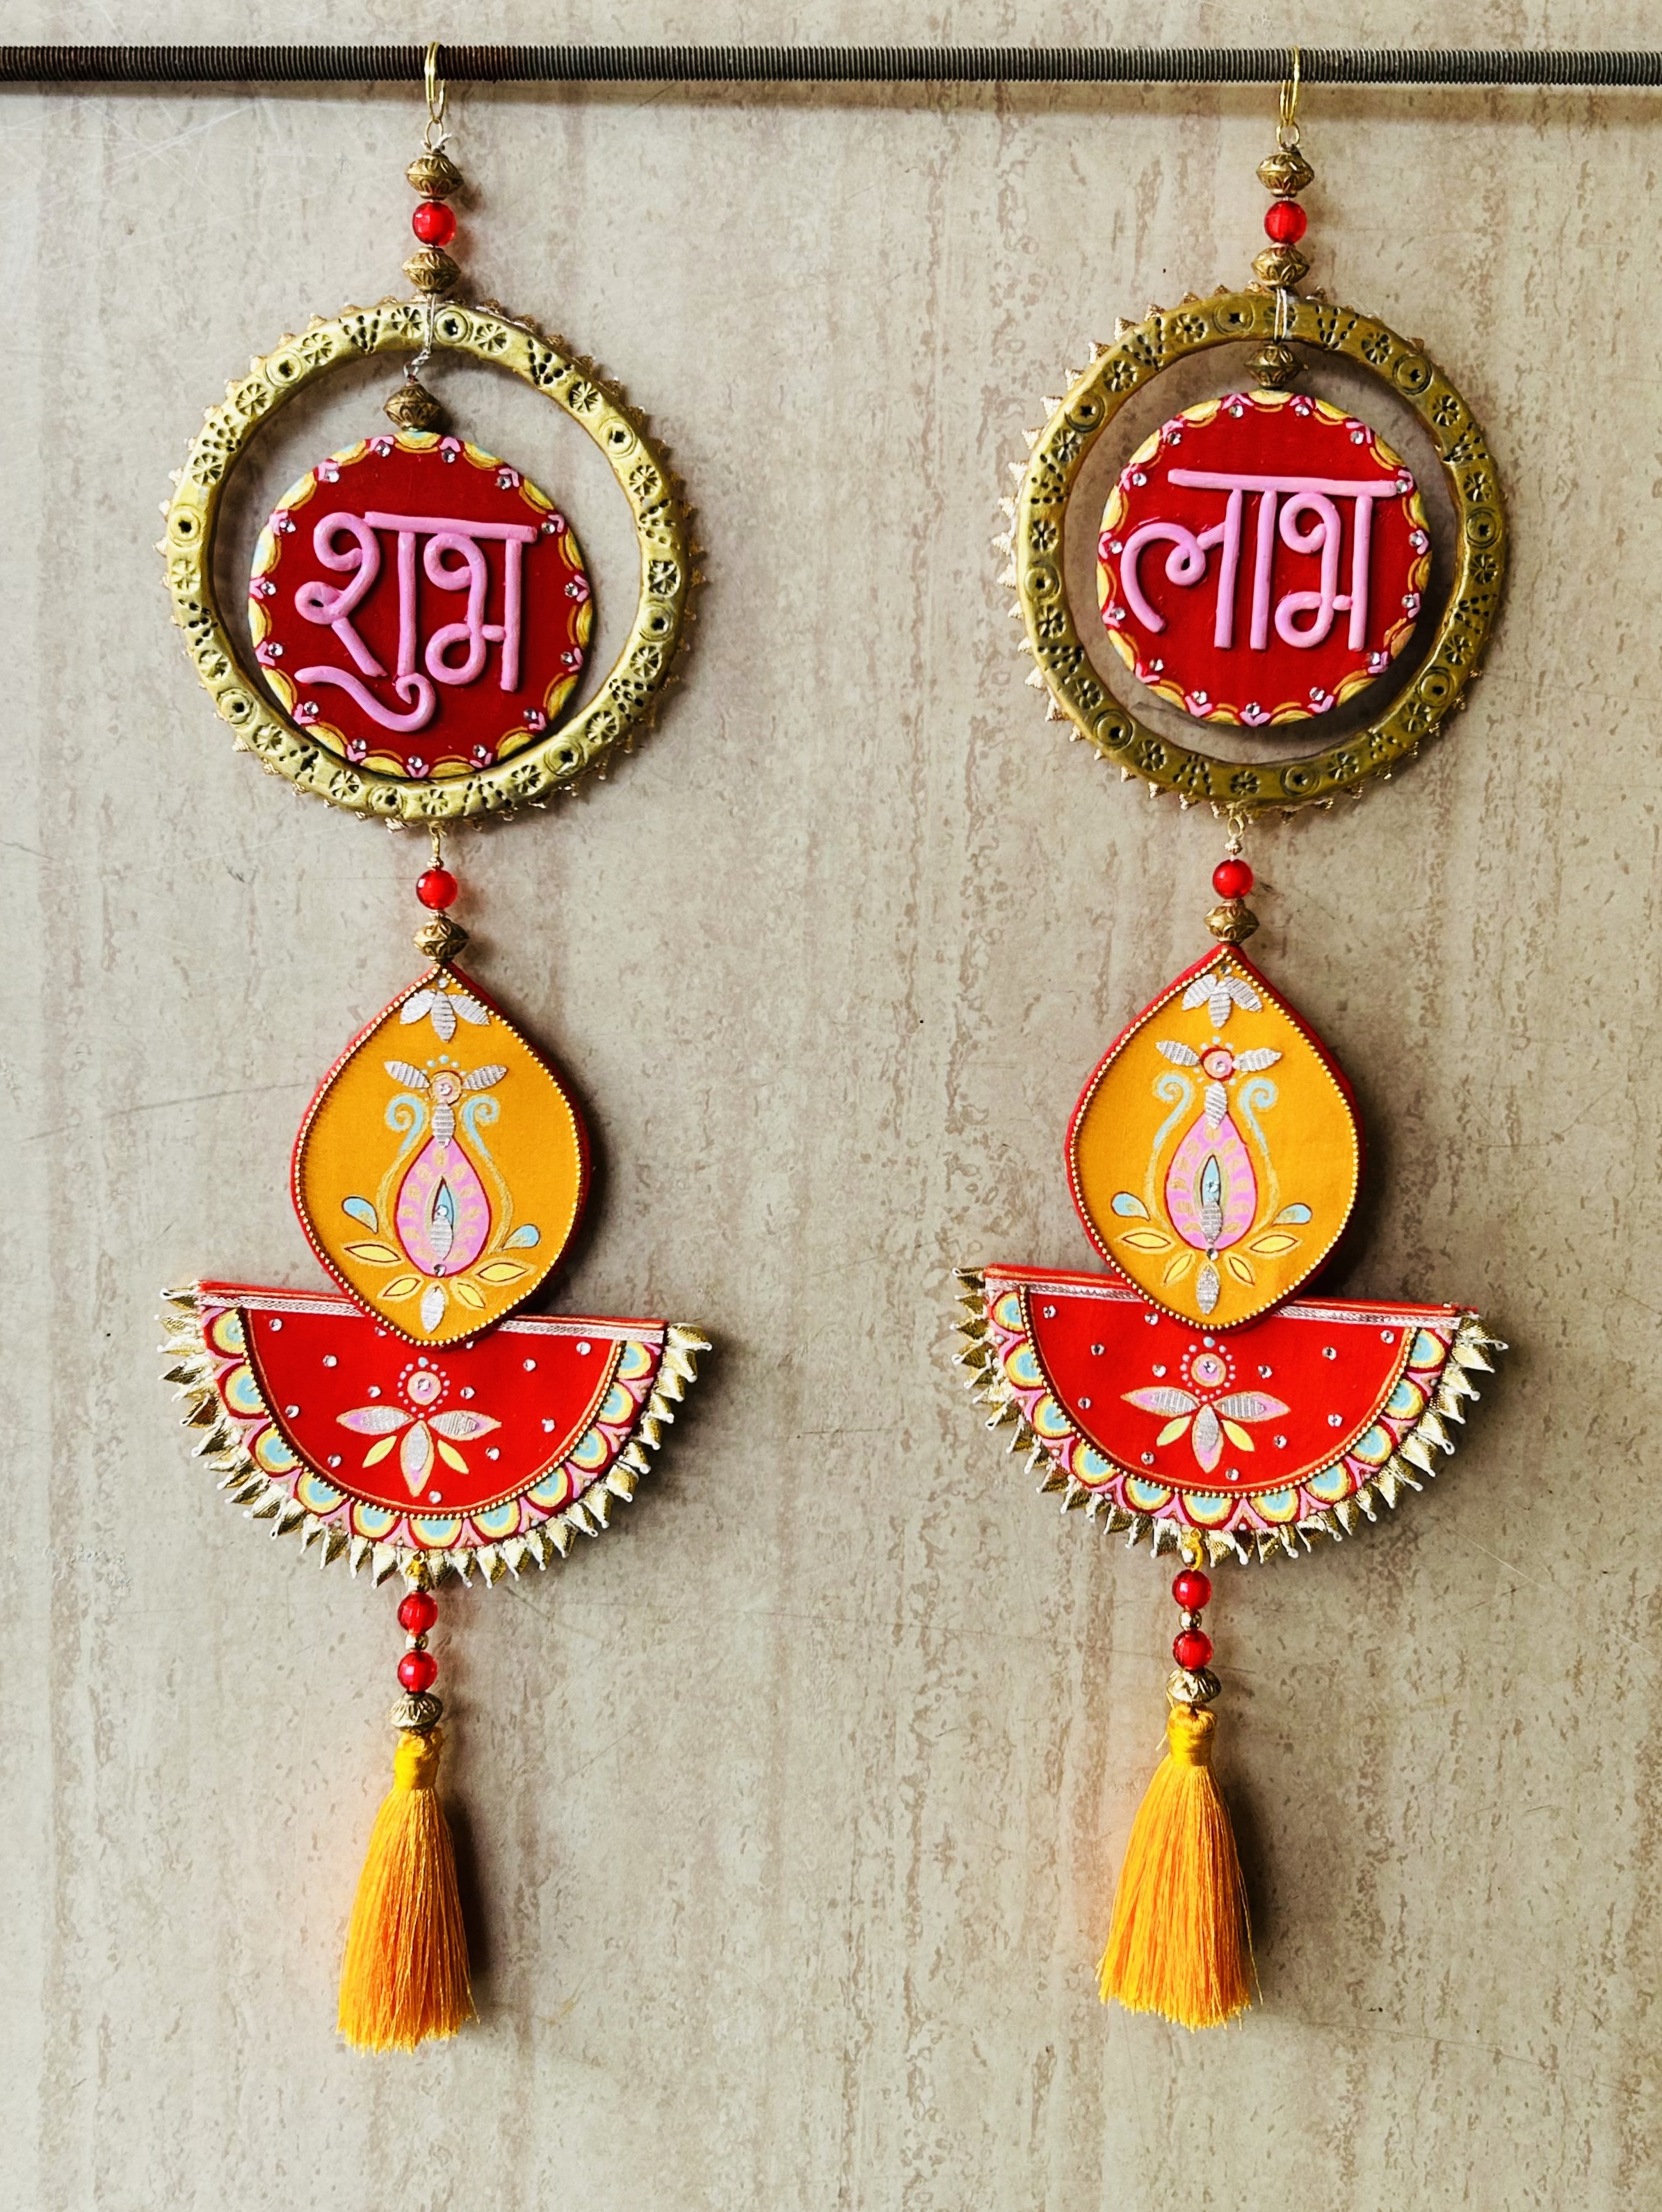
For the streamer cut the red and white paper measuring 6"x 5" inches as per shown in the picture
Use the flower stencil to print the flowers
Paint the flowers with Fevicryl Acrylic Colour - Crimson and 3D Outliner Glitter - Silver as shown in the picture
Stick the red and white pieces alternately on the decorative lace with Fevicryl No Stitch Fabric Glue
STEP 3
To make a flower, draw 5 hibiscus flower petals on the white card paper
Trace the petals on the canvas you may directly draw the petals on the canvas
Paint the flowers usign two coats of Fevicryl Sparkling Pearl Colours - Poppy Red
Let it dry
Draw the veins on the petals using Liquid Embroidery Pearl - Cherry Red and let it dry
Stick the pollens on the wooden stick using Fevicryl No Stitch Fabric Glue and the green tape wound around it
Paint the green tape in Sparkling Pearl Colour - Poppy Red
Arrange the petals on the wooden stick and tie them using a stocking wire and wrap the green tape around it to form a stem.
Outline the petals using Liquid Embroidery Glitter - Gold
Leave it to dry
Arrange all the flowers on the wooden stick for the bouquet or the rangoli around the prashad thali or the flower basket as shown in the picture
STEP 4
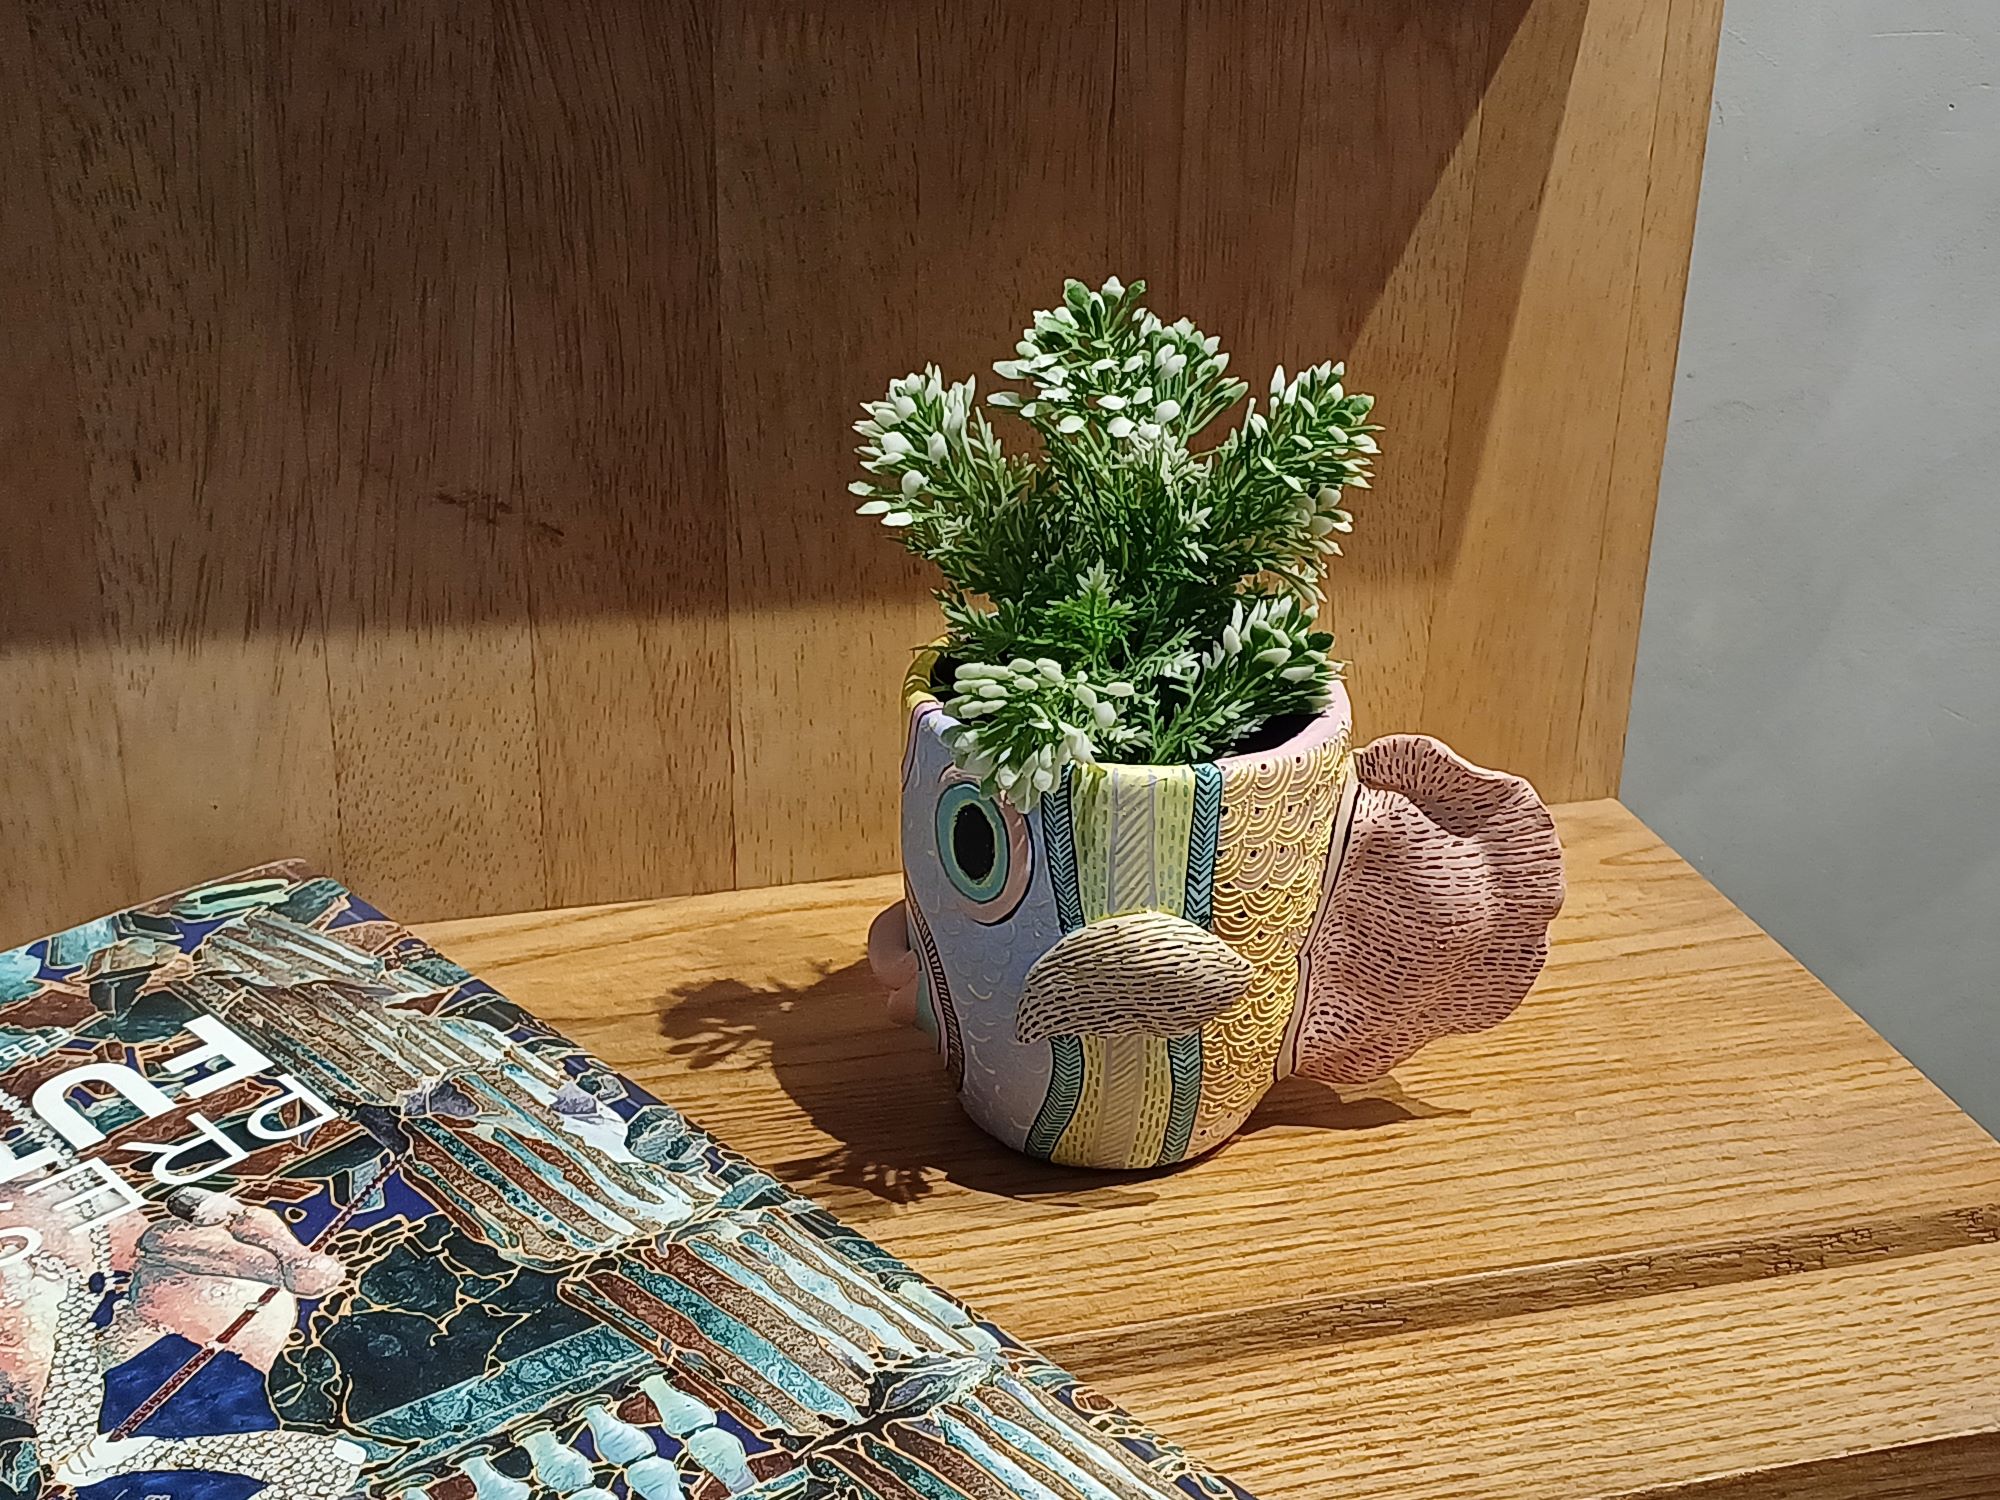
Take a plastic bowl measuring about 10 inches in diameter and 6 inches in height
You may choose the size of the bowl as per you desire
Cut a few strips and two circles from the jute piece
Apply a thick layer of Fevicryl No Stitch Fabric Glue inside the bowl and let it semi - dry
Stick one jute circle at the base of the basket and a layer of jute strips around the bowl
Leave it to dry
Apply a second layer of Fevicryl No Stitch Fabric Glue inside the bowl and let it semi - dry.
Stick the second jute circle at the base of the basket and another layer of jute strips around the bowl
Leave it to dry completely. It may take a day for drying
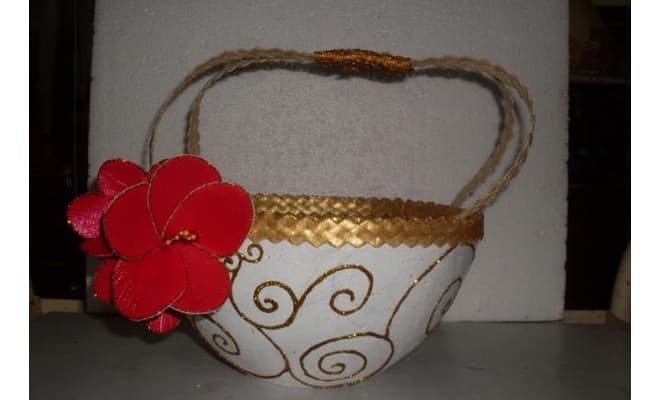
Remove the jute fabric bowl from the plastic bowl used as a mould
Colour the jute bowl from all the sides using Acrylic Colour - White as a base coat you may give two coats of white for an even finished look
Stick the cane lace or a thick lace bordering the bowl and for the handles using No Stitch Fabric Glue
STEP 5
Mix Fevicryl Shilpkar Resin Base and Hardener to form white even dough
Roll this dough with a rolling pin to form a thin slab of about 4 mm thin place the leaf on the slab and roll it again to get a leaf print
Remove the leaf
Cut the leaf shape and mould the edges for a more natural look. Let it dry
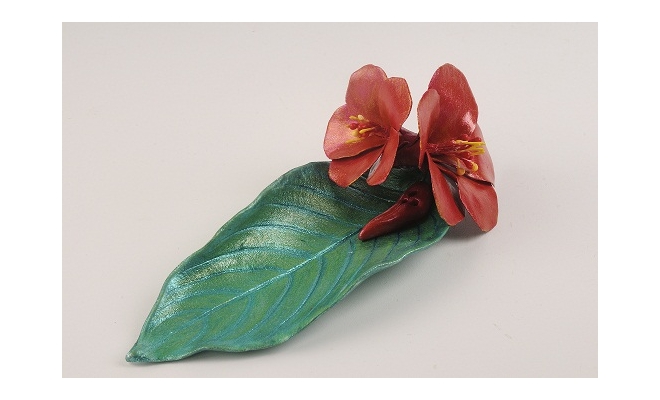
Draw 5 petals for flower on another slab. Cut and shape the petals and let it semi - dry
Stick the petals together as shown in the picture with Fevicryl No Stitch Fabric Glue
Roll a small bud shape as shown in the picture with three holes for the incense stick to stand
Paint the leaf shape using Fevicryl Sparkling Pearl Colours – Emerald Green and shade it with Light Green
Paint the flower and the bud with Fevicryl Sparkling Pearl Colours – Poppy Red and then shade it with Golden Yellow
Let it dry
Make a bunch of pollens for the flower and wind it with a green flower masking tape
Stick the pollens in centre of the flower and flower on the leaf using Fevicryl No Stitch Fabric Glue
Leave it to dry
STEP 6
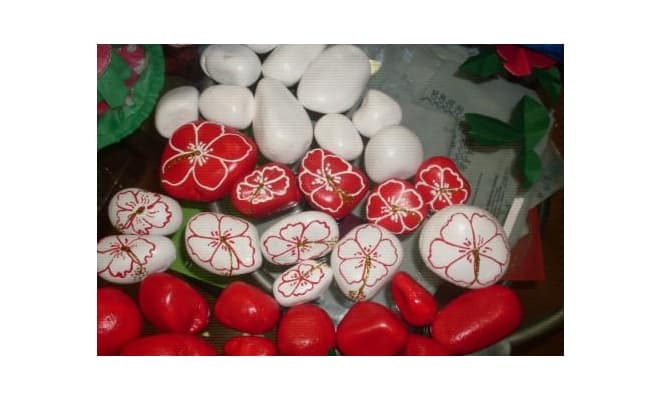
Clean the pebbles and paint it with Fevicryl Acrylic Colour - White and Crimson, let it dry.
Apply a second coat for an even finish
Use Liquid Embroidery - White to draw floral design on the red painted pebbles and Crimson 04 to draw the design on the white painted pebbles, Let it dry
STEP 7
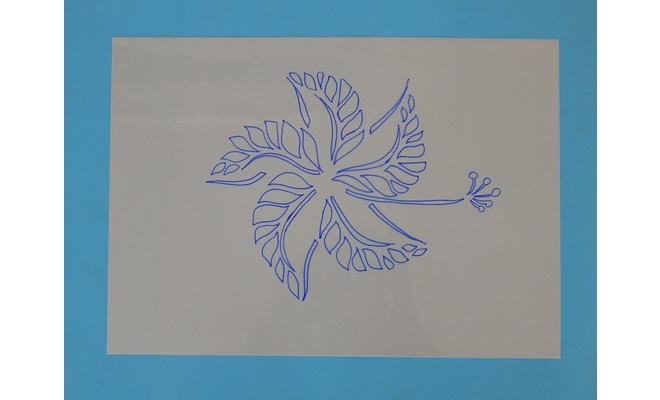
To make the stencils of the hibicsus flower and the leaf
Draw a hibiscus flower in two different designs (about 5 inches in diameter) and the leaf (4 inches long) on an A4 sized drawing paper
Now place the OHP sheet on the drawing paper and fix it using Prime Eezytear Tape
Trace the design on the OHP sheet using a CD marker pen
Peel off the Prime Eezytear Tape and remove the OHP sheet
Cut out the design using a sharp paper cutter along the outlines
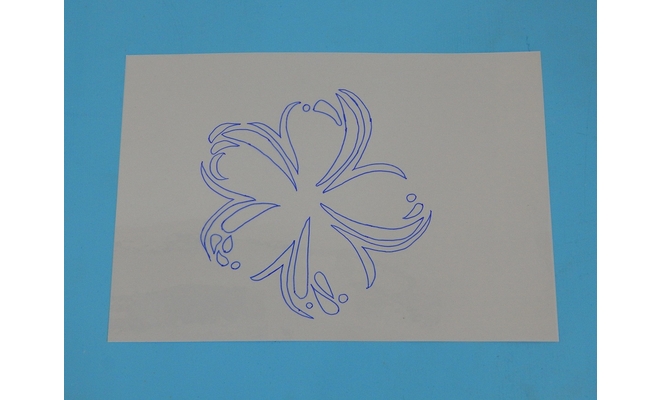
STEP 8
This is another flower design used for decoration
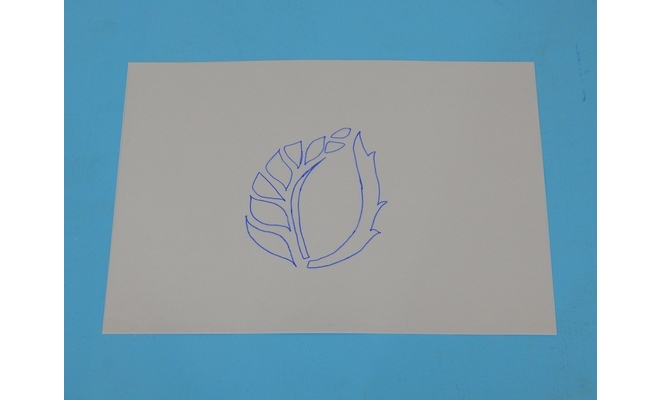
STEP 9
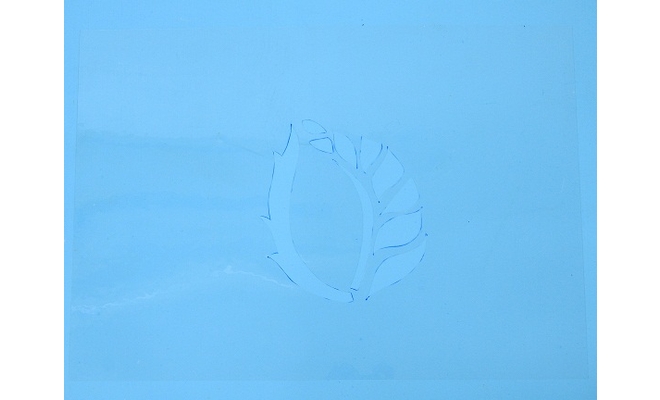
The leaf design for the stencil
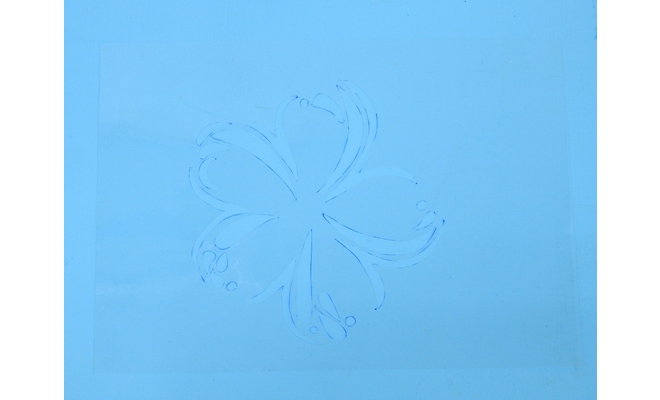
STEP 10
The cutout stencil for the flower
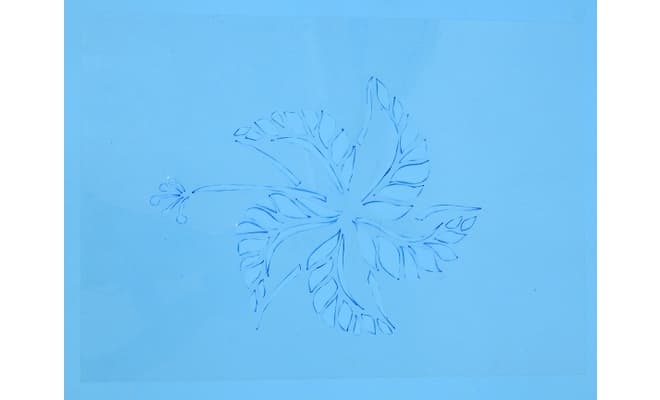
STEP 11
The second flower design stencil
STEP 12
The leaf stencil
Use these stencils for the printing the designs on any surface


 +91 99676 55545