Fall Pumpkin Cushion Cover


You Will Need:
Fevicryl Premium Fabric Glue, 16" x 16"-inch Cushion Cover, Drawing Sheet, Tracing Paper, Buckram, Woolen (Orange, Yellow, Green, White), Poth Or Small Beads, Felt Sheet, Cotton Fabric for Patch Work. Tikli, Lace, Plastic Beads for Tassels, Fabric Scissor (Small Scissor For Cutwork)), Needle, Pencil And Scale, Tailoring Chalk, Waste Cloth
Product Used:
Description :
Warm and cozy fall pumpkin cushion cover – perfect to snuggle up with for this winter made completely using Fevicryl Fabric Glue.
STEP 1 : Select the base
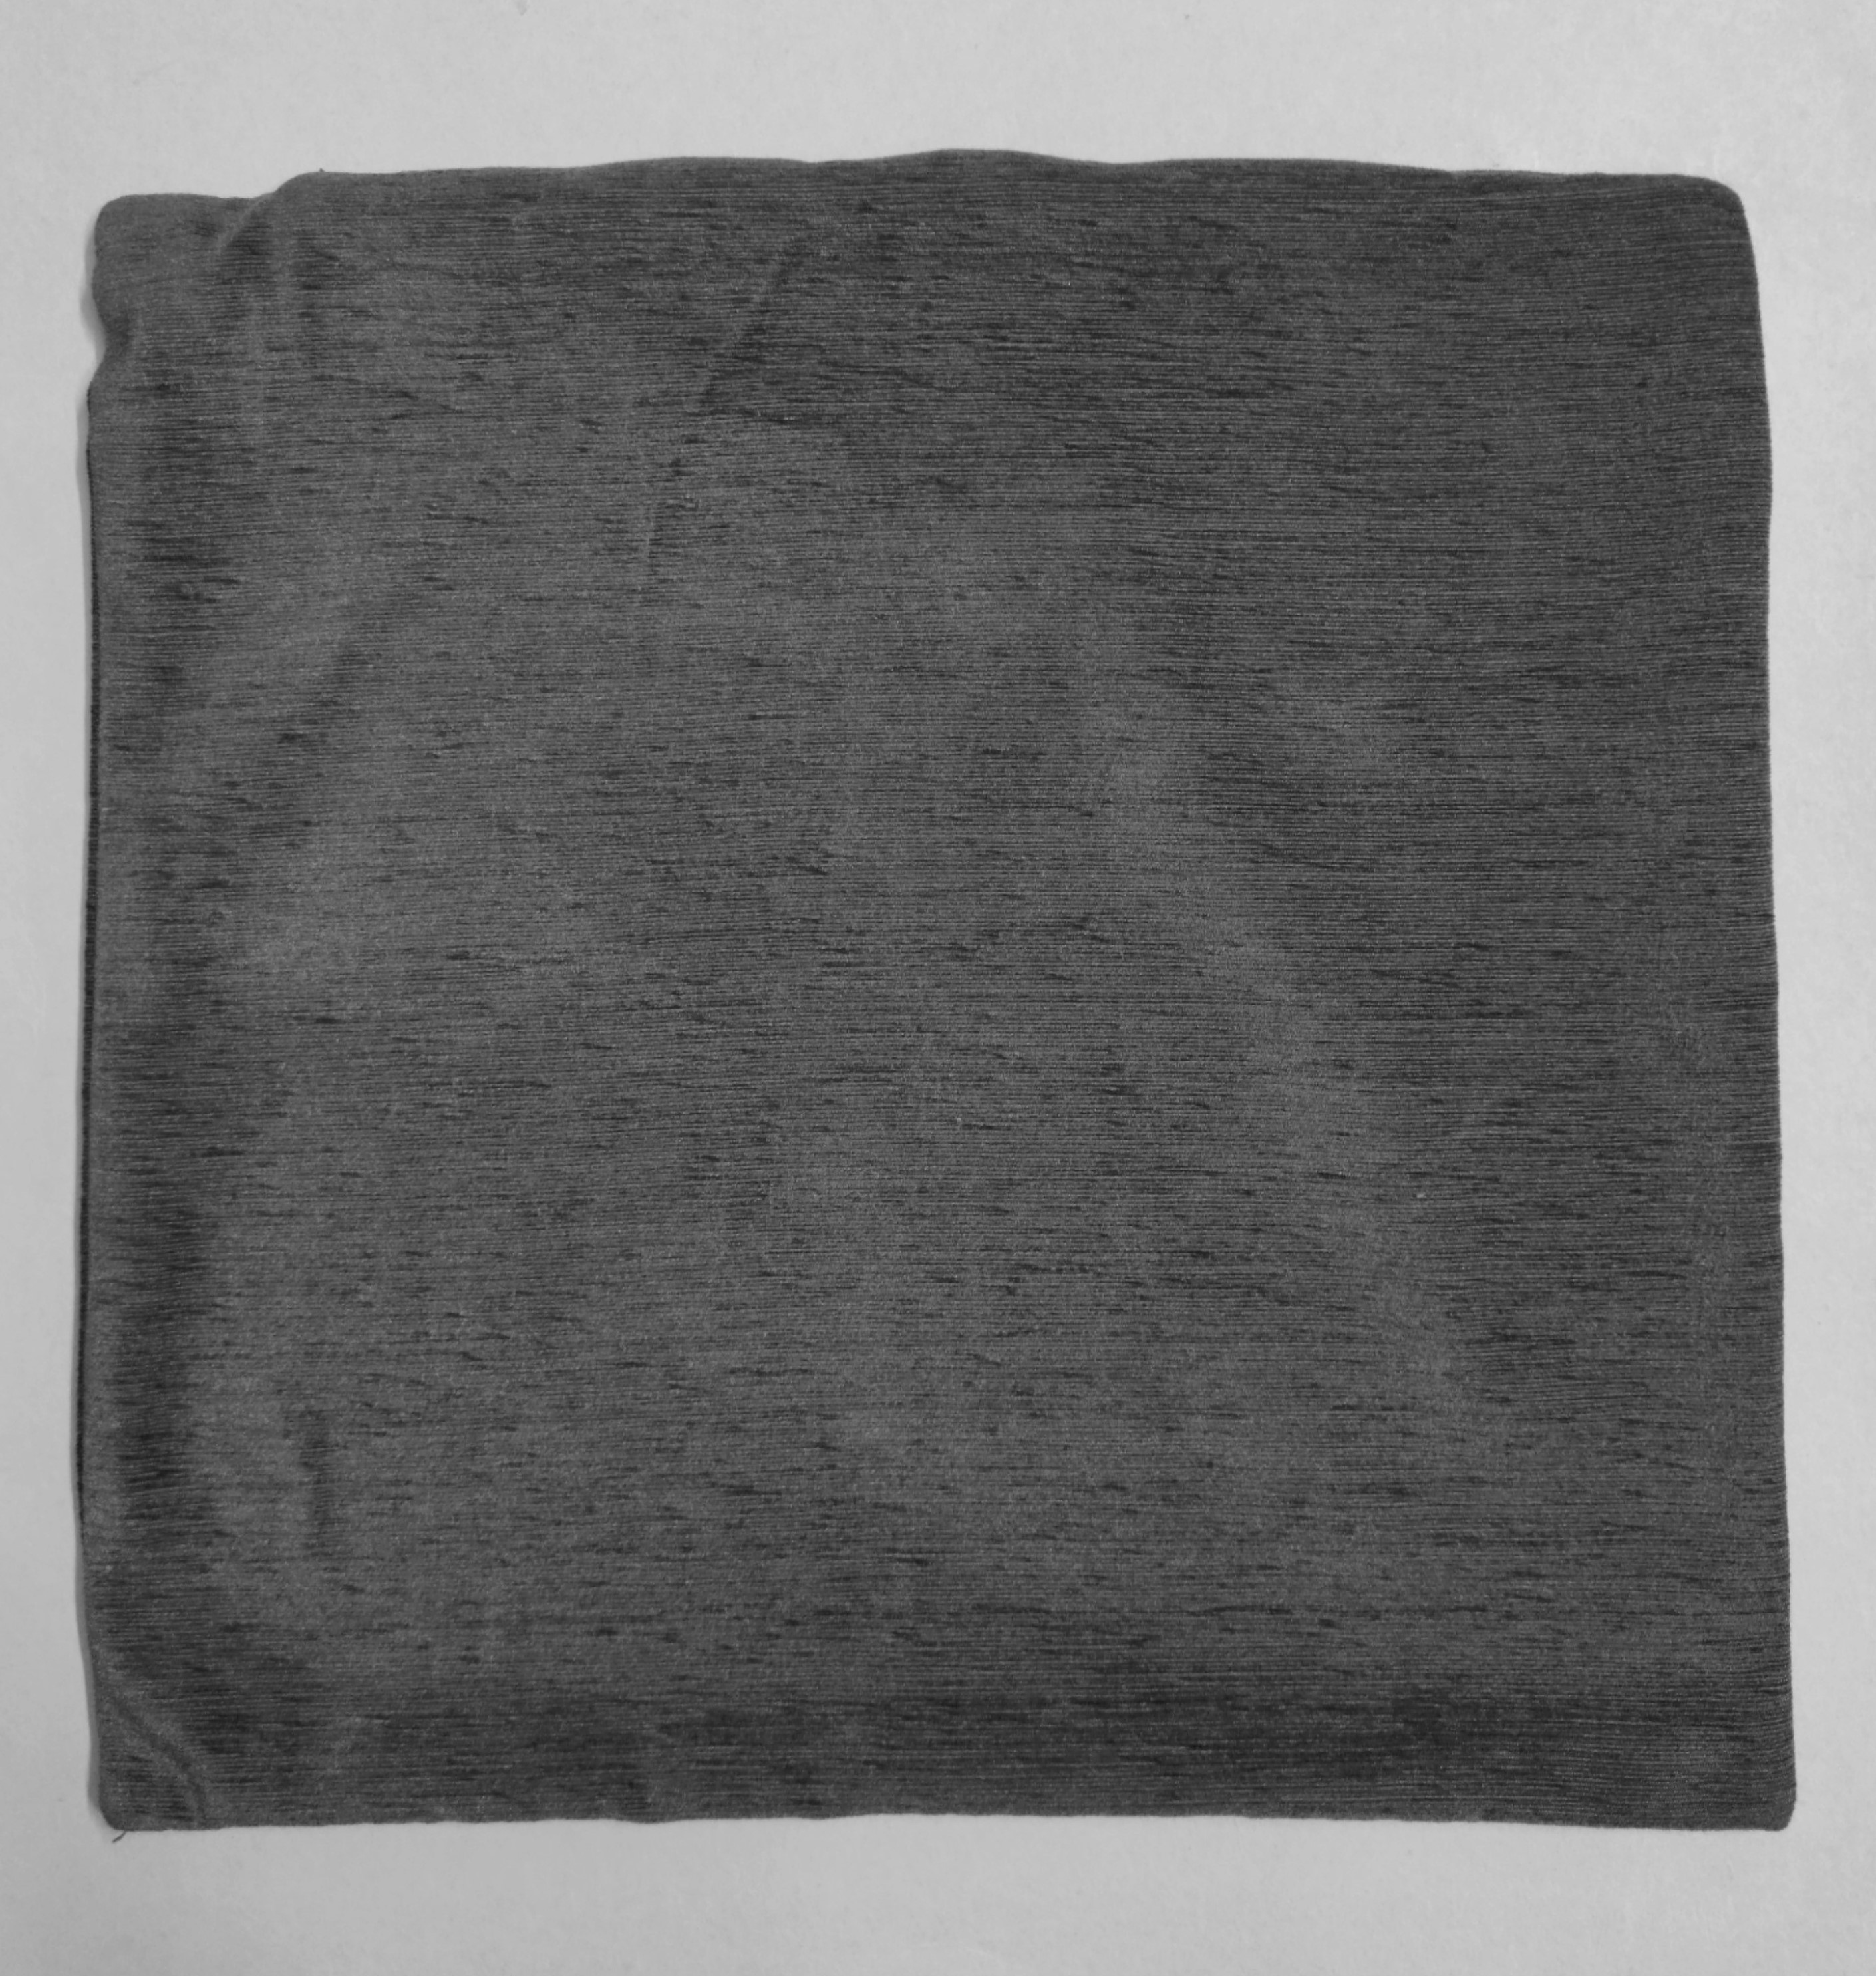
- Take a 16” x 16” cushion cover as seen in the image.
STEP 2 : Division of Square
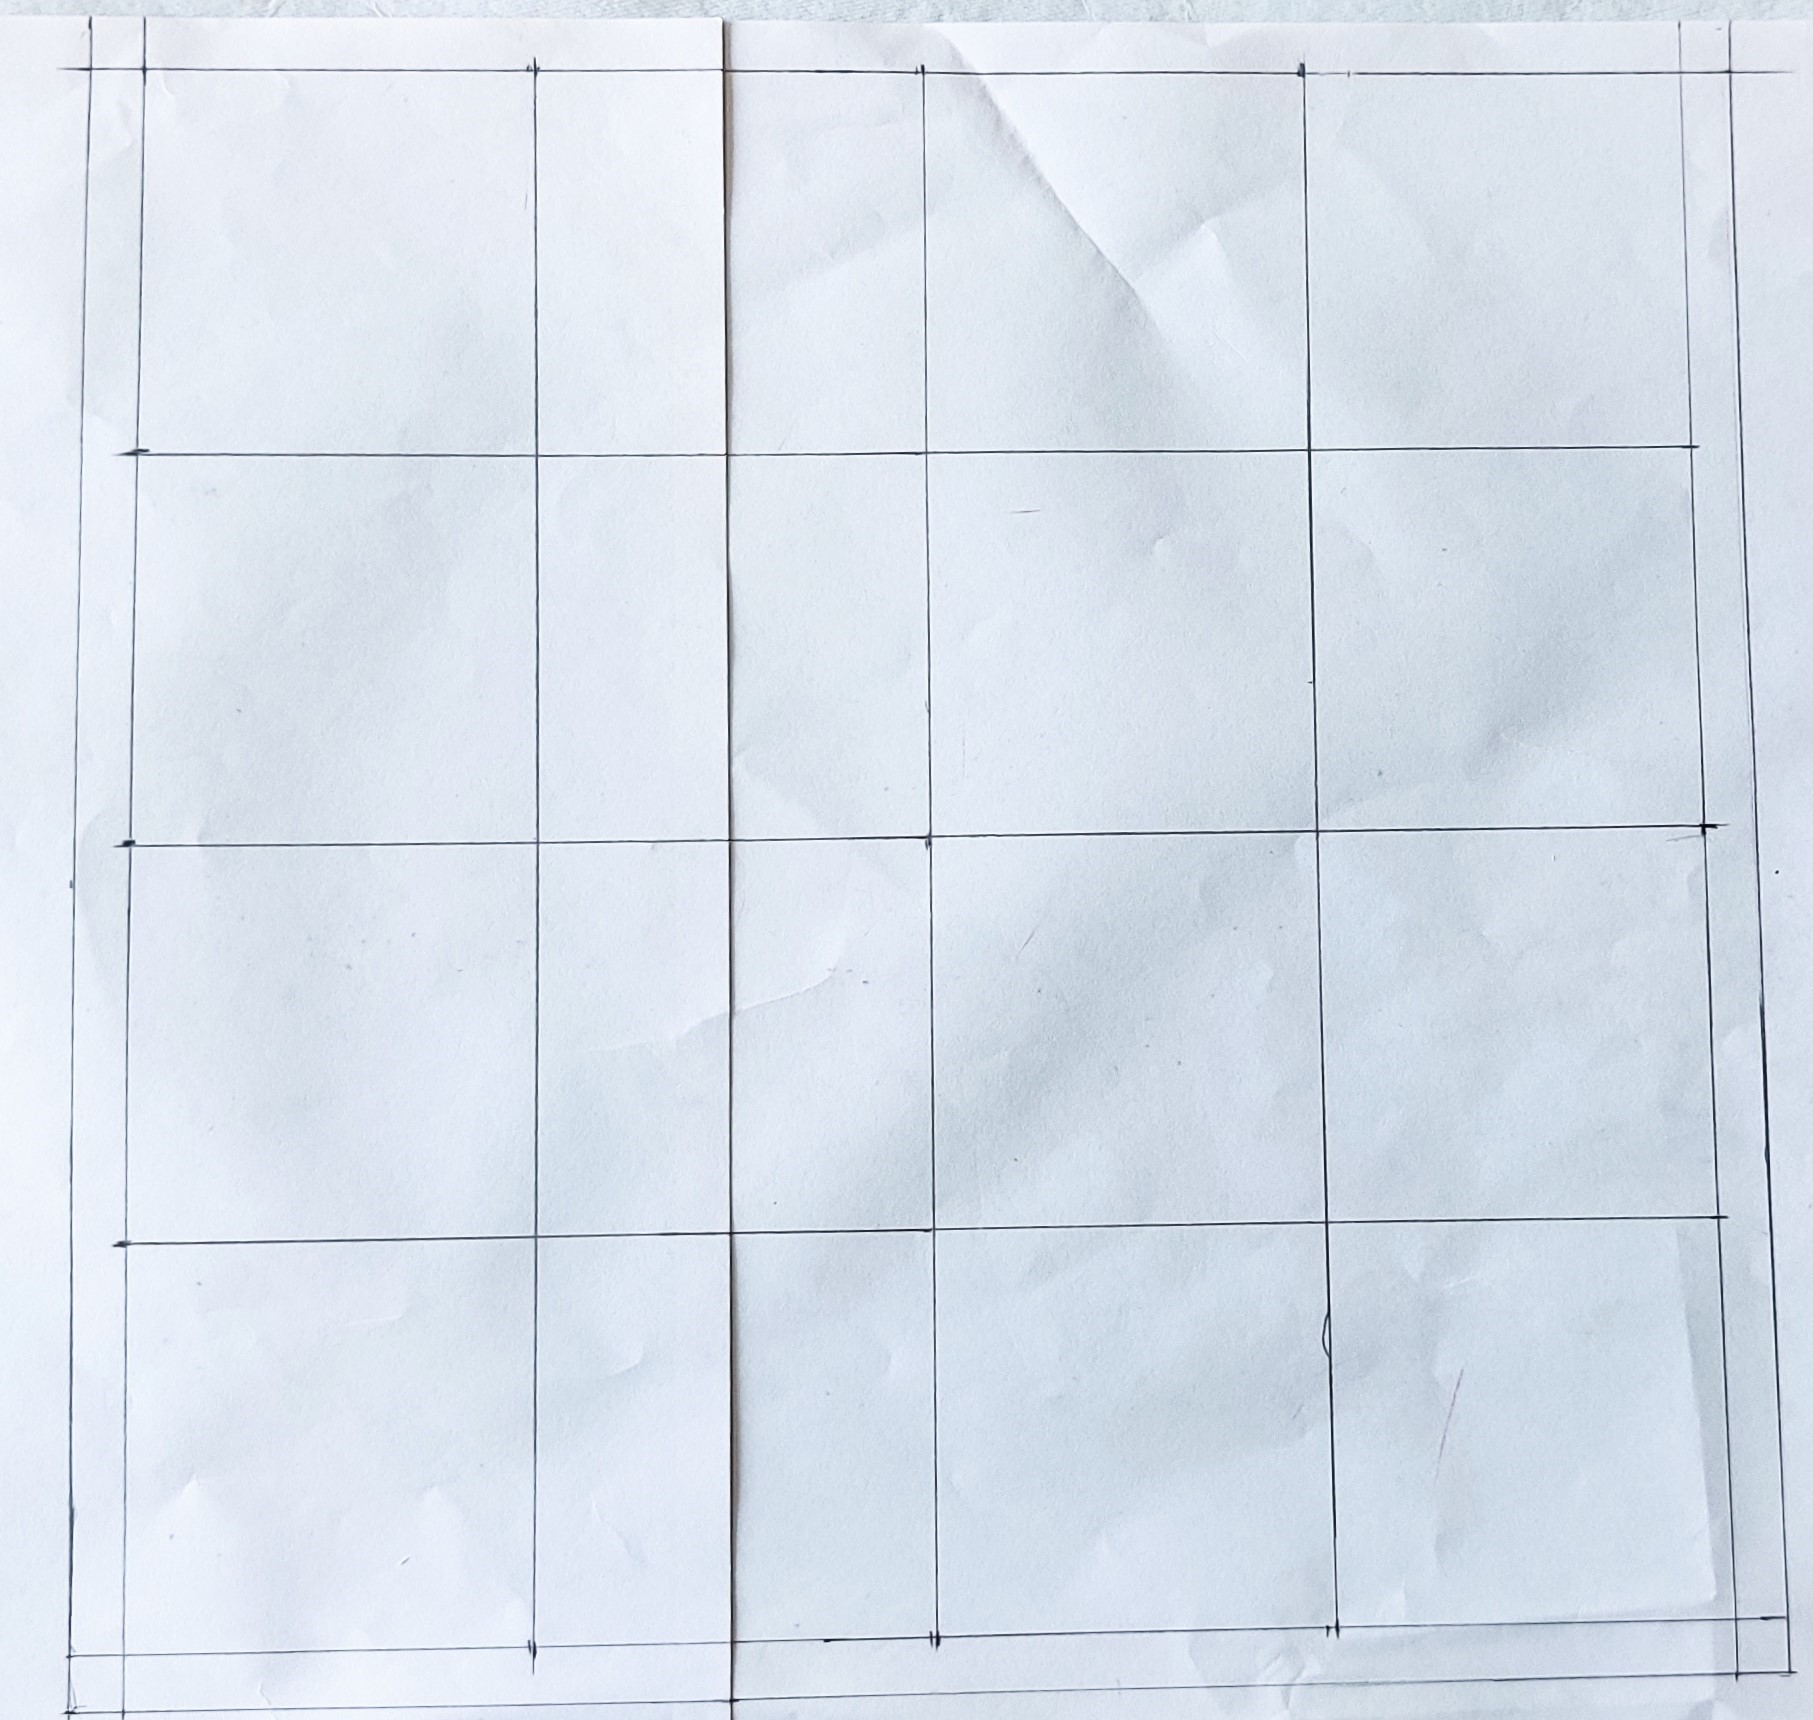
- Take a drawing sheet and draw a square measuring 16” x 16”.
- Divide the square into 16 parts as seen in the image.
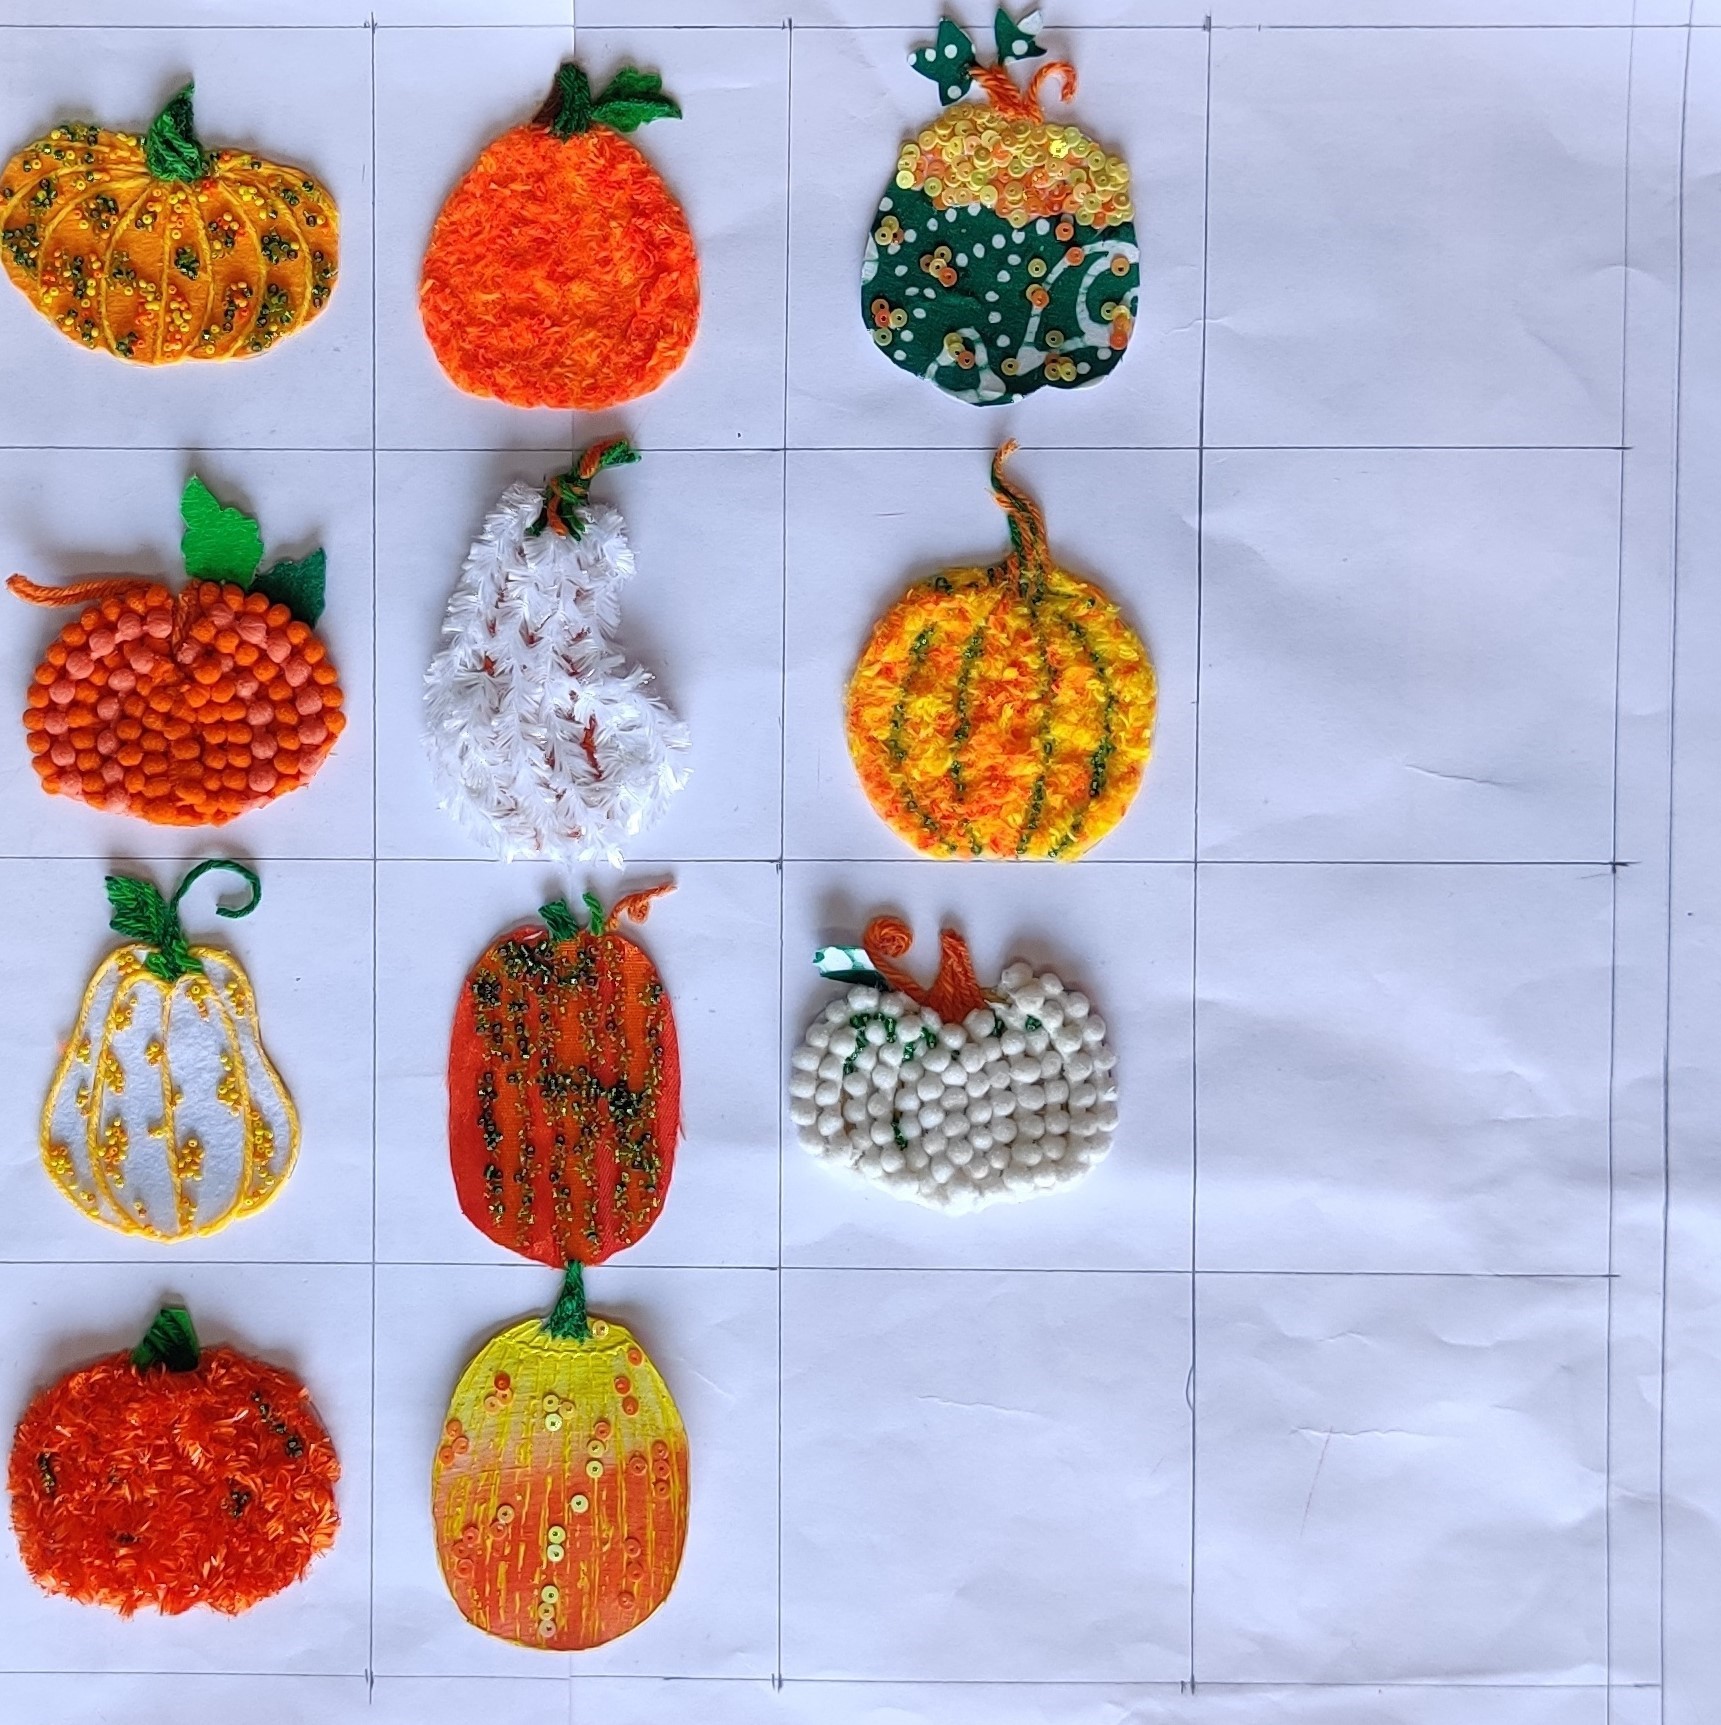
STEP 3 : Sketching
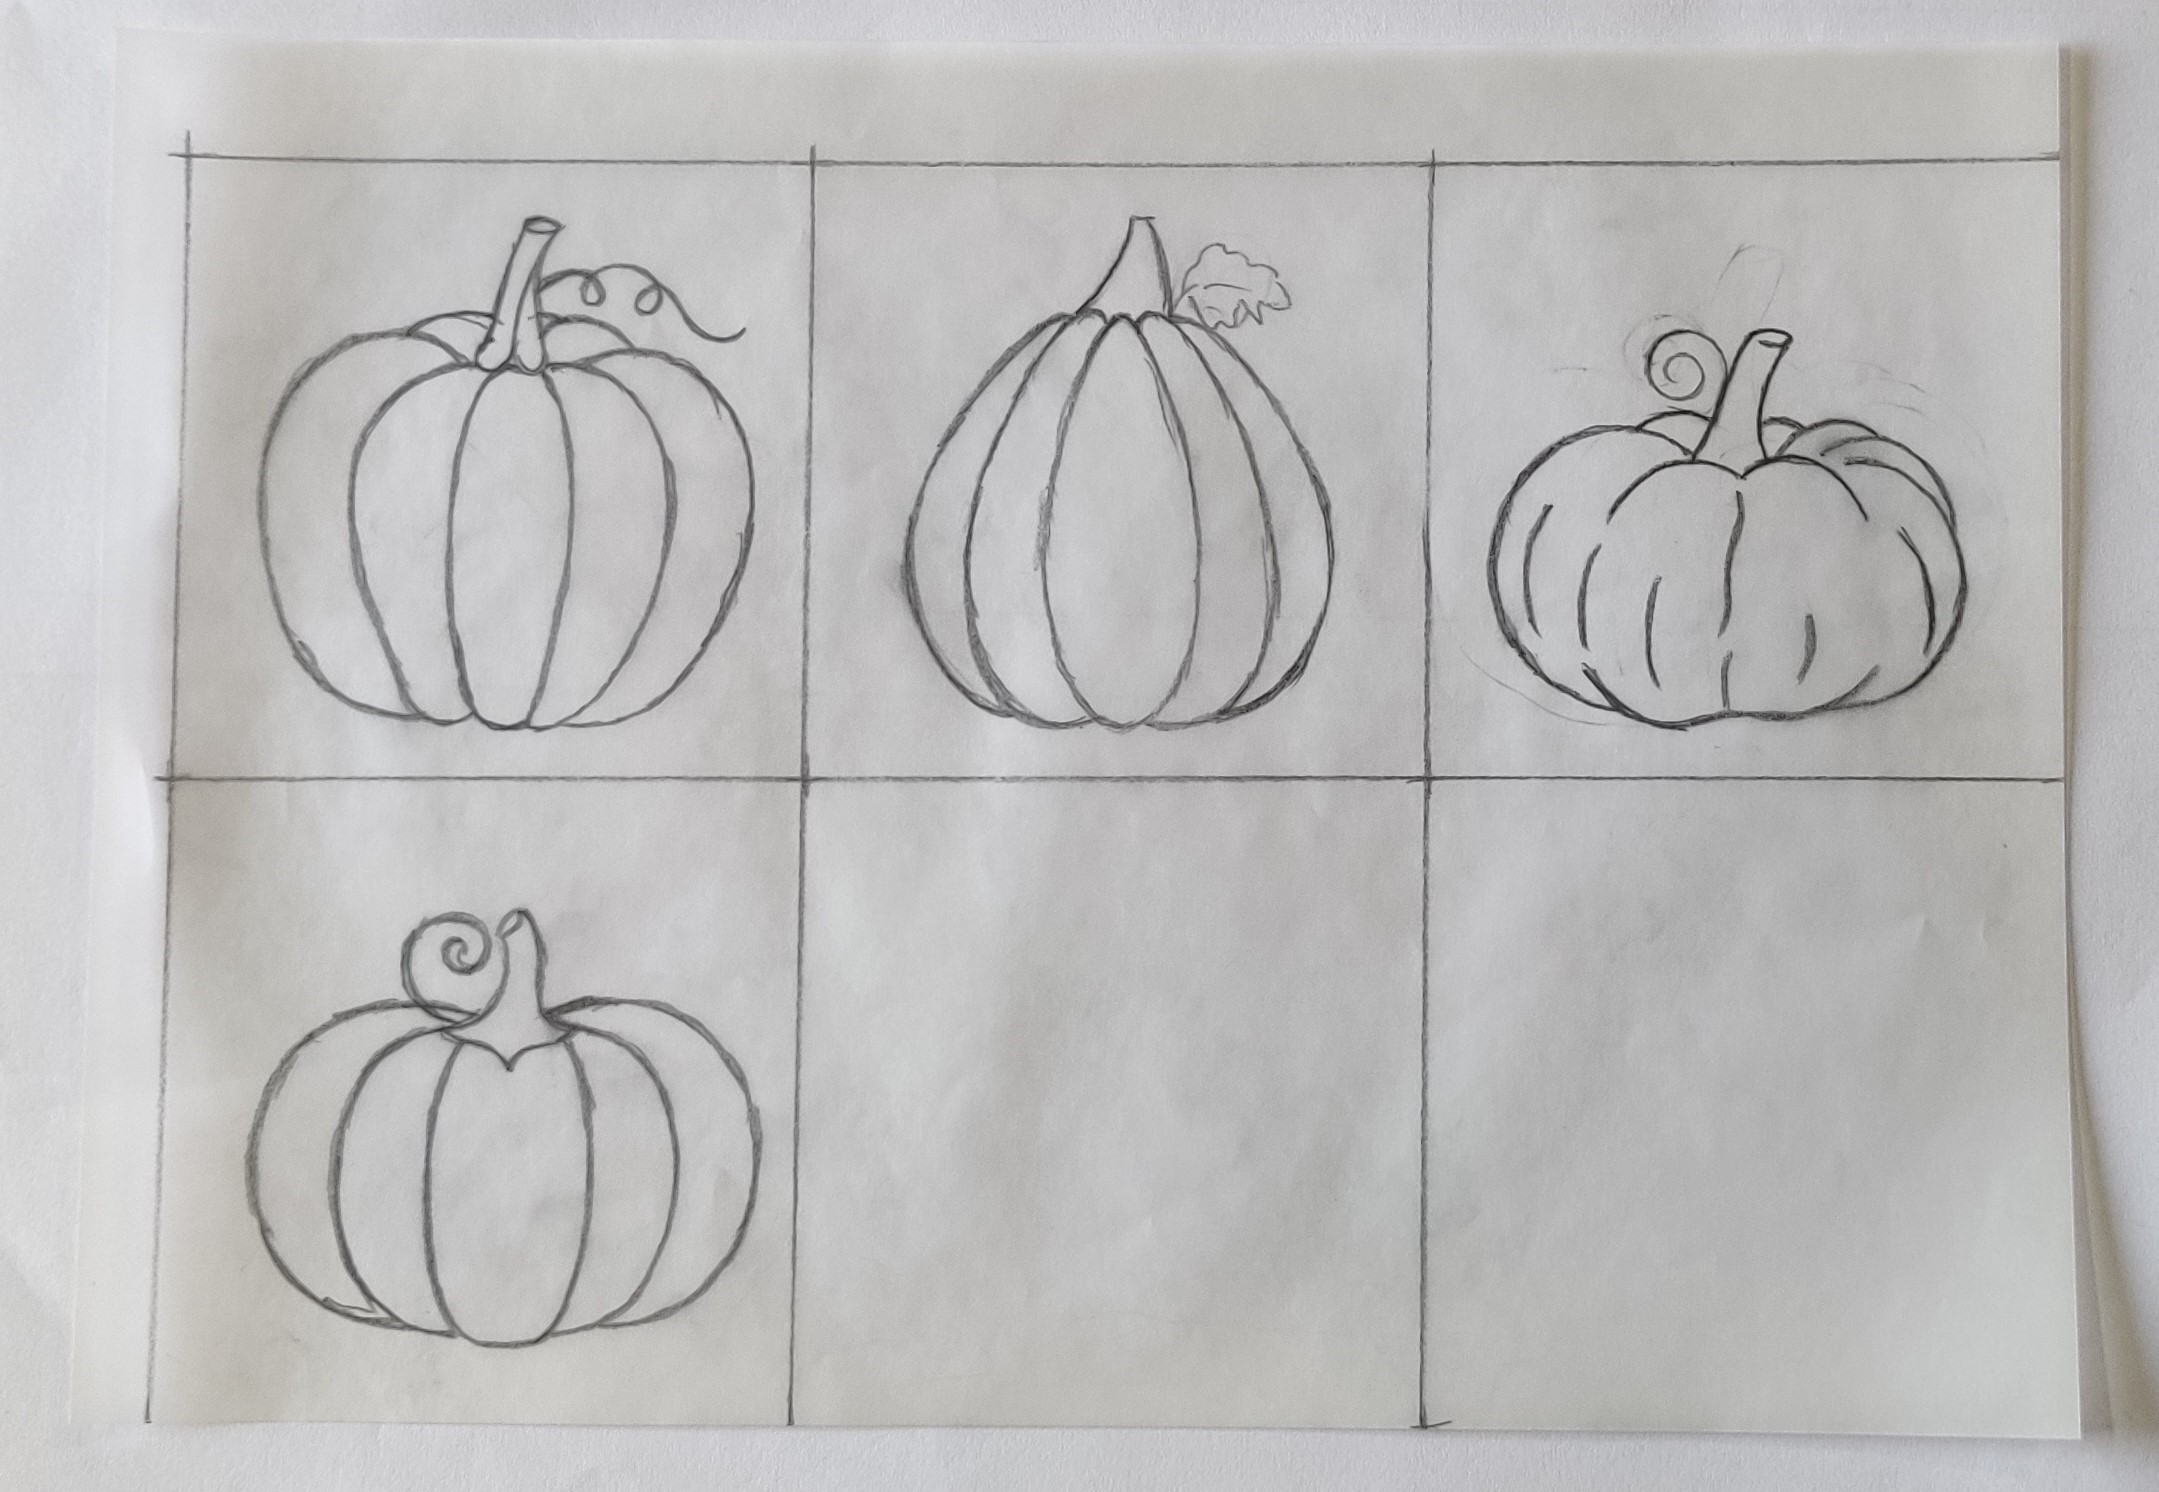
- Sketch out different kinds of pumpkins in those squares as seen.
STEP 4 : Various pumpkin
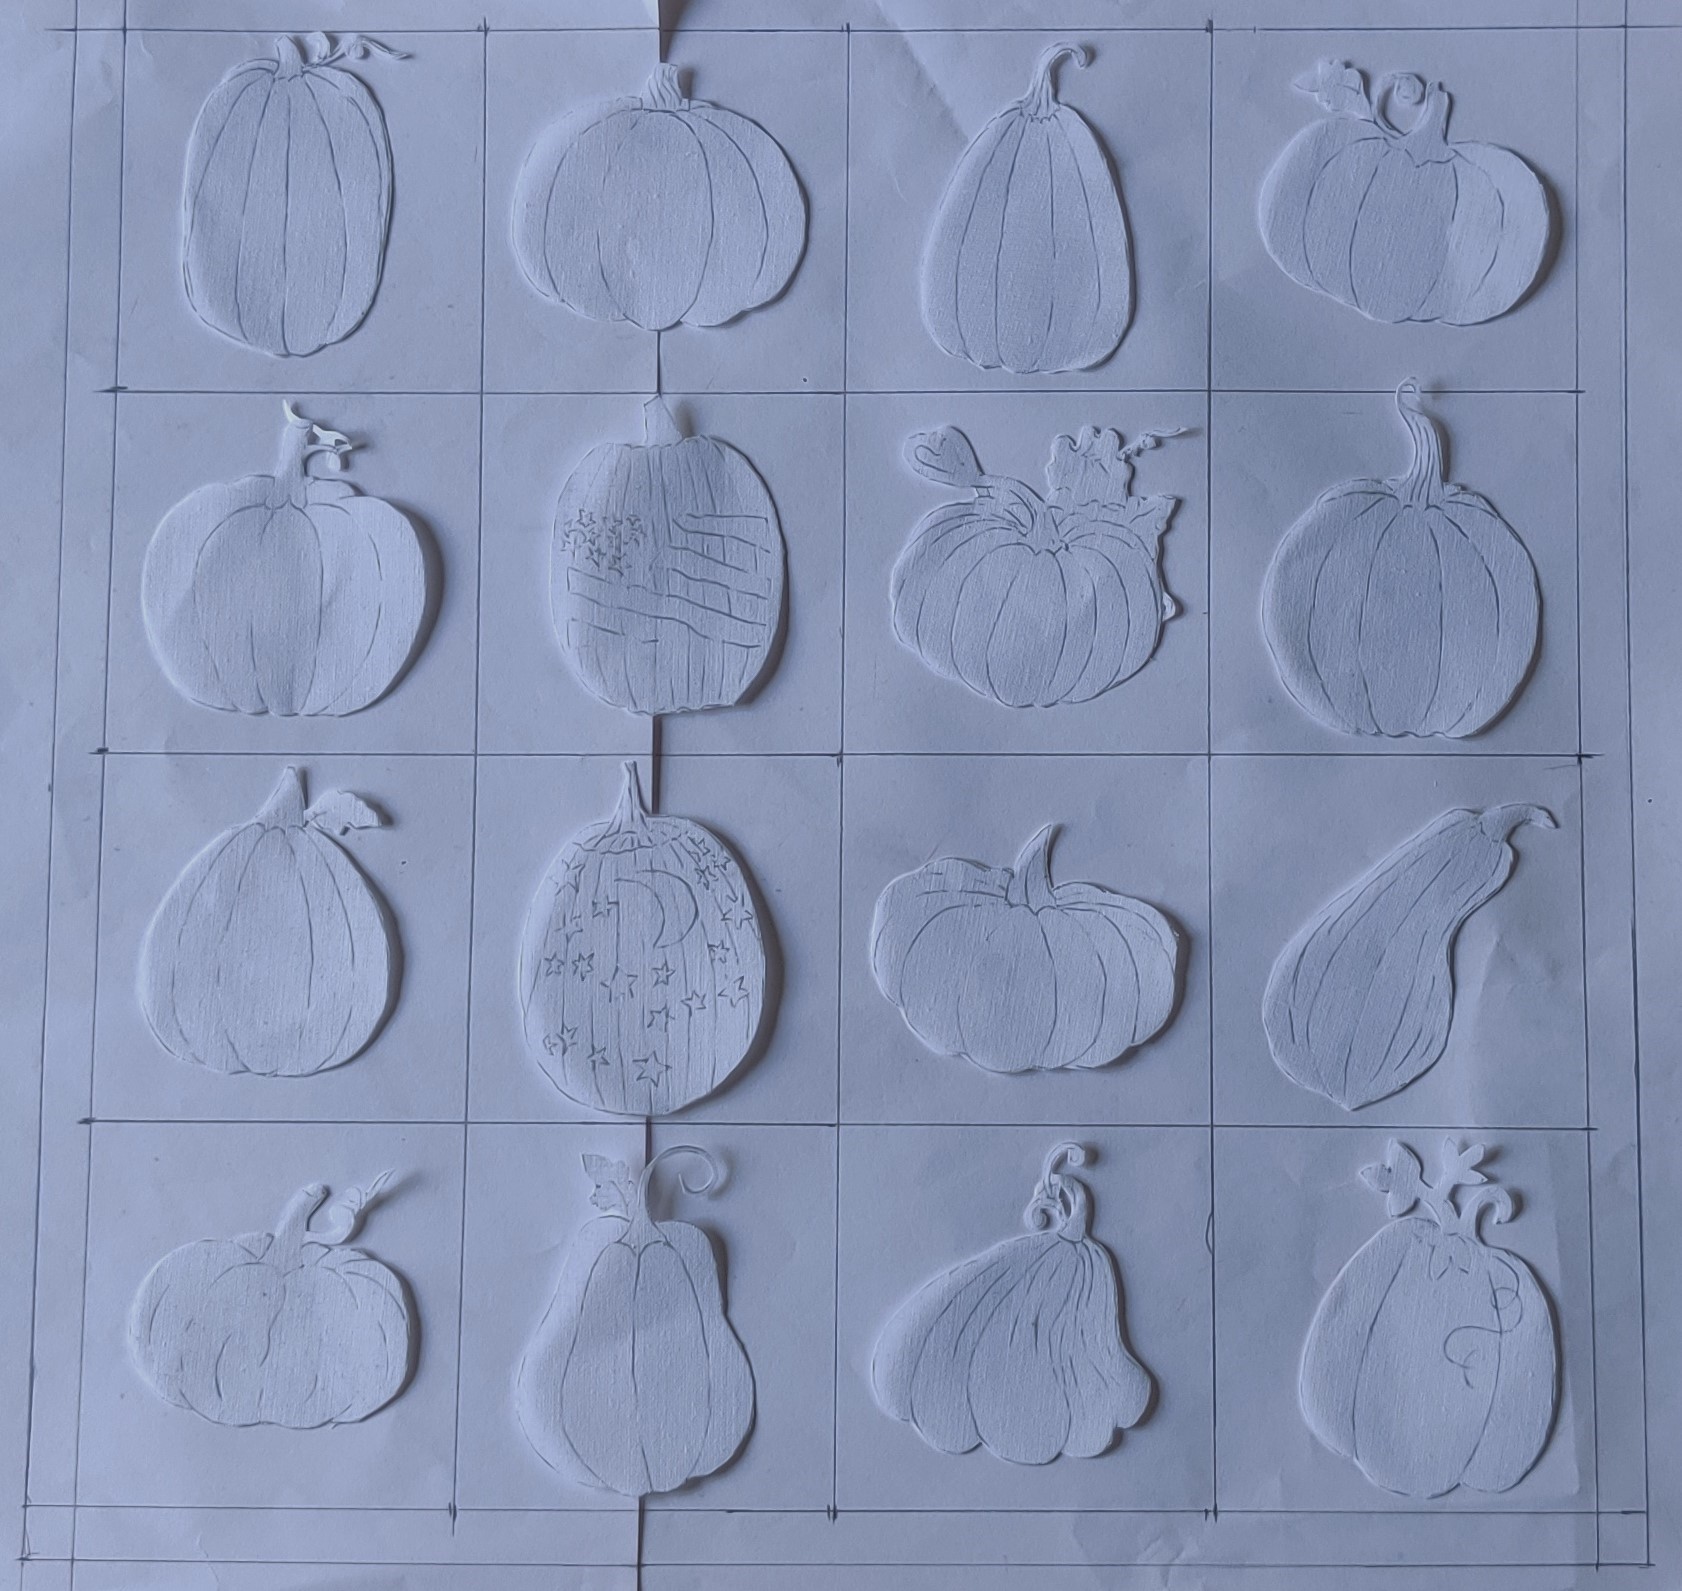
- Sketch out 16 different types of pumpkins as seen in the image and cut them out using paper scissors.
- The size of the pumpkins should be as such that they fit in the individual squares.
STEP 5 : Transfer the design

- Transfer the pumpkin designs on to buckram as shown in the image.
STEP 6 : Cutting the buckram
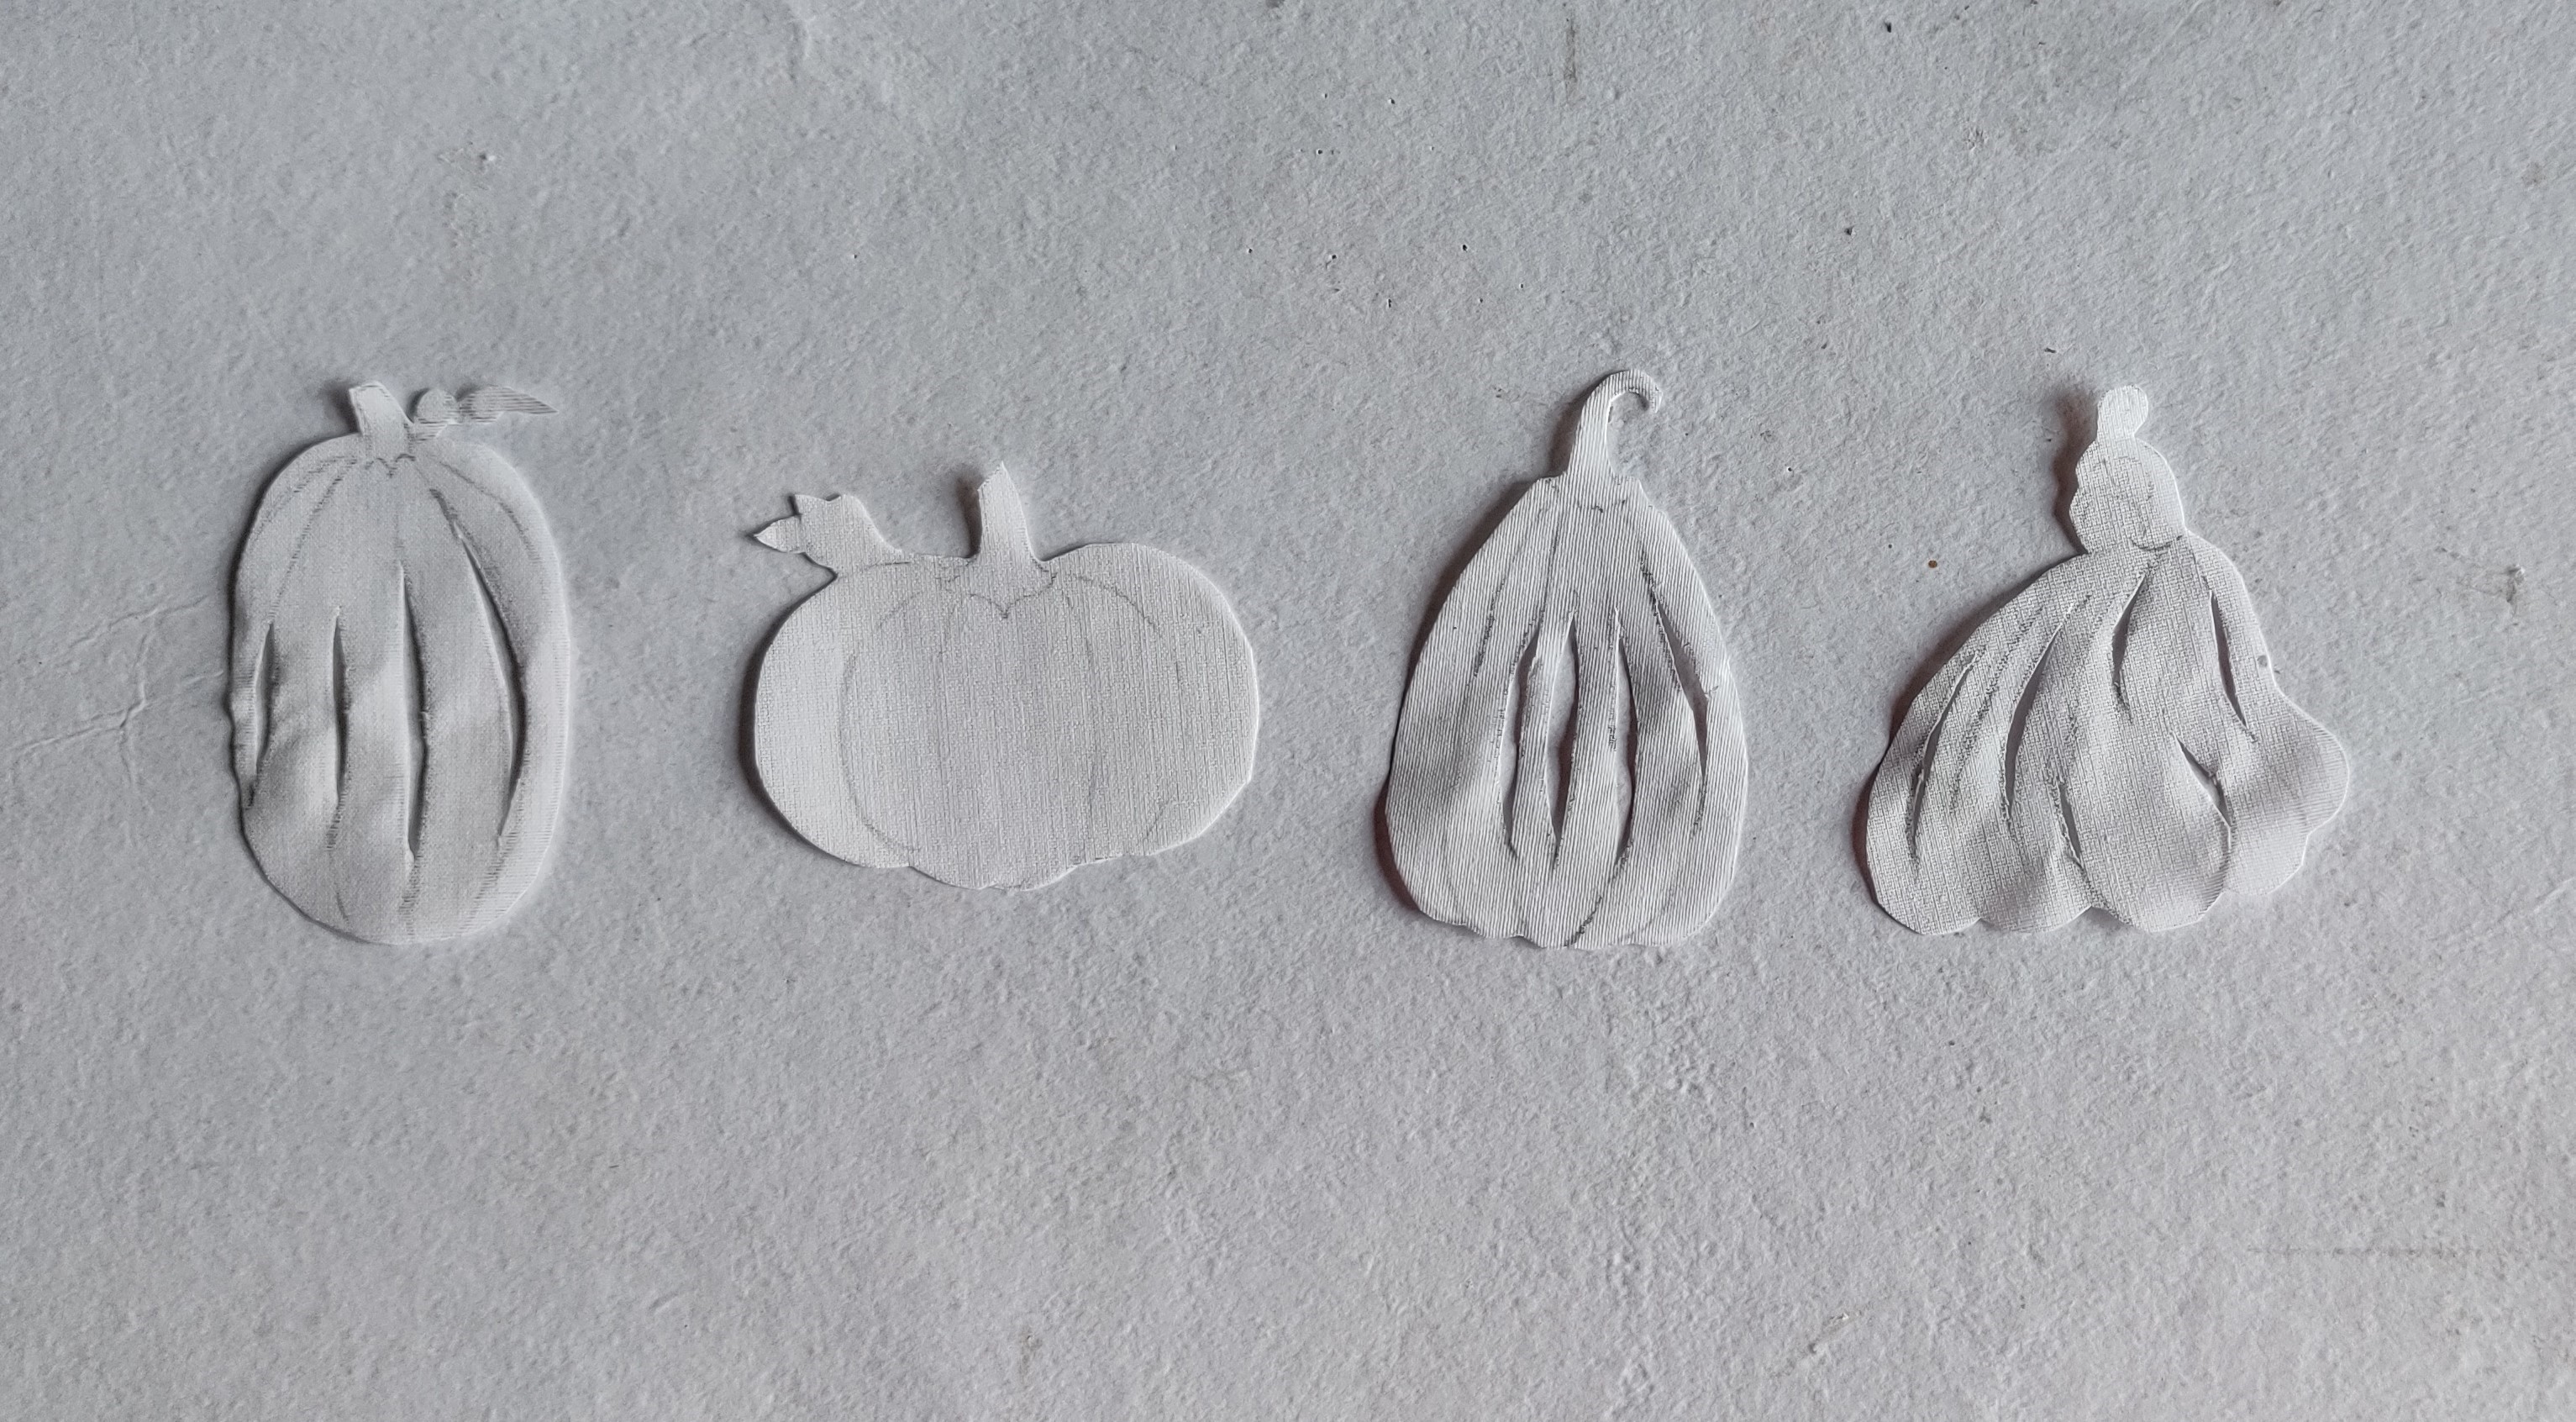
- cut the pumpkins and create cutwork effect on 4 pumpkins that will be placed in the 4 squares in the center.
- Cut work is not necessary for the rest of the 12 pumpkins.
- Use small scissors to cut.
STEP 7 : Ornamentation of pumpkin 1
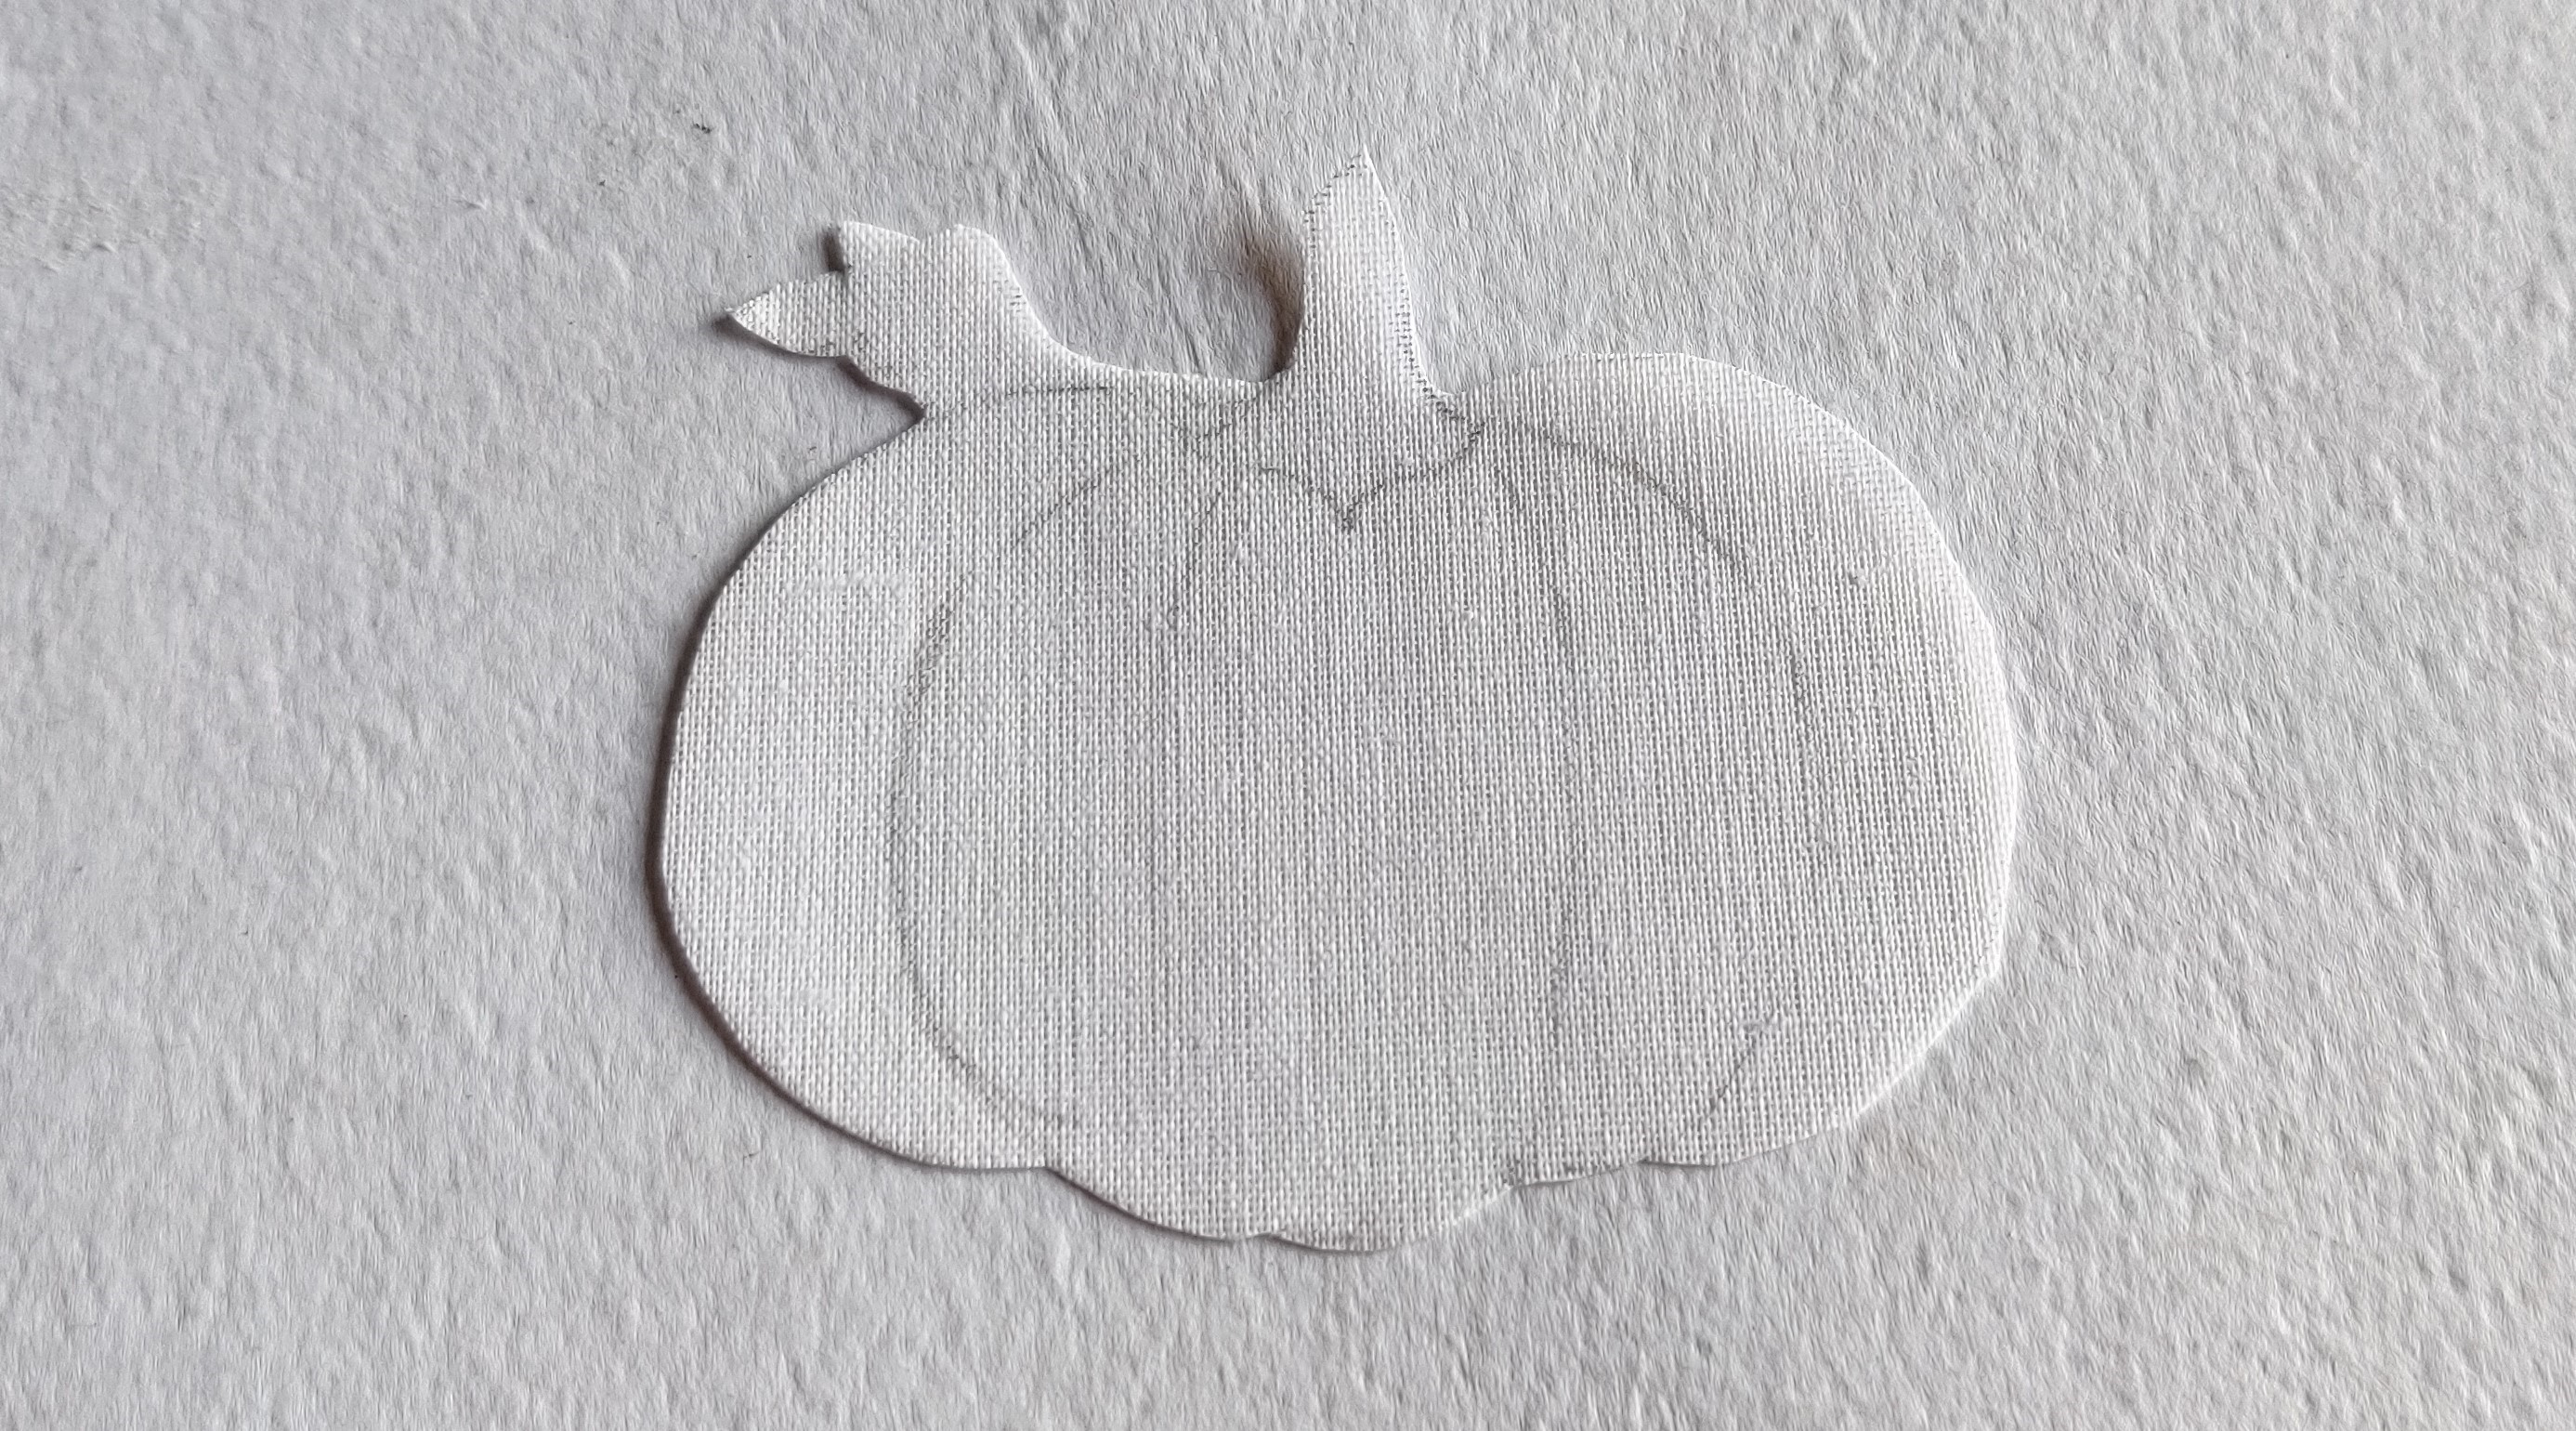
- Take a cutout pumpkin shape as shown in the image.
STEP 8 : Ornamentation of pumpkin 1
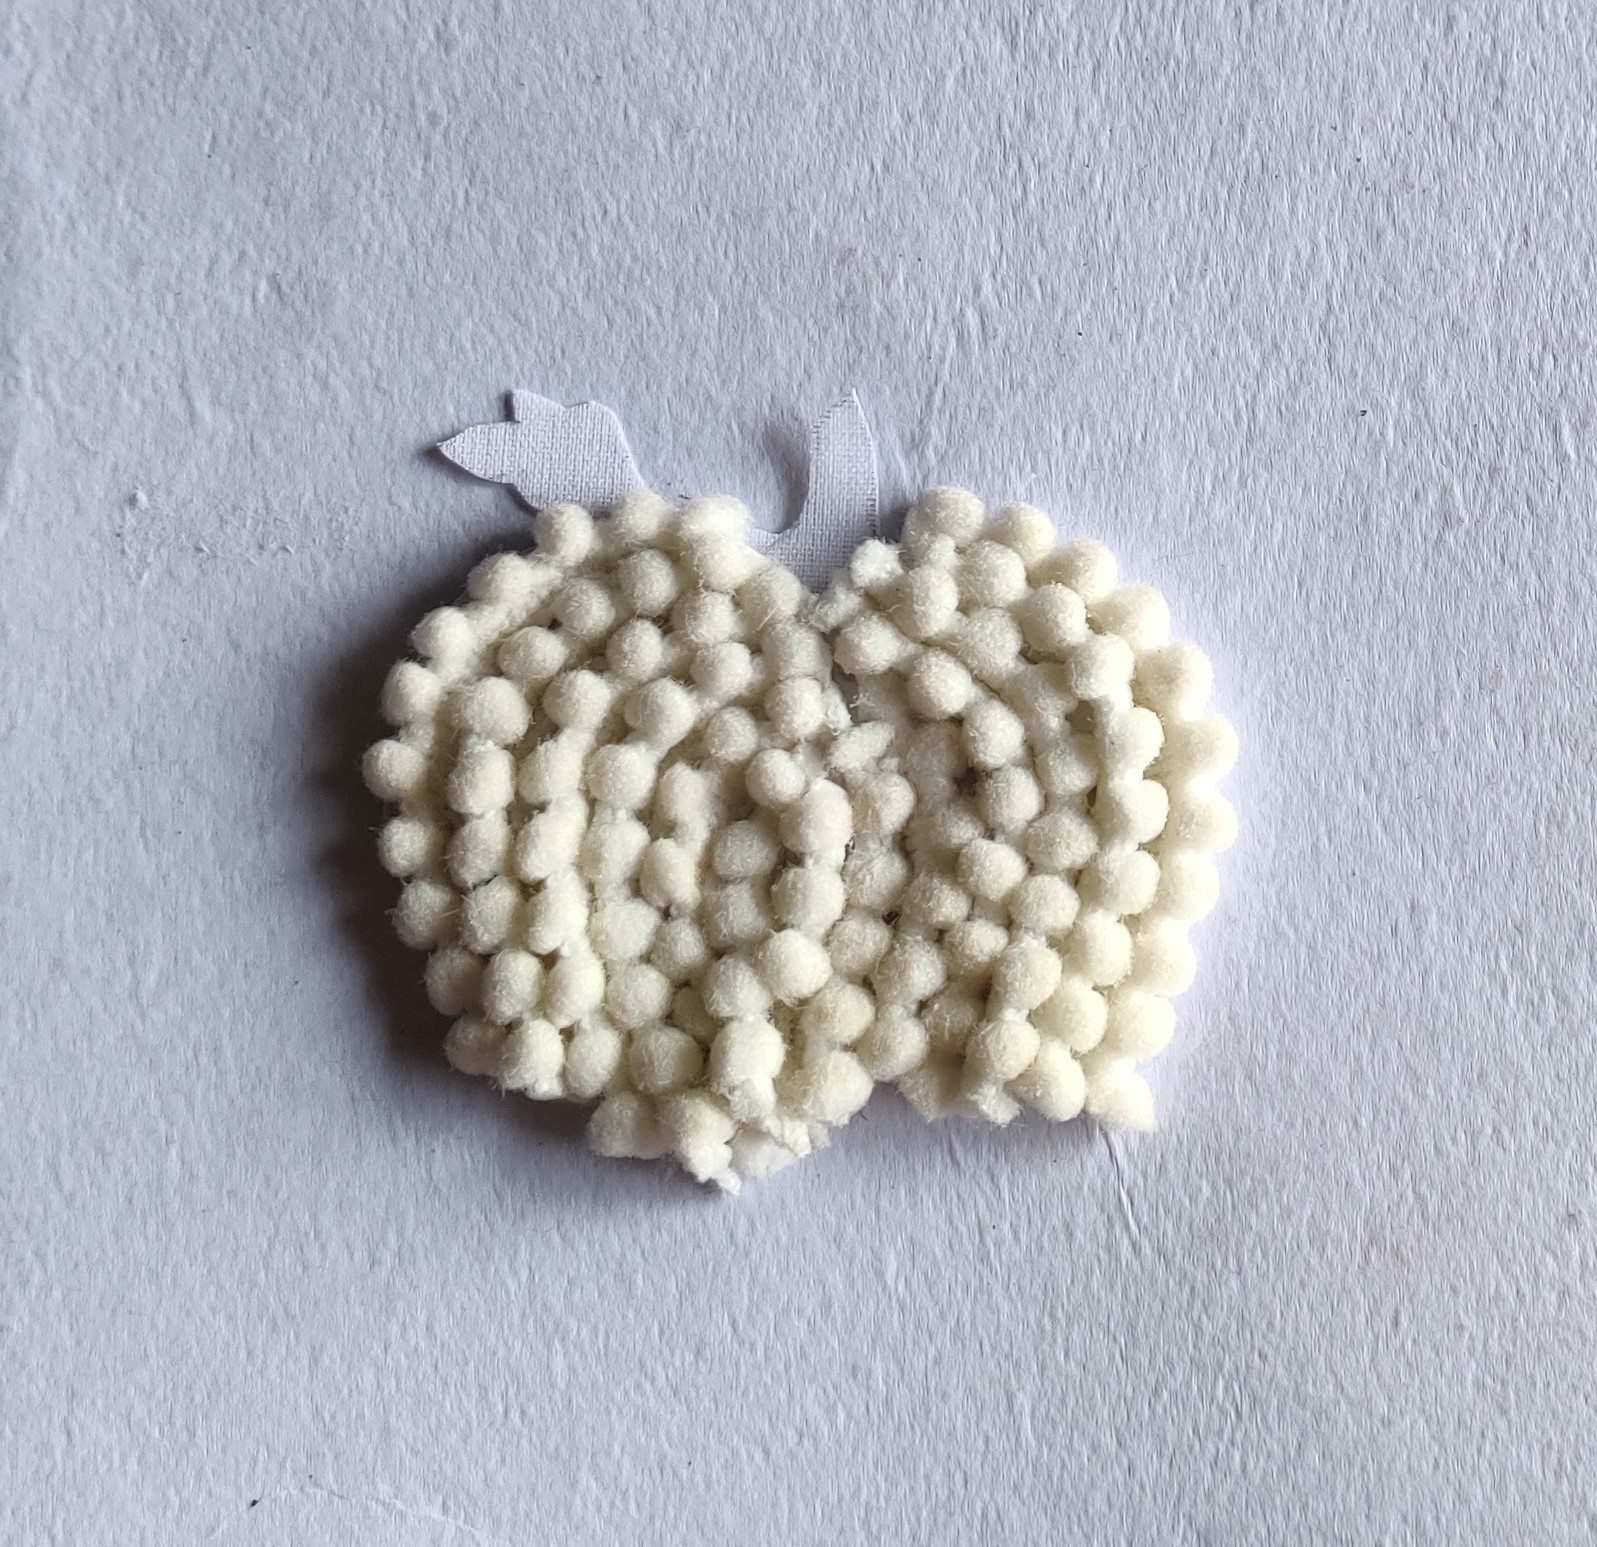
- Take woolen ball lace and stick it on the pumpkin replicating its texture.
- Use fevicryl fabric glue to stick it.
- Let it dry
STEP 9 : Ornamentation of pumpkin 1
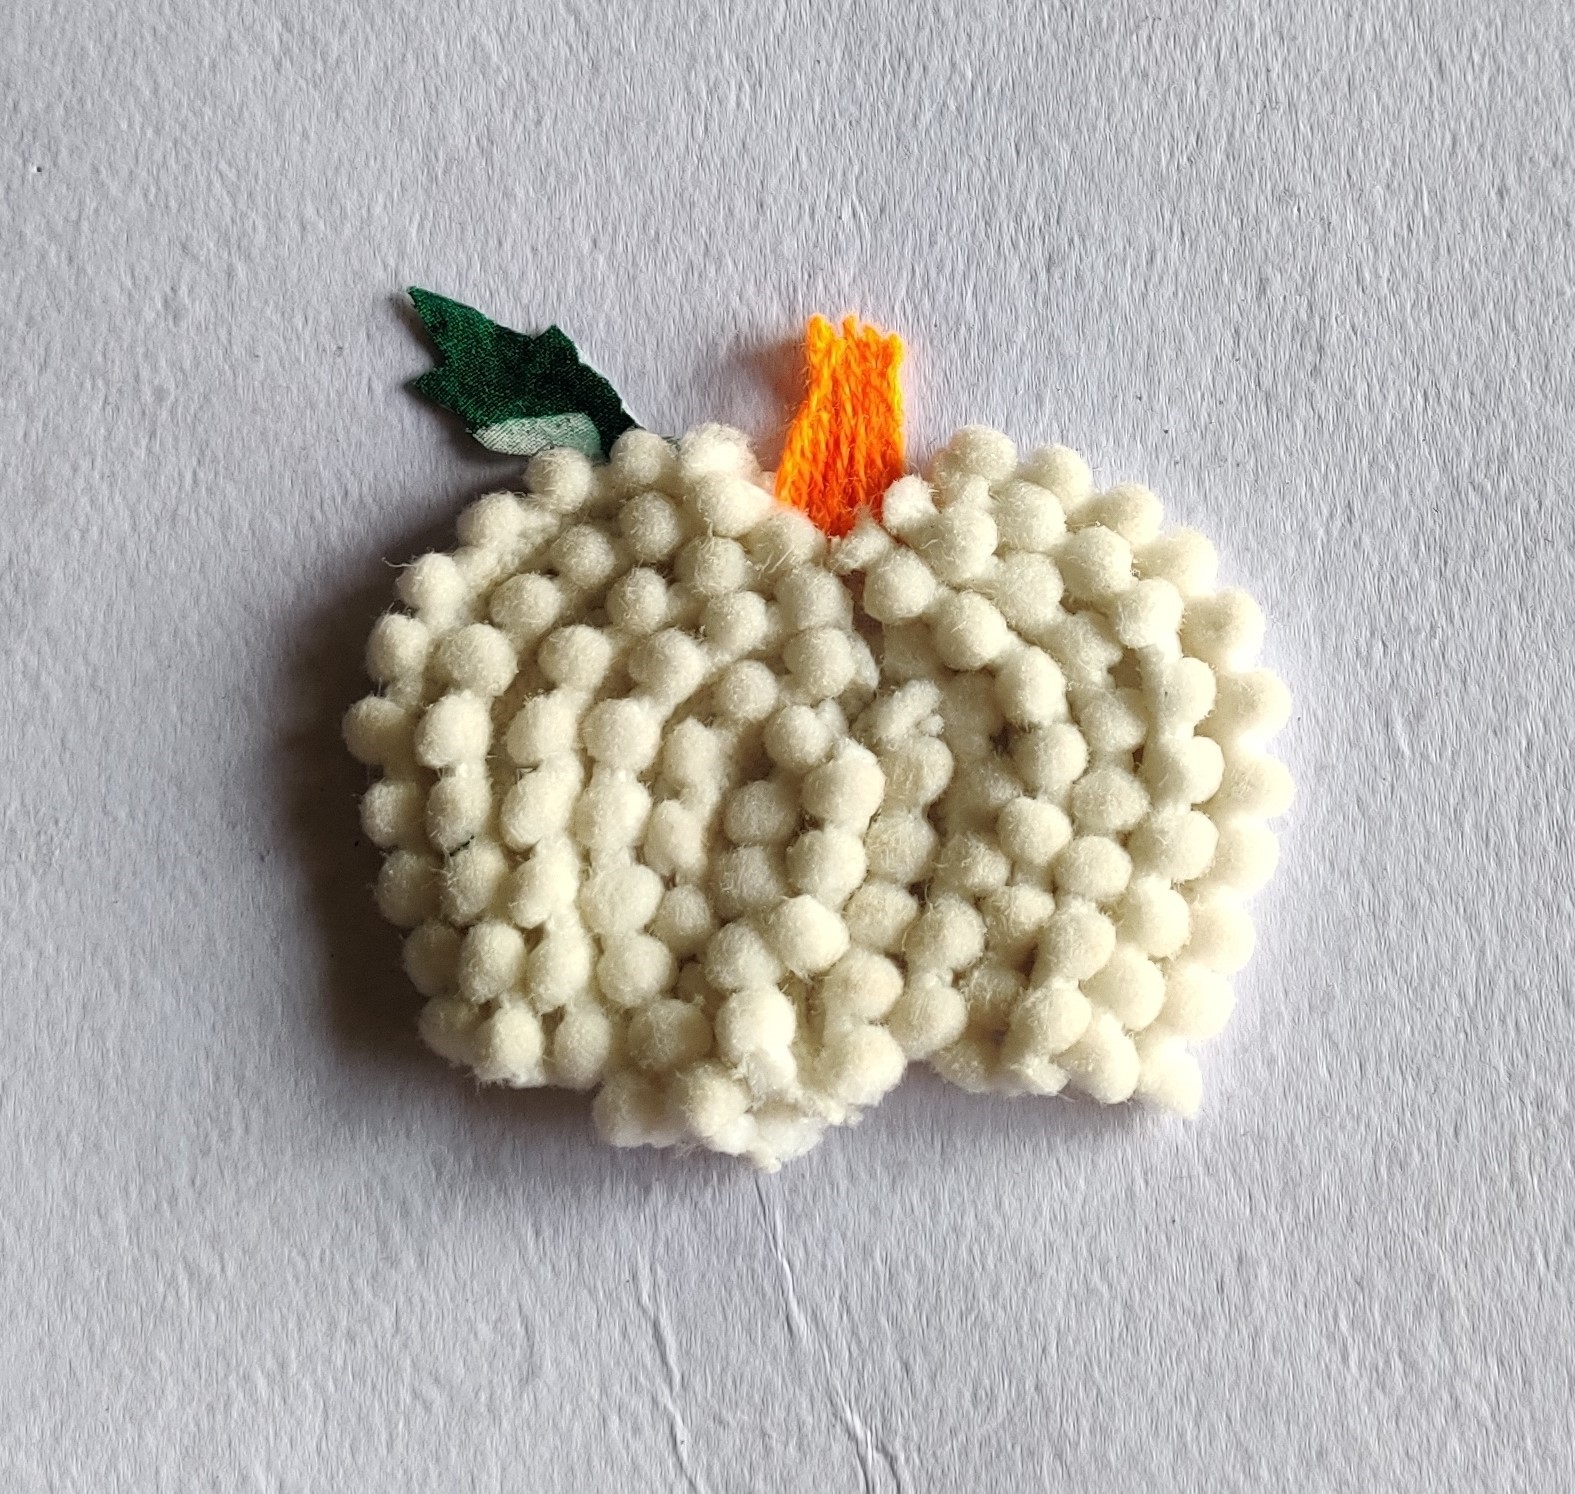
- Take wool and a small piece of green fabric and stick it on the stem and leaf of the pumpkin as shown replicating its texture.
- Use fevicryl fabric glue to stick it.
- Let it dry
STEP 10 : Ornamentation of pumpkin 1
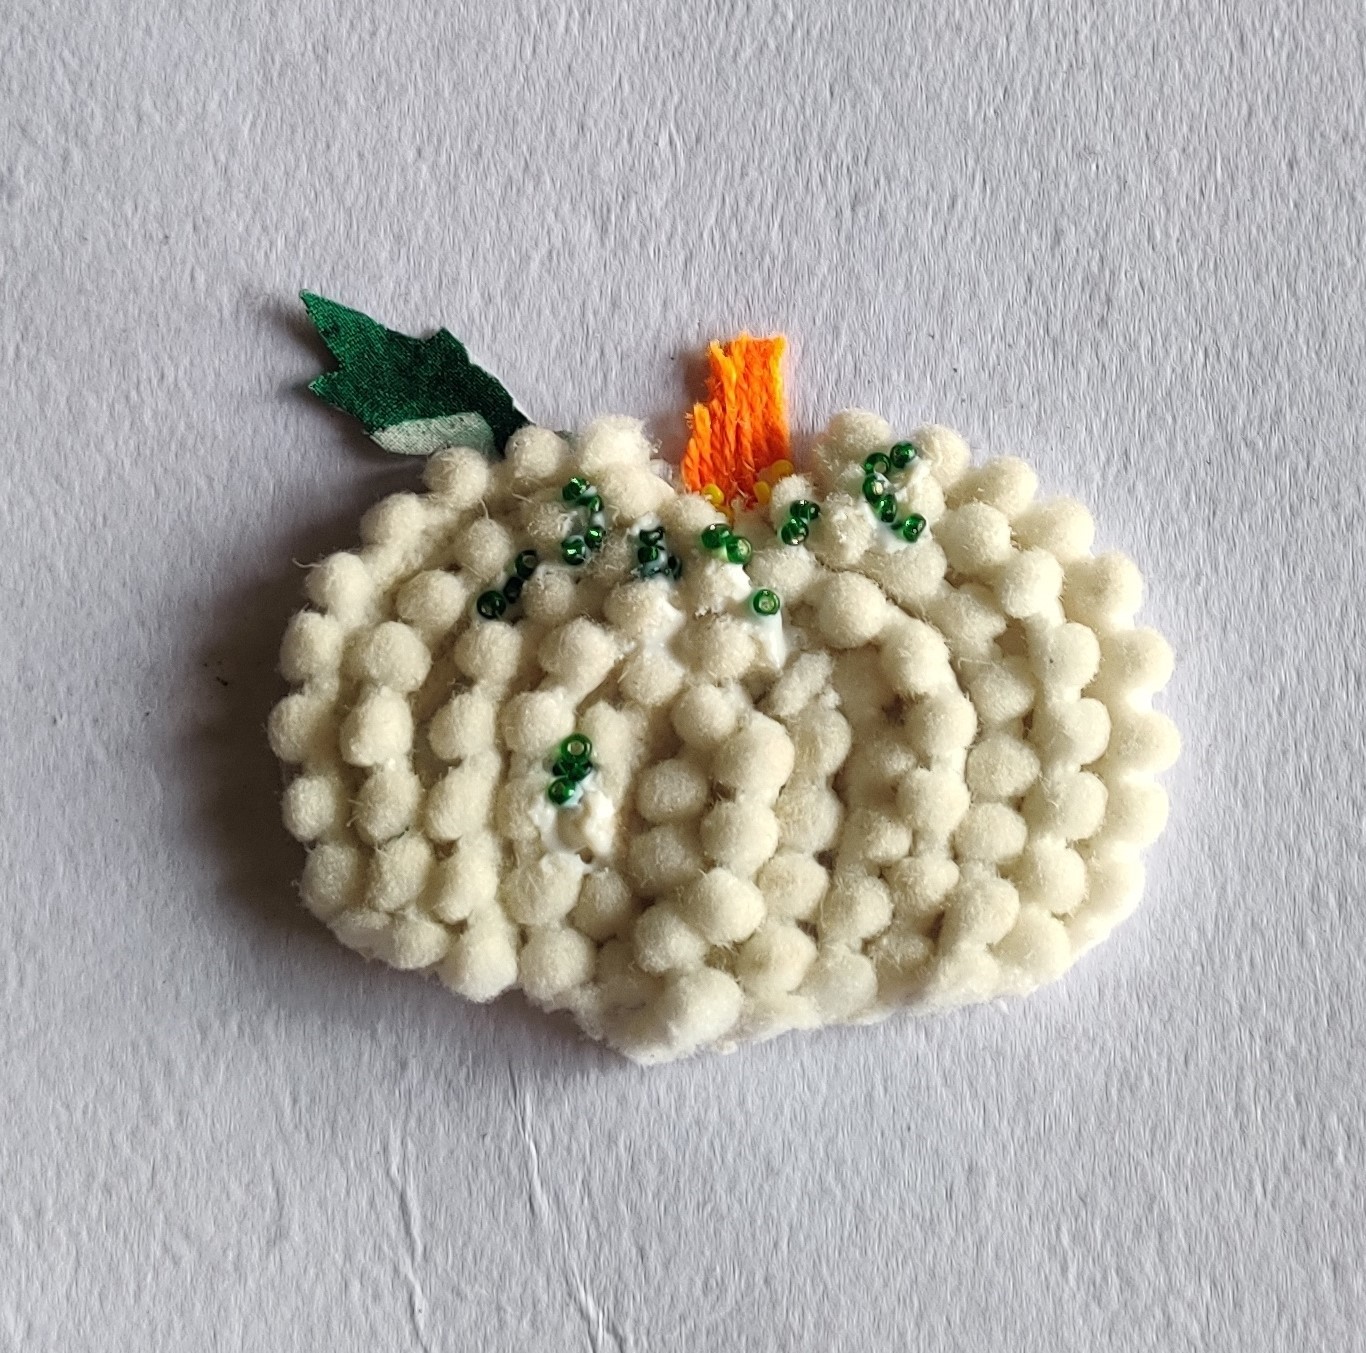
- Take green poth and stick it on the pumpkin replicating its texture.
- Use fevicryl fabric glue to stick it.
- Let it dry
- Pumpkin 1 patch is ready.
STEP 11 : Ornamentation of pumpkin 2
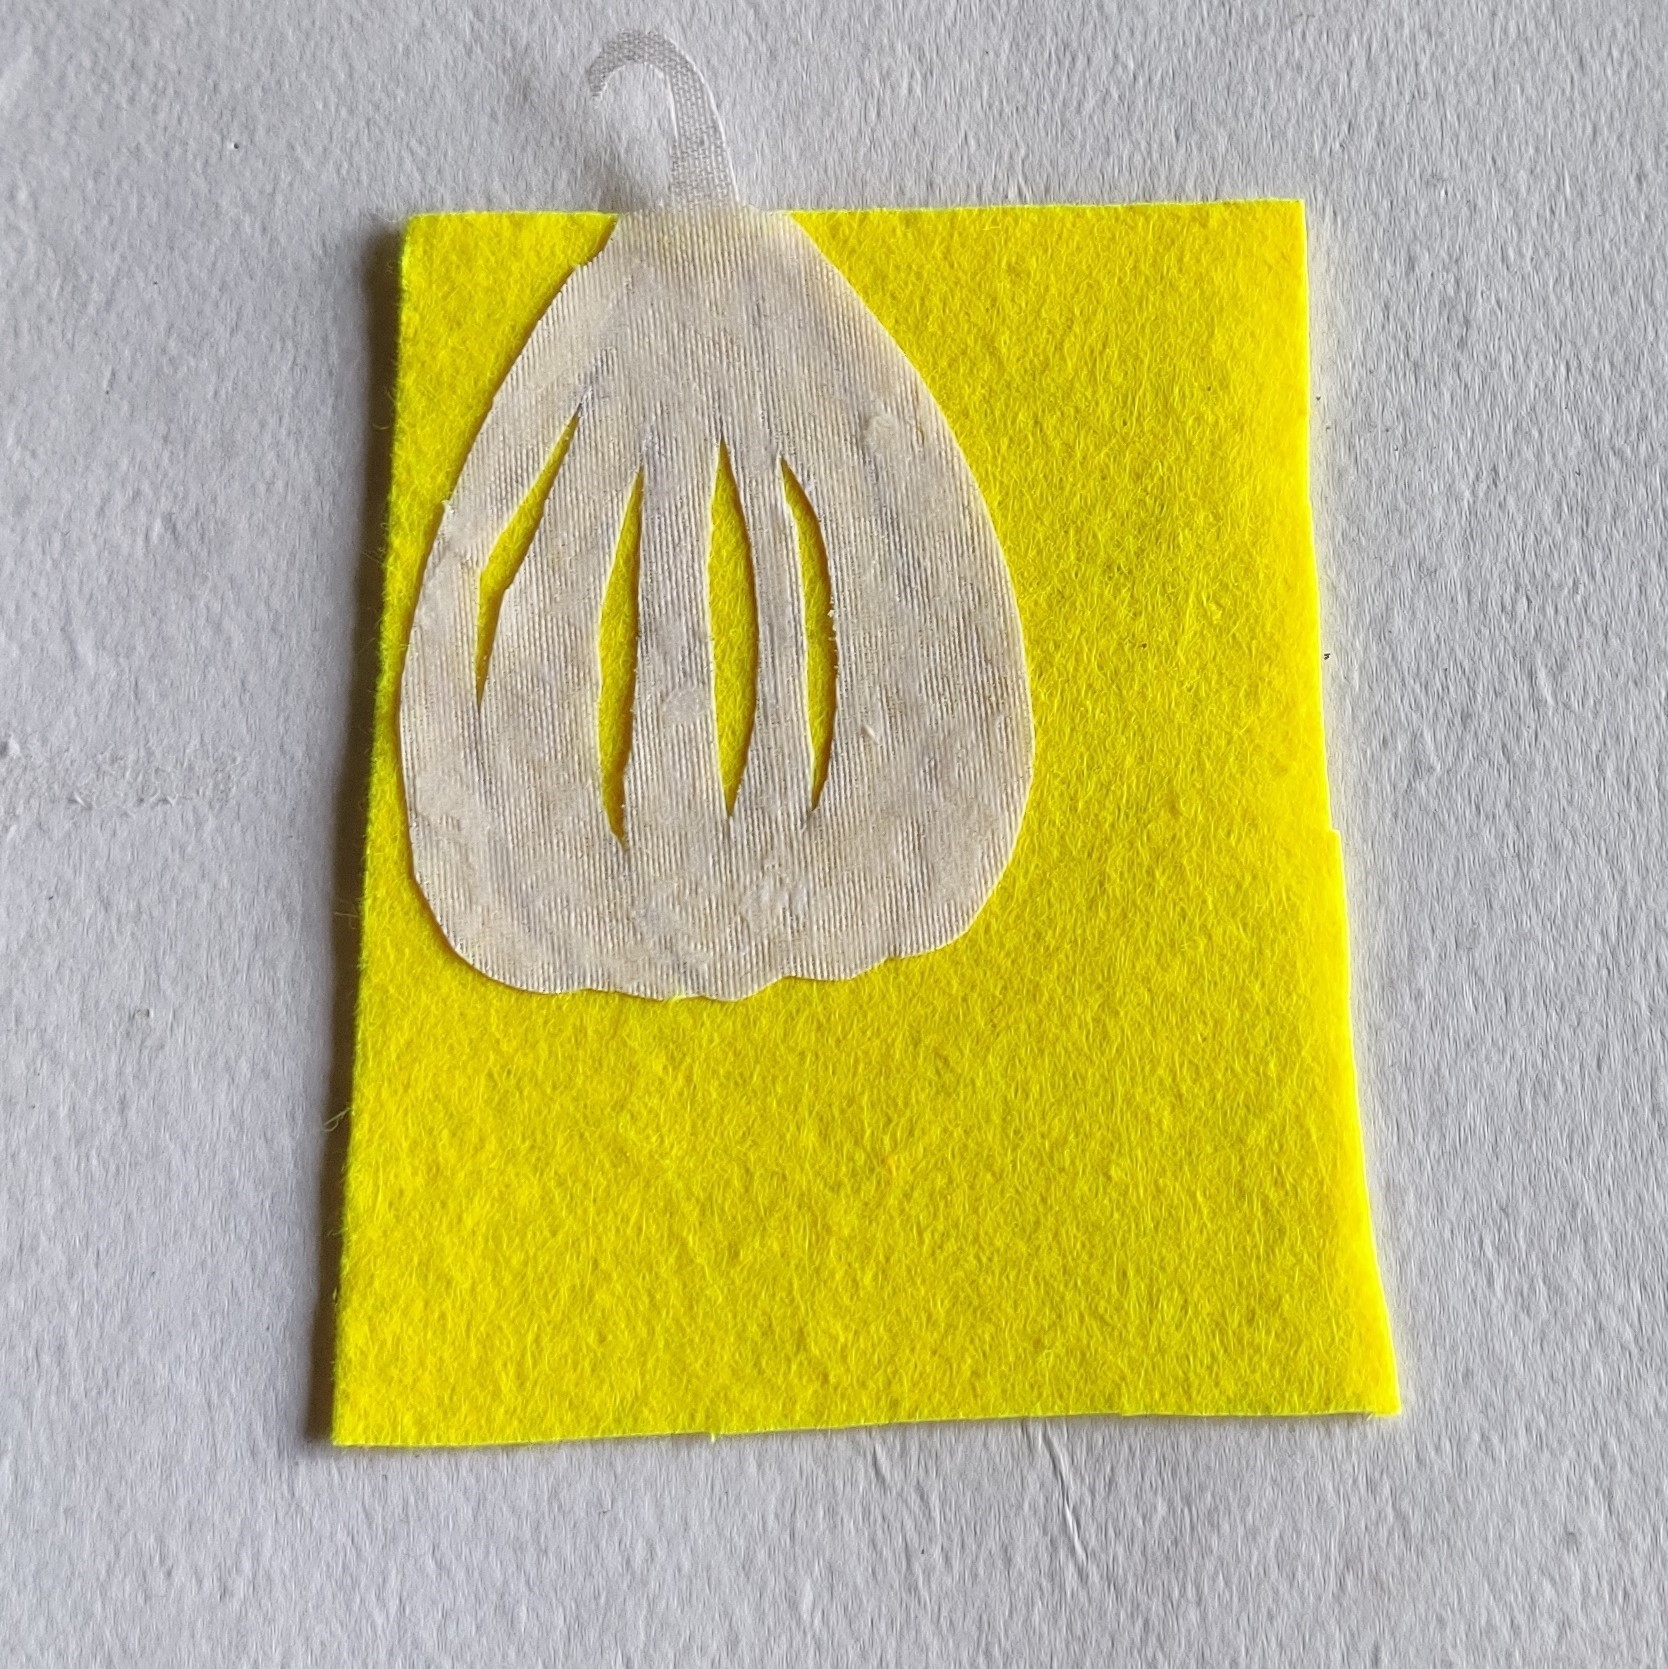
- Take yellow felt sheet, place the 2nd pumpkin on it and trace out its shape.
STEP 12 : Ornamentation of pumpkin 2

- cut the felt sheet and stick it on the 2nd pumpkin buckram sheet.
- Make sure to do the cutwork in the middle as shown using small scissors.
- Use fevicryl fabric glue to stick it.
- Let it dry
STEP 13 : Ornamentation of pumpkin 2
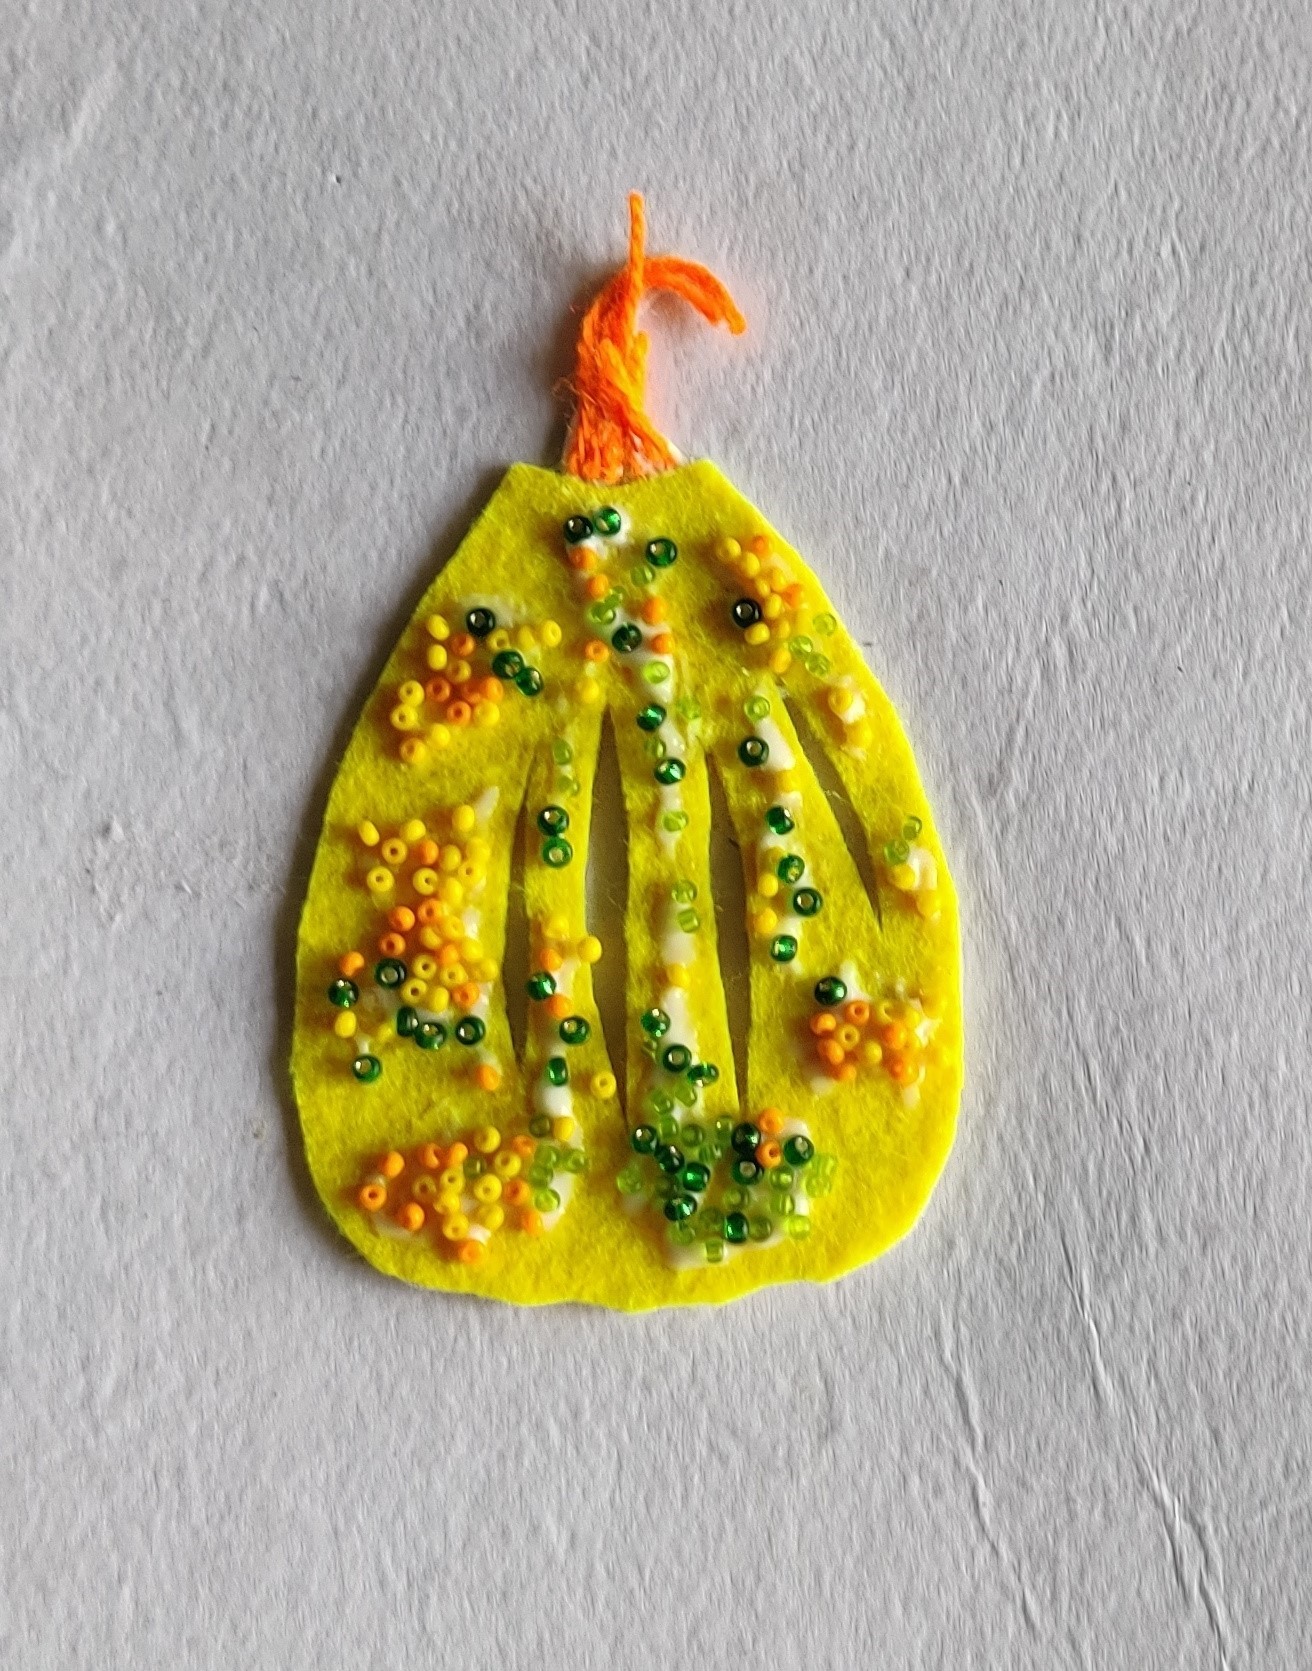
- Take various colours of poth beads as seen in the image and stick it on the surface of the pumpkin to replicate its texture.
- use orange wool to create the stem of the vegetable.
- Use fevicryl fabric glue to stick it.
- Let it dry
- The 2nd pumpkin is ready.
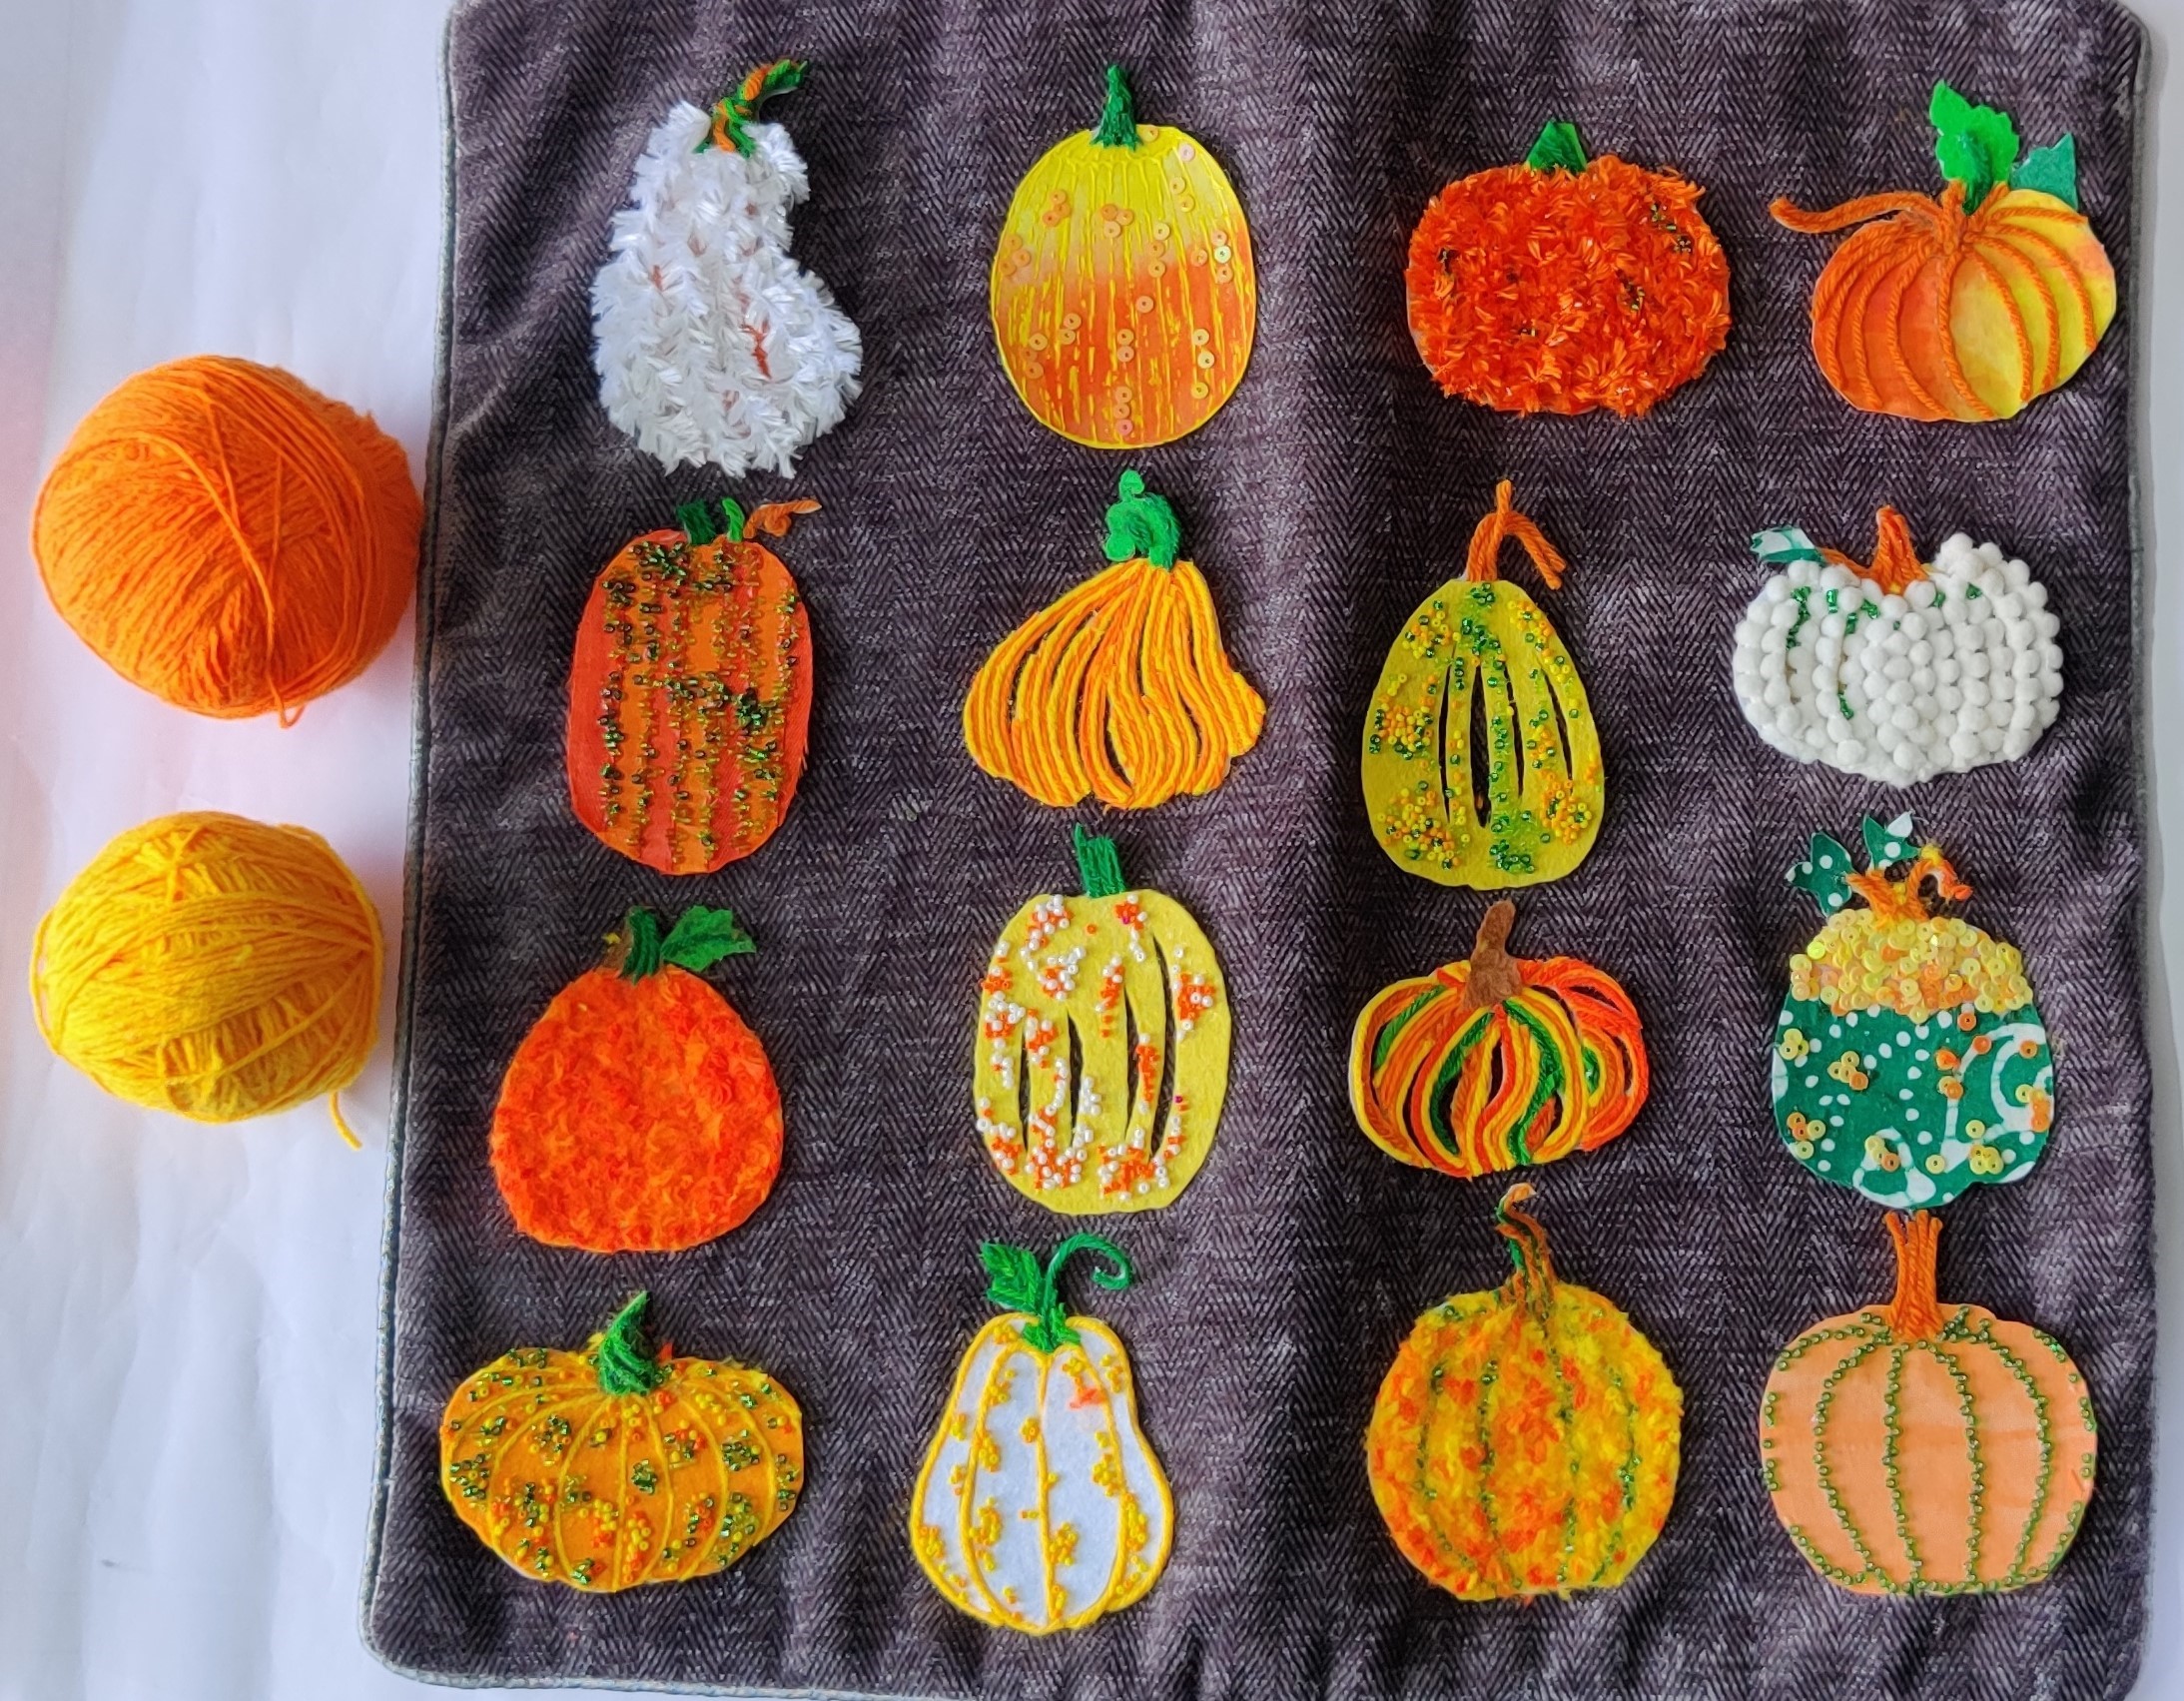
- Similarly create the rest of the pumpkins with various colours and textures.
STEP 14 : Rest of the pumpkins
- Create various kinds of pumpkins as seen in the image above.
- Use various materials and fevicryl fabric glue to stick them.
- Let it dry
STEP 15 : Sticking on cushion
- Arrange the pumpkins on the cushion keeping in mind the shapes, sizes and balance of colours.
- Use fevicryl fabric glue to stick them on to the cushion.
- Let it dry
STEP 16 : Tassels
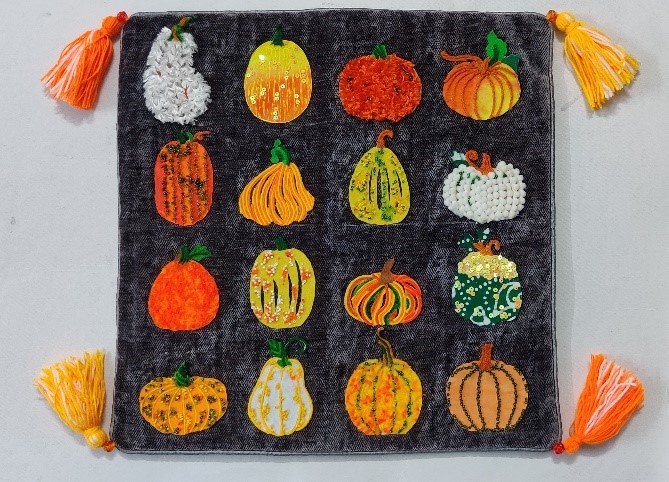
- Create 2 types of tassels – combination of yellow/white & orange/white.
- Attach them on to the ends of the cushion as shown by stitching them using needle and thread.
- Make sure to add a single bead on top of the tassel as seen in the image.
STEP 17
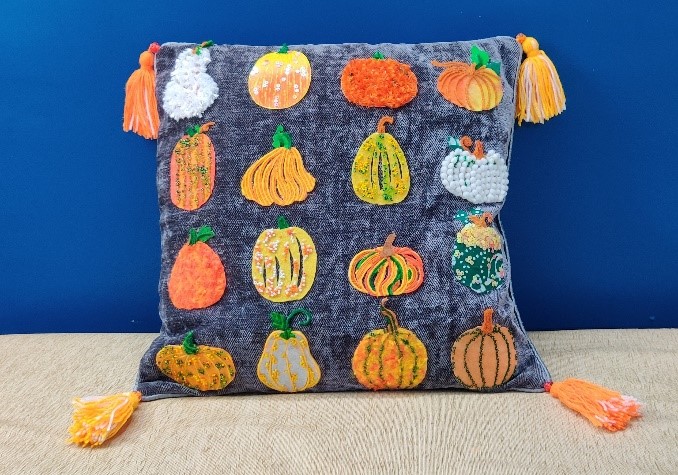
Fall pumpkin cushion cover is ready to be kept out in your garden, porch to laze around on it and read your favourite book.


 +91 99676 55545