Decoupage On Wooden Crate
May 24, 2019
You Will Need:
Fevicryl Acrylic Colour Black 02, Crimson 04, White 27, Teal Blue 68, Fevicryl Mouldit, Fevicryl Fabric Glue, Fevicryl Modge Podge Gloss, Fine Art Brushes, Wooden Crate, Tissue Paper Prints Of Mushrooms, Scissors, Clay Carving Tools, Artistry Ink Lush Lilac, Colour Palette, Water Container.
Description :
A plain wooden crate has a cool makeover! A bit of Fevicryl Mouldit and Fevicryl Modge Podge magic makes this one possible.STEP 1 : Selecting a base
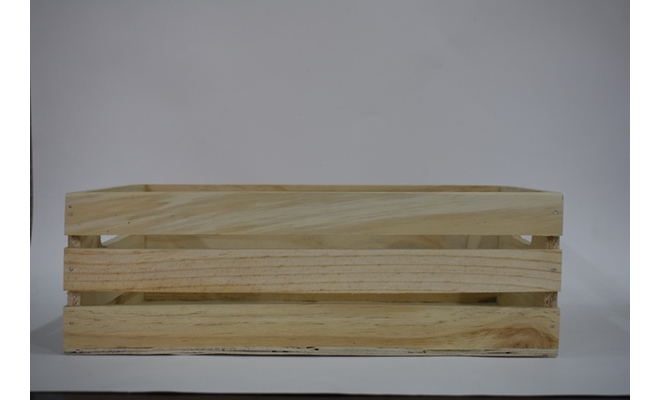
• Take wooden crate to do decoupage.
STEP 2 : Painting the base
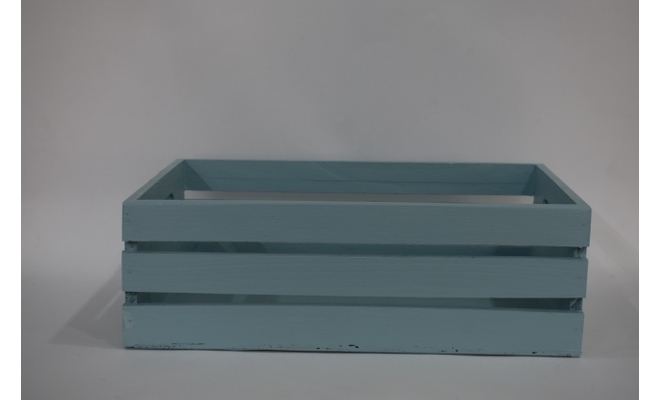
• Paint the crate with light shade of blue made by mixing Acrylic Colour White 27 and Teal Blue 68.
• Let it dry.
STEP 3 : Printing decoupage tissues
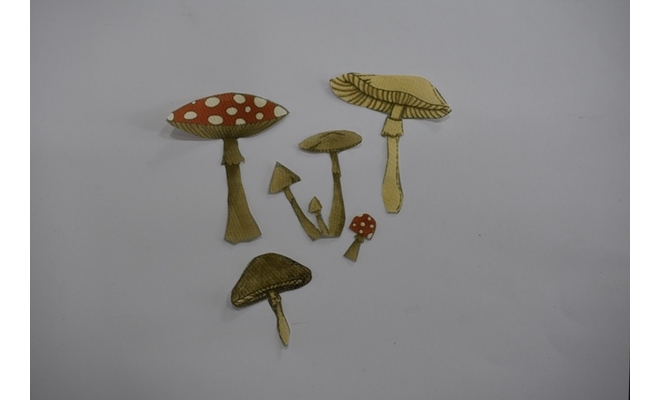
• Take the tissue prints of the mushrooms, cut along the outlines of the mushrooms neatly with the pair of the scissors.
STEP 4 : Sticking the paper on the base
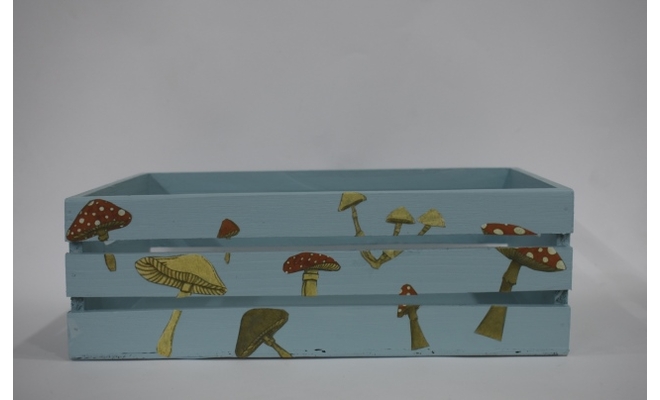
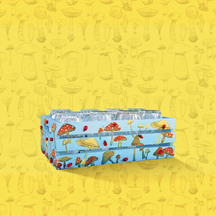
• Stick the mushrooms randomly on the crate with Modge Podge Gloss by removing the air pockets neatly. Let it dry.
• Apply 2 to 3 coats of Modge Podge Gloss on the mushroom prints to seal it properly. Let it dry.
STEP 5 : Moulding the ladybugs
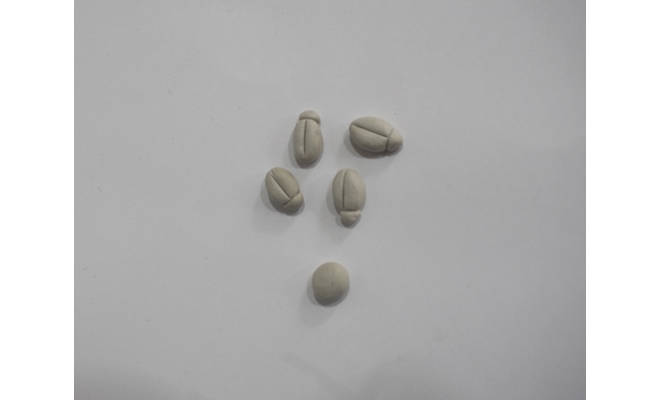
• Take Mouldit resin base and hardener; mix it thoroughly to make even dough.
• Take the dough; divide it in to small and tiny balls to make the lady bugs.
• Shape the clay balls and engrave the line to show the body parts of the bugs. Make about 12 to 15 bugs.
• Leave it to dry.
STEP 6 : Painting ladybugs
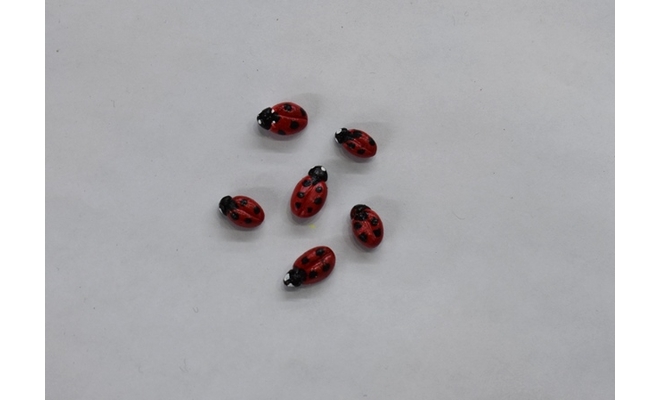
• Paint the bugs with Acrylic Colour Black 02, Crimson 04 and White 27.
• Leave it to dry.
STEP 7 : Finishing
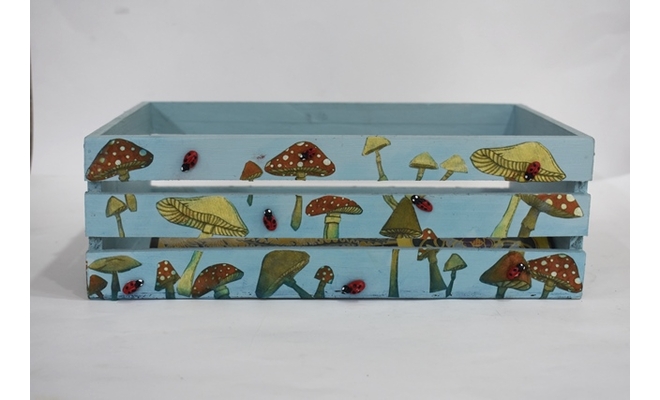
• Take Artistry Ink Lush Lilac shade and distress the edges of the crate evenly.
• Stick the bugs randomly on the crate with Fabric Glue.
• Leave it to dry.


 +91 99676 55545