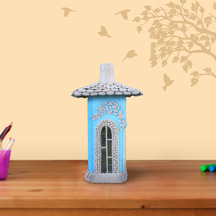
Bottle With Mouldit House
Jan. 14, 2020
You Will Need:
Fevicryl Acrylic Colour White 27, Sky Blue 63, Fevicryl Mouldit, Fevicryl Fabric Glue, Fine Art Brushes, Rolling Pin, Paper Cutter, Ruler, Pencil, Clay Carving Tools, Plain Glass Bottle, Colour Palette, Water Container, Mount Board, Paper Cutter.
Description :
It just takes a bit of imagination to make something extraordinary from something common place like this bottle art. Up cycle empty bottles with Fevicryl products to create magic.STEP 1 : Mix Mouldit
• We are going to make bottle fairy house with a used glass bottle.
• Take Mouldit resin base and hardener; mix it thoroughly to make even dough.
STEP 2 : Roll the dough
• Take some dough roll the dough with rolling pin to make the slab and keep it till semi dry.
STEP 3 : Making the roof
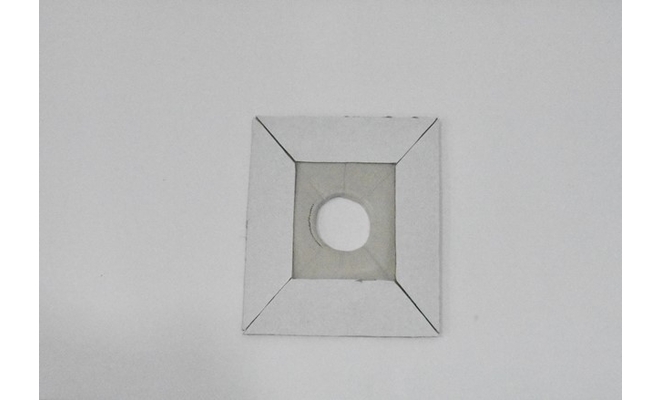
• Take the slab, mark and cut a rectangle for the roof measuring 5 ½” x 6 ½” in size.
• Mark and remove the circle from the centre of the rectangle in the size of the mouth of the bottle.
• Take the mount board, mark and cut the 1” broad strips for giving the support and stability to the roof.
• Refer to the image.
• Leave the roof slab till semi dry.
STEP 4 : Shaping the roof
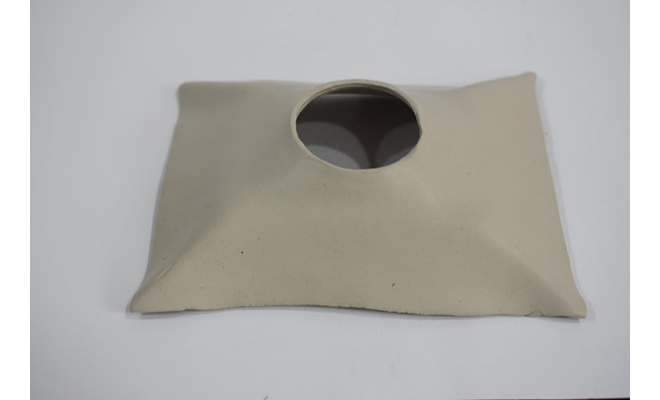
• Shape the roof in such a way that it should stand without support.
• Pinch the corners slightly.
• Refer to the image.
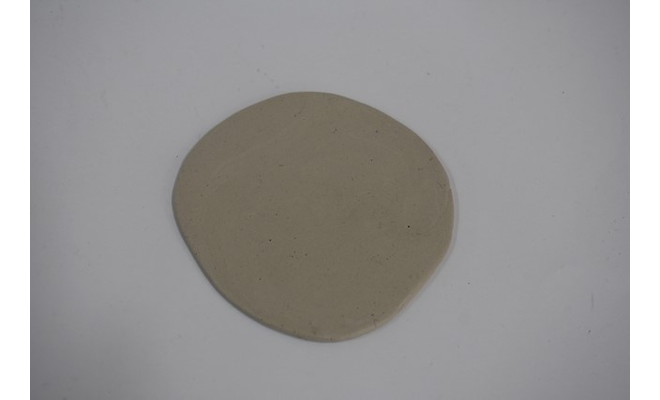
STEP 5 : Making tiles
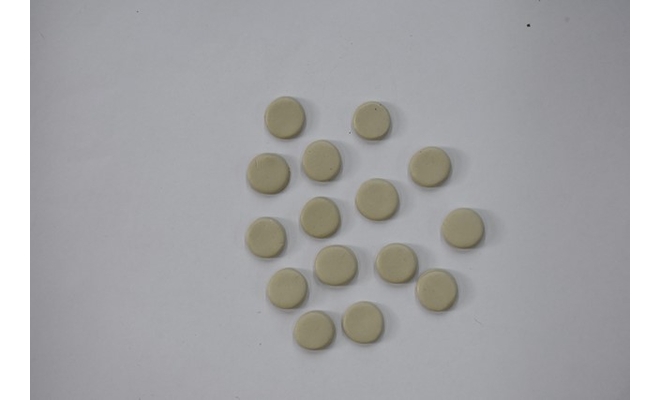
• Take the dough; roll it to make a slab.
• Mark and cut small circles to make the tiles of the roof.
• Leave it for semi dry.
STEP 6 : Sticking the tiles
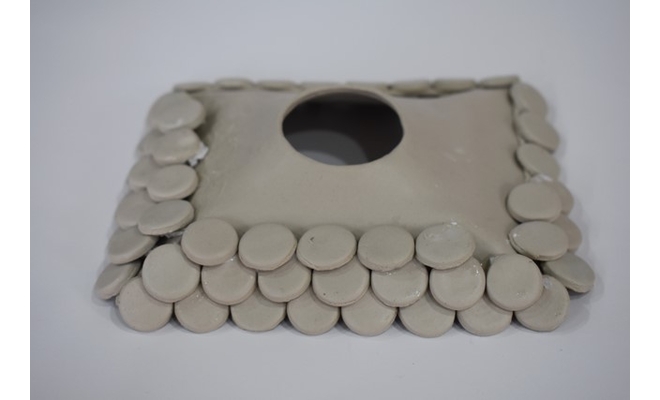
• Stick the roof tiles aesthetically on the roof base using Fabric Glue.
• Let it dry.
STEP 7 : Sourcing the base
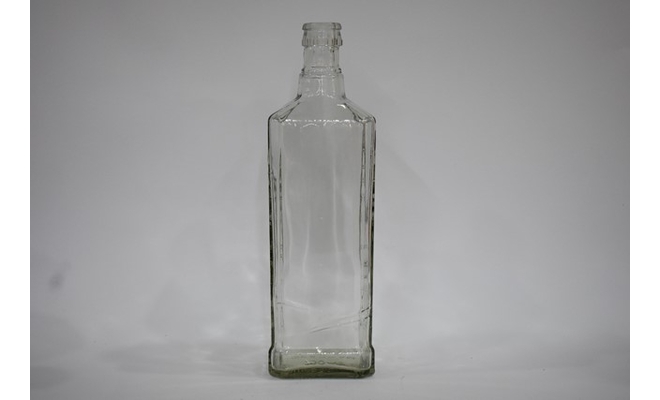
• Take the plain glass bottle which you can up- cycle.
STEP 8 : Making a door on the bottle
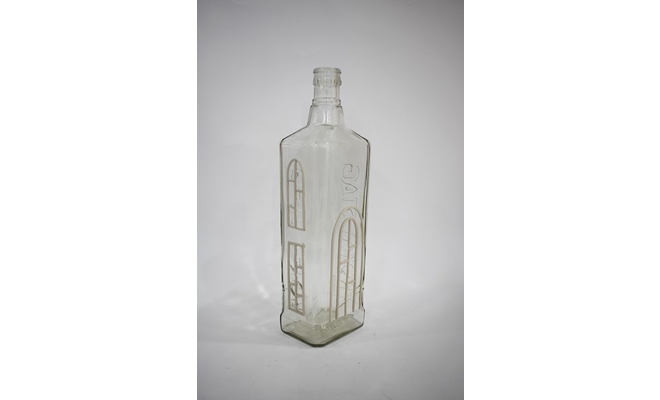
• Take the dough; roll it to make the medium thin coils.
• Keep it aside till semi dry.
• Take the coils. Stick the coils on the bottle to make the arch of the door as well as the windows towards the side walls of the bottle using fabric glue.
• Let it dry.
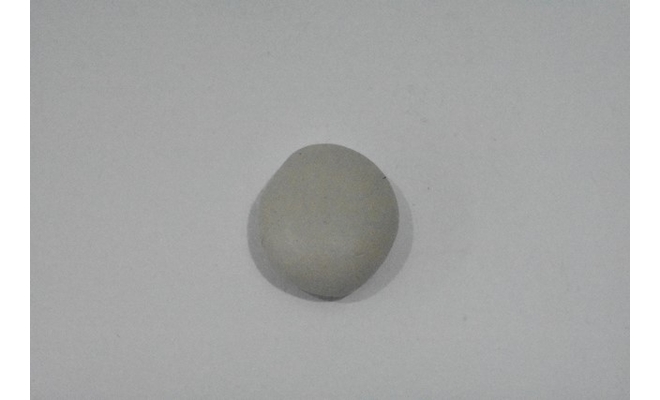
STEP 9 : Making pebbles
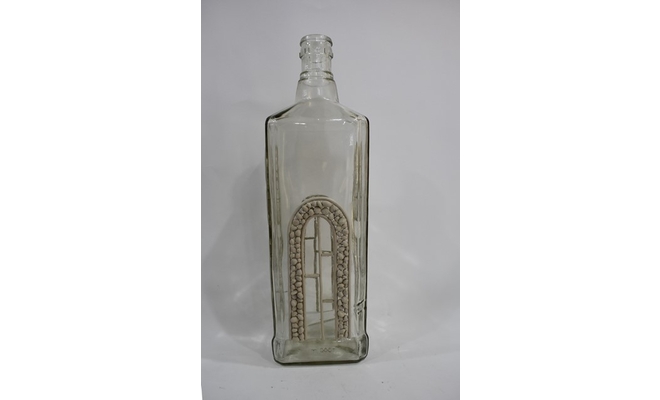
• Take the dough to make the tiny pebbles.
• Stick the tiny pebbles in between the arch to give the look of stone masonry with Fabric Glue. Let it dry.
• Refer to the image.
STEP 10 : Making creepers
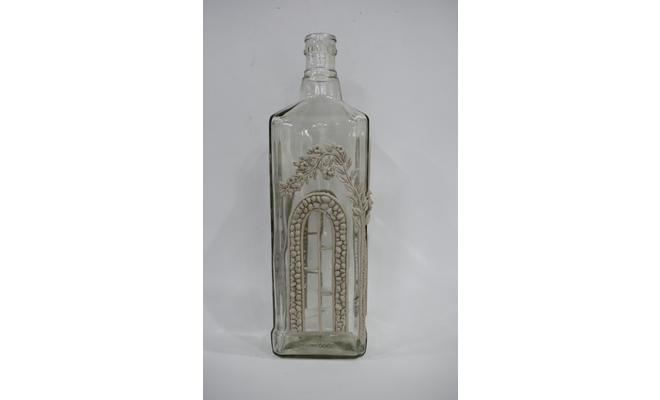
• Take some dough to make a small creeper with blooming flowers on it beside the door using Fabric Glue to stick. Let it dry.
• Create the texture on the bark of the tree to give the realistic look with clay carving tools.
STEP 11 : Make a rockery border
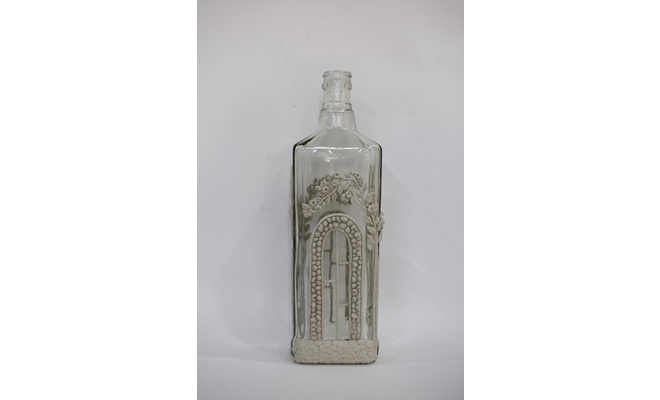
• Similarly take some dough to make the rockery base below the arched door and the tree.
• Stick the clay rockery aesthetically using fabric glue.
• Let it dry.
STEP 12 : Painting the walls
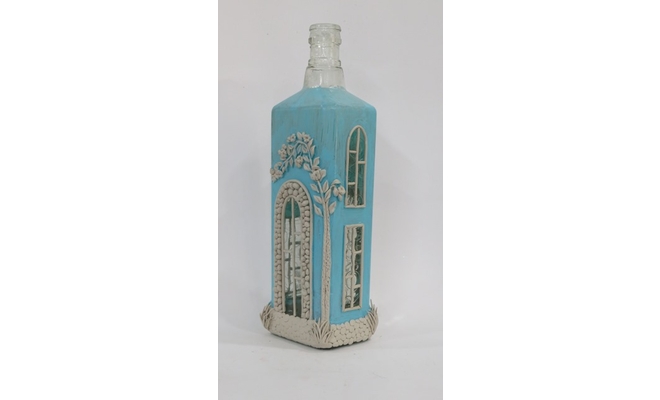
• Paint the walls of the fairy house with Acrylic Colour White 27 and Sky Blue 63.
• Leave it to dry completely.
STEP 13 : Assembly
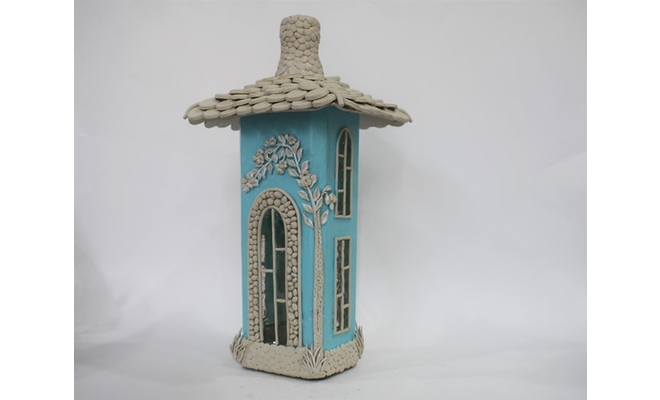
• Take the roof and place it appropriately on the bottle and fix it with a little amount of glue. Let it dry.
• We are going the turn the mouth of the bottle in to the chimney with rockery effect.
• Take some dough to make the small flat rocks and stick it around the bottle mouth using little amount of Fabric Glue.
• Let it dry.


 +91 99676 55545