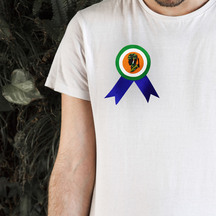
Badge Of Bravery
Jan. 10, 2020
You Will Need:
Fevicryl Fabric Colours Light Green 212, Orange 217, White 227, Fevicryl Acrylic Colours Dark Green 06, Orange 17, Sap Green 21, White 27, Fevicryl Mouldit, Fevicryl Fabric Glue, Fine Art Brushes, Paper Canvas, Compass, Pencil, Rolling Pin, Paper Cutter, Colour Palette, Water Container.
Description :
Here is an easy Republic Day DIY to pay a tribute to our armed forces on this auspicious day.STEP 1 : Cut 3 circles
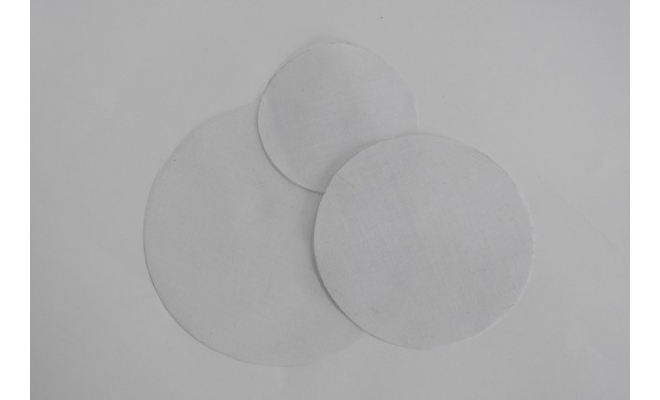
• Take paper canvas; draw three circles measuring 4”, 3” and 2 ½” diameter on it.
STEP 2 : Painting the base
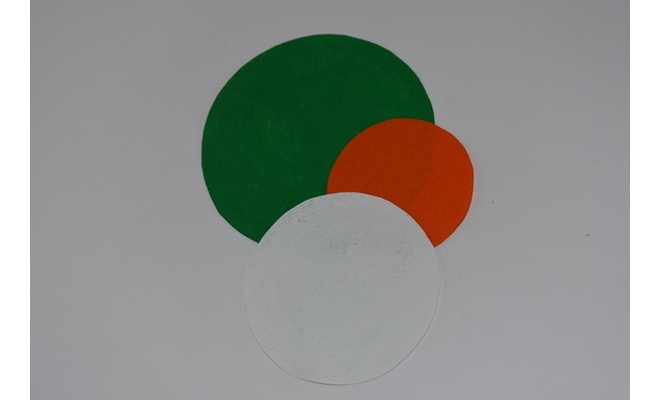
• Paint the circles in Tri Colours using Fabric Colours Light Green 212, Orange 217 and White 27.
• Let it dry completely.
• Cut along the outlines of the circles and keep it aside.
STEP 3 : Mix Mouldit
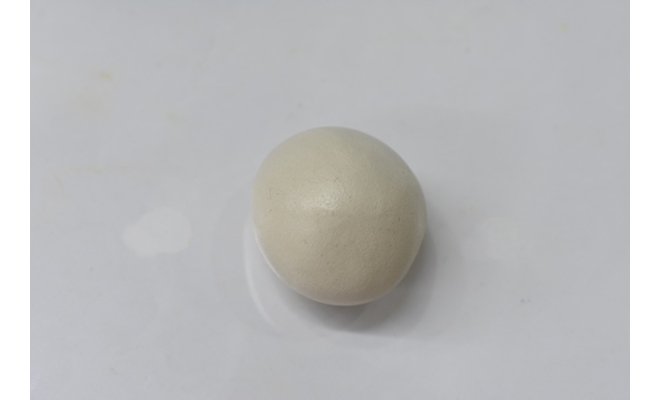
• Take Mouldit resin base and hardener; mix it thoroughly to make even dough.
STEP 4 : Roll Mouldit
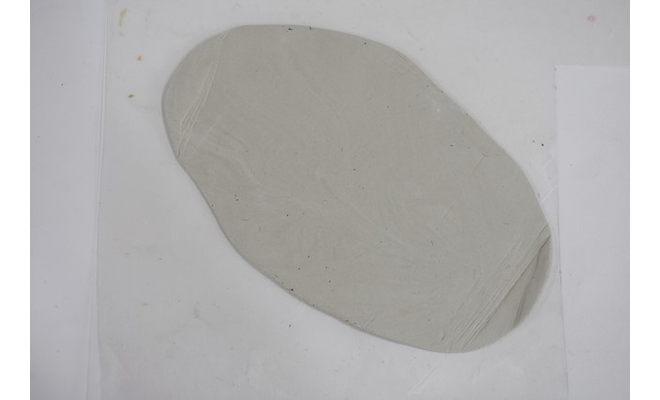
• Take the dough; roll it to make the medium thin slab with a rolling pin.
STEP 5 : Moulding the dough
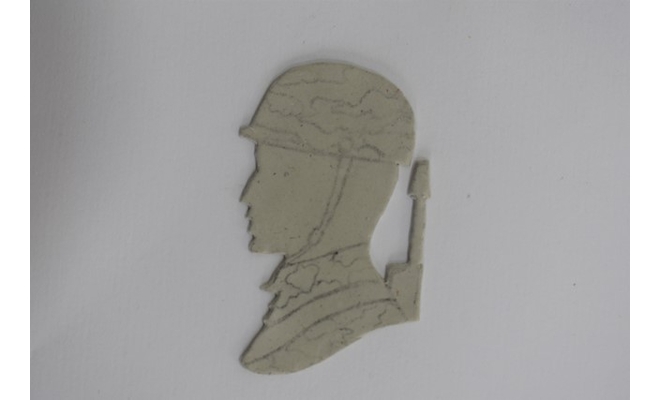
• Draw a small face of the soldier on the slab.
• Cut along the outlines of the face of the soldier with a paper cutter.
• Let it dry completely.
STEP 6 : Painting and assembly
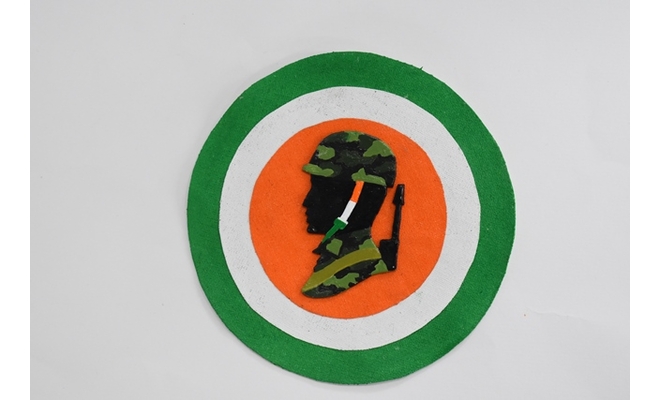
• Paint the helmet and the dress of the soldier with camouflage pattern with tri colour belt of helmet using Acrylic Colours Dark Green 06, Orange 17, Sap Green 21 and White 27.
• Let it dry completely.
• Take the circles, stick the circles from bigger to smaller following the tri colours with Fabric Glue. Let it dry.
• Stick the face of the soldier in the centre of the tricolor circles with Fabric Glue. Let it dry completely.
STEP 7 : Sticking the ribbon
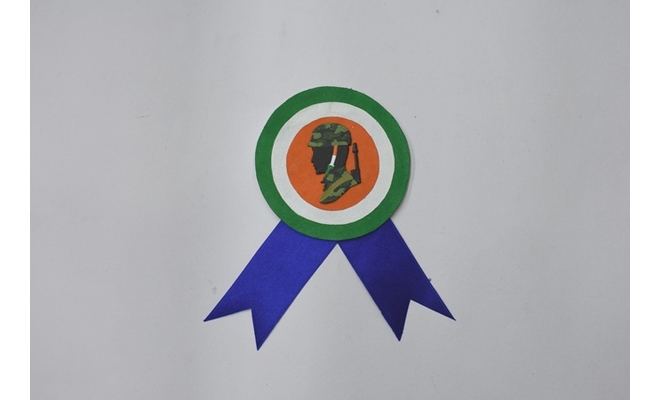
• Take the piece of blue satin ribbon and stick from the rear side of the badge with Fabric Glue.
• Attach the safety pin from the rear side to make it useable.


 +91 99676 55545