Autumn Wall Hanging


You Will Need:
Fevicryl Premium Fabric Glue, Fevicryl Acrylic Colours (White, Black, Orange, Crimson, Light Green, Burnt Sienna, Chrome Yellow And Pearl Metallic Gold), Fevicryl Mouldit, 2pc Wooden Plank, Drawing And Tracing Paper, Carbon Paper, White Fabric, Felt Sheet, Dry Flowers, Cotton Trade, Sparkle Stones (Multicolour and White), Woollen Colours (Black, Bright Yellow and Orange), Jute Sheet, Cotton Fabric With Different Prints, Black Poth Or Small Beads, Wooden Beads For Tassels (2 Orange, 2 Yellow And 2 Wooden Colours), Paper And Fabric Scissors, Pencil, Rounder And Eraser, Barbeque Stick For Sticking Stone, Paper Tape, Round Brush For Paint And For Glue Applying, Colour Palette, Cup Or Bowl For Cleaning Brush, Waste Cloth.
Product Used:

Description :
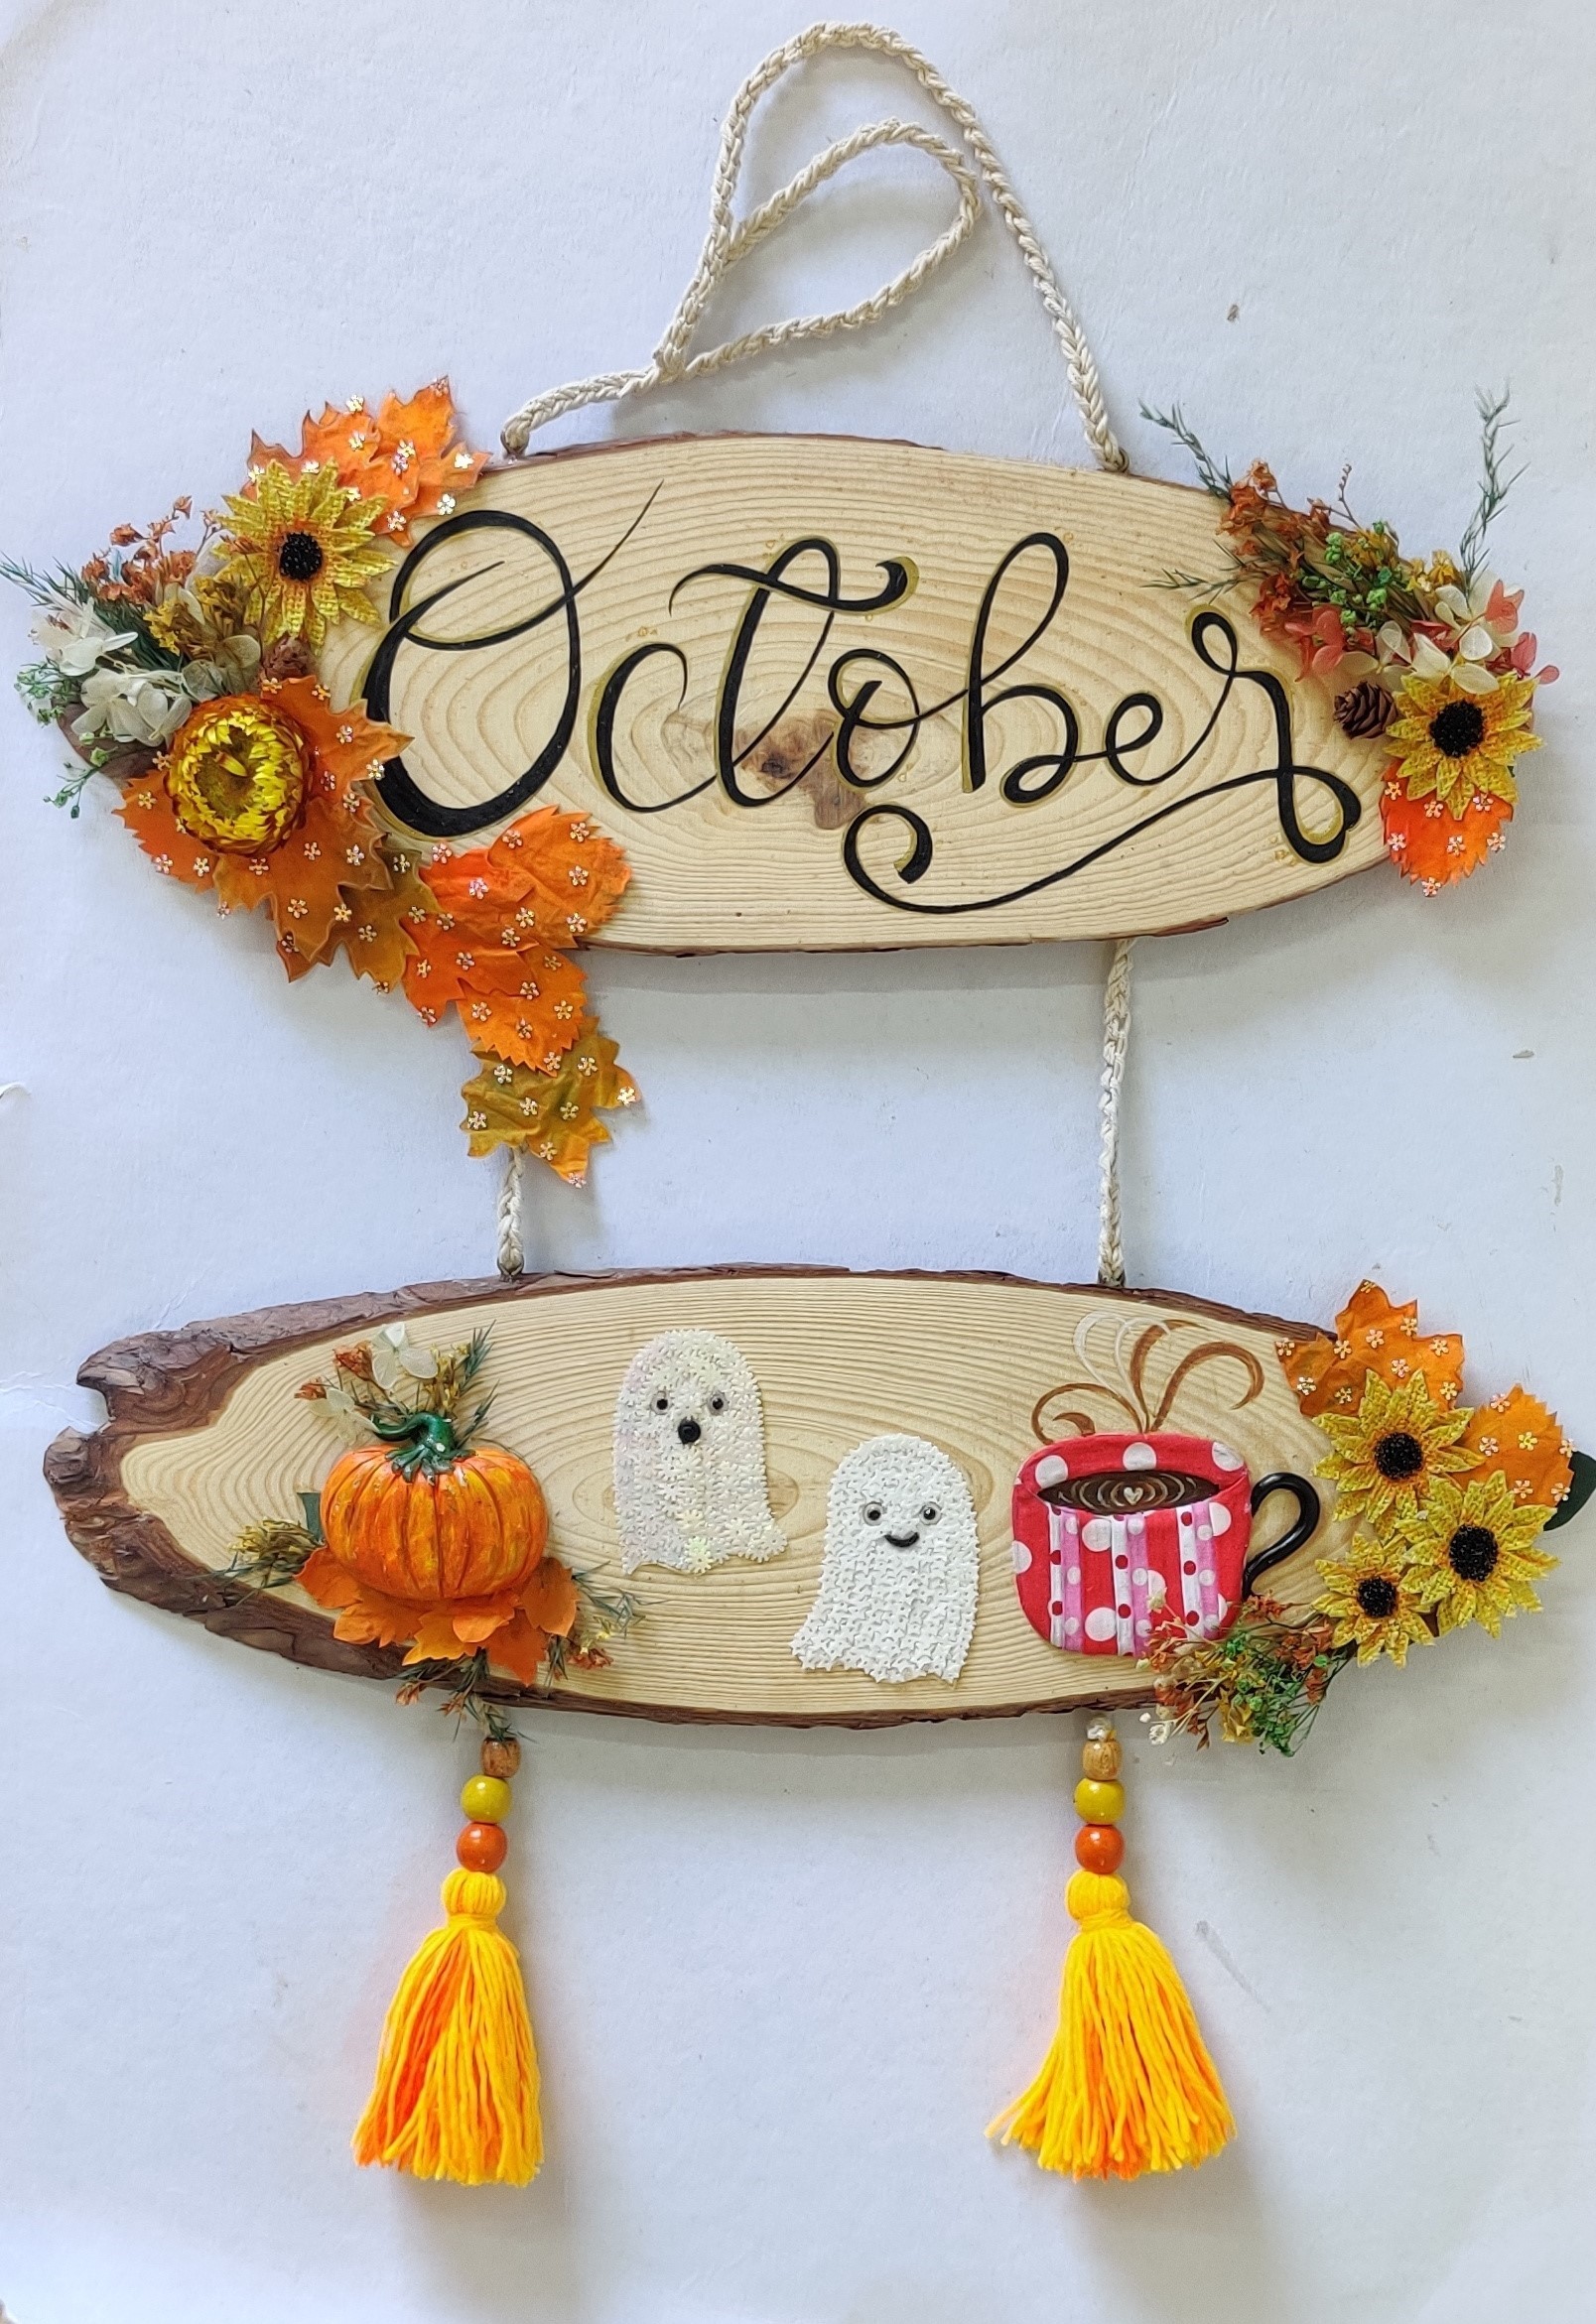
A cheerful wall hanging to welcome the autumn season completely made using Fevicryl Fabric Glue. A cheerful wall hanging to welcome the autumn season completely made using Fevicryl Fabric Glue.
- To make this lovely wall hanging with wooden planks.
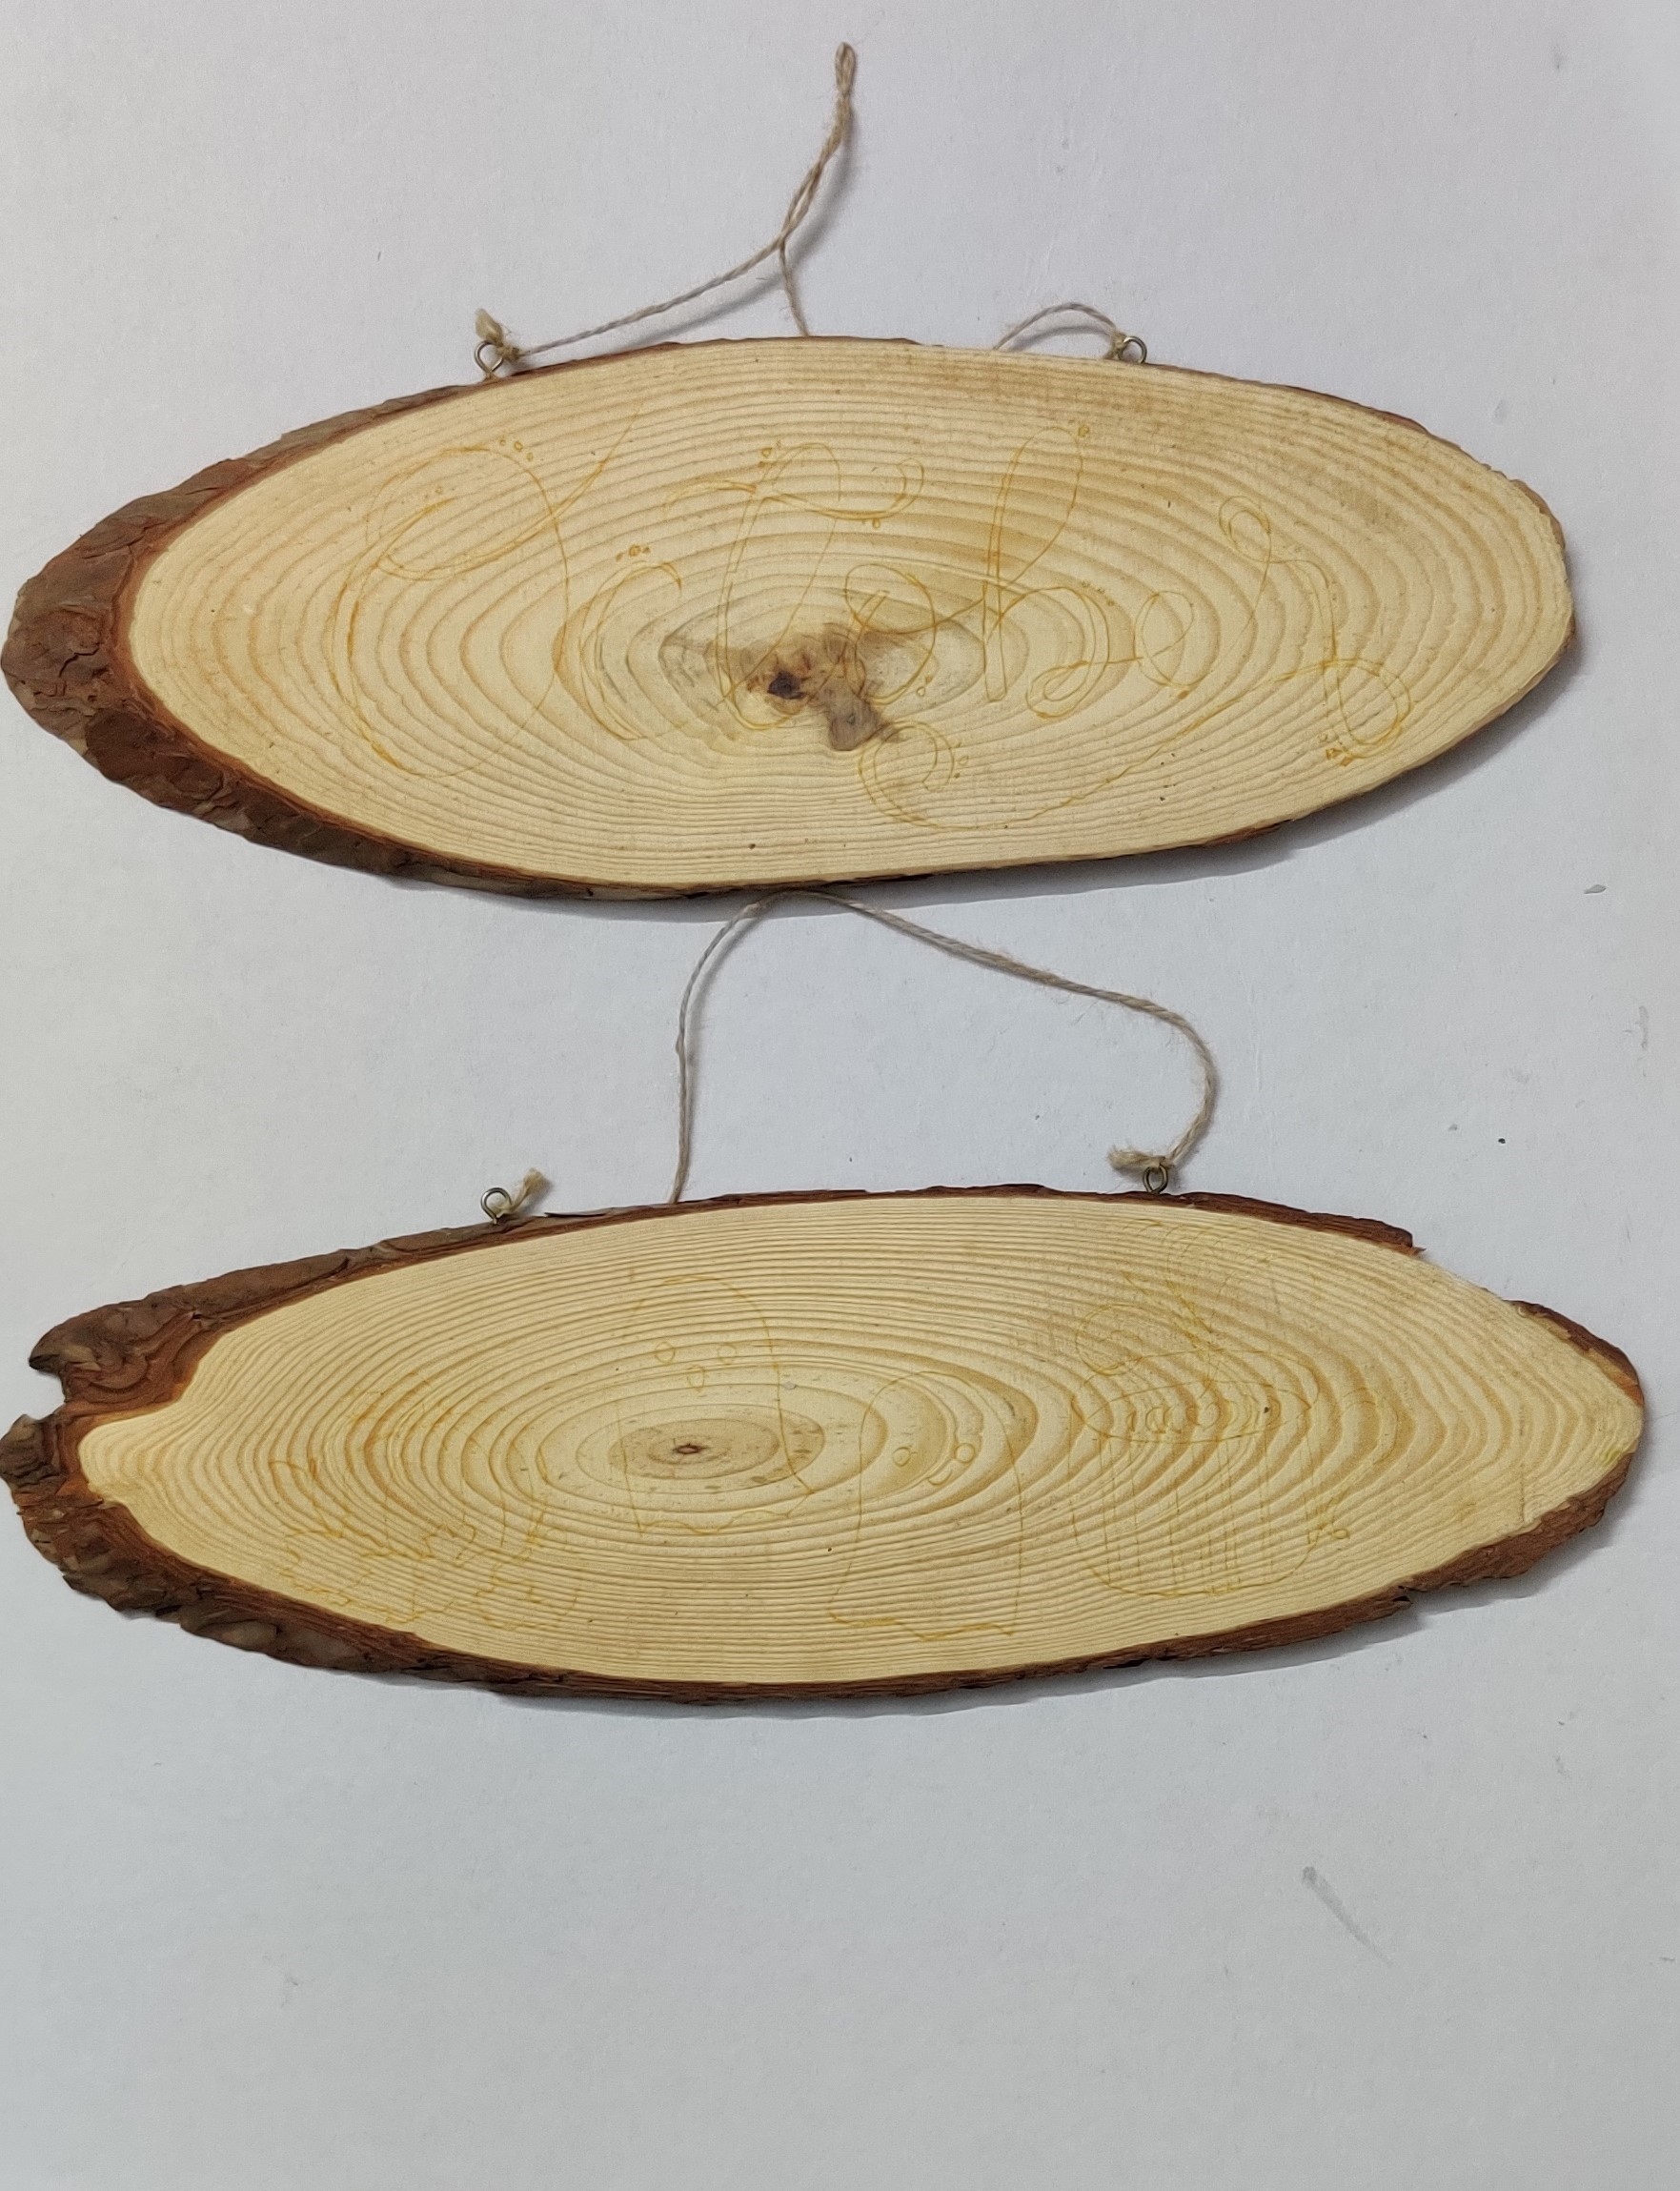
- Take 2 slices of halved wood / wooden planks making sure they are of a similar size.
- Trace out the word “OCTOBER” on the top plank and images of friendly ghosts, pumpkin and coffee mug on the bottom plank.
- Use yellow carbon paper and pencil to trace the images.

- Let’s begin with the first wooden plank.
- Take Fevicryl Acrylic Colour (Black, Pearl Metallic Gold) and in a stylized typo paint the word “OCTOBER” as seen in the image above.
- Use brush to paint the typo.
- Let it dry.

- To decorate it, we have used flowers and leaves.
- The leaves have been made of fabric that has been tied and dyed using Fevicryl Fabric Colours in shades that are typically autumn and earthy in tones.
- The flowers have been collected in the form of dried ones and few from ready DIY kits.
- Stick tiny floral sequence on the flowers and leaves as seen in the image.
- Stick all of them using Fevicryl Fabric Glue.
- Let it dry.
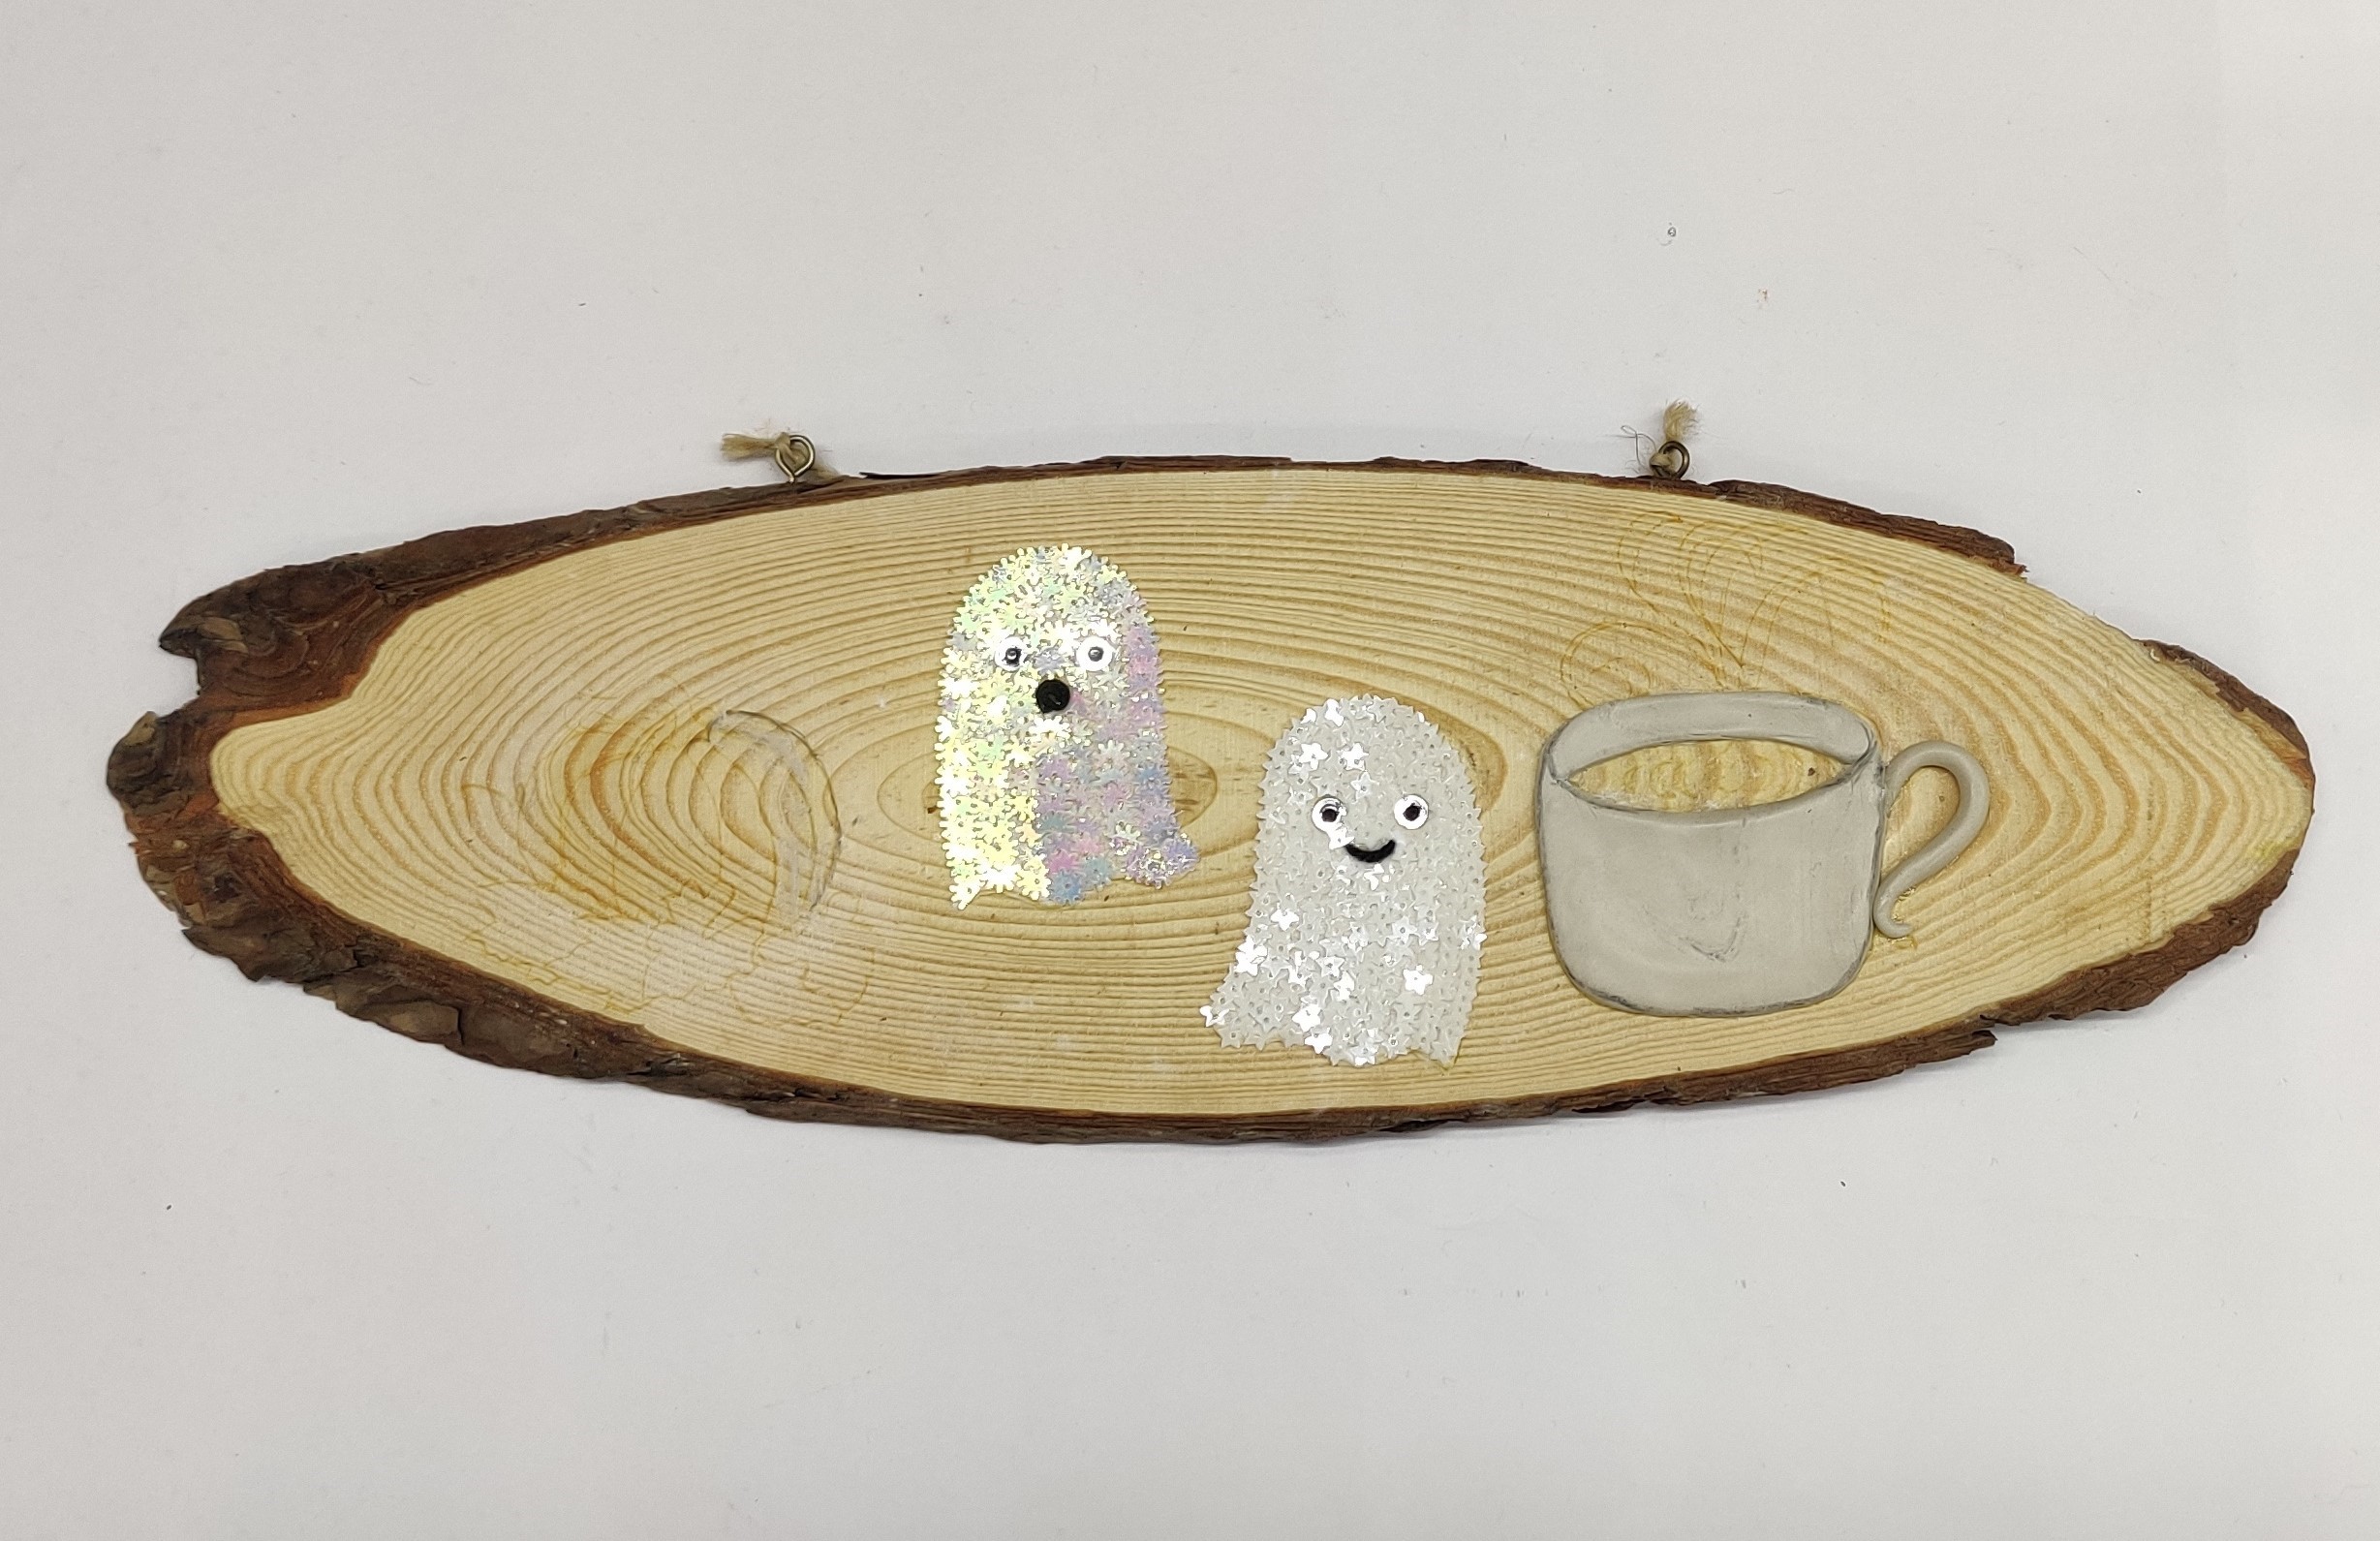
- The pair of white friendly ghosts have been made using Felt as base for the first ghost and white fabric as base for the second ghost.
- Star shaped sequins are used on top to give texture to the friendly ghosts giving it its loose form of floating.
- Use googly eyes on the friendly ghosts as seen to create eyes and black wool to create the mouth.
- Stick them all together using Fevicryl Fabric Glue.
- While the ghosts are dying, mix some amount of Fevicryl Mouldit and create the shape of the coffee mug on the plank as seen in the image.
- Stick them all together using Fevicryl Fabric Glue.
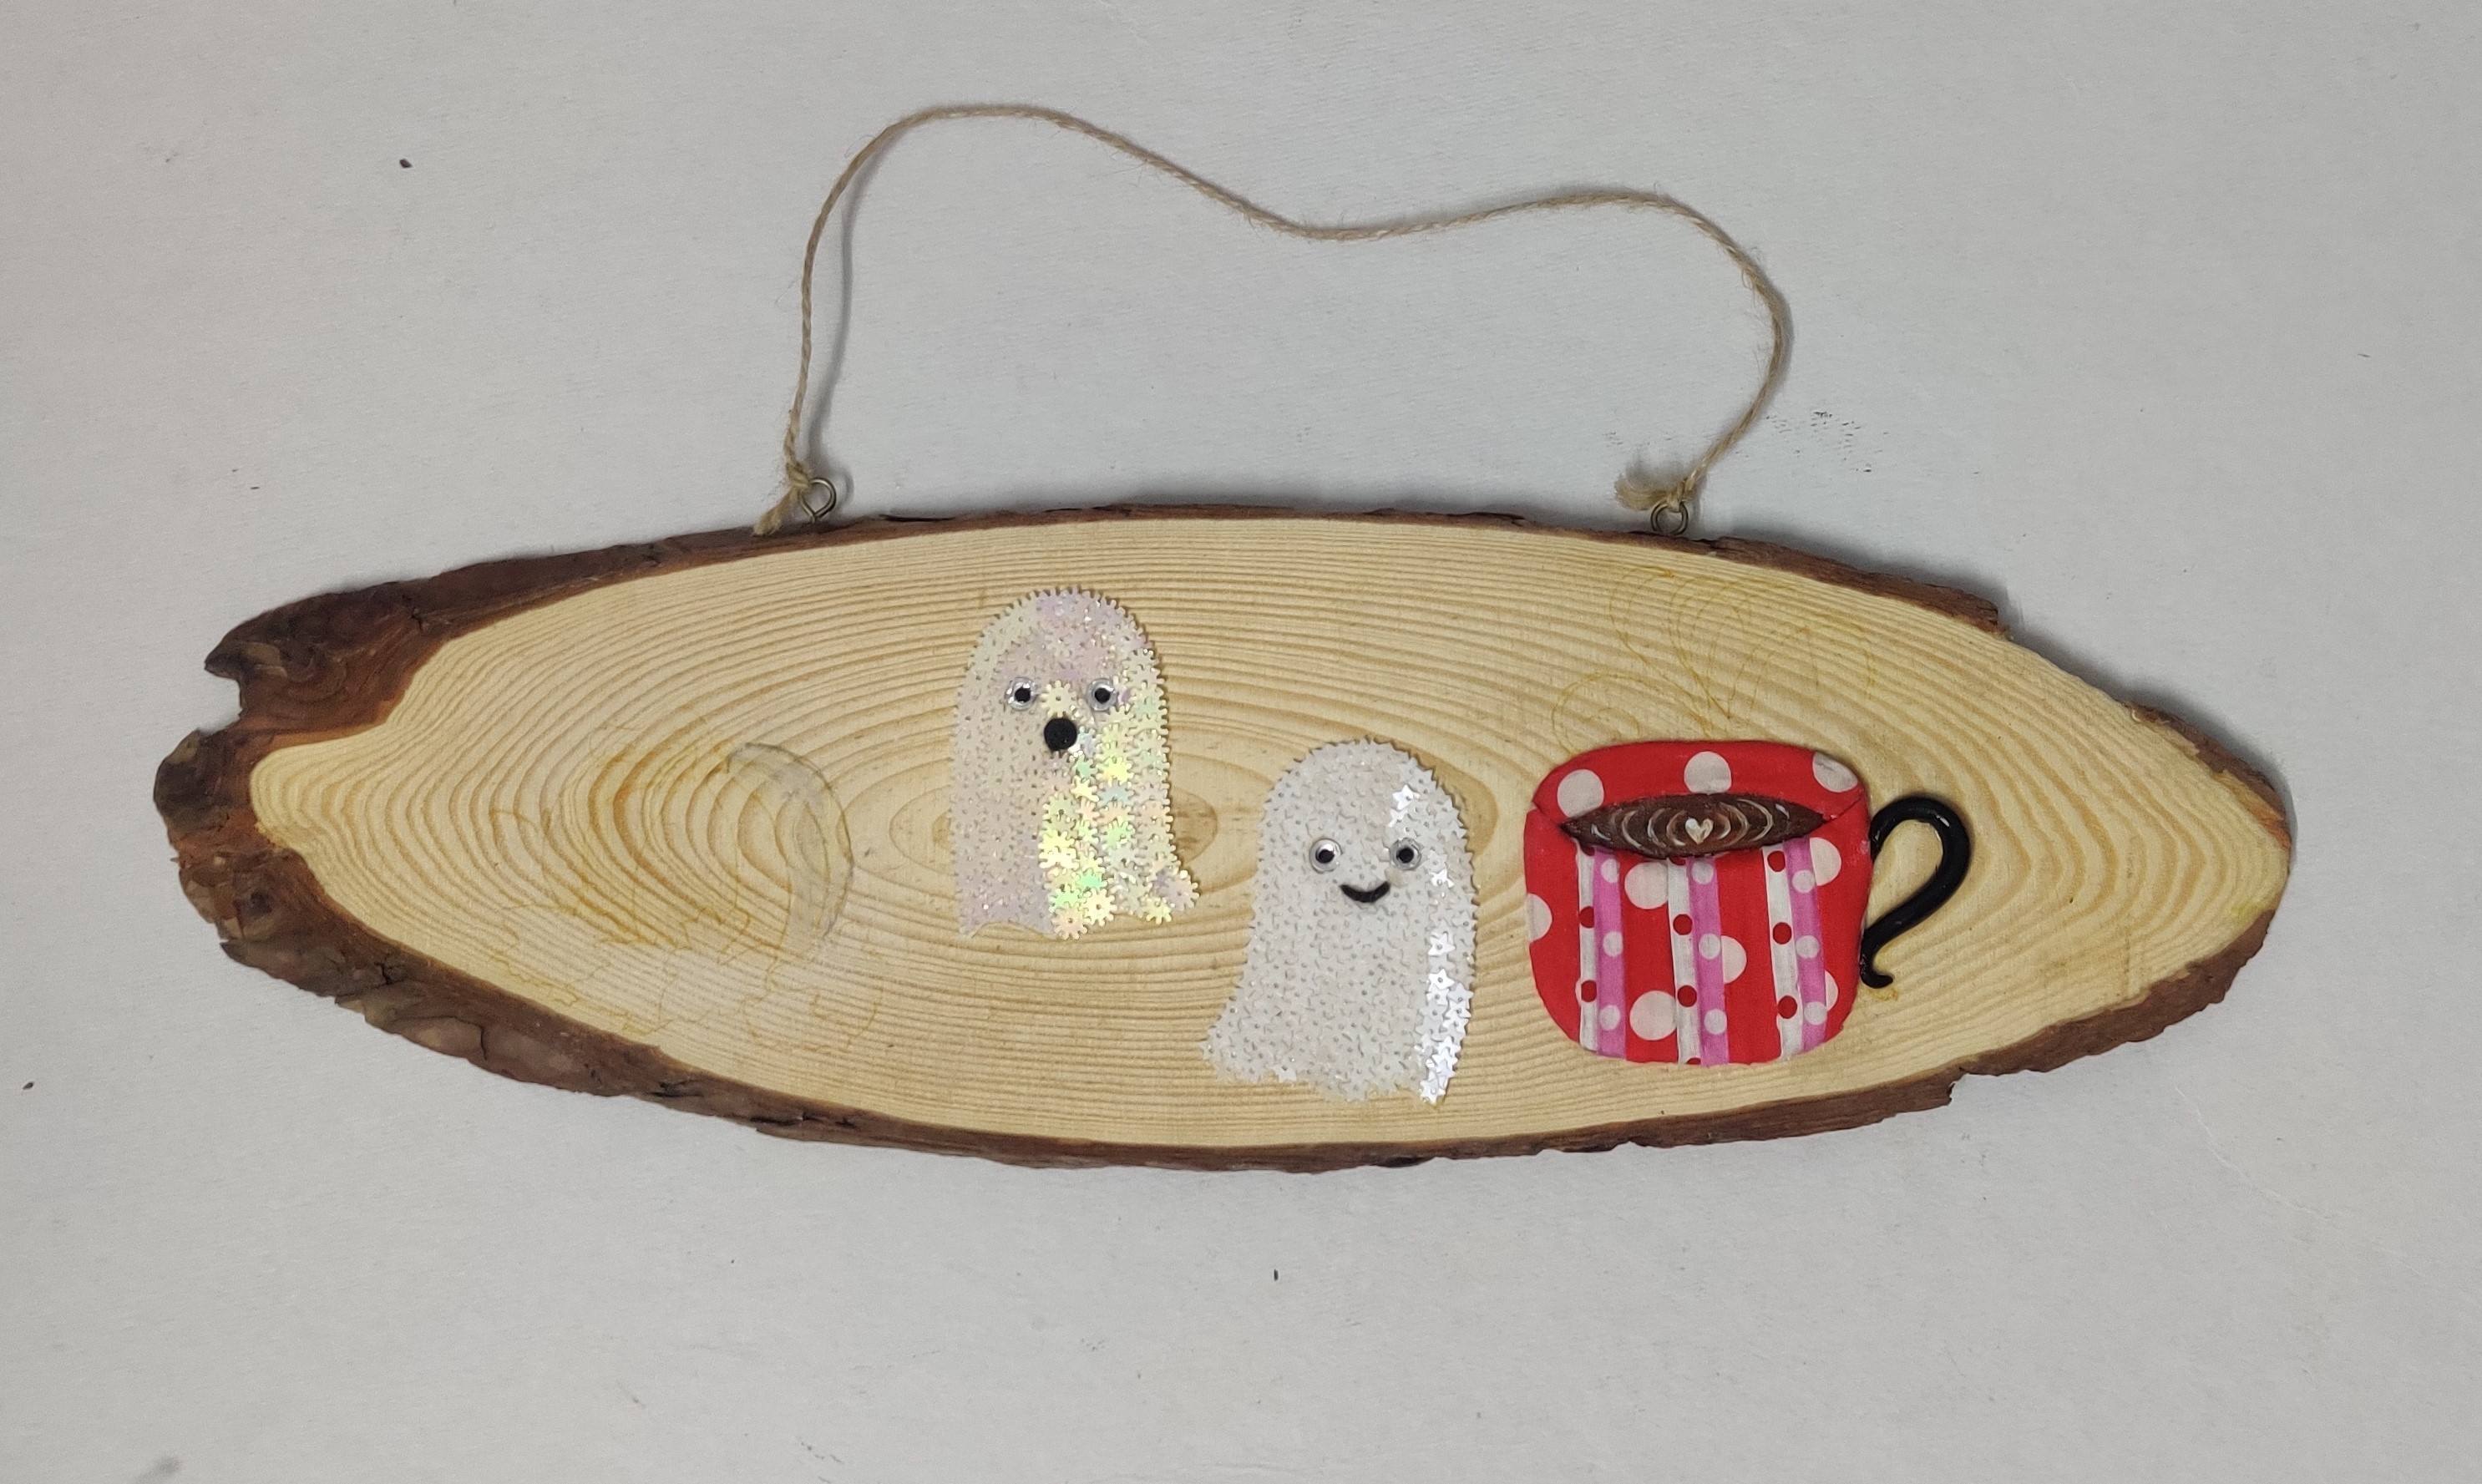
- Once the mouldit dries, stick strips of fabric vertically as seen in the image to give it it’s pattern.
- Stick them all using Fevicryl Fabric glue.
- Let it dry.
- Paint the cup of the handle using Fevicryl Acrylic Colours.
- Let it dry.
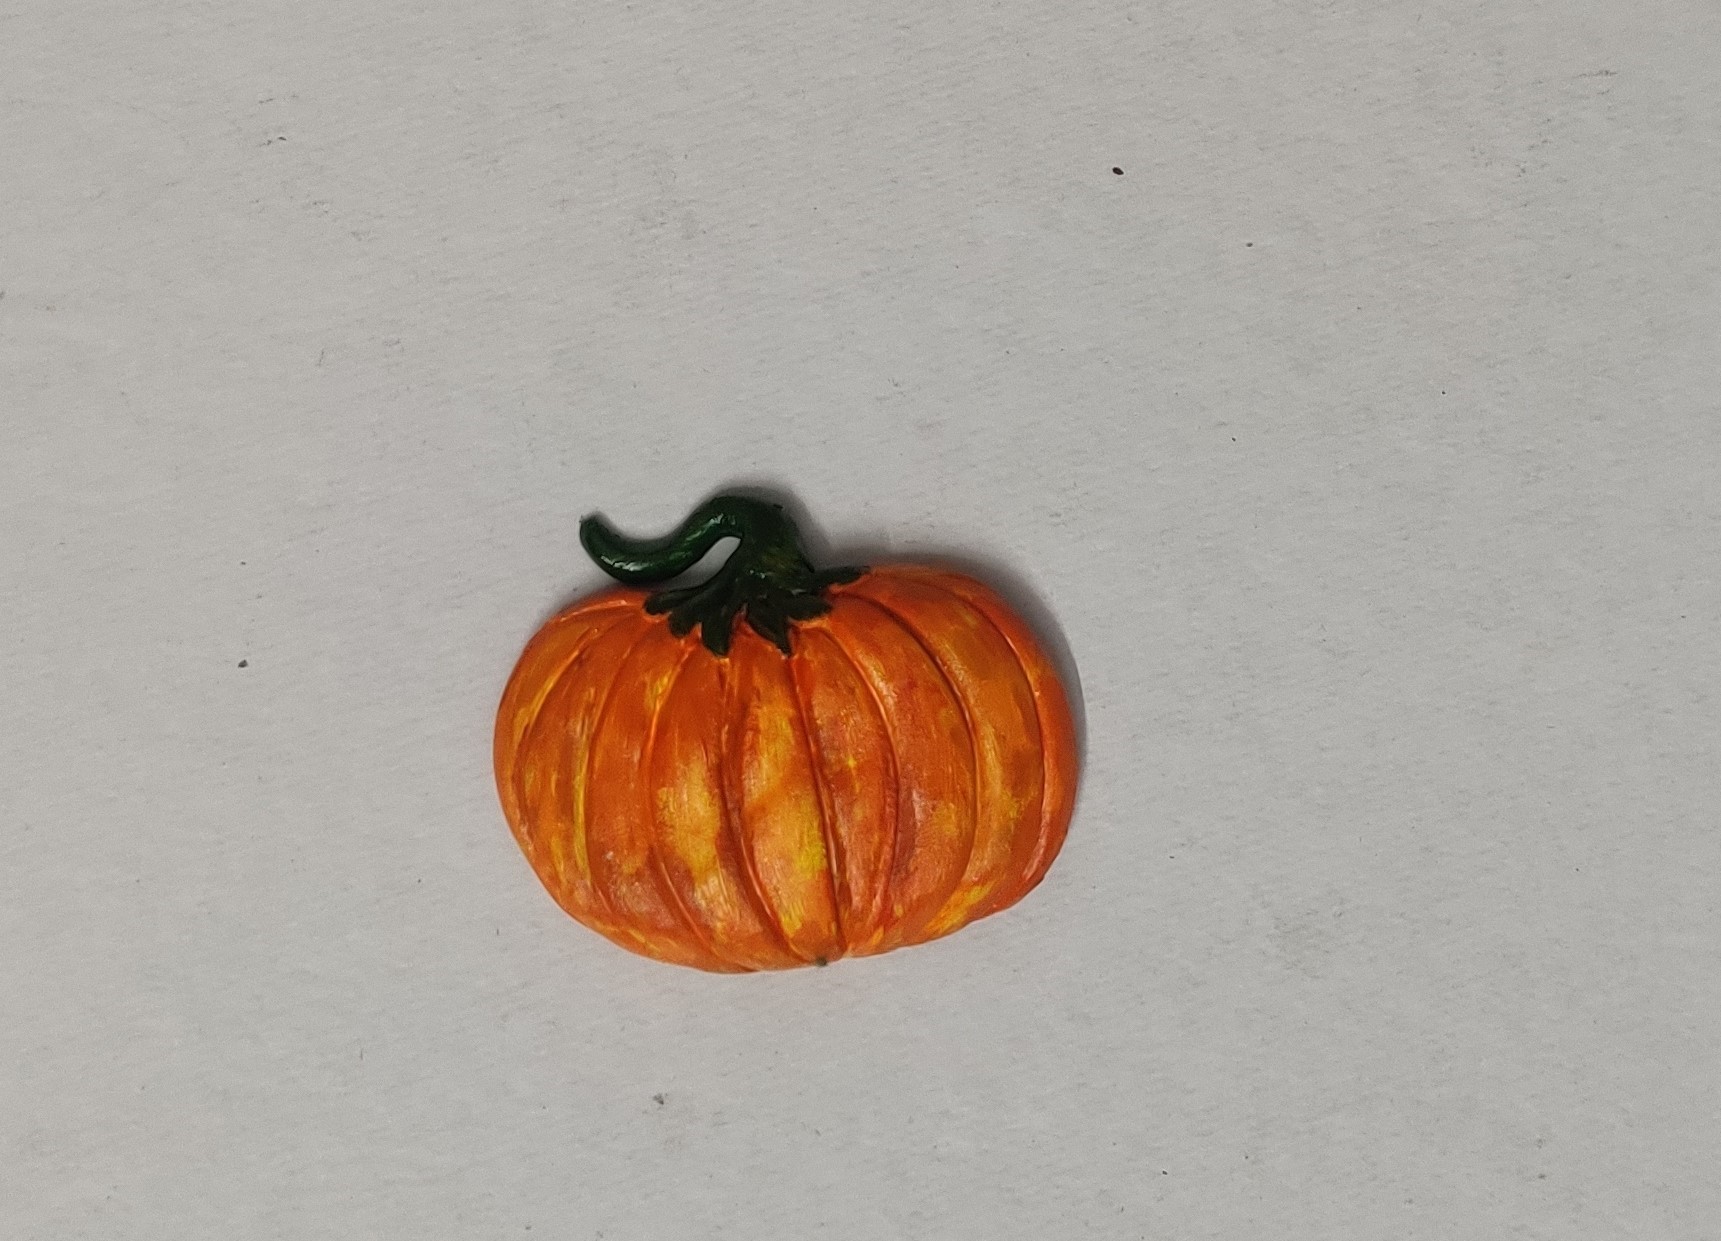
- Make the pumpkin using Fevicryl Mouldit.
- Handcraft it giving it texture and grooves using clay craving tools, to lend a realistic look.
- Paint the Pumpkin using Fevicryl Acrylic Colours (orange, crimson, light green, burnt sienna, chrome yellow)
- Let it dry.
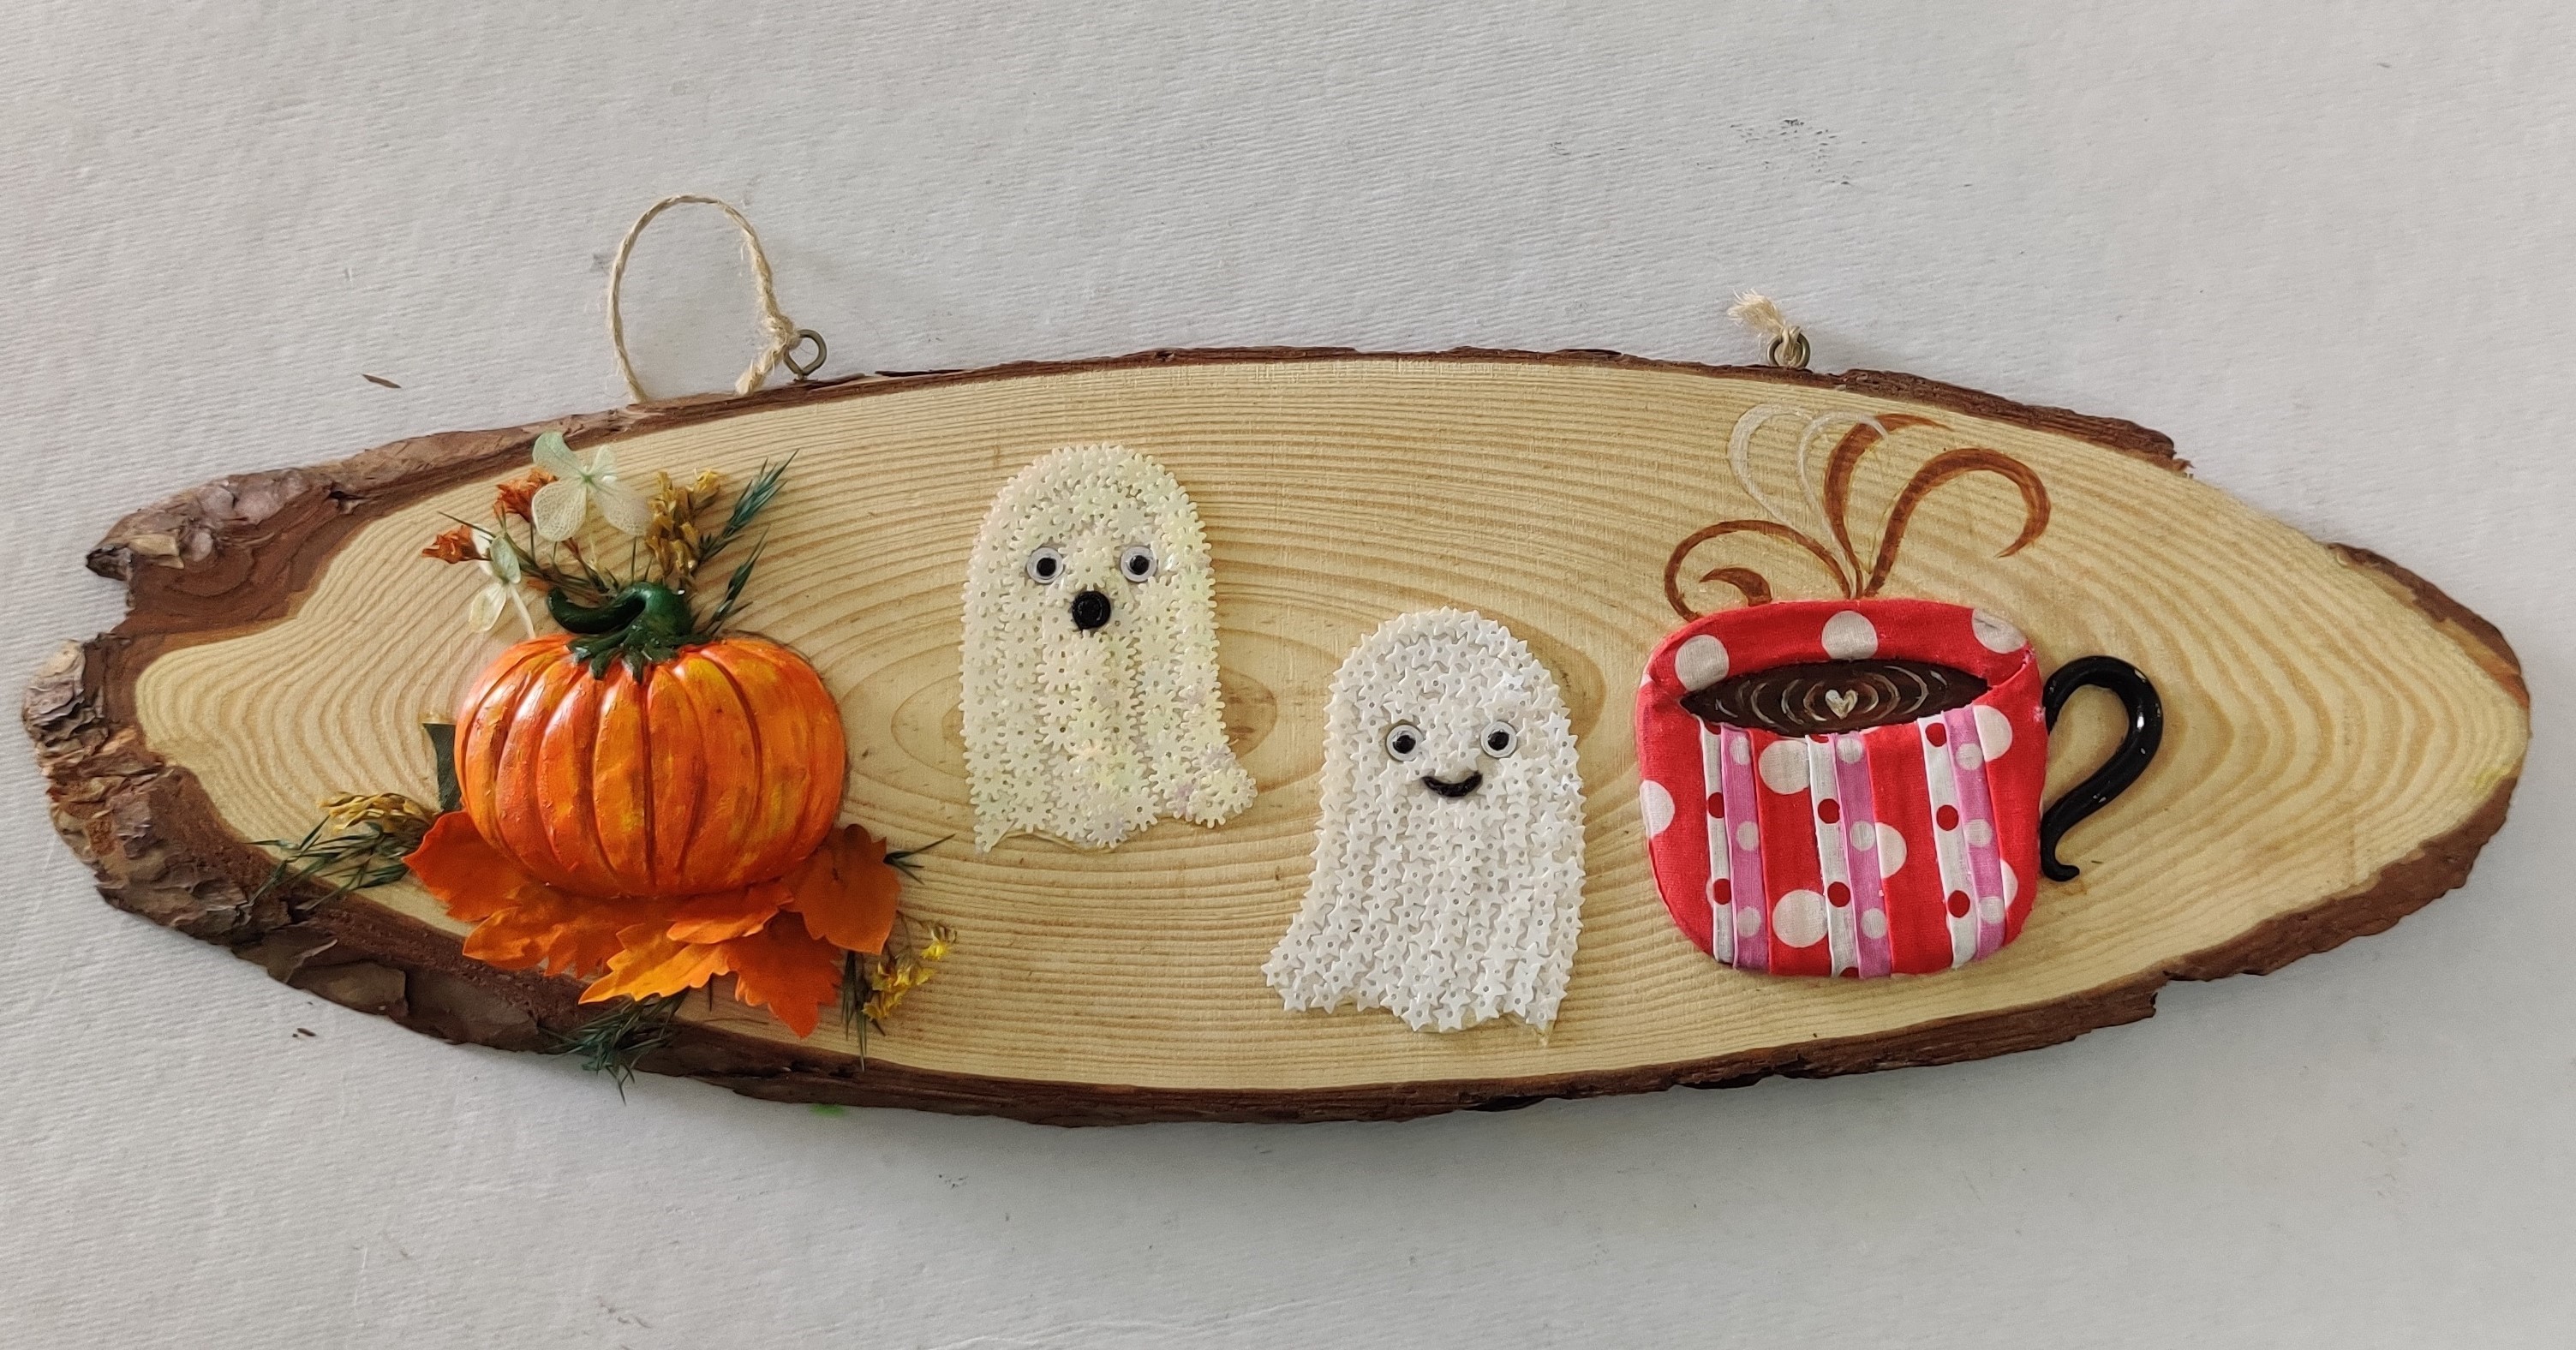
- Select dried flowers, leaves which we made by dyeing fabric and stick them on the wooden plank as seen in the image.
- Once the leaves and flowers are stuck, stick the pumpkin on top of them as seen in the image.
- Stick them all using Fevicryl Fabric Glue.
- Let it dry.
- Paint the steam near the coffee mug as seen in the image using Fevicryl Acrylic Colours brown and white.
- Use brush to paint.
- Let it dry.
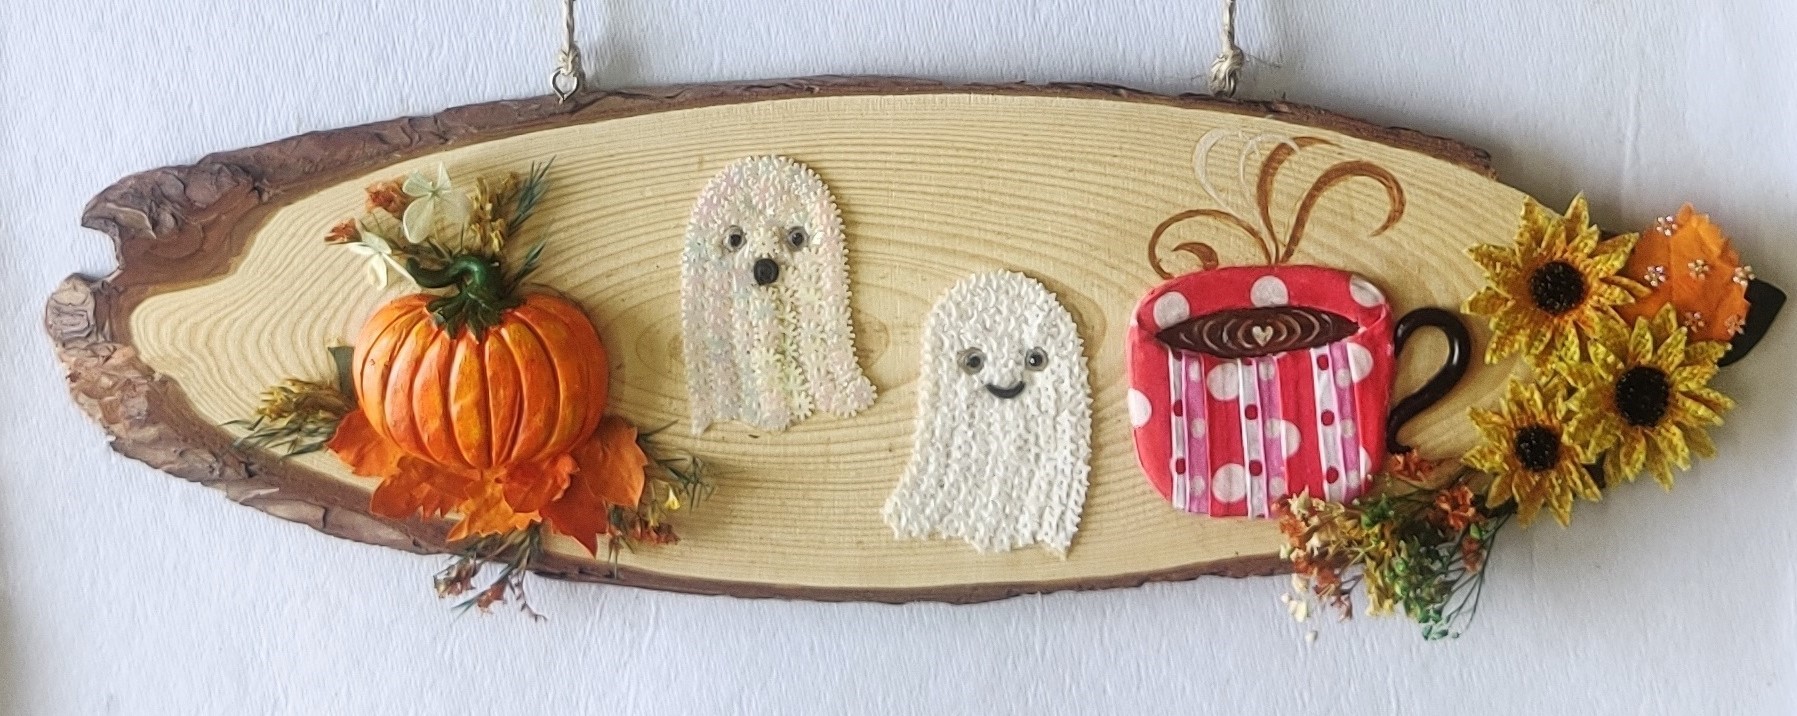
- Decorate the second plank to match the first by using fabric flowers, dried florals and fabric leaves as seen in the image
- Stick them using Fevicryl Fabric Glue.
- Let it dry.
- With the help of a cord that is plaited neatly, aesthetically join the 2 planks giving it space in between and fastening the ends with colourful wooden beads and a tassel made with woolen threads.
- In a pretty formation, place and stick the florals & leaves in a flow downwards as seen in the image, using Fevicryl Fabric Glue.
- Let it dry completely.
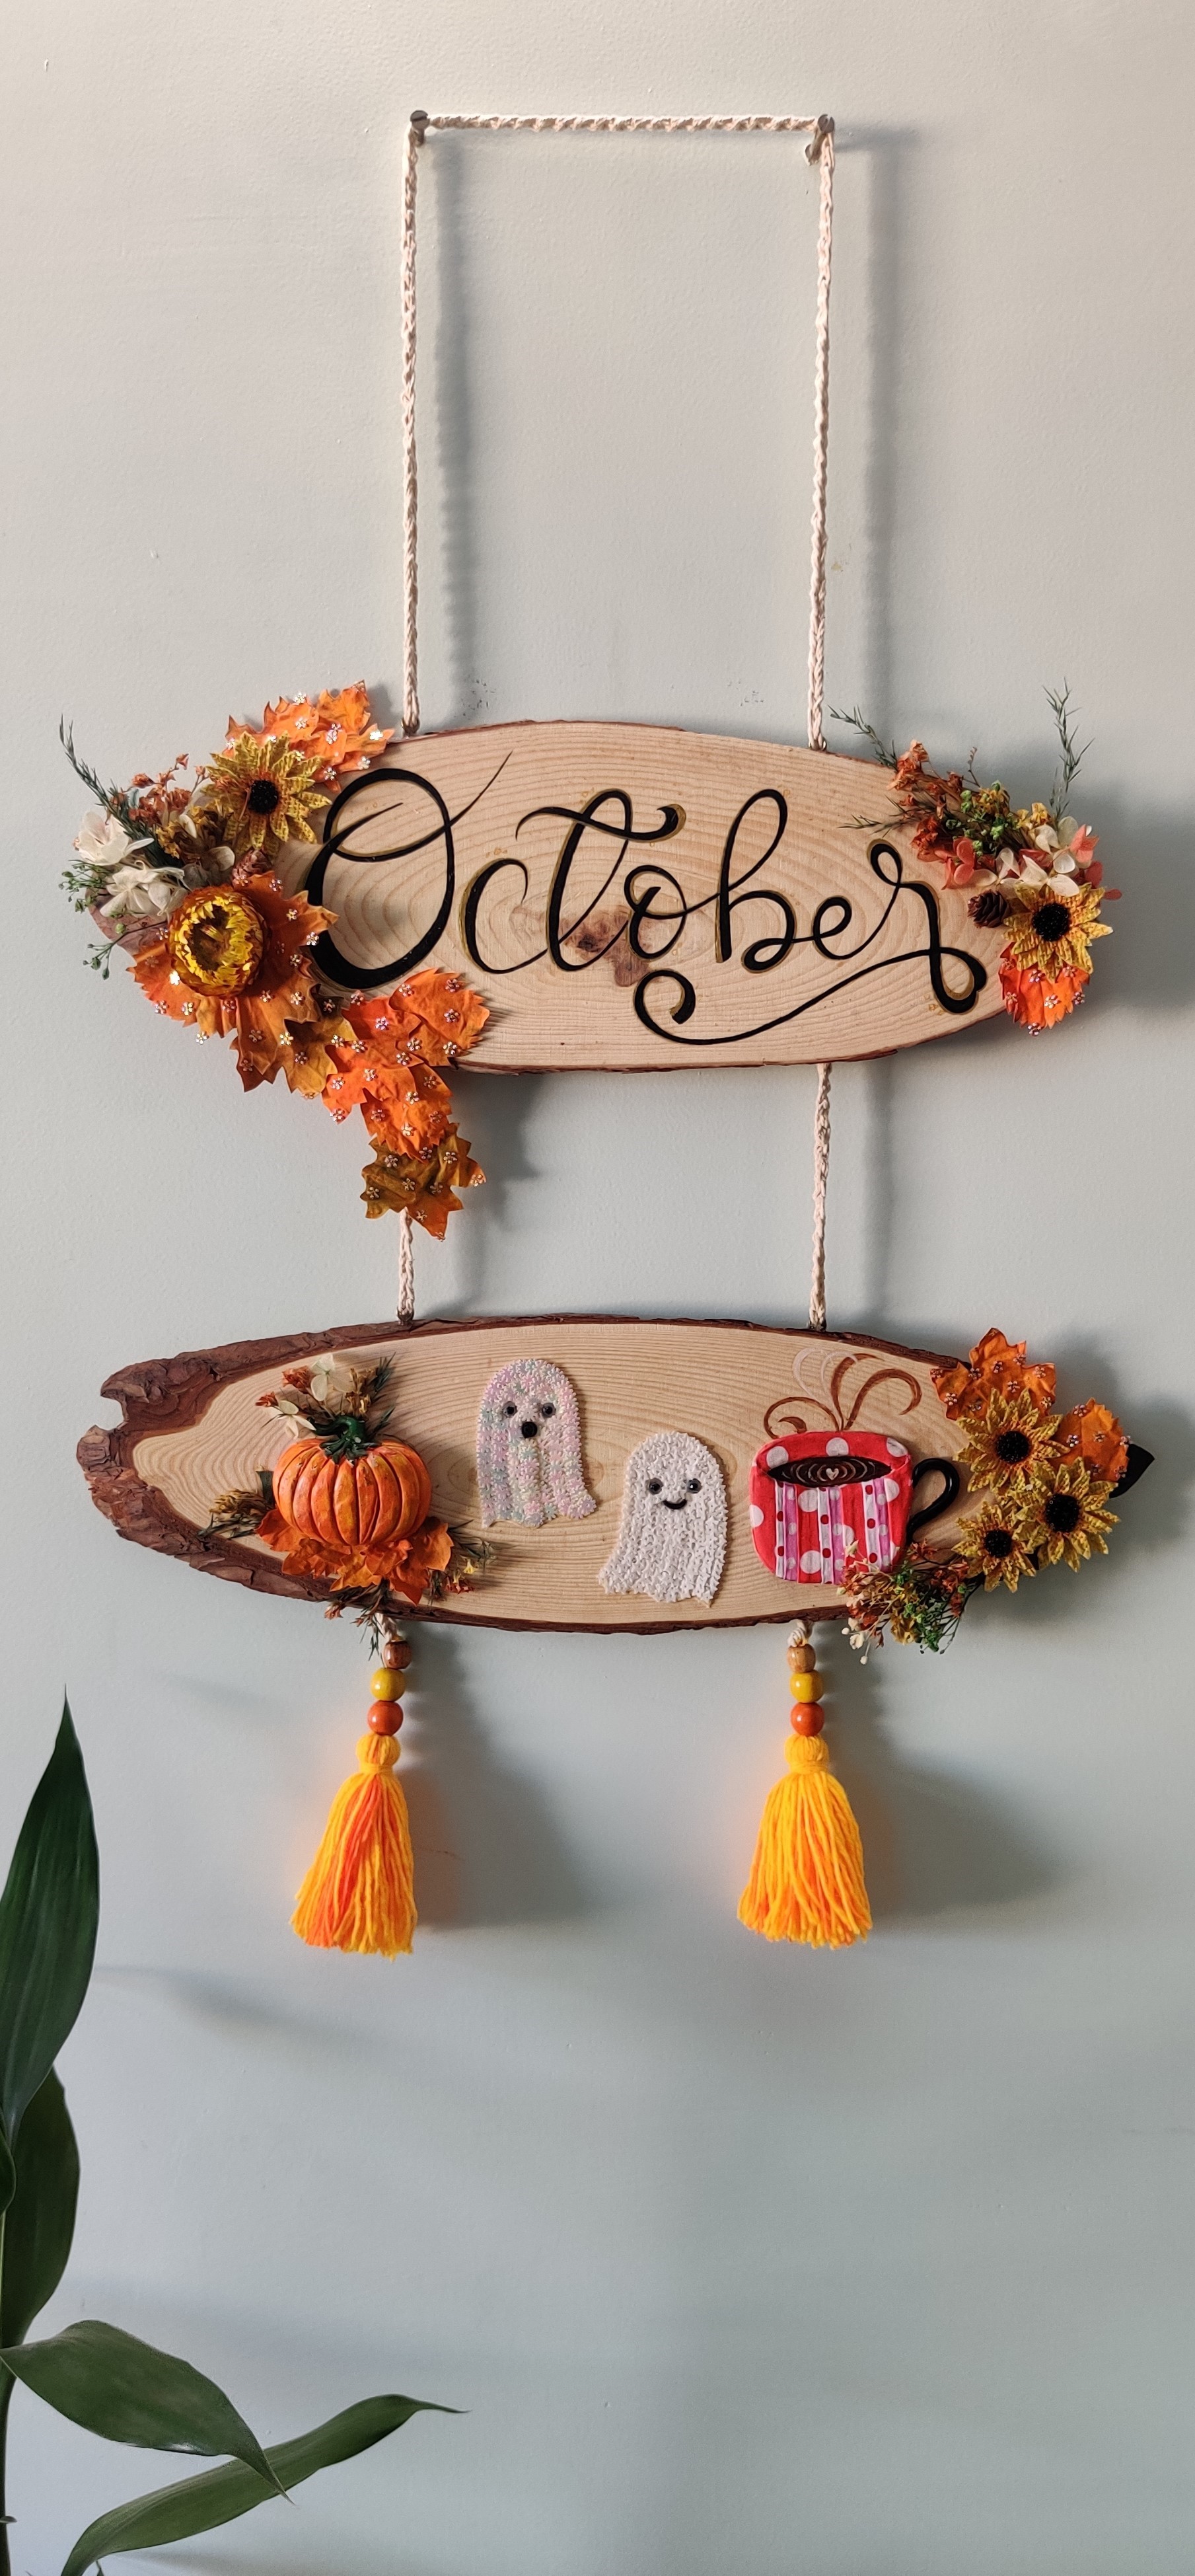
The pretty autumn wall hanging is ready to cheer up your day!


 +91 99676 55545