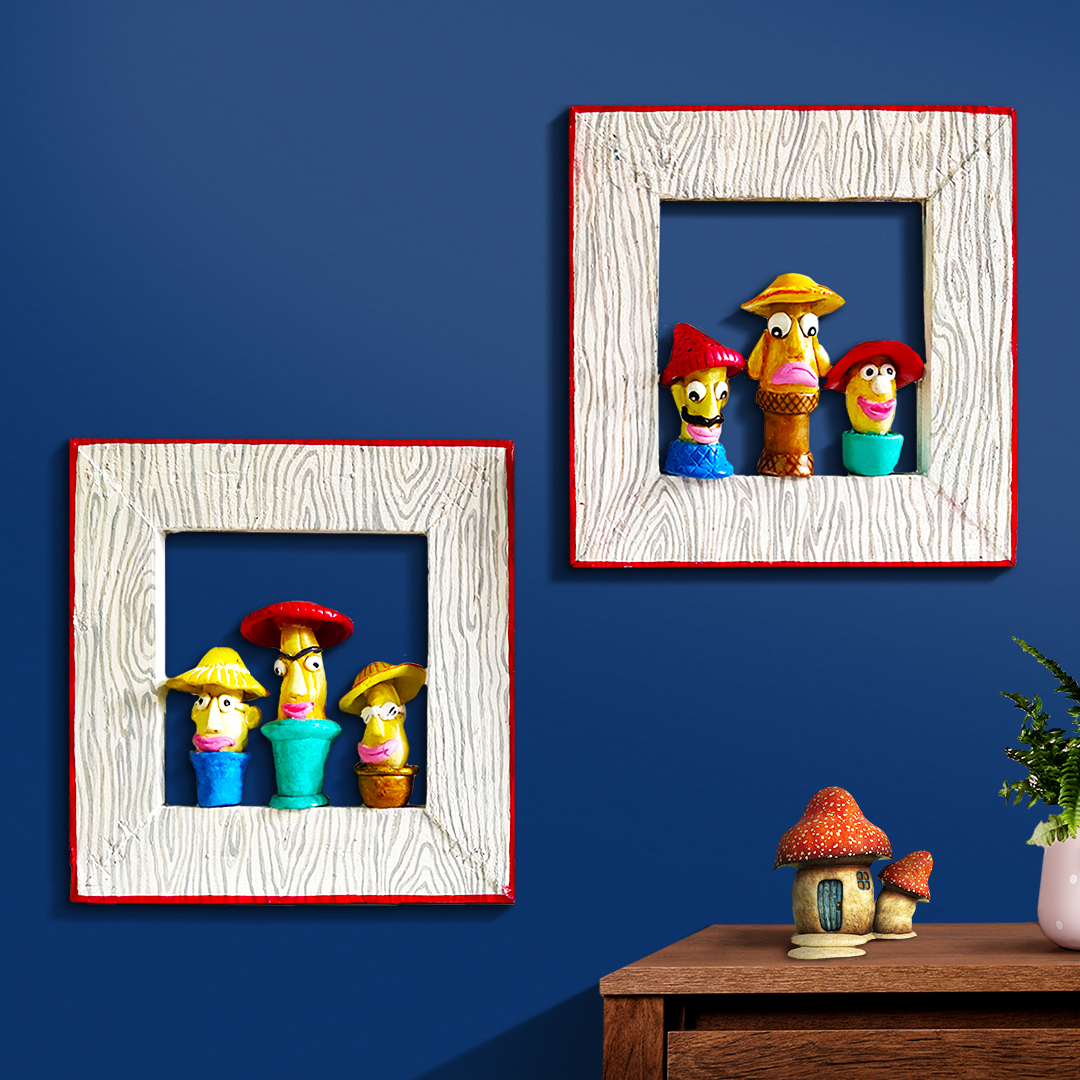
Mushroom Characters In Frame

You Will Need:
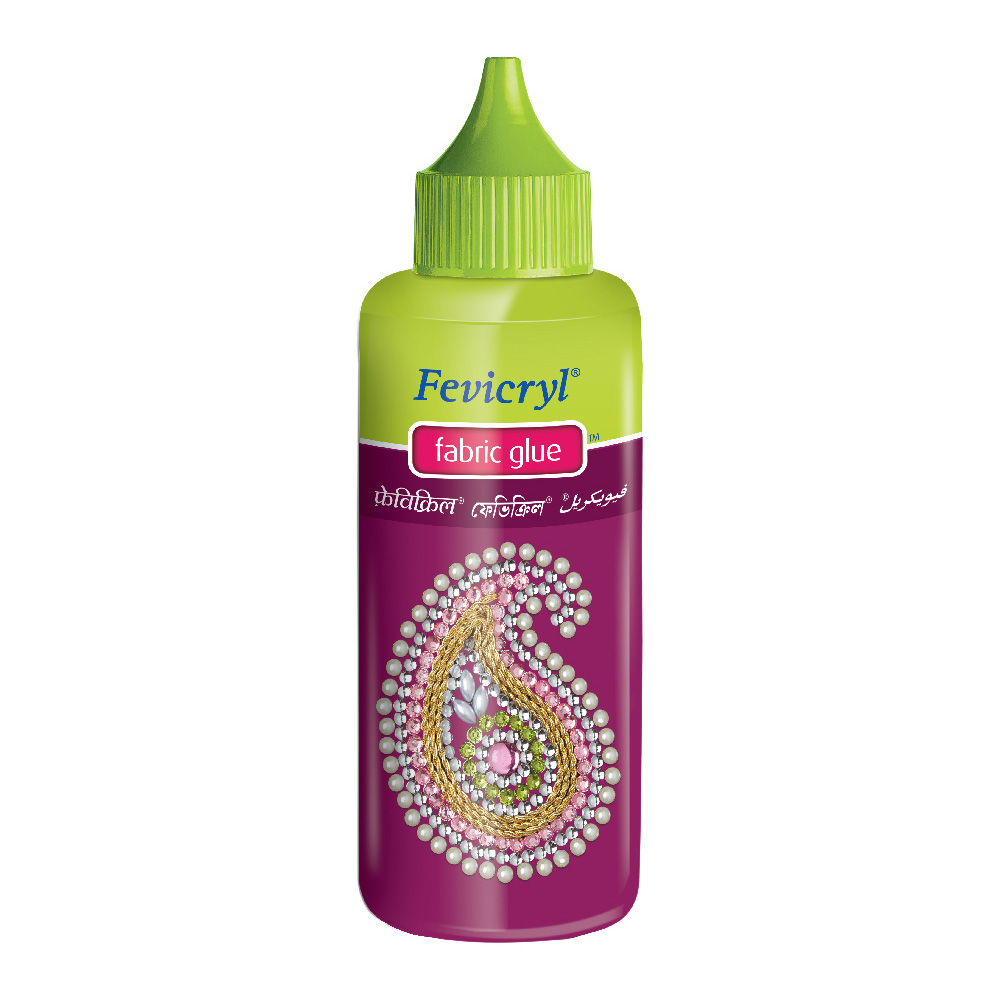
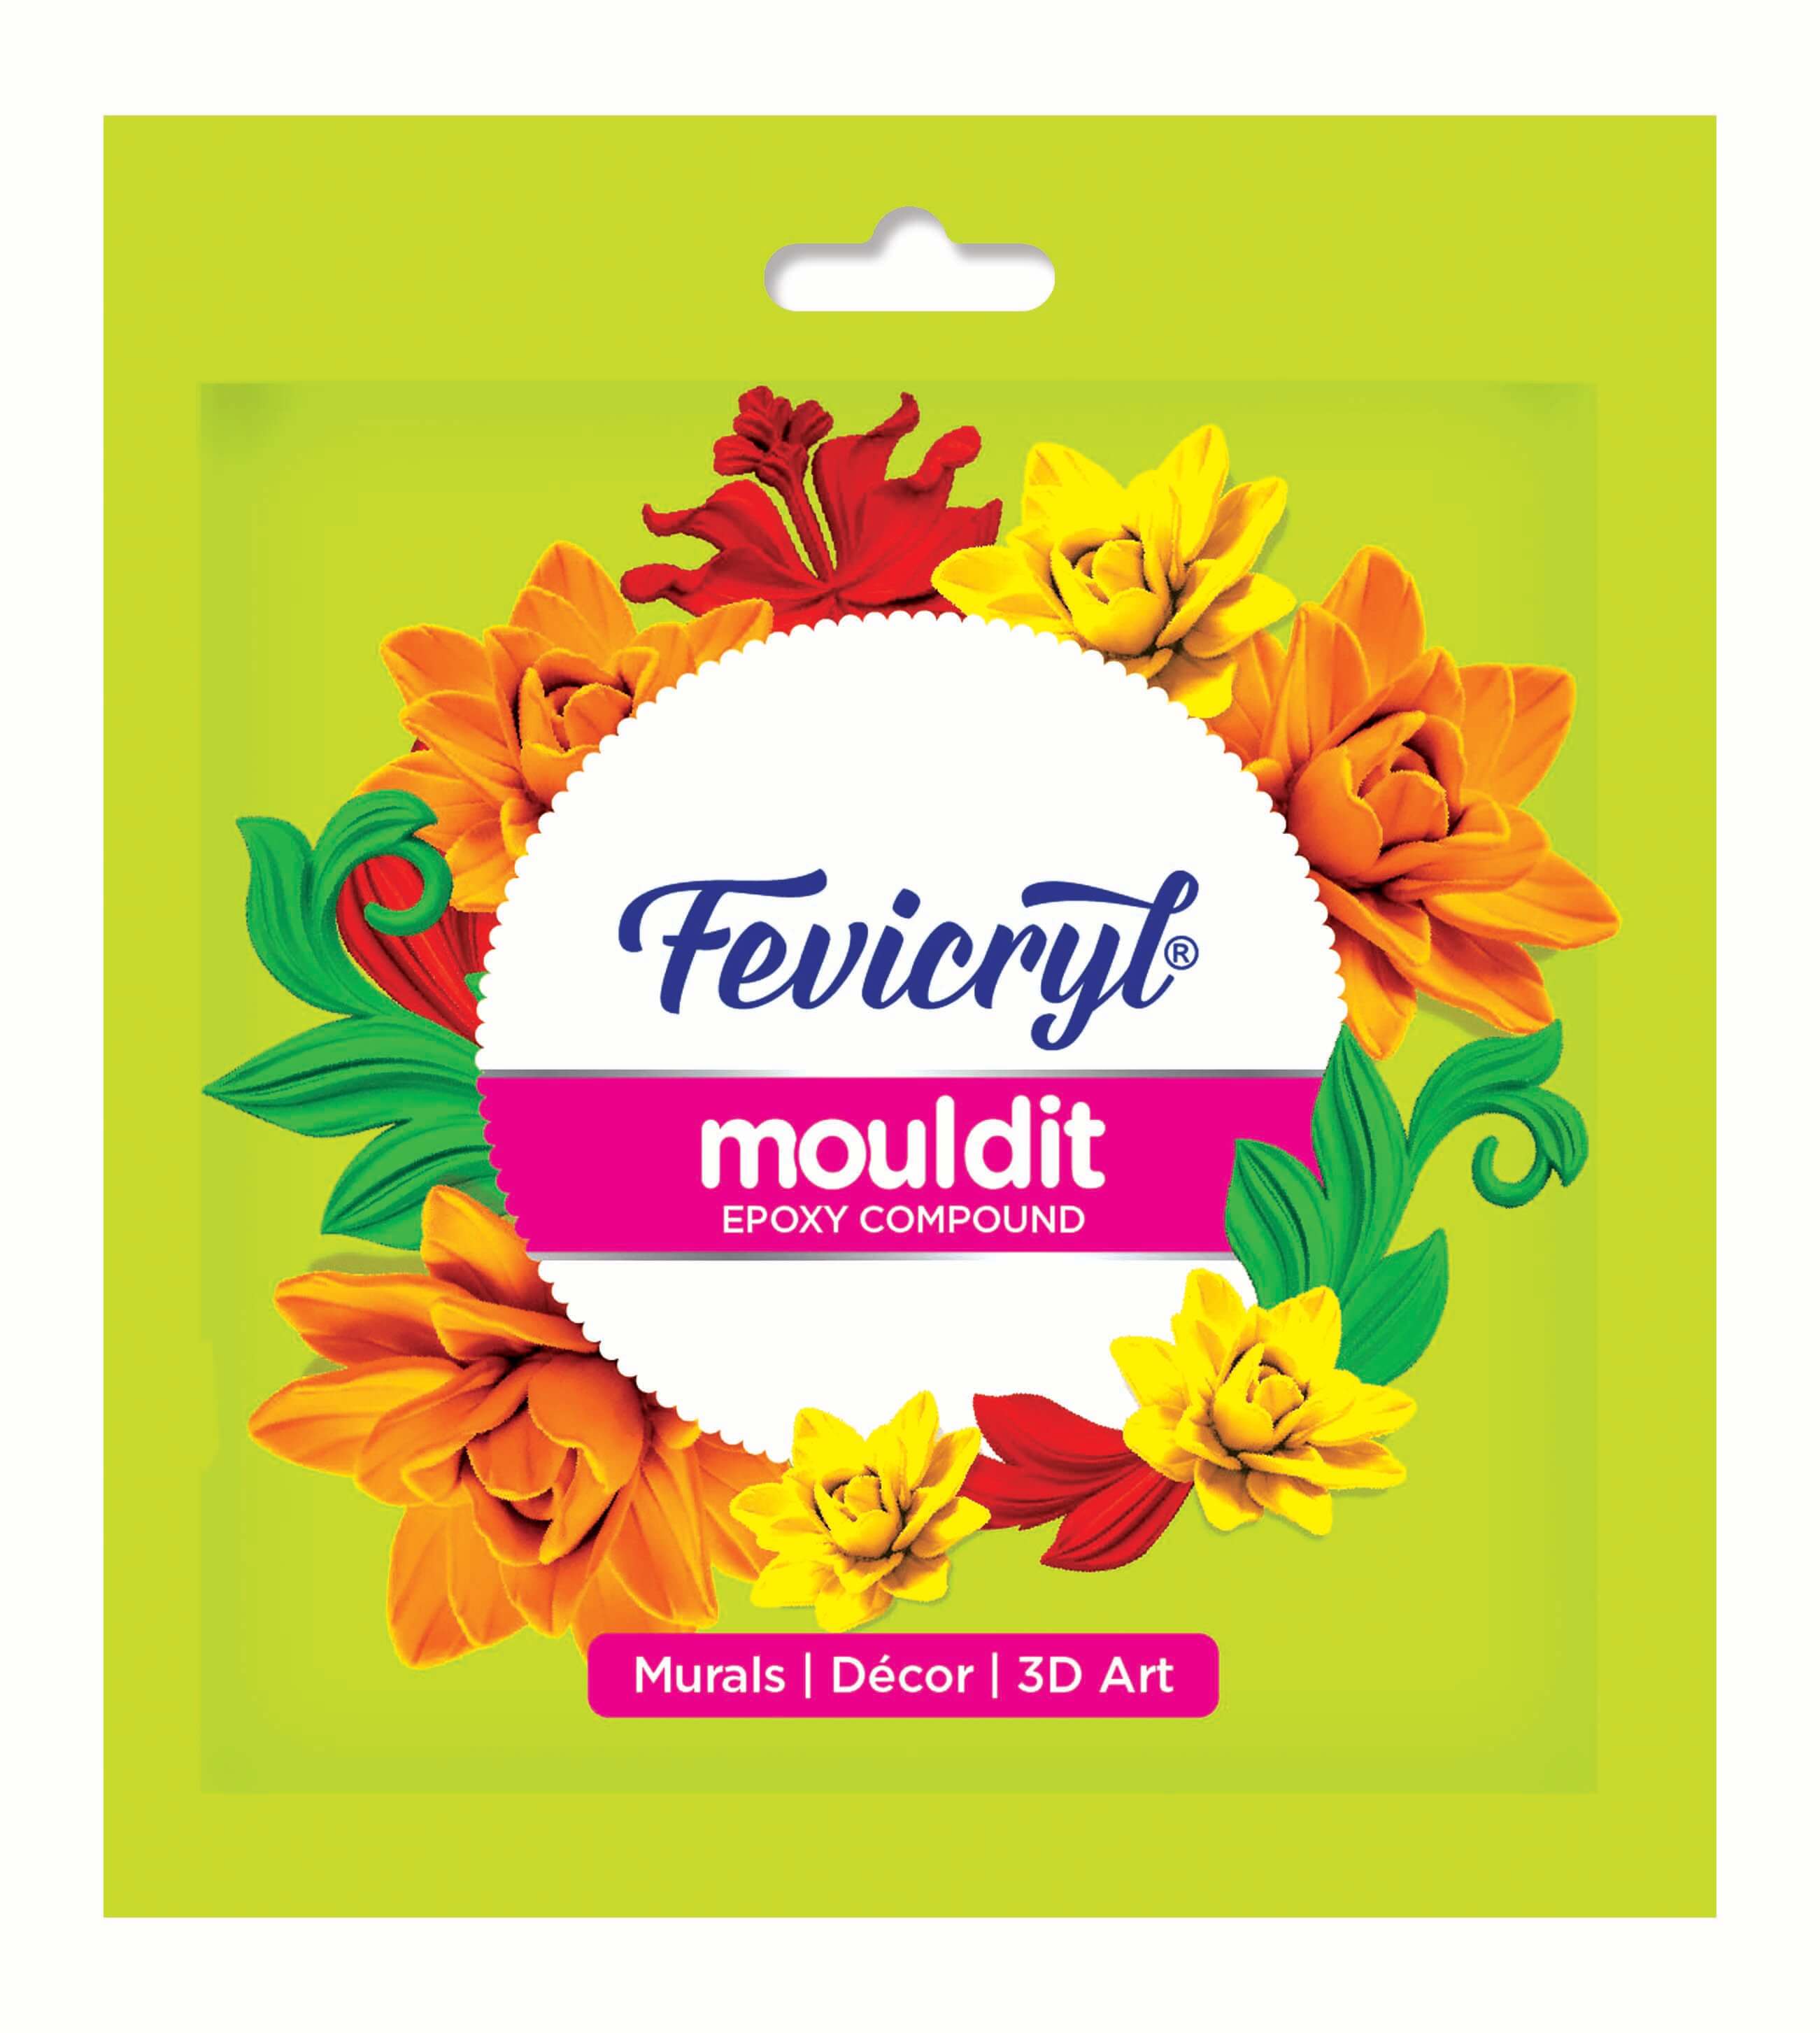
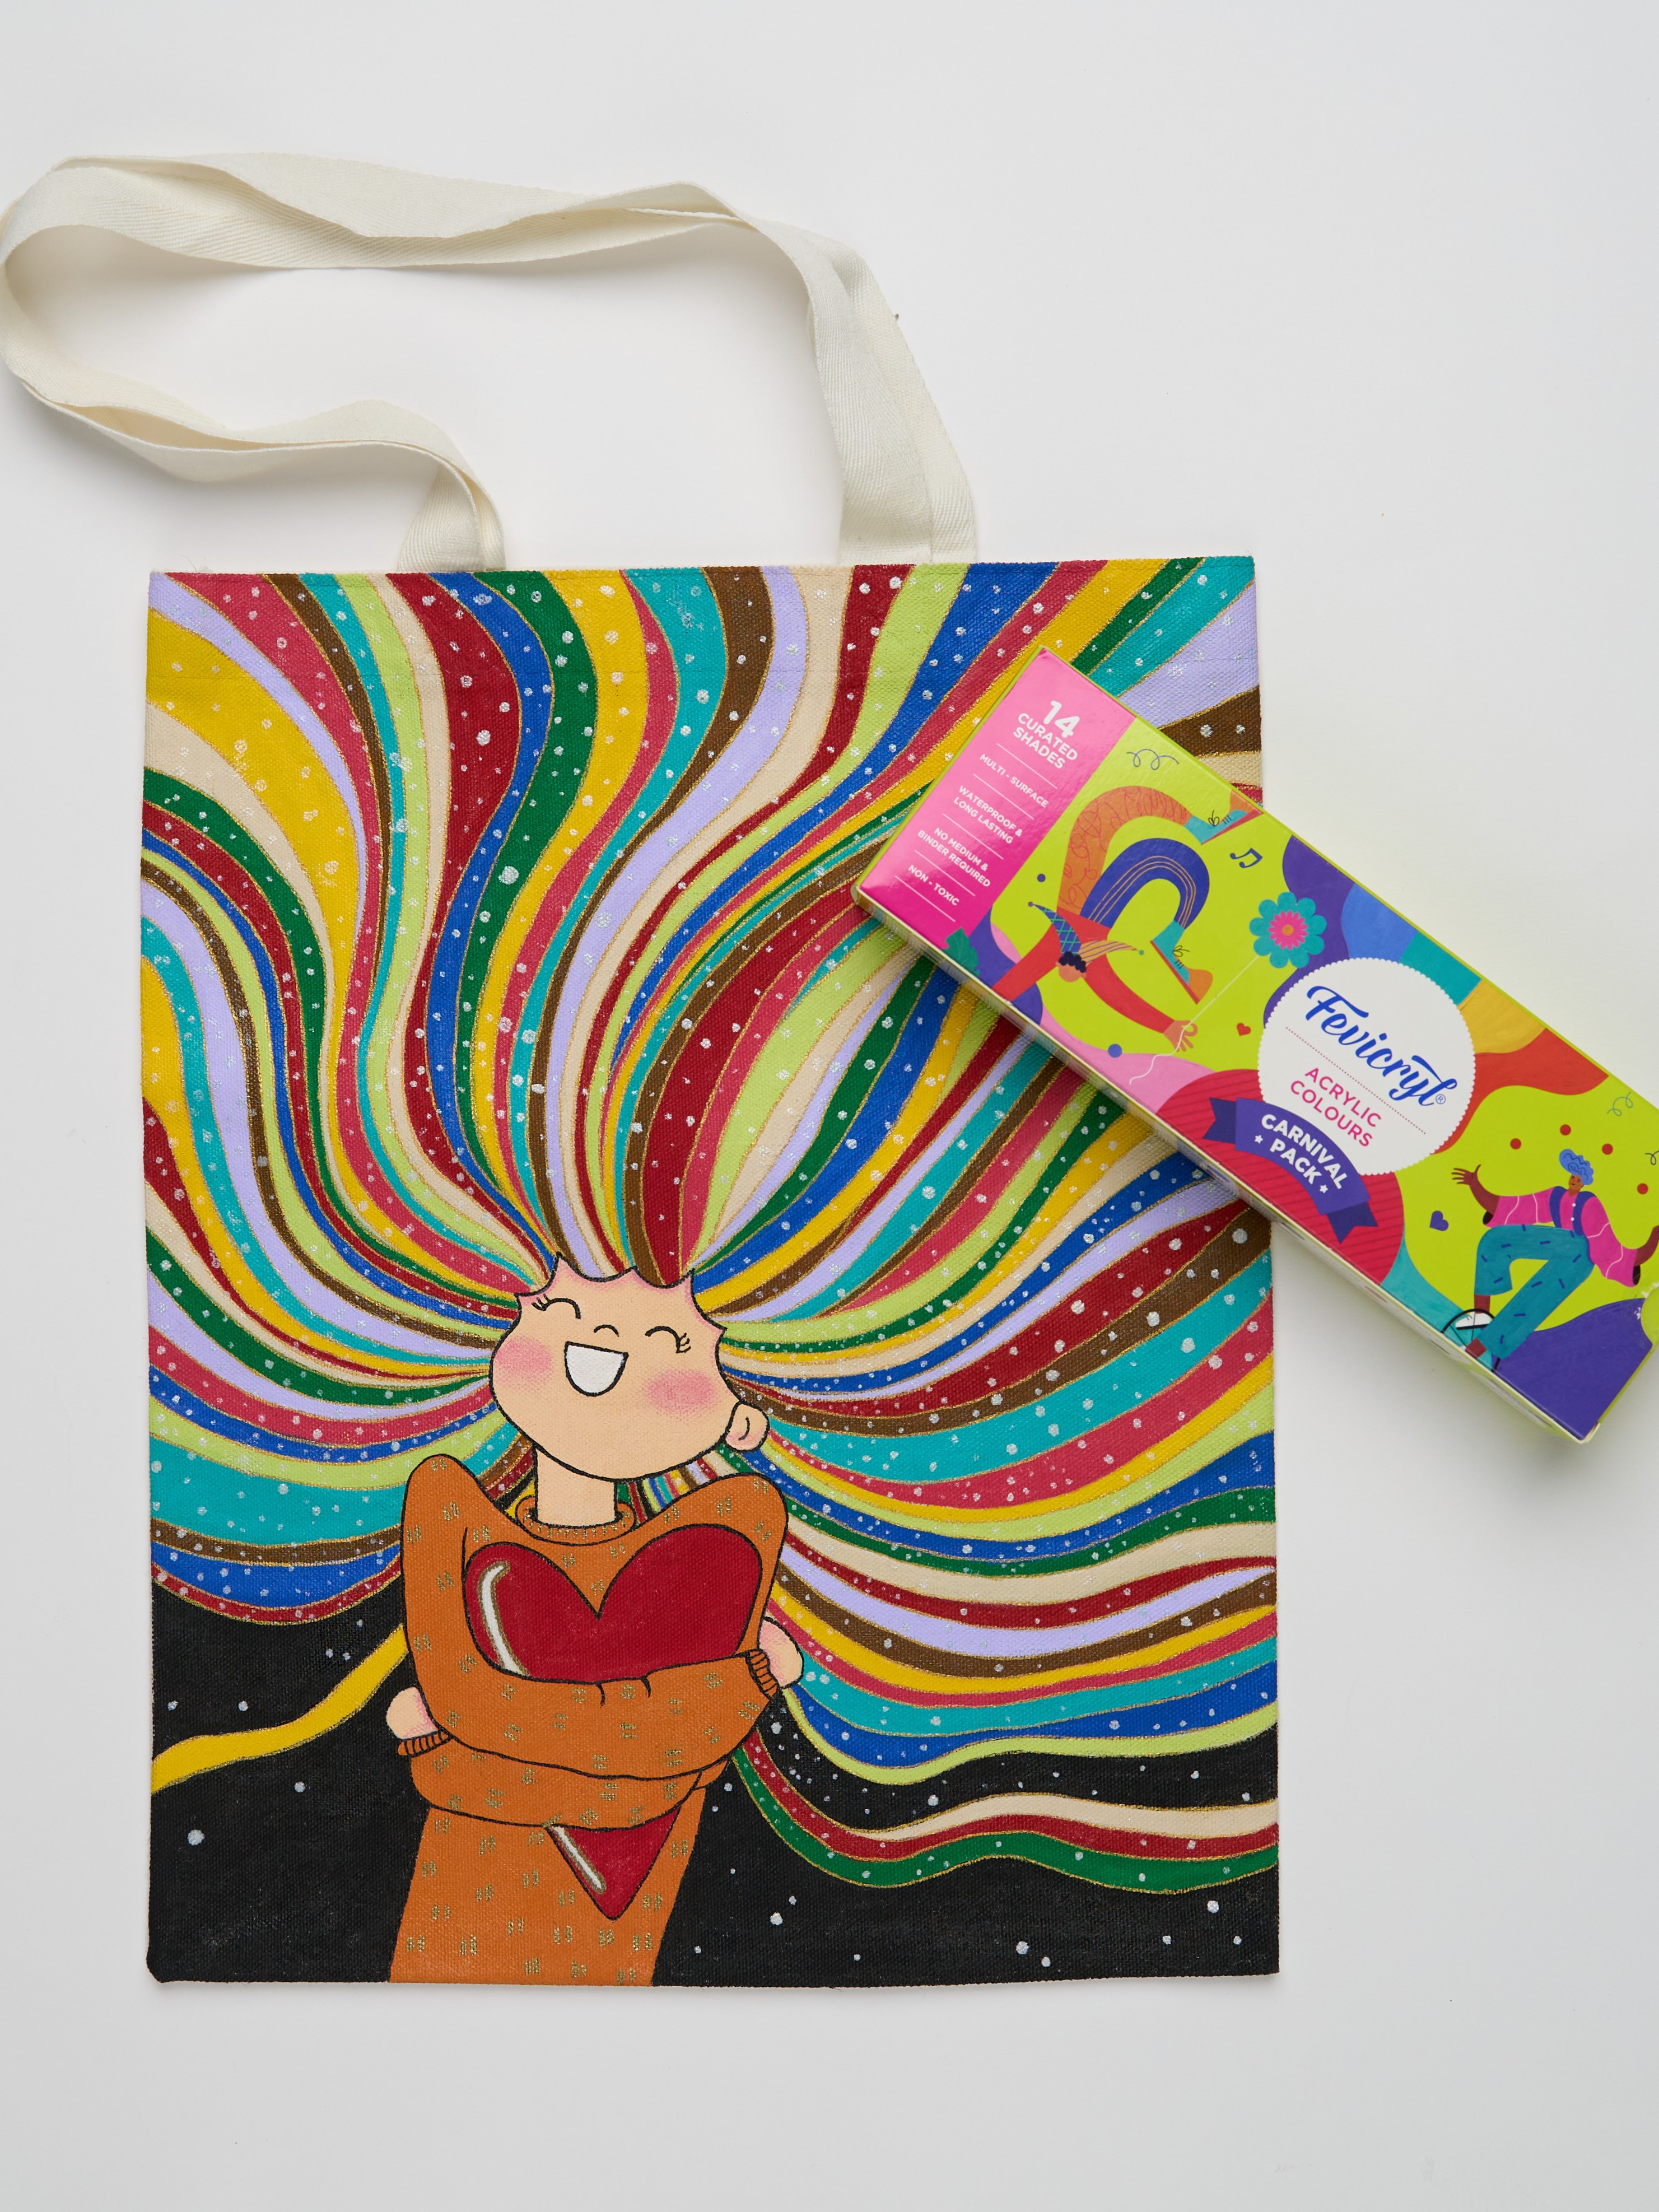
Fevicryl Acrylic Colours Burnt Sienna 01, Black 02, Chrome Yellow 03, Crimson 04, White 27, Cerulean Blue 32, Teal Blue 68, Fevicryl Mouldit, Fevicryl Fabric Glue, Fine Art Brushes, Wooden Frames, Clay Carving Tools, Paper Cutter, Colour Palette, Water Container
Product Used:

Description :
These wee li’l mushrooms make this project oh so cute. Fevicryl products have been used beautifully to make this DIY one of the most adorable one.
STEP 1 : Mix Mouldit

- We are going to make some Mushroom characters with Mouldit.
- Take Mouldit resin base and hardener, mix it thoroughly to make even dough.
STEP 2 : Mould Mushroom characters
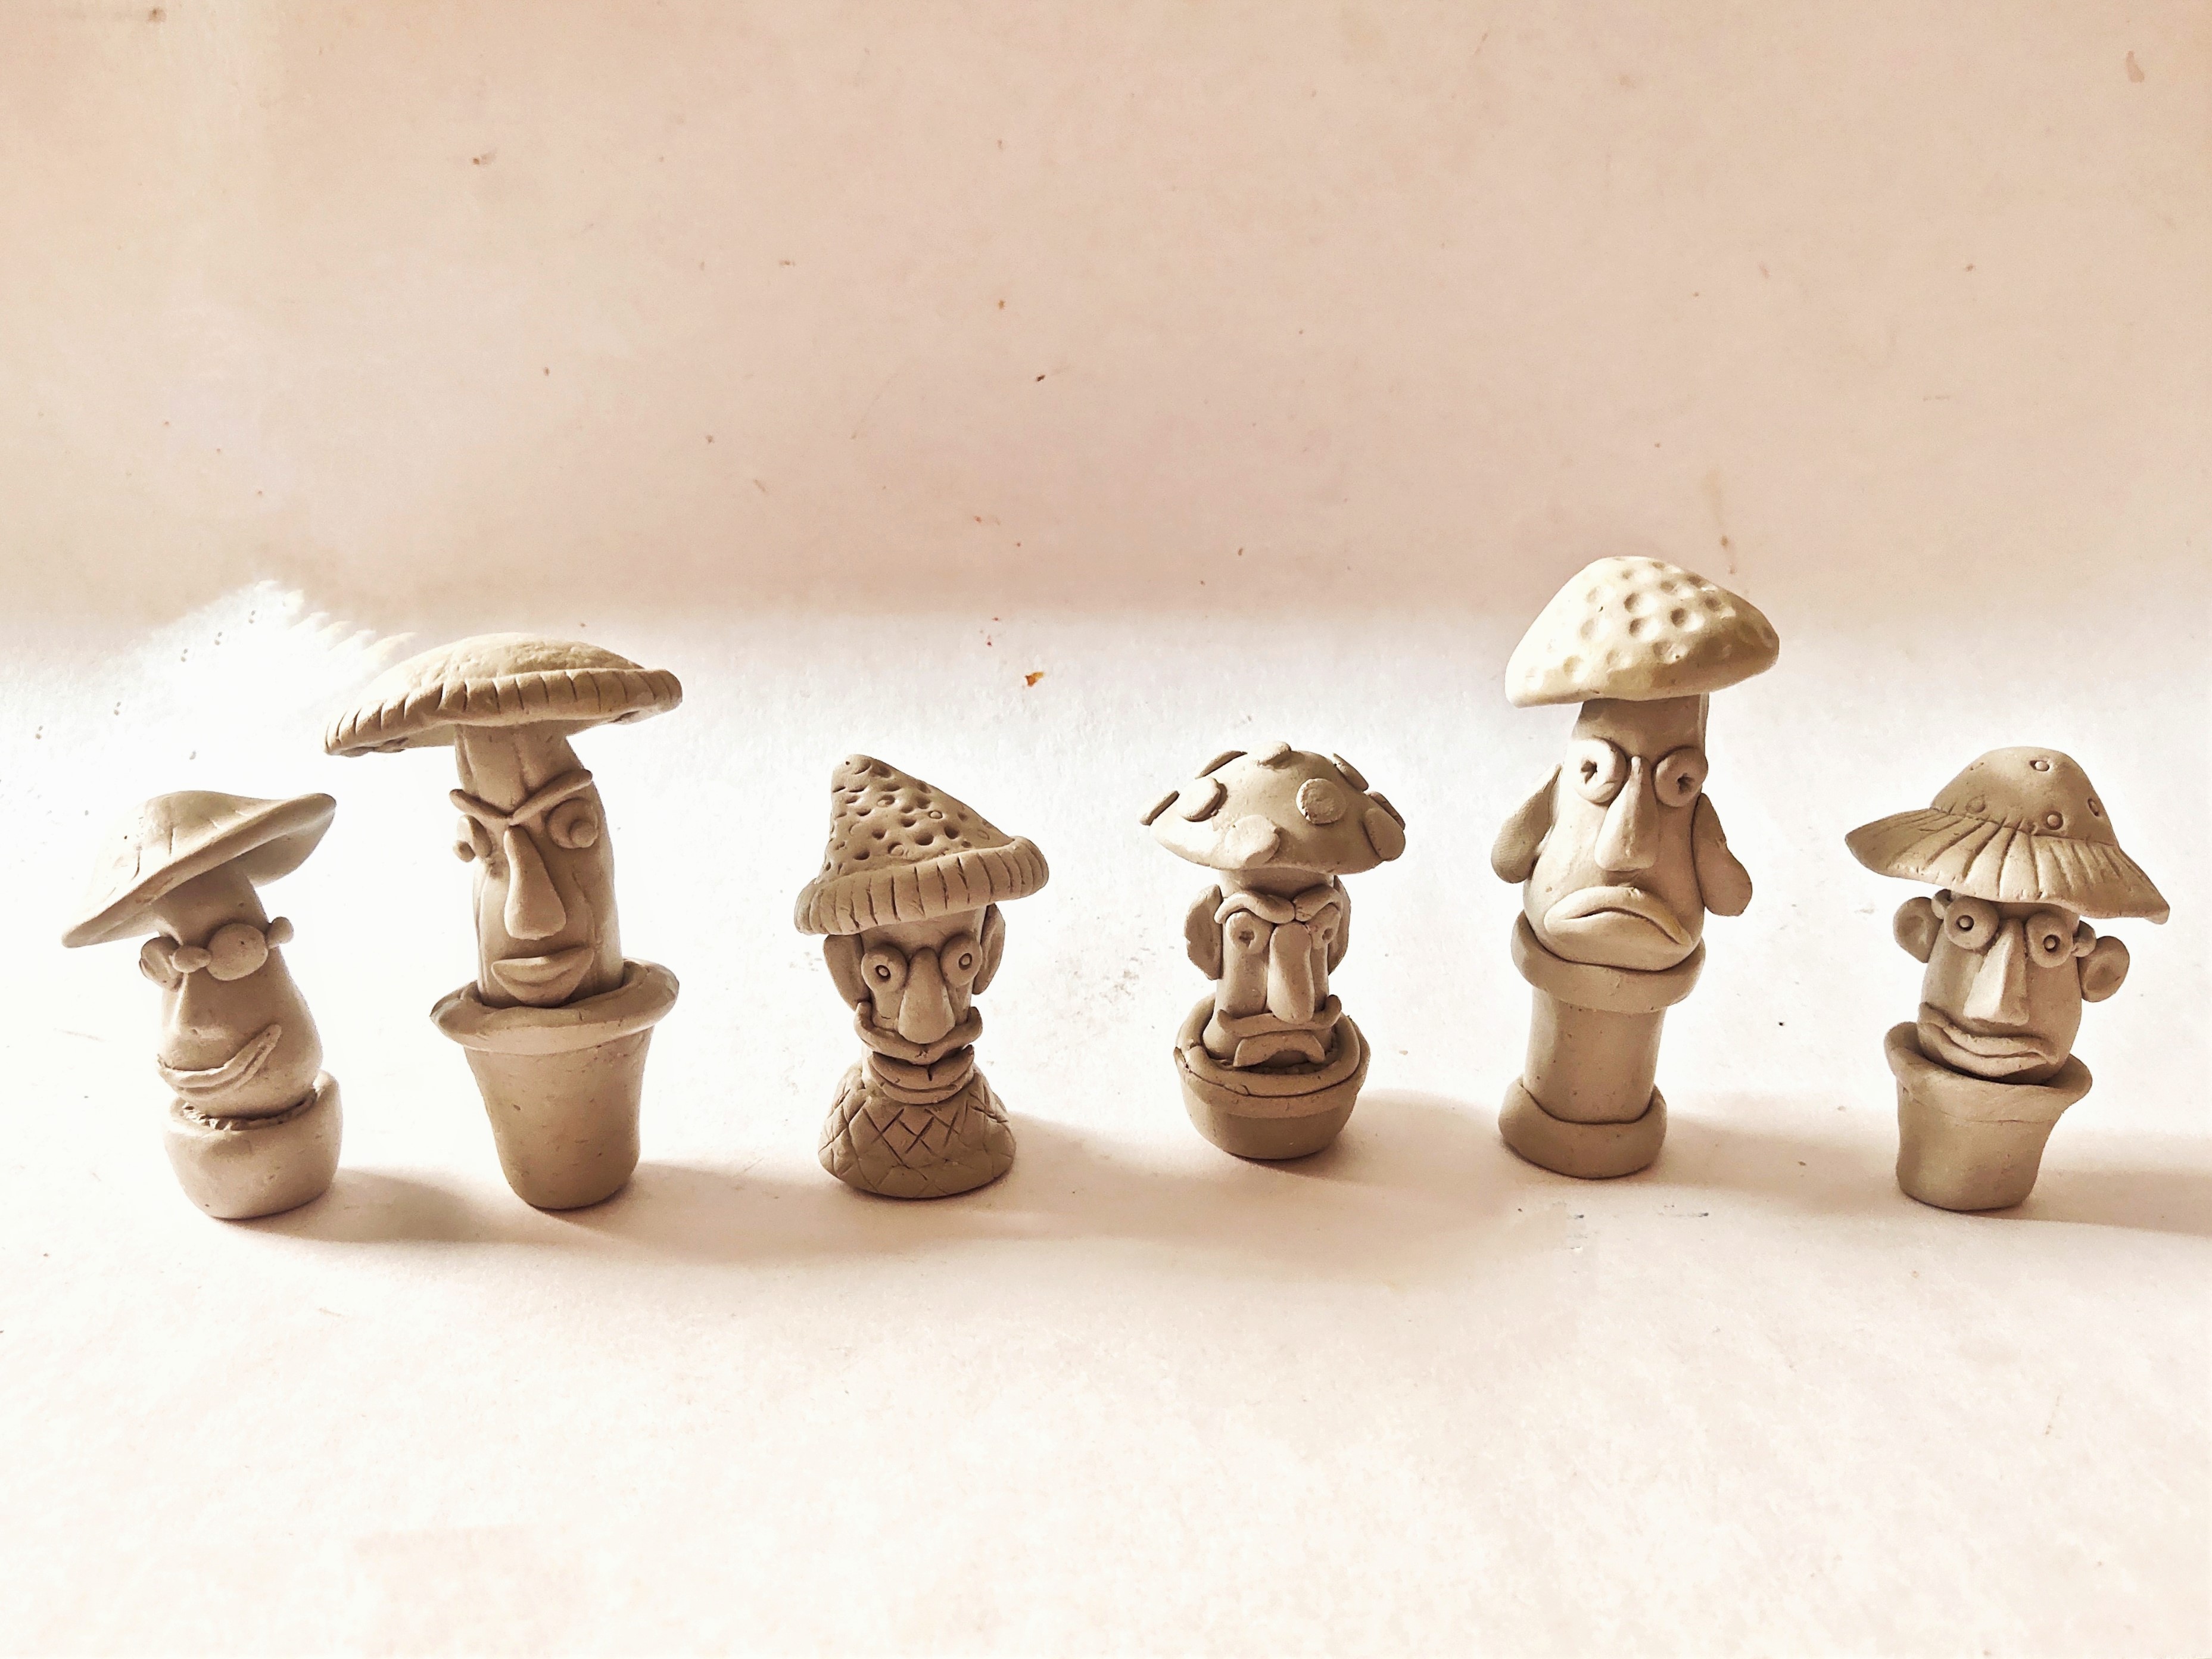
- Take the dough, shape it to make the basic shape of the Mushroom with a small pot.
- Take some clay to make the facial details with the help of the clay carving tools and Fabric Glue for sticking.
- Let it dry.
- Refer to the image.
- Make 6 to 7 such Mushroom characters.
STEP 3 : Paint the characters
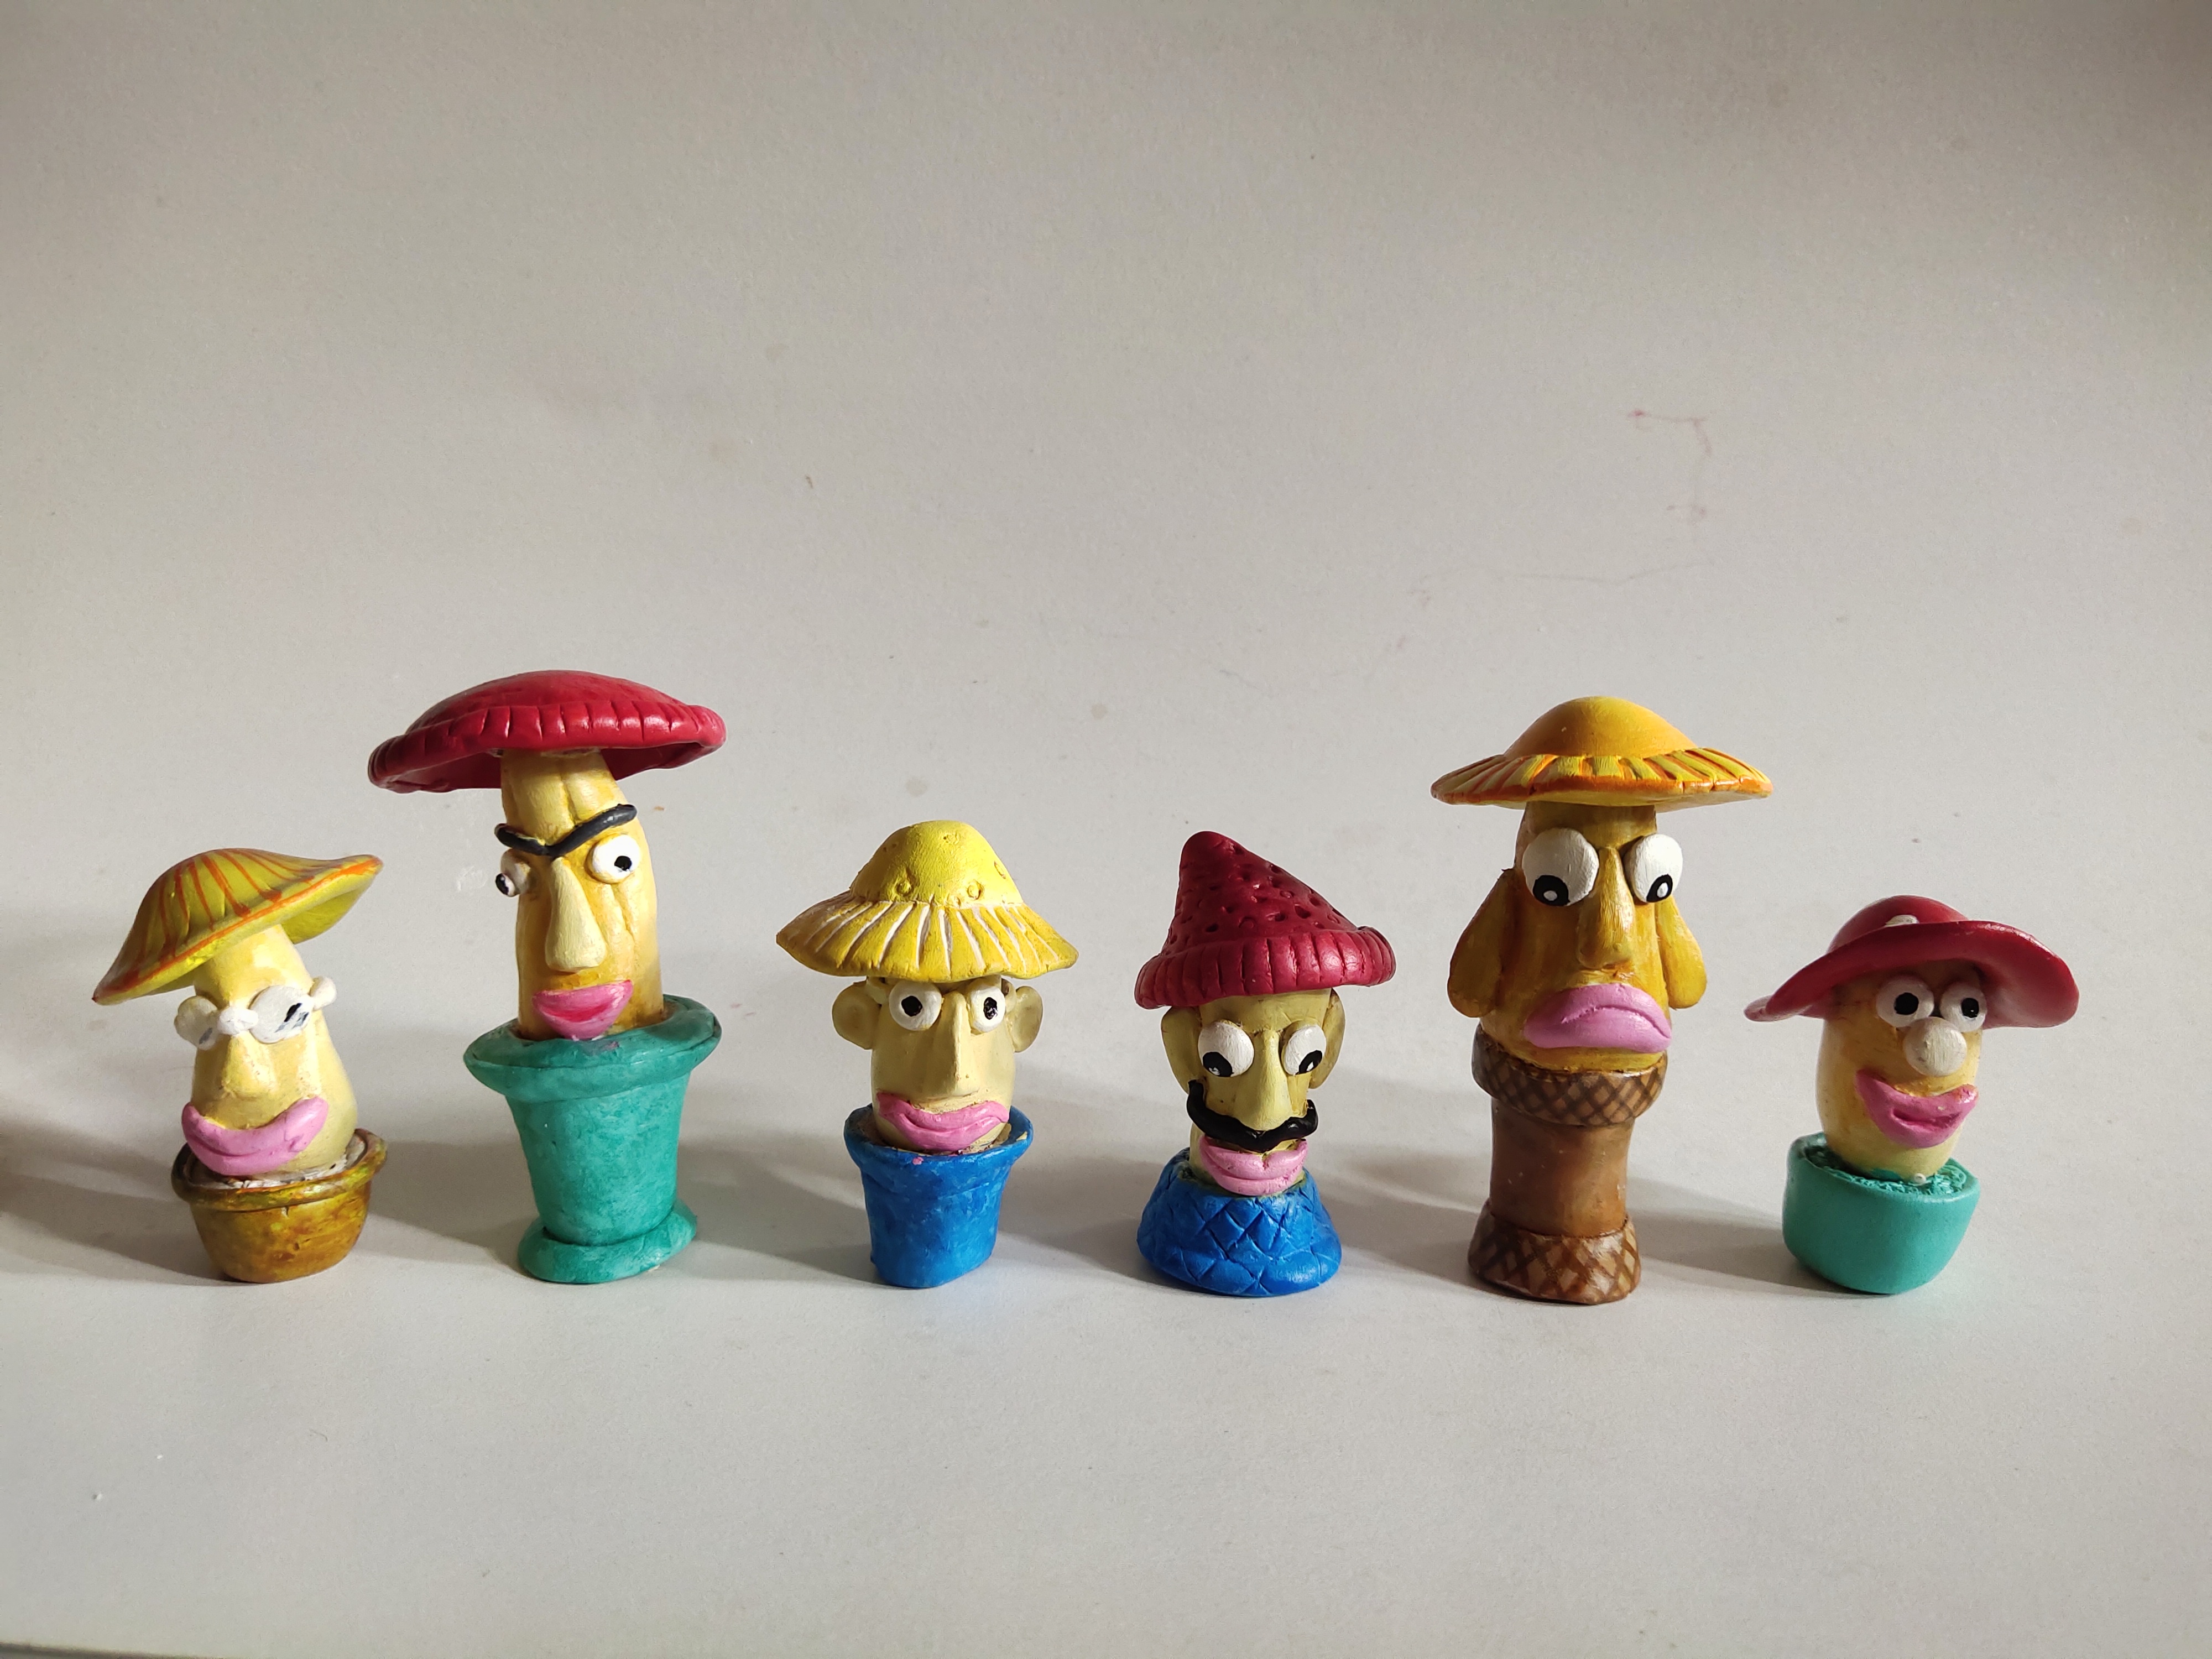
- Paint the Mushrooms with Acrylic Colours Acrylic Colours Burnt Sienna 01, Black 02, Chrome Yellow 03, Crimson 04, White 27, Cerulean Blue 32 and Teal Blue 68.
- Let it dry completely.
STEP 4 : Source the base
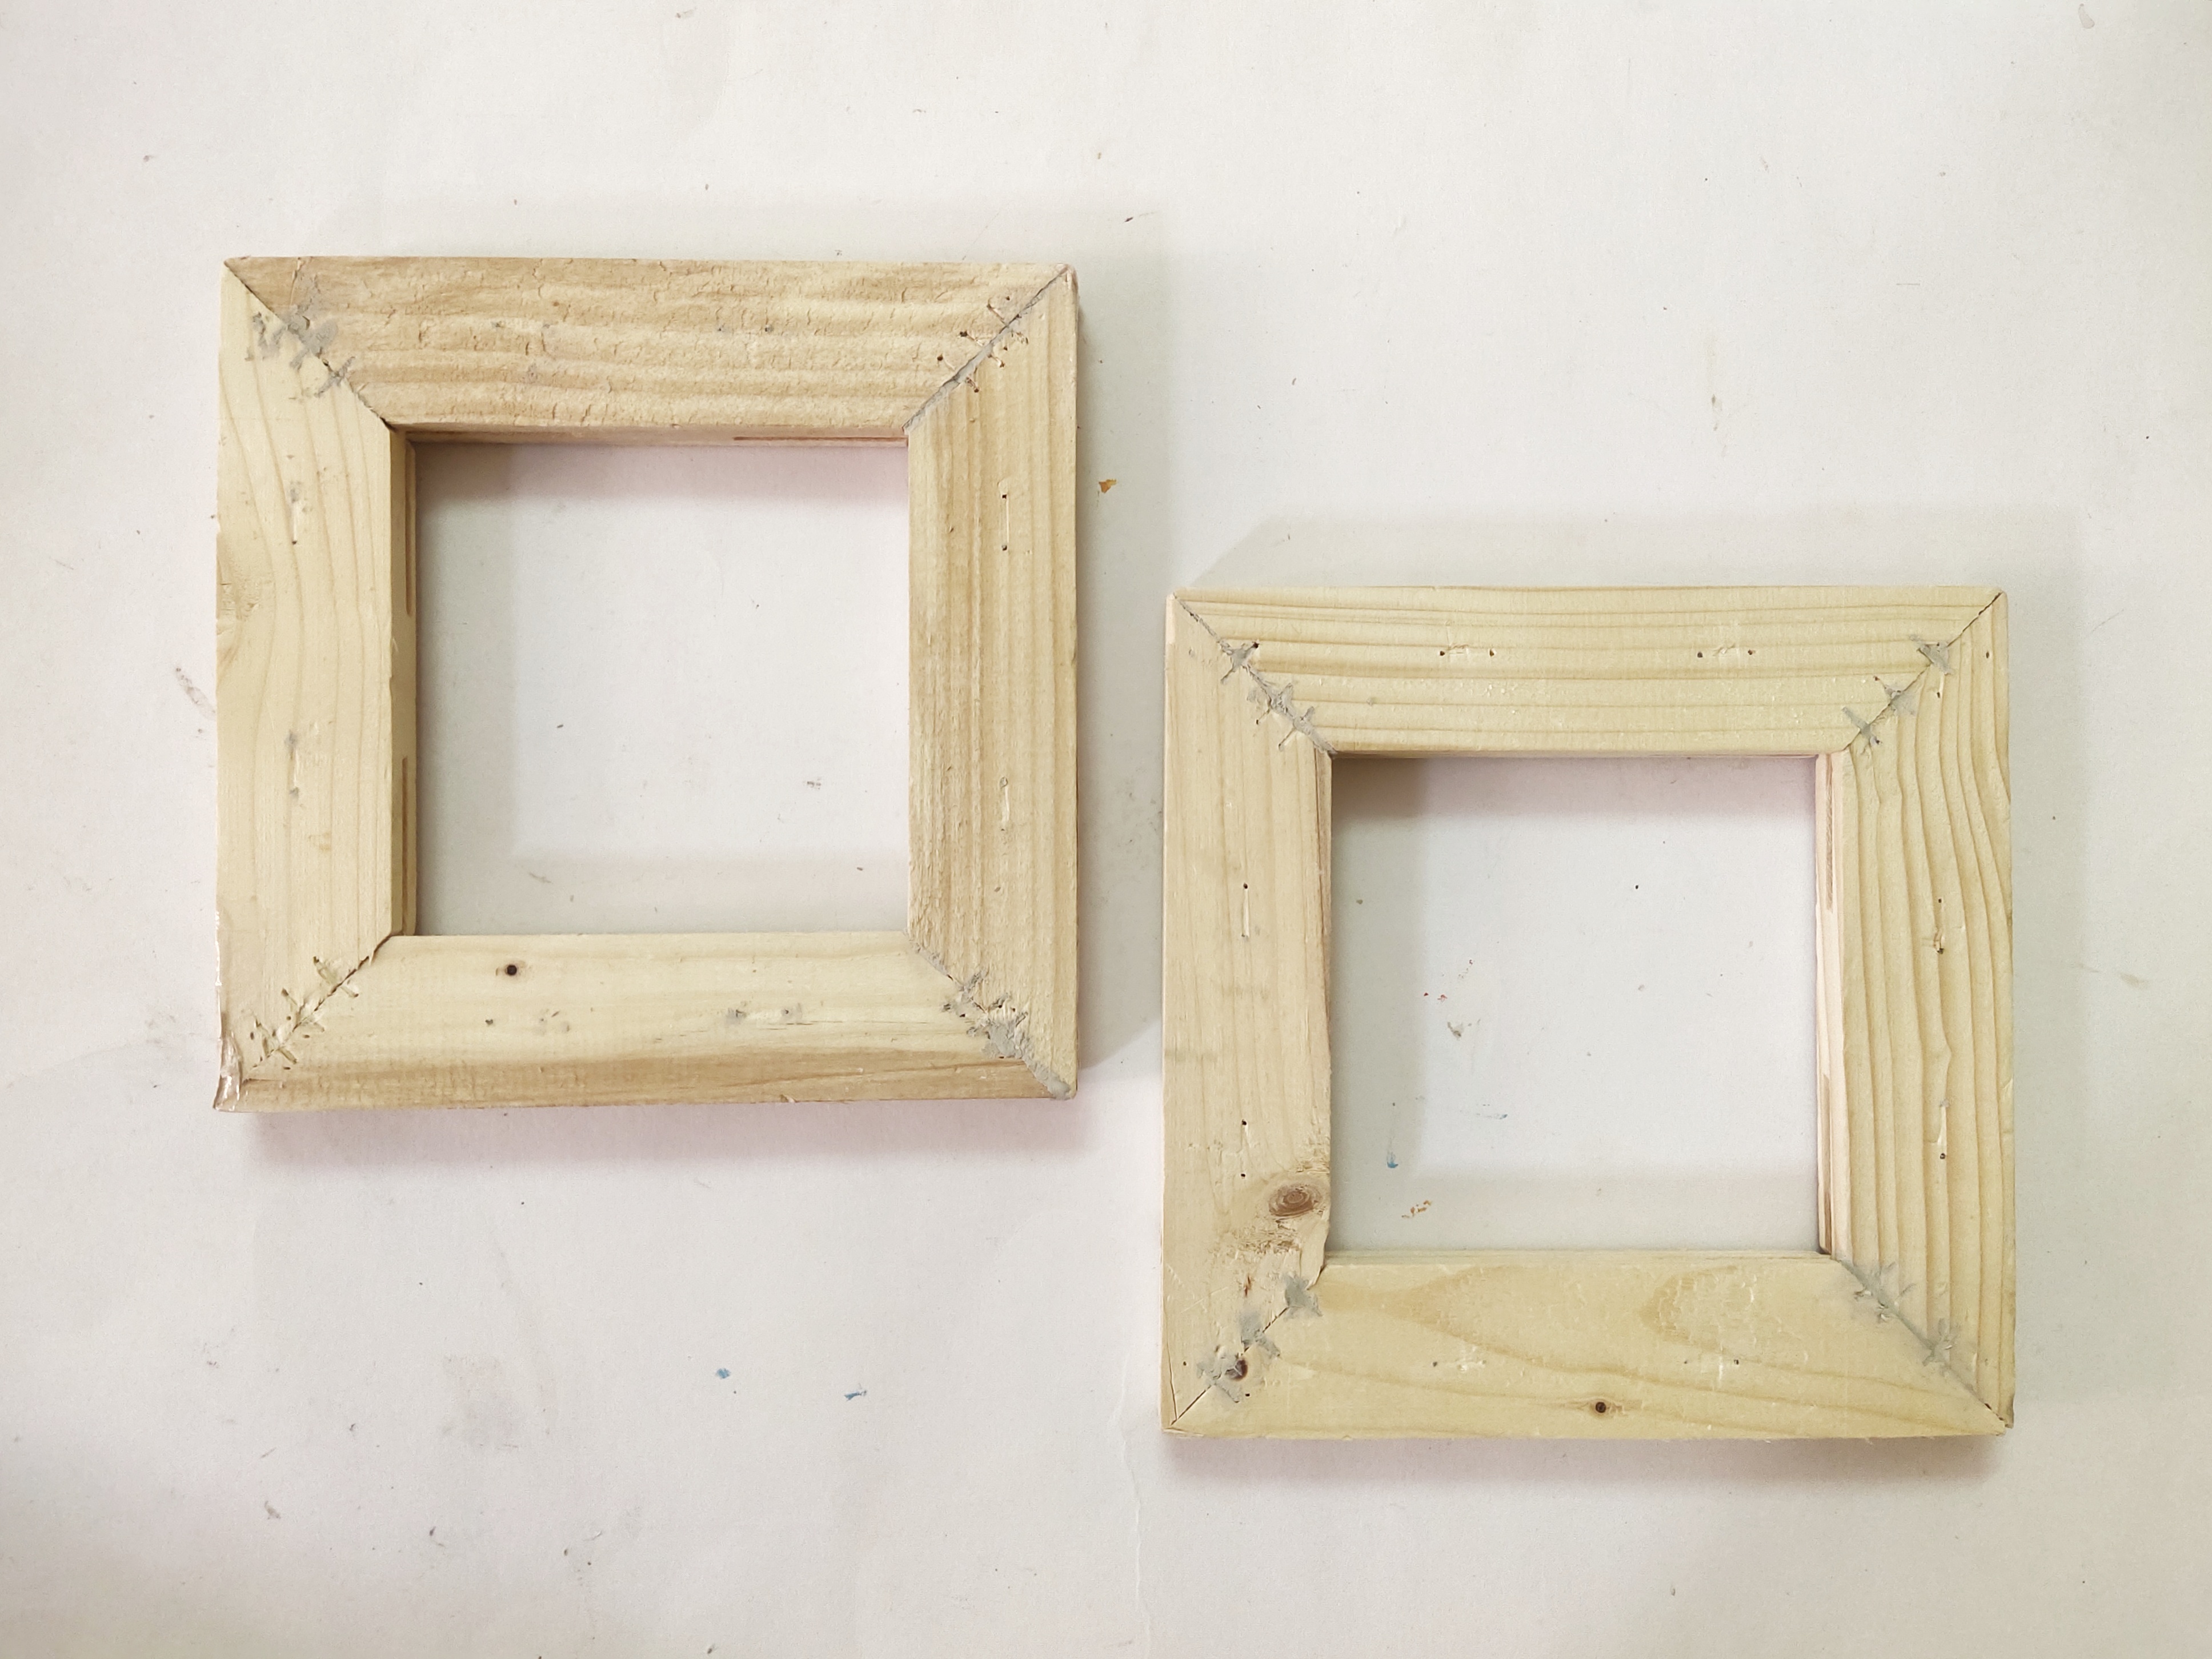
- Take the plain wooden frame like this we have taken.
STEP 5 : Paint the frame
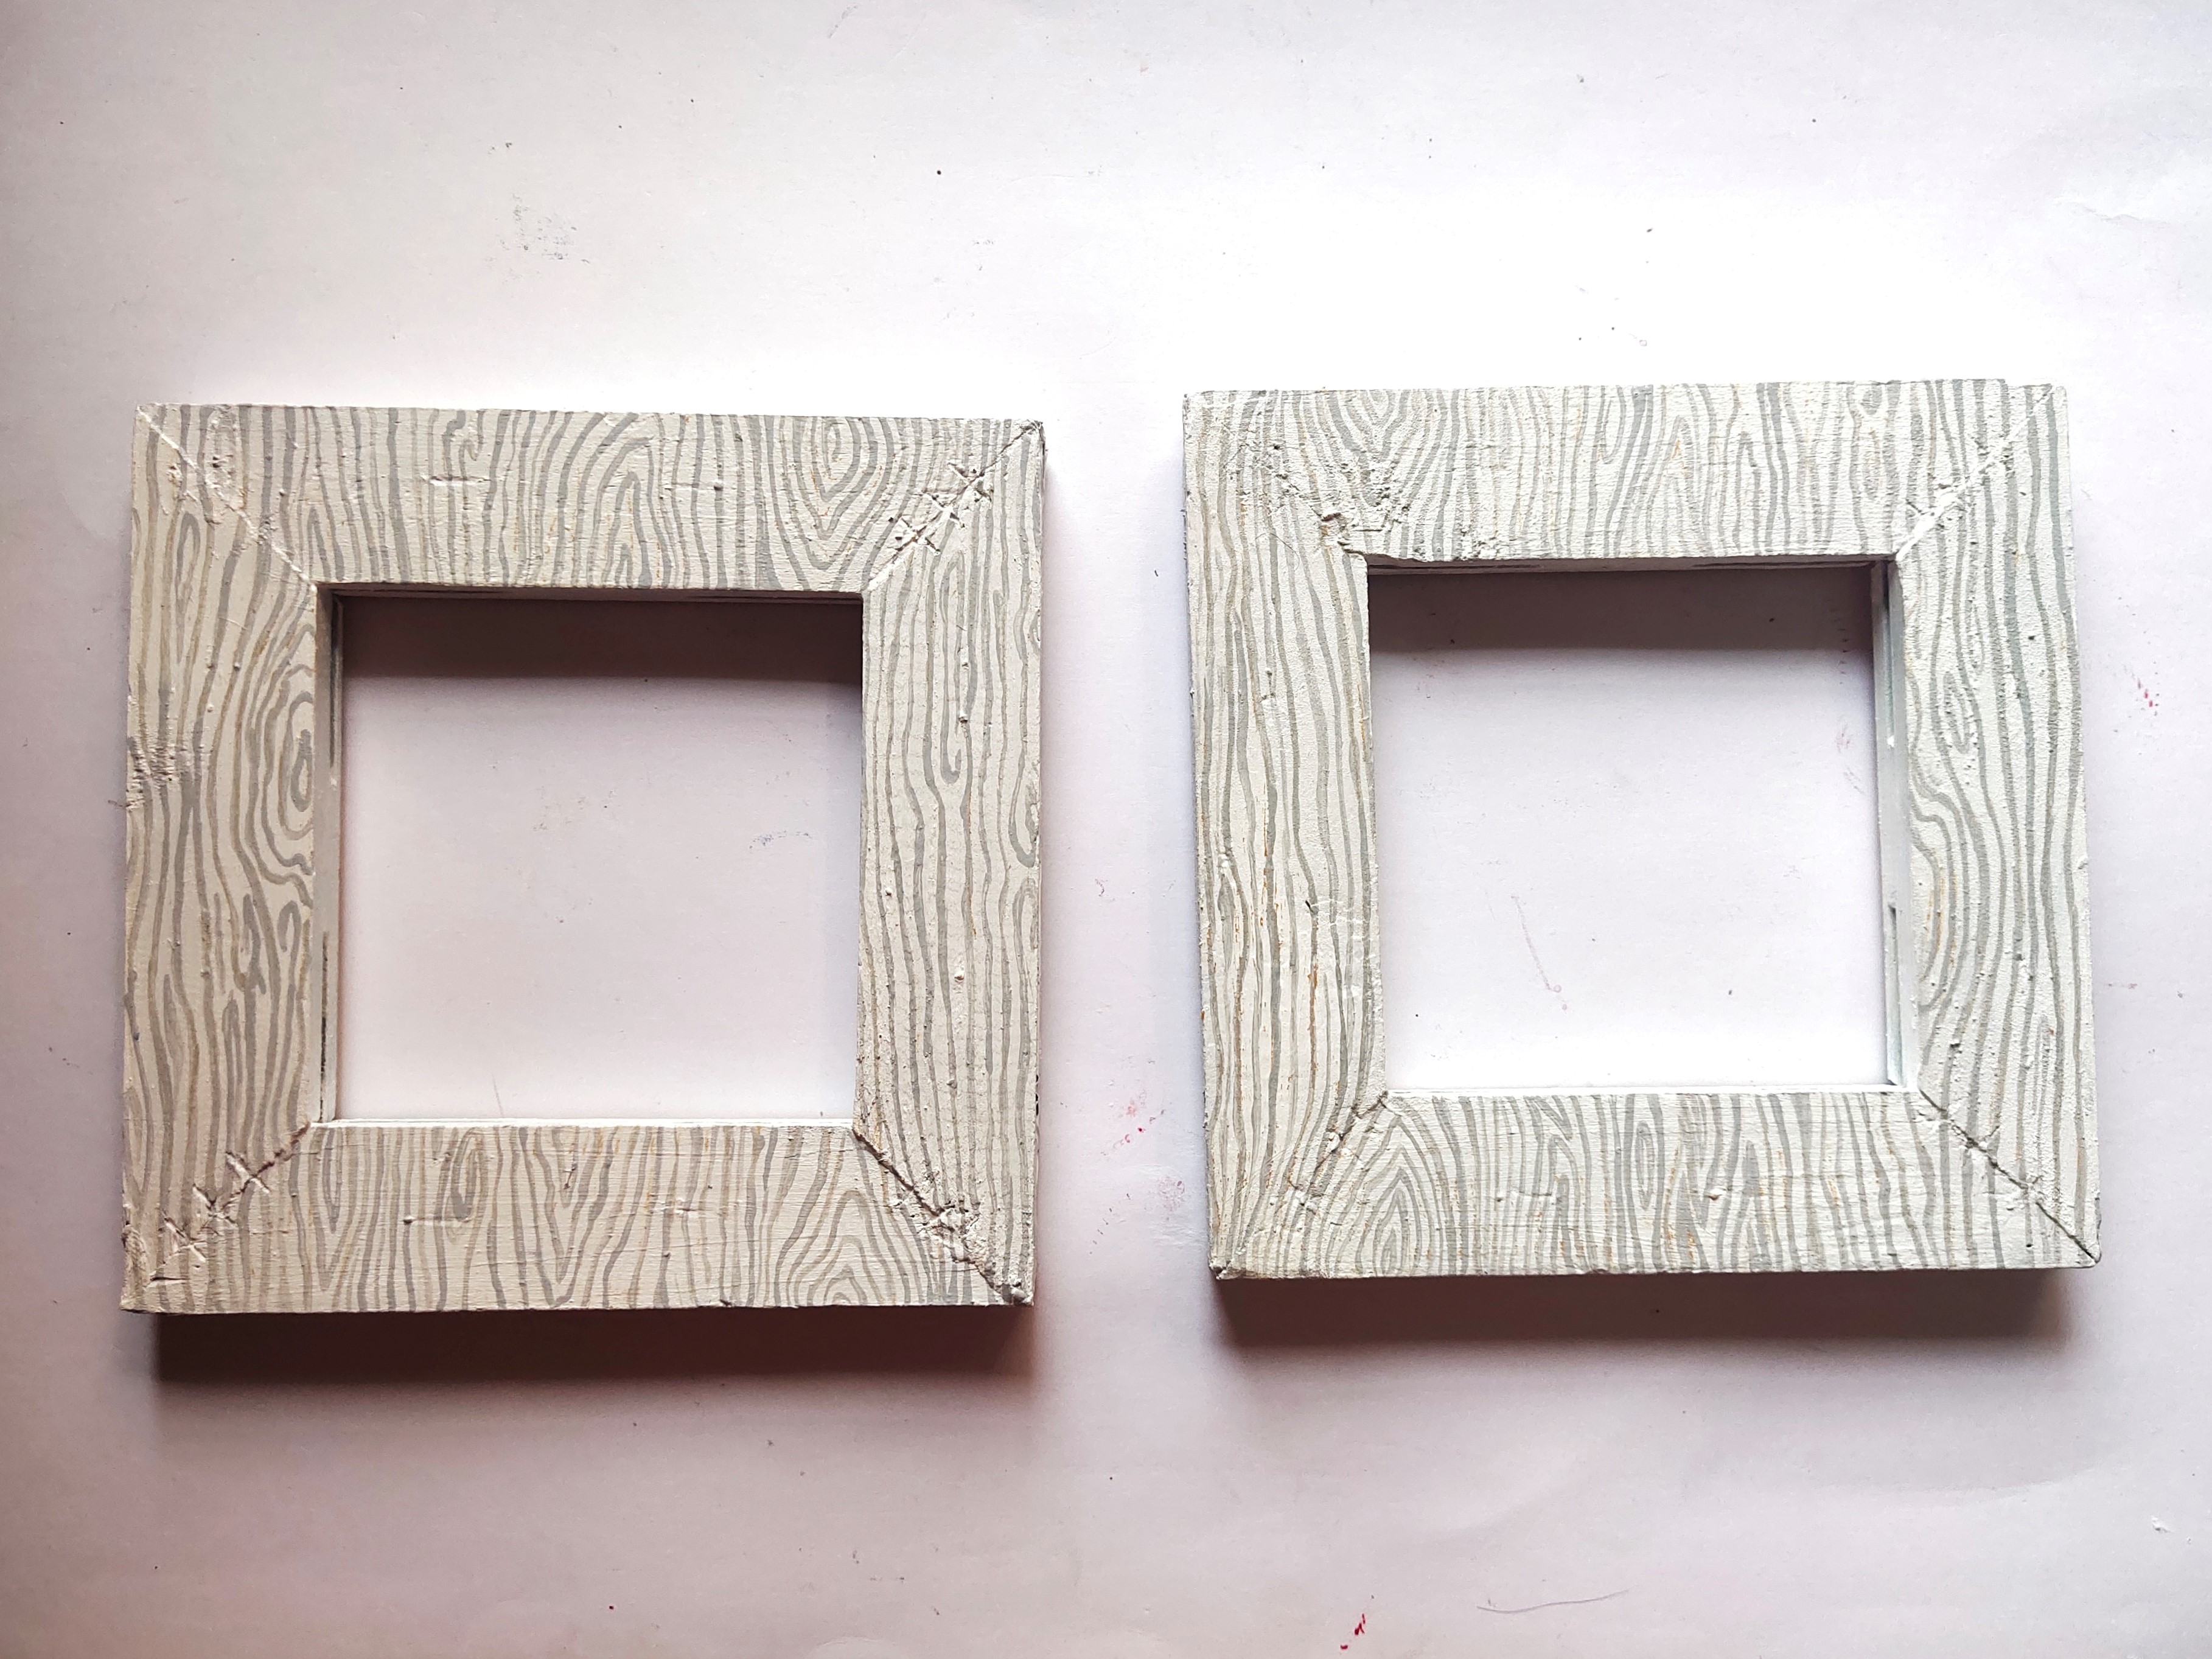
- Paint the frame with the base coat of Acrylic Colour White 27 and paint the wooden effect design on it with grey shade made by mixing Acrylic Colour White 27 and Black 02.
- Let it dry.
STEP 6 : Paint the border
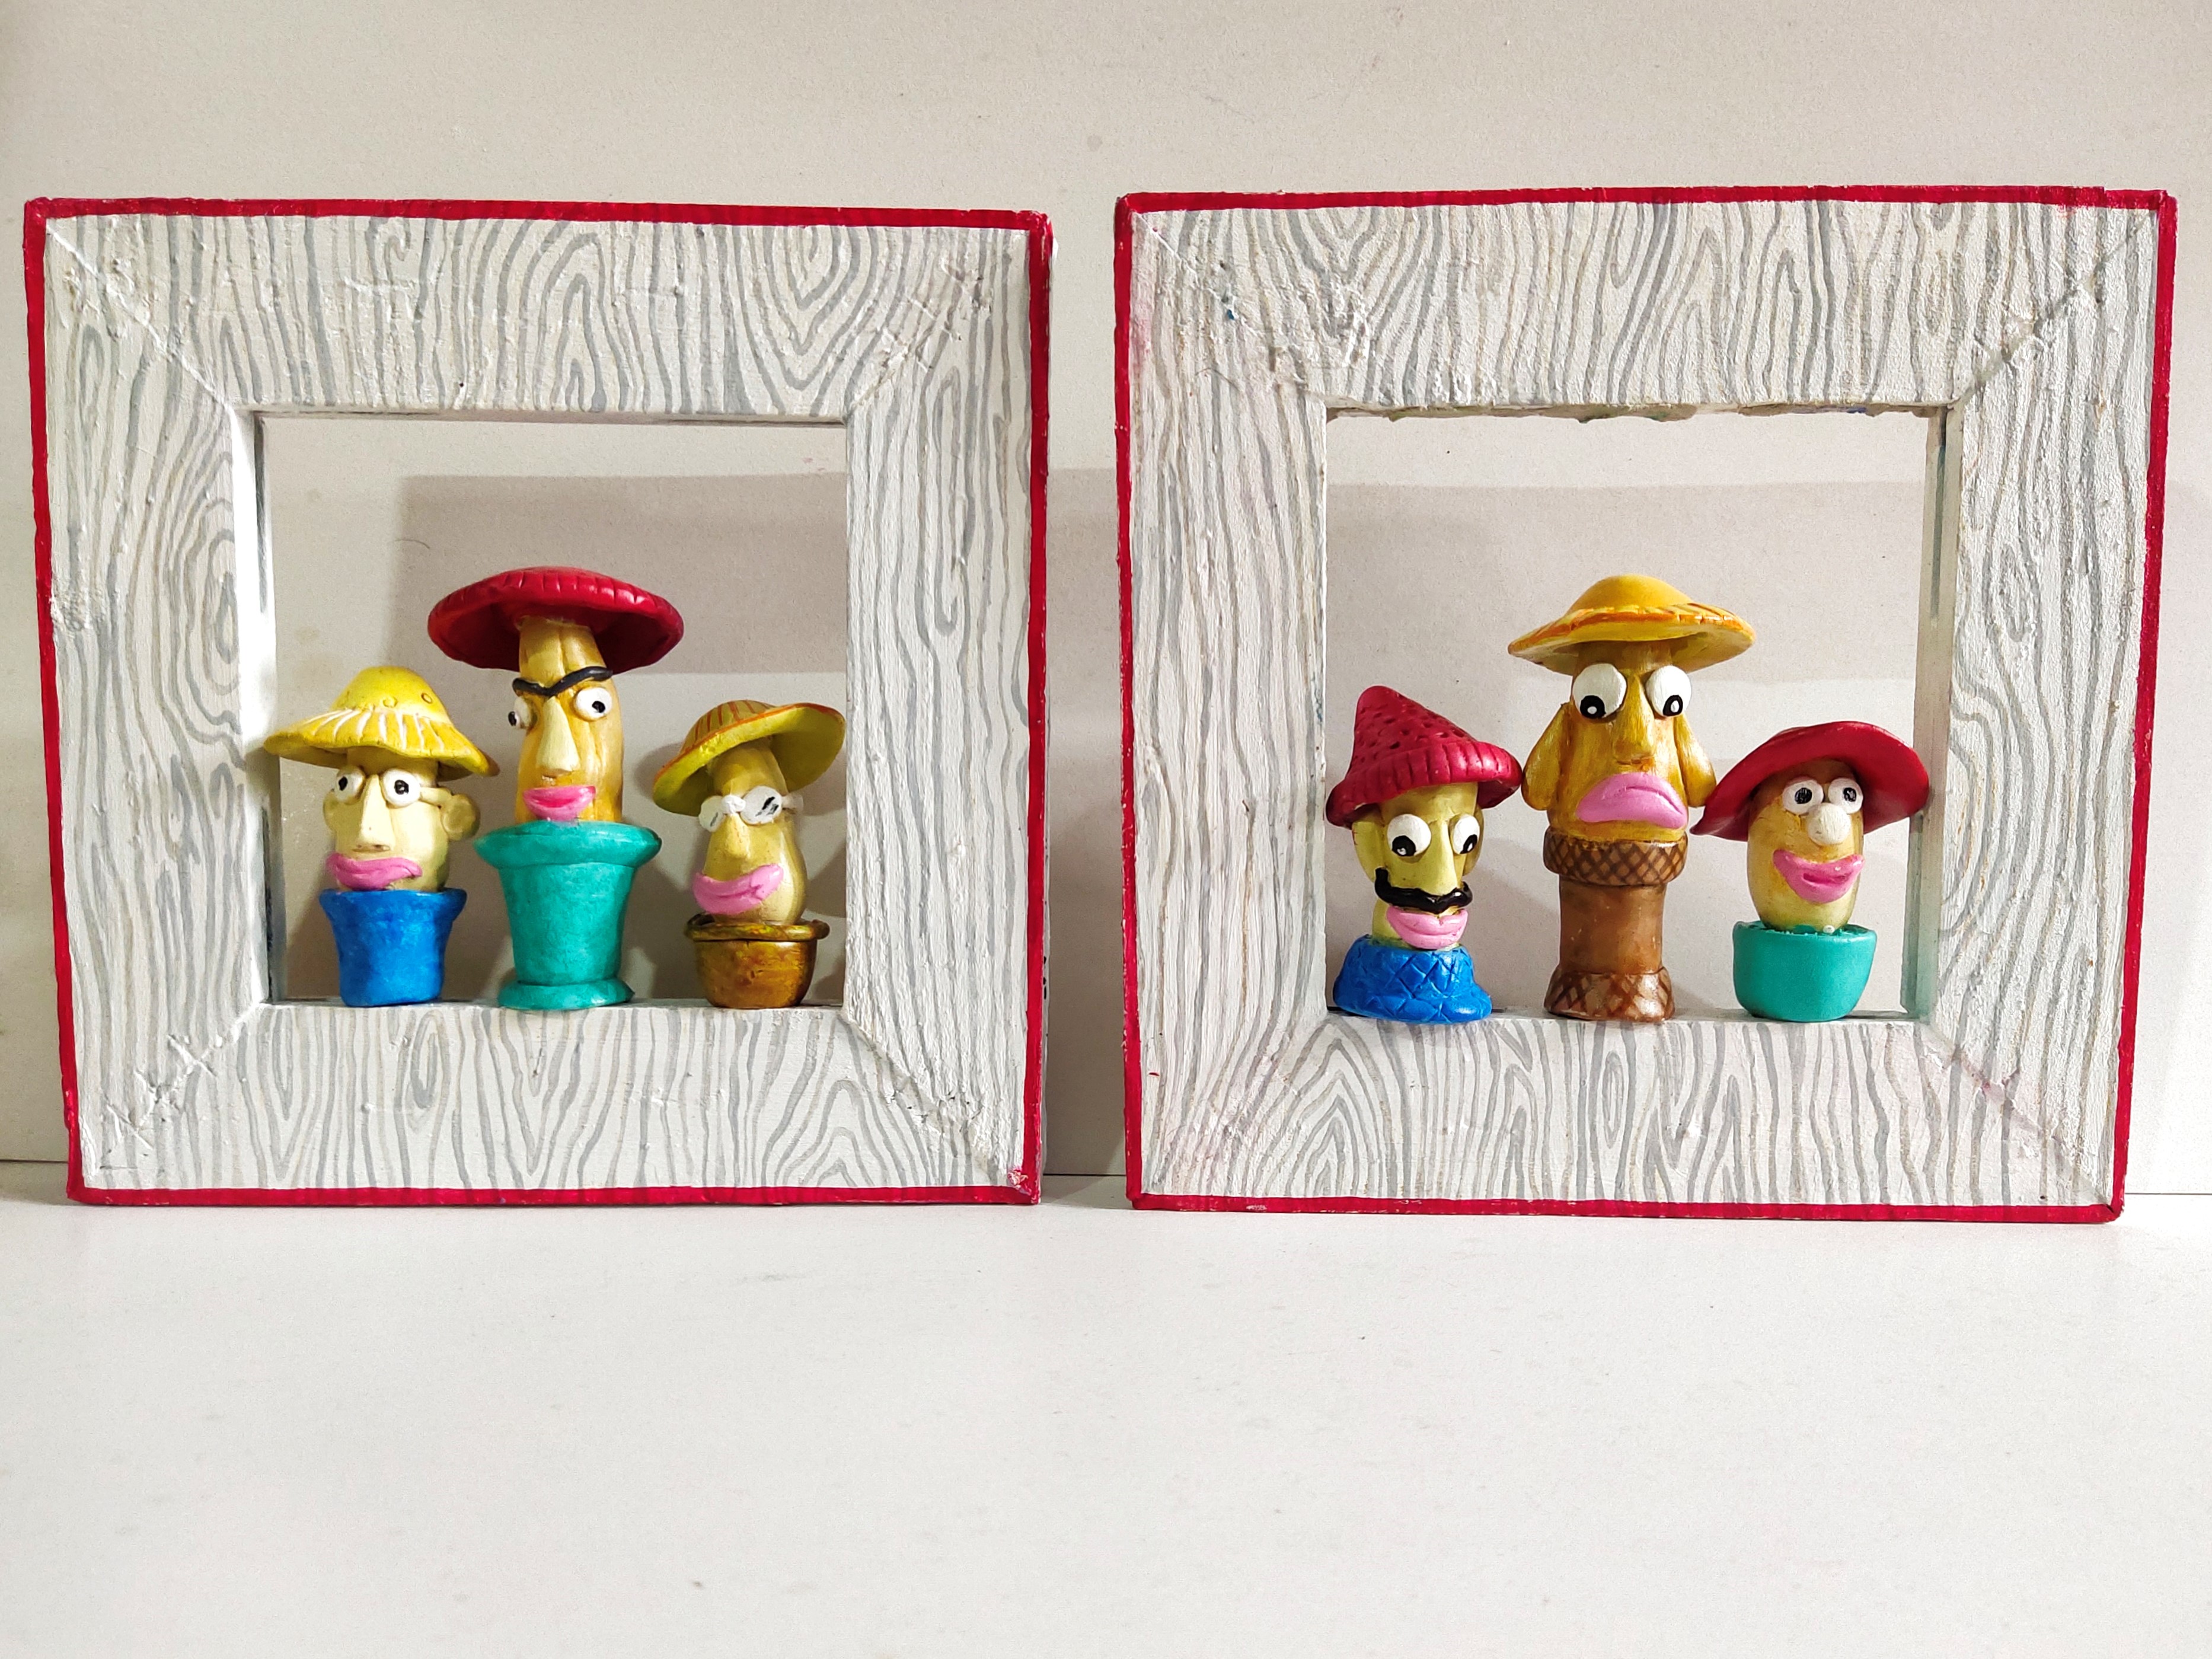
- Stick the painted mushroom with characters on the inner border edge of the frame using little amount of the clay and Fabric Glue.
- Leave it to dry completely.
- Paint the border to the frames with Acrylic Colour Crimson 04.
- Let it dry.


 +91 99676 55545