Mosaic Chopping Board


You Will Need:
Fevicryl Pastel Acrylic Colours (Buttercup Yellow, Lavender Purple, Mint Green, Pale Pink, Soft Peach, Aqua Blue), Fevicryl Acrylic Colours (White 27 & Teal Blue 68), Fevicryl Mouldit, Fevicol MR, 2 MDF Chopping Boards, Clay Modelling Tools, Rolling Pin, Pencil, Paper Cutter, Paint Brushes, Colour Palette, Water Container.
Product Used:

Description :
This MDF chopping board is uniquely embellished with a textured clay mosaic design. Painted in soothing pastel shades, it blends artistic flair with everyday functionality. A charming and distinctive addition to any kitchen.
STEP 1 : Assemble the base
- Let’s decorate the MDF base Chopping Board and give it all new looks!
- You can collect any two MDF Chopping Boards of medium size.
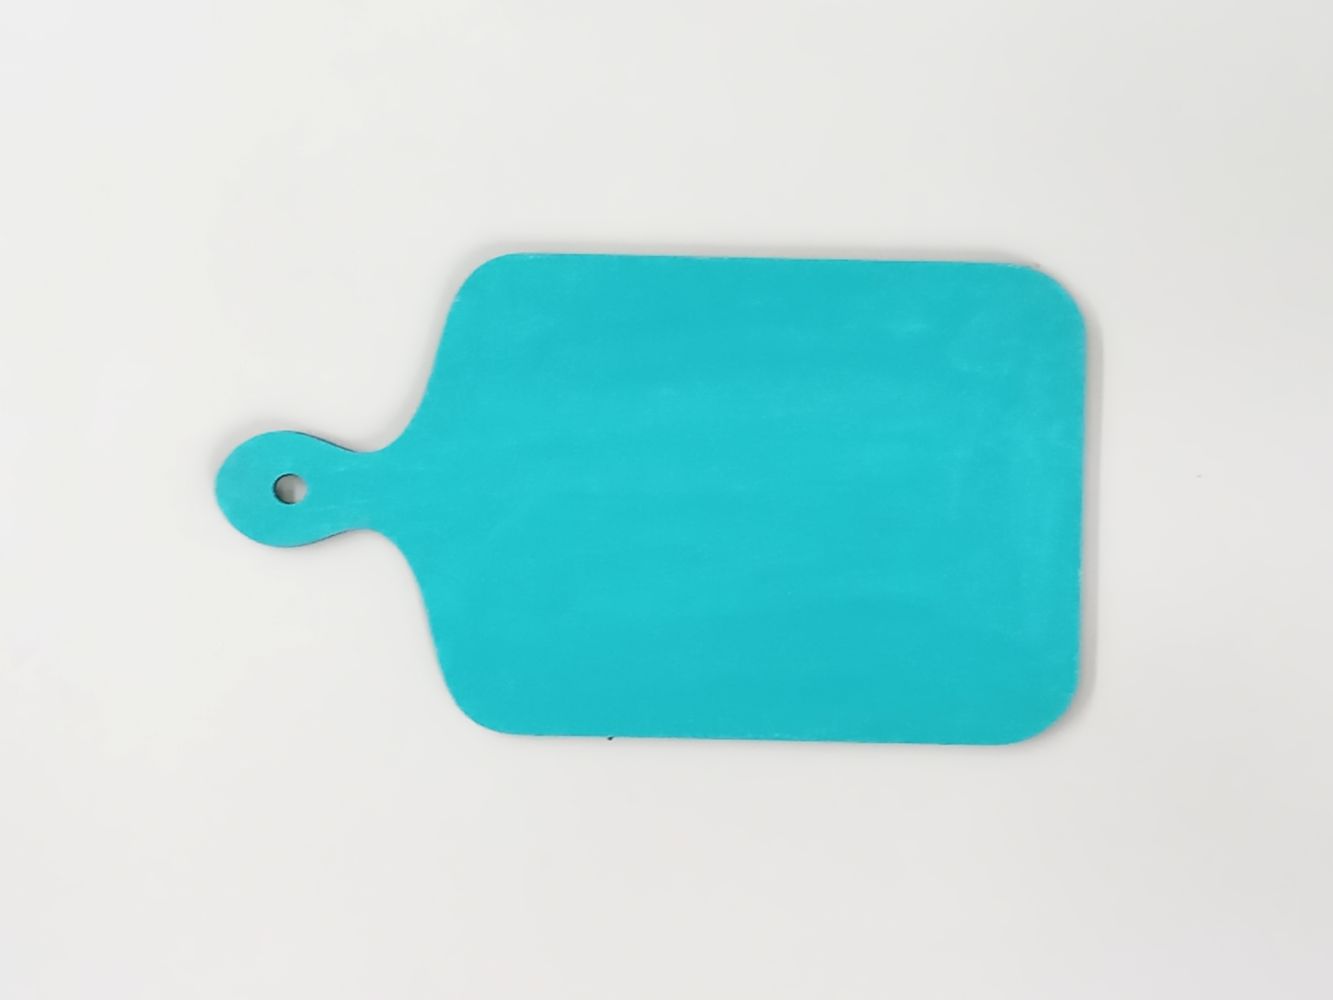
- Paint the base of the MDF Chopping Board with Fevicryl Acrylic Colours White 27.
- Once the base colour dries, coat it with Fevicryl Acrylic Colours Teal Blue 68 & Fevicryl Pastel Acrylic Colours Soft Peach.
- Let it dry.
STEP 2 : Draw the design
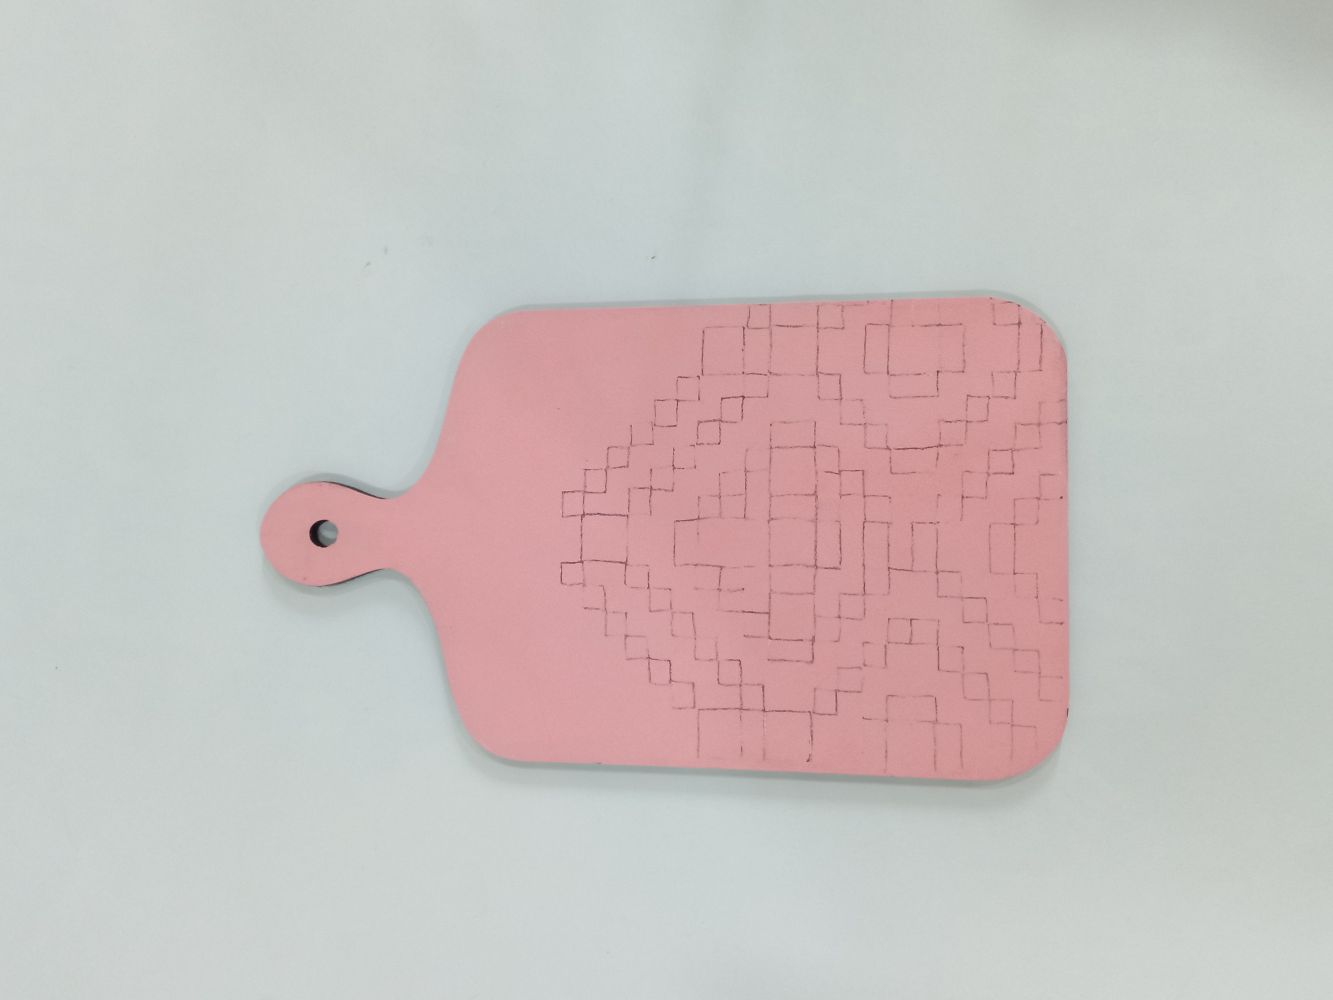
- Choose any of your reference patterns and draw the design with pencil on the board.
- Similarly, draw it on the other chopping board as well.
STEP 3 : Prepare the clay
- Take Fevicryl Mouldit, resin and hardener, mix well to make the dough even.
- With the help of a rolling pin, roll the slab until it becomes even.
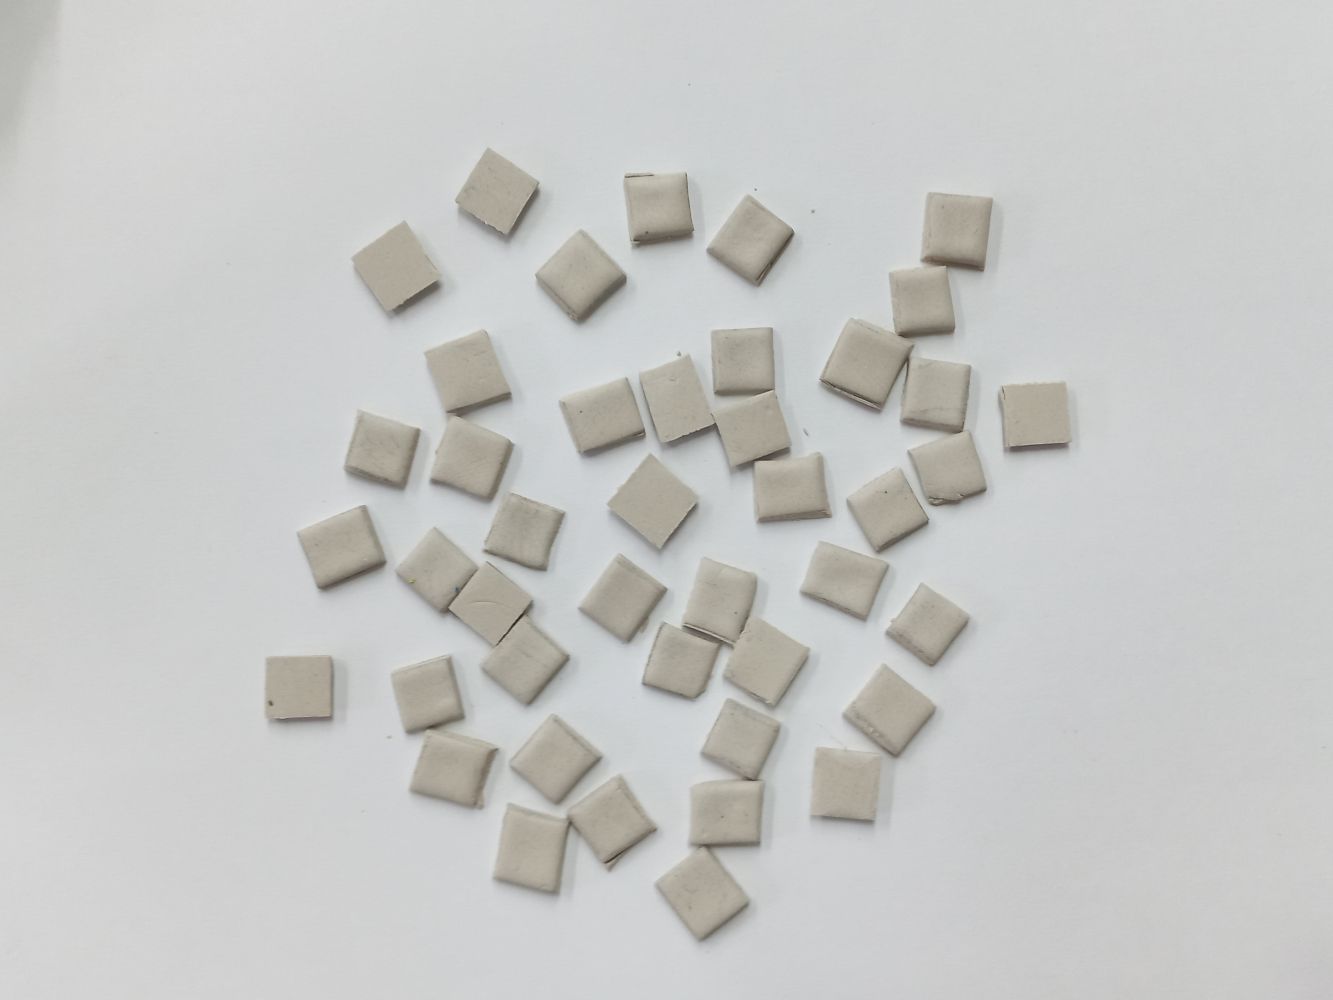
- Chop the clay in square shape with the paper cutter.
- Let it dry.
STEP 4 : Stick the clay
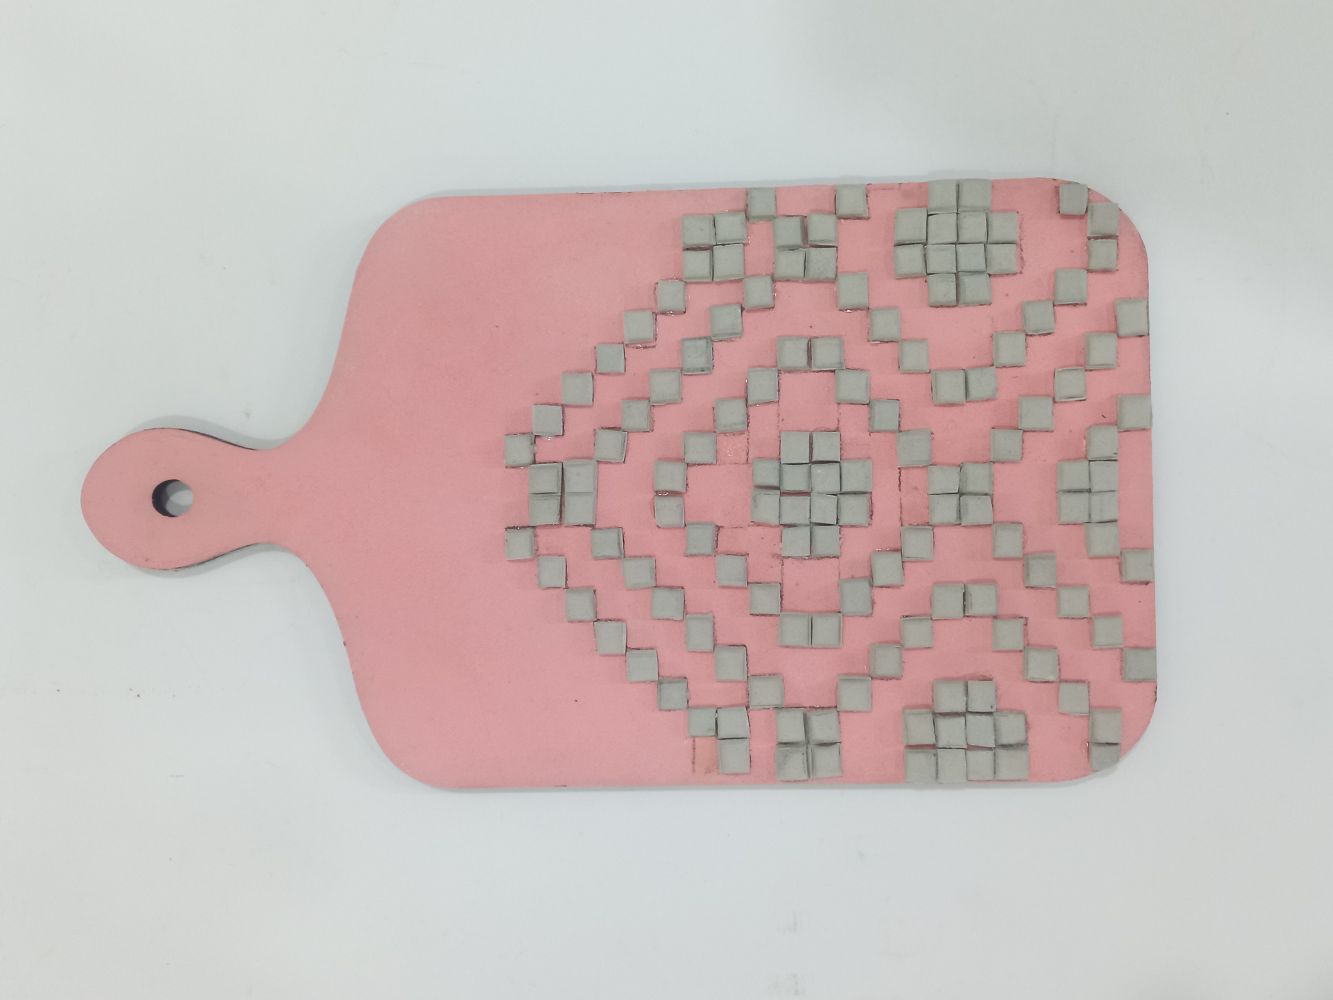
- These small clay pieces will form your mosaic pattern. You can cut them into various shapes or use pre-made tiles.
- As you work, adjust the placement of the square tiles to achieve the desired pattern.
- Let it dry.
STEP 5 : Paint the clay
- Take Fevicryl Acrylic Colours White Colour 27 and paint the base of the clay.
- Let it dry.
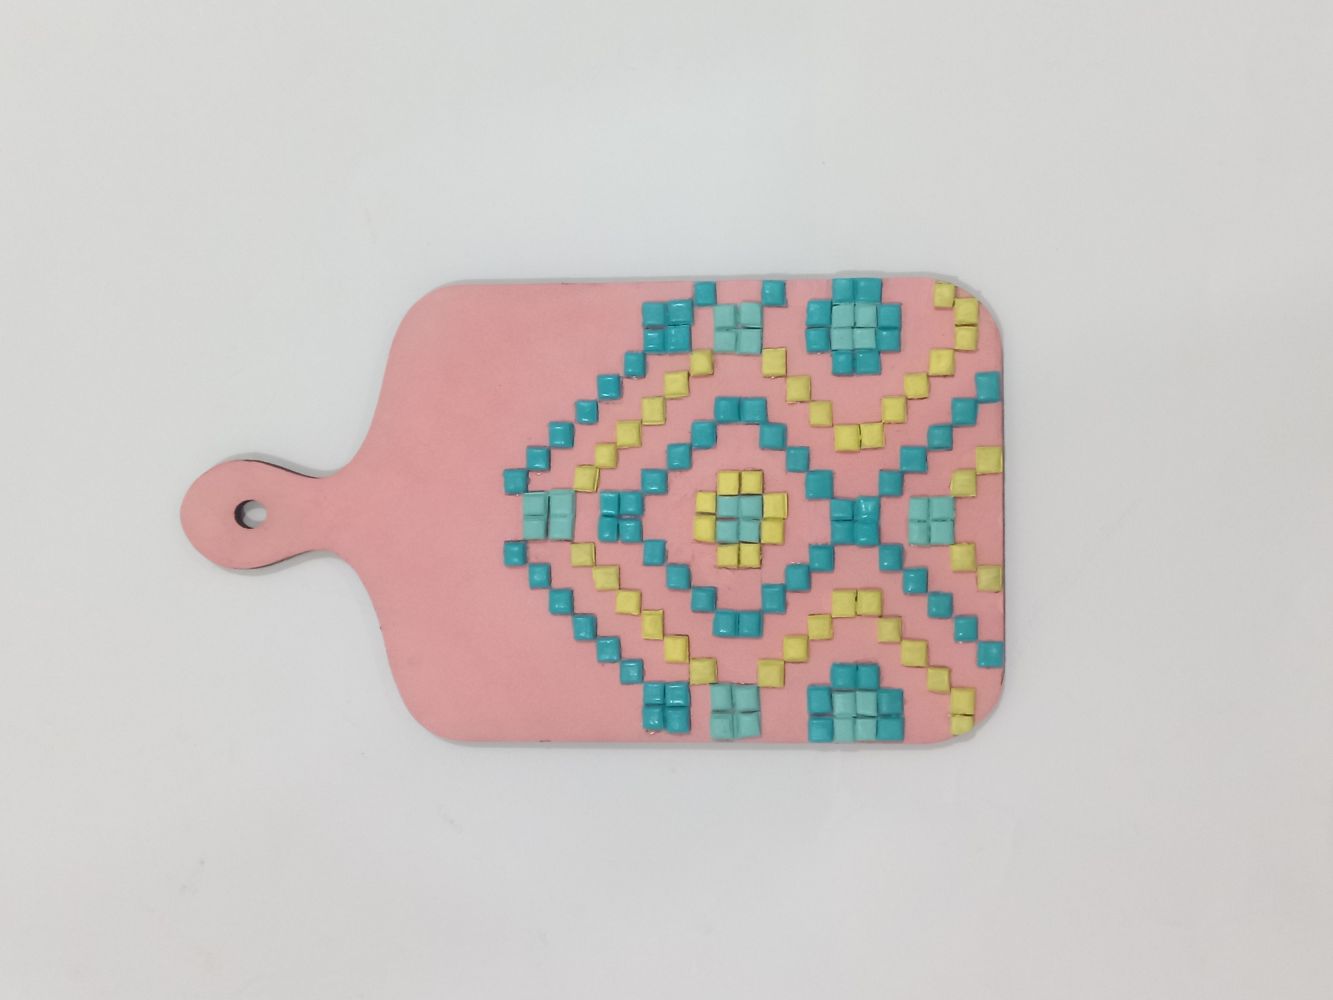
- Paint the tiles with your desired colour to achieve the colours of the pattern.
- Let it dry.
STEP 6 : Final Look
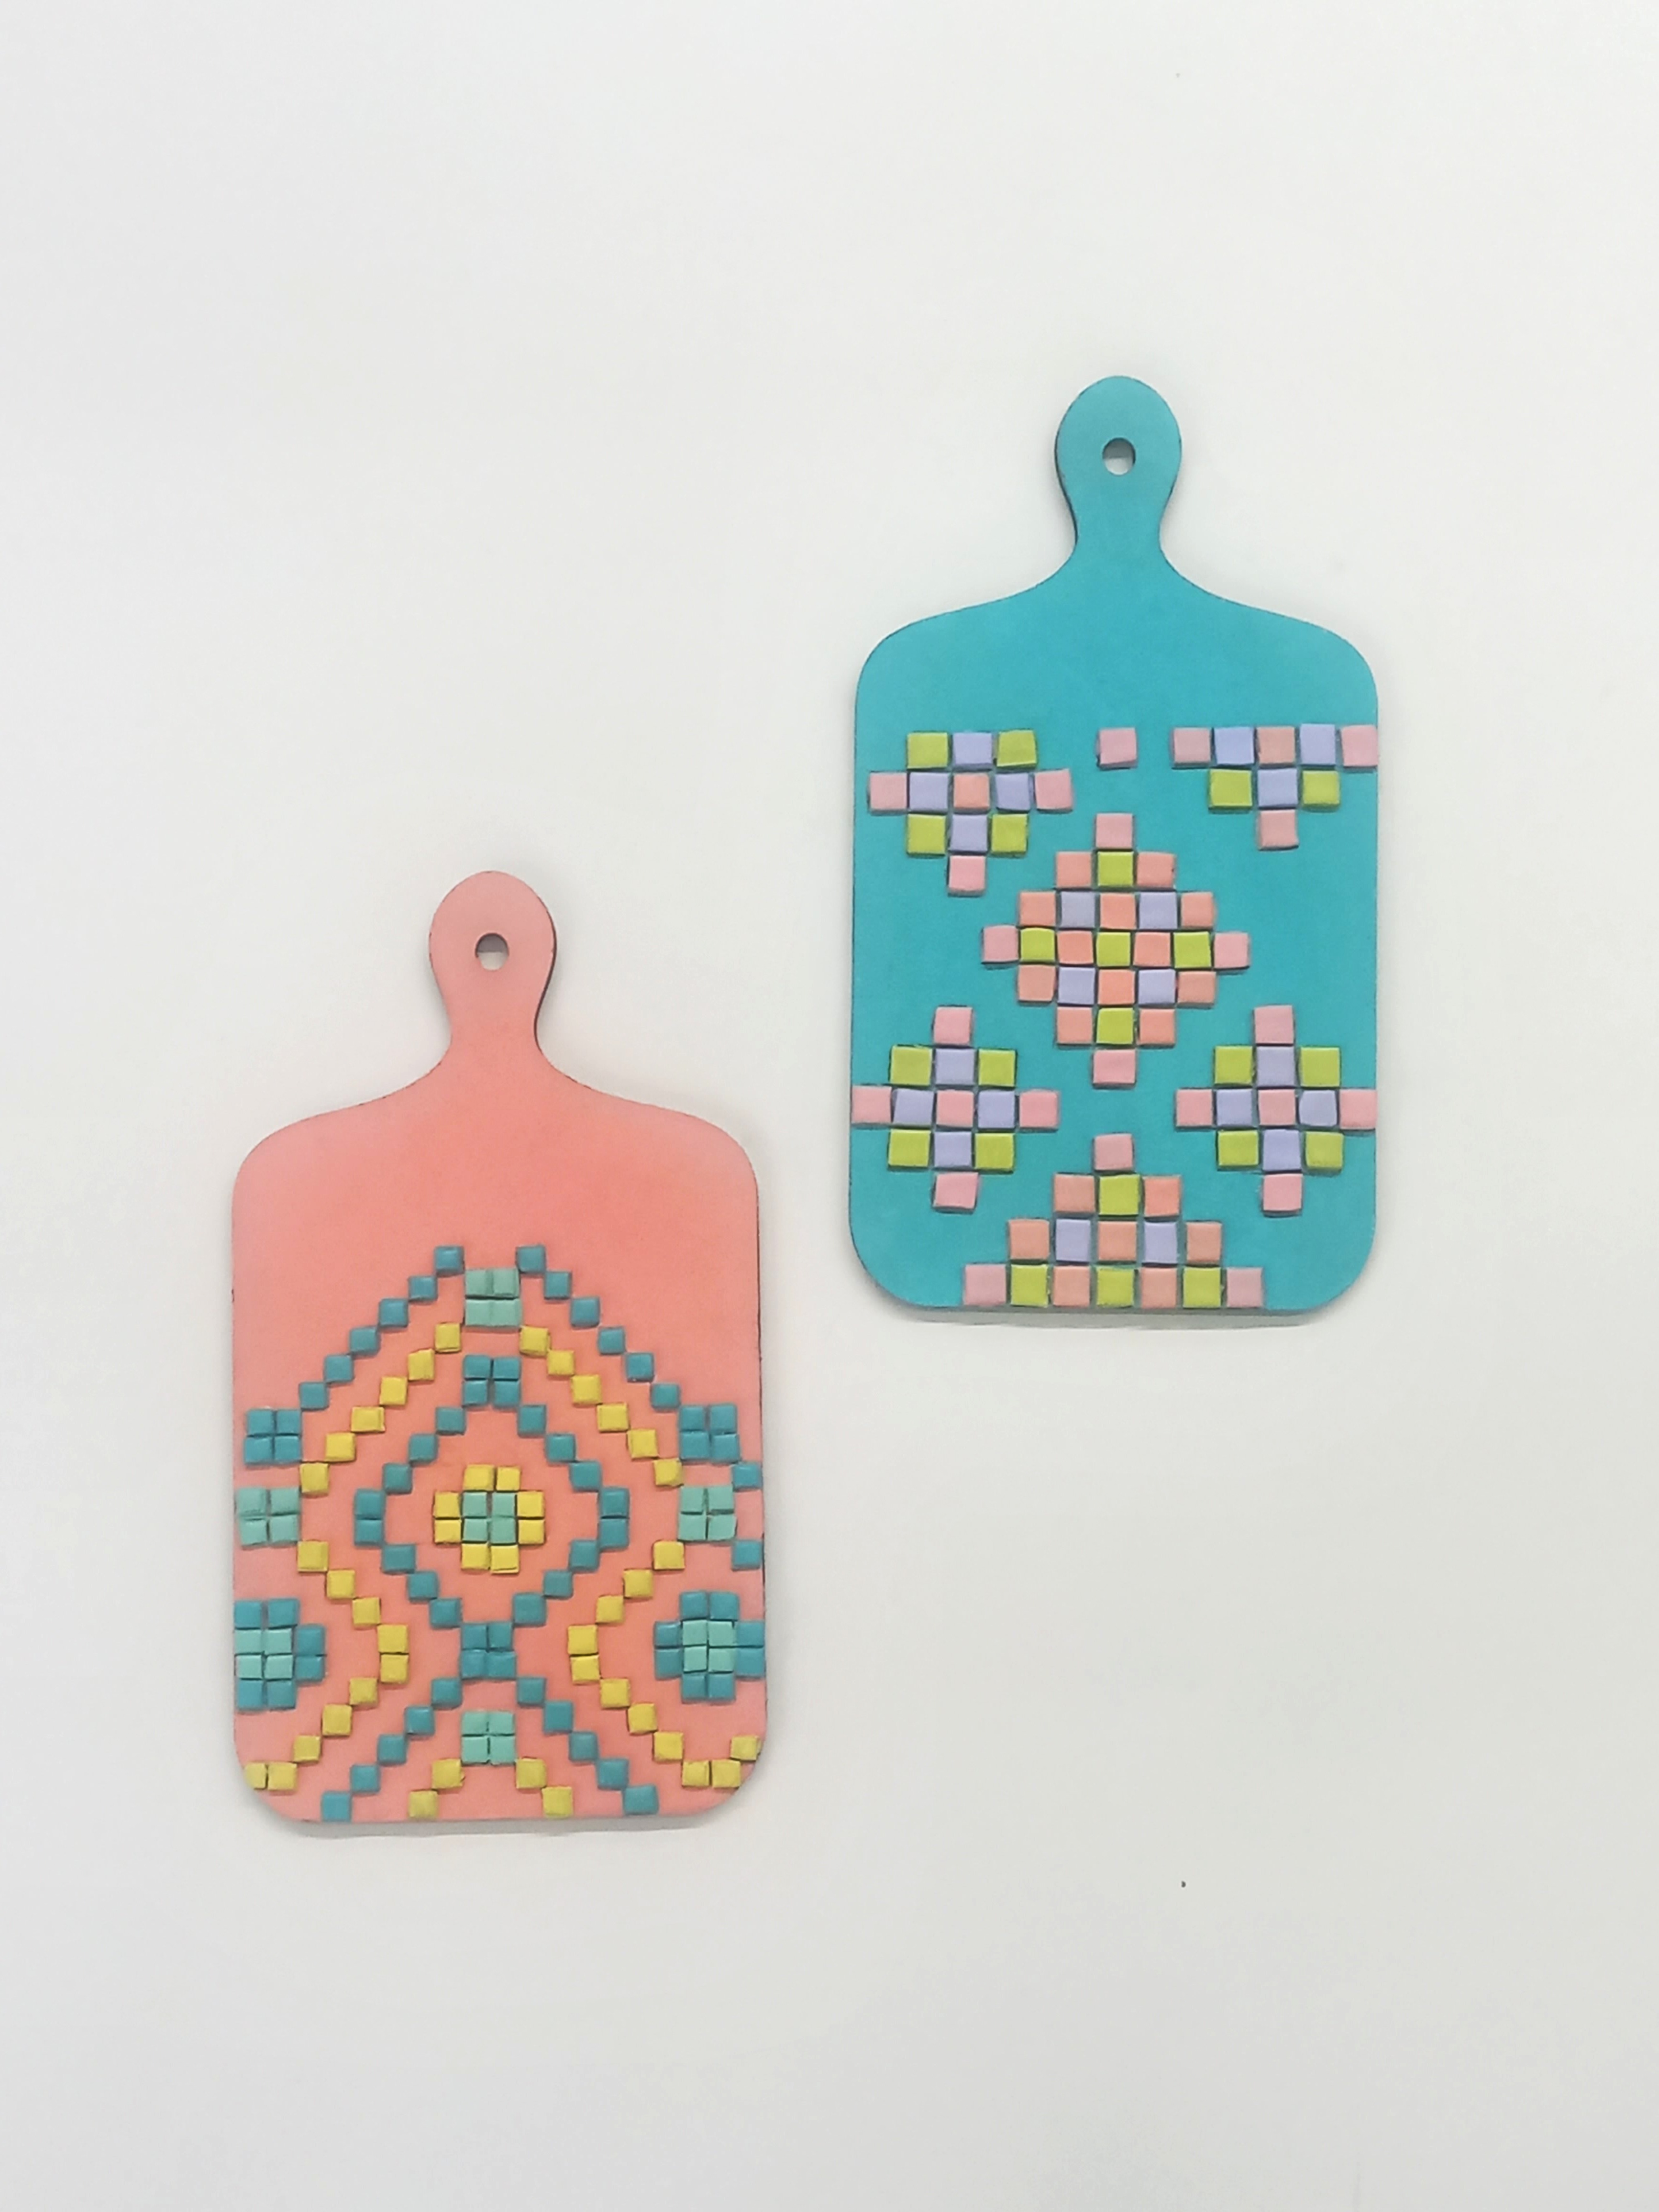
- Here’s your creatively curated chopping board!


 +91 99676 55545