How To Make Photo Frame At Home

You Will Need:
Fevicryl Acrylic Colours Black 02, White 27, Fine Art Brushes, MDF Wooden Photo Frame, Black And White Printouts of Family Photographs, Modge Podge (Decoupage Glue), Colour Palette, Water Container, Pencil, Ruler, Scissors.
Description :
Frames are as important as memories which they hold! So learn how to make photo frame at home by following this step-by-step tutorial. Here we have a cute decoupage handmade DIY, in which the frame itself holds many memories. Make this simple yet beautiful DIY photo frame craft & decorate your house. Family is where my heart is!STEP 1
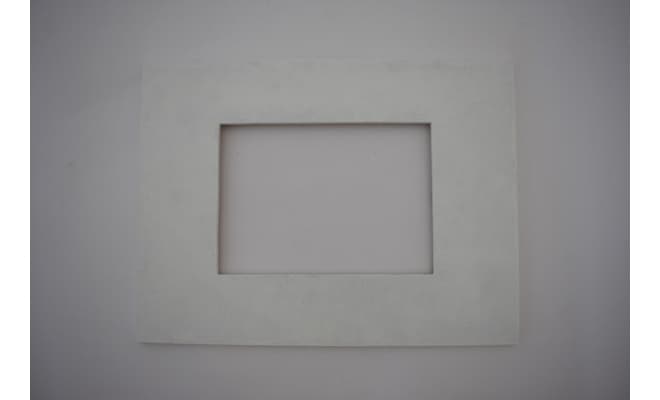
Take a plain MDF wooden photo frame. Paint the frame with Acrylic colour White 27.Leave it to dry.
STEP 2
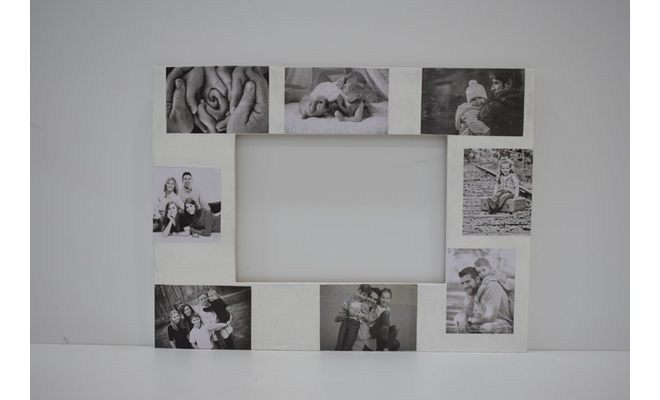
Take the black and white printouts of your family photographs. Cut the photographs properly in the size of the frame. With decoupage glue stick the photographs neatly on the frame. We need to apply the decoupage glue first horizontally and second coat vertically to seal the photographs appropriately. Let it dry thoroughly.
Refer to the image.
STEP 3
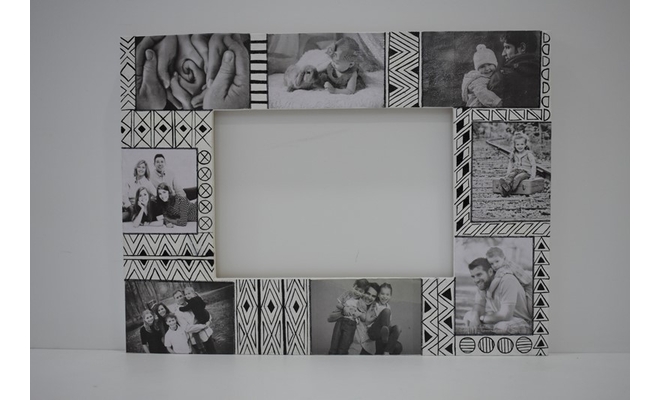
Draw and paint few African style geometrical patterns in between the photographs with Acrylic Colour Black 02.
Let it dry.
STEP 4
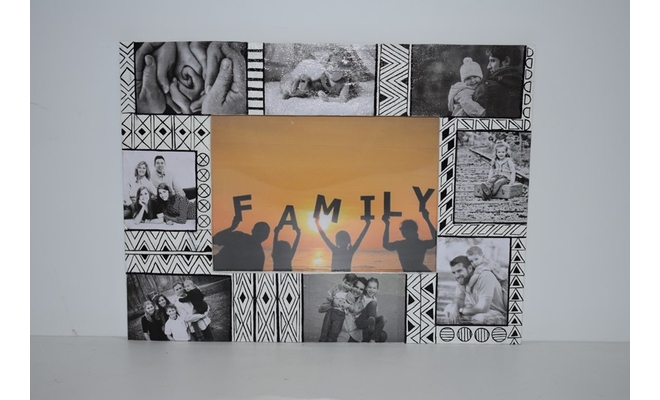
Insert the nice photograph of your family. The final photo frame will look like this.
Isn’t this a super idea for Family Day DIY! Do make you own decoupage frame and share with us.


 +91 99676 55545