Girl Faces Card Holder


You Will Need:
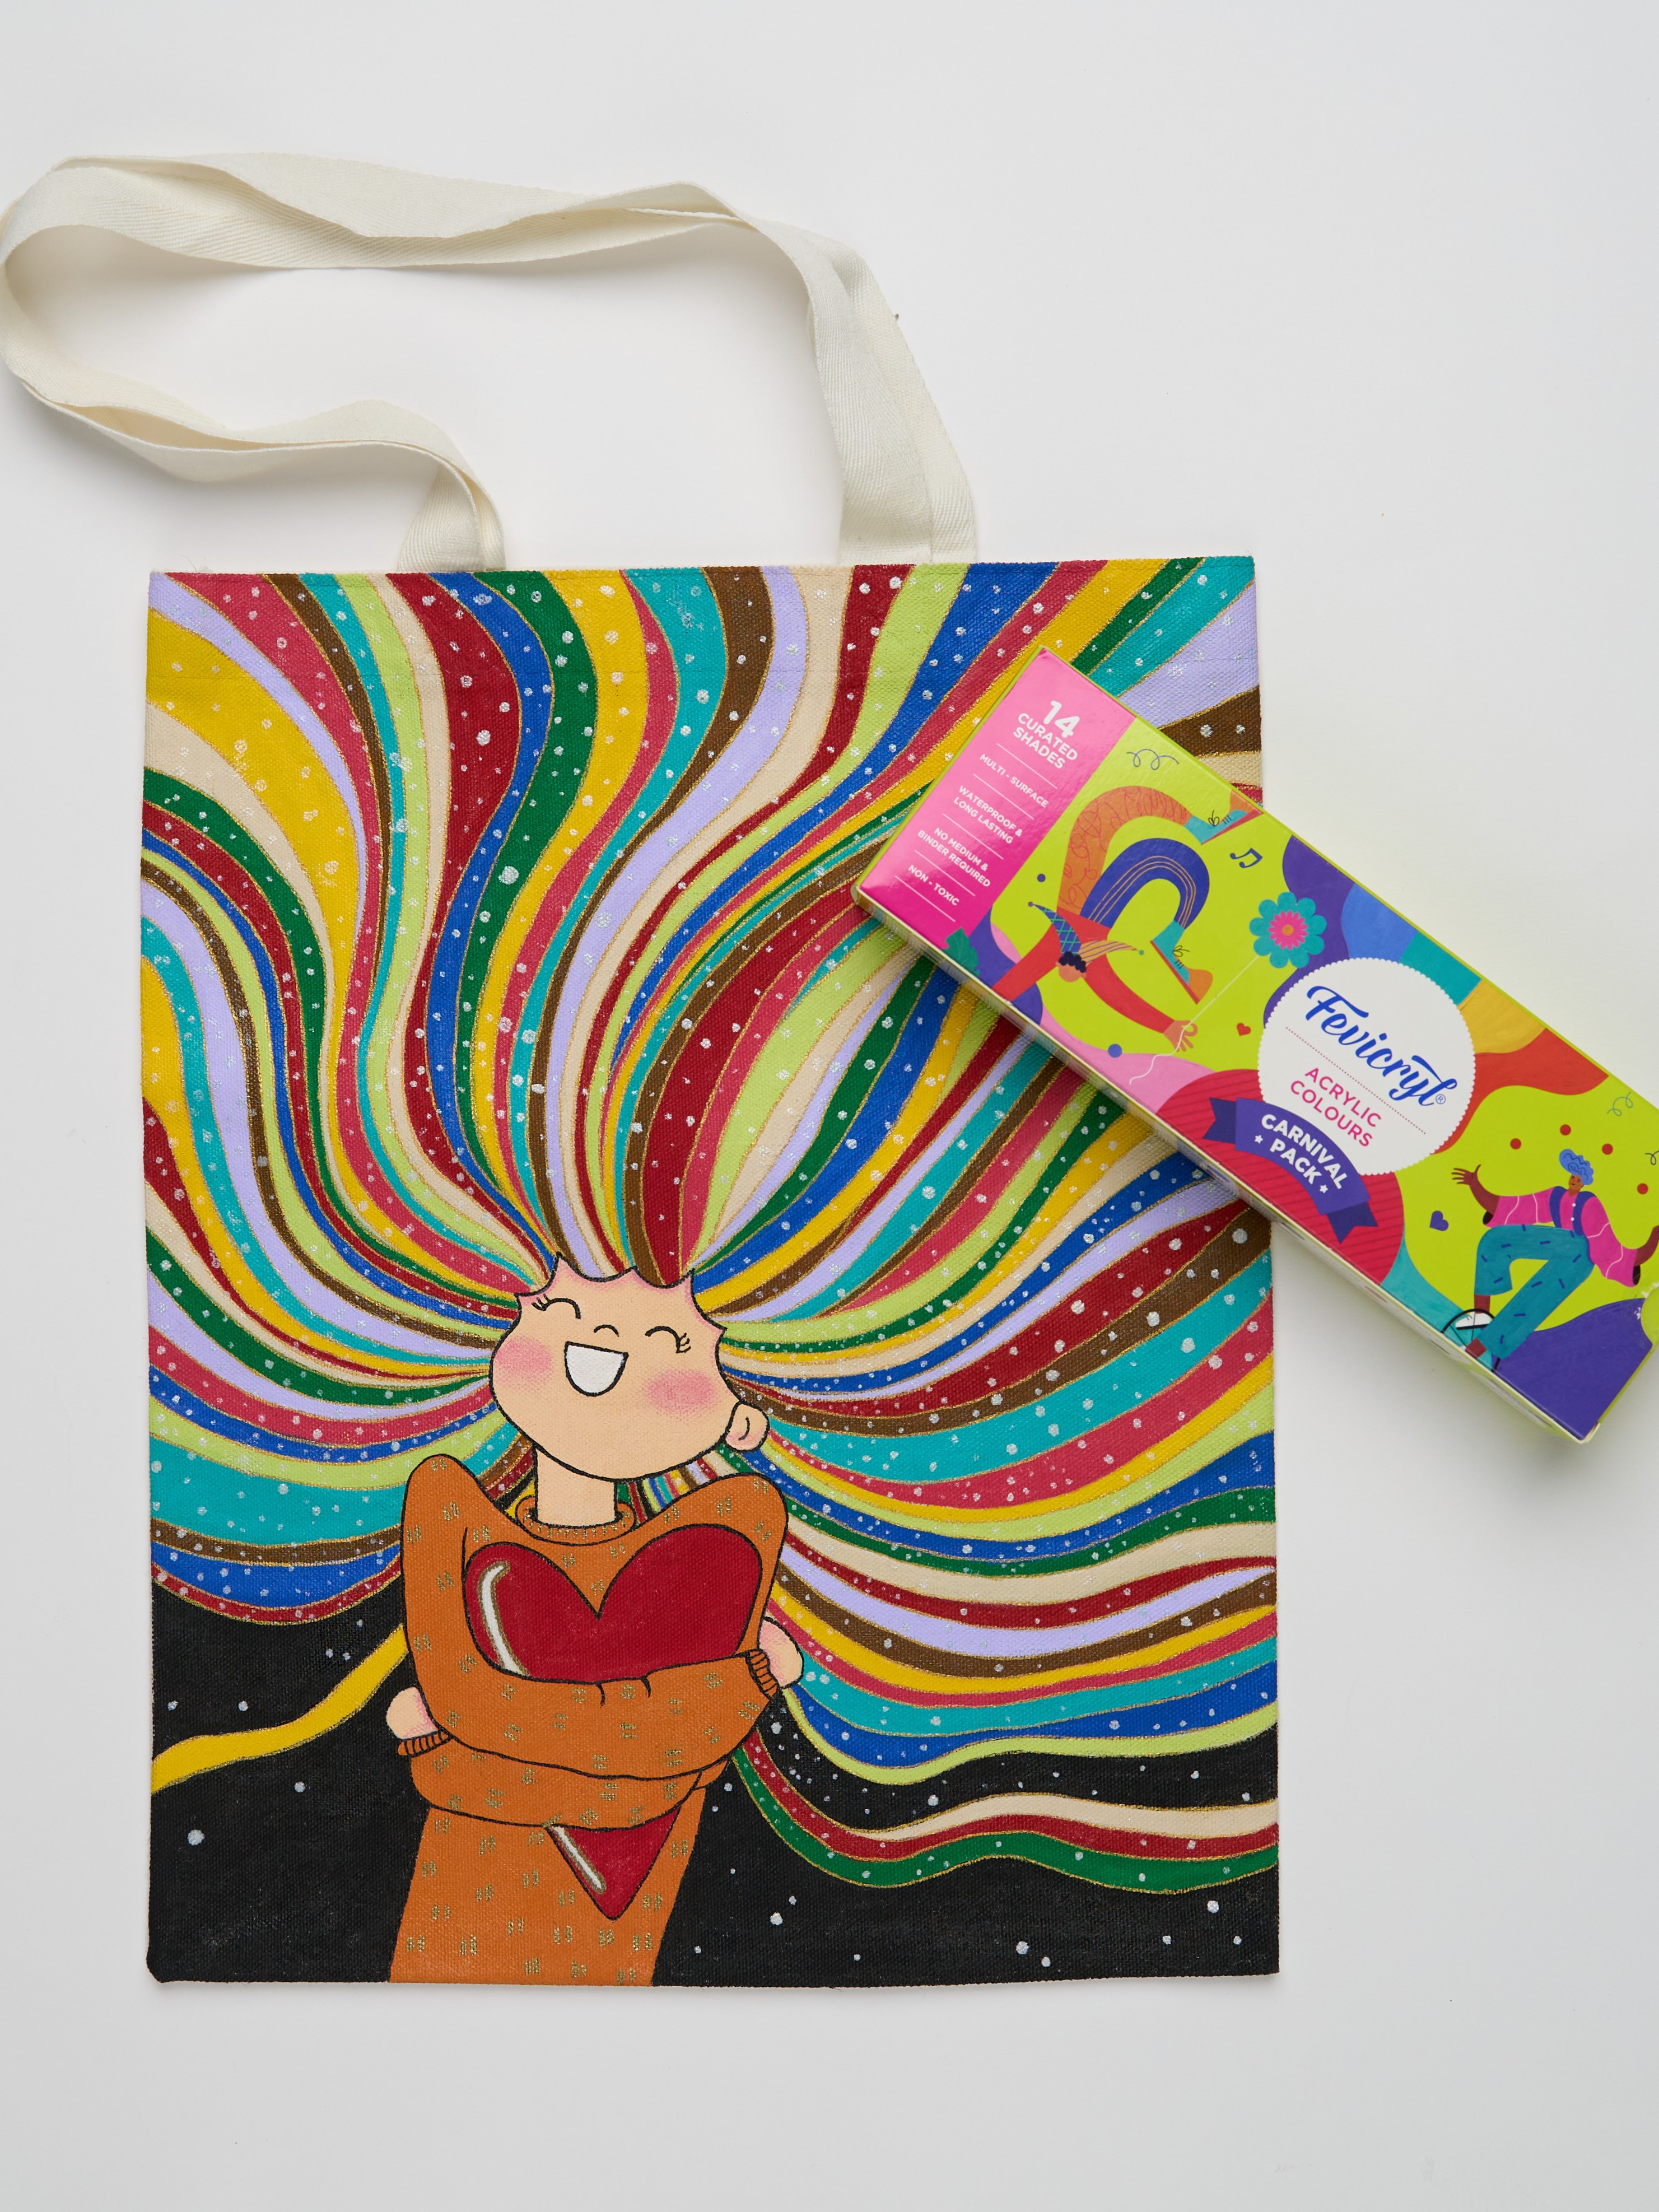
Fevicryl Acrylic Colours Burnt Sienna 01, Black 02, Chrome Yellow 03, Dark Brown 05, Light Green 12, Maroon 14, Orange 17, Violet 25, White 27, Flesh Tint 30, Neon Green 012, Neon Pink 018, Fevicryl Mouldit, Fevicryl Fabric Glue, Fine Art Brushes, Used Pencils, Wooden Block 8” X 3”, Rolling Pin, Corrugated Sheet, Scissors, Paper Cutter, Clay Carving Tools, Pencil, Colour Palette, Water Container
Product Used:

Description :
How cute is this desktop accessory! Doesn’t this add a dash of quirkiness to your working space? Made in a jiffy with Fevicryl range of products this cardholder can be customized as per your liking too.
STEP 1 : Source and cut the corrugated sheet.
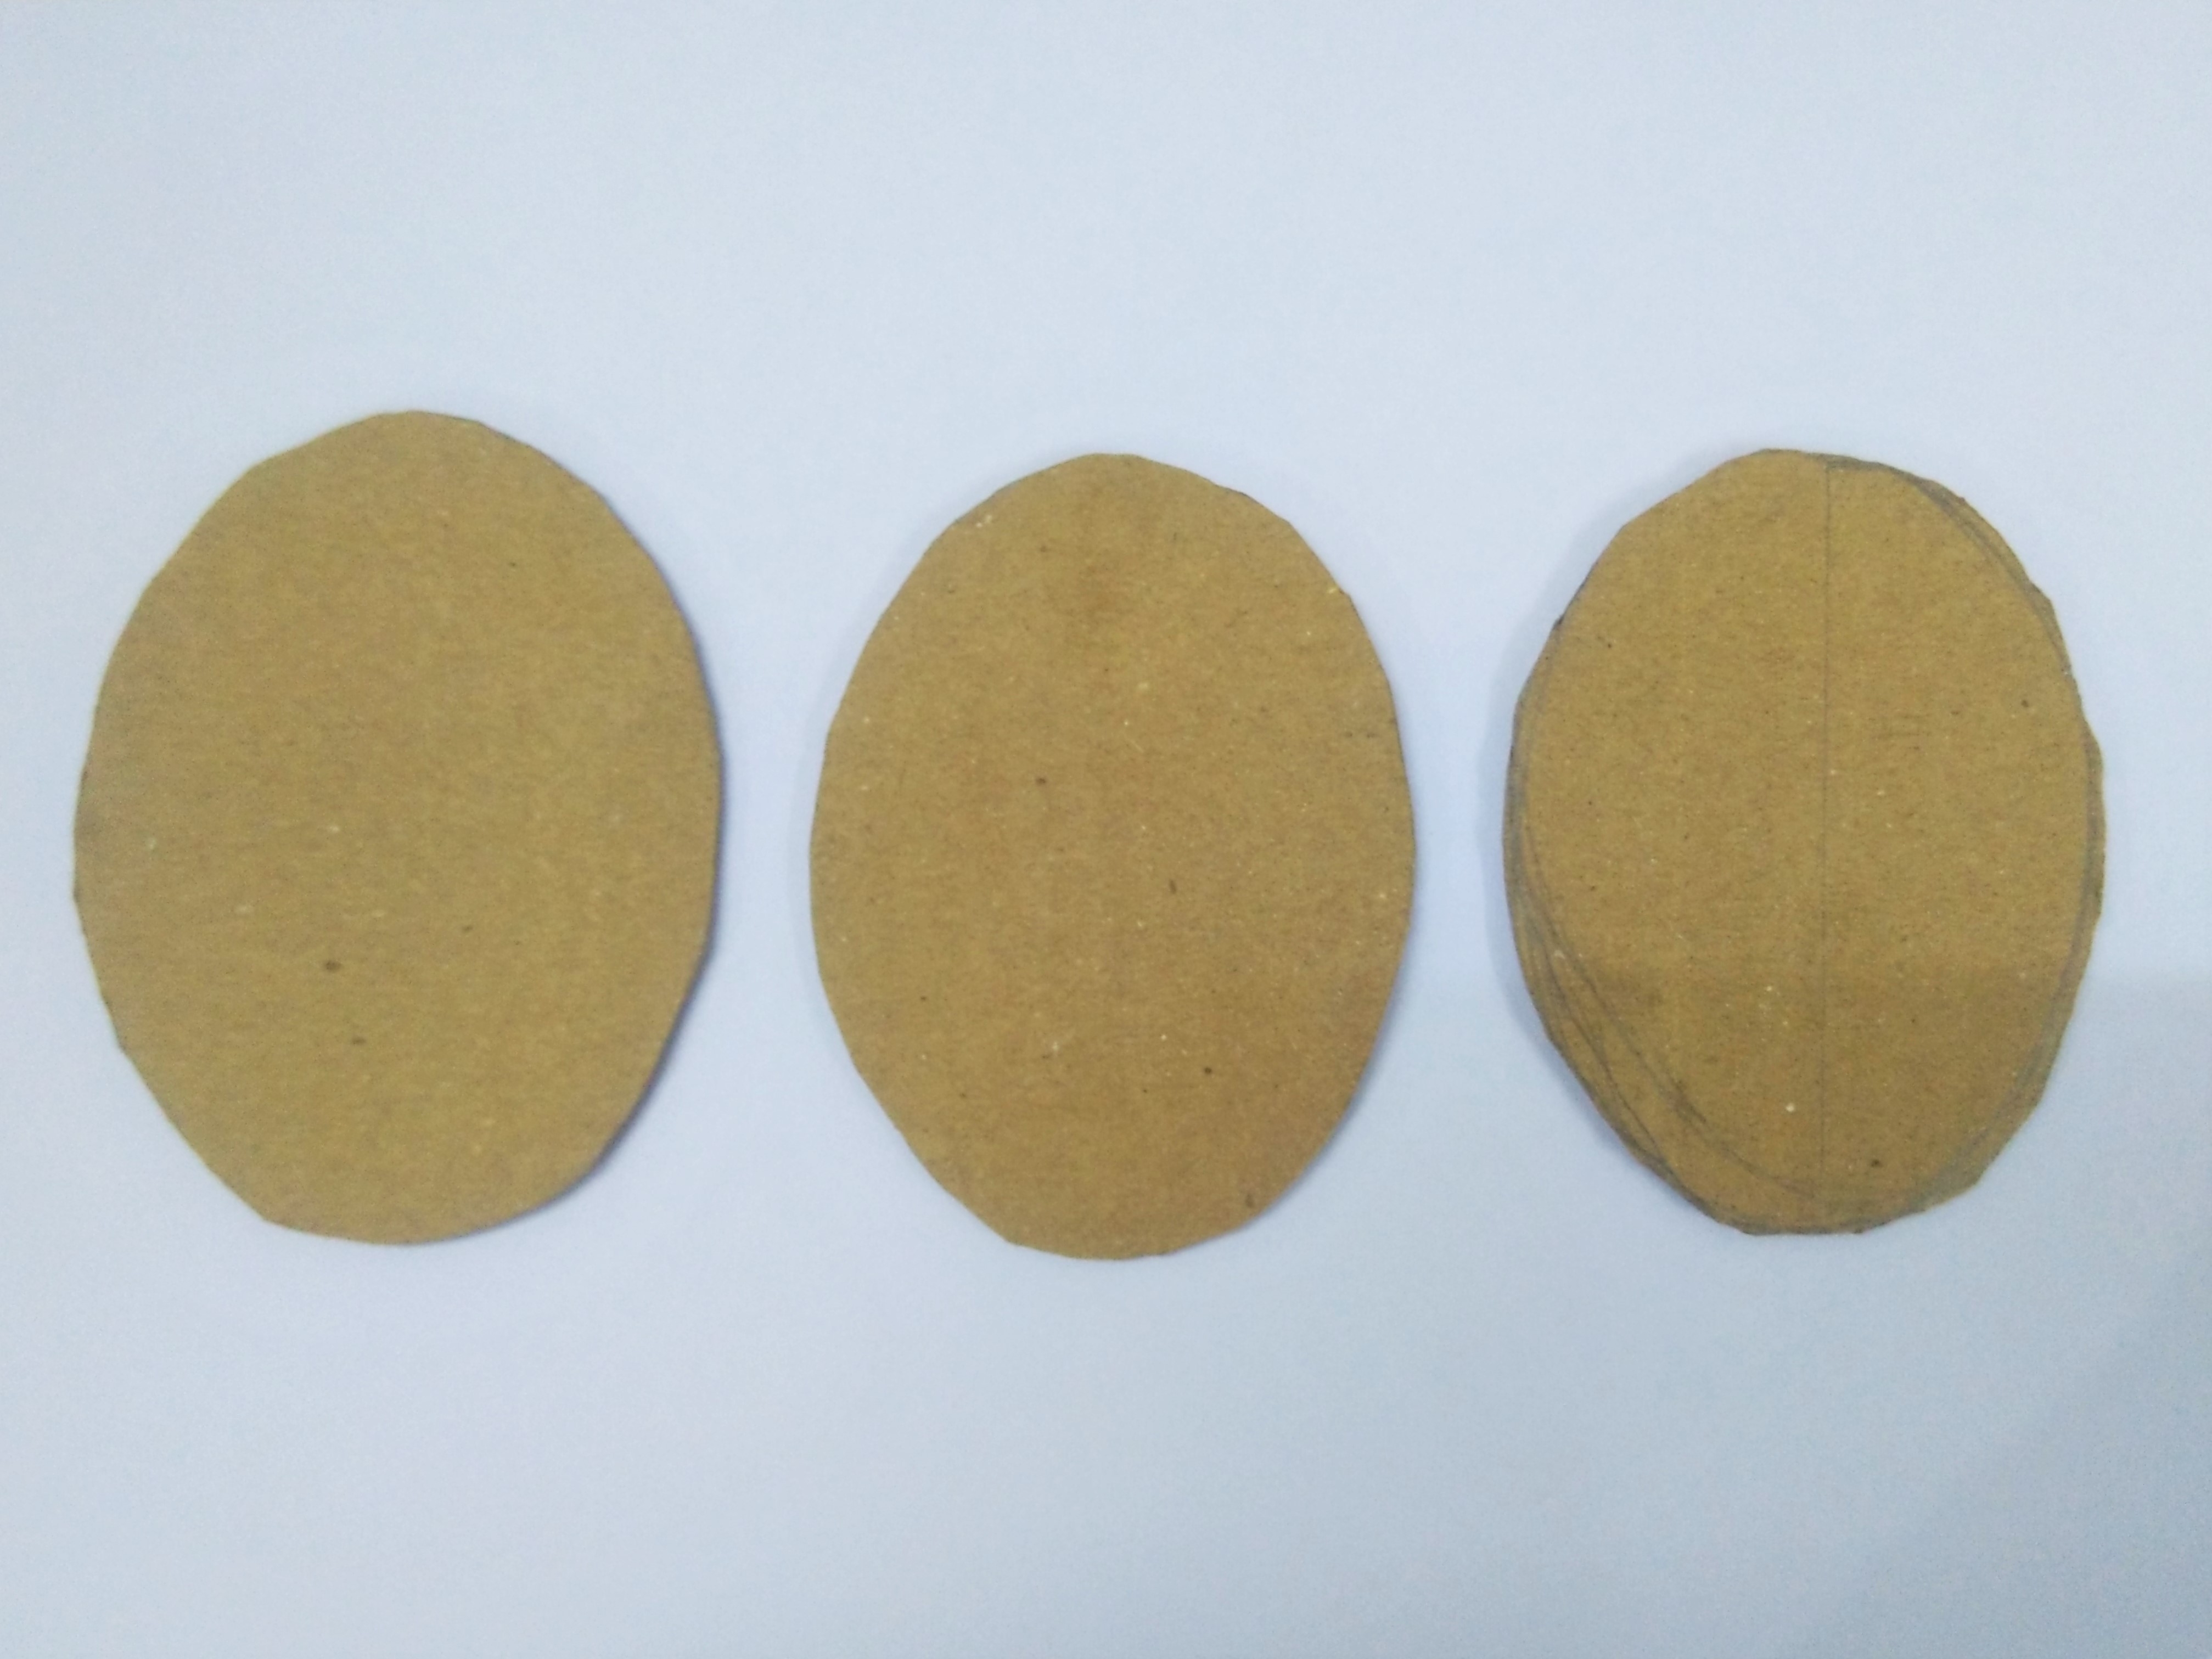
- We are going to make the visiting card holder using the corrugated sheet and Mouldit.
- Take the corrugated sheet.
- Draw and cut 3 ovals out of it.
STEP 2 : Mix Fevicryl Mouldit
- We are going to build the faces on the oval base with Mouldit.
- Take the Mouldit resin base and hardener, mix it thoroughly to make even dough.
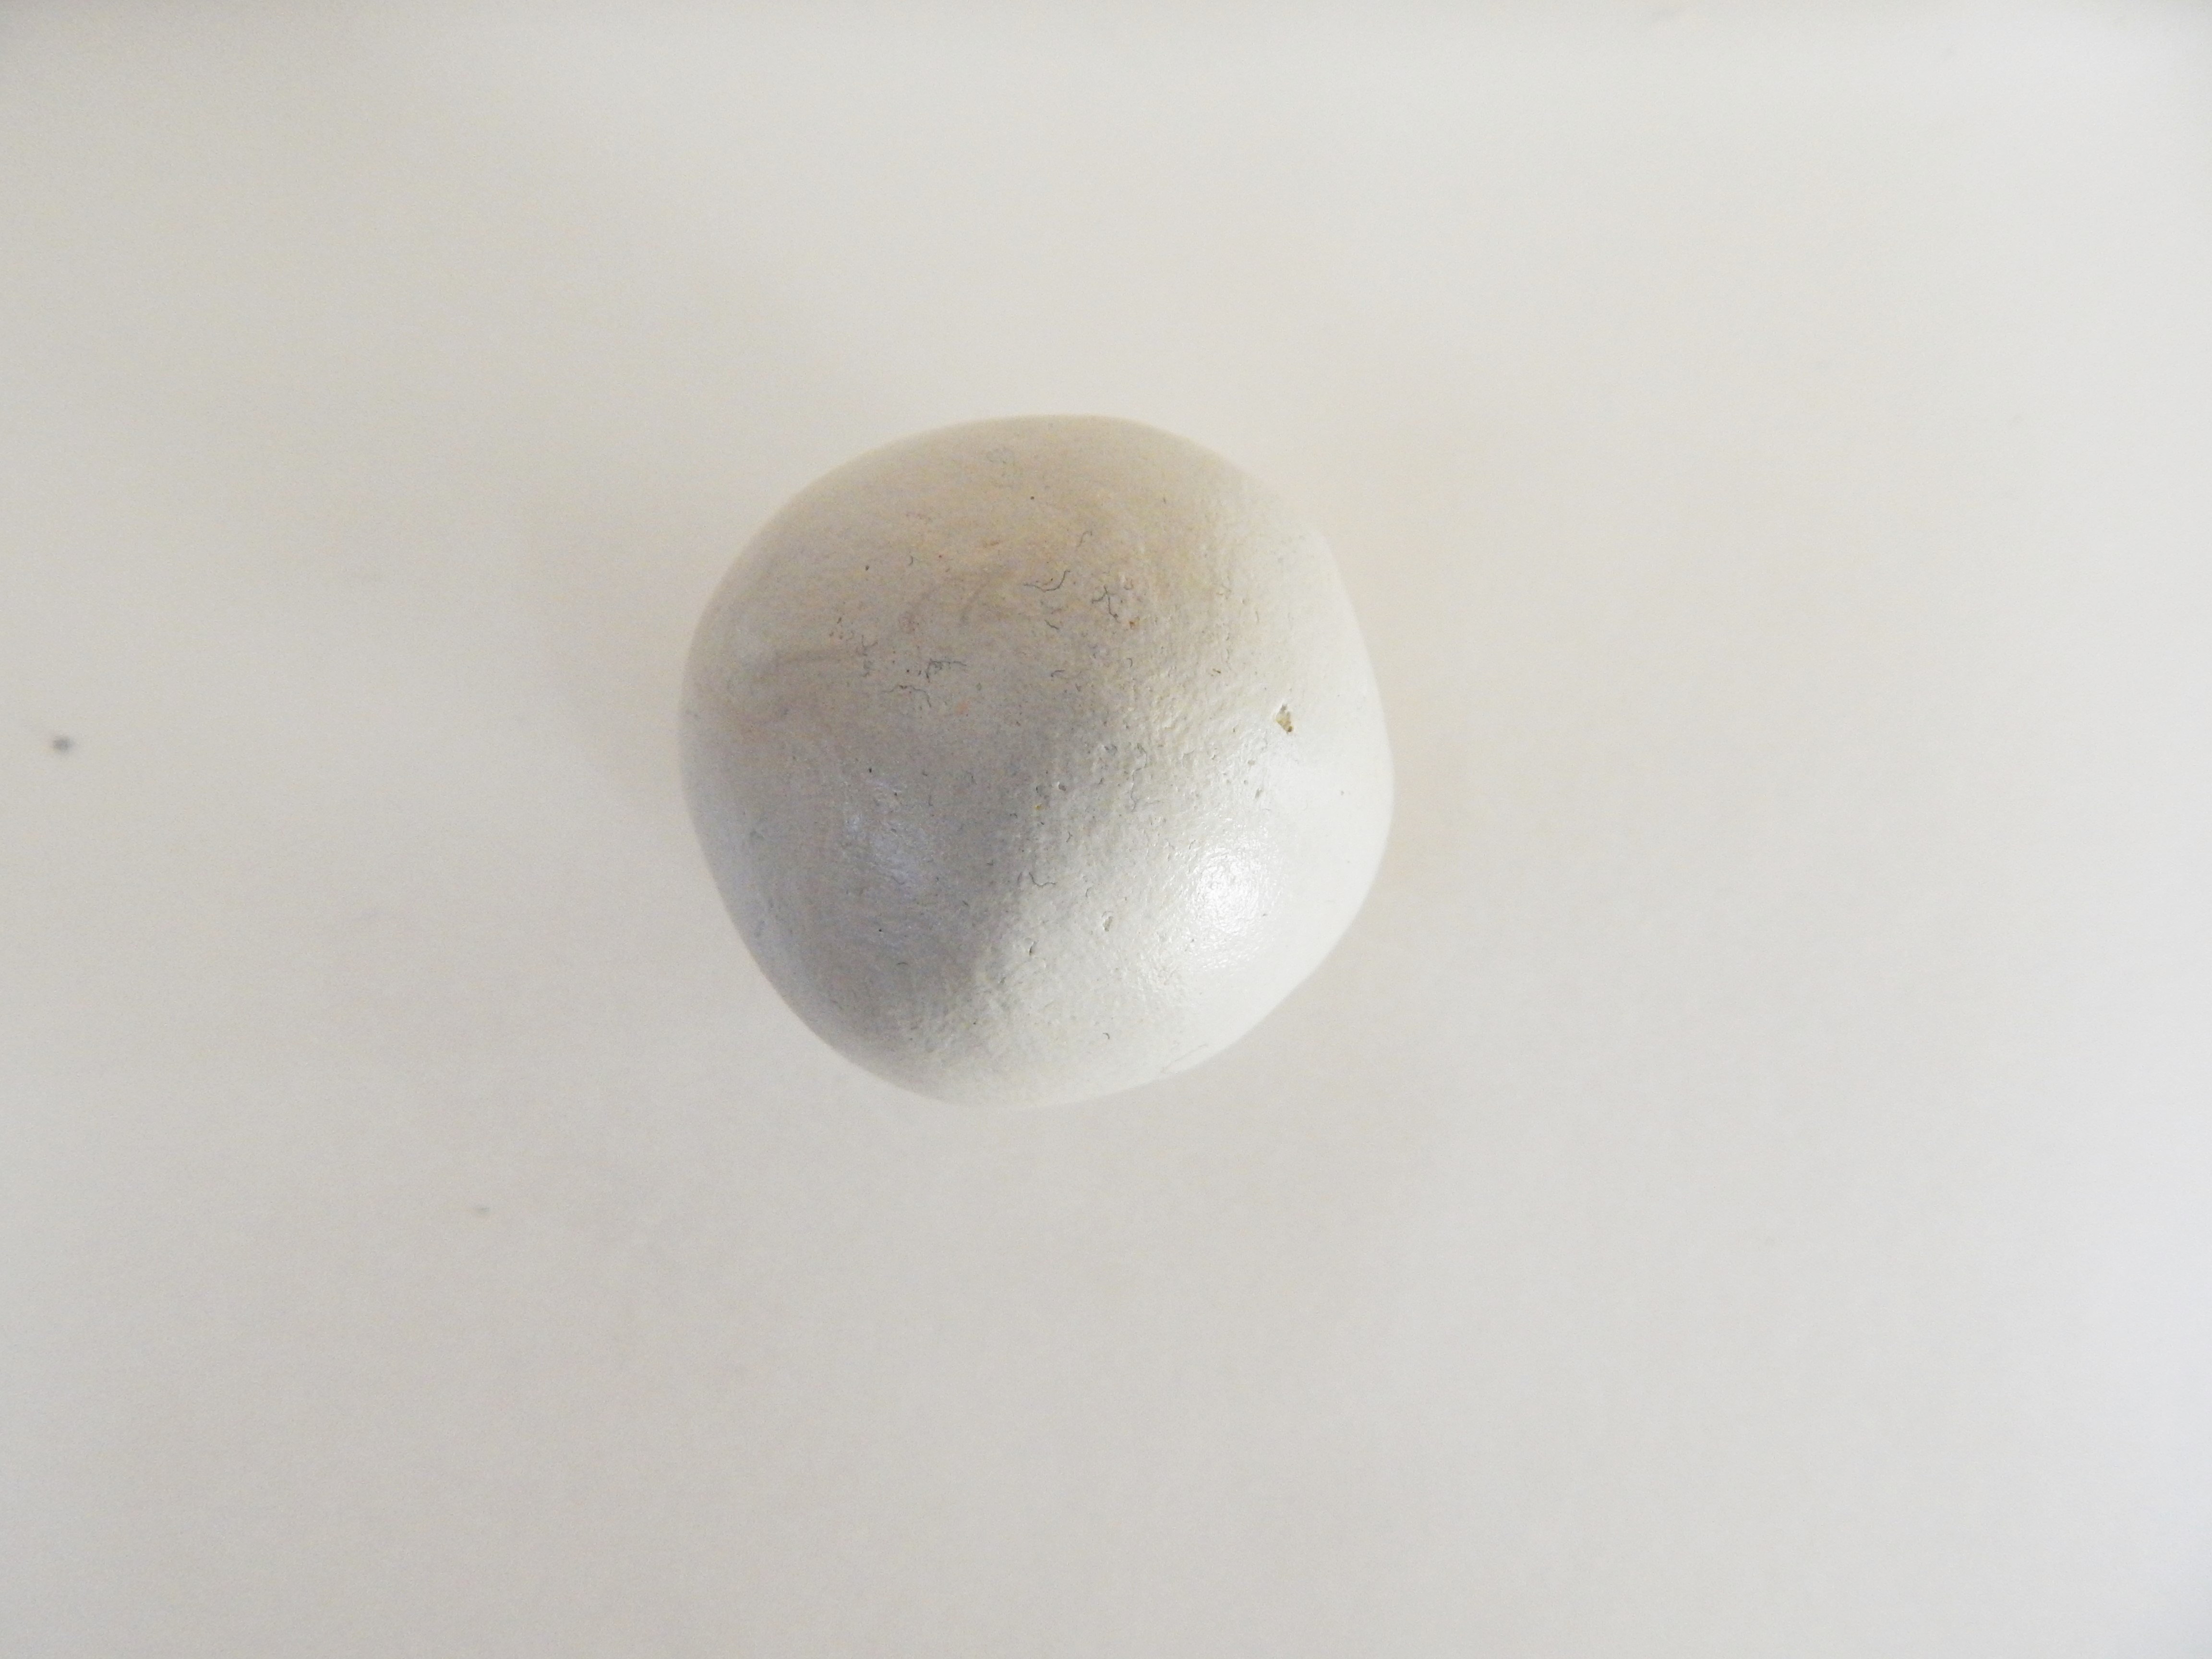
STEP 3 : Roll the dough
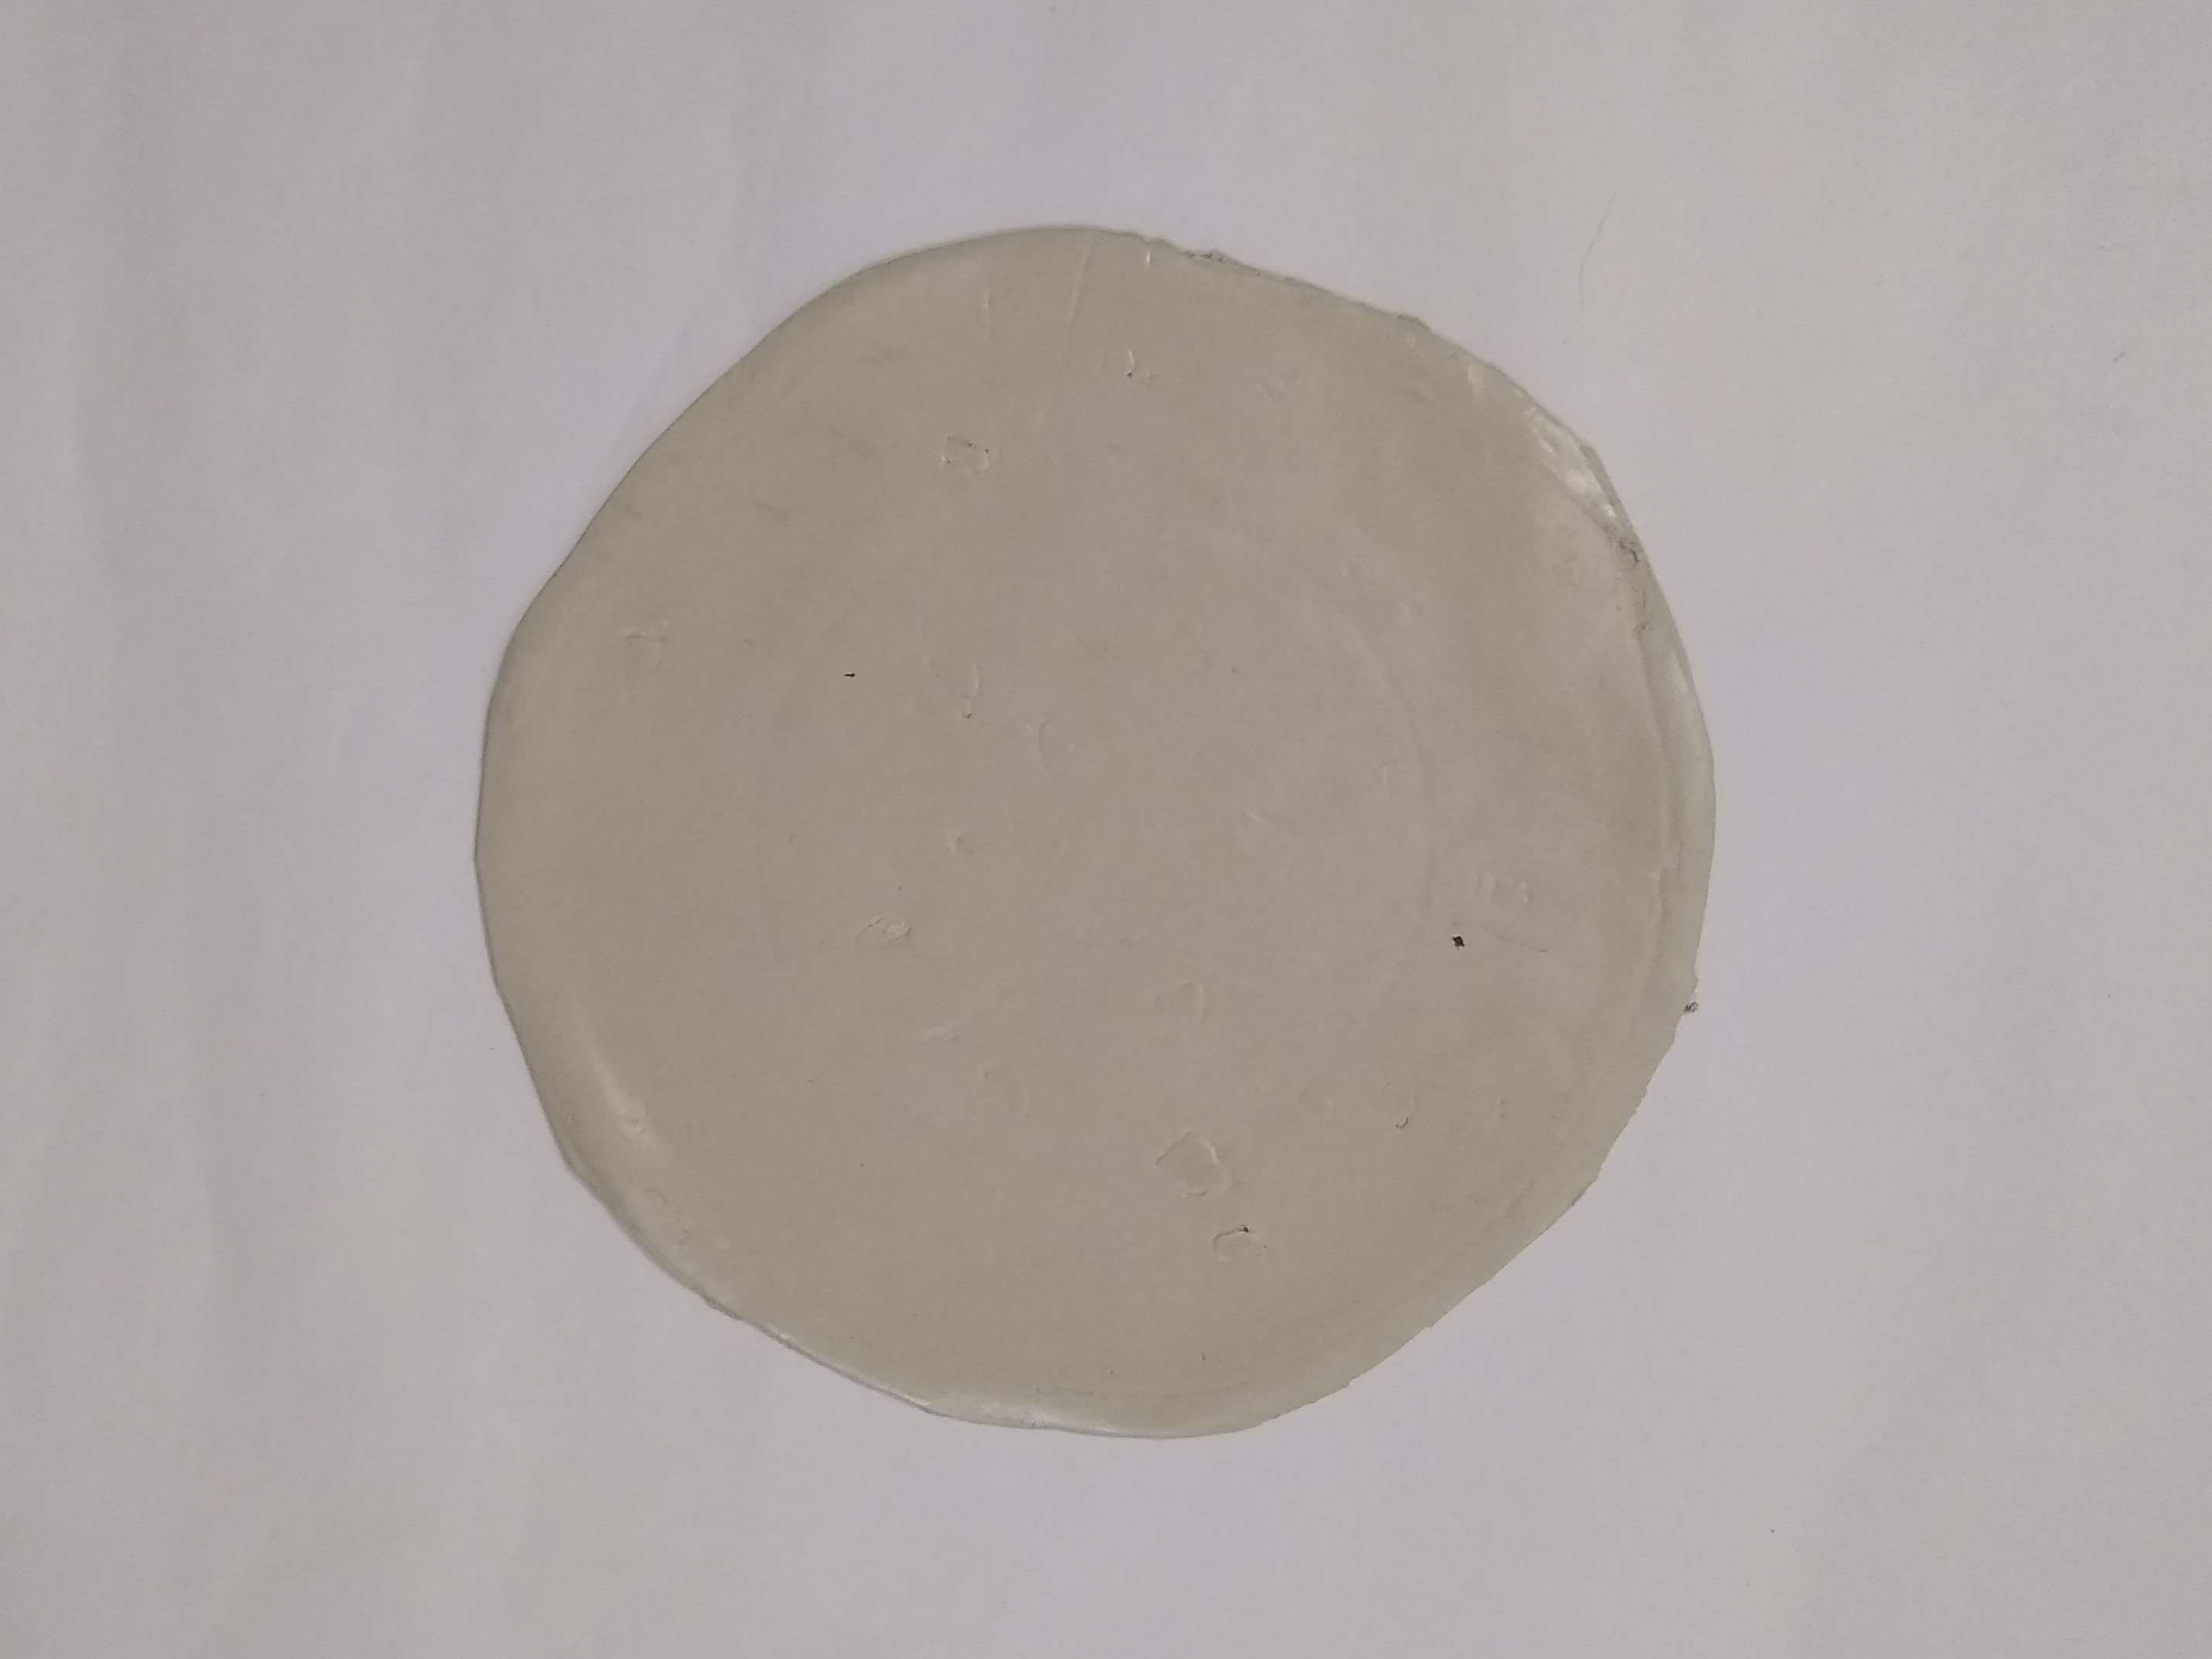
- Take the dough, roll it to make medium thick slab with rolling pin.
STEP 4 : Make the holders
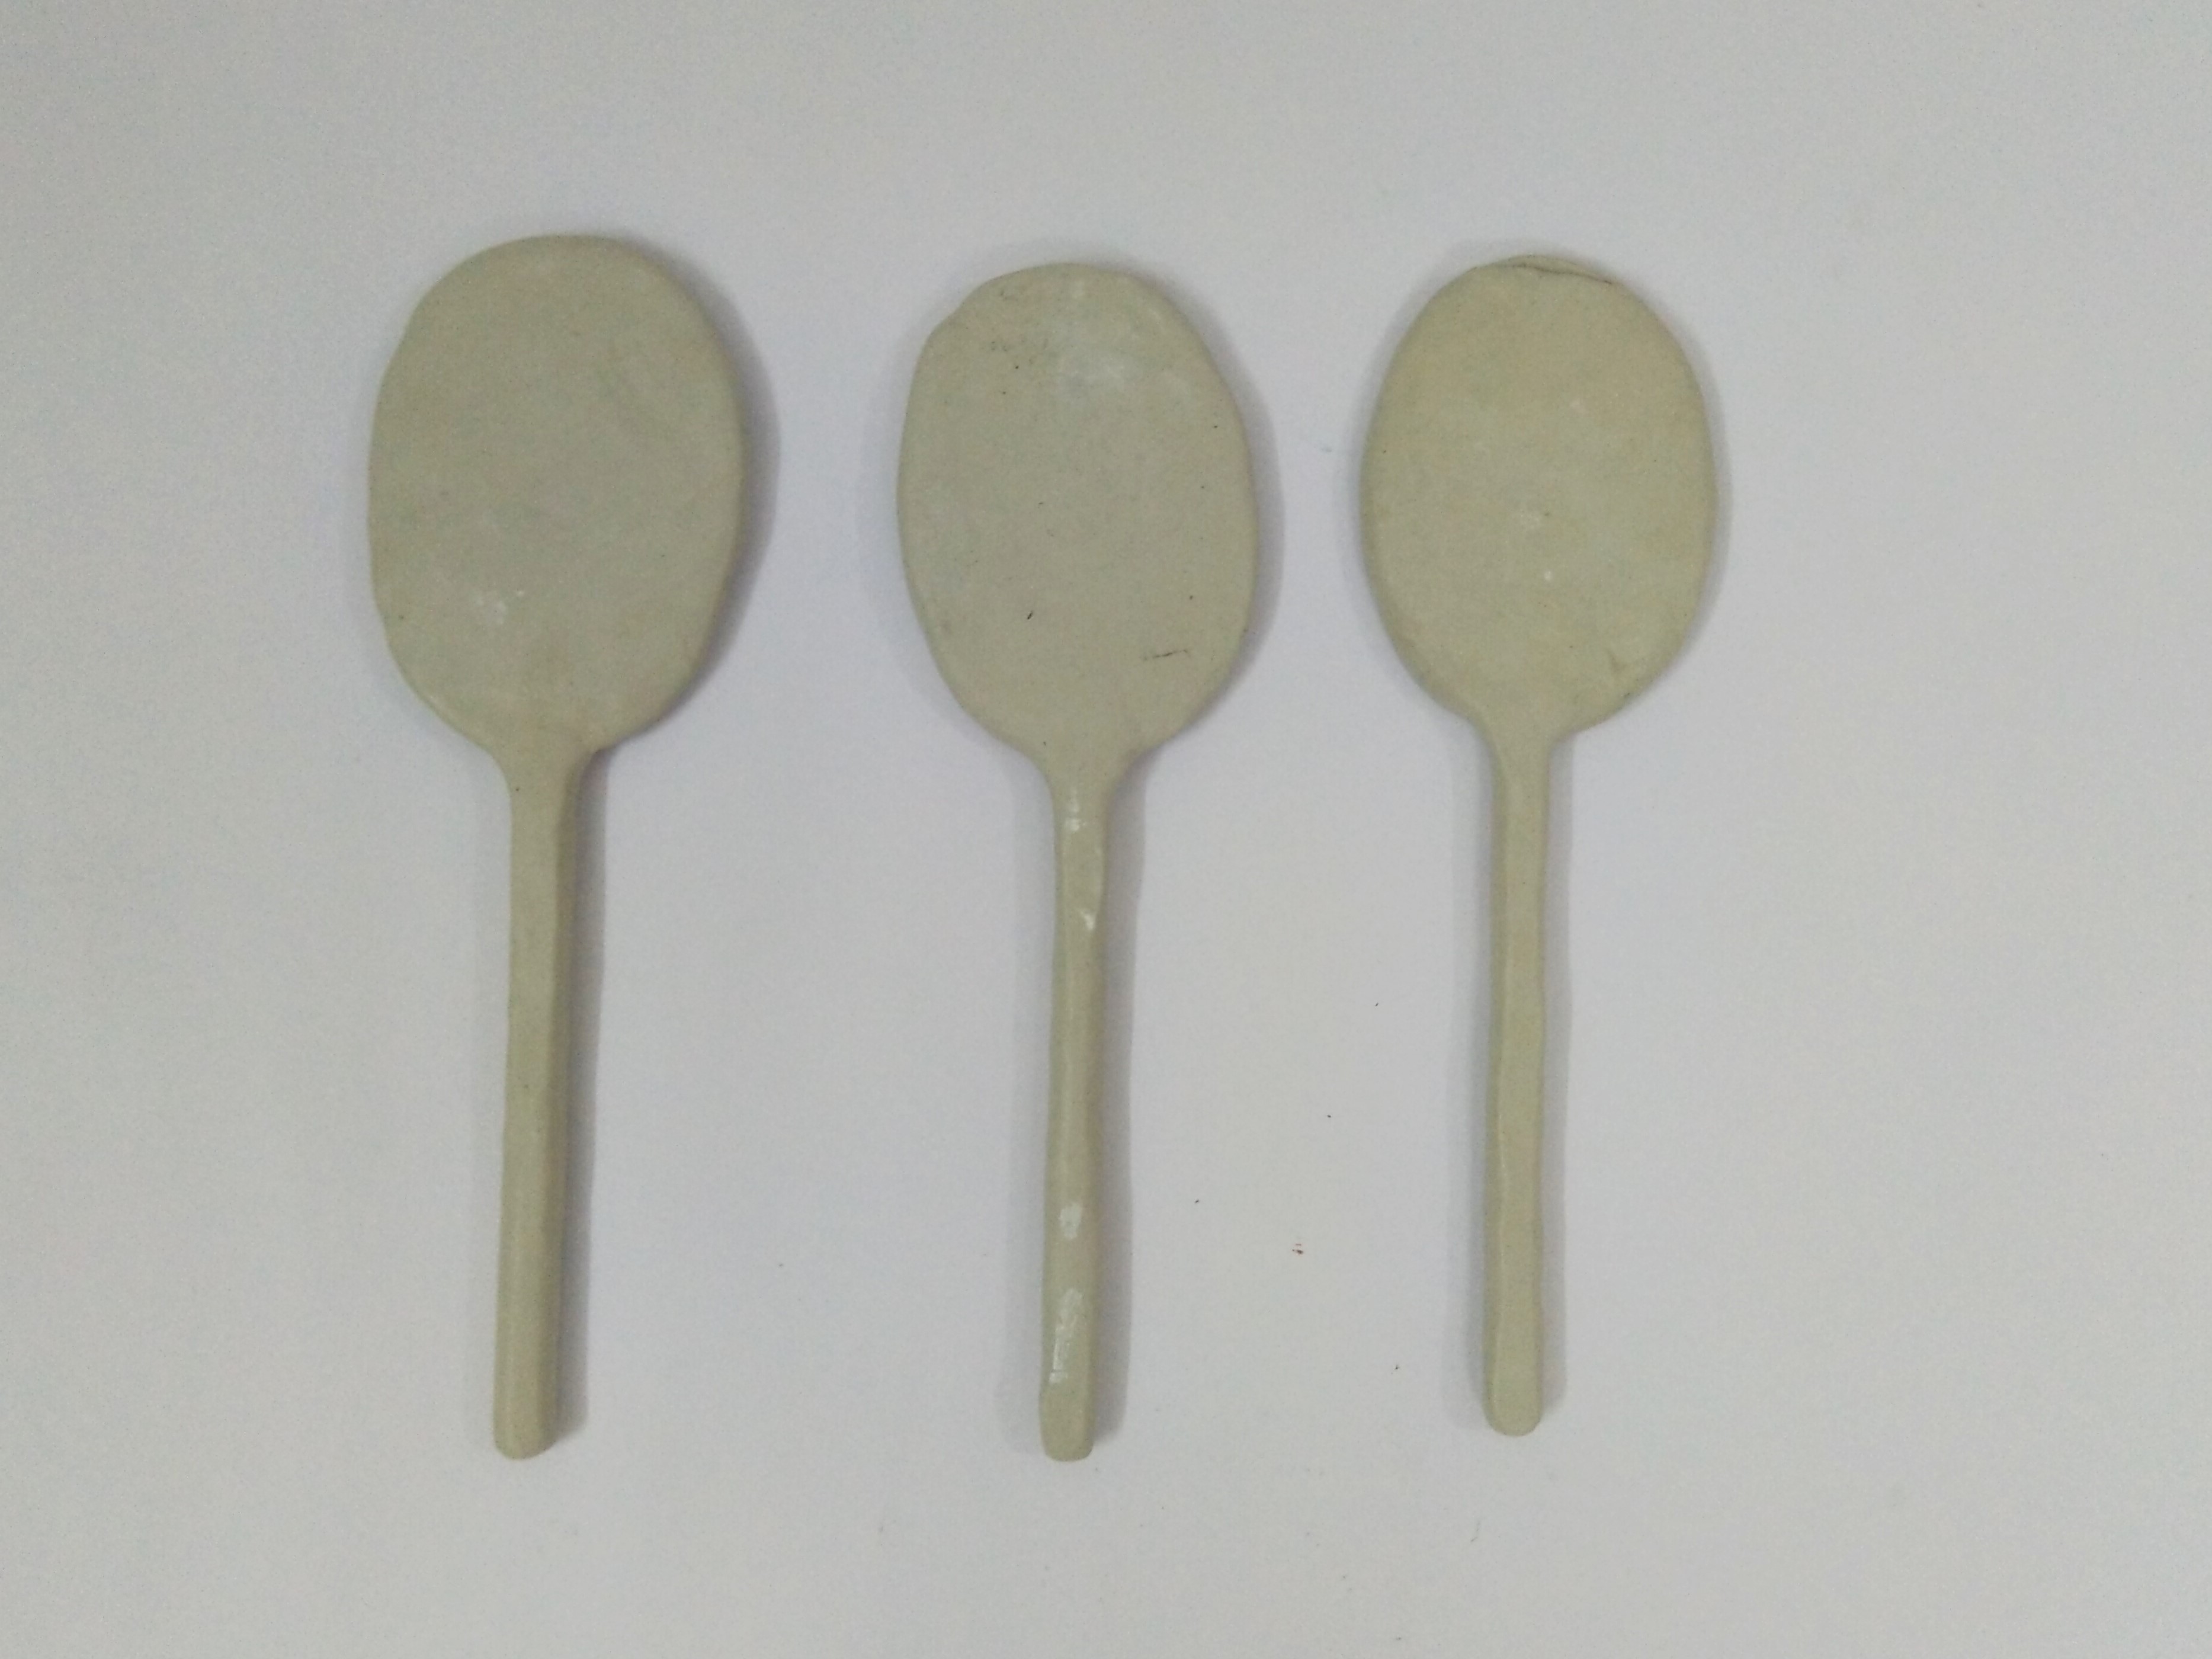
- Mark and cut the oval shapes from the slab. Stick the slab on the ovals using Fabric Glue. Let it dry.
- We are going to use old pencils to make the stand for the face.
- Take any old pencil, cover and stick the slab around the pencil with Fabric Glue.
- Leave it to dry.
- Similarly cover the rear side of the faces with the slab in such a way that keep the small slit towards the top of the head, as the holder for the visiting card.
- Refer to the image.
STEP 5 : Make the details

- Take some clay to make the facial details like the hair and the nose out of it using clay carving tools and Fabric Glue for sticking it appropriately.
- Let it dry.
STEP 6 : Paint the faces
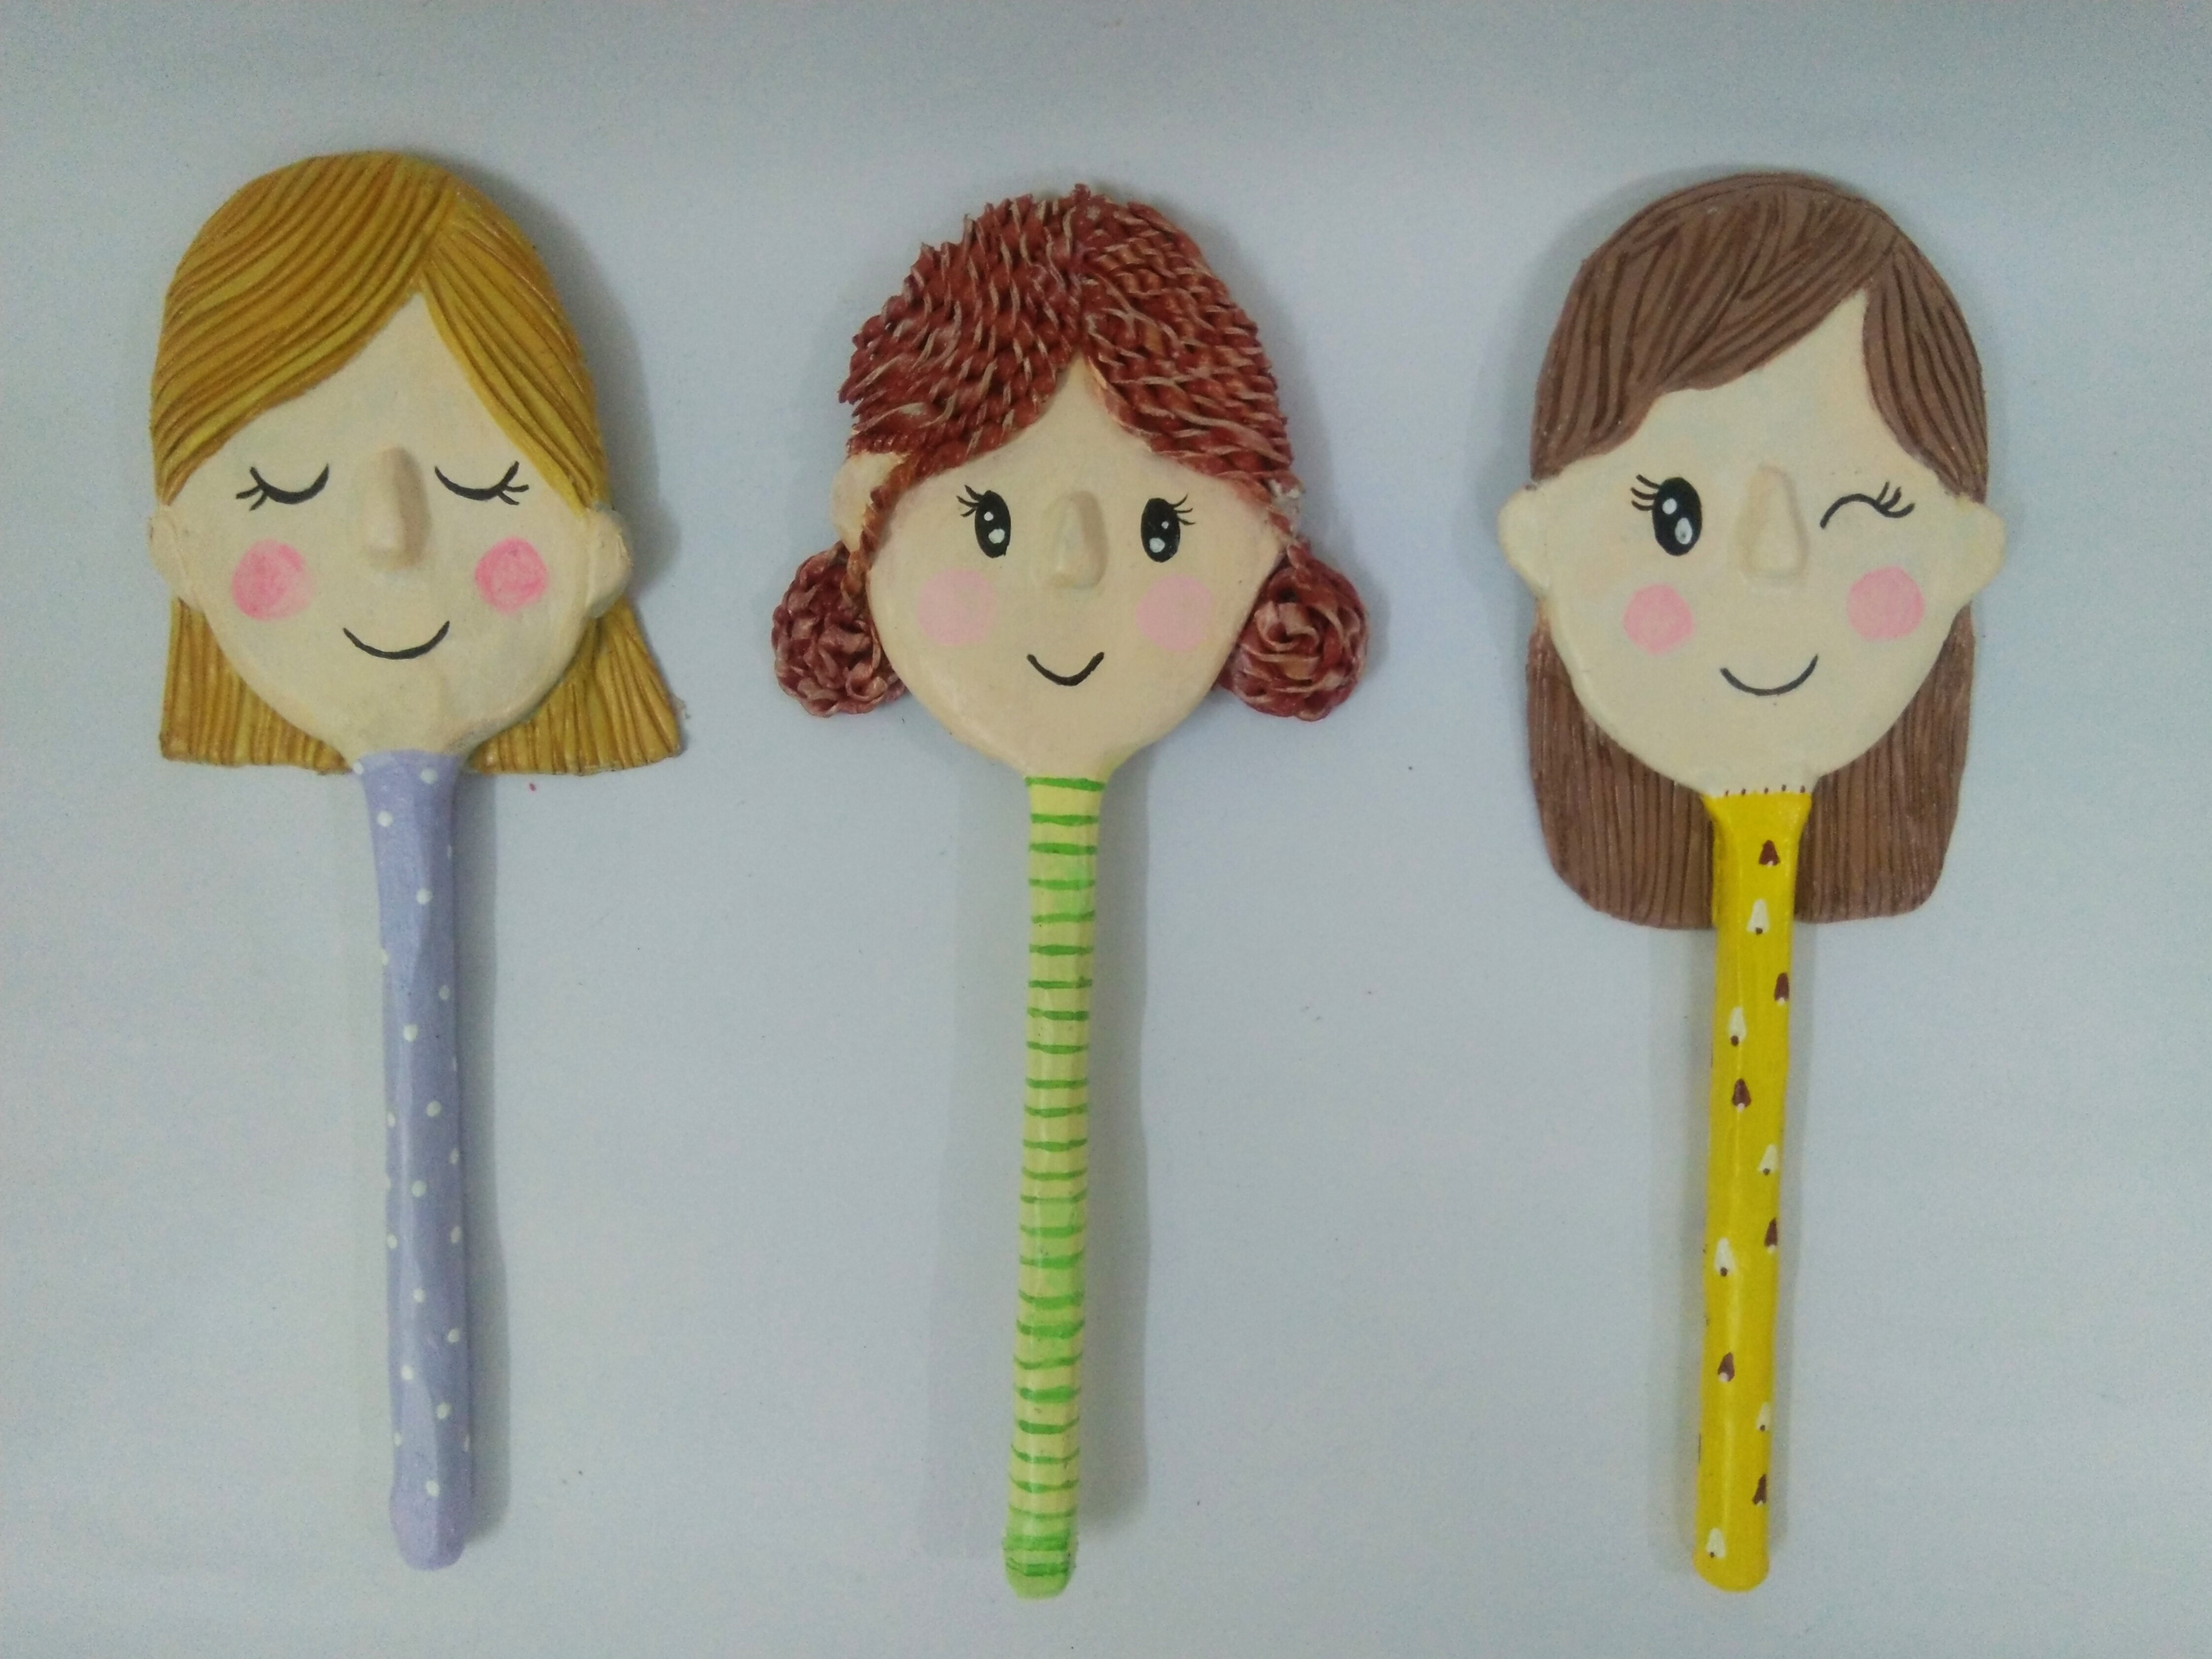
- Paint the faces and the stand as of the garments of the girls using Acrylic Colours Burnt Sienna 01, Black 02, Chrome yellow 03, dark brown 05, light green 12, maroon 14, orange 17, Violet 25, White 27, Flesh Tint 30, Neon Green 012 and Neon Pink 018.
- Let it dry completely.
STEP 7 : Assembly
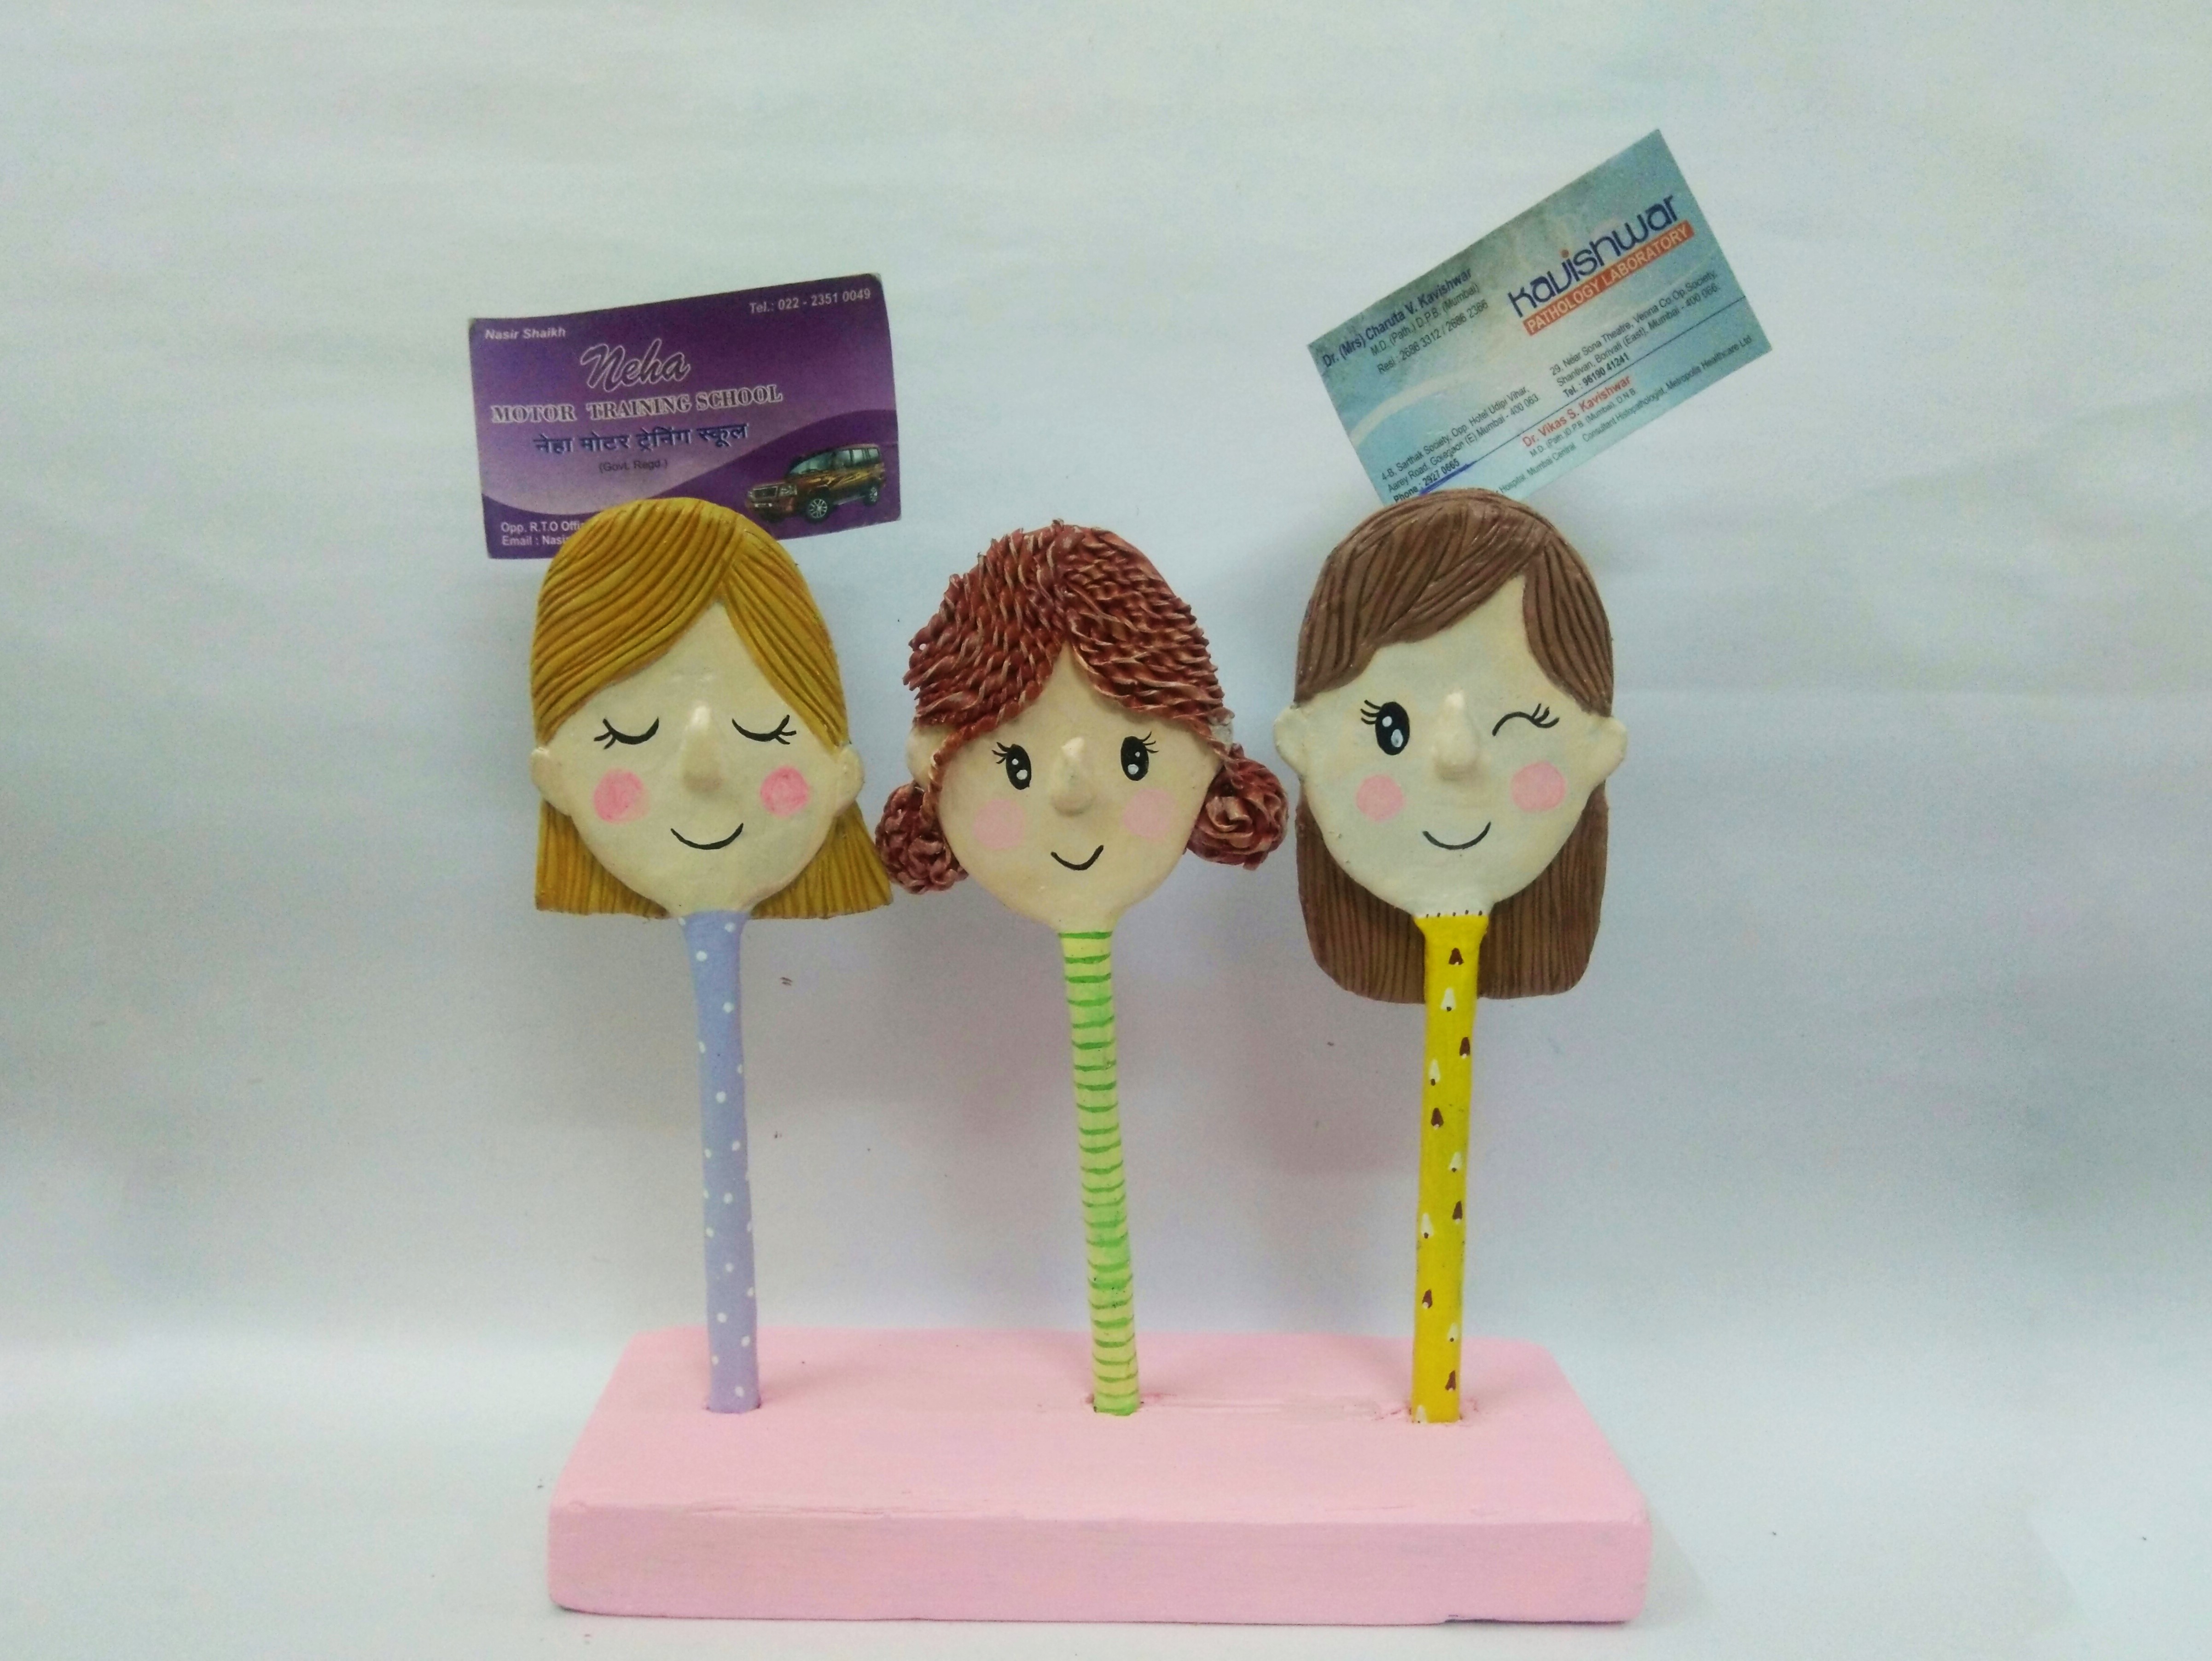
- Take the wooden block measuring 8” x 3” in size.
- Pierce holes on it on equal distance; you may get a carpenter to do it.
- Paint the wooden block with pastel shade of pink using Acrylic Colours Neon Pink 018 and White 27. Let it dry.
- Attach the faces with the stand to the painted wooden base using little amount of the clay and Fabric Glue.
- Leave it to dry completely.
- Refer to the image.


 +91 99676 55545