Fairy Light Jars

You Will Need:
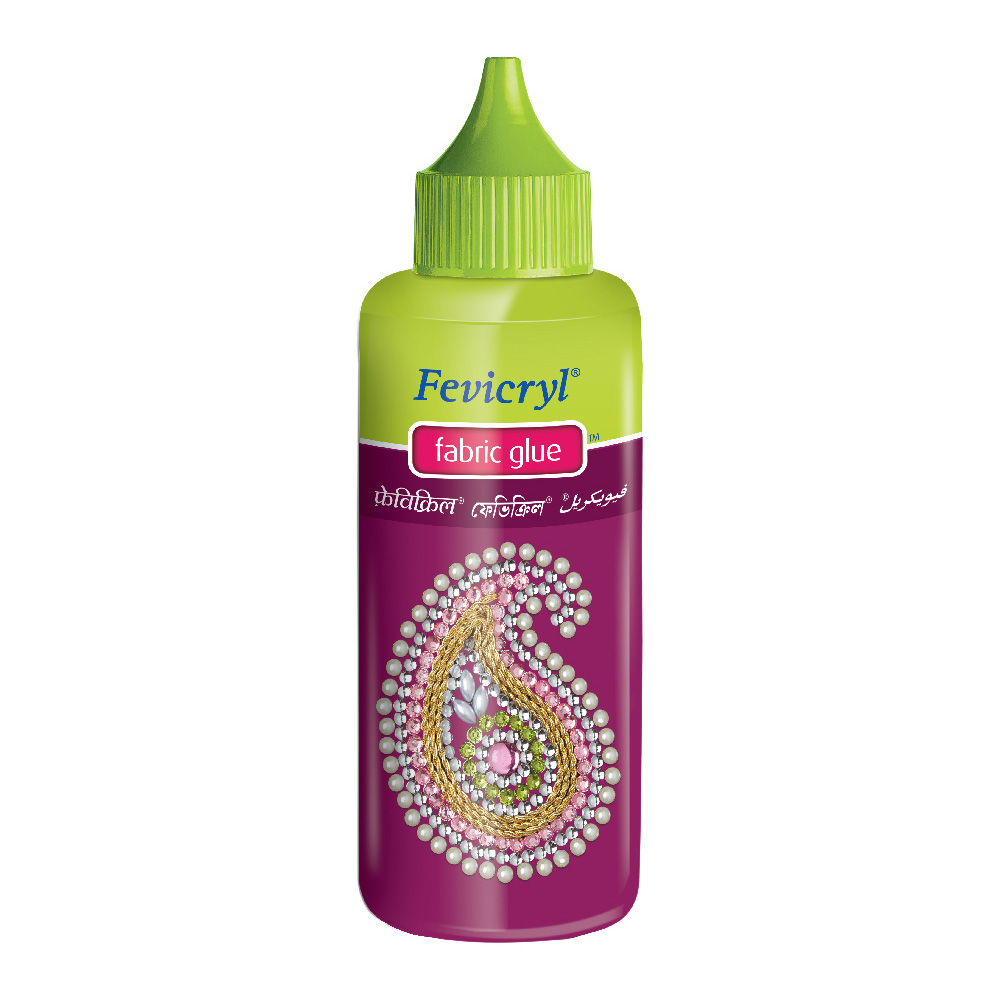
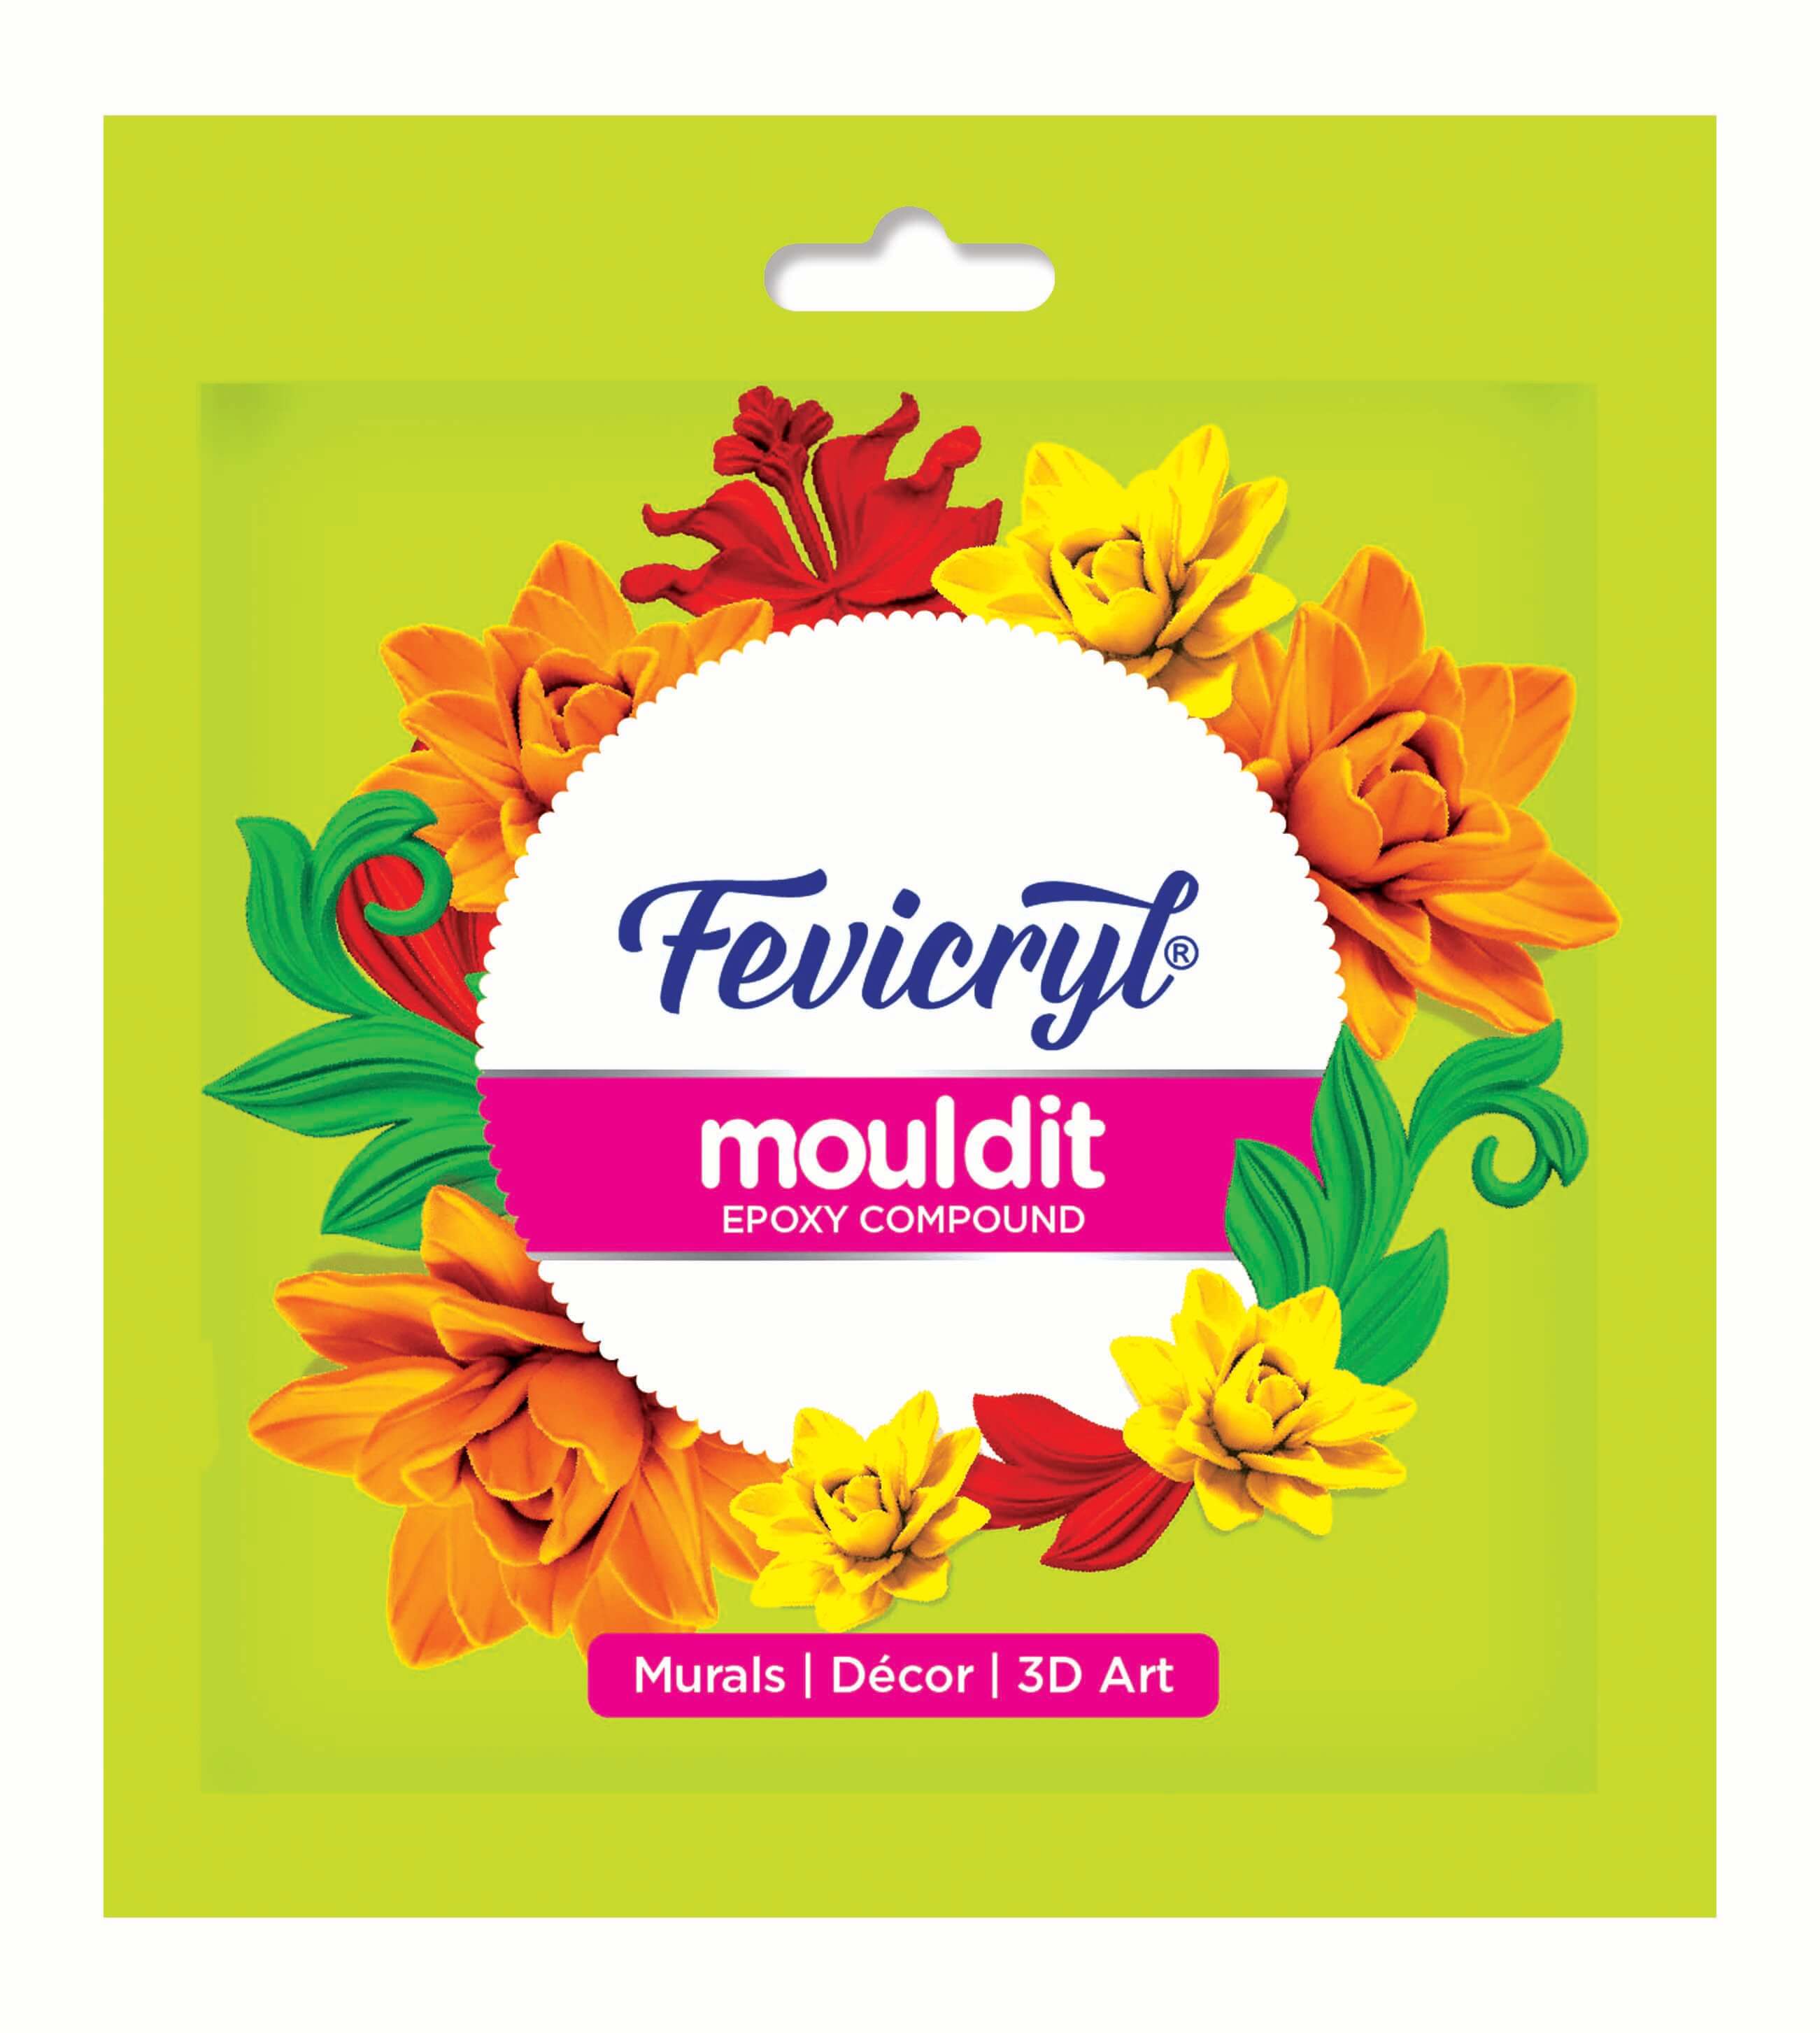
Fevicryl Acrylic Colours Burnt Sienna01, Crimson 04, Orange 17, White 27, Neon Pink 018, Fevicryl Mouldit, Fevicryl Fabric Glue, Fine Are Brushes, Plain Glass Jars, Tissue Papers, Clay Carving Tools, Paper Cutter, Half Cut Pearls, Colour Palette, Water Container
Product Used:

Description :
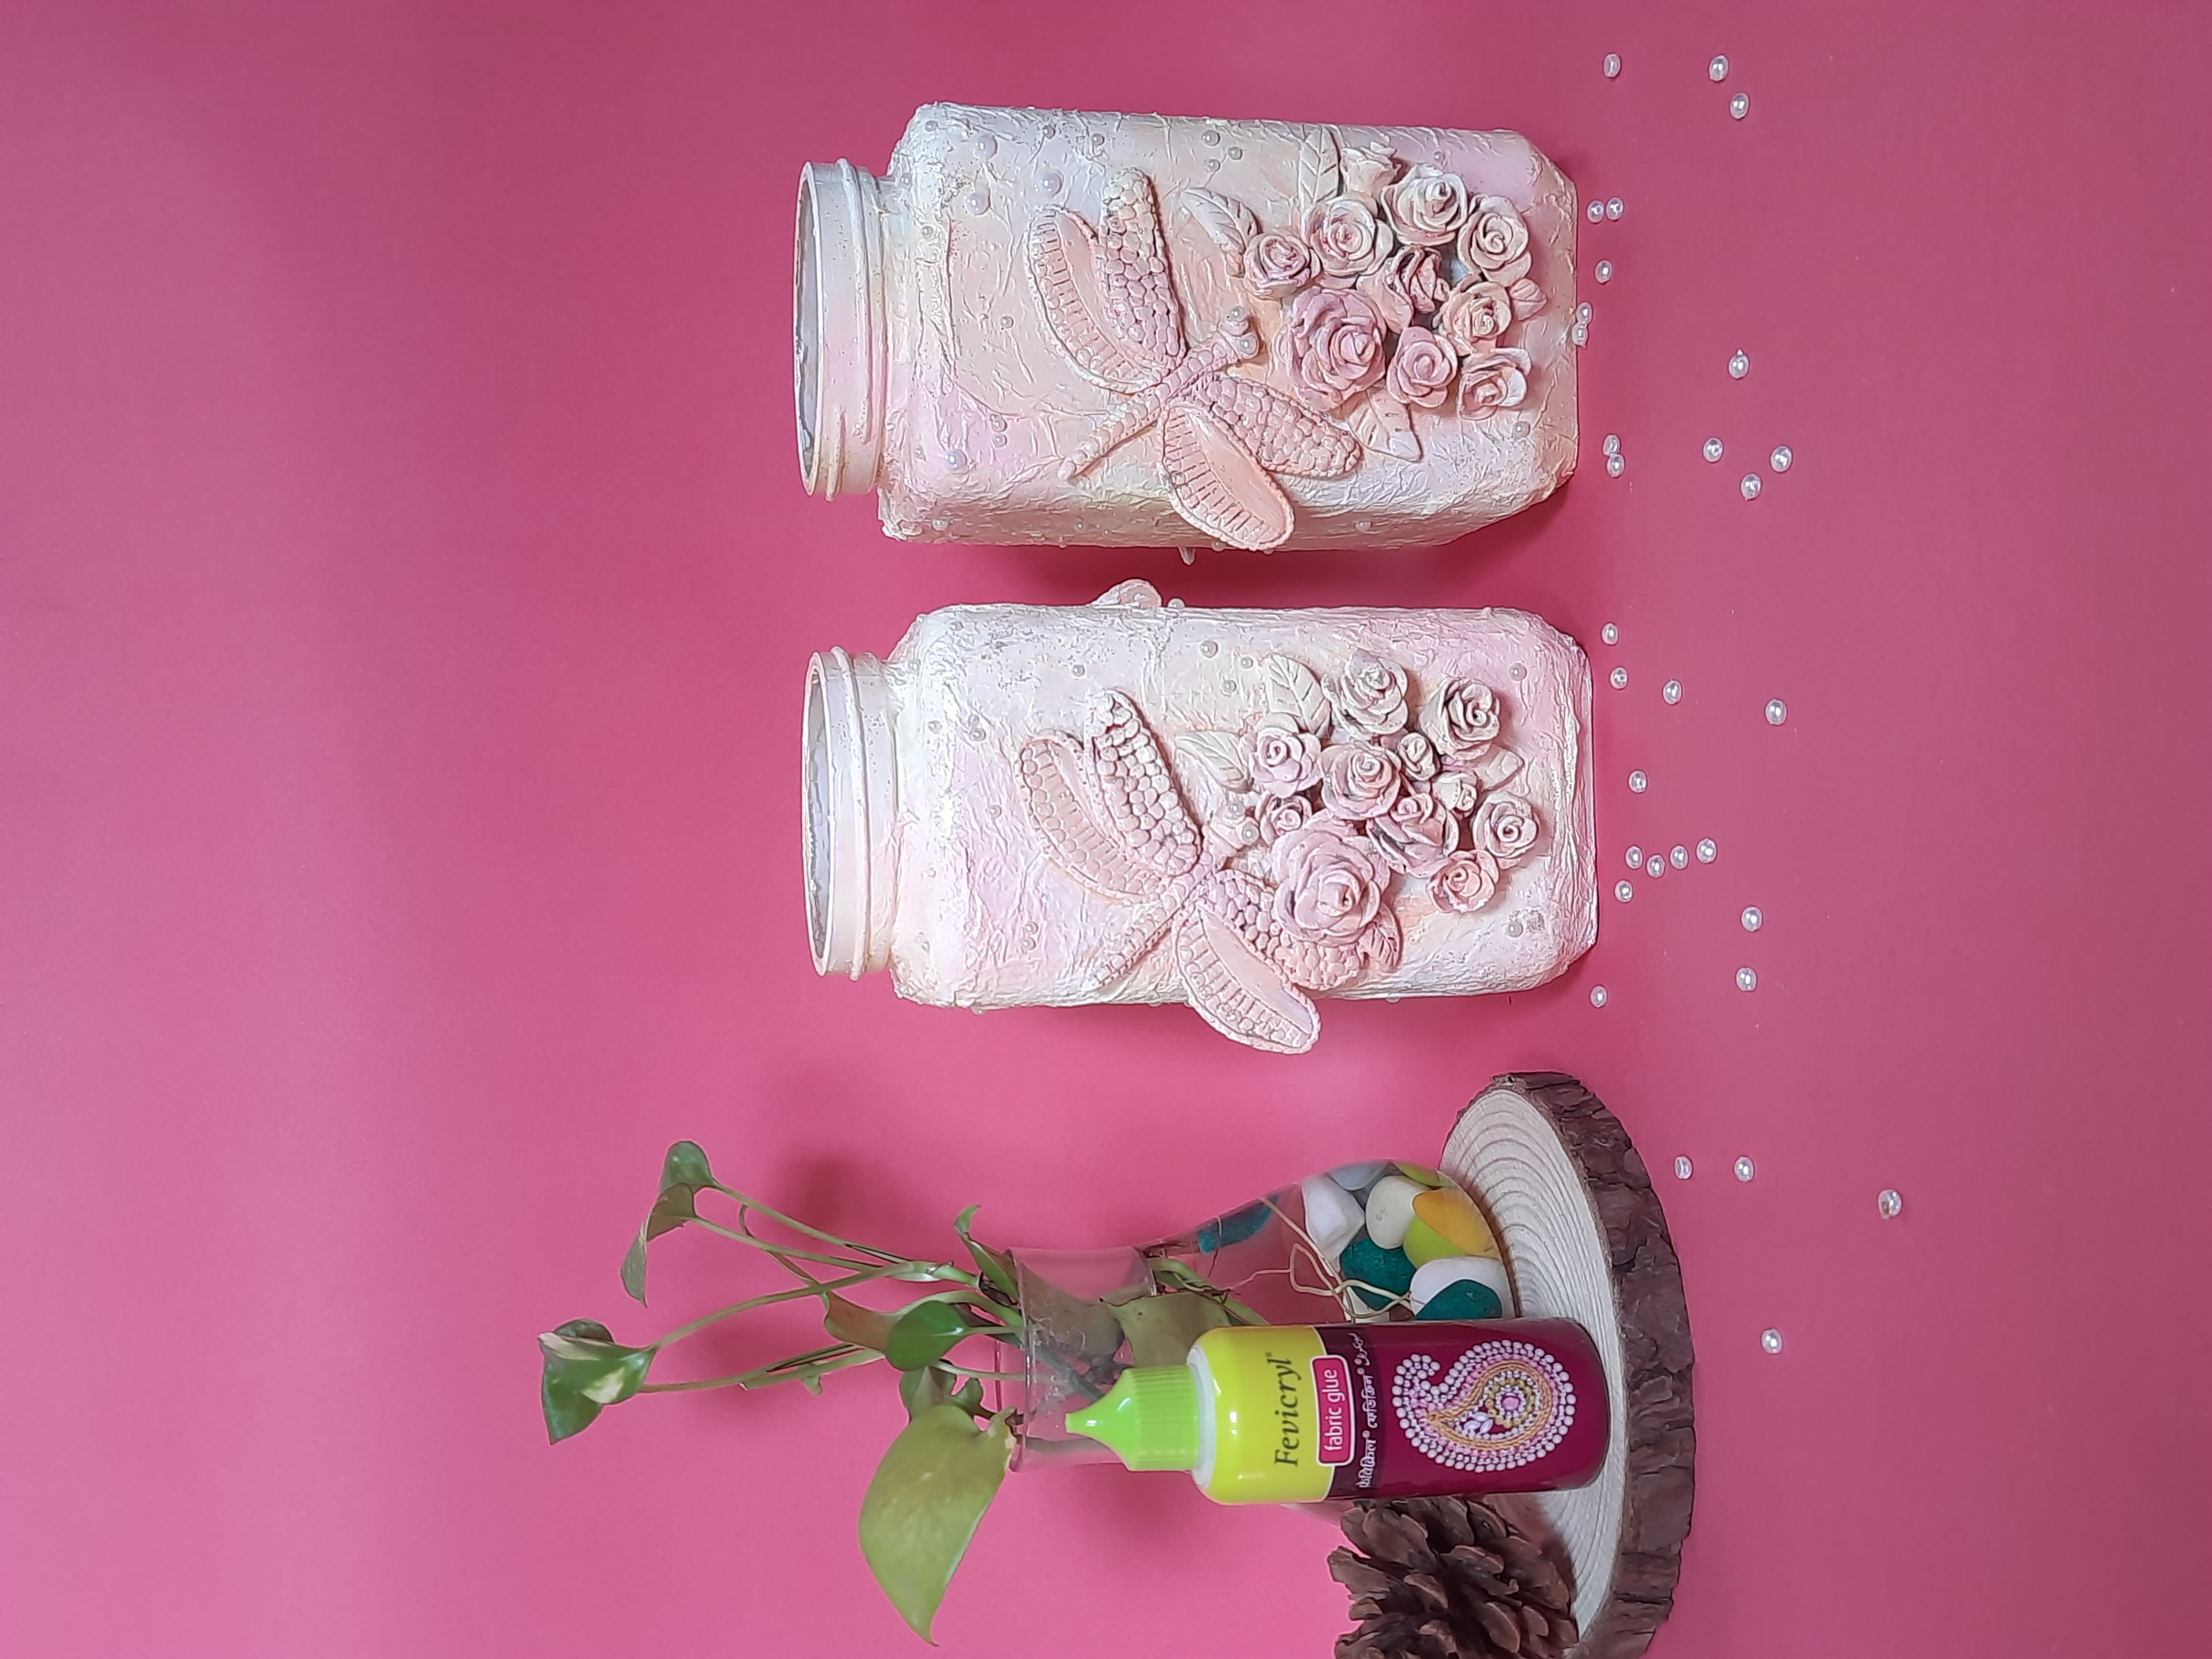
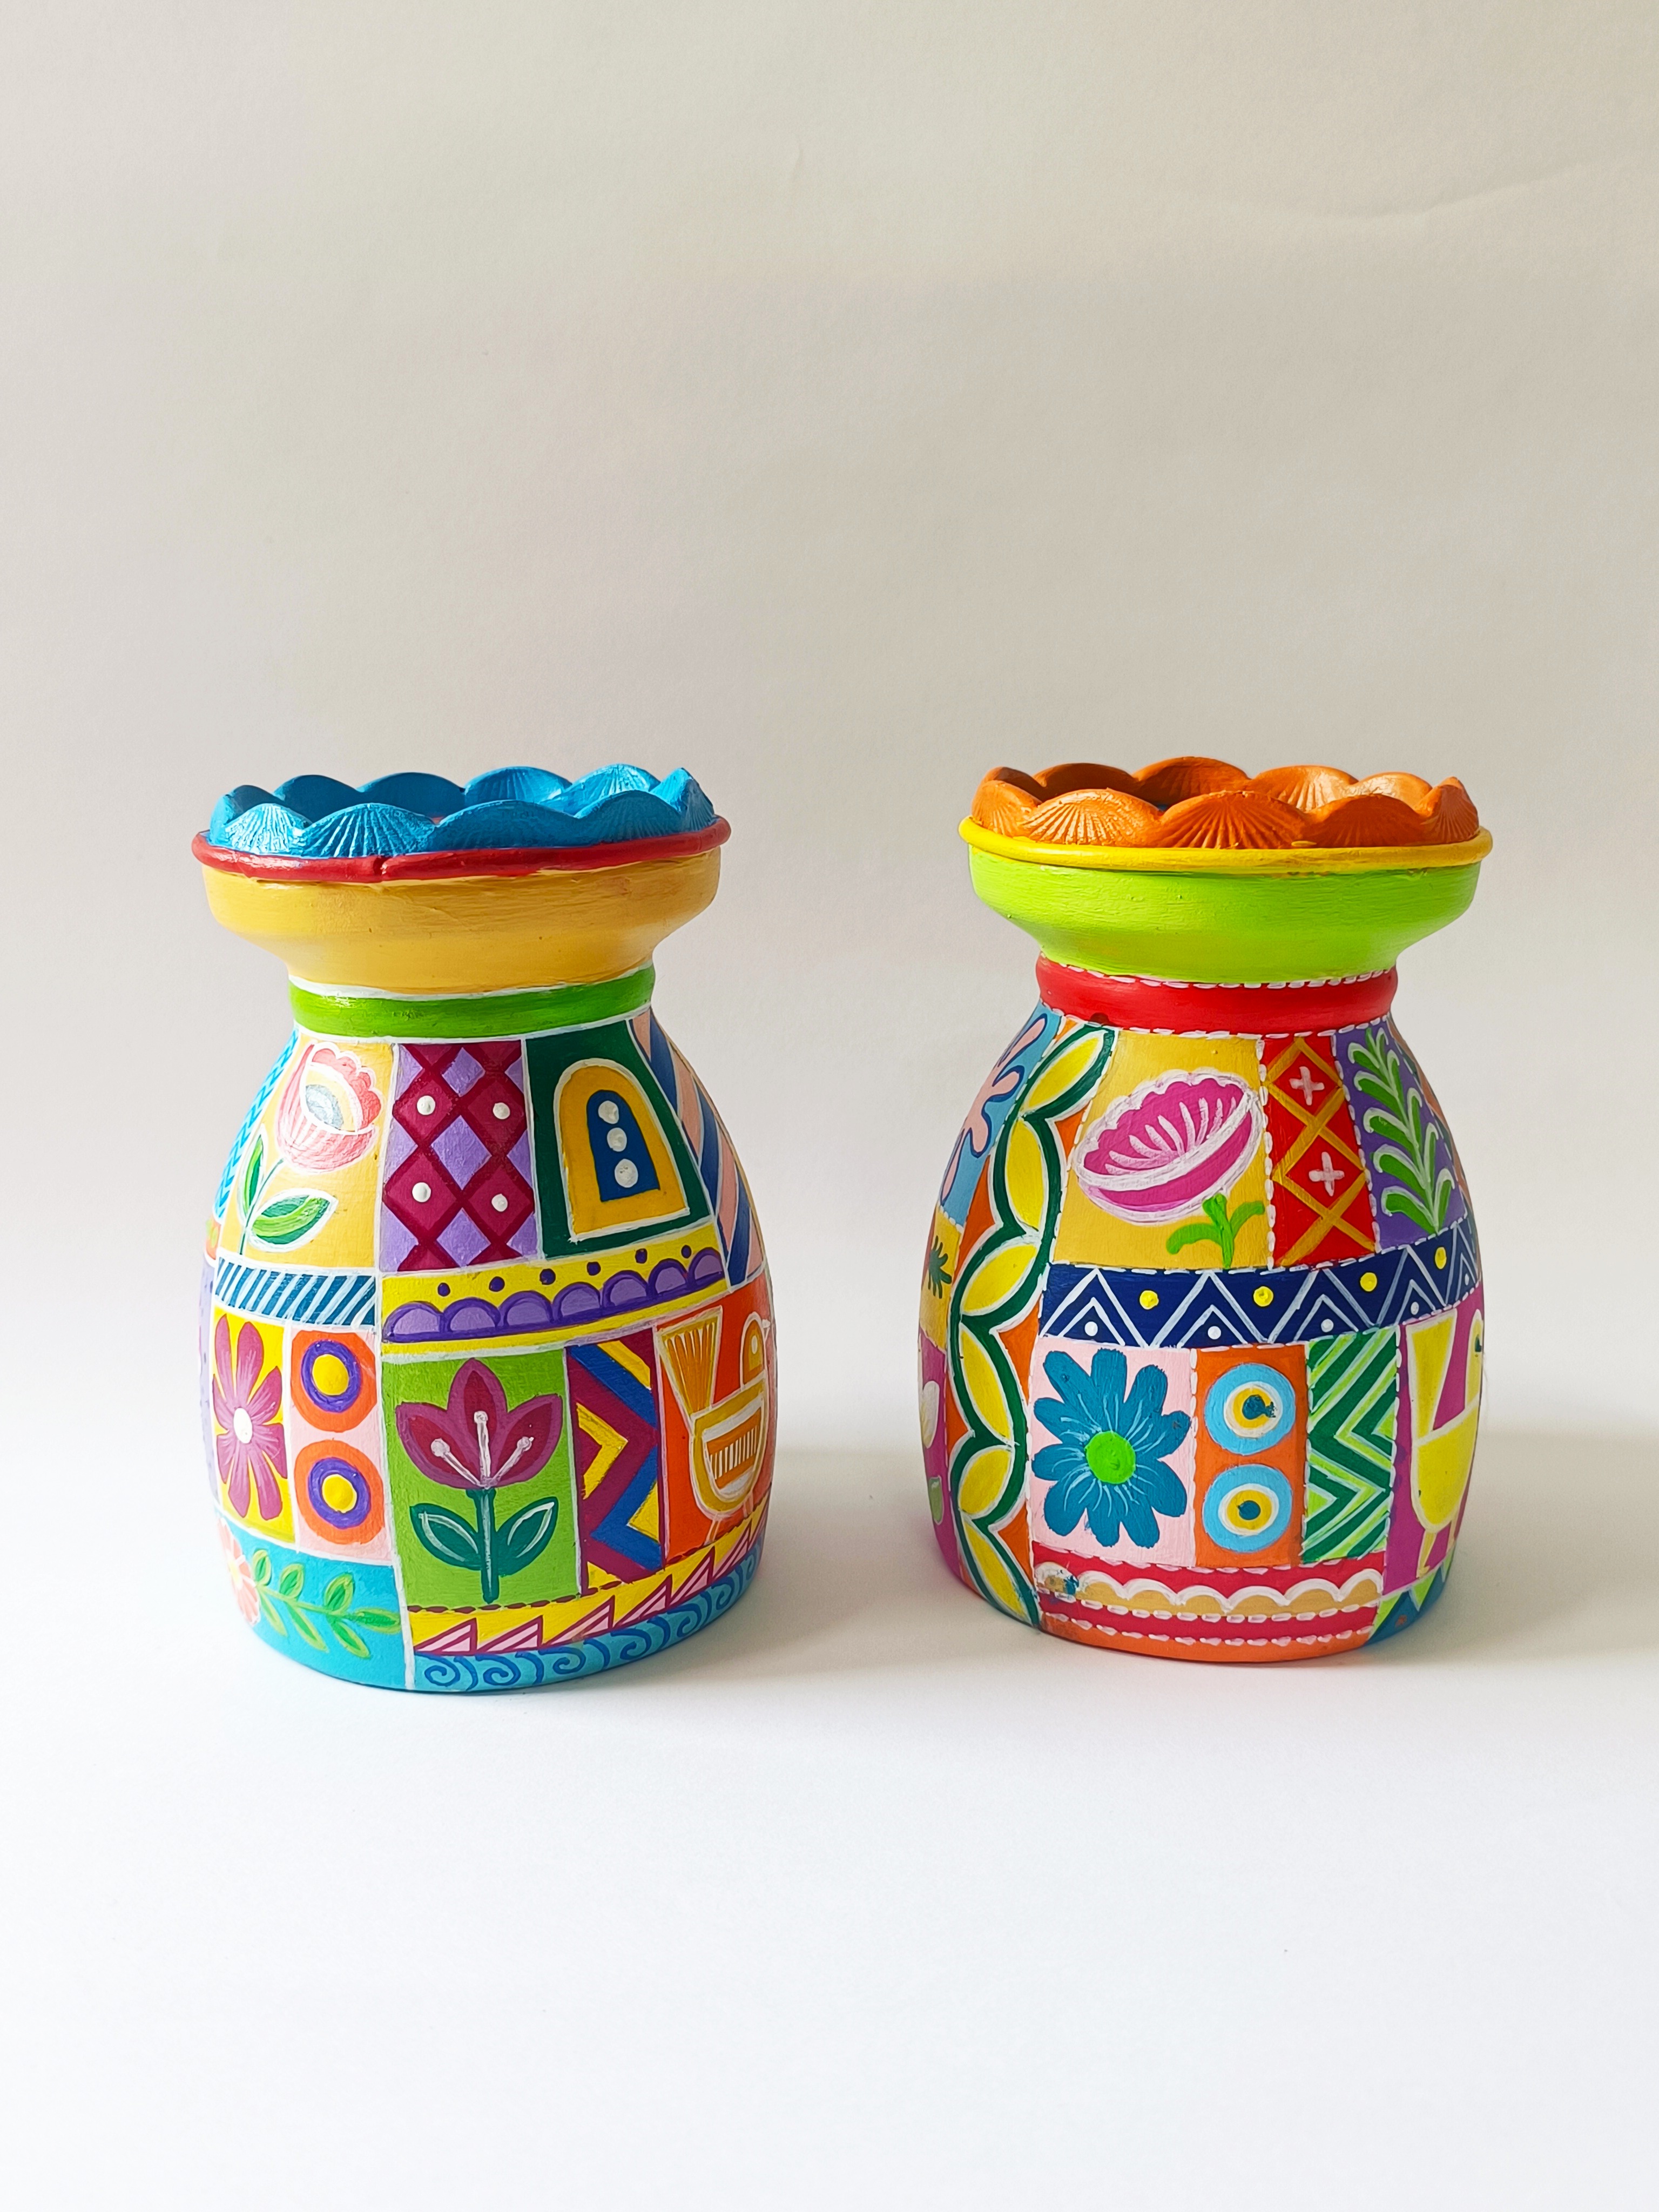
A wee bit of imagination and something as common place as a glass jar can turn into a piece of art like these beautiful fairy light holders.
STEP 1 : Source the base
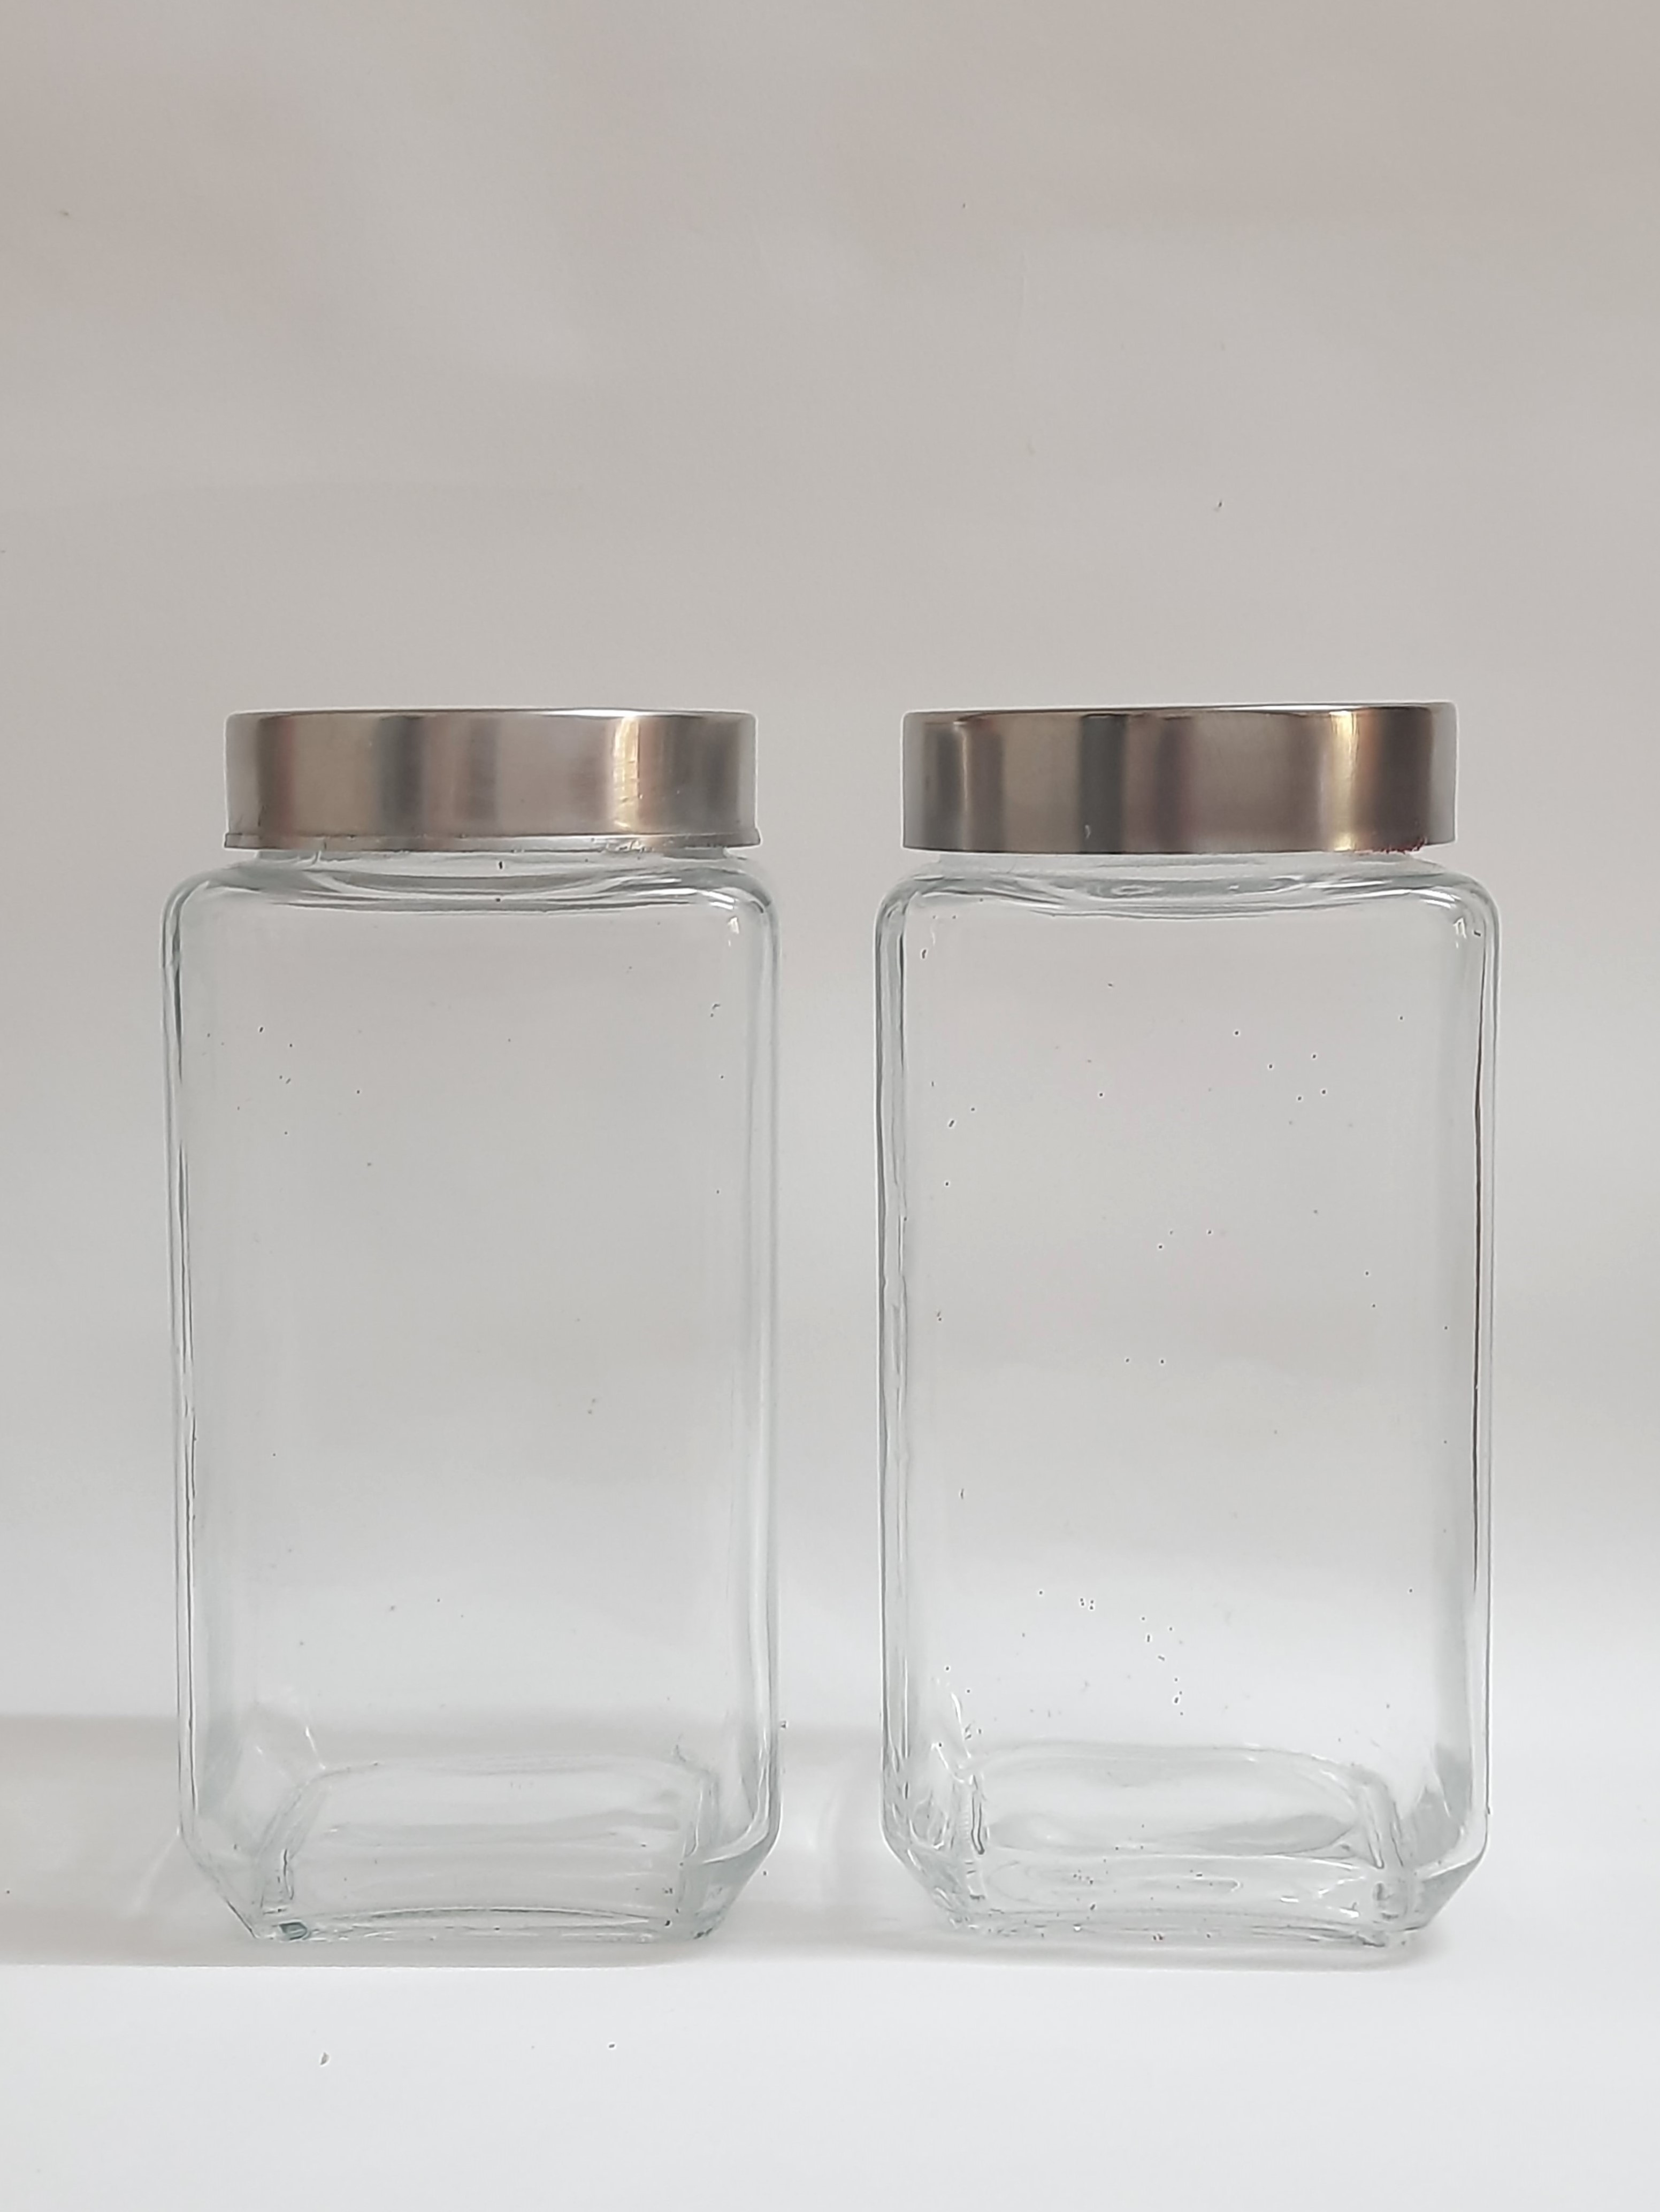
- We are going to make the decorative tea light jars using tissue paper and Mouldit.
- Take the plain glass jars.
STEP 2 : Paint the base coat
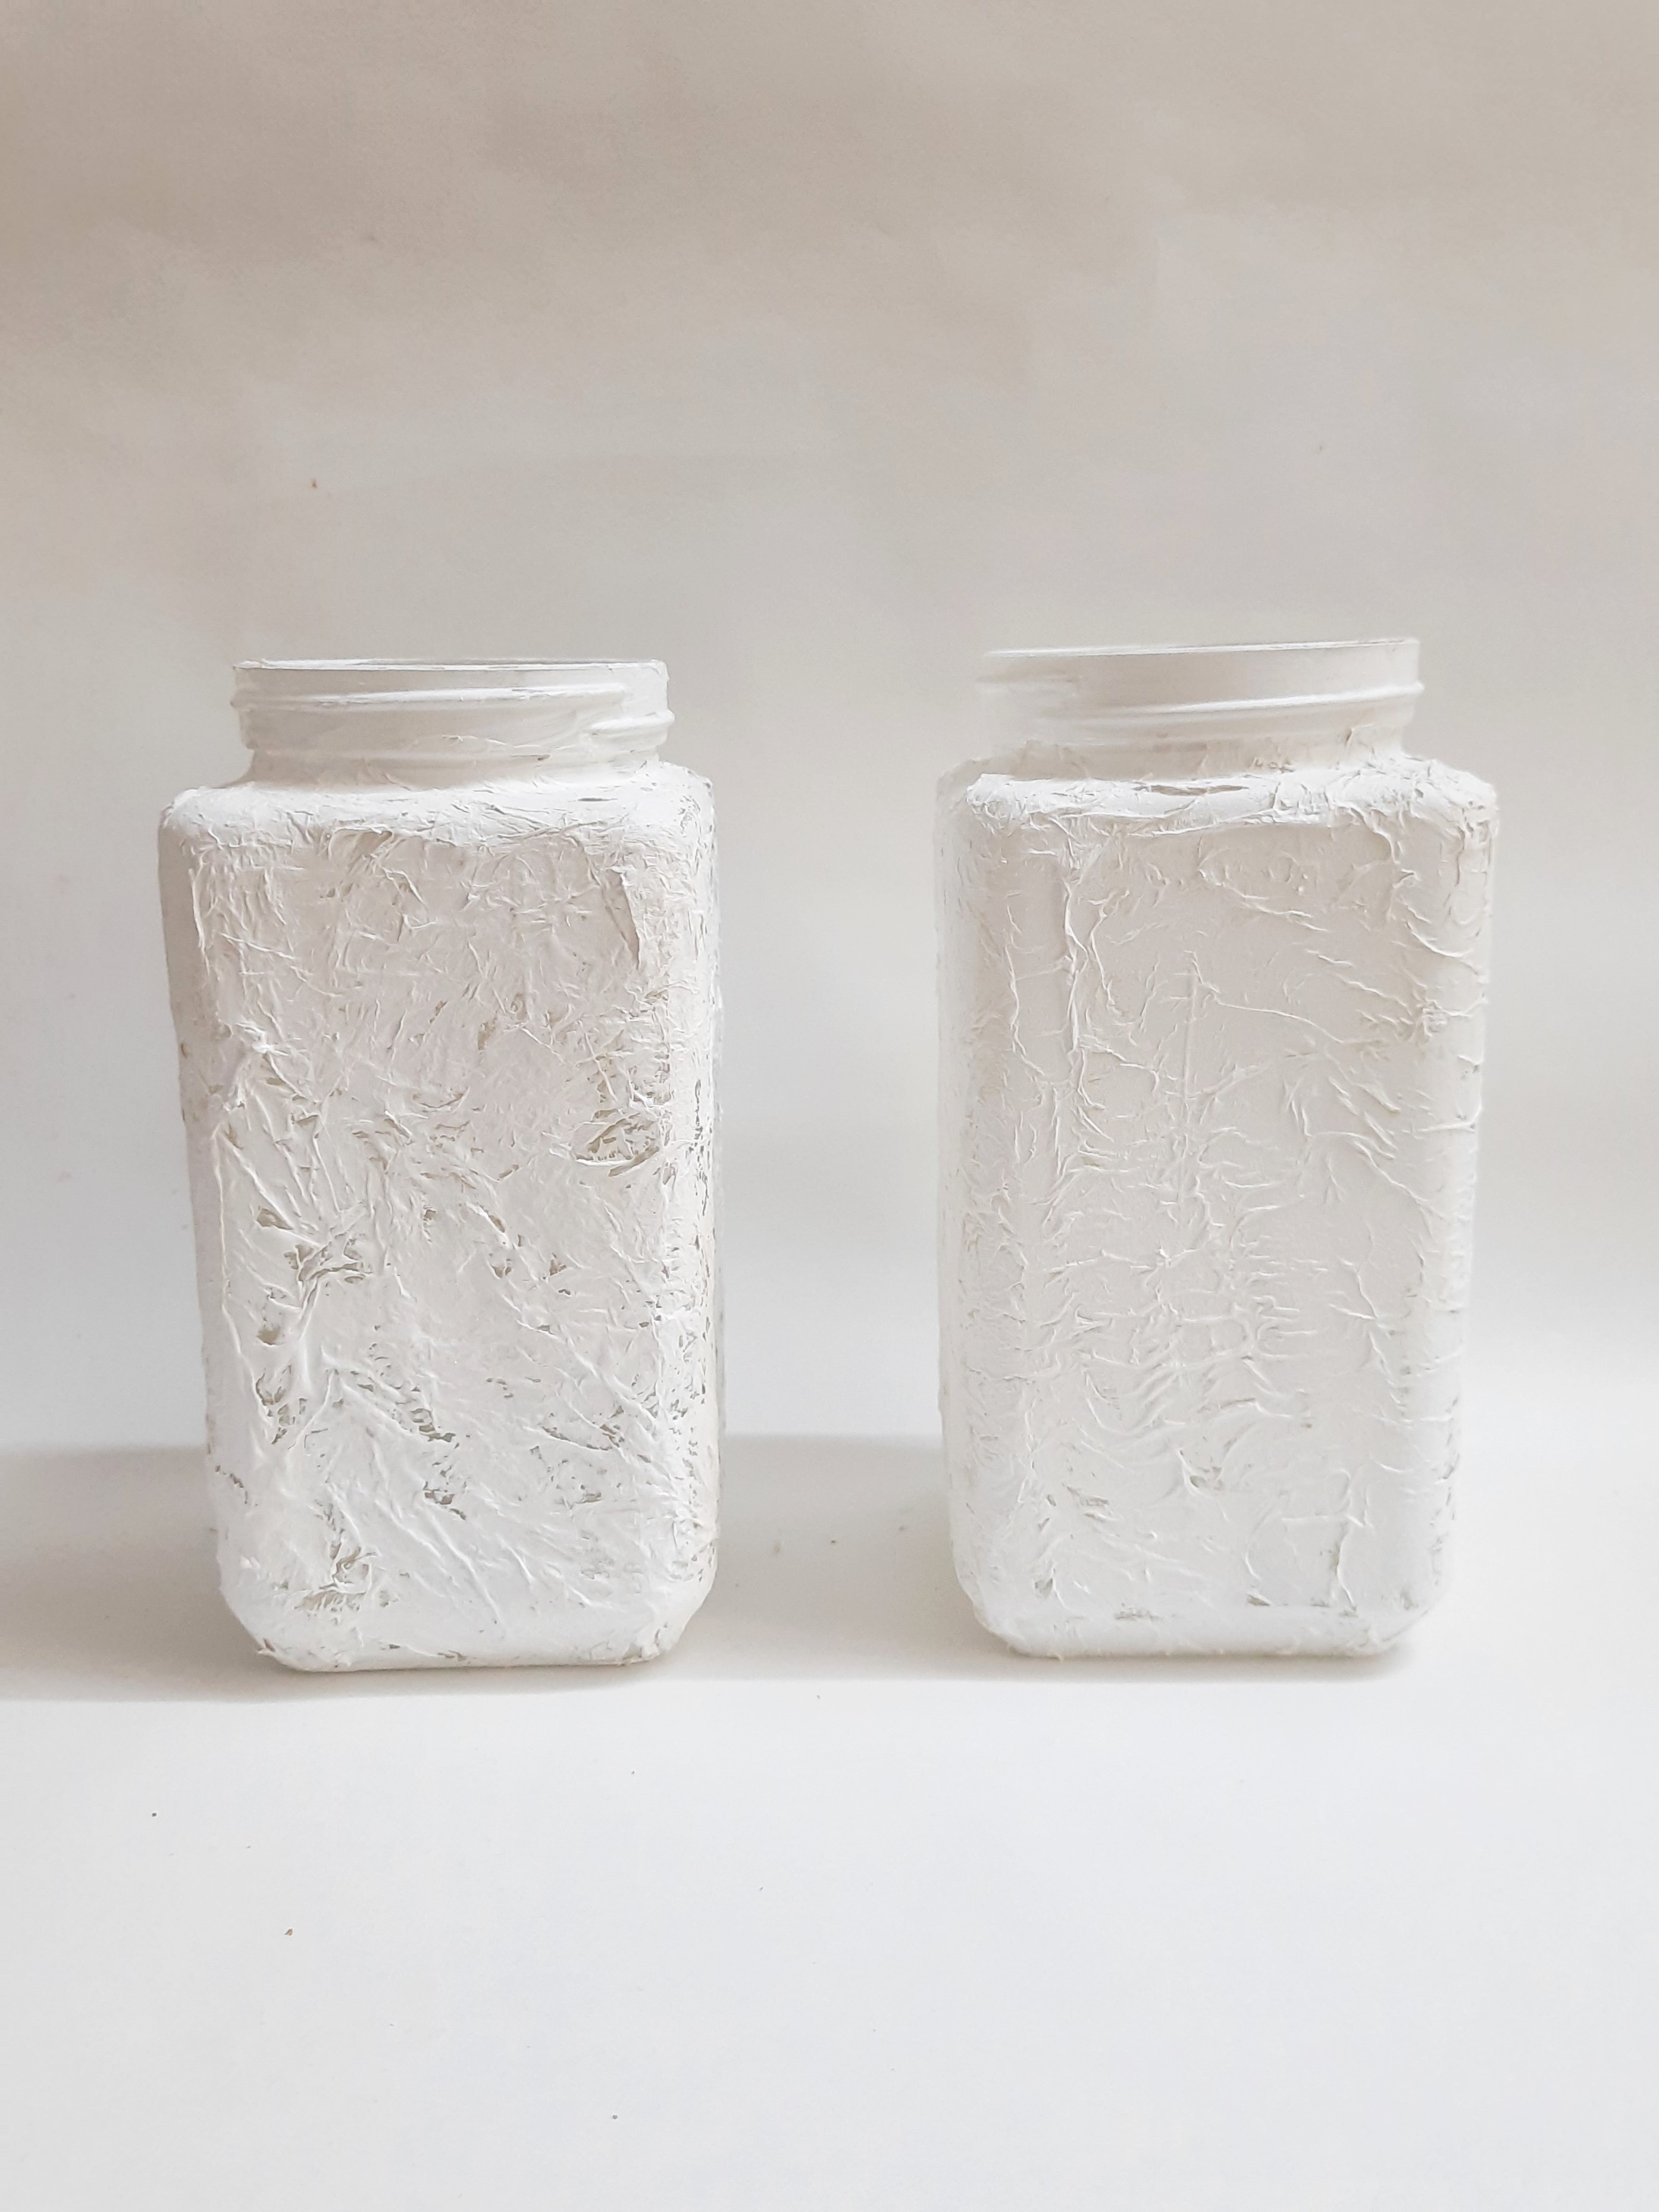
- Cover the jars by sticking the tissue paper using Fabric Glue.
- Let it dry.
- Paint the covered jars with Acrylic Colour White 27.
- Let it dry.
STEP 3 : Mix Mouldit
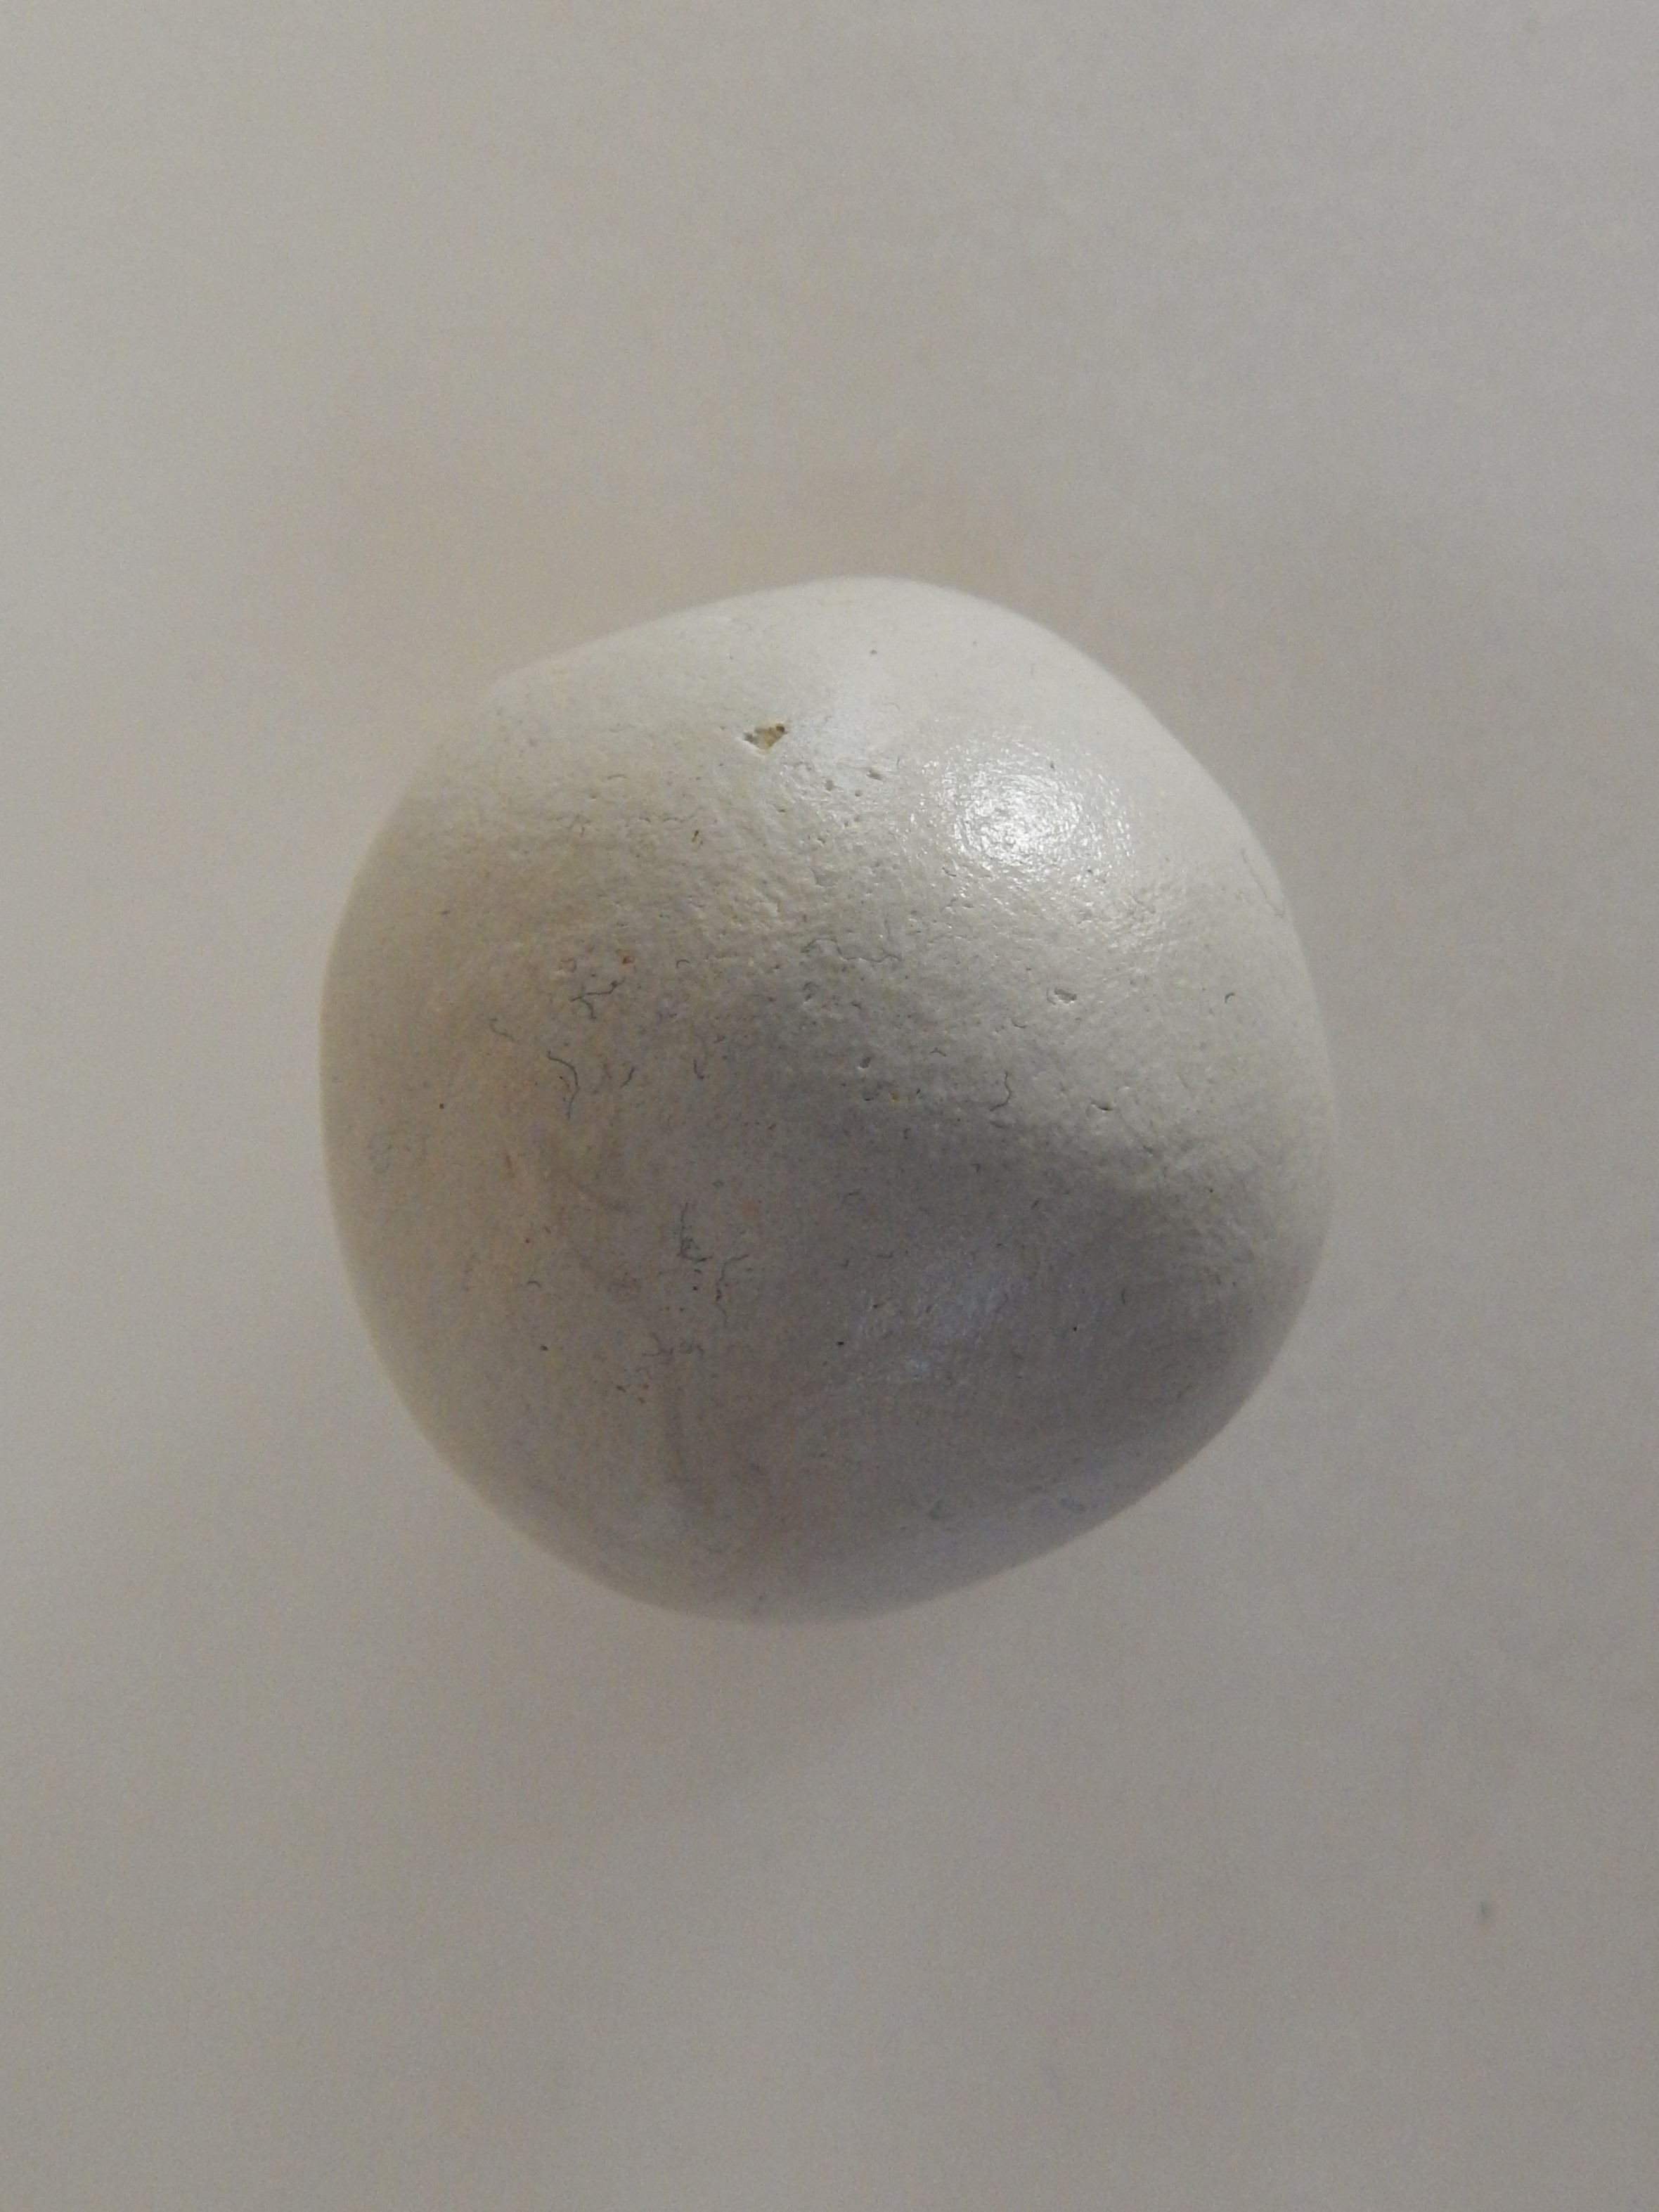
- We are going to make the dragonfly and roses design on the jar with Mouldit.
- Take the Mouldit resin base and hardener, mix it thoroughly to make even dough.
STEP 4 : Make Roses and Dragonflies
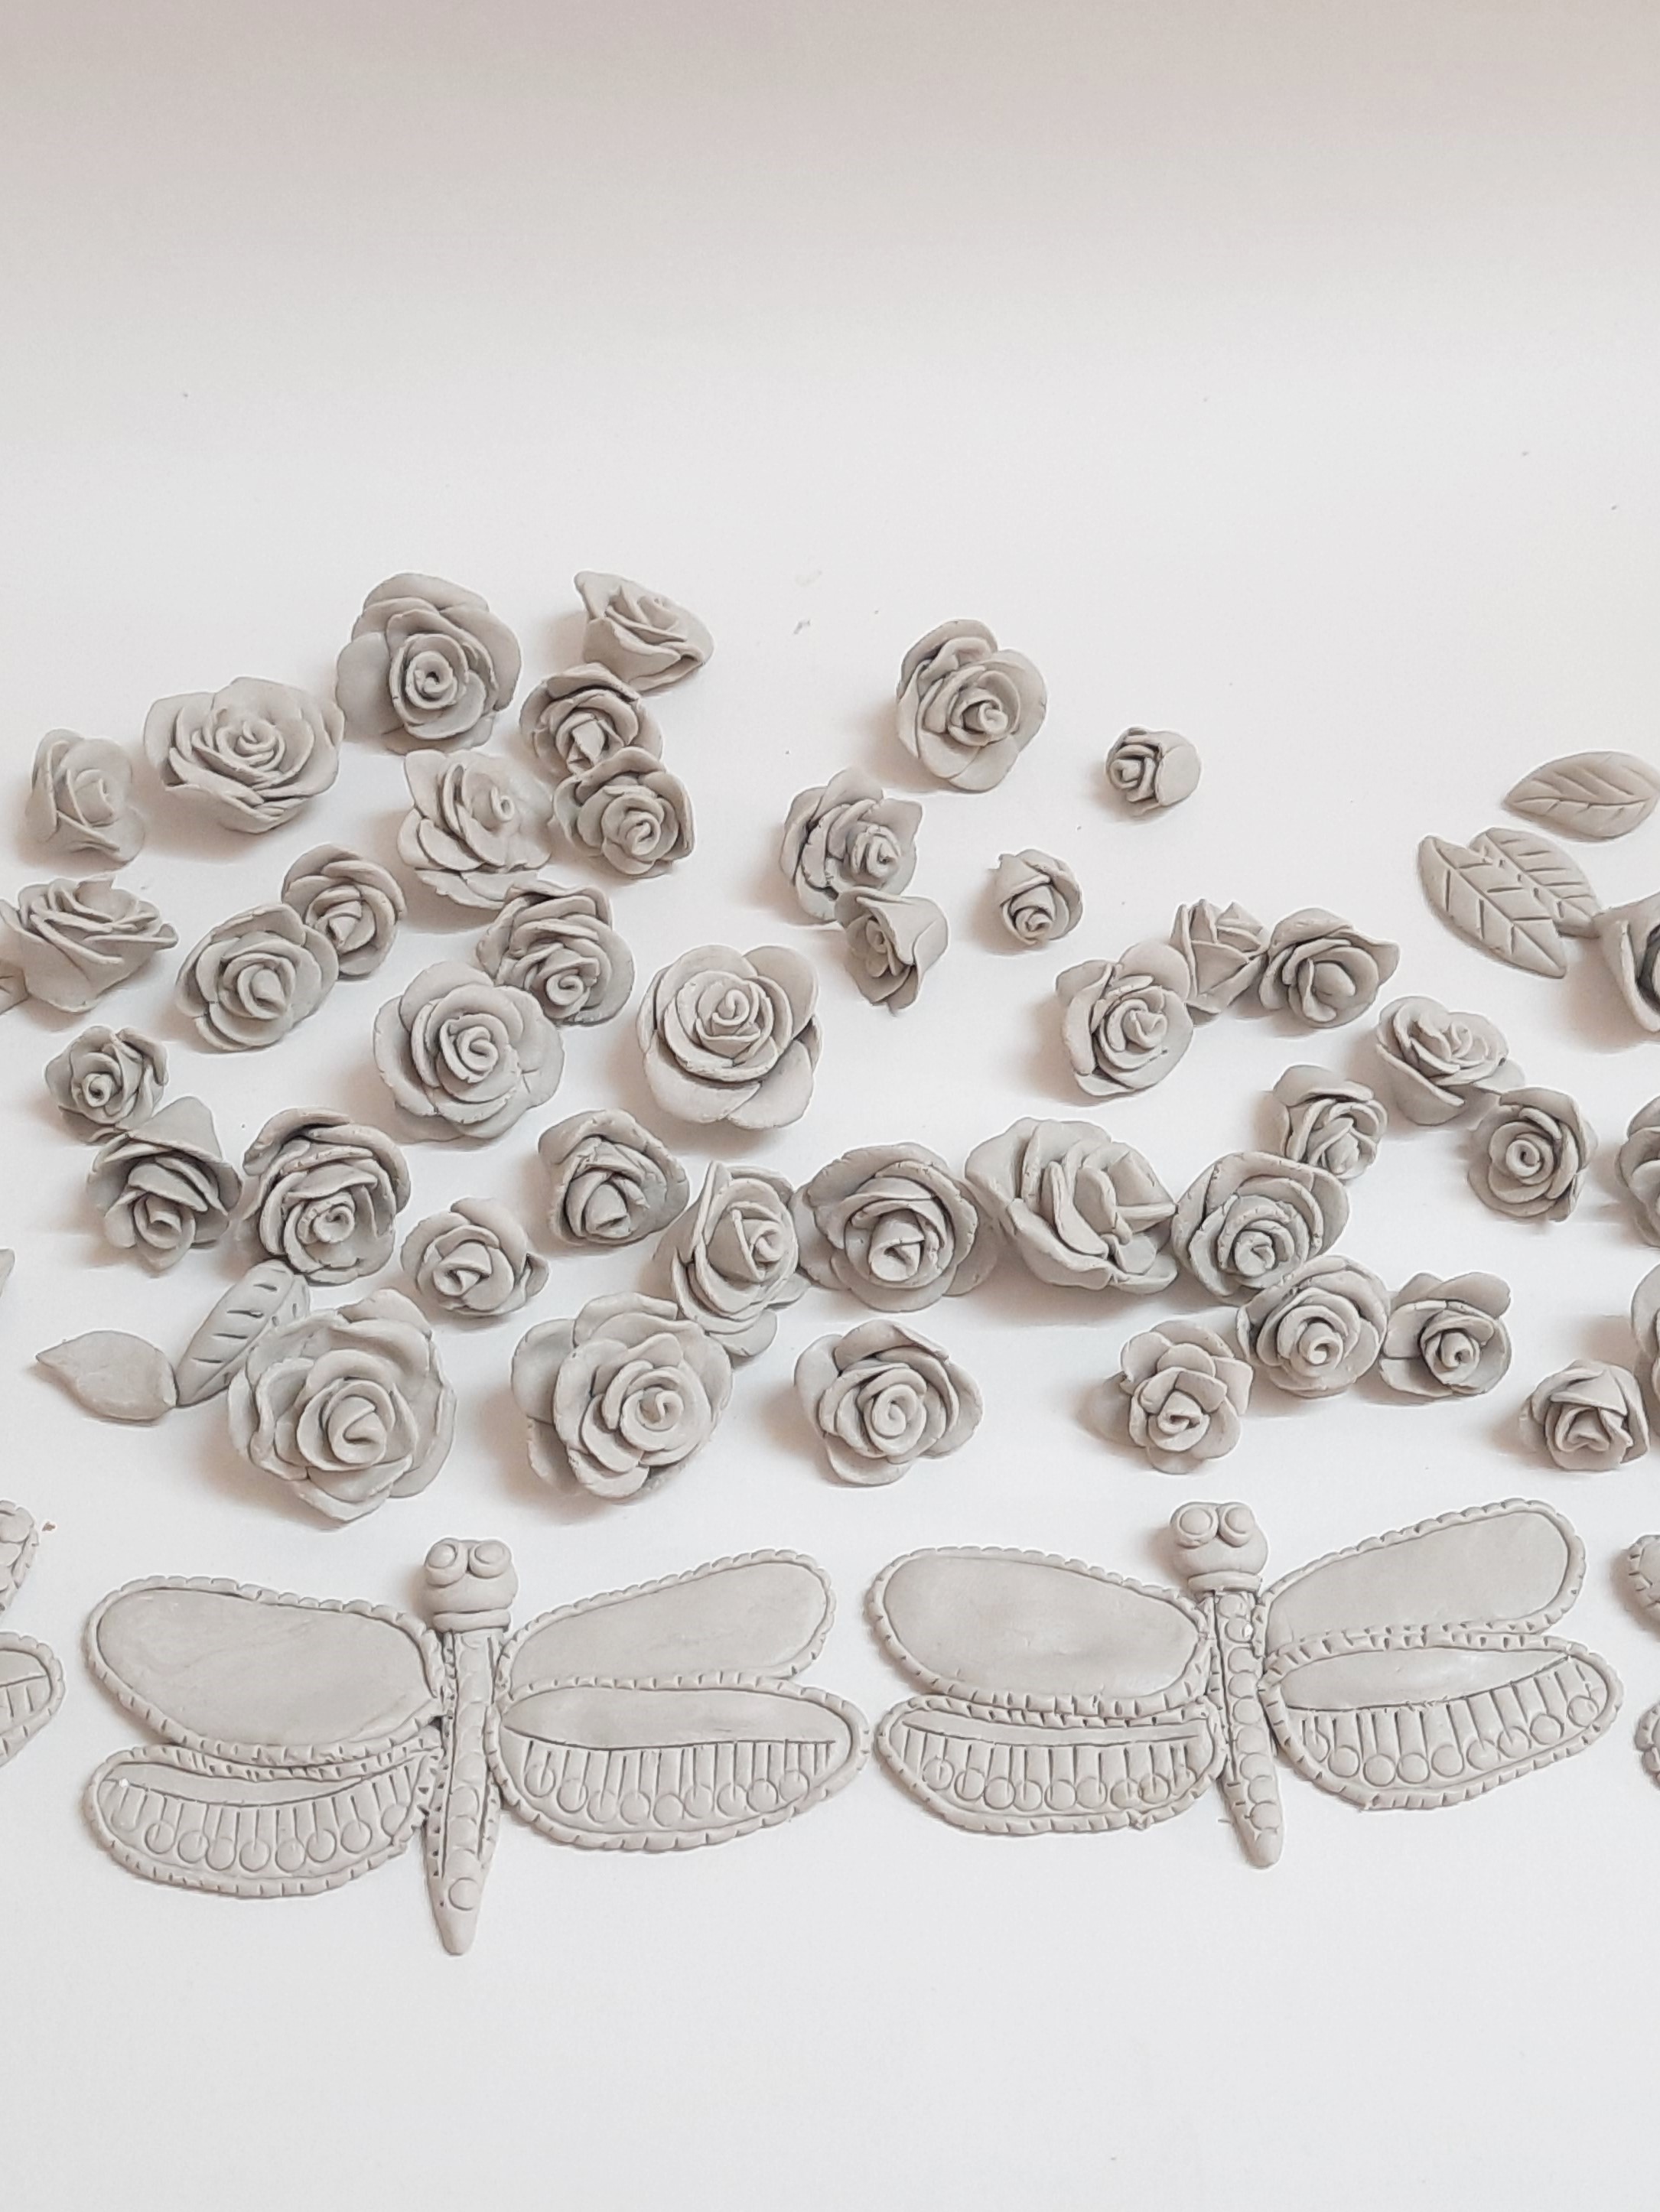
- Take the dough and make few roses and dragonfly out of it using clay carving tools and Fabric Glue for sticking.
- Let it dry.
- Refer to the image.
STEP 5 : Arrange the elements on the jar
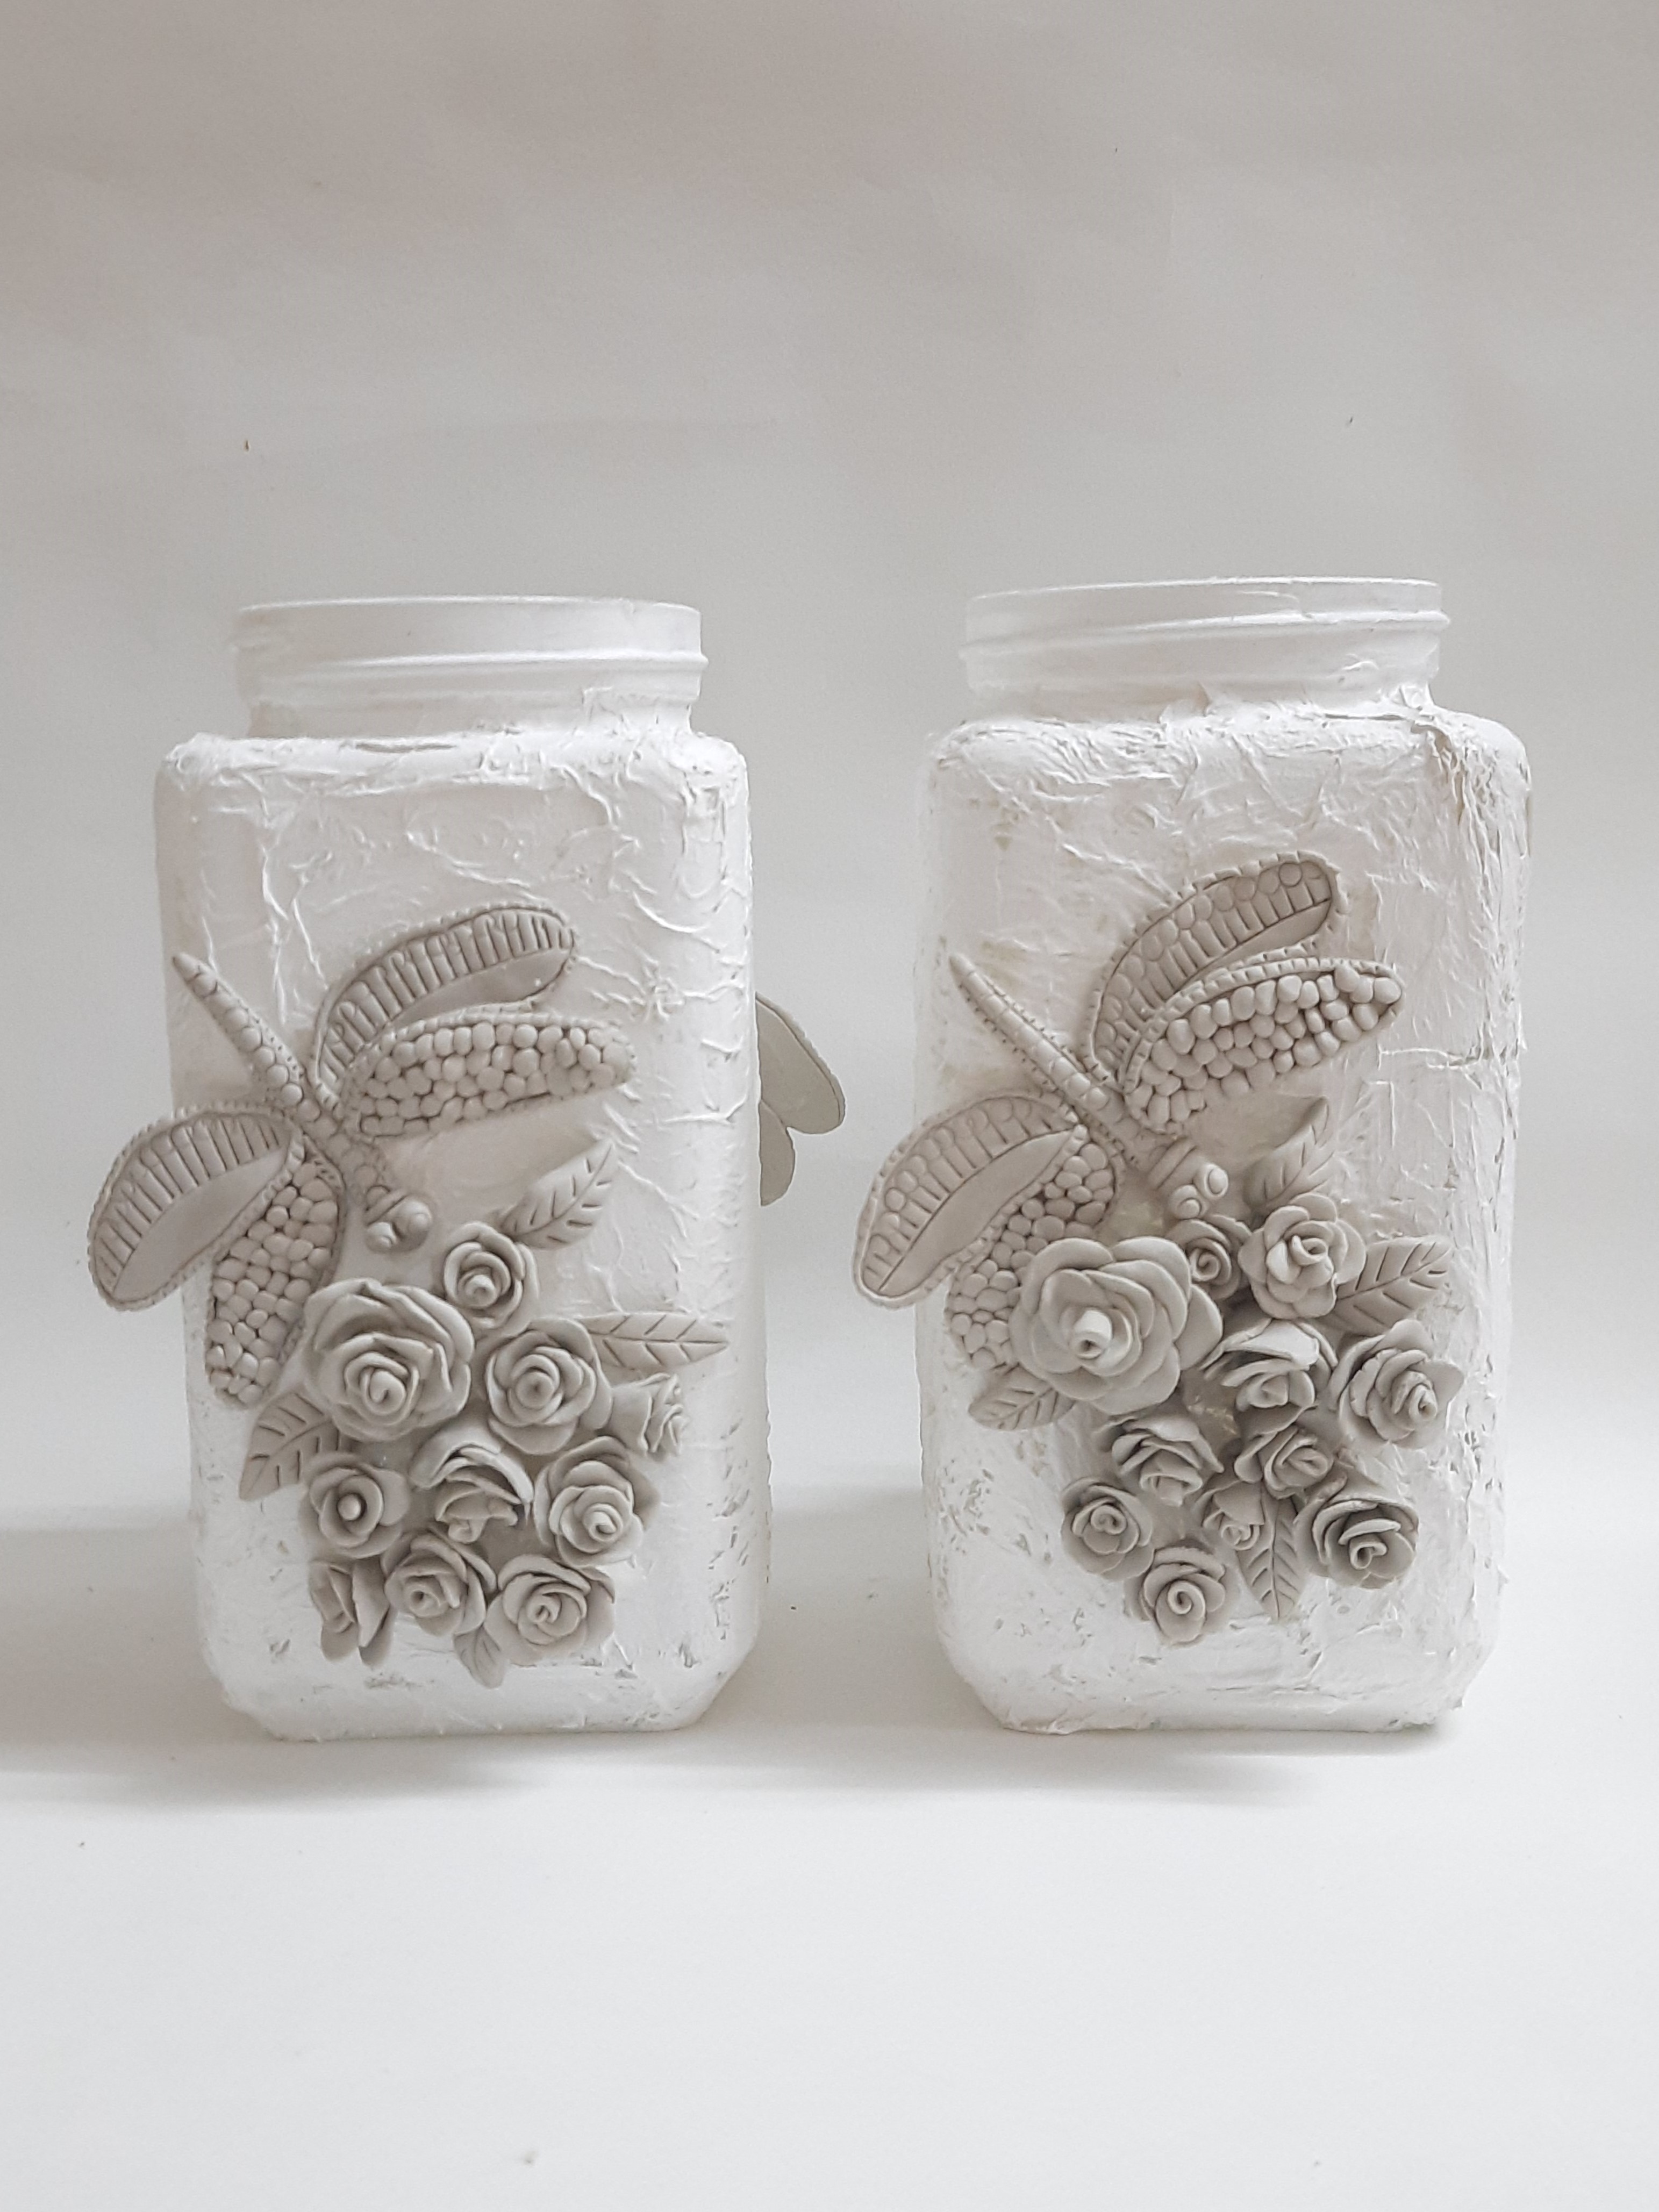
- Arrange and stick the roses and the dragonfly on the jar with little amount of the clay and Fabric Glue.
- Leave it to dry completely.
STEP 6 : Finishing
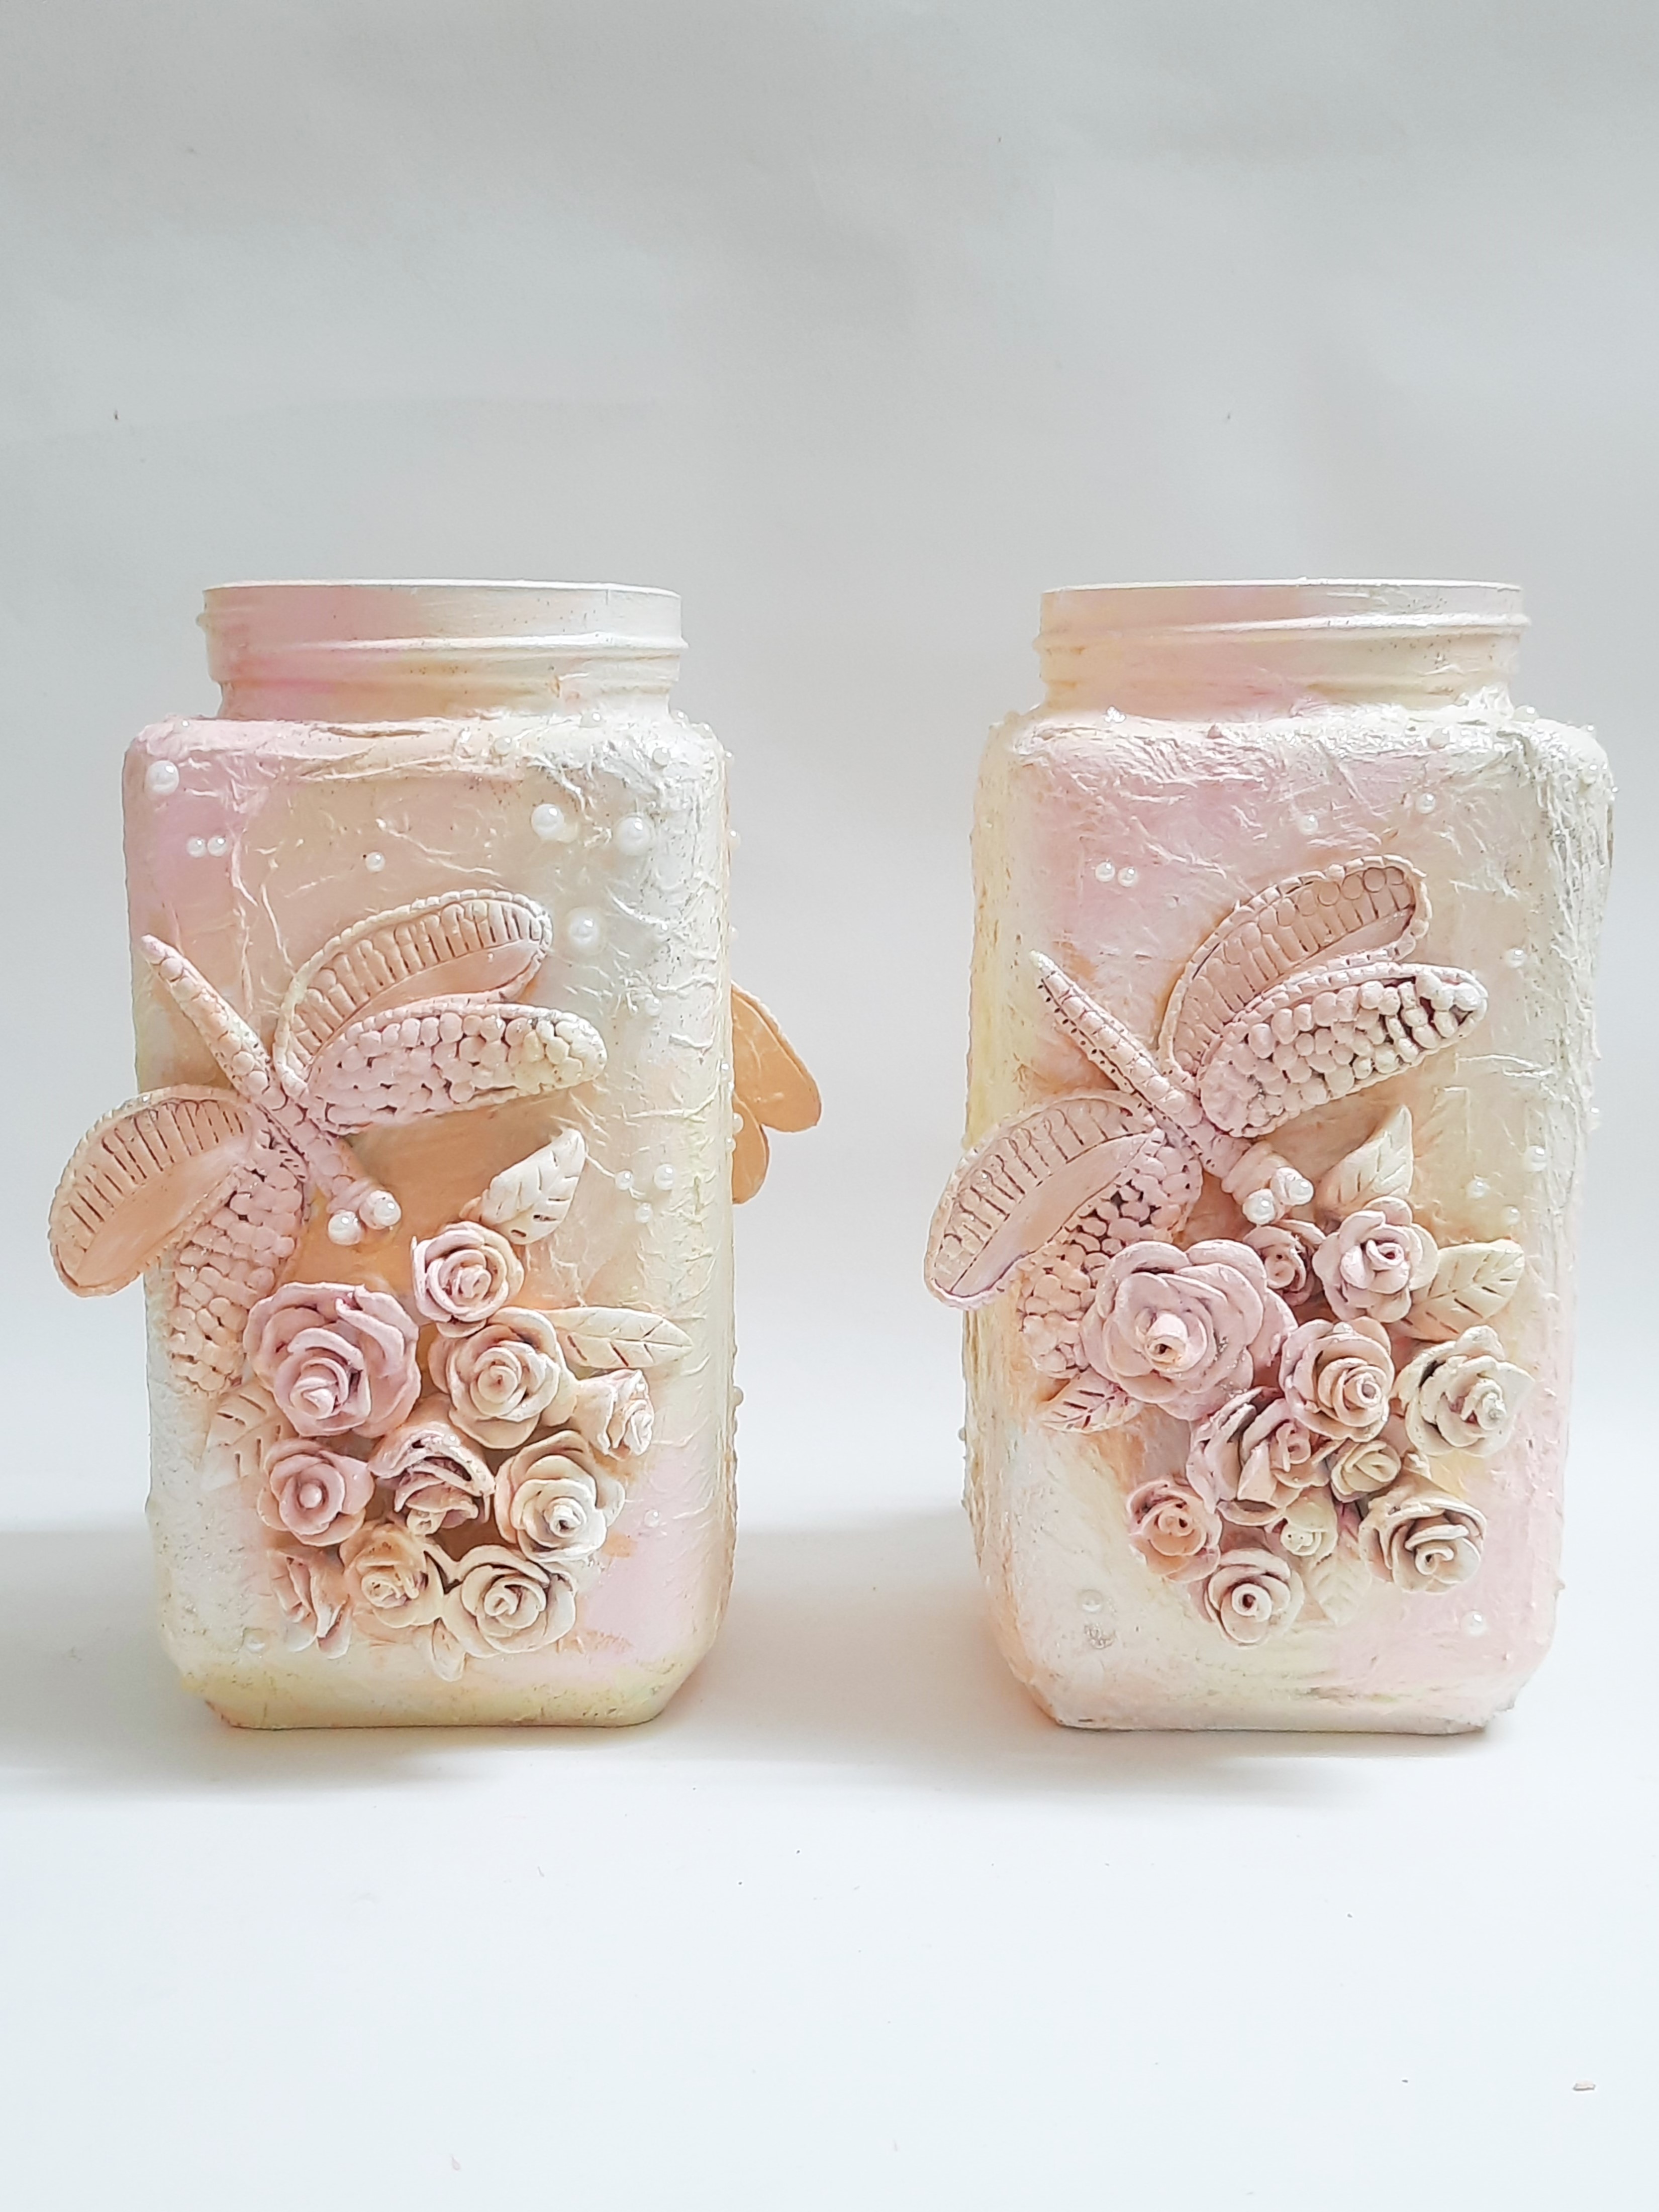
- Paint the jars with light shade of Acrylic Colours Burnt Sienna01, Crimson 04, Orange 17, Neon Pink 018 and White.
- Let it dry completely.
- Enhance the jar the eyes of the dragonfly by sticking the half cut pearls with Fabric Glue. Let it dry.
- Your jars are ready.


 +91 99676 55545