Durga Mask With Tibetan Mosaic


You Will Need:
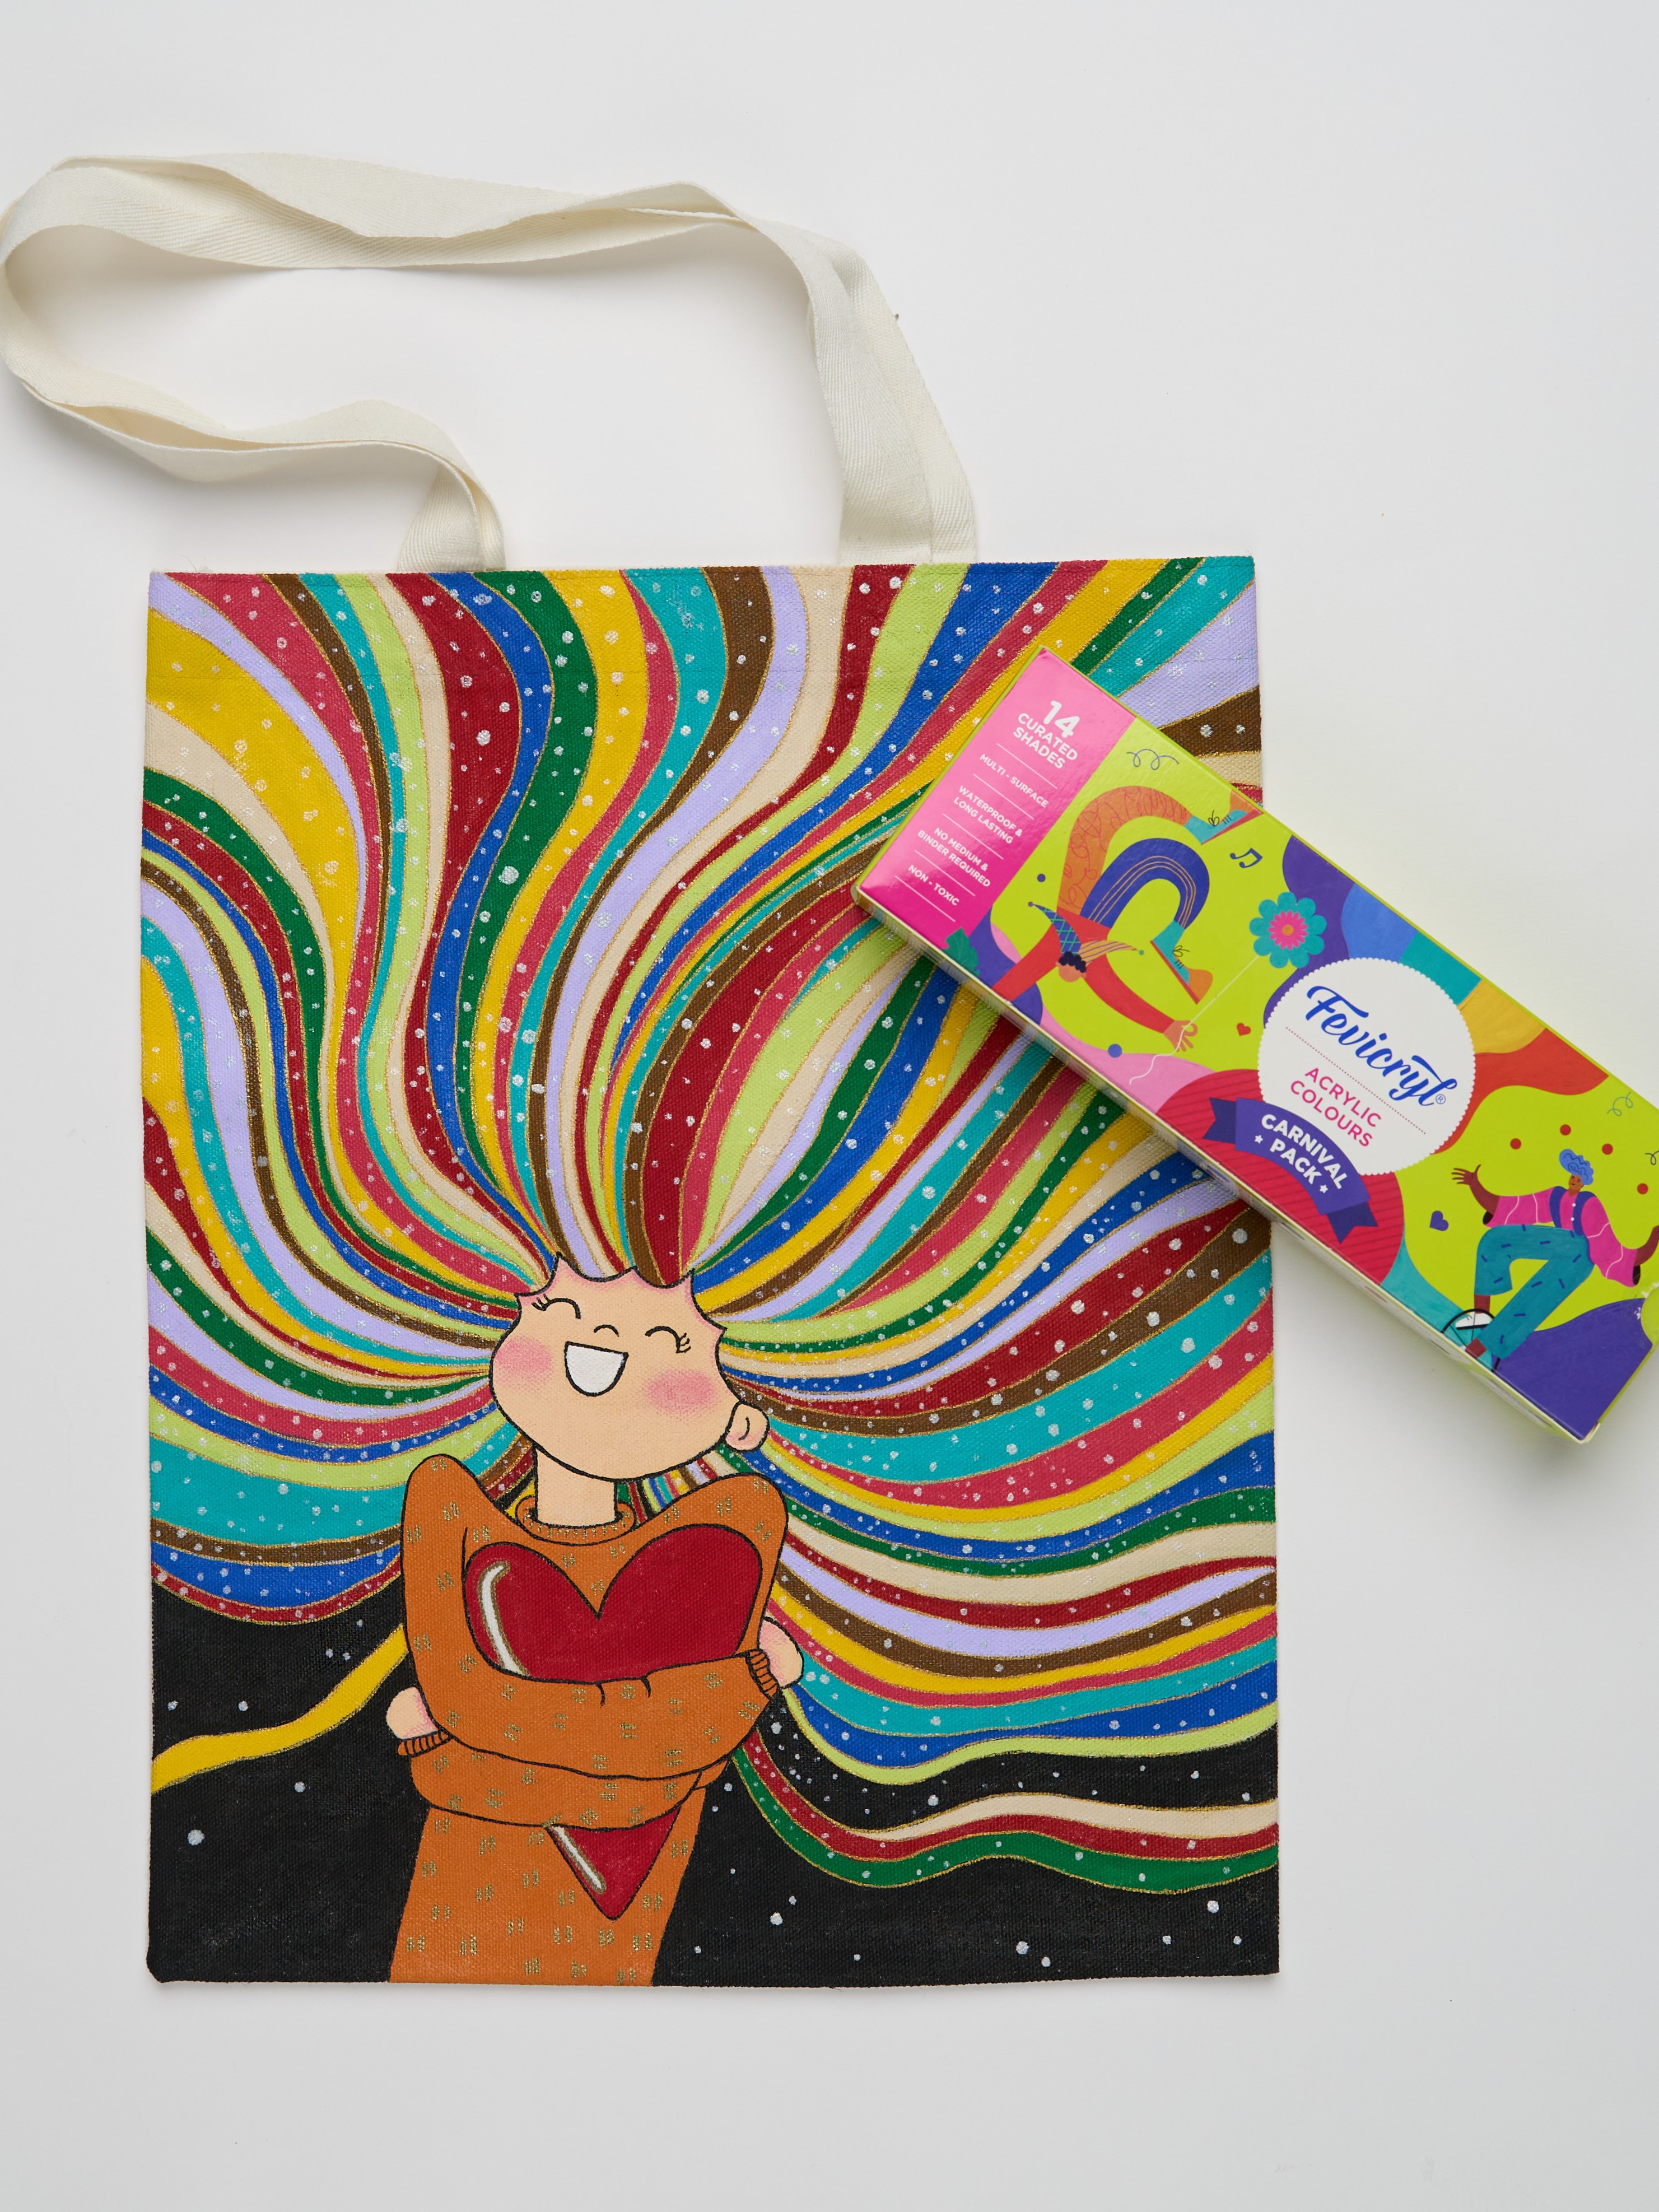
Fevicryl Acrylic Colour Black 02, Coral Red 66, Teal Blue 68, Fevicryl Acrylic Colours Pearl Metallic Gold 352, Copper 355, Fevicryl Mouldit, Fevicryl Fabric Glue, Fine Art Brushes, Pizza Cutter/ Paper cutter, Rolling Pin, Paper Cutter, Pencil, Corrugated Box Sheet, Scissors, Colour Palette, Water Container
Product Used:


Description :
Durga masks are made in plenty traditionally during the Navratris and are found in many households as a part of the décor too. Here is a beautiful twist to the revered art form – Tibetan mosaic. Learn more about this technique here.
STEP 1 : Mix Fevicryl Mouldit
- We are going to make the Durga face with Tibetan Mosaic design using Mouldit.
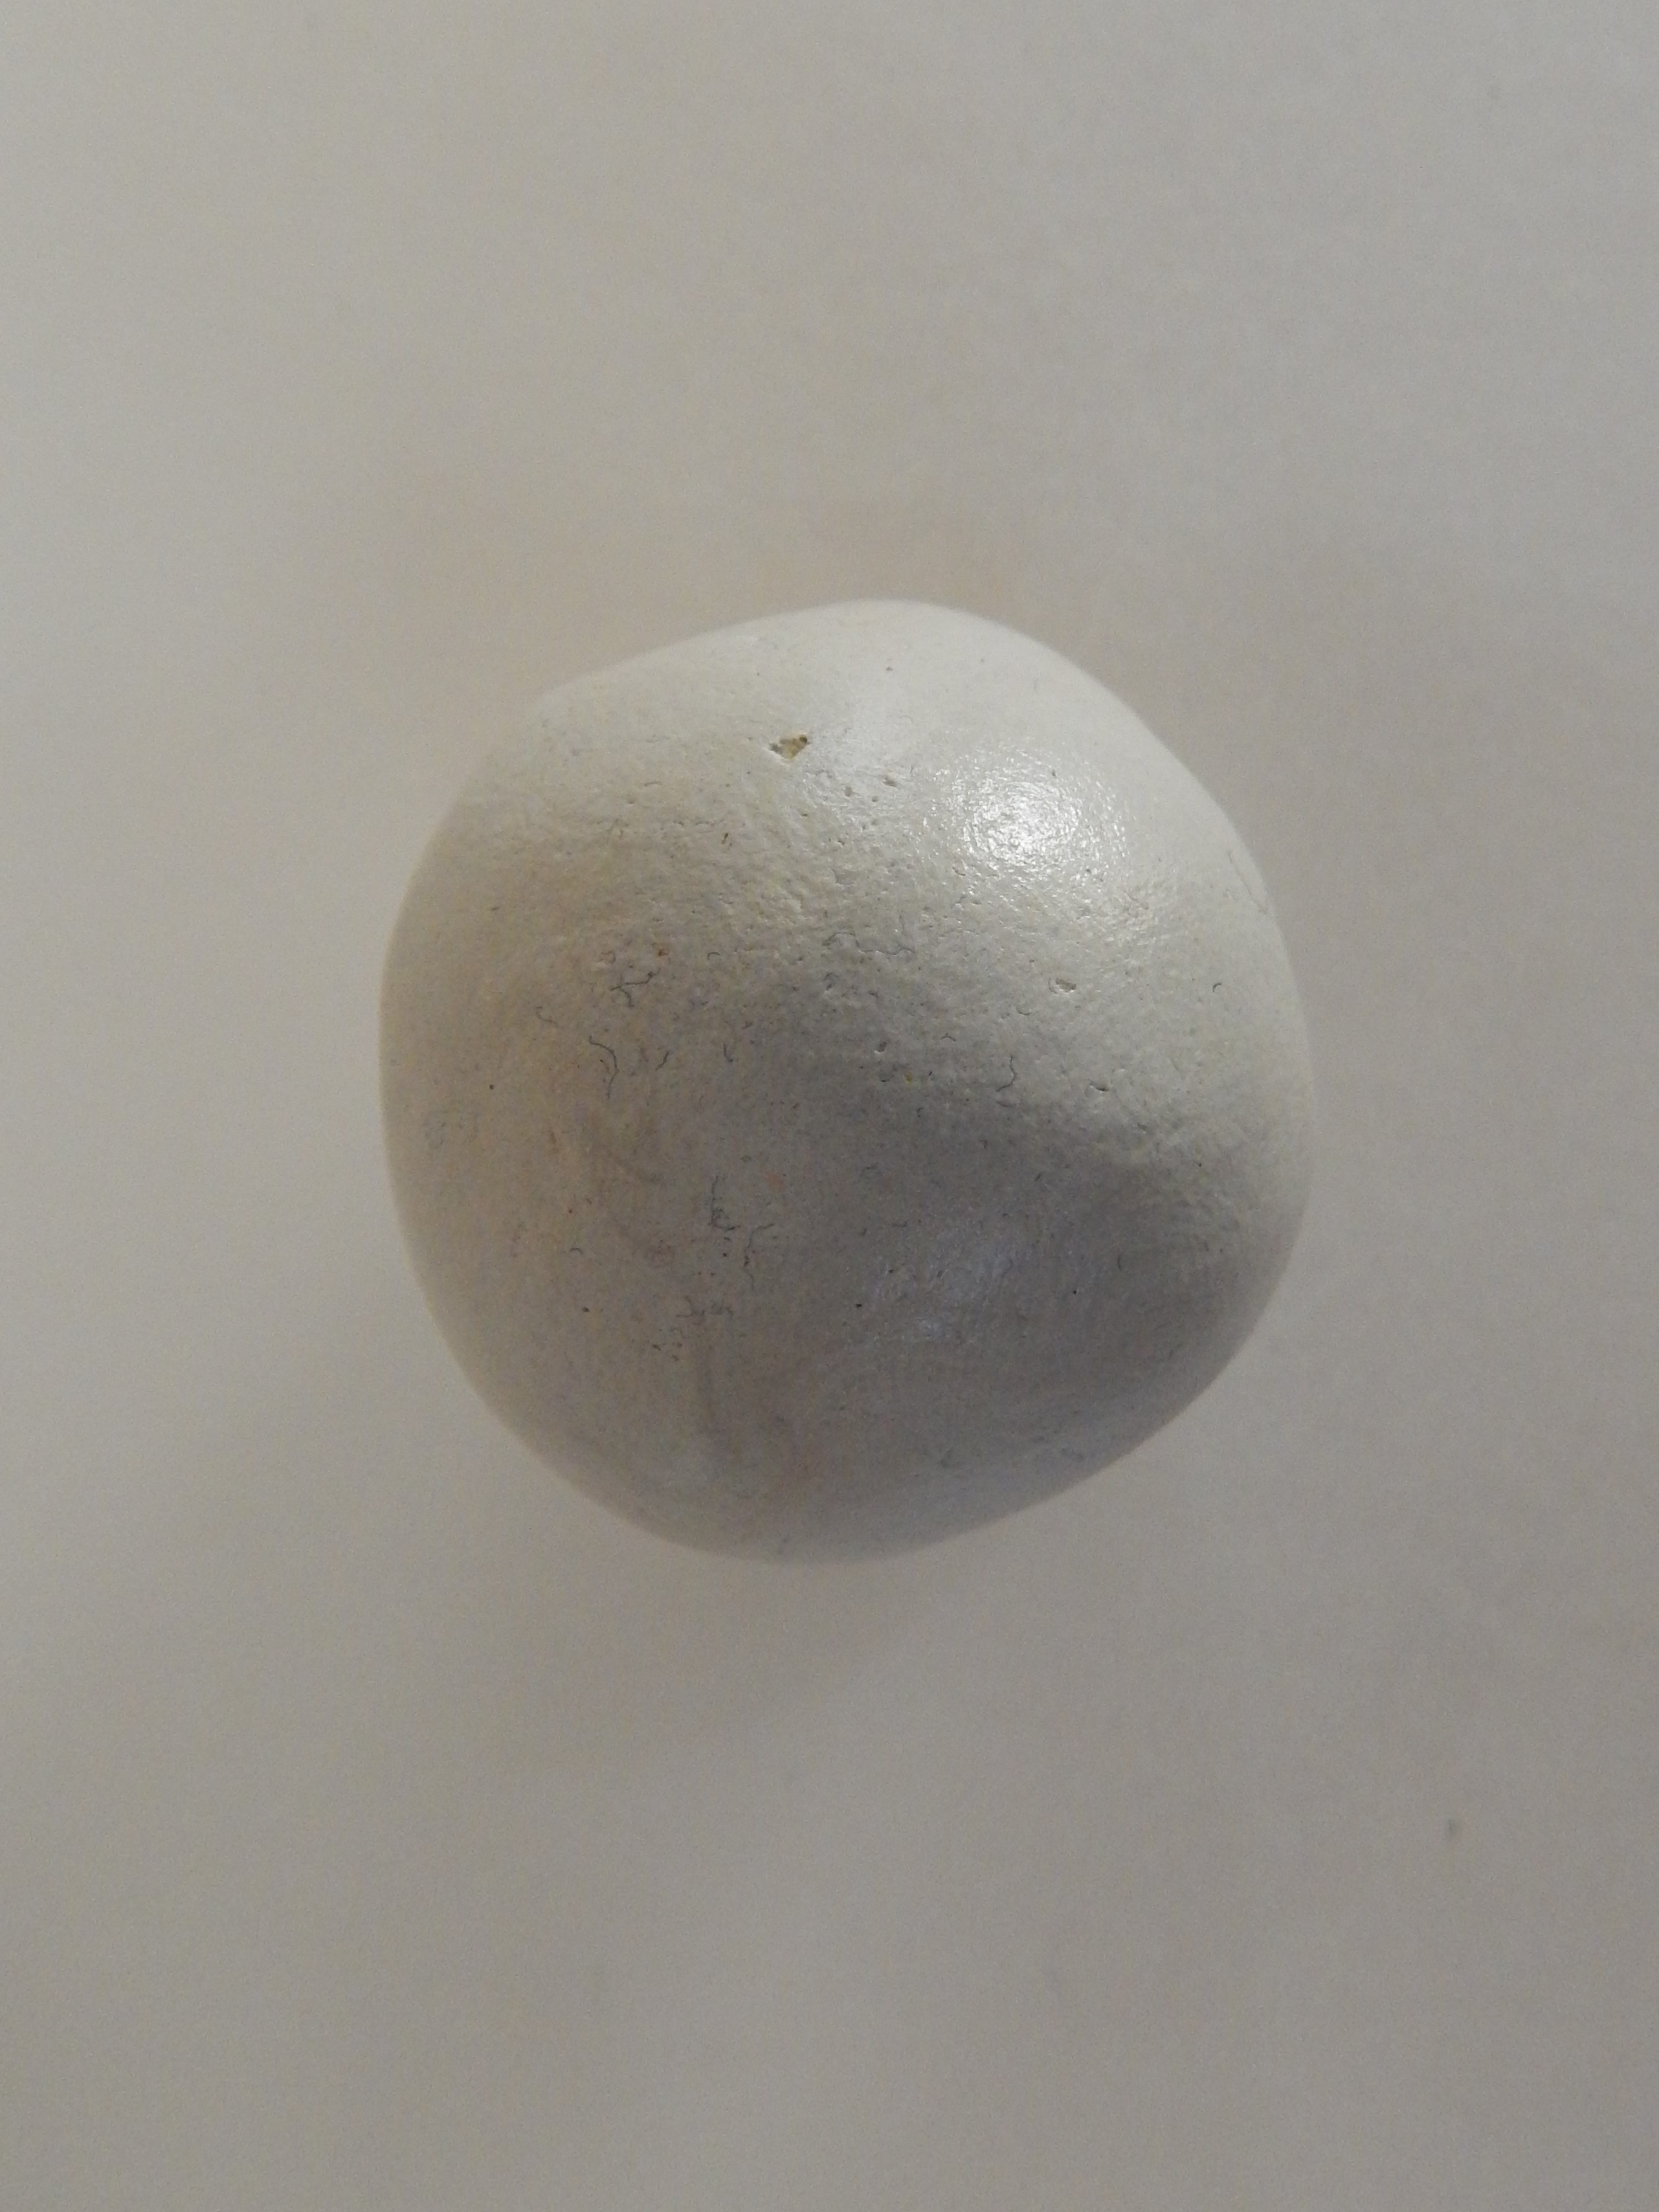
- Take the Mouldit resin base and hardener, mix it thoroughly to make even dough.
STEP 2 : Roll the dough
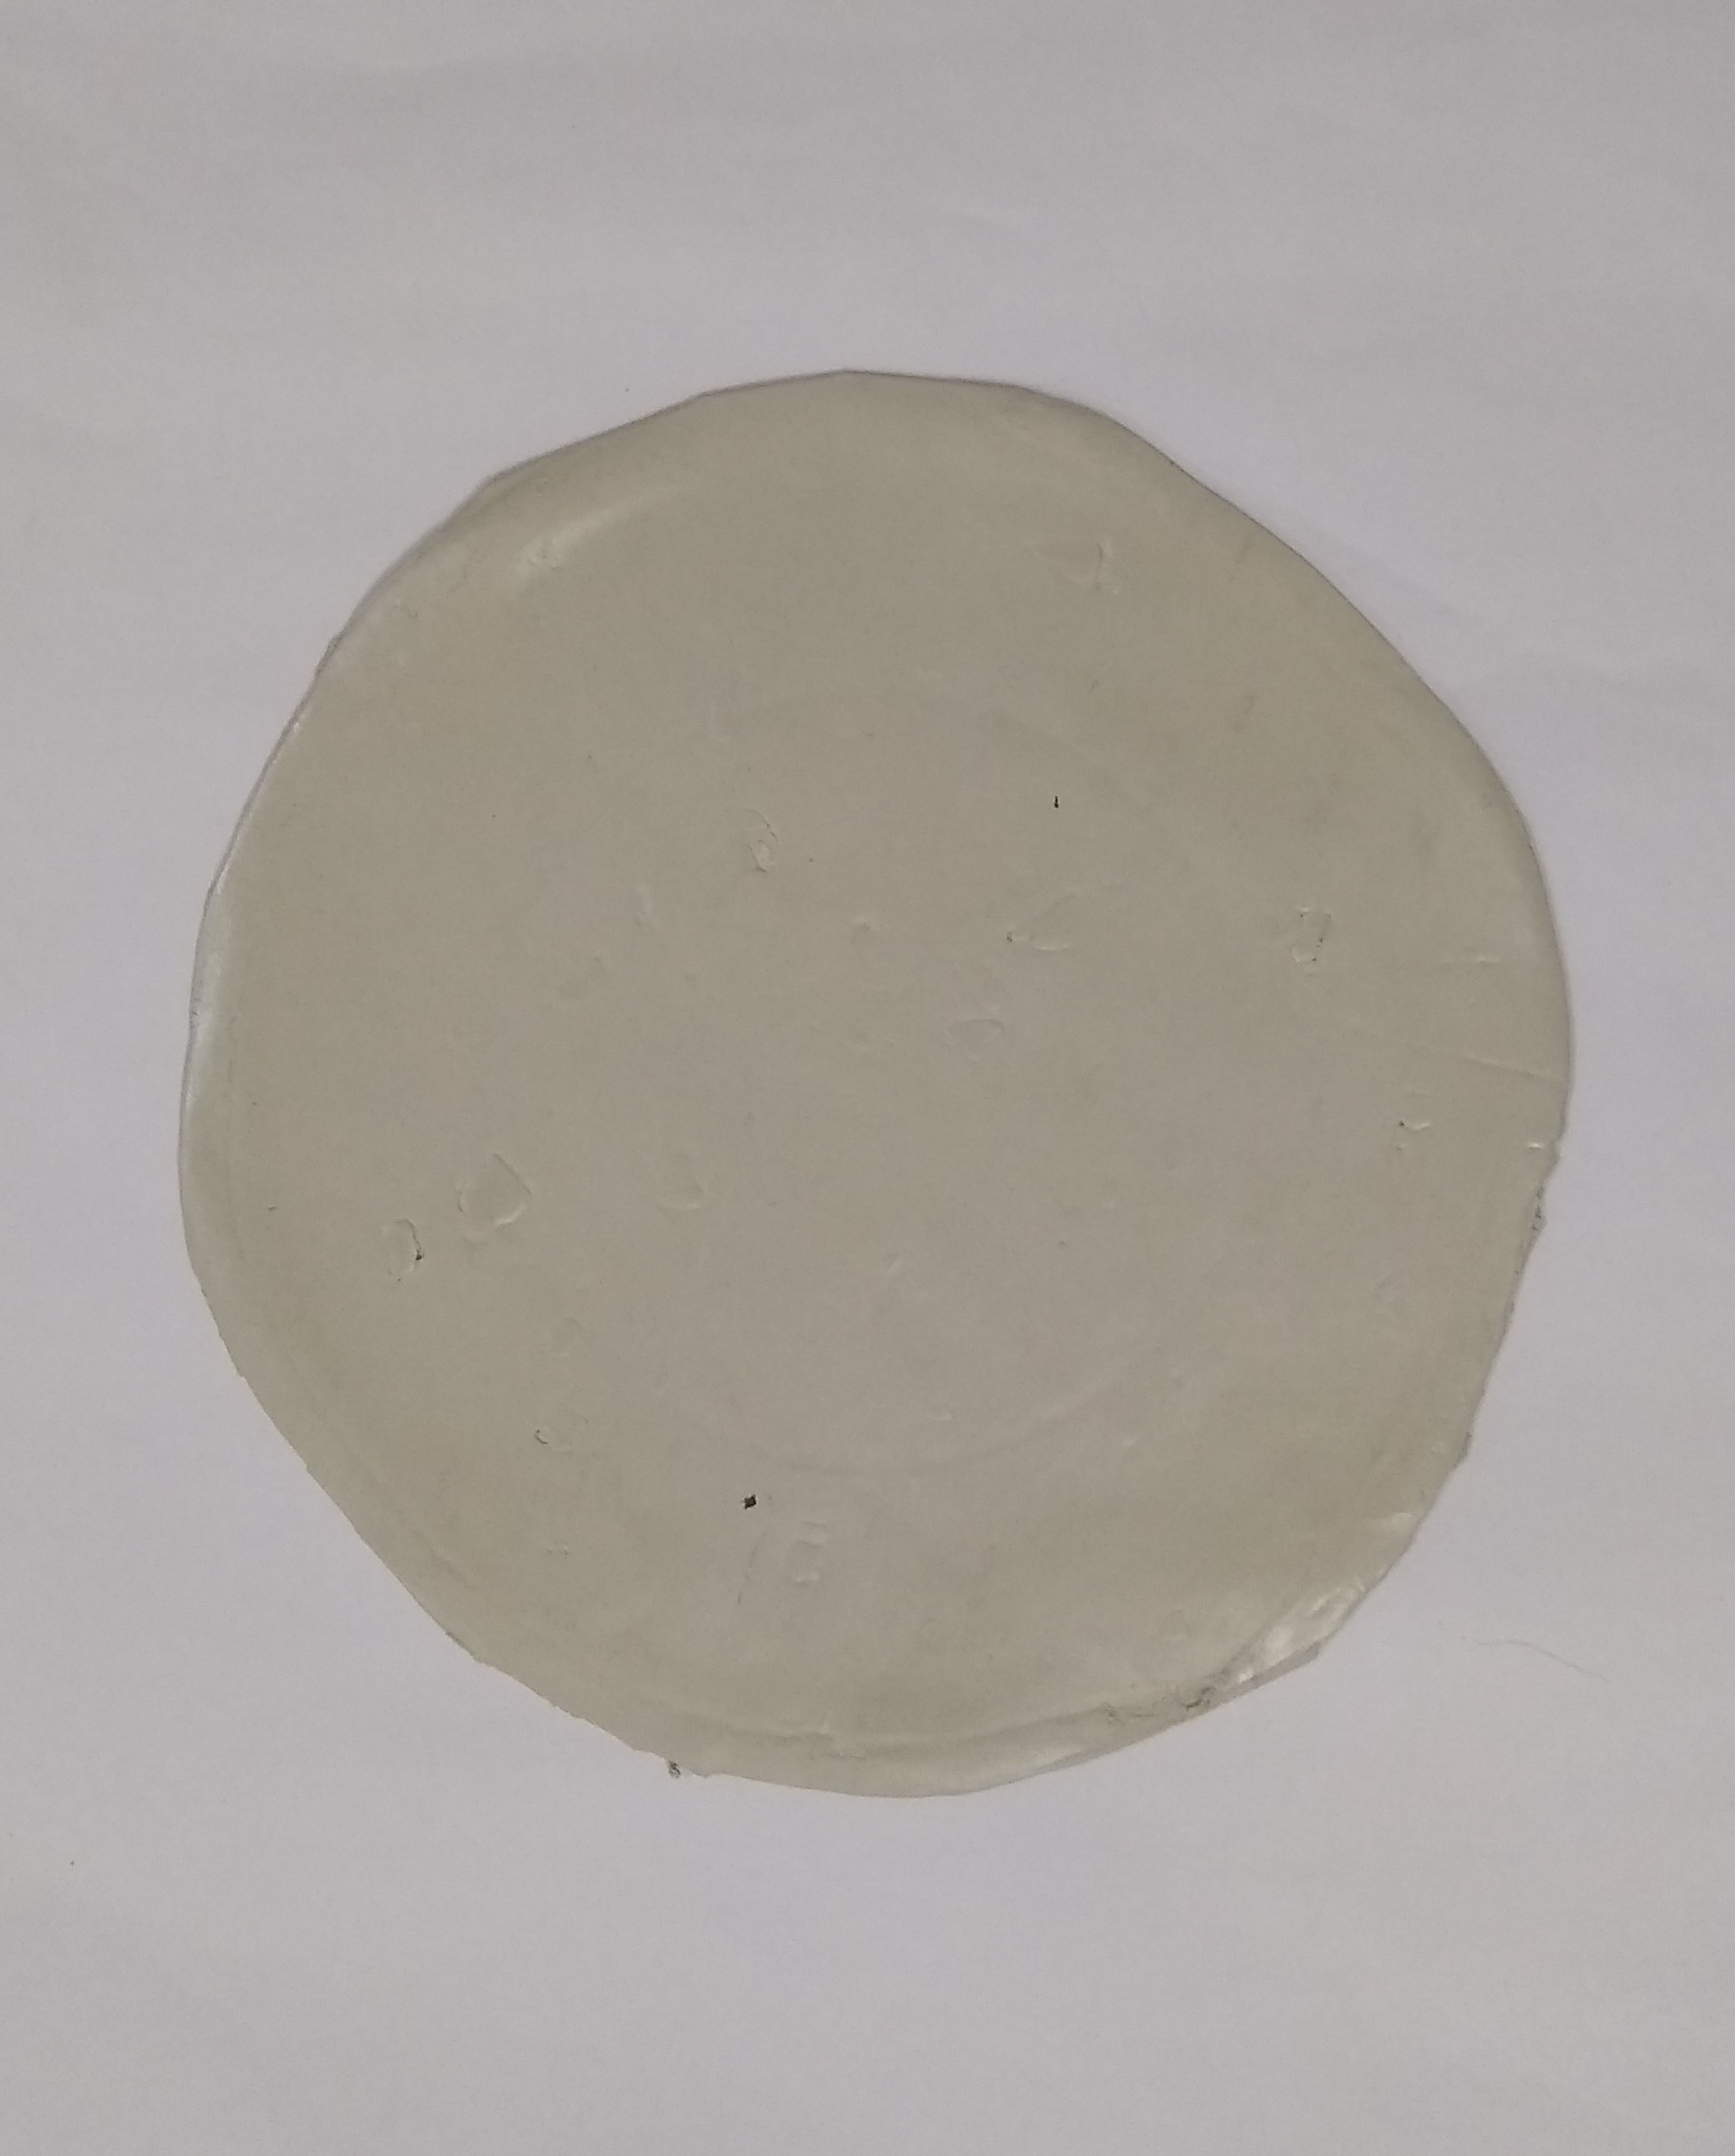
- Take the dough, roll it make the medium thin slab with a rolling pin.
STEP 3
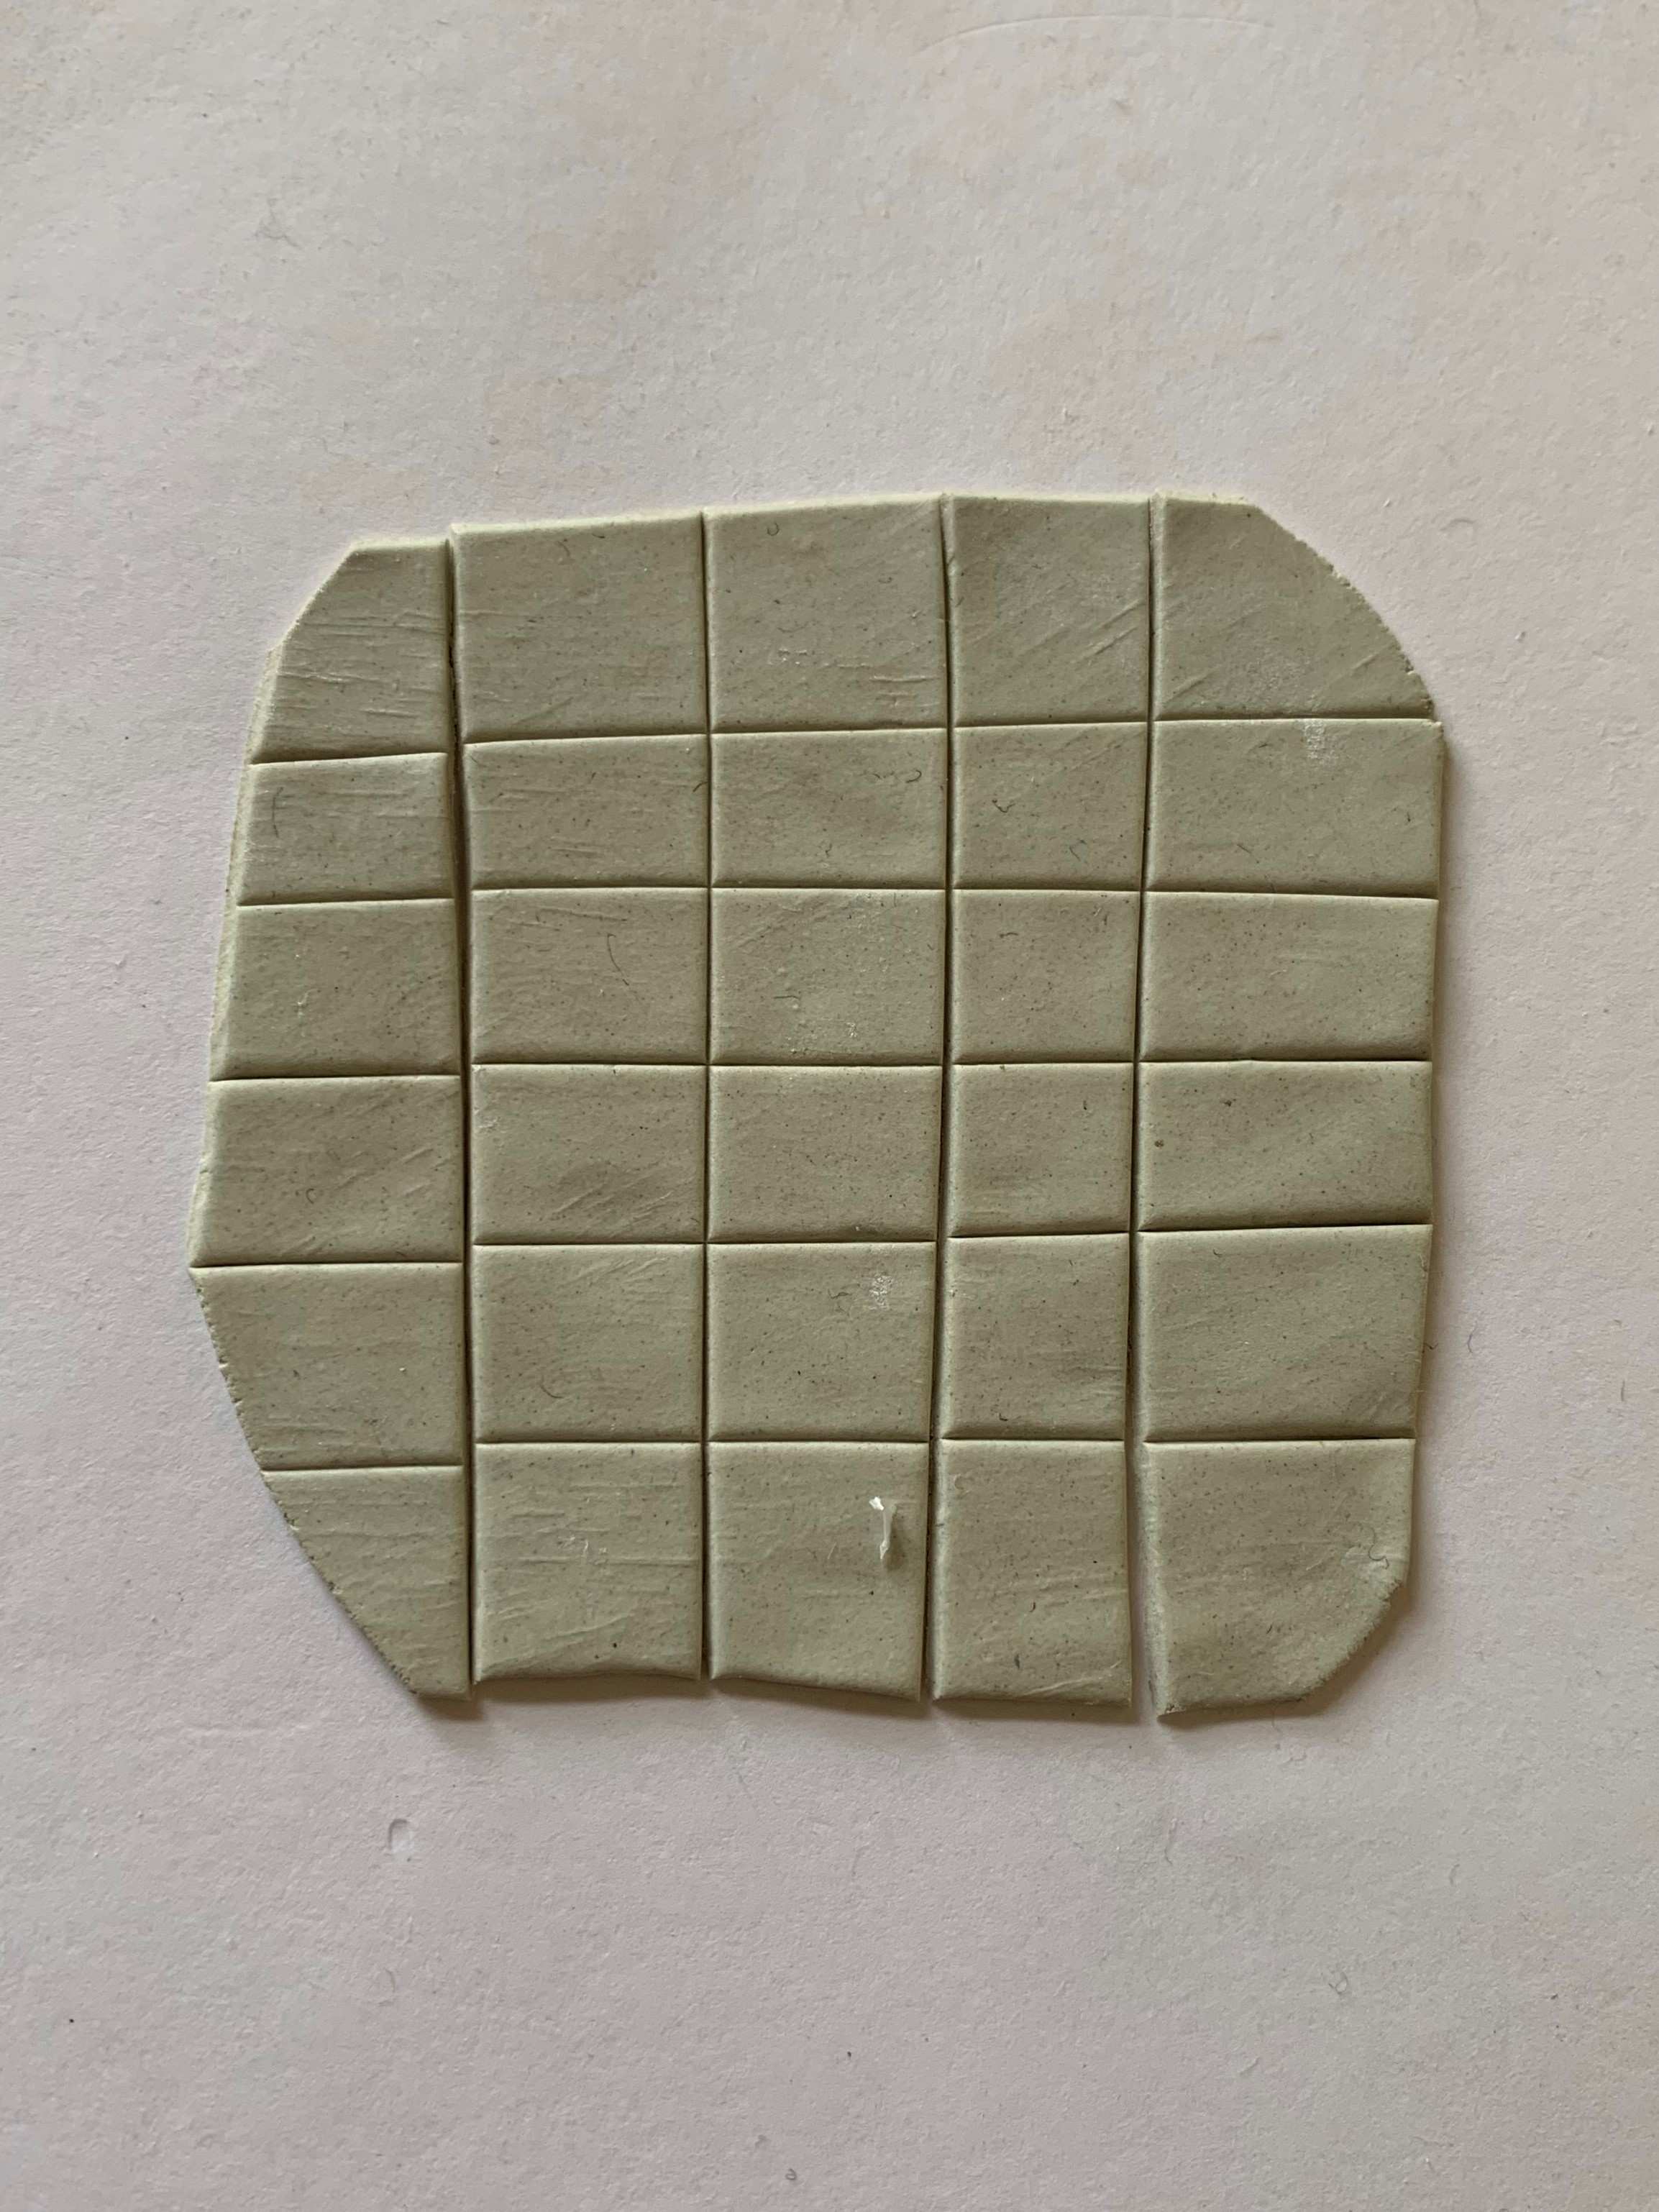
- Mark and cut the square mosaic pieces from the slab with pizza cutter.
- Keep it aside for drying.
STEP 4
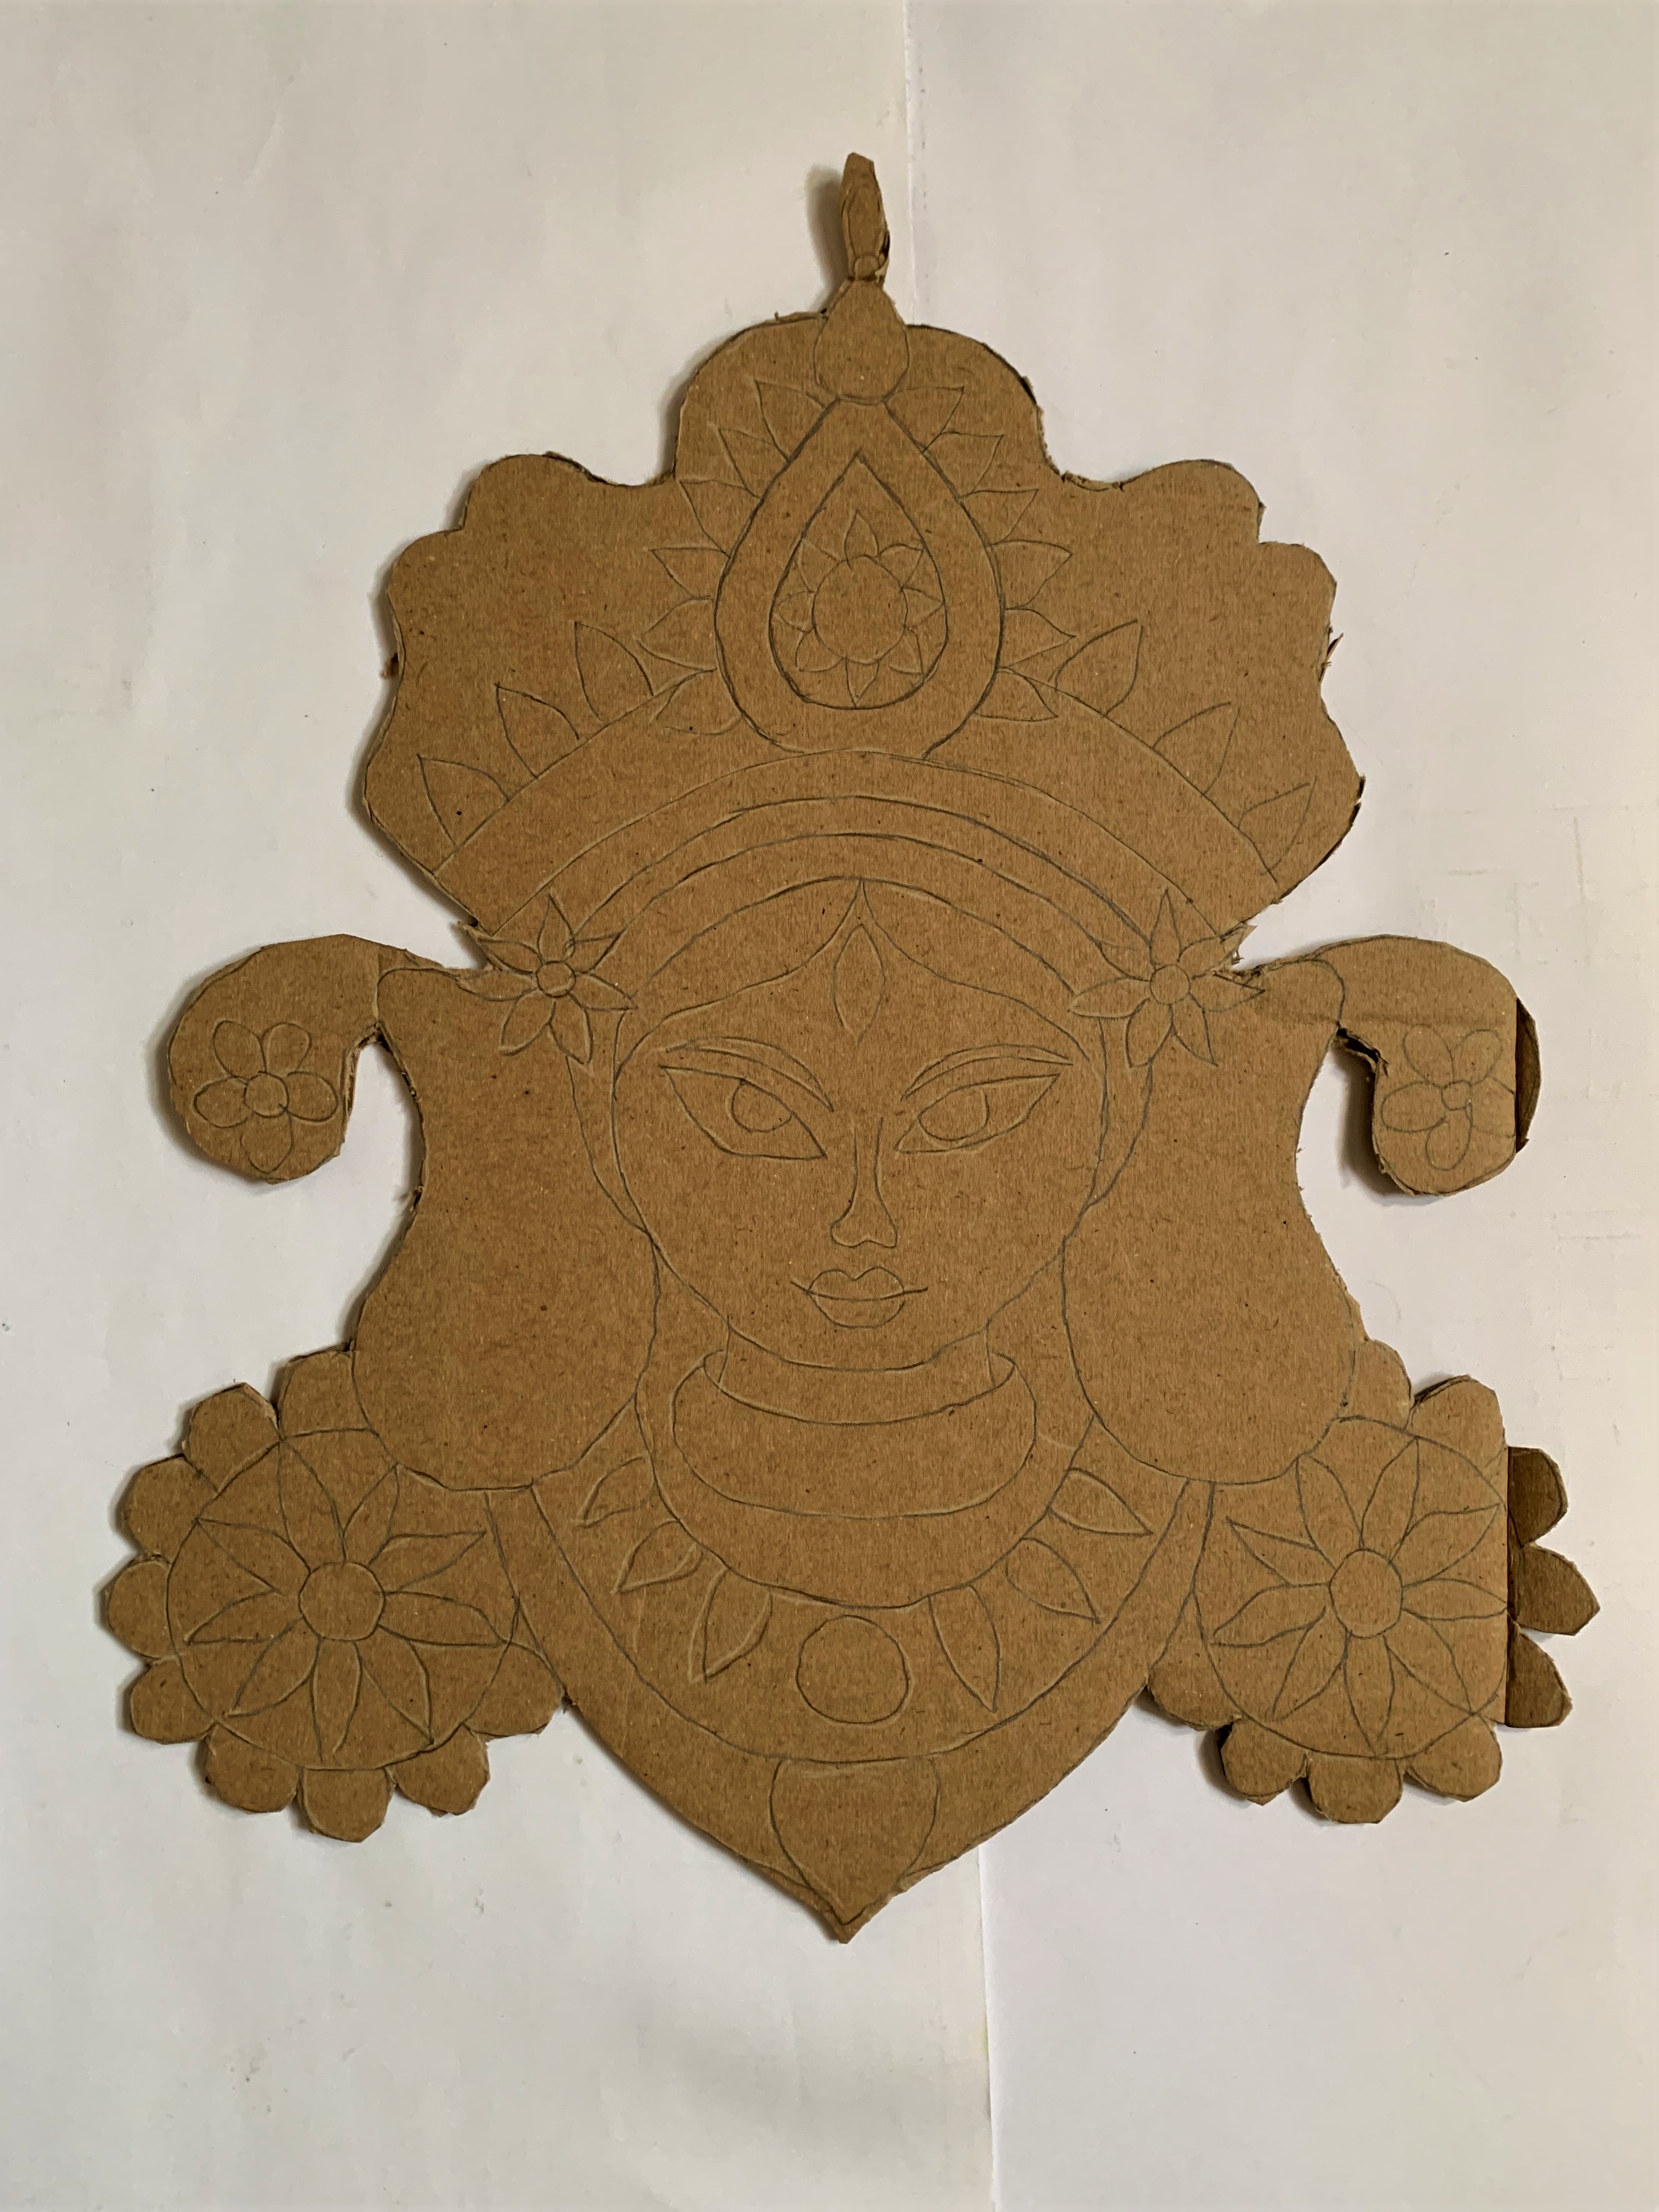
- Take the corrugated sheet, draw the face of Durga on it.
- Cut along the outlines of the face drawing with a pair of the scissors/ paper cutter.
- Refer to the image.
STEP 5 : Moulding and sticking the shapes on the base.
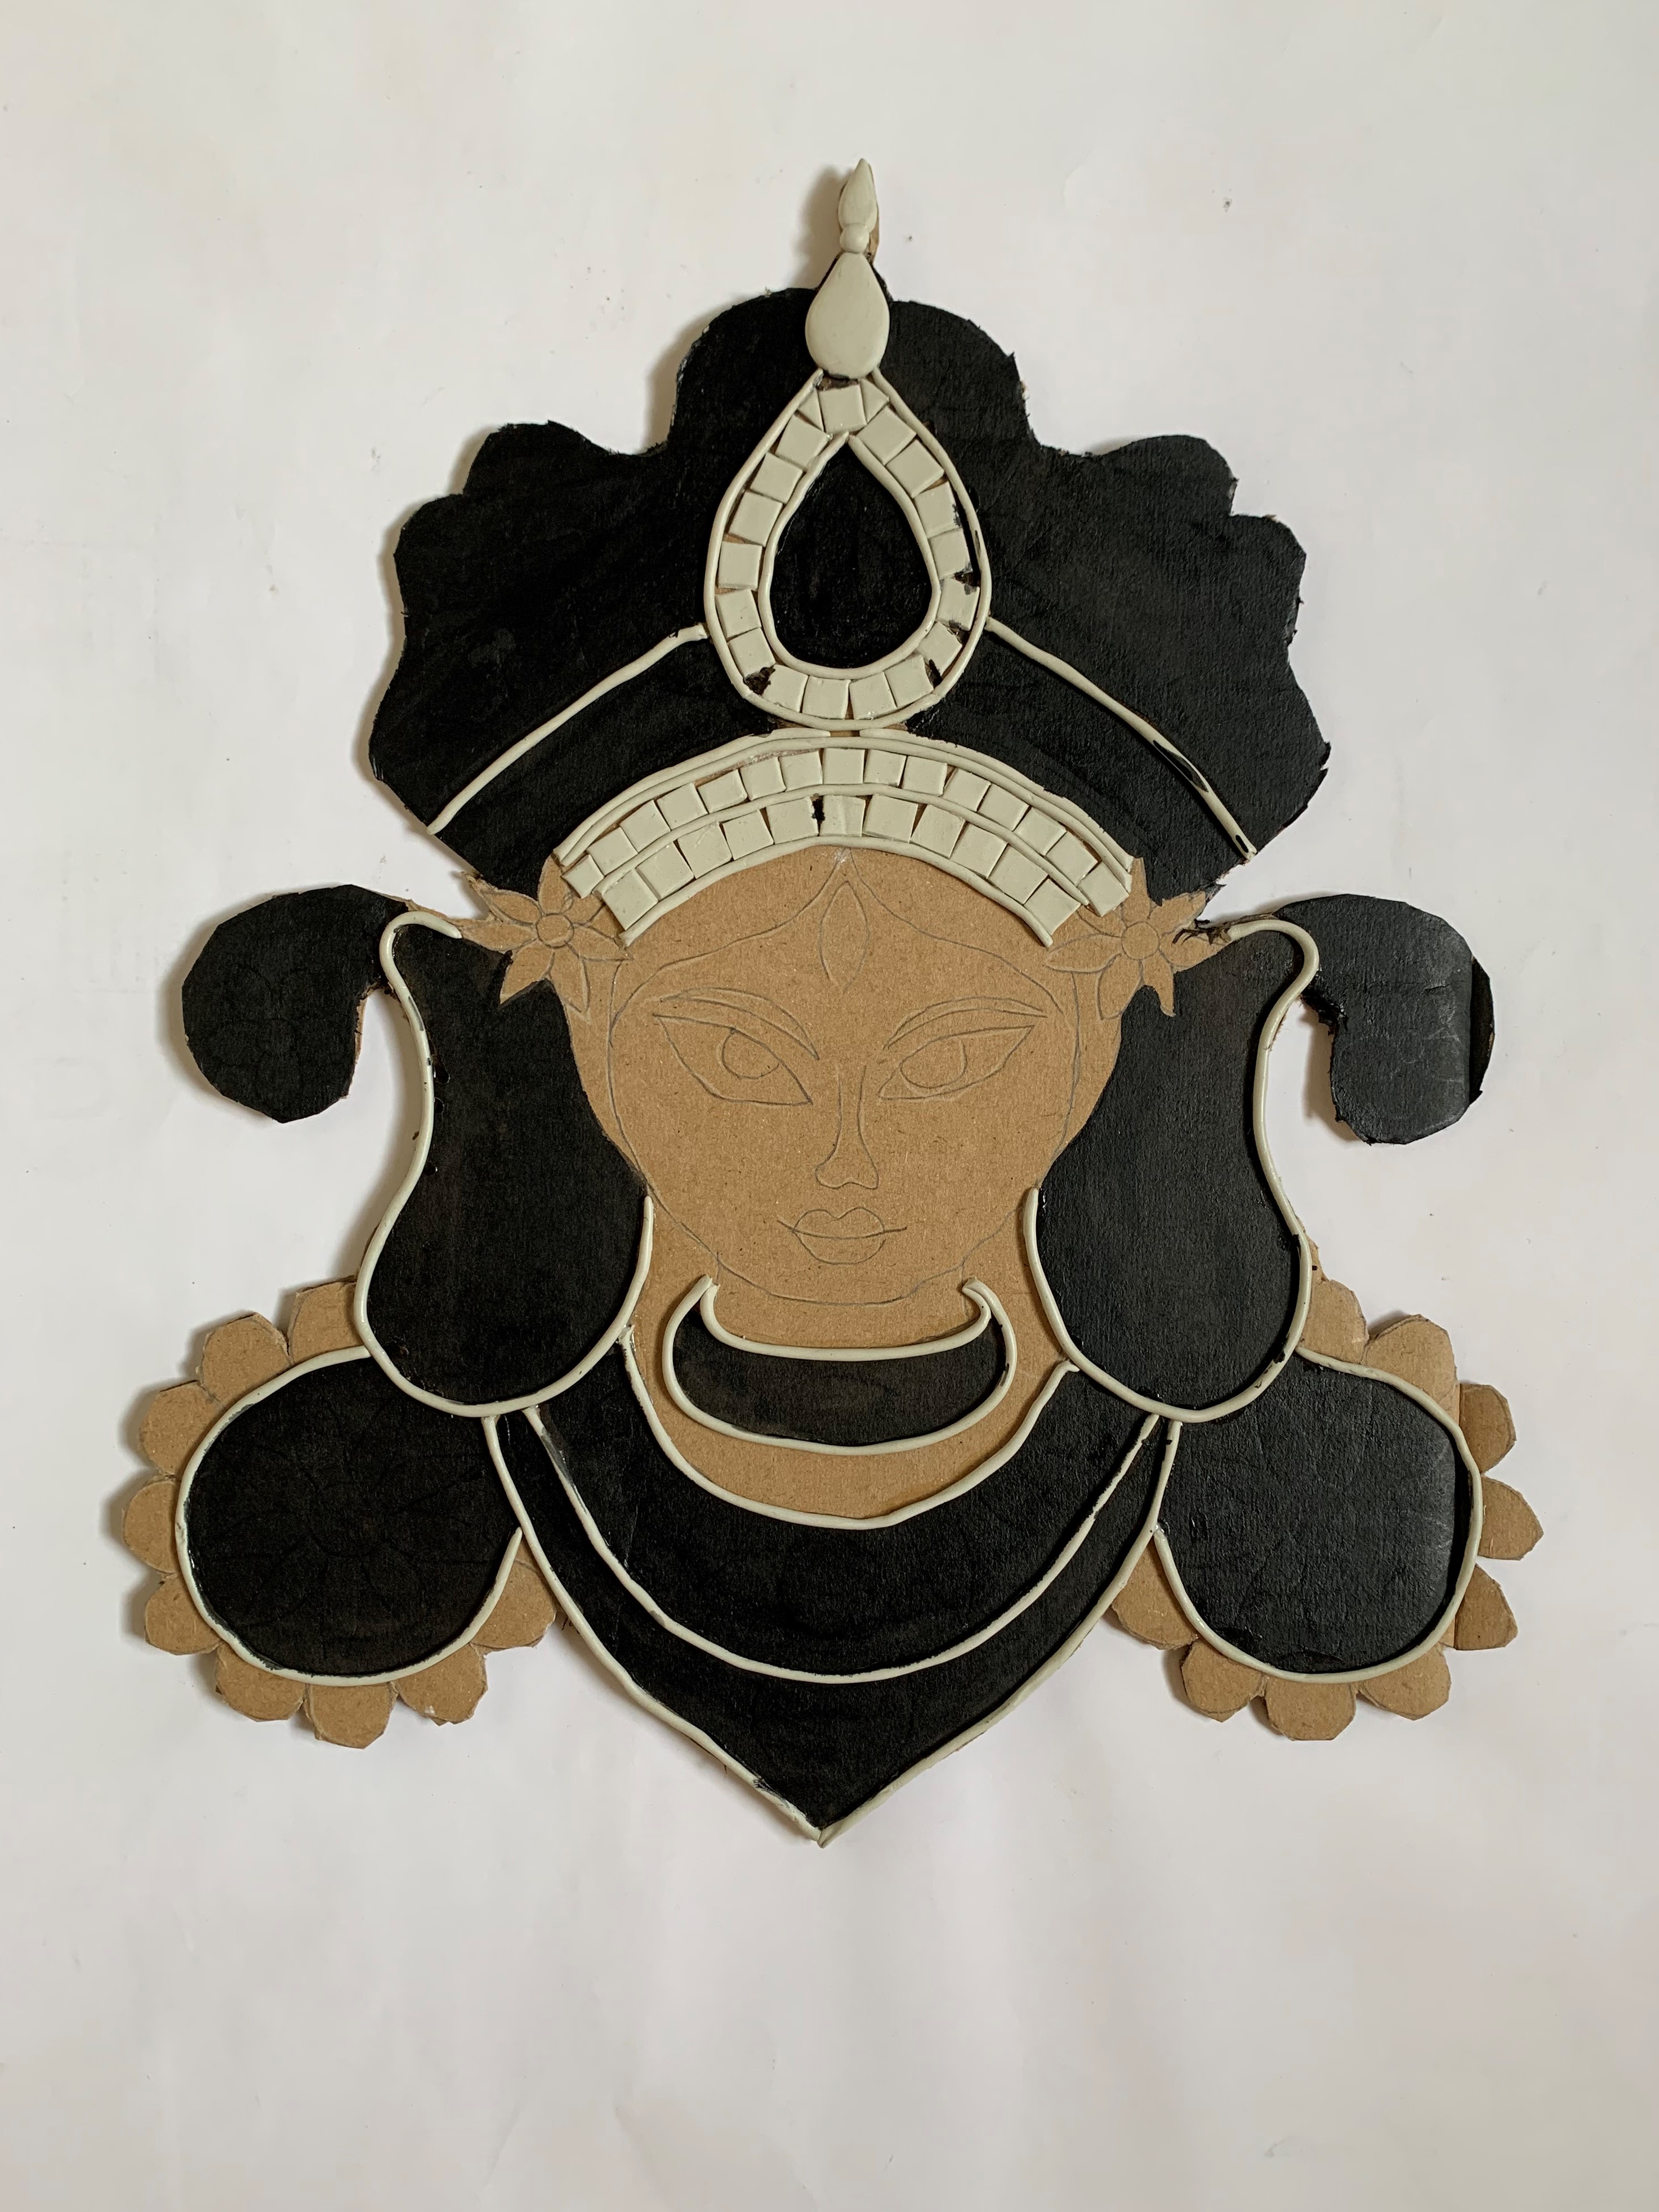
- Paint the face and few areas in the jewellery with Acrylic Colour Black 02.
- Let it dry completely.
- Start sticking the mosaic pieces on the Durga cut out with Fabric Glue.
- Let it dry.
STEP 6 : Finish the sticking
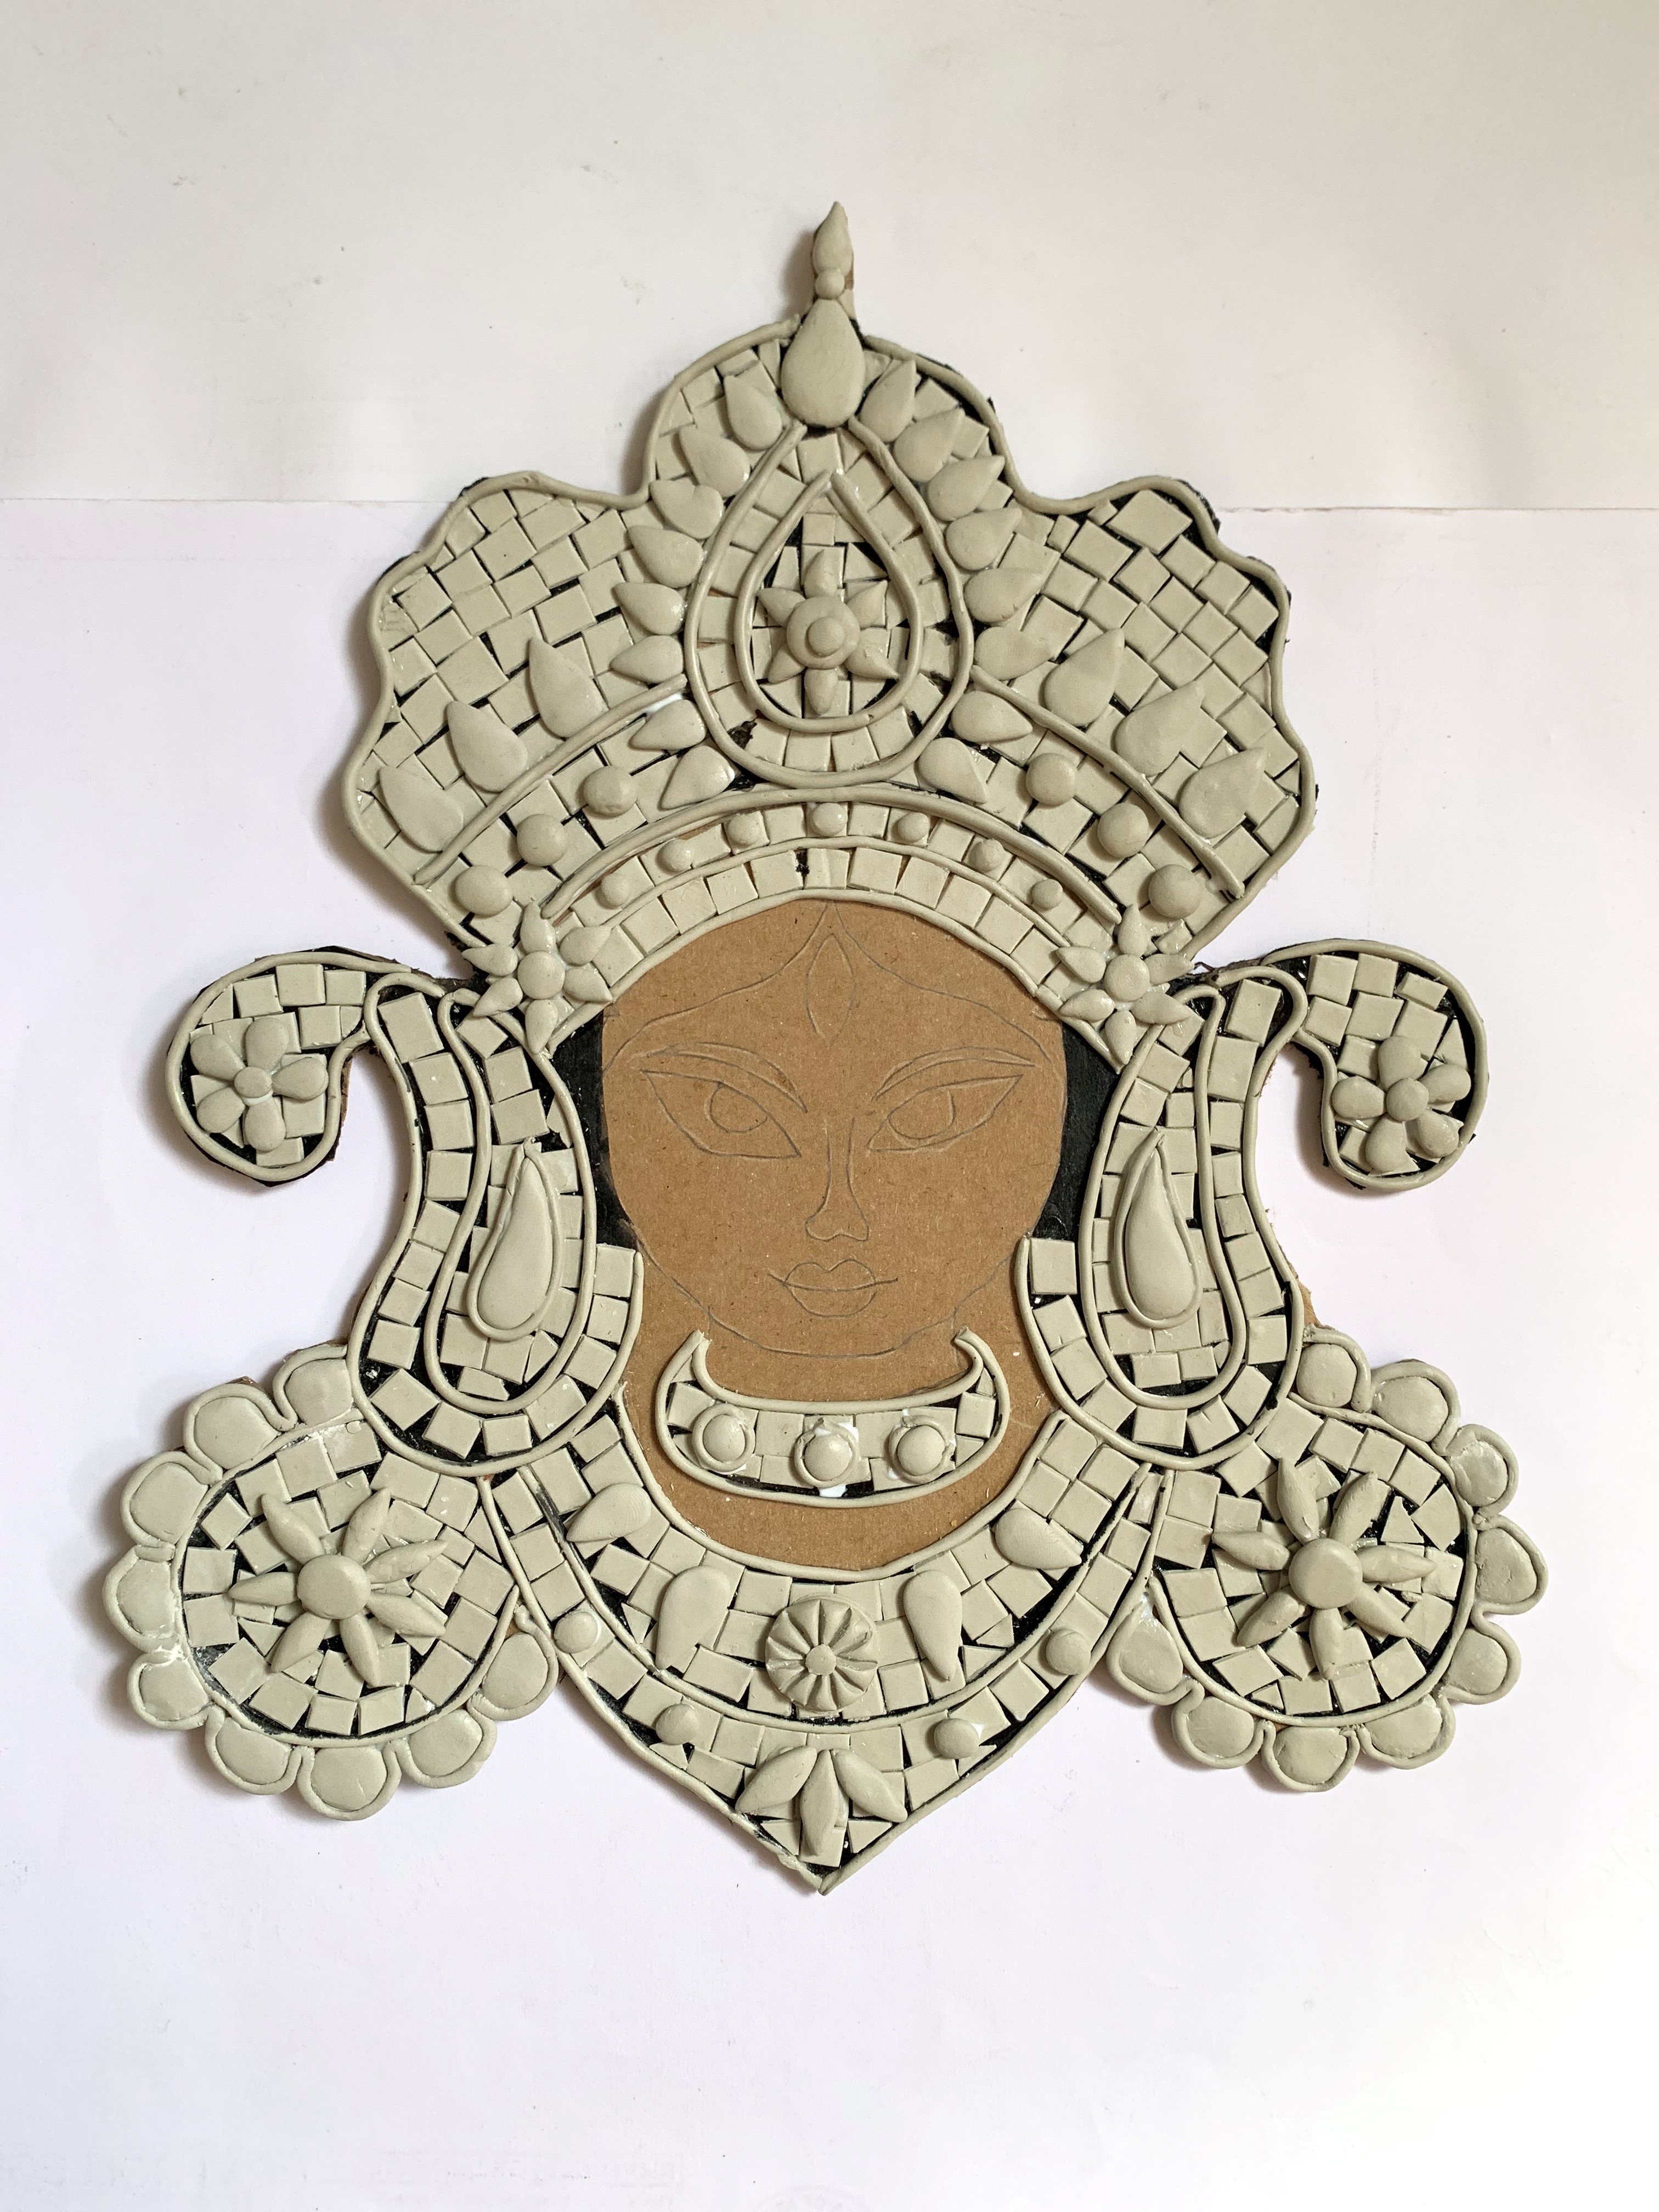
- The Durga face cut out will look like this after sticking the mosaic pieces.
- Refer to the image.
STEP 7 : Painting and Finishing

- Paint the face, the Jewellery and the crown with Acrylic Colour Coral Red 66, Teal Blue 68 Pearl Metallic Gold 352 and Copper 355.
- Leave it to dry completely.


 +91 99676 55545