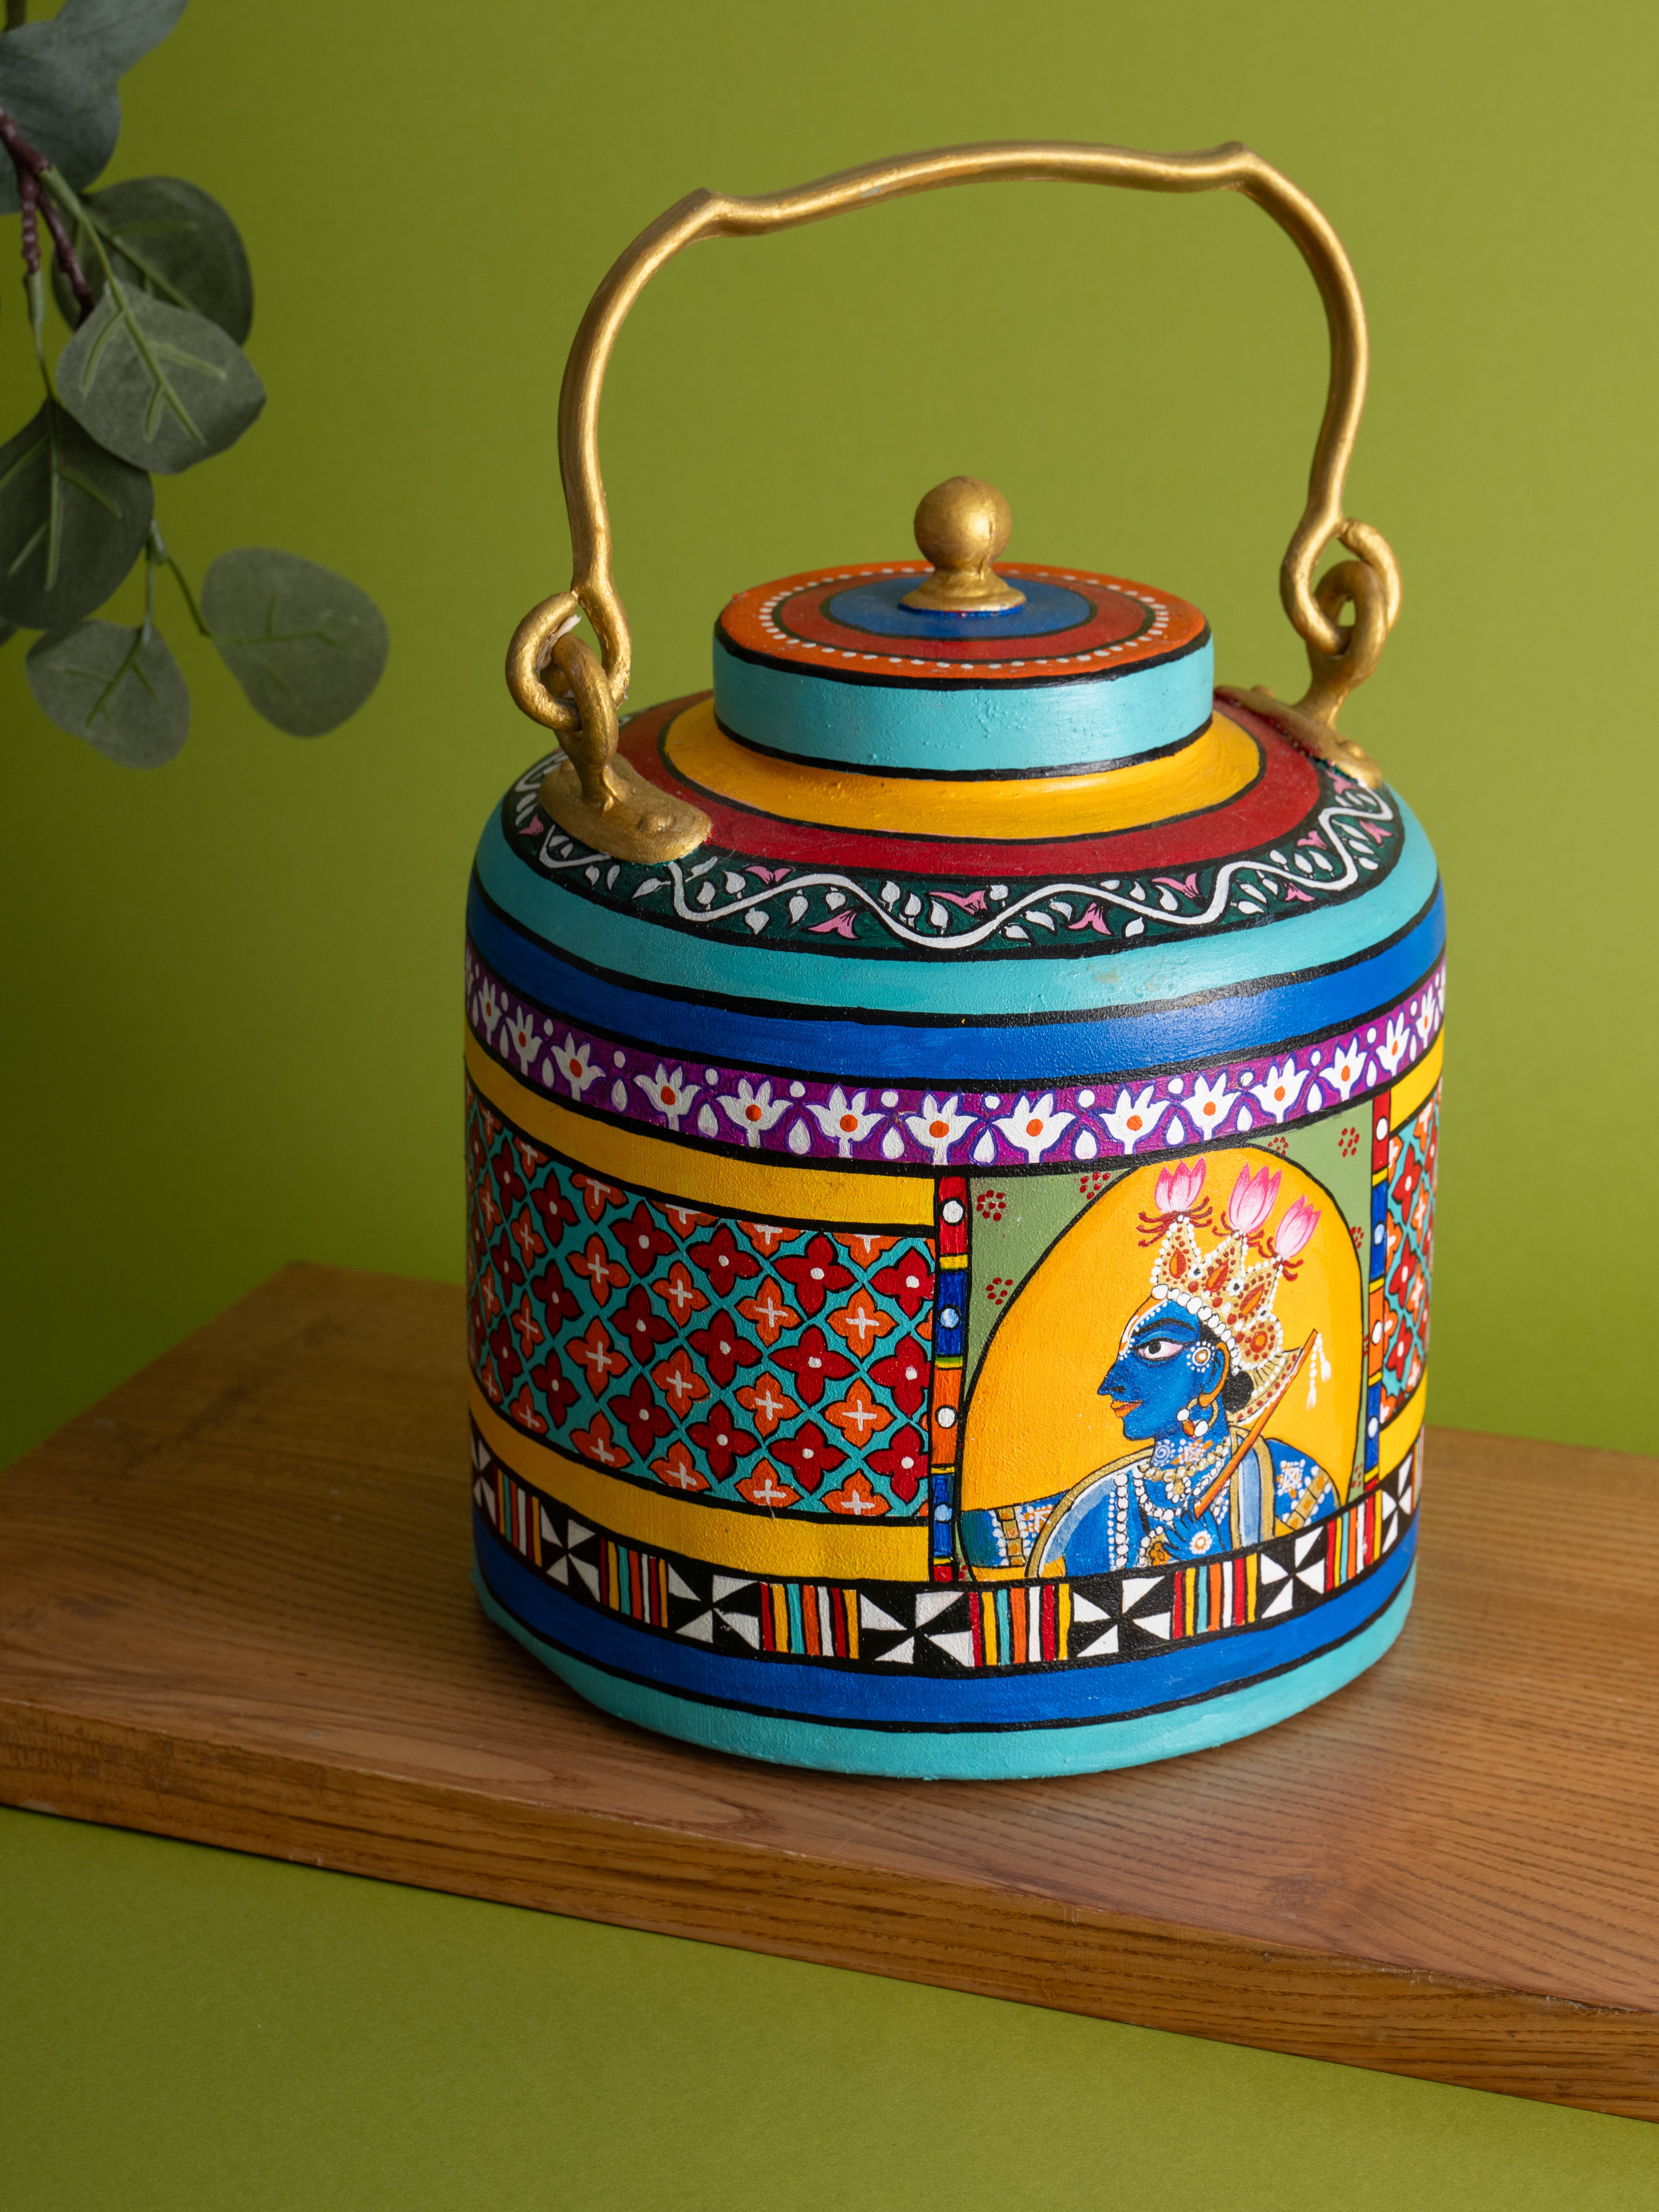
Butterfly Vase With Texture


You Will Need:
Fevicryl Acrylic Colour White 27, Fevicryl Pastel Acrylic Colours, Fevicryl 3D Outliner White 707, Fevicryl Mouldit, Fevicryl Fabric Glue, Fine Art Brushes, Terracotta Vase, Rolling Pin, Paper Cutter, Pencil, Colour Palette, Water Container.
Product Used:

Description :
This vase has been creatively revamped from waste materials into a charming piece. Colorful butterfly cutouts add a new touch to their textured surface. It's a beautiful example of upcycling, giving a discarded item a stylish new life.
STEP 1 : Prepare the Terracotta Vase
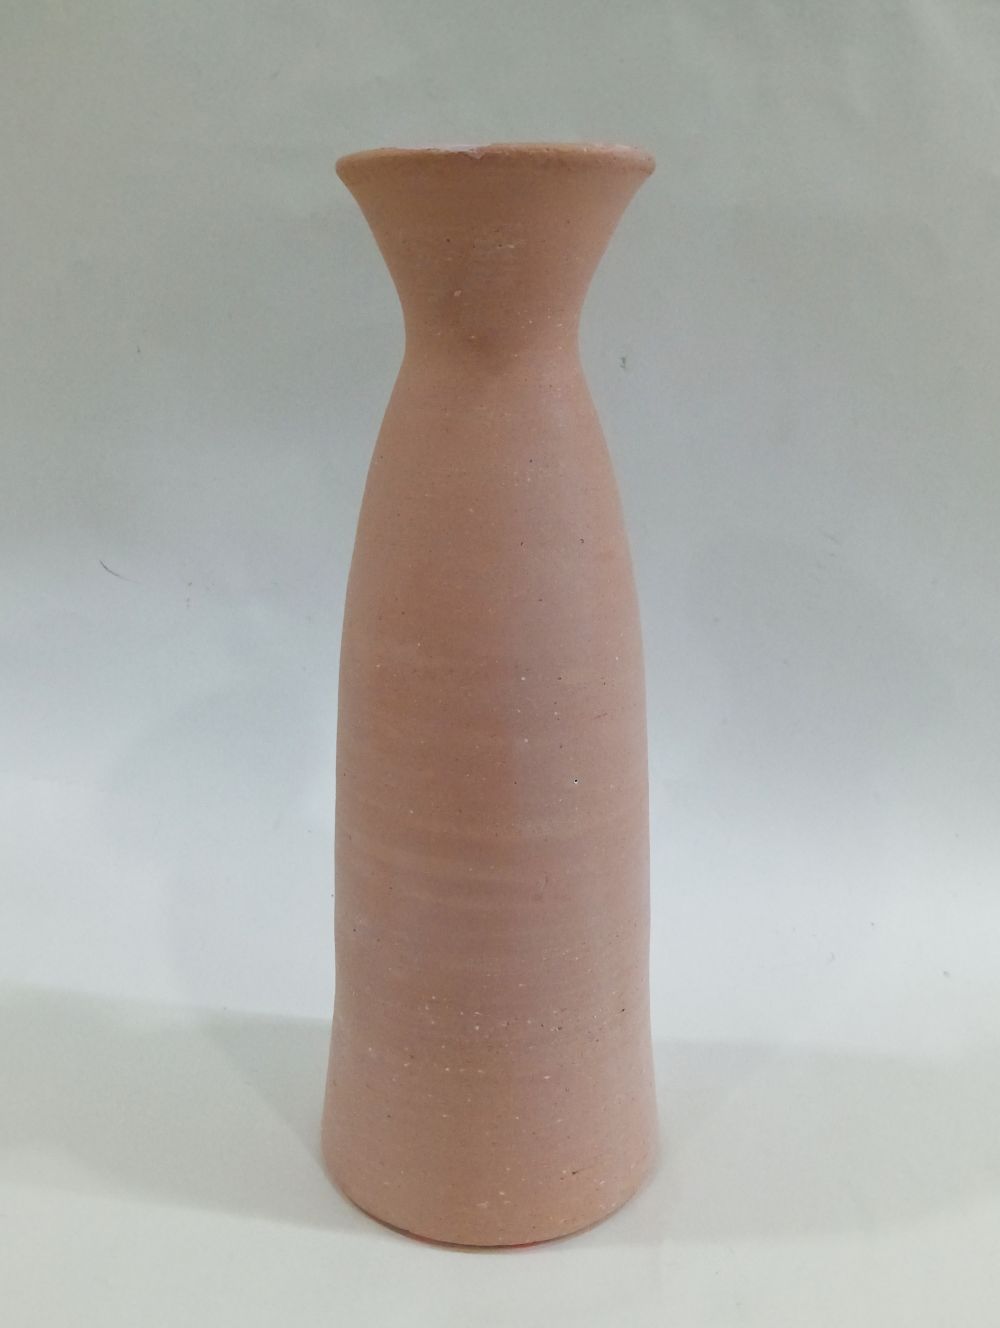
- Take an old vase to revamp it into something new and interesting.
- Clean the vase with a damp cloth to remove dust.
- Let it dry completely before starting.
STEP 2 : Paint the Vase
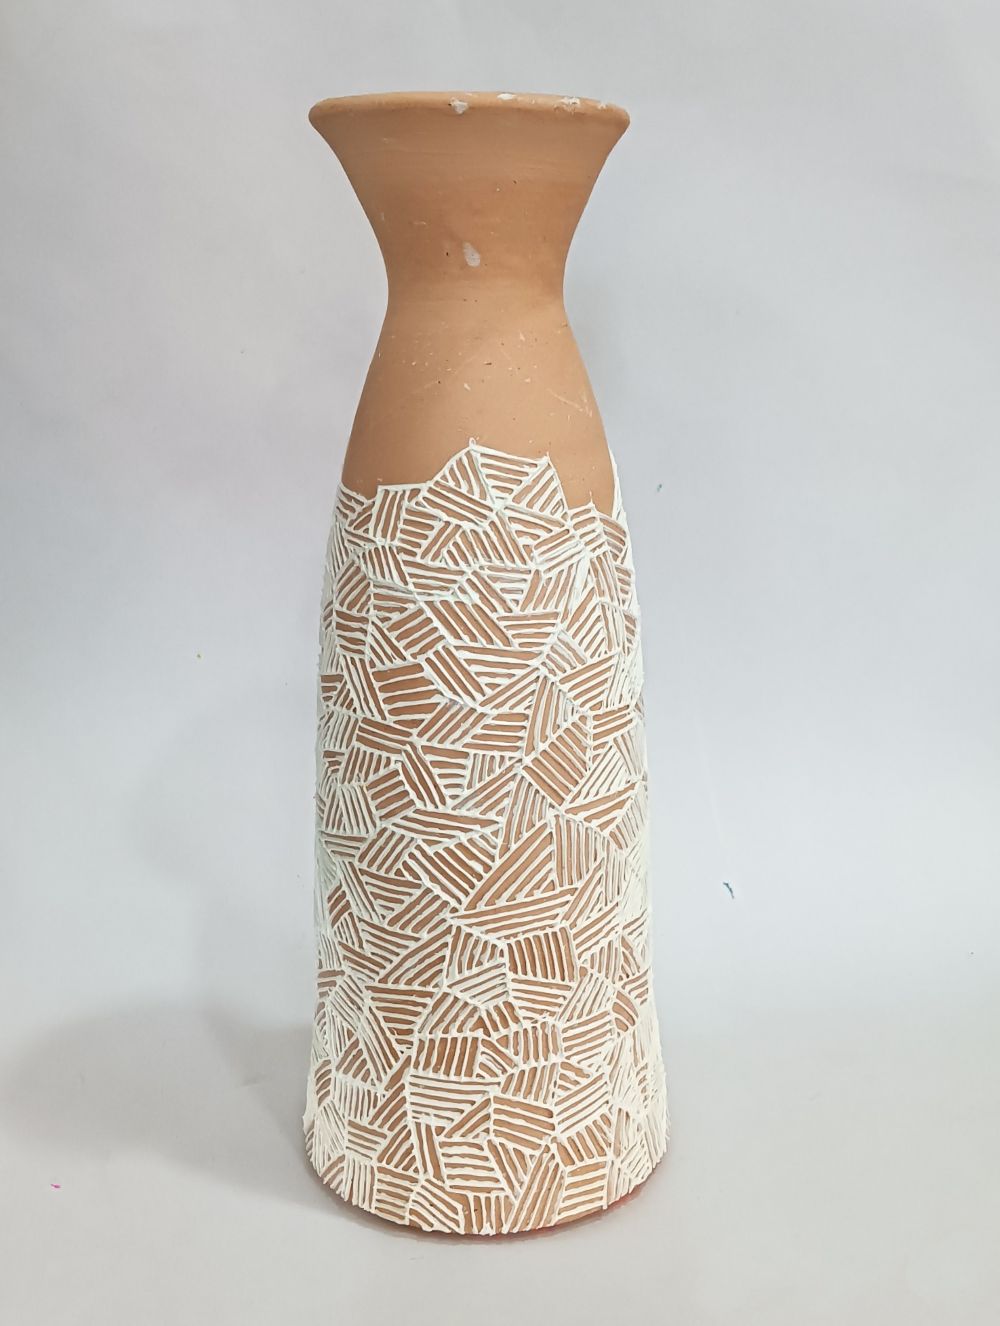
- Paint the vase with the hatching effect using 3D Outliner White 707.
- Let it dry.
STEP 3 : Create the Clay Butterflies
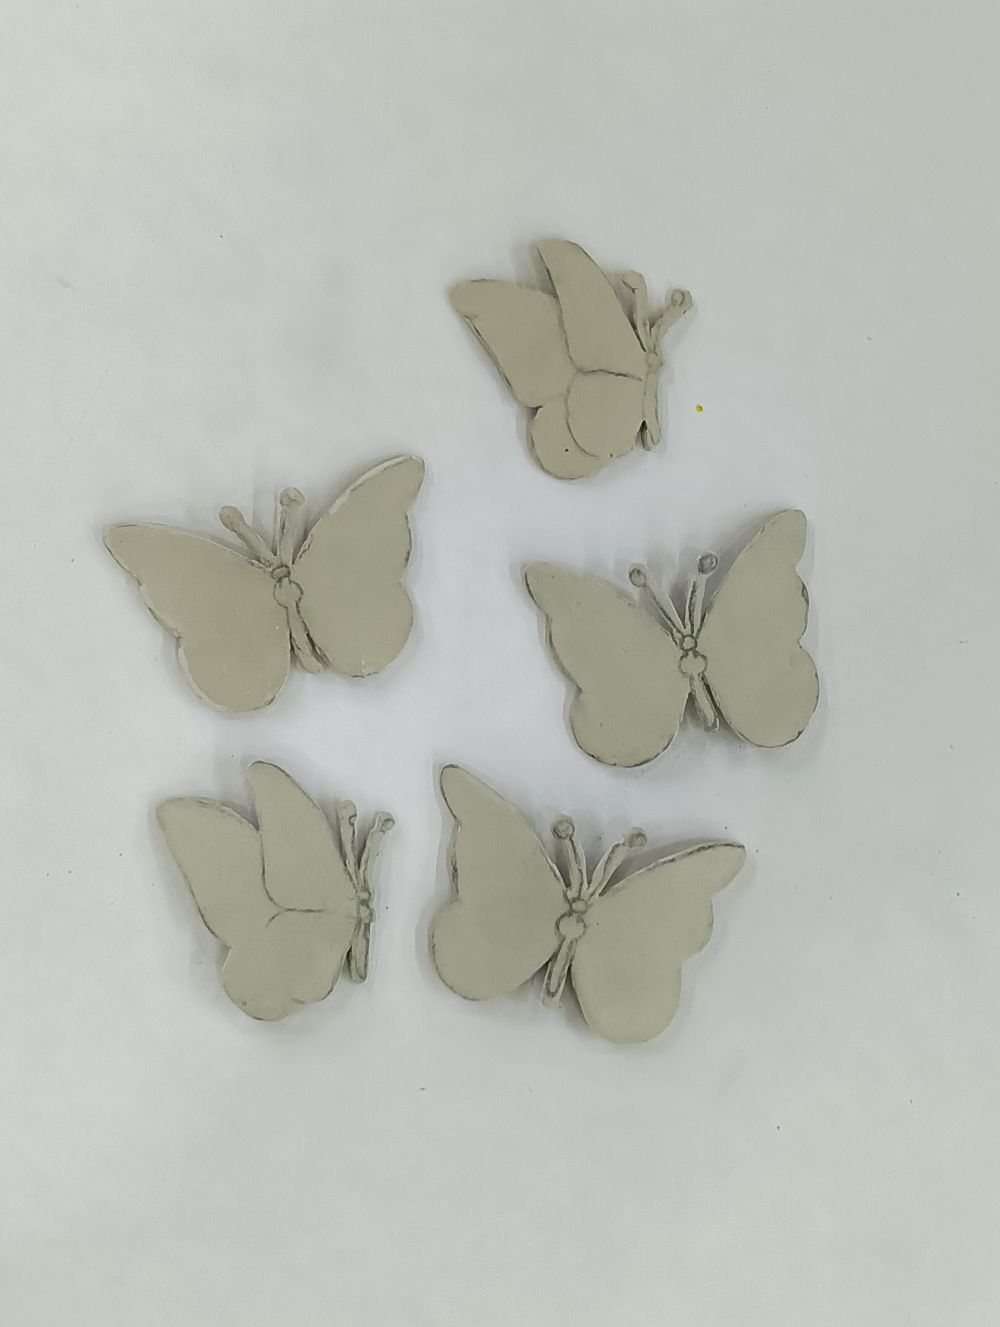
- Take Mouldit resin and hardener, mix well to make dough even.
- Take the dough, roll it to make the slab with a rolling pin.
- Draw the butterfly shapes on the slab, sculpt simple butterfly shapes using clay modelling tools.
- Let the butterflies dry fully.
STEP 4 : Paint the Clay Butterflies
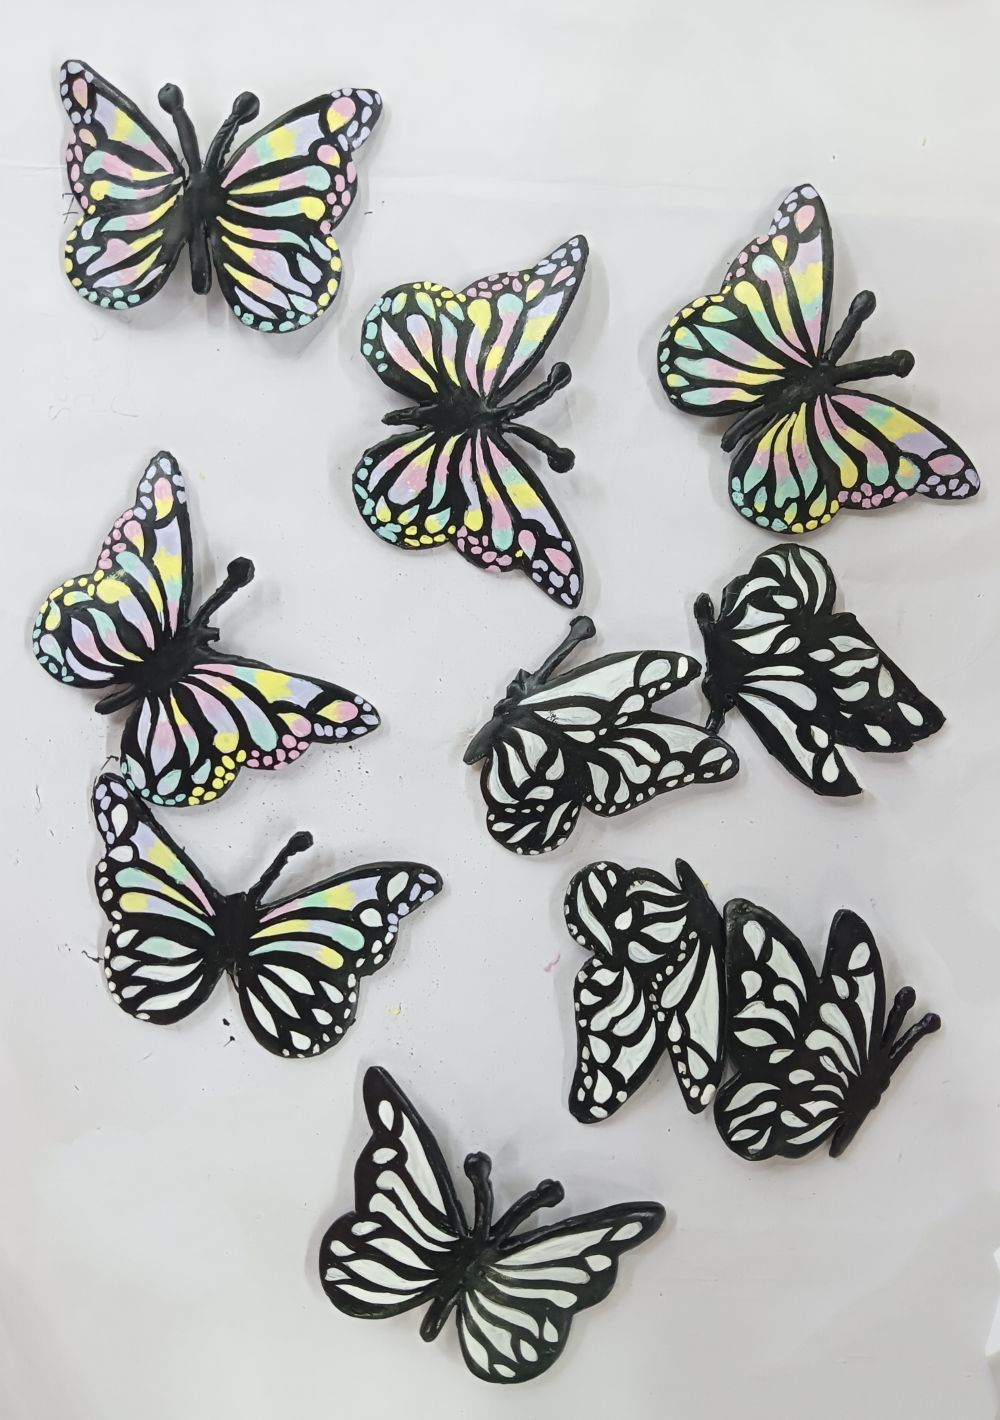
- Use Fevicryl Acrylic Colour Black 02 and Pastel Acrylic Colours to paint each dried butterfly. Add tiny, desired details (dots, lines, etc.)
- Let them dry fully.
STEP 5 : Stick the Butterflies
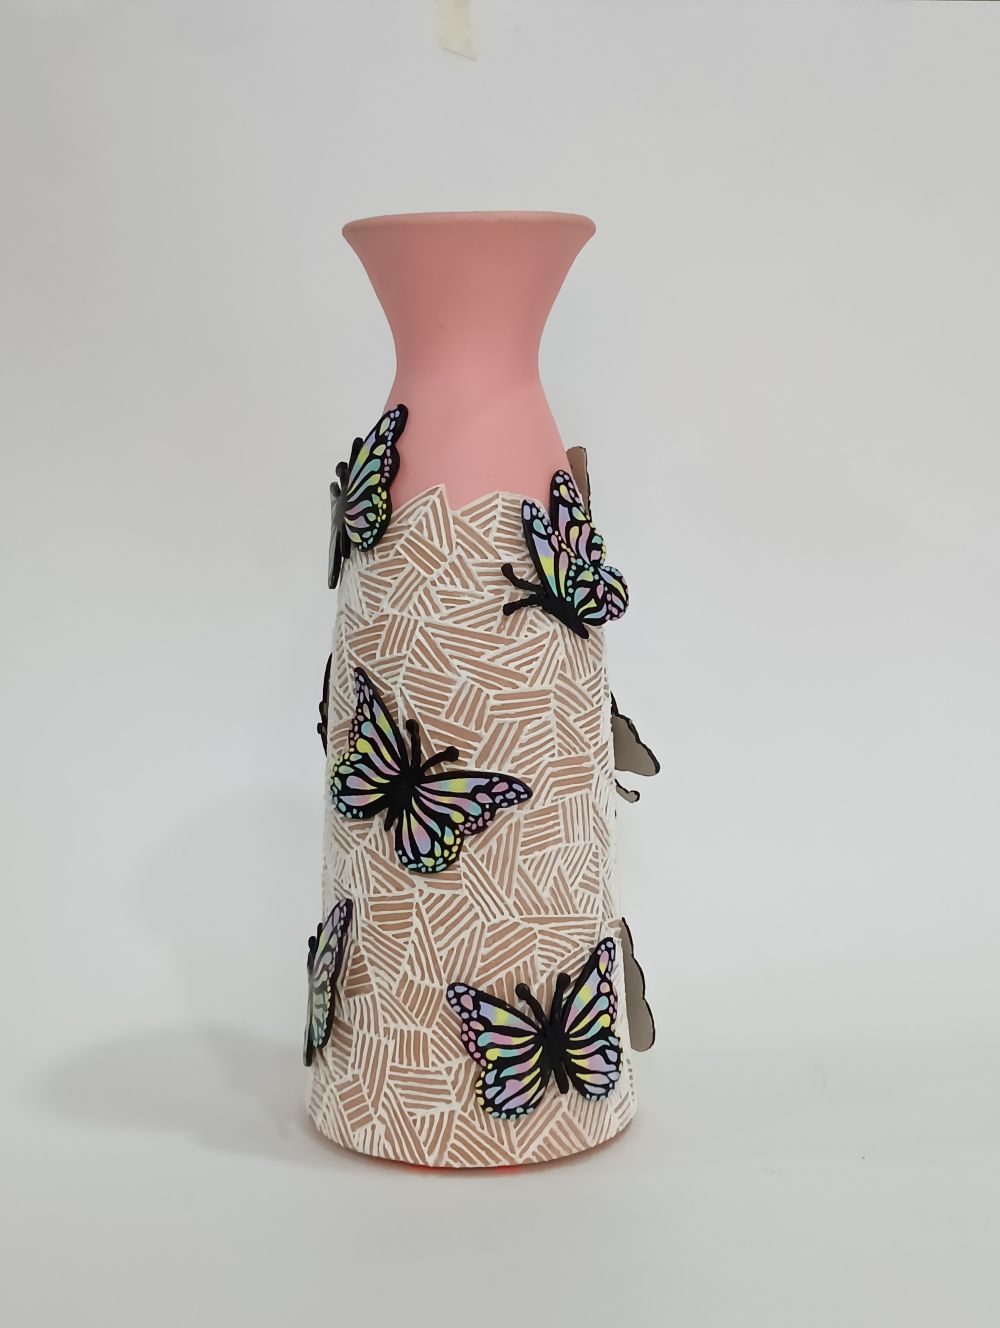
- Arrange your painted butterflies on the vase to decide placement.
- Once decided, glue them randomly using Fevicryl Fabric Glue. Press each butterfly gently and hold for a few seconds.
- Let the glue dry completely.
- You now have a beautiful, artsy terracotta vase with pastel clay butterflies and hatching texture—perfect for gifting or home décor!


 +91 99676 55545