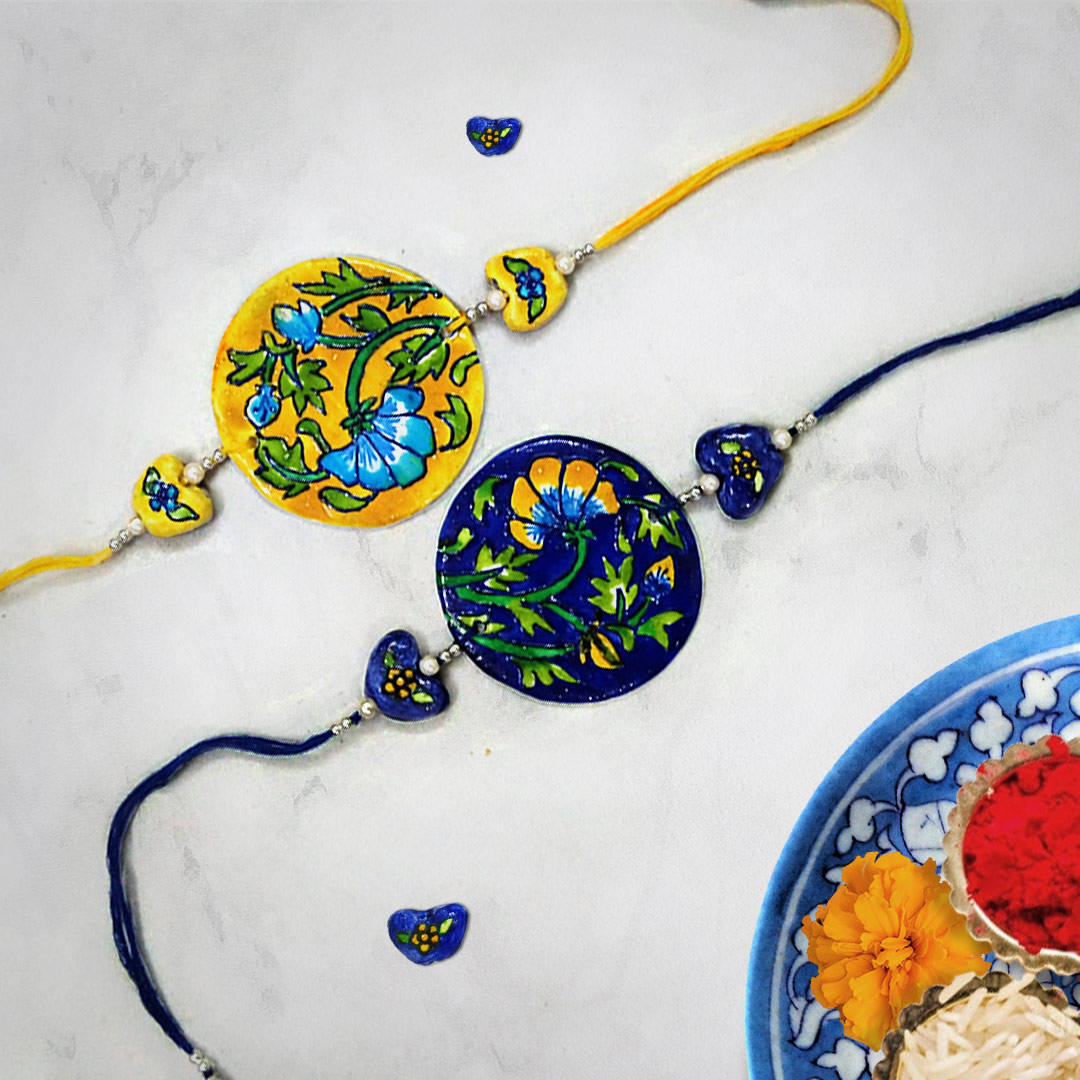
Blue Pottery Design Rakhi

You Will Need:
Fevicryl Acrylic Colour White 27, Fevicryl 3D Outliner Blue 702, Fevicryl Water Based Glass Colours (Ultramarine Blue, Sea Blue, Golden Yellow, Crystal Green), Fevicryl Mouldit, Fine Art Brushes, Silk Thread, Silver Beads, Pearls, Clay Carving Tools, Rolling Pin, Paper Cutter, A4 White Paper, Pencil, Blue Carbon Paper, Colour Palette, Water Container
Product Used:

Description :
Make your own customized rakhi with a twist replicating the traditional Blue Pottery designs of the mighty Rajasthan. Learn the process here.
STEP 1 : Mix Fevicryl Mouldit

- We are going to make the rakhi inspired from the blue pottery design and the blue pottery beads too using Mouldit.
- Take the Mouldit resin base and hardener, mix it thoroughly to make even dough.
STEP 2 : Roll the slab
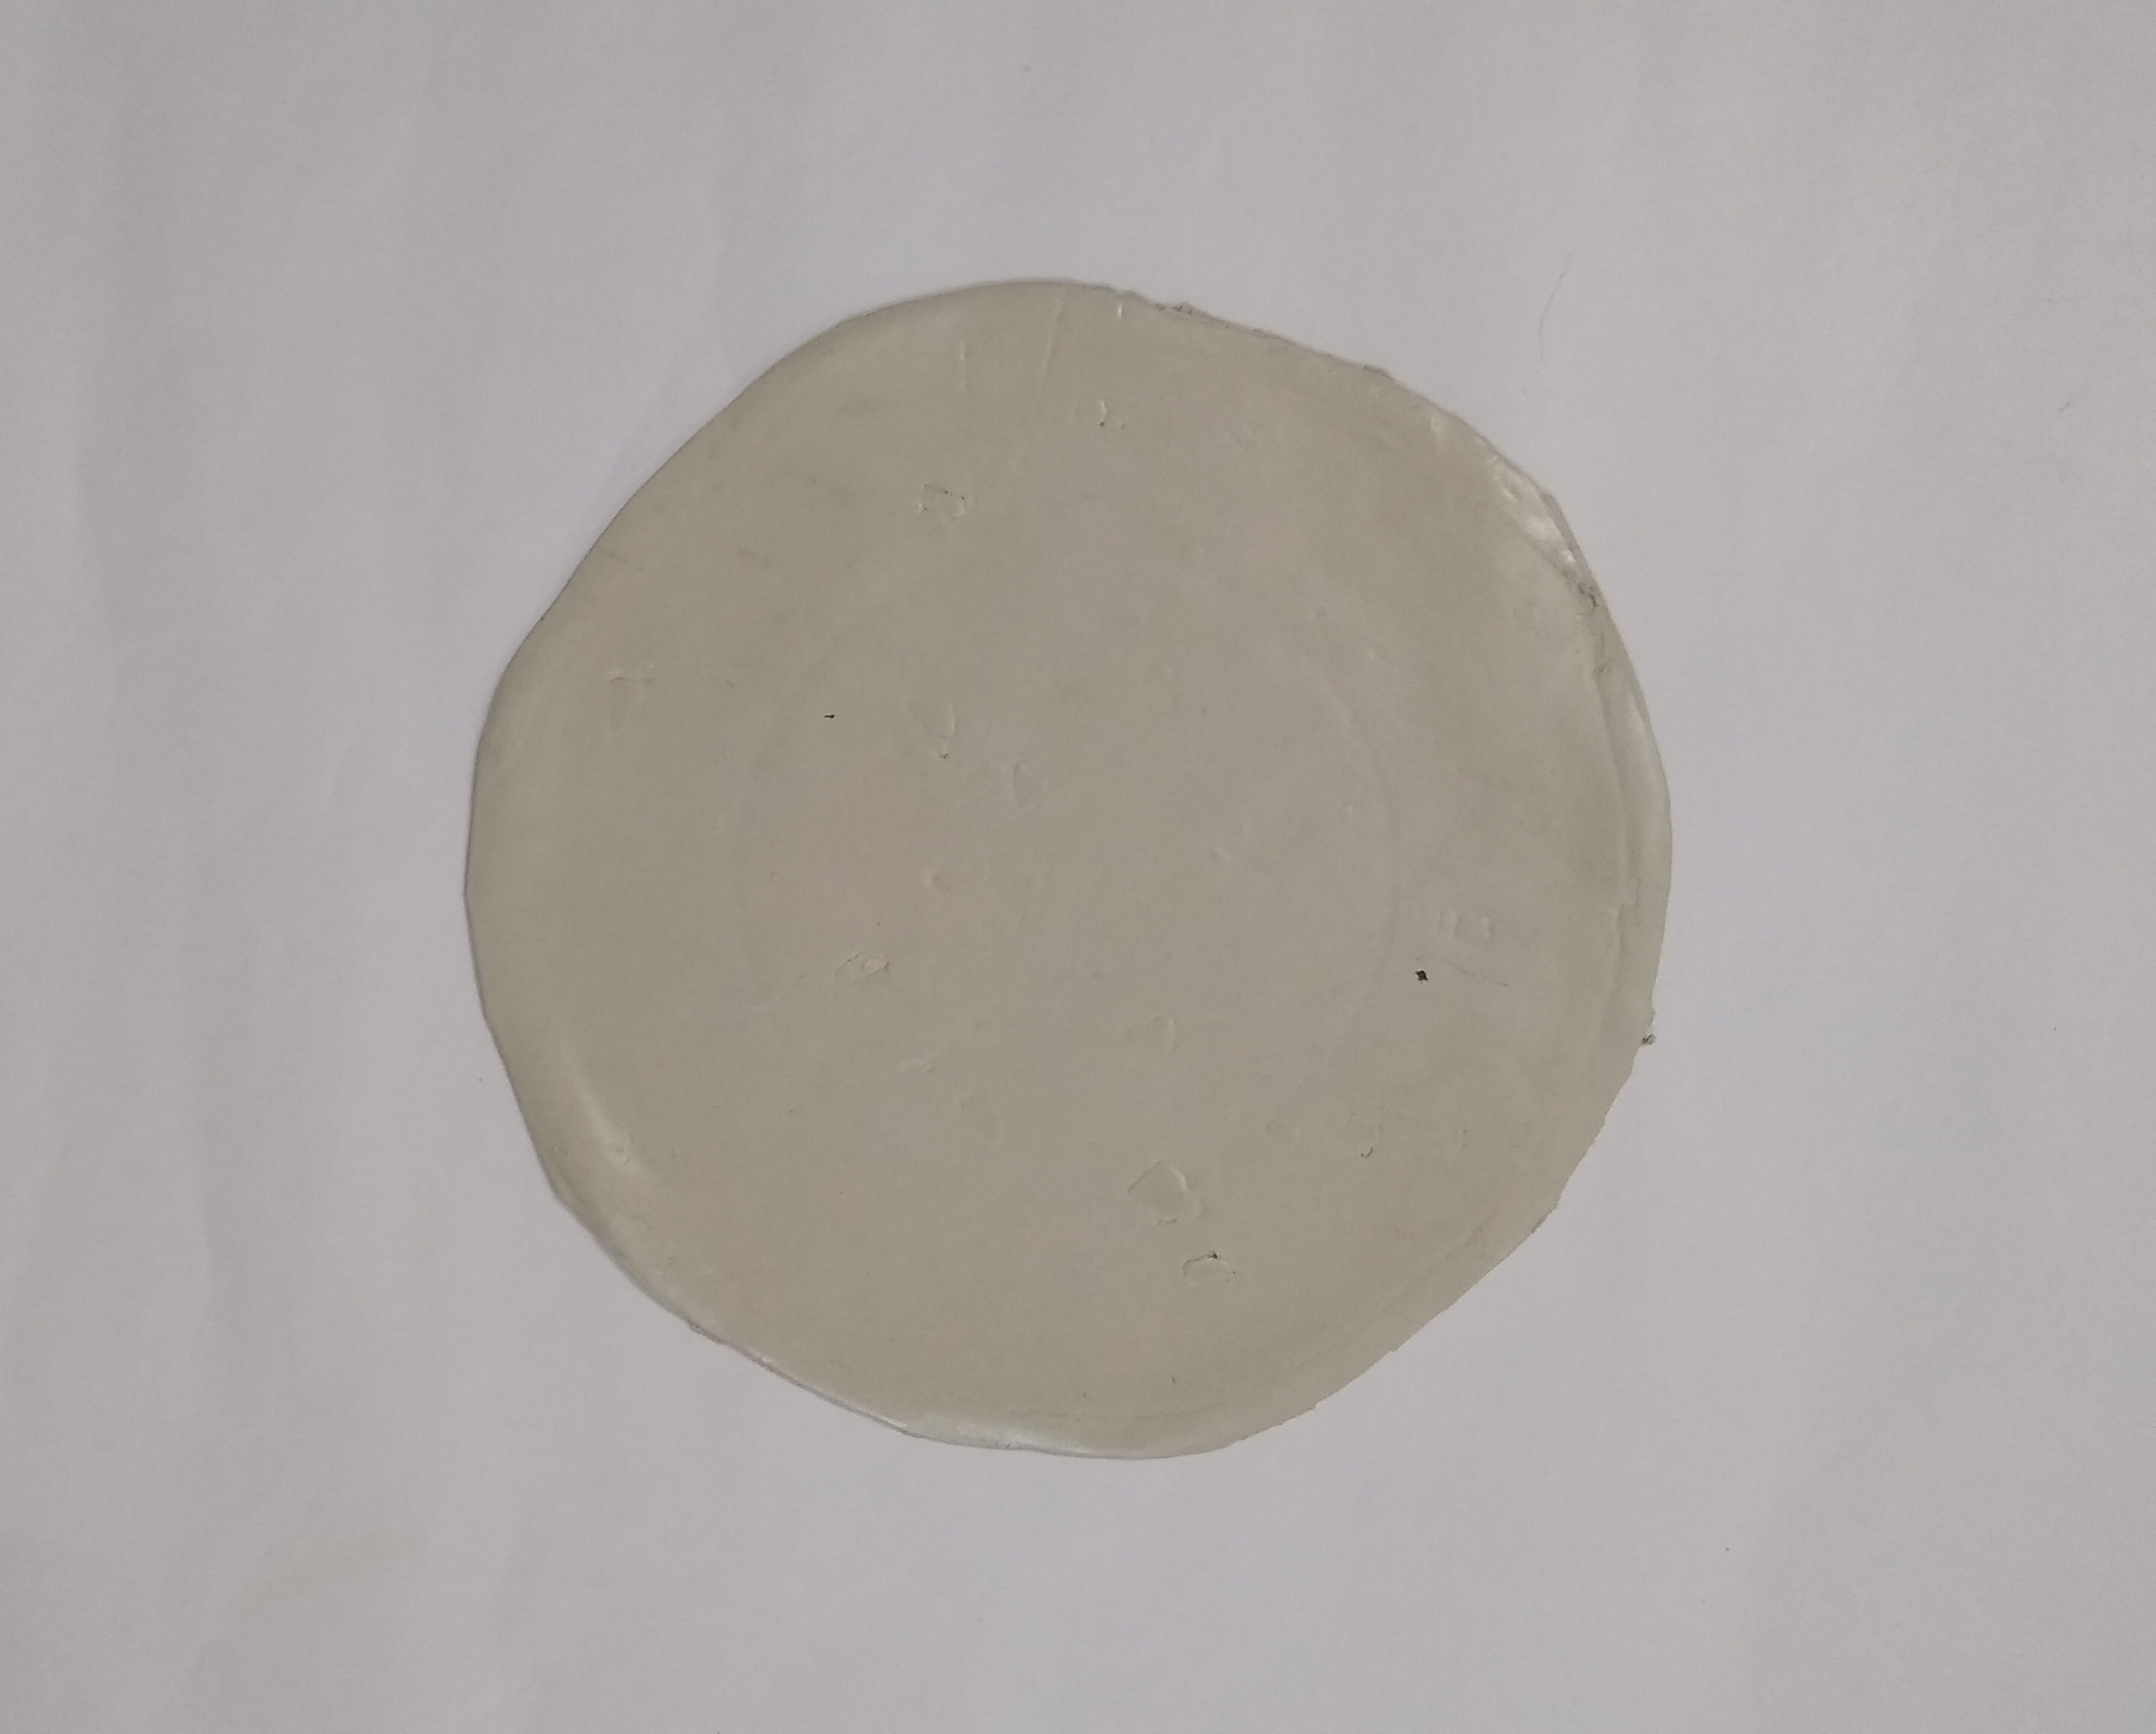
- Take the dough, roll it to make the medium thin slab with a rolling pin.
- Let it get semi dry.
STEP 3 : Cut the circles
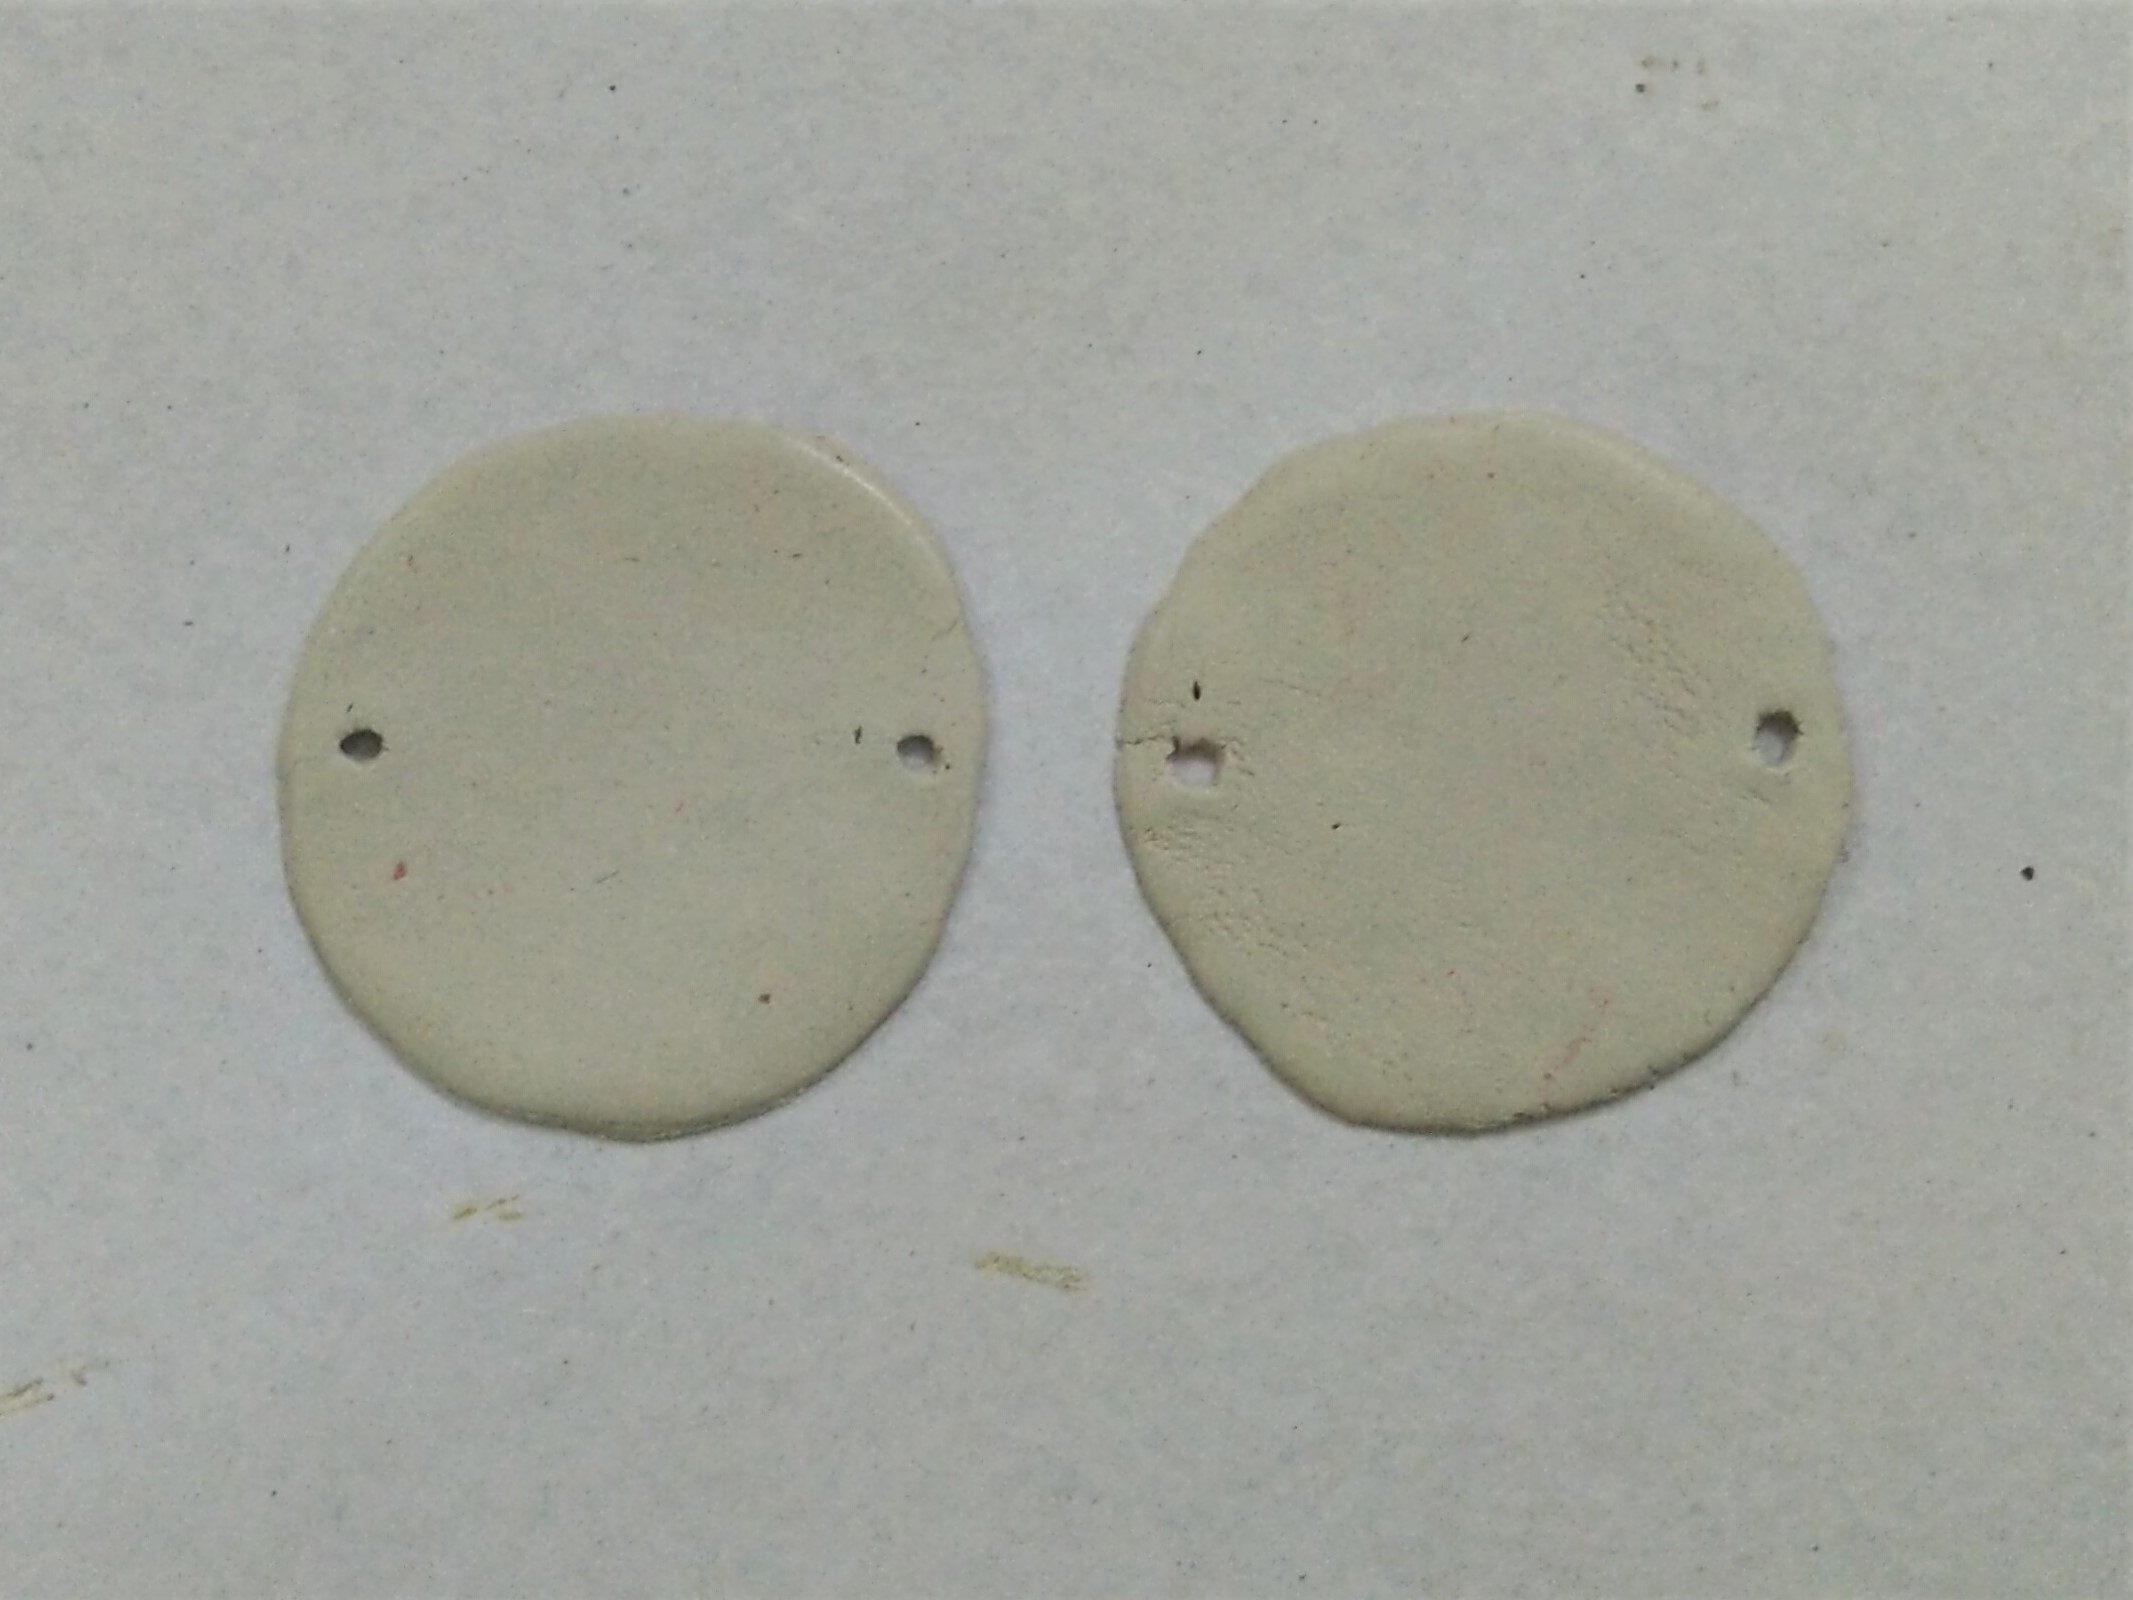
- Mark and cut 2 circles from the slab measuring 2 ½” approximately in the size.
- Pierce the holes on both the opposite sides of the circle.
STEP 4 : Transfer the design

- Take some clay to make the heart shaped beads out of the clay. Pierce the holes through the beads further to attach to the blue pottery rakhi.
- Take an A4 white paper draw the floral design from the blue pottery design in the size of the circle on it.
- Paint the circle with the base coat of Acrylic Colour White 27.
- Let it dry.
- Trace the same design on the circle with blue carbon paper.
- Refer to the image.
STEP 5 : Paint the circles
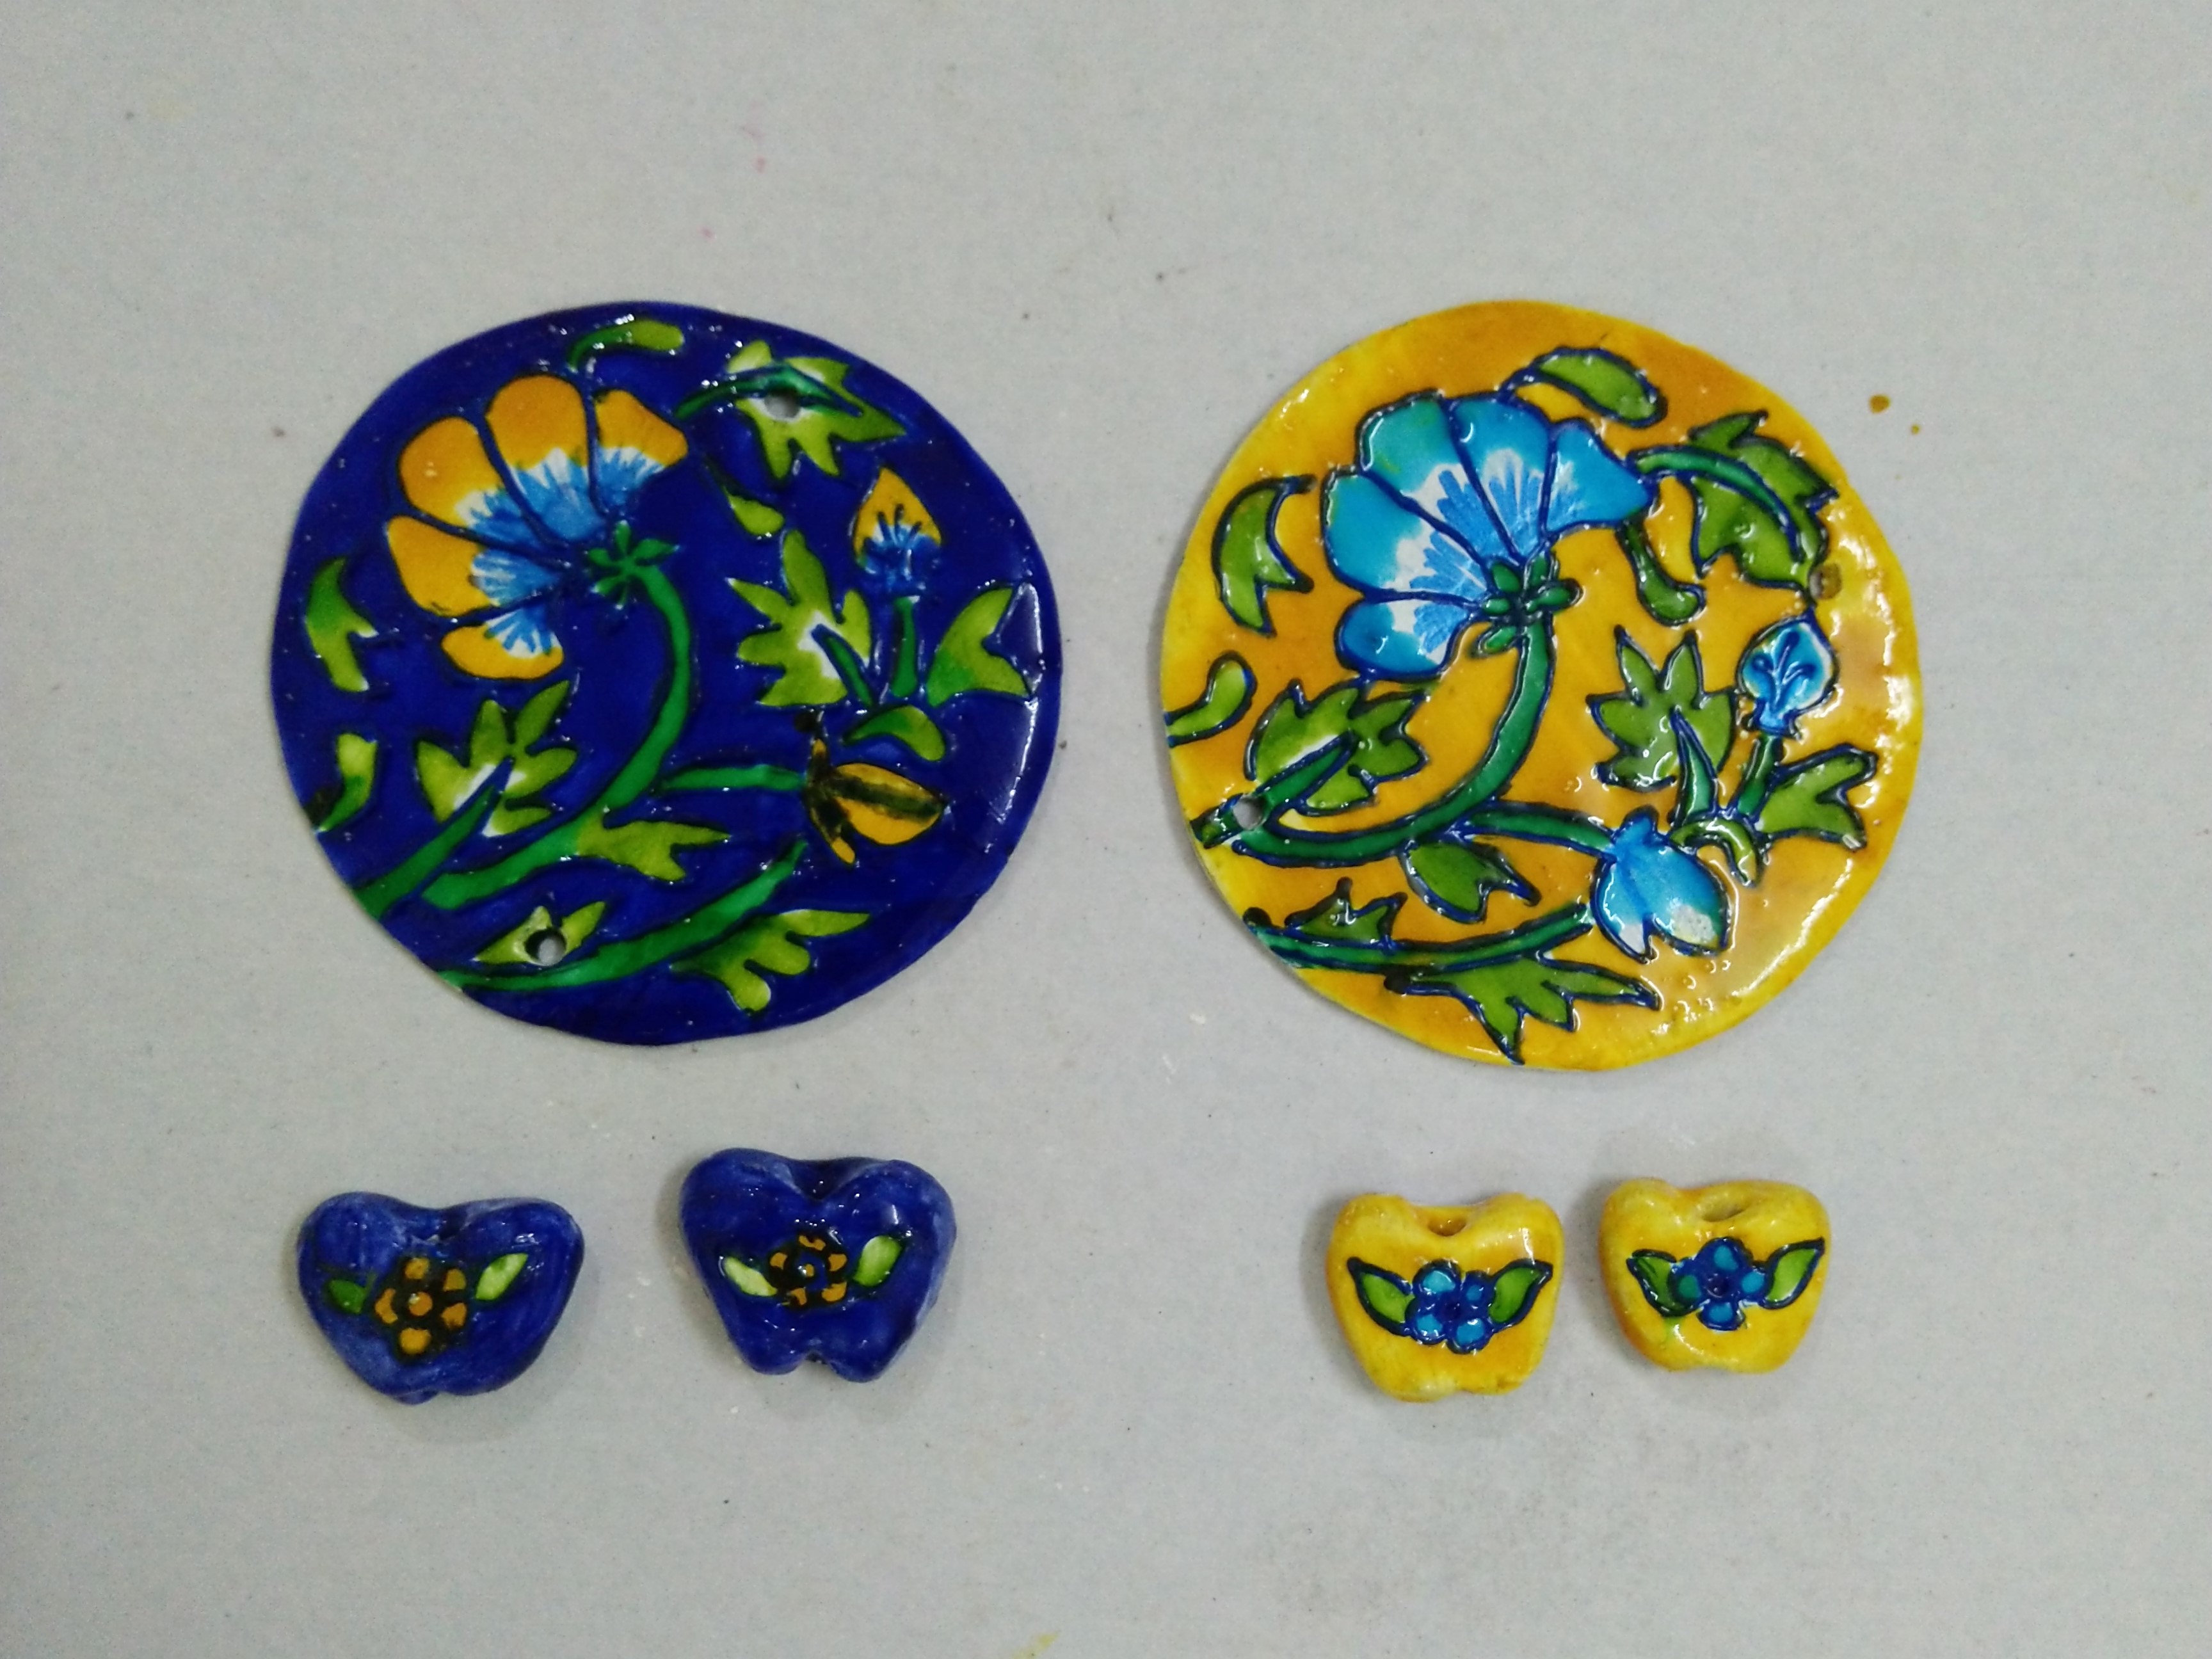
- Paint the circles using Water Based Glass Colours Ultramarine Blue, Sea Blue, Golden Yellow and Crystal Green.
- Let it dry completely.
- Similarly paint the beads also with similar shades of Glass Colours.
- Let it dry completely.
STEP 6 : Assembly
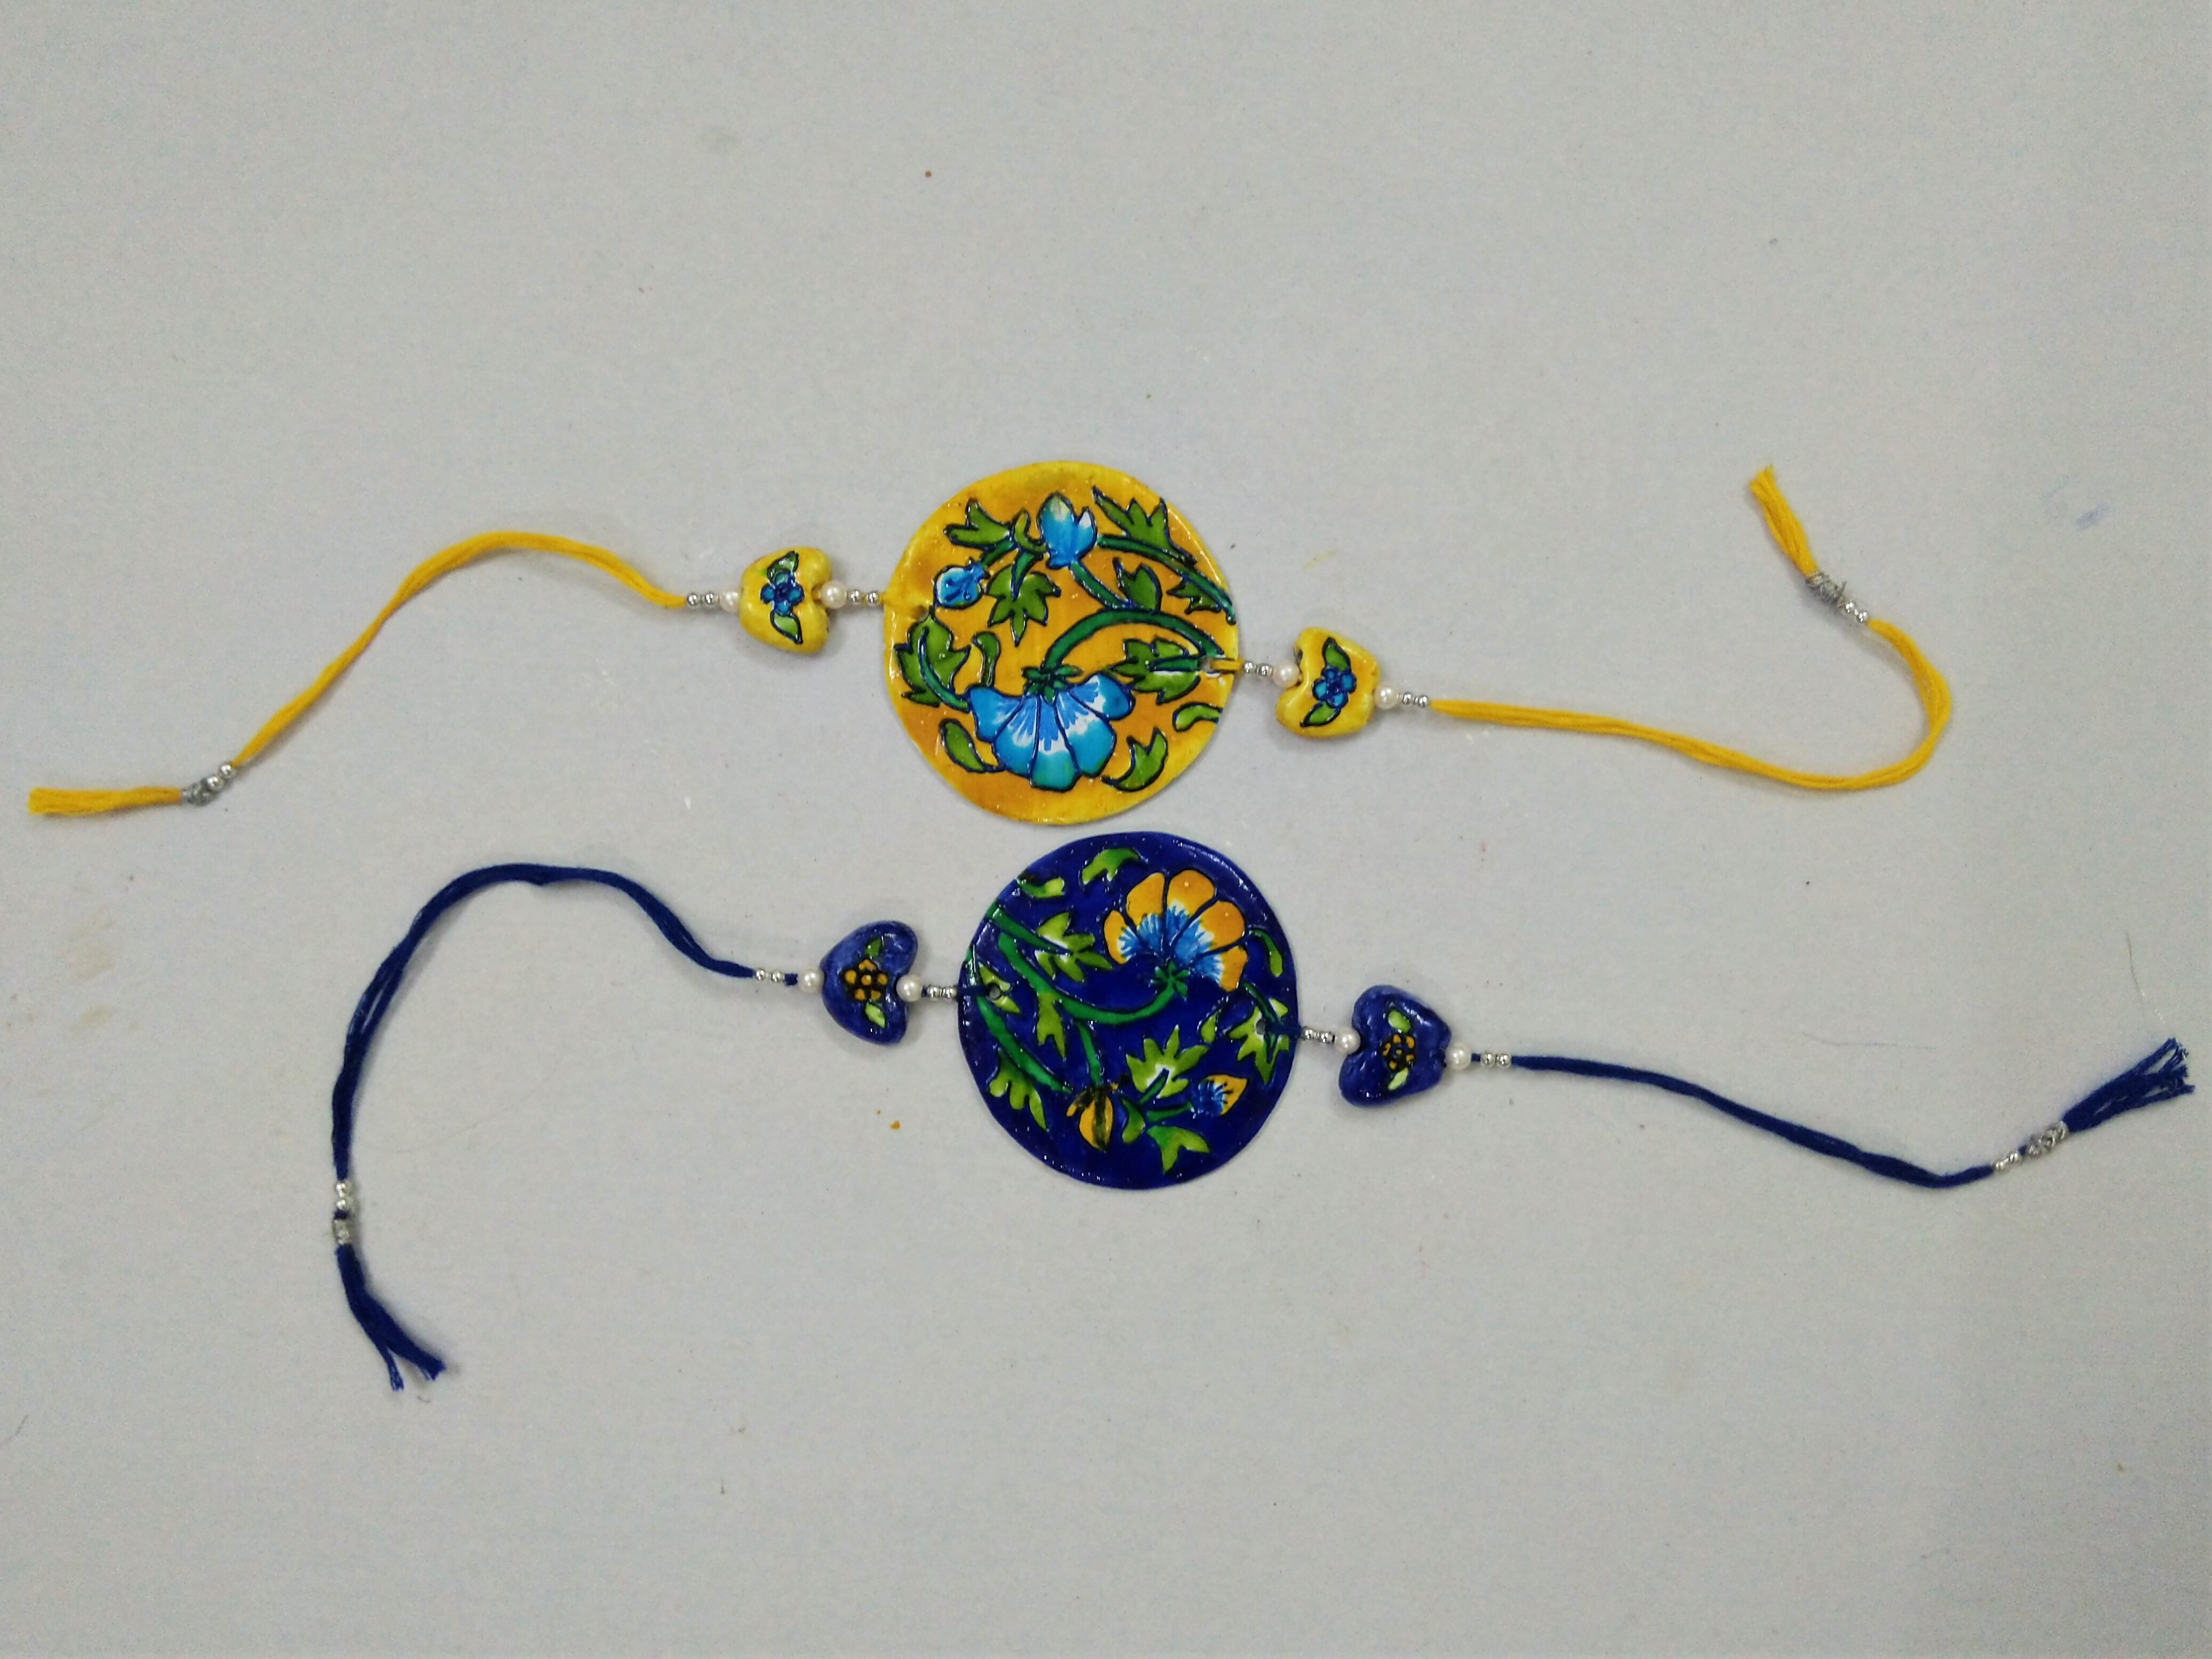
- Take the Silk Thread, the silver beads, the pearls, and the Mouldit Blue pottery design beads, pass the thread through the bead and attach to the circle neatly.
- Your final rakhi will look like this.


 +91 99676 55545