Quilling For Beginners With Art Bhumie
Quilling For Beginners With Art Bhumie
Part 1. Quilling
Roll it…
Shape it…
Glue it…
Let’s explore together the Art of Shaping Paper With Different Quilling Ideas
In this Quilling Series, come join me as we together explore, create and experience the beauty of this exotic quilling art
Let’s Explore:
-
Basic supplies needed to begin Paper Quilling
-
Quilling Paper and Quilling Strips.
-
Glue used and gluing technique.
-
Storing Paper Quilling Strips.
Basic supplies needed to begin Paper Quilling:
In earlier days Art of Quilling was practiced using simple tools found around in the house, like- toothpicks, needle, knitting needle, cake tester etc. The paper strips were hand cut and used.
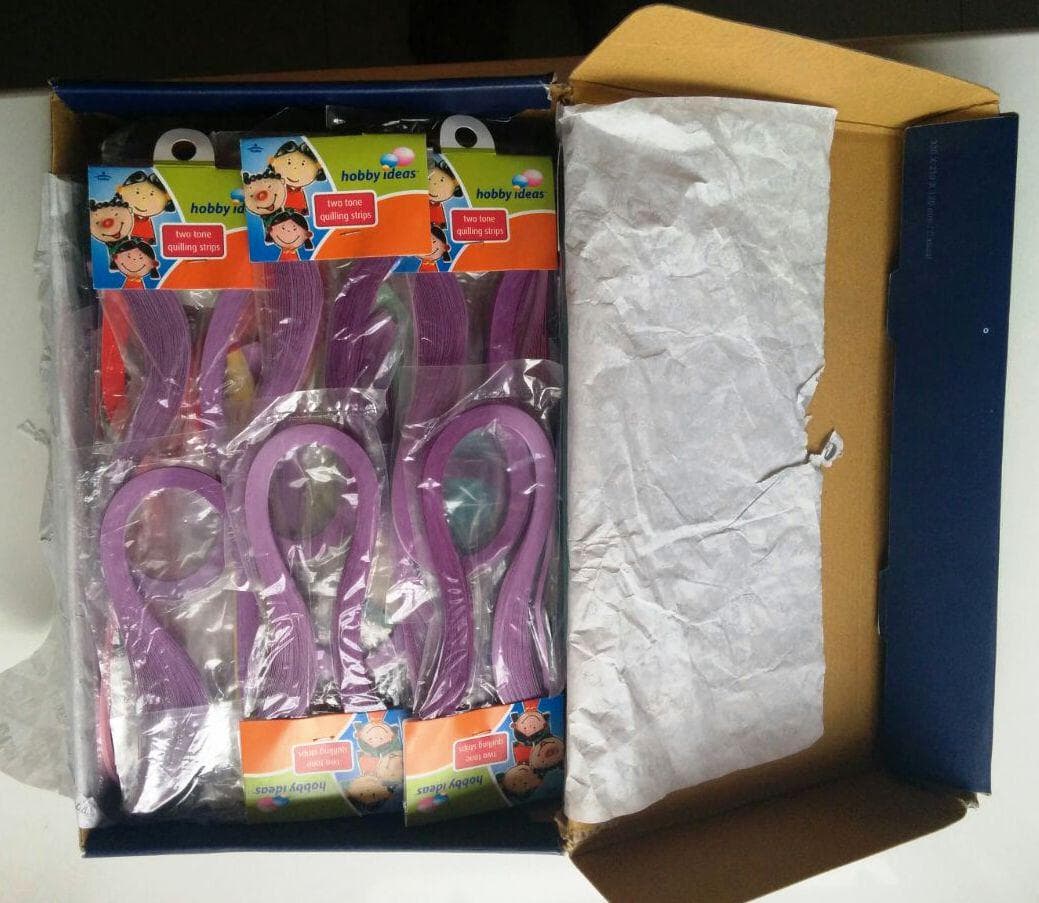
These day’s specialized tools are available to ease practicing this craft. There is a wide range of pre-cut paper strips available in multiple colors.
Gather Supplies:
To begin basic Quilling- all you need is a
-
Quilling Tool,
-
Paper Quilling Strips and
-
Clear drying Glue.
You can get these from art and craft stores or from online supplier.
And the main requirement needed is lot of- PATIENCE & PRACTICE to PERFECTION
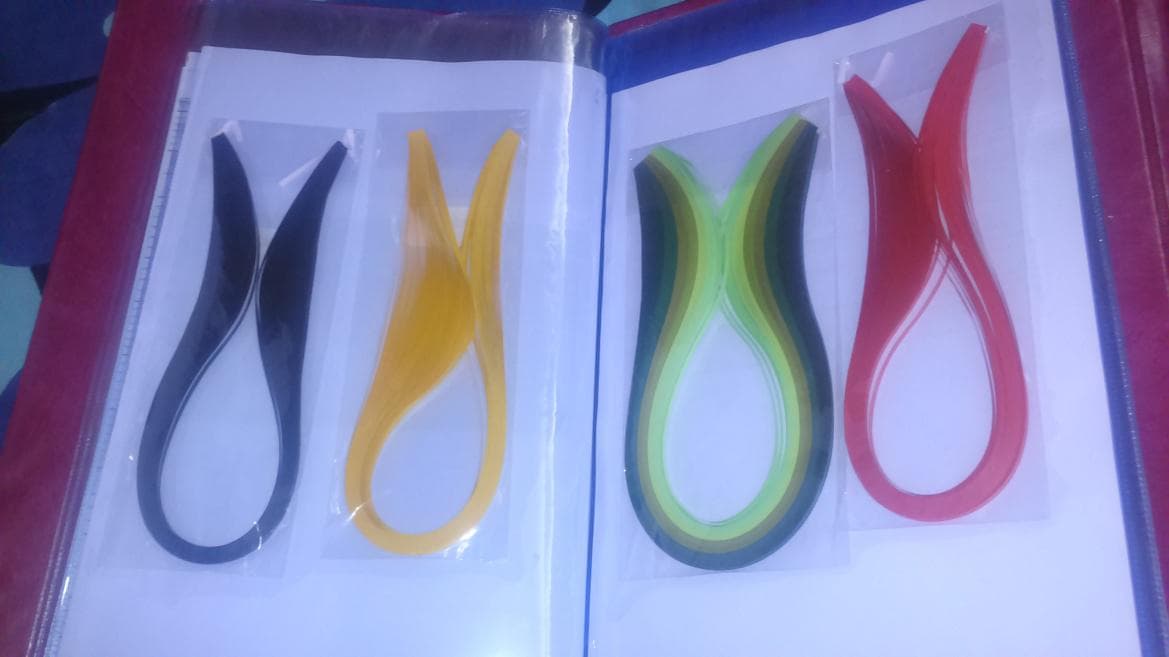
About Quilling Paper:
Strips of light weight paper of varying breadth size- 1mm, 2mm, 3mm, 5mm and 10mm are most commonly used.
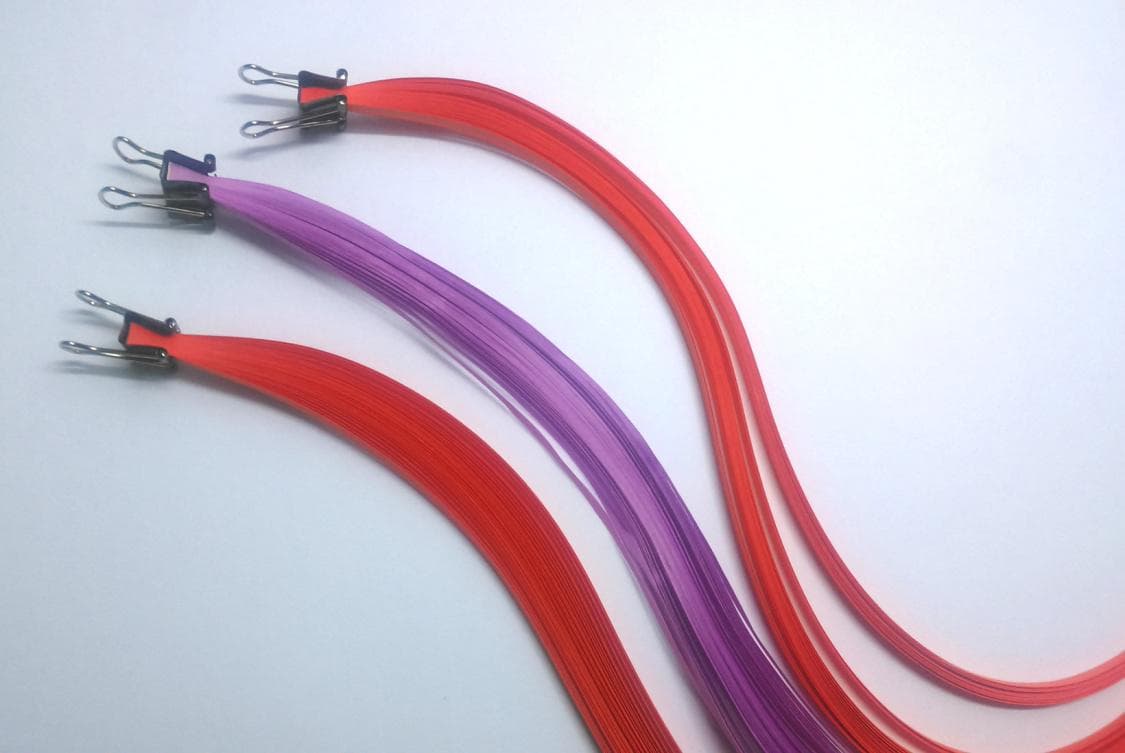
The Quilling Strips come in variety of colors.
Packages of multi-colored Quilling Strips are also available
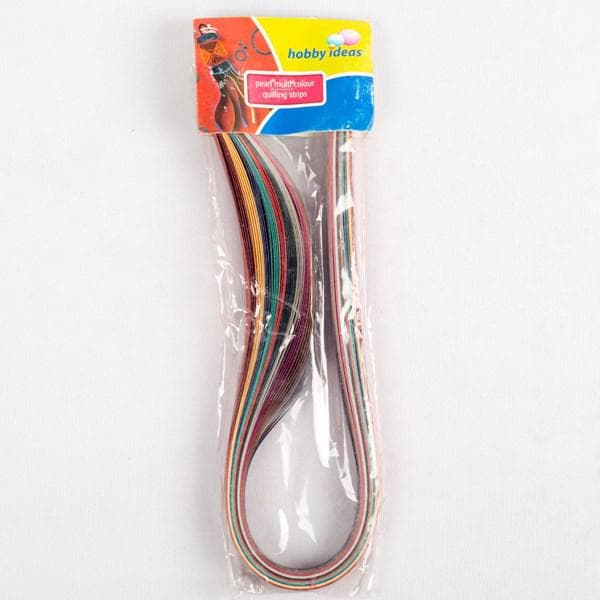
3mm-(100-strips)/pid-8056280.aspx
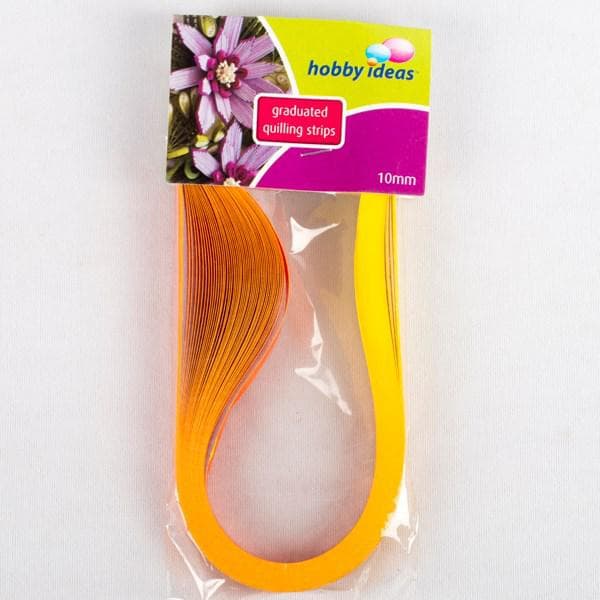
Other varieties available are- Shaded / graduated Quilling Strips
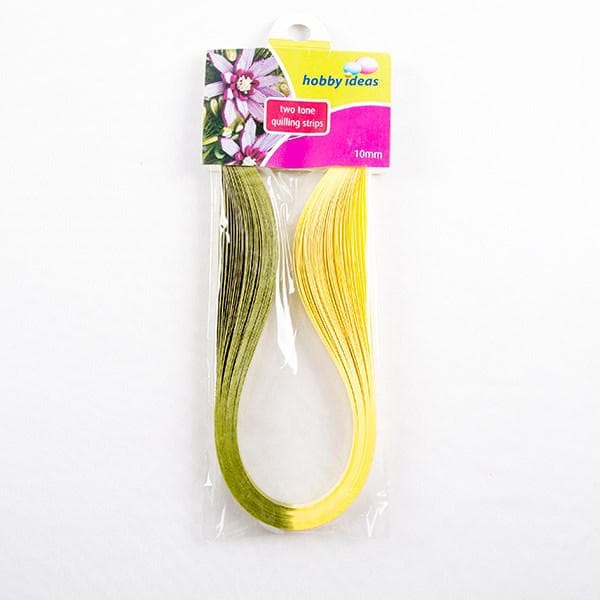
Two-toned Quilling Strips
single-color-quilling-strip/pid-8057464.aspx
Variations like pearl color, metallic color, neon color and mirror finished Quilling Strips are also seen these days.
So why do we need Quilling Strips of different breadth size:
Variation in breadth of Quilling Strips helps to create various shapes/ effects in Quilling Patterns.
Example:
To Quill a fringed flower or fringed center for flower we can use Quilling Strip of 10mm breadth. Whereas Quilling Strip of 3mm breadth is usually used in floral projects.
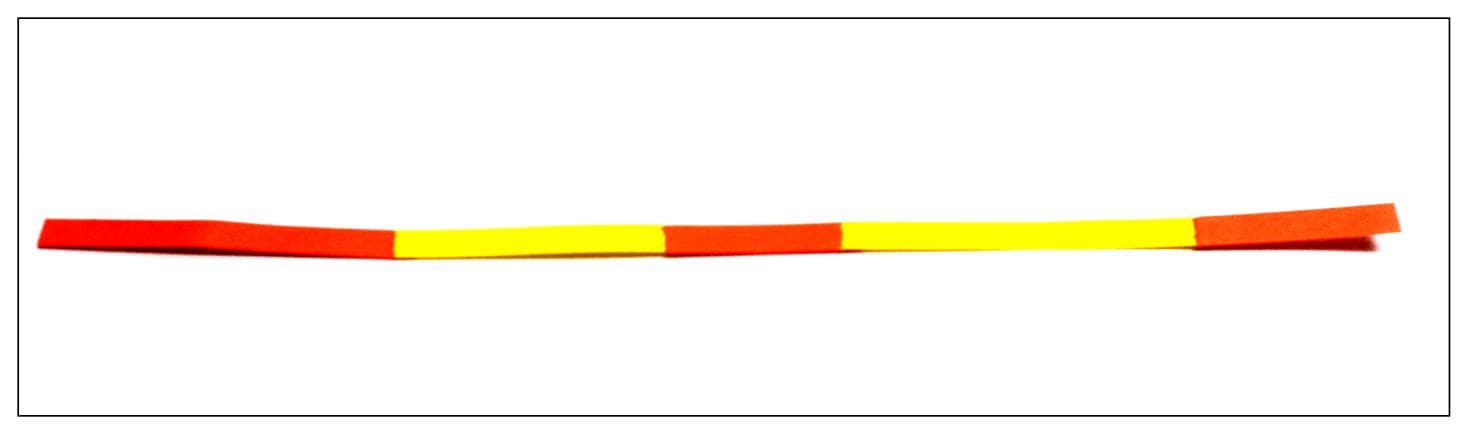
Length of Quilling Strip and how to alter it:
Usually Quilling Strips are available of 50cm in length. Note: Different brands offer different lengths of Paper Quilling Strips.
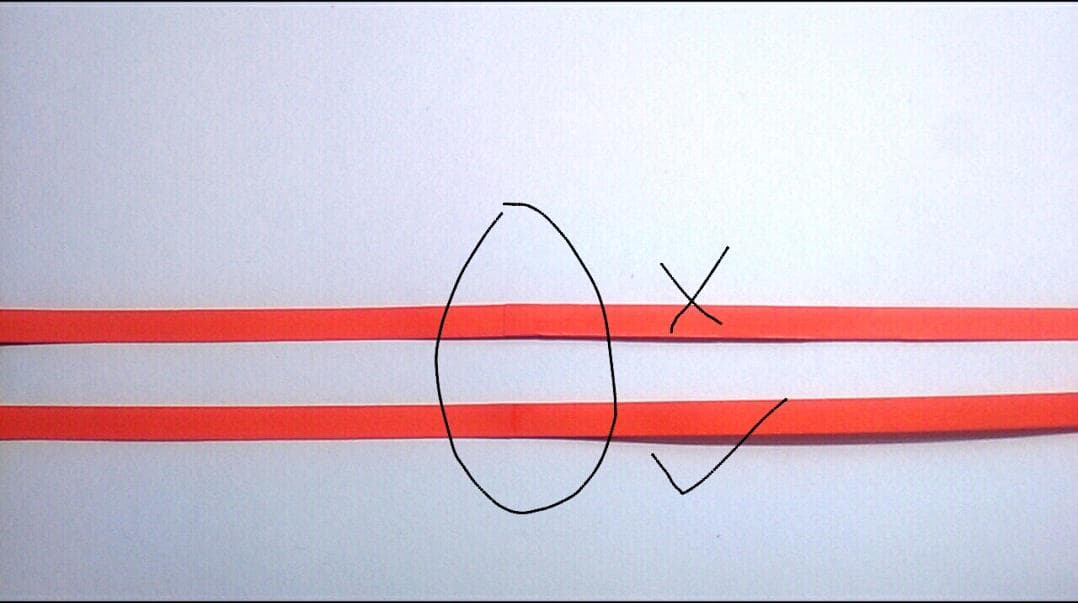
To get smaller length of Quilling Strips, all you have to do is measure the required size and tear the strip.
YES, I prefer hand tearing instead of cutting with scissors. It minimizes the visibility of joint. We will discuss this in the Gluing section.
Similarly to get a longer strip, you can measure the required size and glue both the strips. We can also glue strips with different color and of varying length.
What Glue is best to use:
Any glue that dries clear can be used to stick.
How to get neater application of glue and get an invisible joint:
Using a toothpick or similar object to apply glue will help you apply adequate amount of glue to the Quilling Strip. Simply take pea-sized glue on the palette. Dip a toothpick in it and apply where required.
Applying too much glue on the Quilling Strip will make the glue ooze out from the sides giving unclean finish.
To minimize the visibility of joint, avoid cutting the edge with scissors. Just hand-tear it. Hand tearing e edge actually thins the edge of the paper and the uneven thin edge merges easily when stuck.
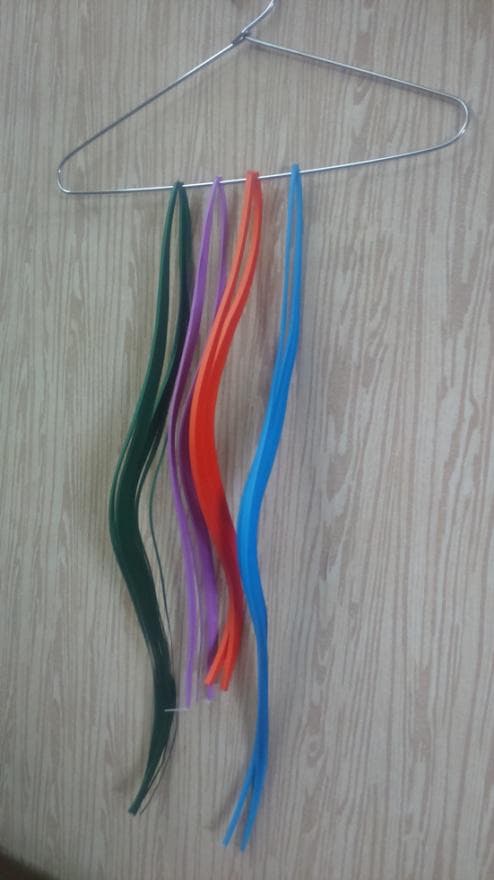
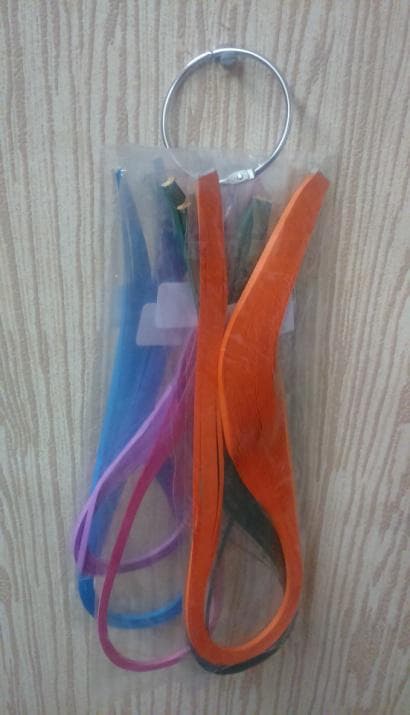
How to store Paper Quilling Strips:
There are many different ways to store Paper Quilling Strips-
-
Hanging them in hangers.
-
Using binder rings to organize the packages.
-
Organizing in pocket file folders.
-
Using paper binder clips.
-
You can even invest in buying sturdy plastic container or plastic drawers of appropriate size.
-
Plastic containers with compartment, allows you to organize the small/ cut pieces of Quilling Strips.
This brings us to the end of this part. Do join me in Part 2 of Quilling with Art Bhumie where we would explore the magic wand of Paper Quilling Art.
Found this useful then please Like, Comment and Share this article.