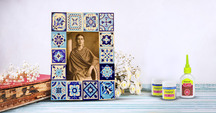
Talavera Tile Frame
May 3, 2019
You Will Need:
Fevicryl Acrylic Colours Ultramarine Blue 23, White 27, Sky Blue 63, Fevicryl 3 D Cone Outliner Non Sticky White 707, Fevicryl Fabric Glue, Fine Art Brushes, Plain Wooden Photo Frame, MDF Placemat, Pencil, A3 White Paper, Black Carbon Paper, Ruler, Colour Palette, Water Container.
Description :
Bored of the plain ol’ frames! Reinvent those using small wooden pieces and Fevicryl Colours. This Talavera frame is sure to catch the eyes of many!STEP 1 : Cutting MDF pieces
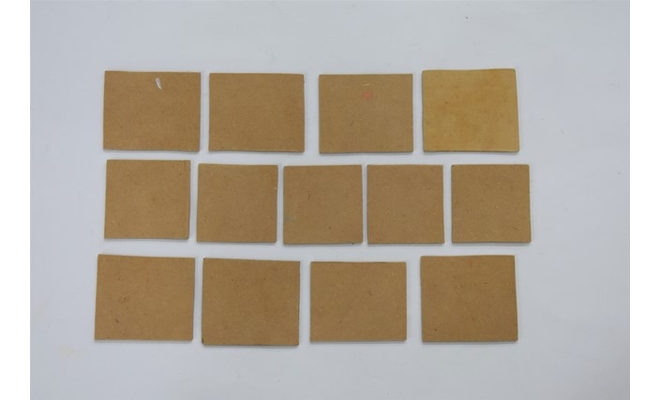
• We are going to make the Talavera tile photo frame using the pieces of the MDF Wood as tiles.
• Take a plain MDF placemat, mark and cut the pieces in the size of the photo frame evenly from the carpenter.
• Refer to the image.
STEP 2 : Painting the base coat
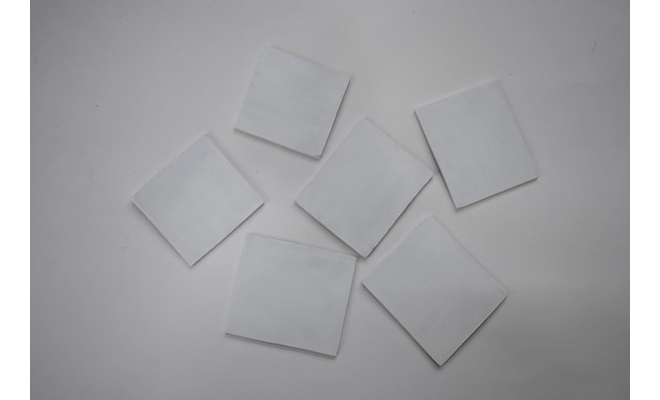
• Take the MDF cut out pieces and paint it with the base coat of Acrylic Colour White 27.
• Let it dry.
STEP 3 : Drawing the design on the tiles
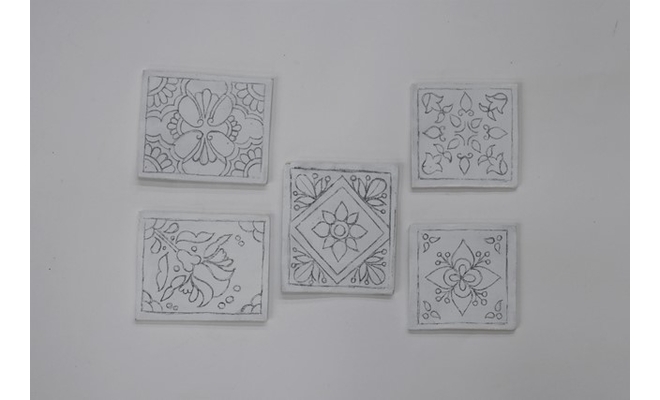
• Take an A3 white paper; draw the Talavera tile designs in the size of the MDF pieces on it.
• Trace the tile design on each piece with yellow carbon paper.
STEP 4 : Painting the design

• Paint the designs with Acrylic Colours Ultramarine Blue 23, White 27, and Sky Blue 63.
• Leave it to dry completely.
STEP 5 : Finishing
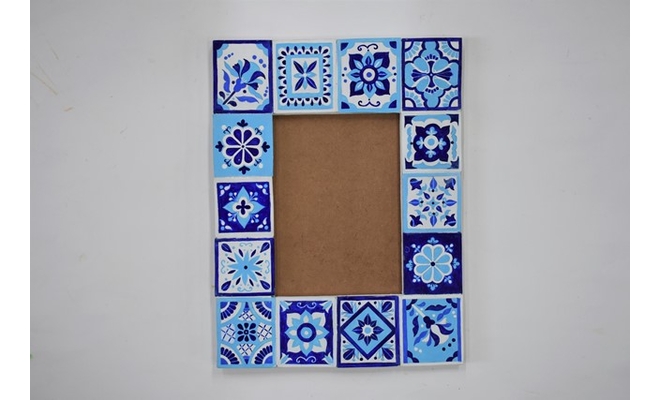
• Take the photo frame and stick the painted MDF tile pieces on it using Fabric Glue.
• Take 3D Cone Outliner Non Sticky White 707 and fill up the gaps in between each tile with it to give more realistic effect. Leave it to dry completely.


 +91 99676 55545