Santa Earrings With Wooden Fork


You Will Need:
Fevicryl Acrylic Colours Balck 02, Crimson 04, Dark Green 06, White 27, Flesh Tint 30, Fevicryl Mouldit, Fevicryl Fabric Glue, Fine Art Brushes, Wooden Forks, Scissors, Paper Cutter, Clay Carving Tools, Earring Attachments, Colour Palette, Water Container
Product Used:


Description :
Santa is generous, Santa is jolly, Santa is overworked, and Santa is cute! Here is an adorable Chrismasy DIY to tingle that Christmas spirit in all around you and is supremely easy to make. Try it out.
STEP 1 : Source the base
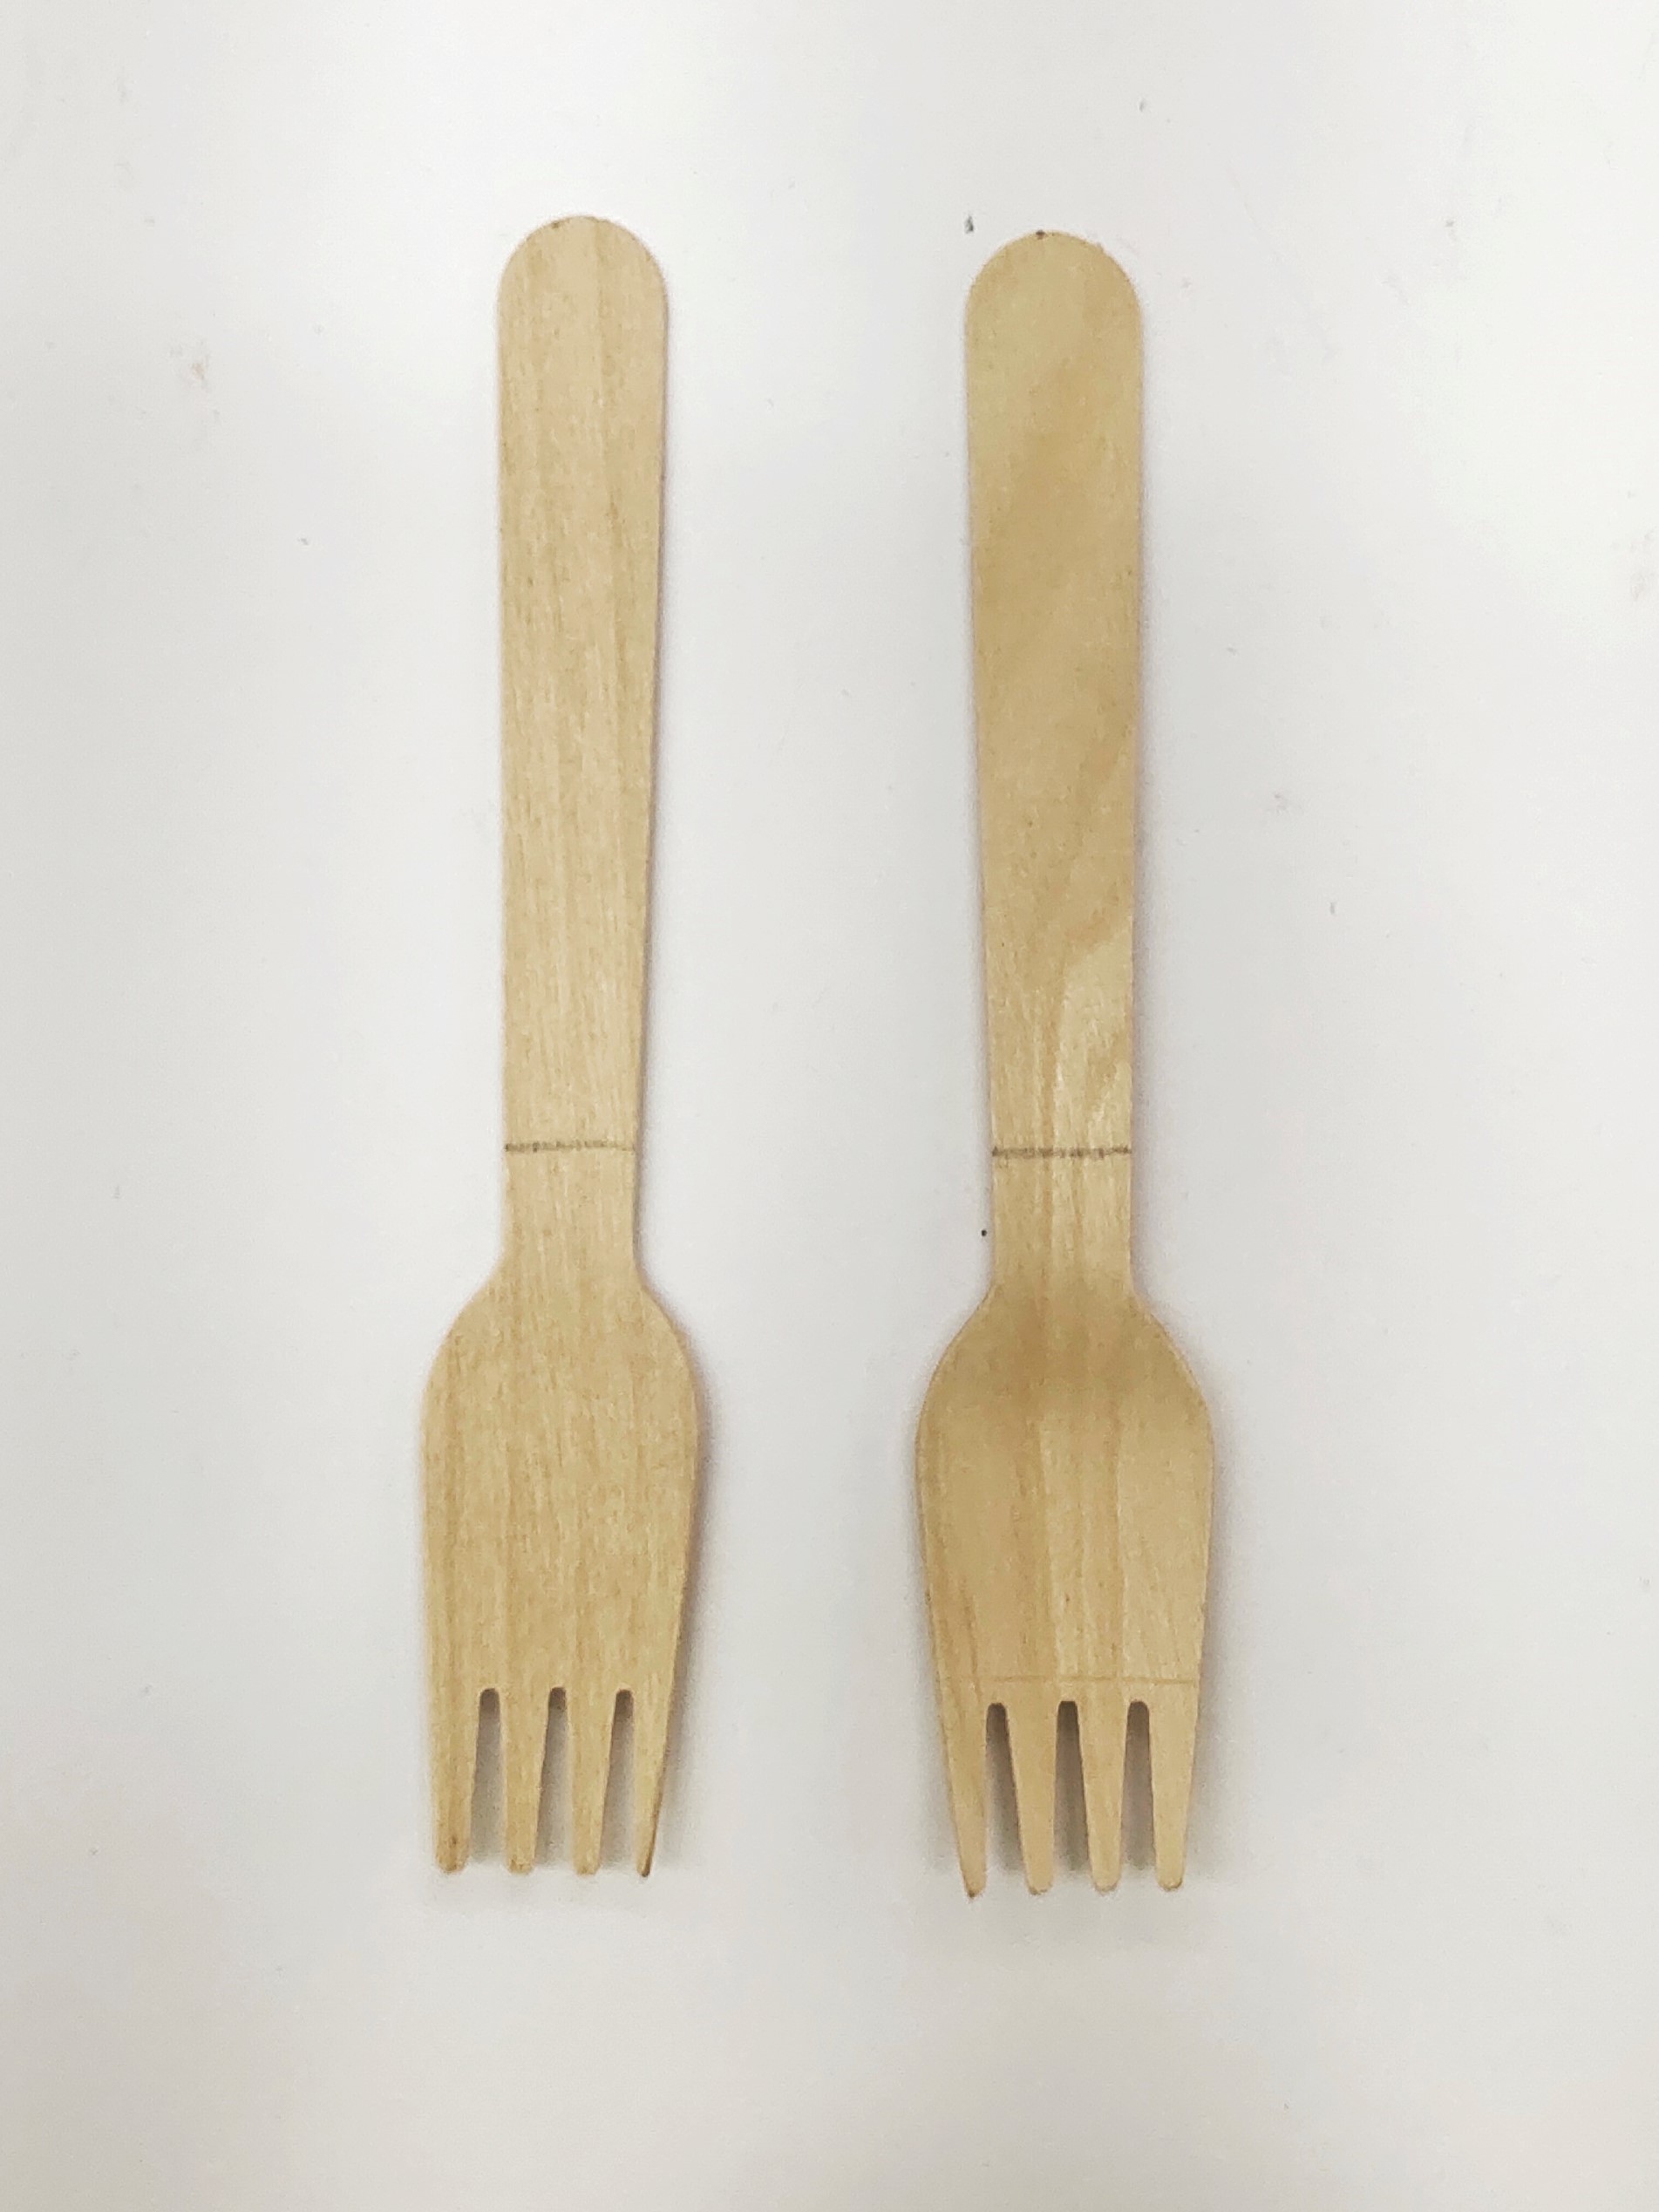
- We are going make the Santa earrings with the wooden fork using Mouldit it to build the face.
- Take the wooden forks; mark on the fork and cut them for the earrings.
STEP 2 : Mix Mouldit
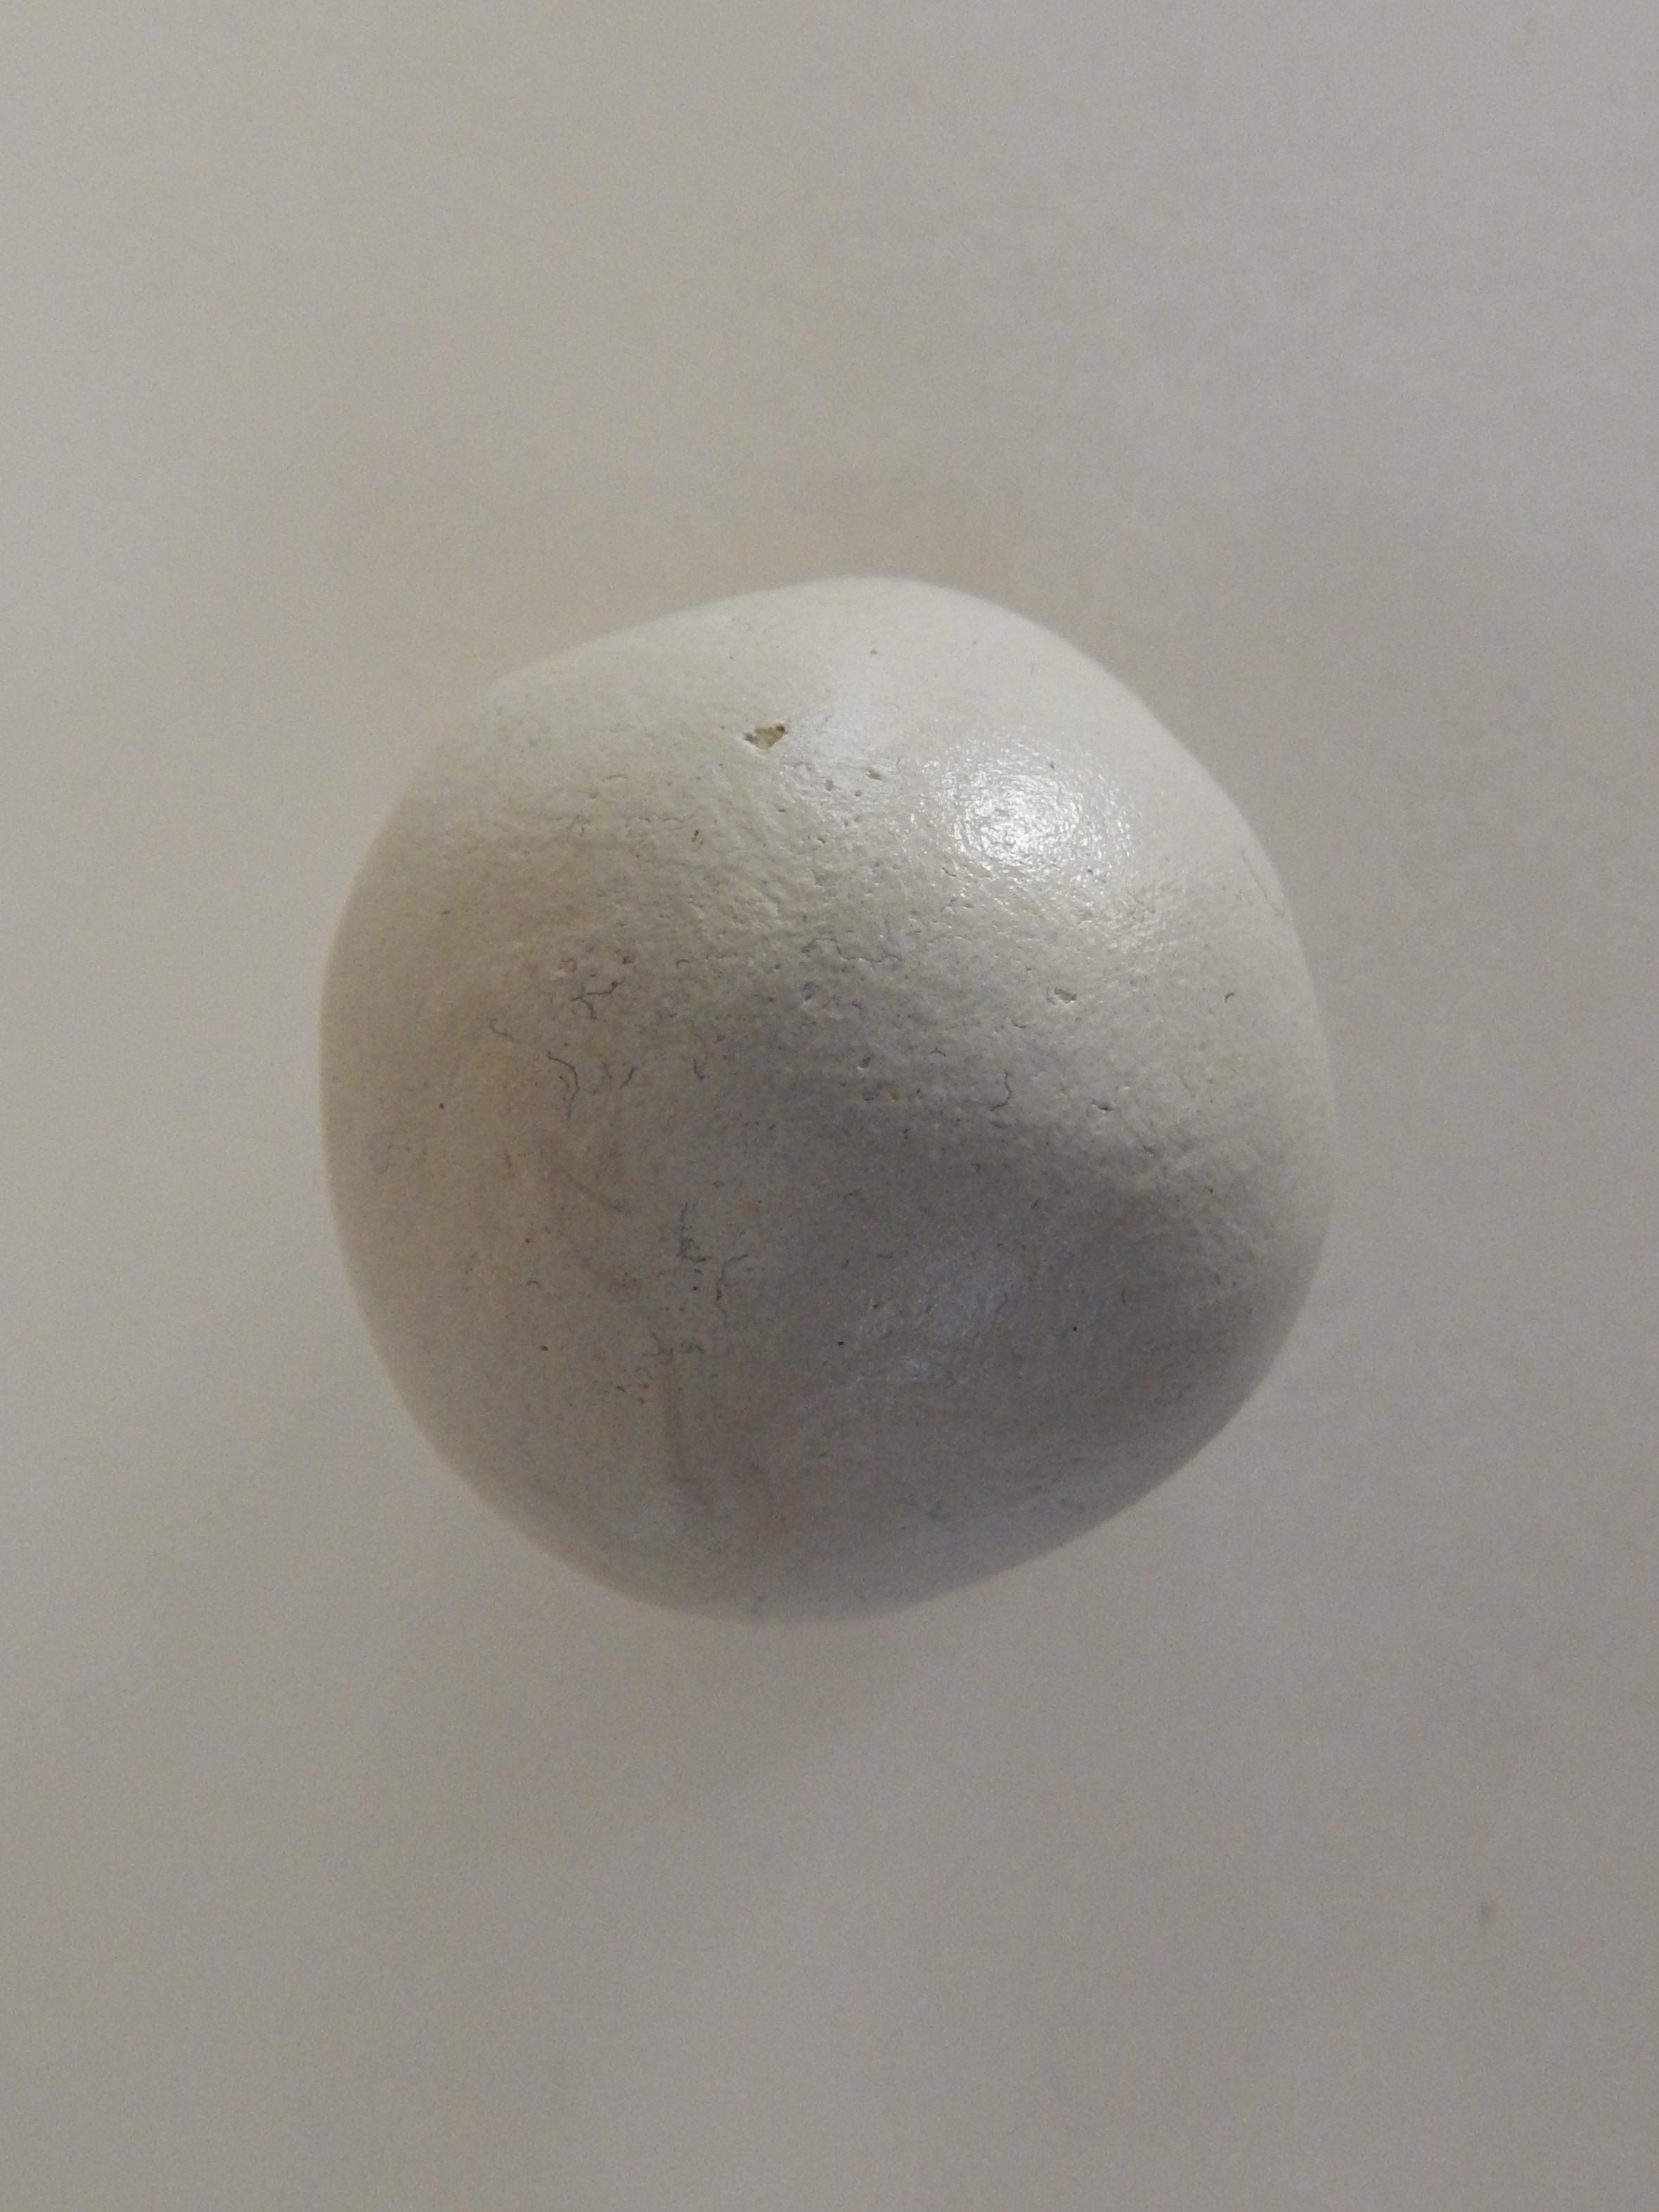
- We are going to make the face and the hat of the Santa using Mouldit.
- Take Mouldit resin base and hardener; mix it thoroughly to make even dough.
STEP 3 : Mould the parts
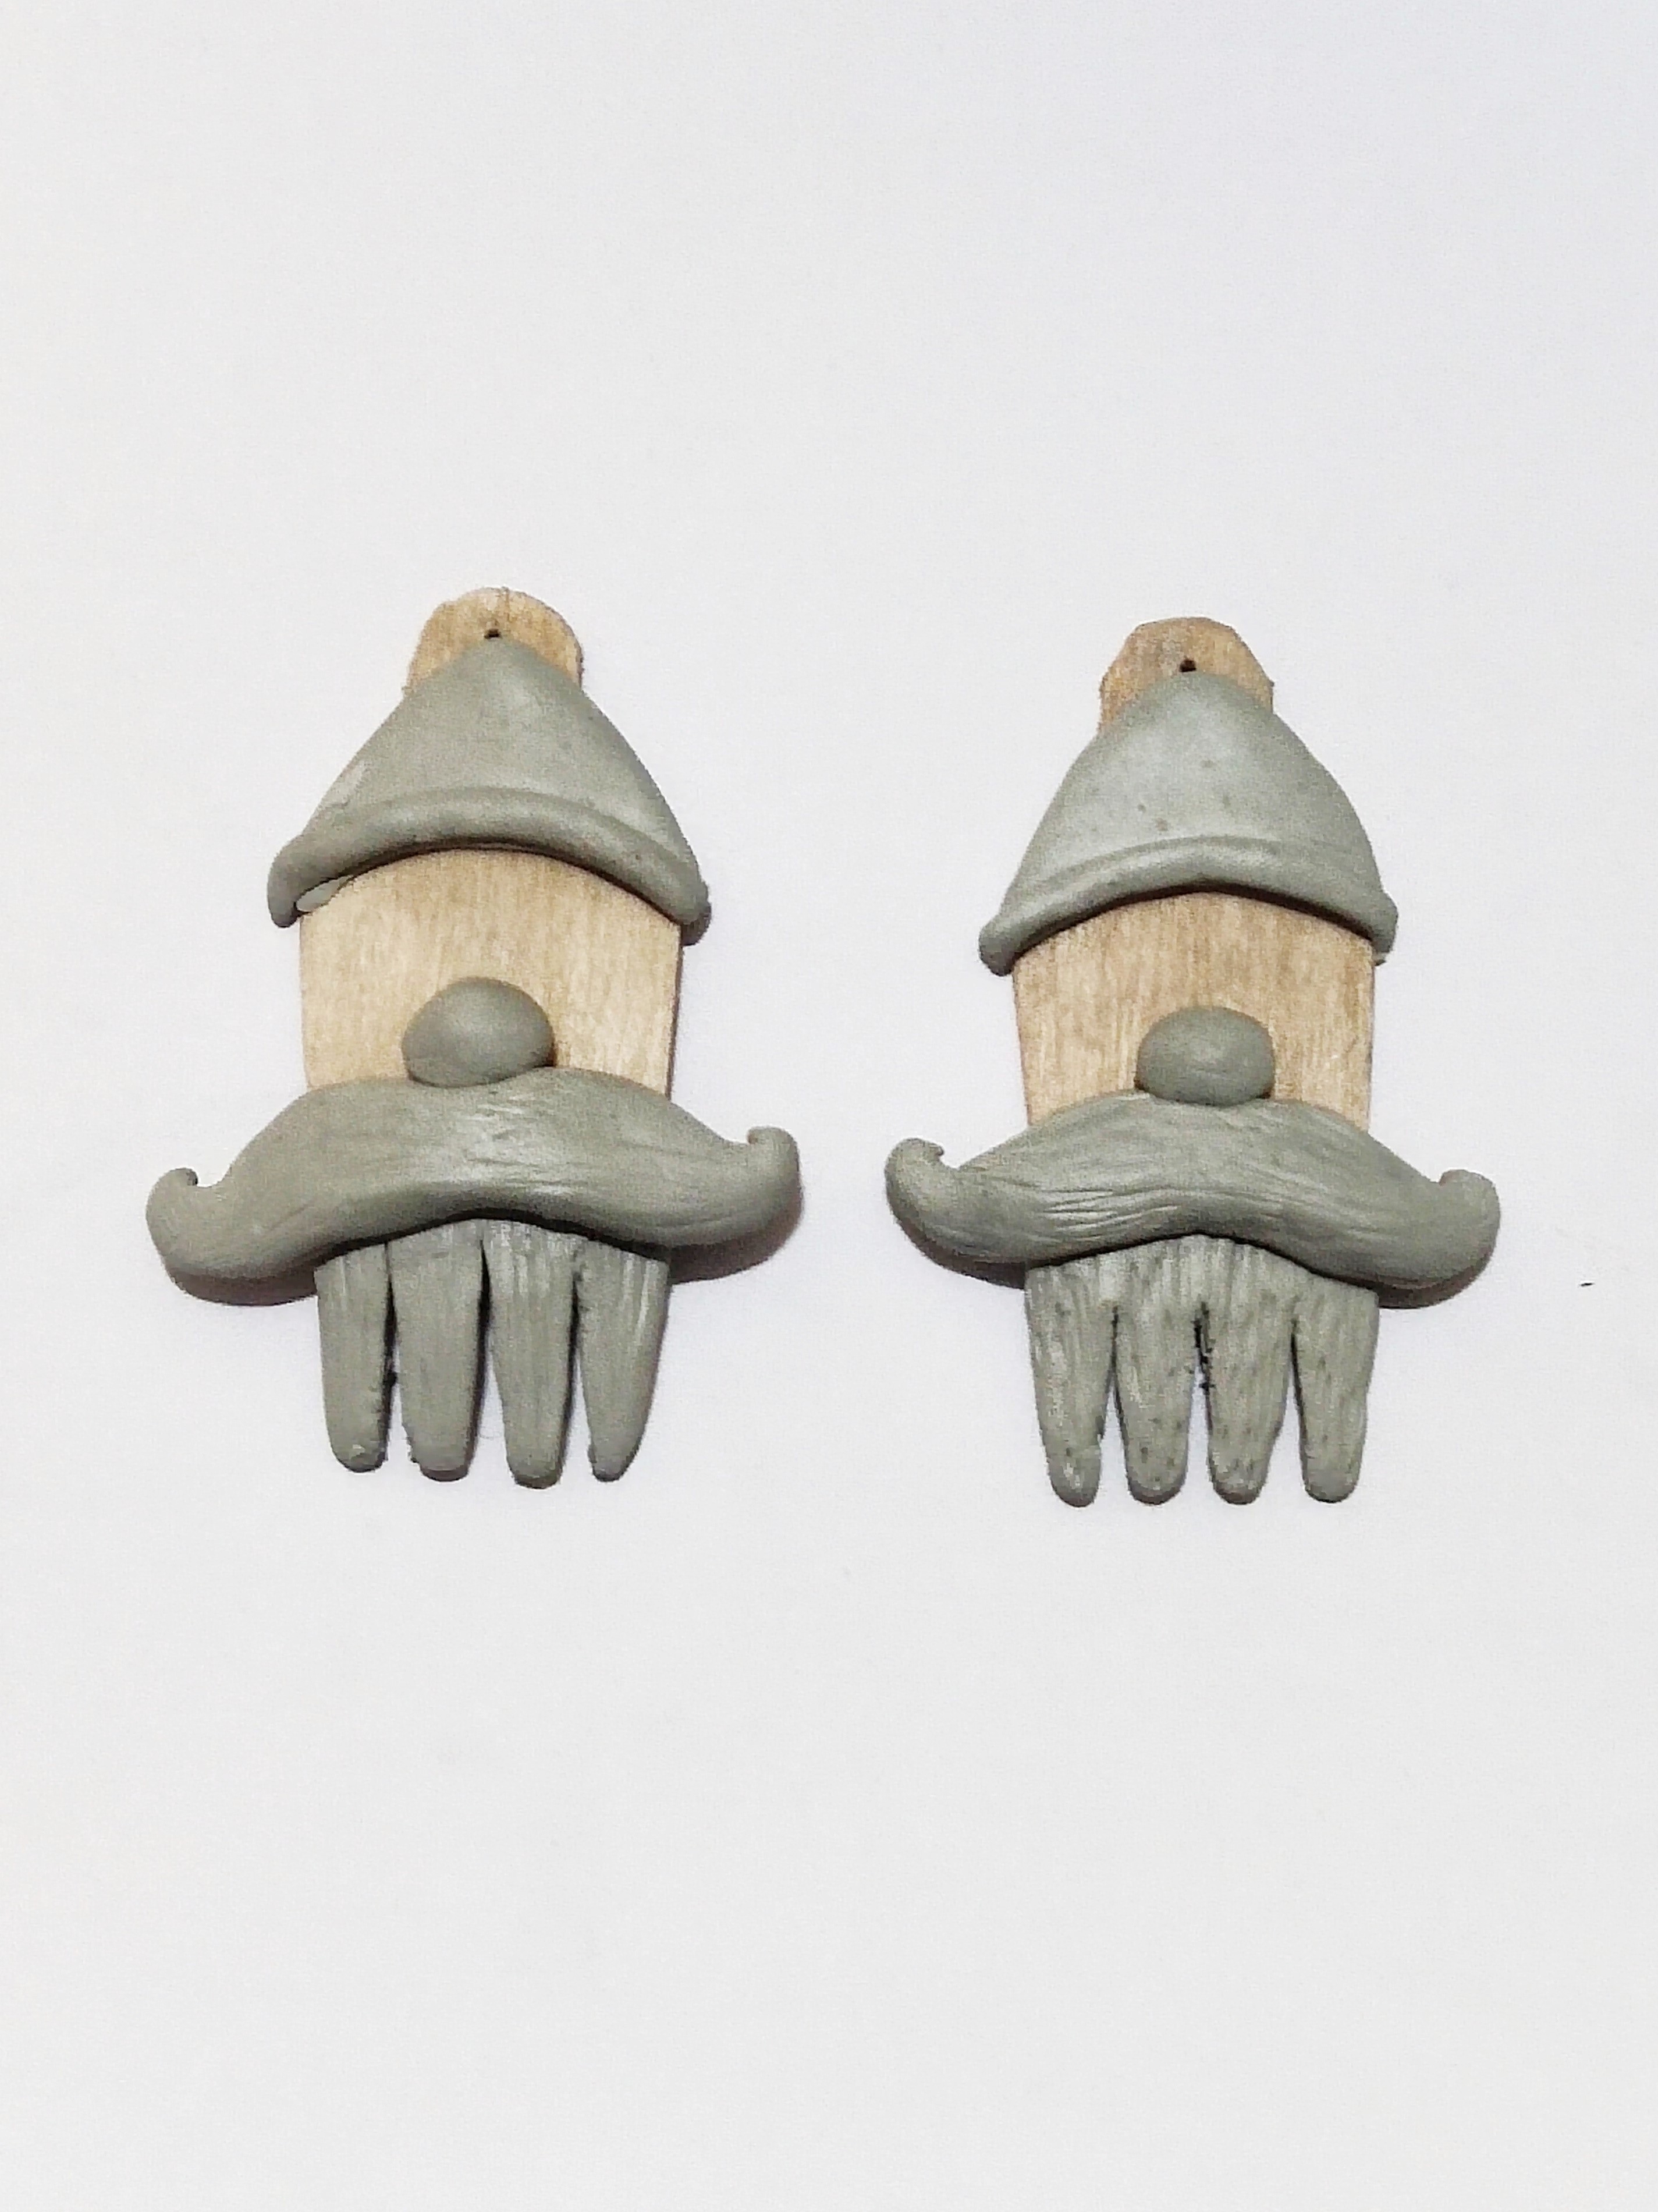
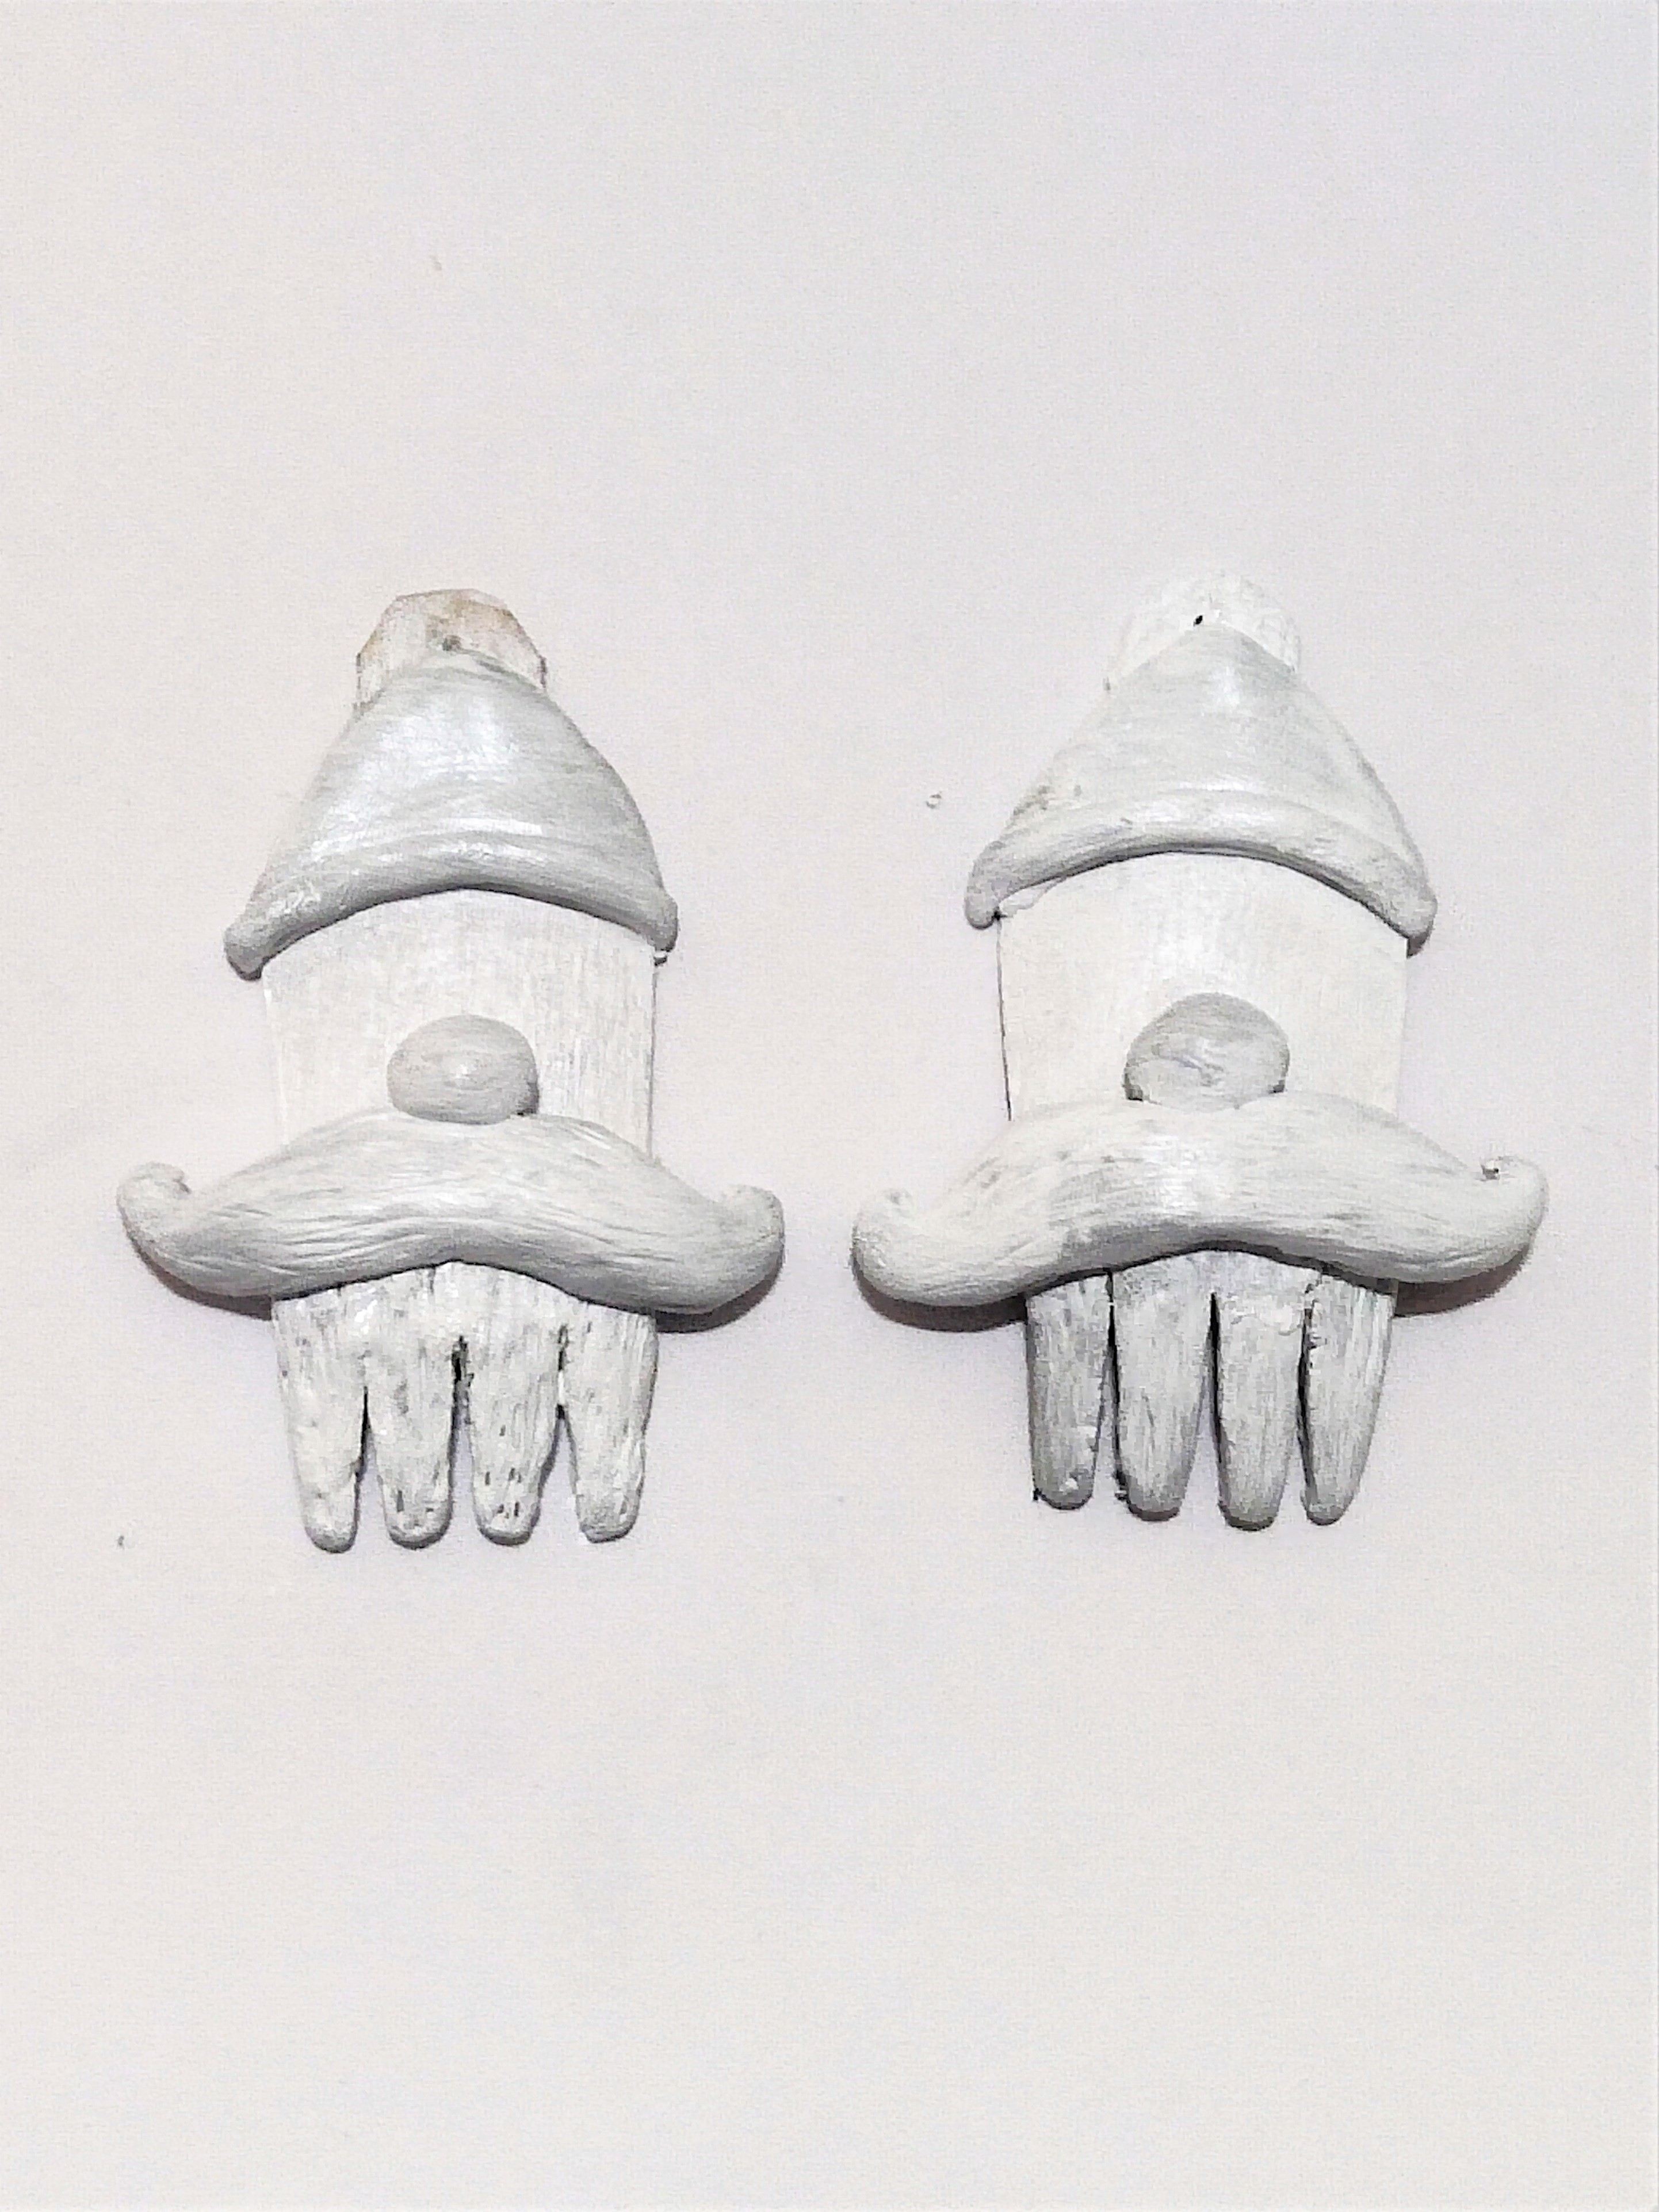
- Mark and cut the handle of the fork evenly and pierce the hole on the handle.
- Take the dough and build the facial details like beard on the tines of the fork along with the texture, using the clay carving tools, and the hat on the handle and Fabric Glue for sticking.
- Let it dry.
- Refer to the image.
STEP 4 : Paint the base coat
- Paint the Santa face with the base coat of Acrylic Colour White 27.
- Let it dry completely.
STEP 5 : Finished look
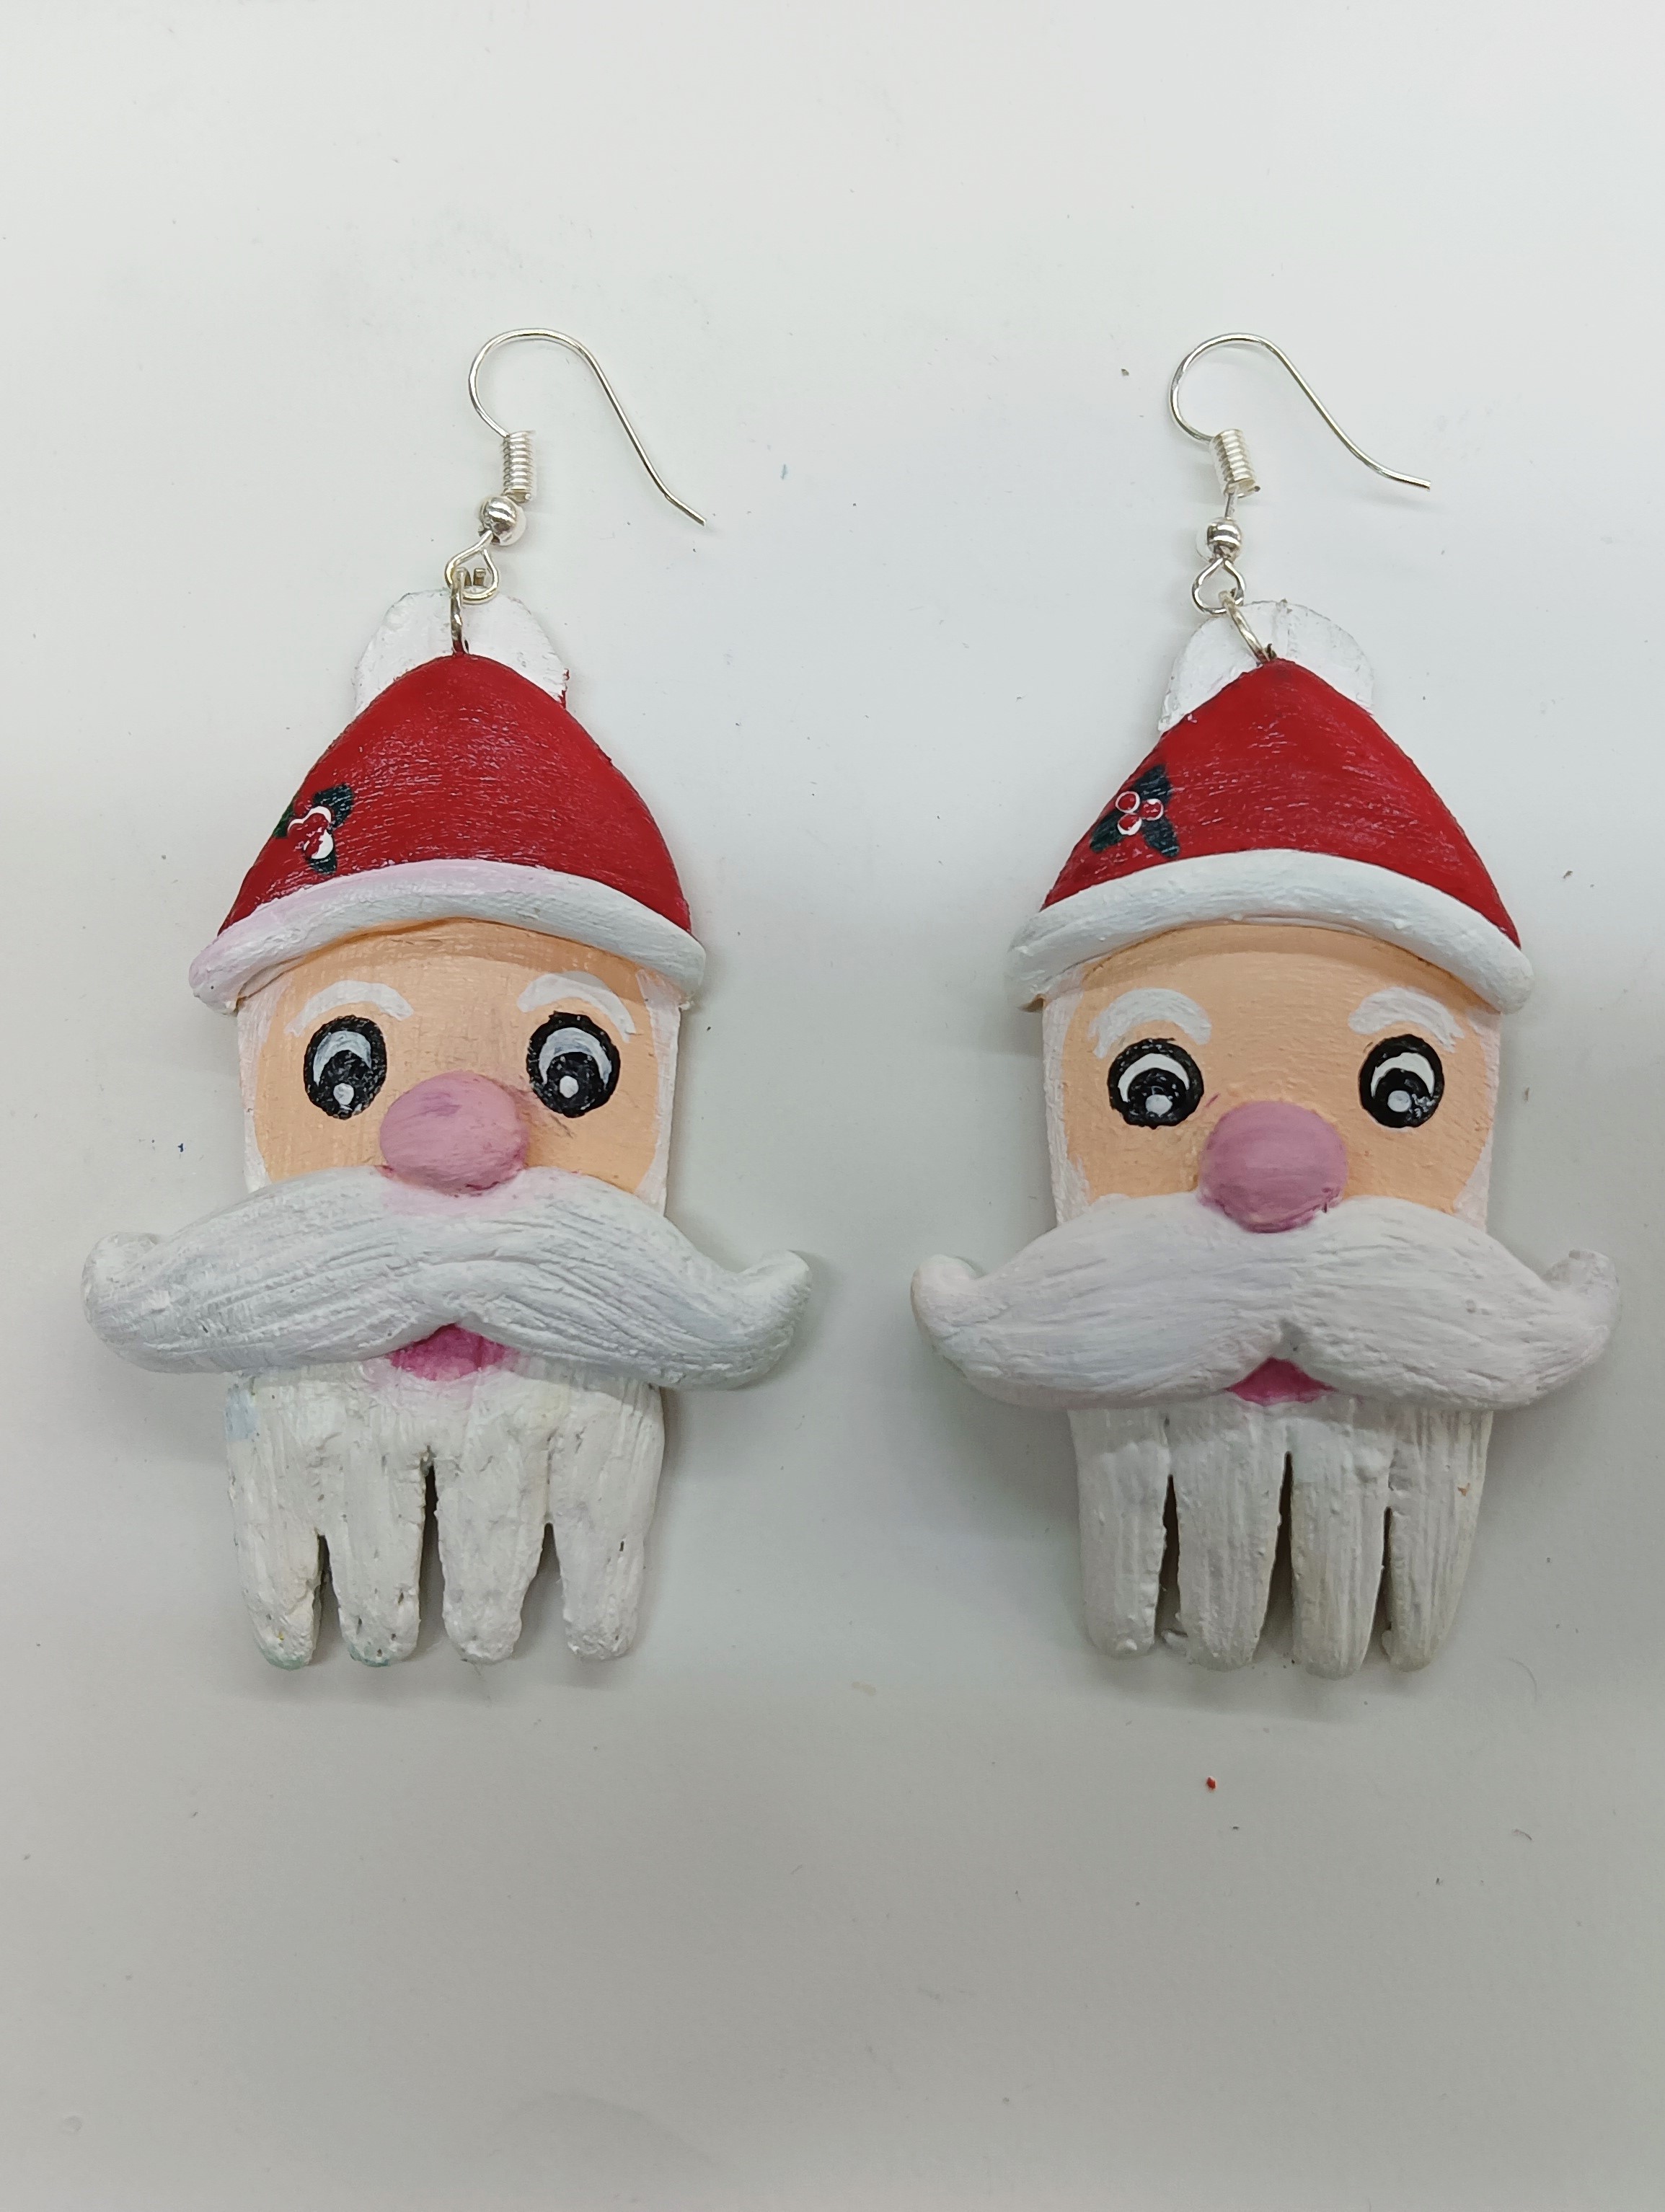
- Paint the face of the Santa the beard and the cap with small hollies using Acrylic Colours Balck 02, Crimson 04, Dark Green 06, White 27 and Flesh Tint 30.
- Let it dry completely
- Attach the earring attachments properly.
- Your Santa earrings with the wooden fork is ready to use


 +91 99676 55545