Mushroom Sharpener Holder

You Will Need:
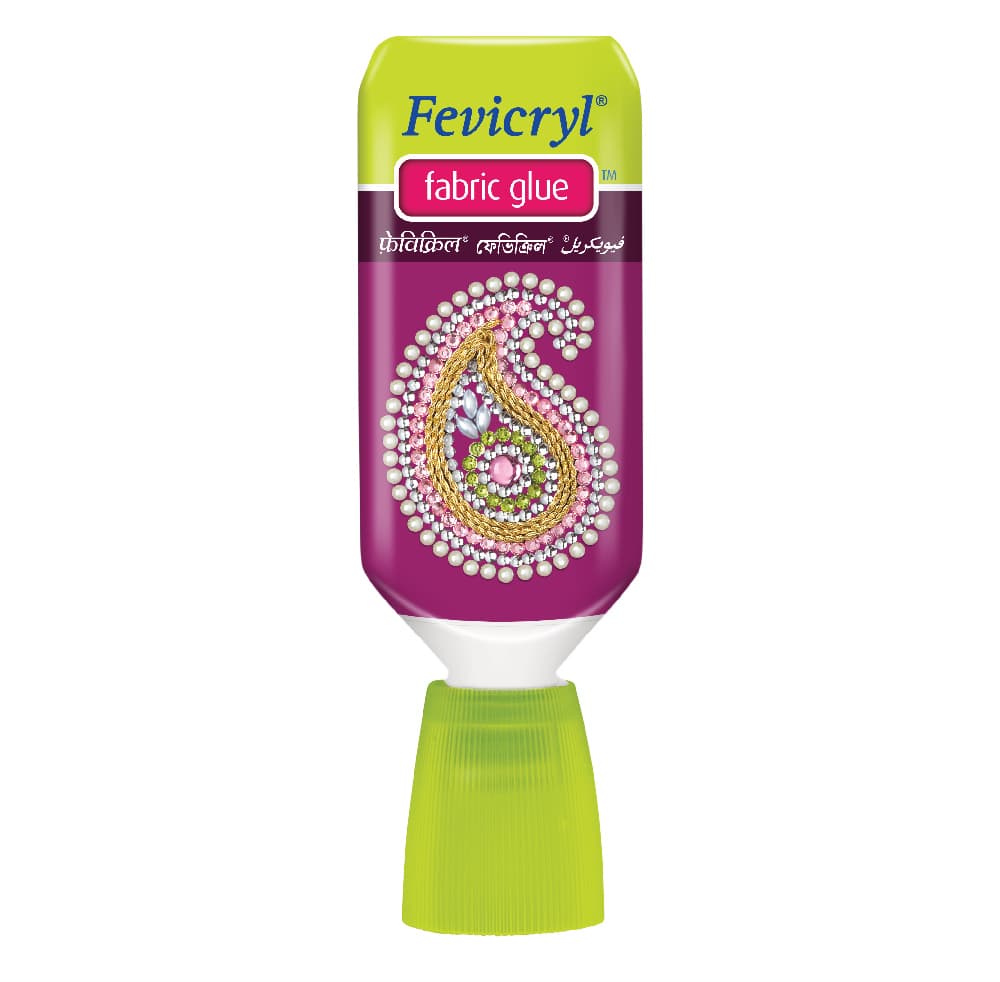
Fevicryl Acrylic Colours Burnt Sienna 01, Chrome Yellow 03, Crimson 04, Light Green 12, White 27, Leaf Green 62, Fevicryl Mouldit, Fine Art Brushes, Fevicryl Fabric Glue, Clay Carving Tools, Rolling Pin, Colour Palette, Water Container, Ruler
Description :
Here is a cute DIY for your li’l ones. Make them this lovely mushroom sharpener holder and see them rejoice on the first day of their school!STEP 1

Take Mouldit resin base and hardener; mix it thoroughly to make even dough.
Take the dough; roll it to make the medium thin slab with rolling pin to make the base for the mushrooms. Make 2 such bases for the mushroom sharpener holder.
STEP 2

Take some dough to make the cylindrical shaped stalk of mushroom in the size of the sharpeners which you will keep inside. Let it semi dry.
STEP 3

Place the cylinder on the slab base and stick it with little amount of Fabric Glue. Let it dry.Create some texture to the base slab with the rear side of the paint brush. We have made two such mushroom bases for two sharpeners.
STEP 4

Take some dough; give away the shape of the cap of the mushroom with the help of a brush or with your fingers.
Let it semi dry.
STEP 5

Make some small sized mushrooms and the tiny grass with clay.
Stick the tiny mushrooms and the grass around the main mushroom using little amount of the clay and Fabric Glue. Let it dry.
STEP 6

The mushroom sharpener holders will look like this.
STEP 7

Paint the mushrooms and the base using Acrylic Colours Burnt Sienna 01, Chrome Yellow 03, Crimson 04, Light Green 12, White 27 and Leaf Green 62.
Leave it to dry.
STEP 8

Mushroom Sharpener holders are ready!
STEP 9


 +91 99676 55545