Mini Easter Bunnies
March 25, 2019
You Will Need:
Fevicryl Acrylic Colours Burnt Sienna 01, Black 02, Crimson 04, Dark Brown 05, White 27, Fevicryl Mouldit, Fabric Glue, Fine Art Brushes, Clay Carving Tools, Colour Palette, Water Container.
Description :
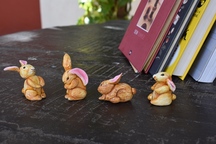
It is almost Easter, time to rejoice and have some fun! Spread some cheer by gifting your friend these cute little clay Easter bunnies. Check out this Easter DIY to know how these bunnies were made.STEP 1 : Mix Mouldit
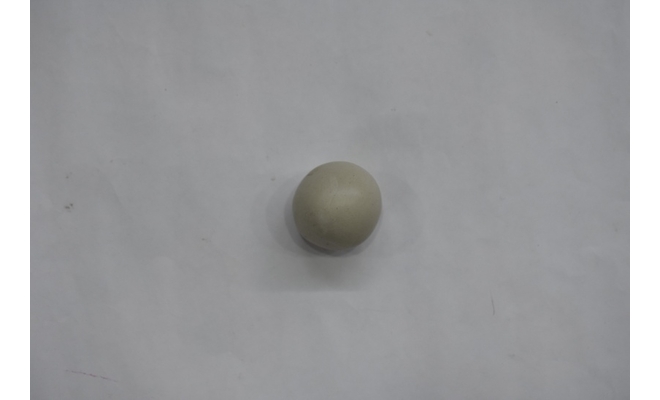
• Take Mouldit resin base and hardener; mix it thoroughly to make even dough.
STEP 2 : Making Easter bunnies
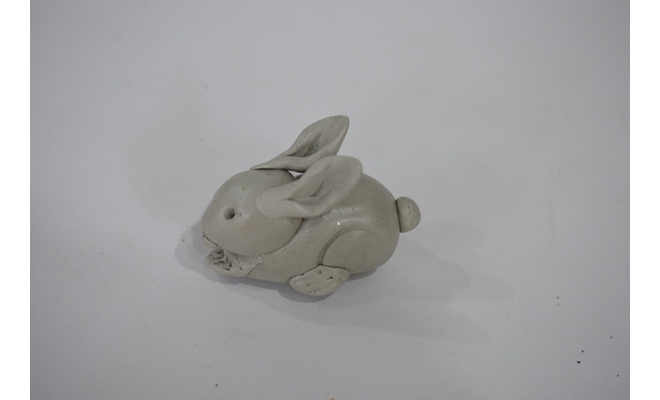
• Take the dough; divide the dough in to the body parts of bunny to make the head, legs and the big ears of bunny, 2 big balls for the head and the body and 7 small ones for the ears, hands, feet and the tail. Then using clay modelling tools mould each part.
• Leave it till semi dry.
• Attach the body parts aesthetically using Fabric Glue.
• Let it dry completely.
STEP 3 : Moulding 4 Easter bunnies
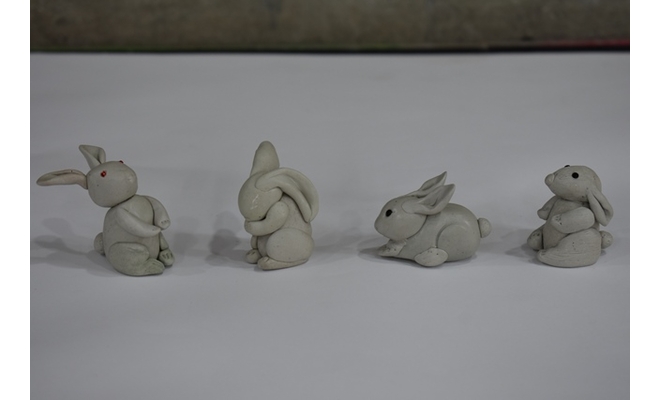
• Make 4 such bunnies with different poses.
STEP 4 : Painting the base coat
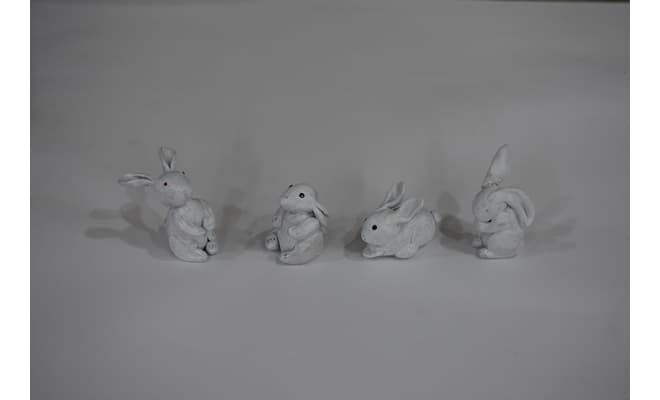
• Paint the bunnies with the base coat of Acrylic colour White 27.
• Let it dry.
STEP 5 : Painting and finishing
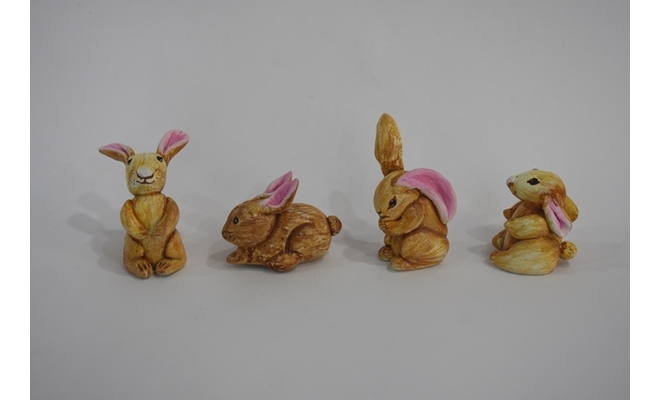
• Paint the bunnies in shading effect for the body and the ears using Acrylic Colours Burnt Sienna 01, Black 02, Crimson 04, Dark Brown 05 and White 27.
• Leave it to dry completely.





 +91 99676 55545