Eid Decor
You Will Need:
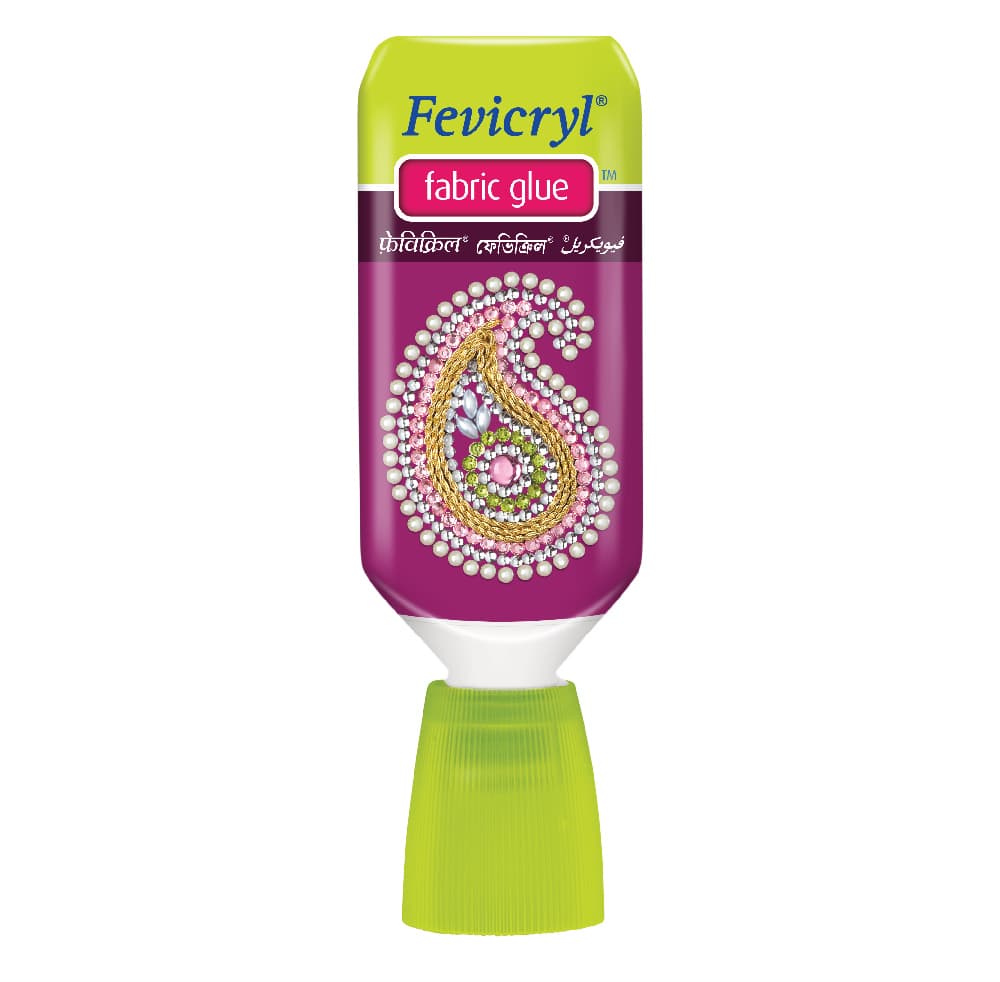
Fevicryl Acrylic Colour White 27, Fevicryl 3 D Outliner Glitter Silver 402, Holiday Green 418, Aquamarine 420, Fevicryl 3 D Outliner Pearl Metallic Gold 352, Fevicryl Water Based Glass Colours (Tomato Red 851, Crystal Green 854), Fevicryl Mouldit, Fevicryl Fabric Glue, Fine Art Brushes, Round Plastic Spoon, Rolling Pin, Clay Carving Tools, Paper Cutter, Ruler, Pencil, OHP Sheet, Scissors, Metal Wire, Metal Chain, 8” X 8” Piece Of Plywood, Masking Tape, Colour Palette, Water Container.
Description :
Looking for some inspiration for Eid décor! Here is just the DIY. It is cute and will definitely be liked by one and all.
STEP 1 : Mix the clay
• Take Mouldit resin base and hardener; mix it thoroughly to make even dough.
STEP 2 : Roll the dough
• Take the dough; roll it to make a medium thin slab.
• Let it get semi dry.
STEP 3 : Making the base of the lantern
• Draw a 2” radius circle on the slab.
• Draw a hexagon shape in the circle.
• Cut along the outlines of the hexagon neatly with paper cutter.
• This hexagon shape will be the base of the lantern.
STEP 4 : Making lantern
• Take an OHP sheet.
• Draw and cut the rectangle measuring 1 ½” x 4” in size.
• Fold the OHP rectangle and make the hexagon shape by sticking the ends with masking tape.
• Mark and cut the rolled slab in same size as of the OHP hexagon shape.
• Place the cut slab around the OHP hexagon. Secure and merge the ends neatly.
• Let it dry completely.
• Refer to the image.
STEP 5 : Cutting the windows
• After the hexagon shaped gets semi dry remove the OHP hexagon.
• Mark and cut the arch shaped windows from the hexagon.
• Let it dry completely.
STEP 6 : Making the dome
• Take some dough and the round shaped plastic spoon for moulding the dome of the lantern.
• Leave it for semi dry.
• Refer to the image.
STEP 7 : Leave it to dry
• Your mould of the spoon will look like this.
STEP 8 : Enhancing the dome
• Take some dough to create the pointed dome on the semi-circle mould.
• Stick the pointed dome neatly along with a loop, for hanging the lantern, using Fabric Glue.
• Let it dry.
STEP 9 : Assembly of the lantern
• Attach and stick the dome to the hexagon base of the lantern with Fabric Glue.
• Leave it to dry.
STEP 10 : Colouring the windows
• Take an OHP sheet.
• Draw the rectangles in the size of the arched windows of the lantern.
• Paint the rectangles with Water Based Glass Colours Tomato Red 851 and Crystal Green 854.
• Let it dry completely.
• Cut the rectangles carefully with a pair of scissors.
• Refer to the image.
STEP 11 : Sticking the coloured OHP rectangles
• Stick the glass coloured painted rectangles from the inner side of the lantern with Fabric Glue.
• Similarly stick the hexagon base to the lantern with little amount of the clay and Fabric Glue.
• Let it dry.
STEP 12 : Make 6 lanterns
• Similarly make 6 such lanterns with Mouldit .
• Refer to the image.
STEP 13 : Painting the lanterns
• Paint the lanterns with Acrylic Colour White 27, 3 D Outliner Glitter Holiday Green 418 and 3 D Outliner Pearl Metallic Gold 352.
• Let it dry.
STEP 14 : Assembly of the décor piece
• Take the piece of plywood, draw and cut the moon shape out of it.
• Mark and cut the holes on the edge of the crescent moon further to dangle the lanterns.
• Paint the moon with Acrylic Colour White 27, 3D Outliner Glitter Silver 402, and Aquamarine 420.
• Let it dry.
• Dangle the lanterns using metal chain on the bottom edge of the crescent moon at equal distance.
• Refer to the image.


 +91 99676 55545